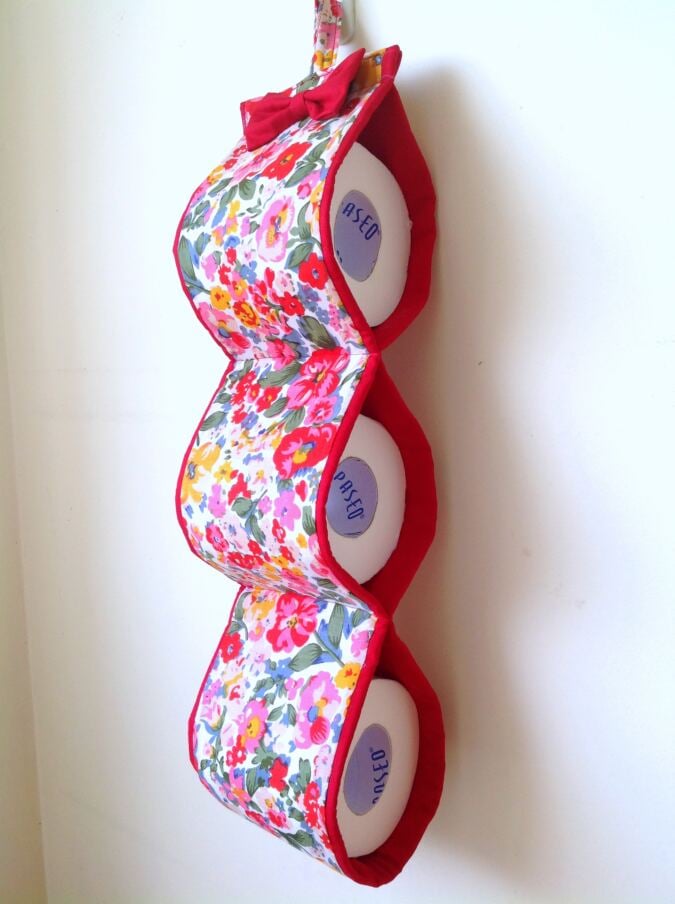
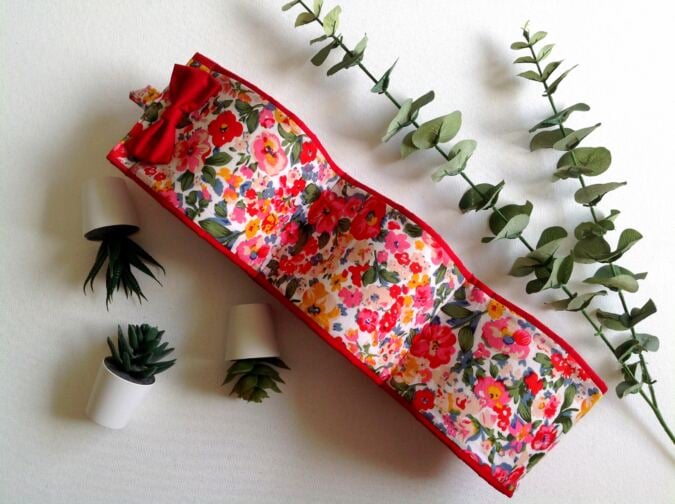
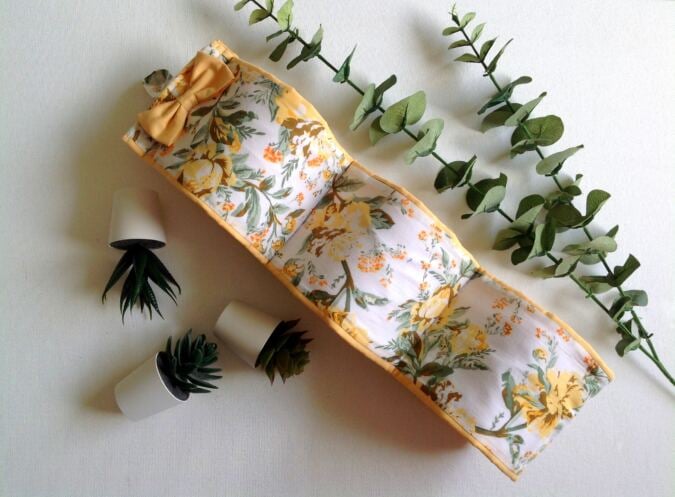
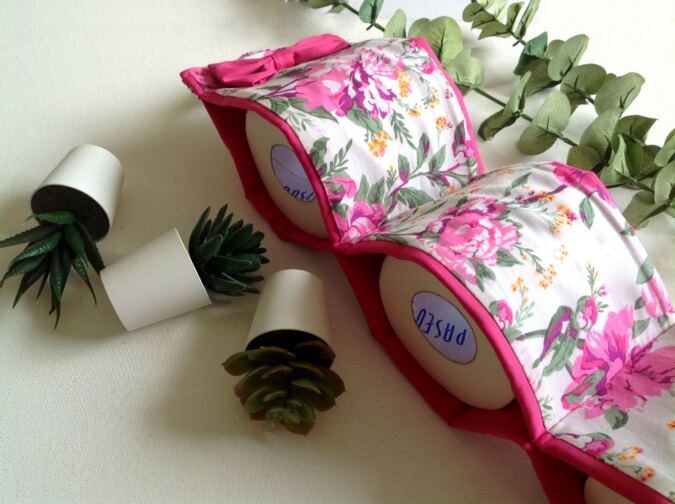
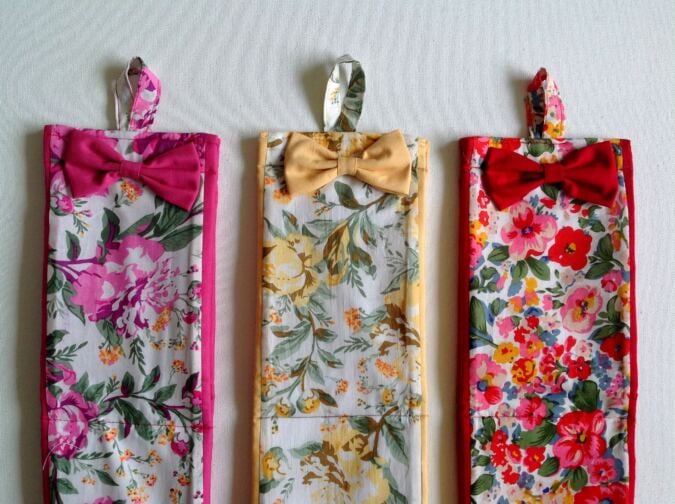
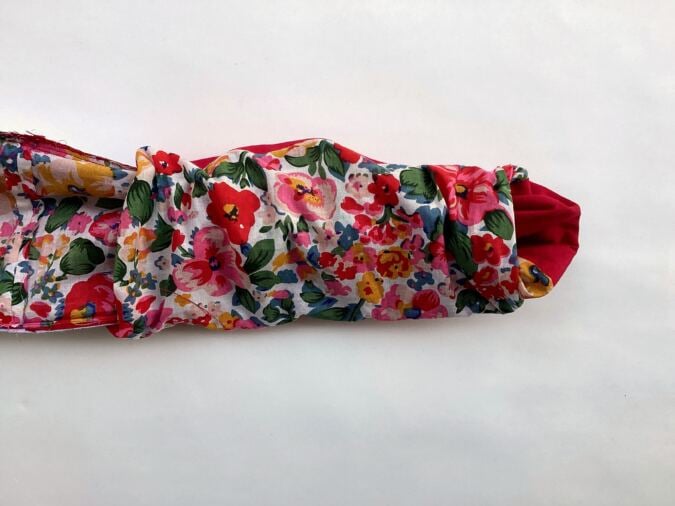
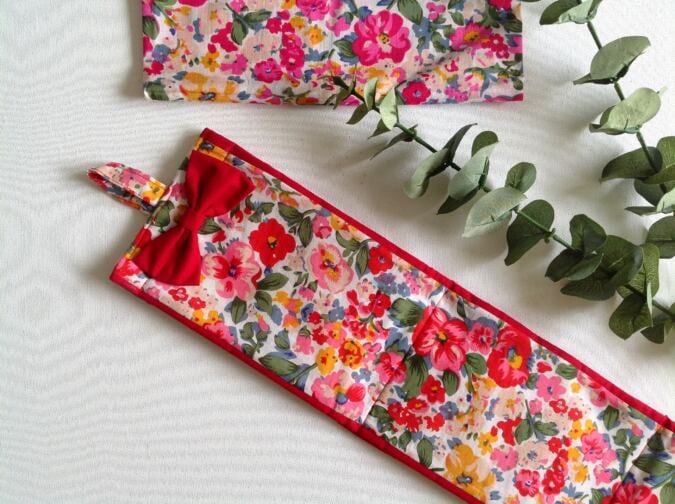
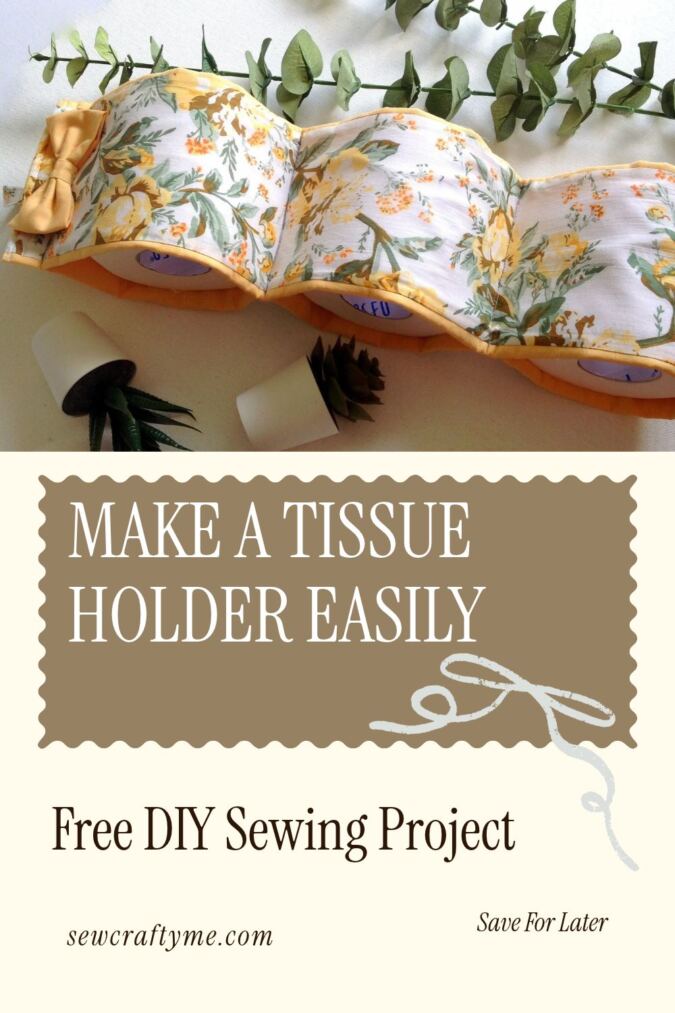
Look what I’ve come up with—a tissue roll organizer! This is the cutest way to keep your tissue rolls neatly organized, whether in your bathroom or kitchen.
I’ve always kept my extra tissue rolls tucked away in drawers or cupboards. And since tissue rolls seem to run out at the most inconvenient times, having to search for a replacement during my busy days has always annoyed me!
So, welcome my new tissue roll organizer! You can easily store and display three tissue rolls, keeping them right where they’re easy to grab whenever you need them.
And the best part? You don’t have to sew endlessly to make this tissue holder. Just cut a few pieces of fabric, sew a few straight stitches, and voilà—your tissue roll organizer is ready to use! You can make as many as you like for your own home or give them as thoughtful handmade gifts to someone you love!
Easy Tissue Roll Organizer Sewing Pattern
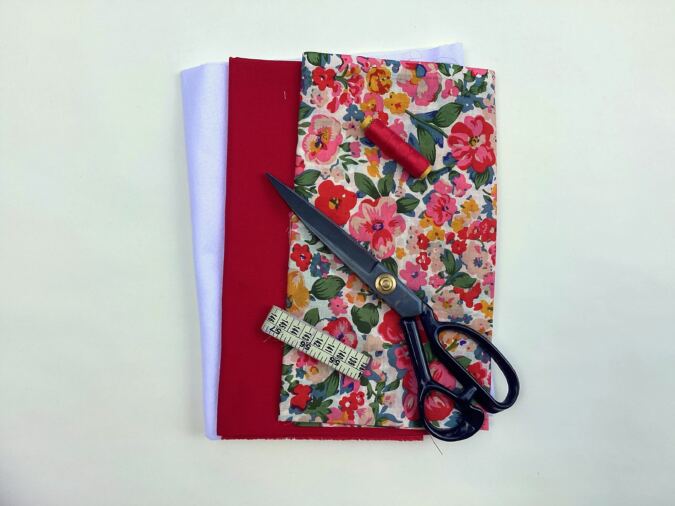
Supplies Needed:
1) Medium-weight cotton fabric in a desired print and color for the Organizer Upper – 1.5 yards.** You’ll need fabric pieces that are quite long but narrow (refer to the dimensions below). If you have leftover fabric scraps that match these dimensions, you can use those instead.
2) Medium-weight cotton fabric in a matching solid color for the organizer back – 1.5 yards.
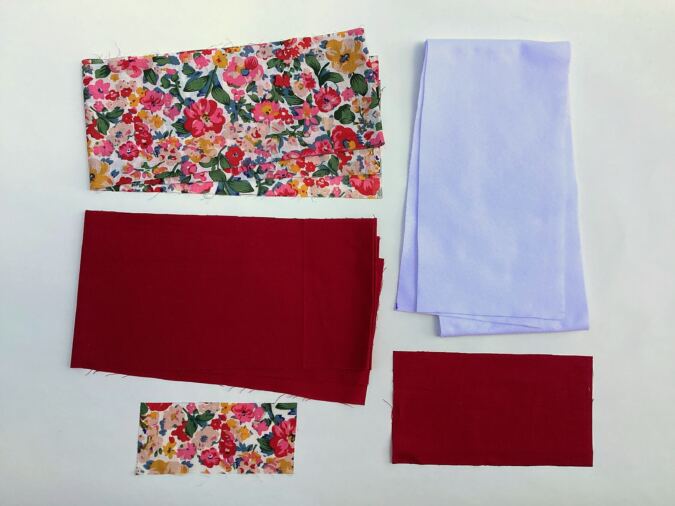
You will need to cut fabric pieces with the following dimensions:
Upper Piece: 5.25”W x 52”L
Back Piece: 6.5”W x 52”L
Batting Piece: 5.25”W x 52”L
Loop Piece: 2.5”W x 6.5”L
Bow Piece: 4.75” W x 8.75”L
Your pieces will look like this.
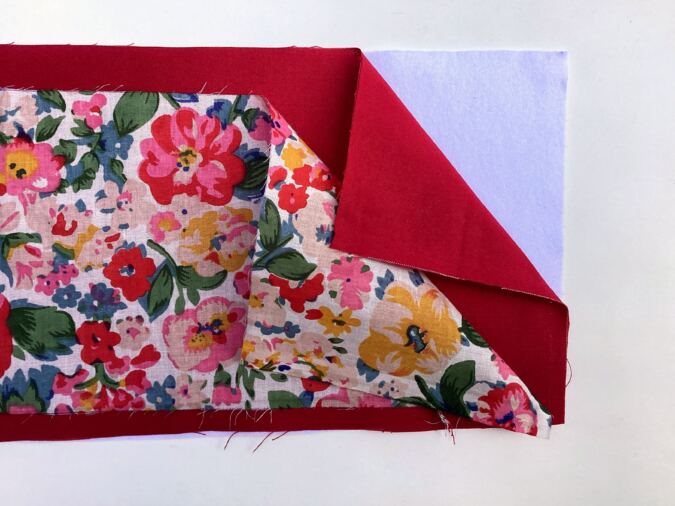
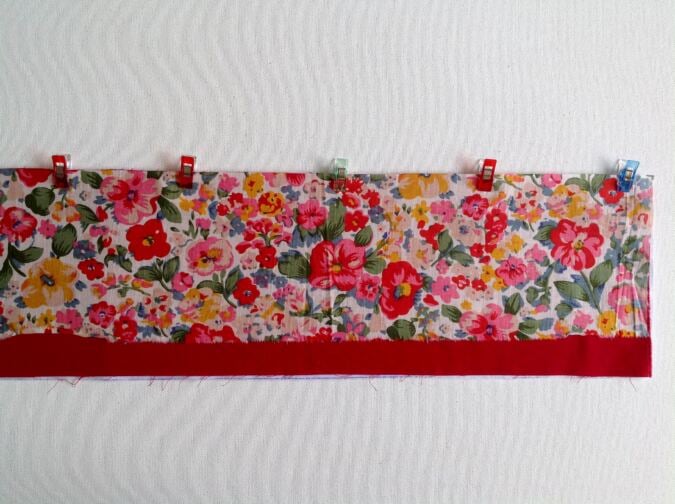
Layer the fabrics with the batting first, followed by the back fabric with the right side up and then the upper fabric with the wrong side up.
Line up the short edges and one of the long edges of all three pieces, then clip them together to hold them in place.
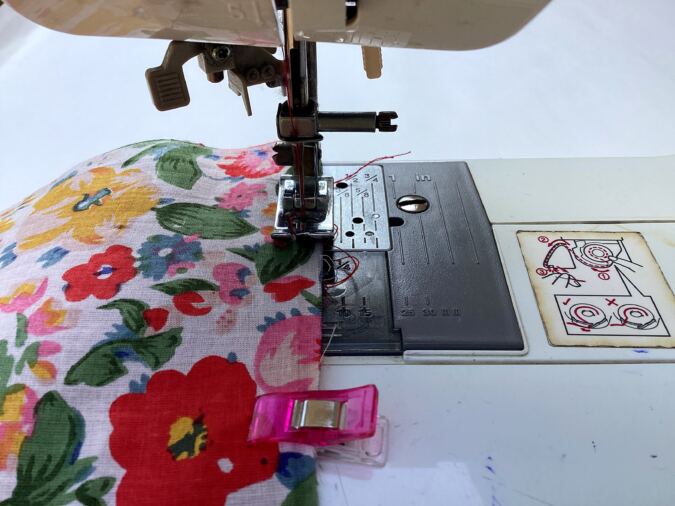
Sew along the aligned edges to join, removing the clips as you go.
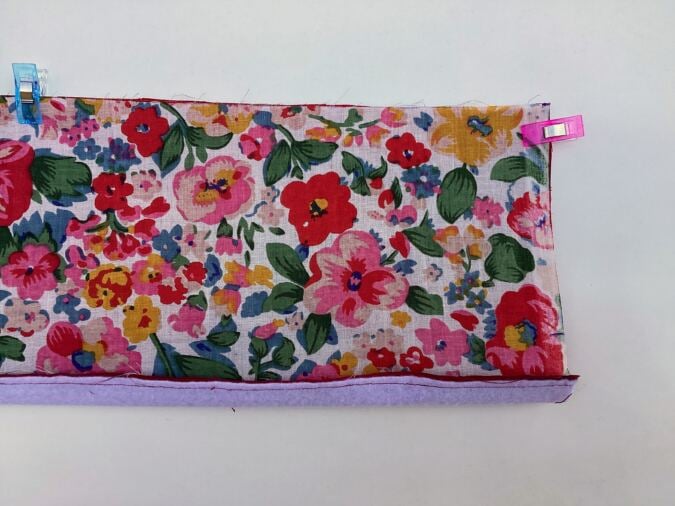
Slowly pull the other long edge of the upper fabric to line up with the free edge of the back fabric and batting and again place clips to hold. *Since your back fabric is wider. it would get slightly wrinkled with this step. It would get levelled up later.
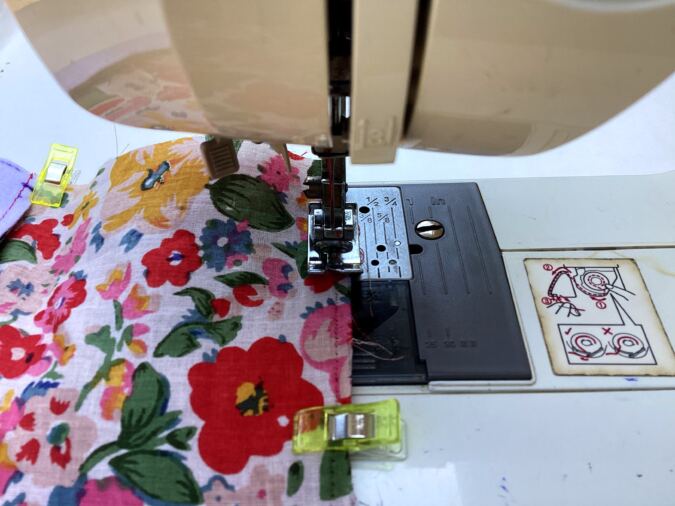
Sew the lined up edges shut.
Slide your fingers in between the upper and back fabric and pull the right side out.
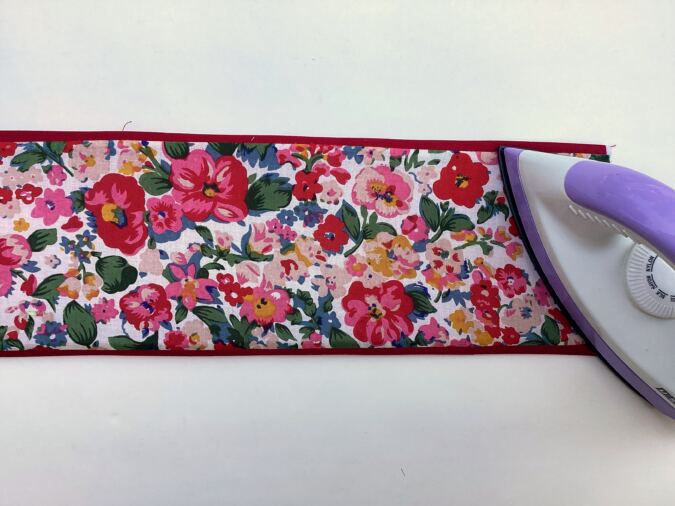
Push out the edges and press to make it clean and crisp.
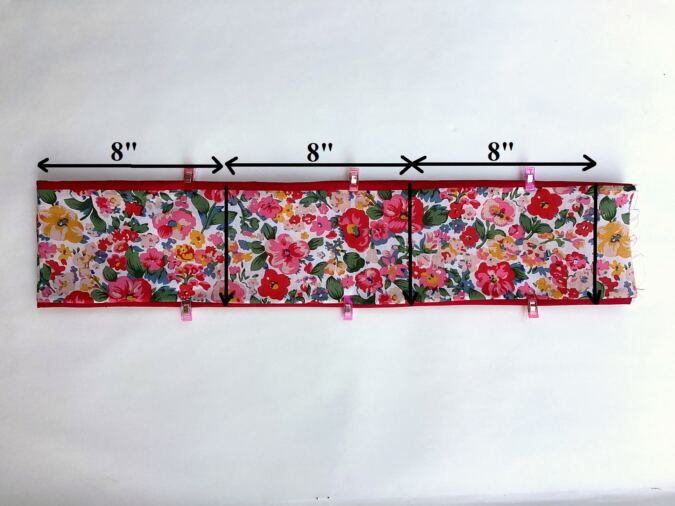
Fold it in half widthwise, with the back pieces touching and the edges aligned. Clip the layers together to hold them in place. Mark a line 8 inches from the fold, then mark a second line 8 inches from the first, followed by a third line the same distance from the second.
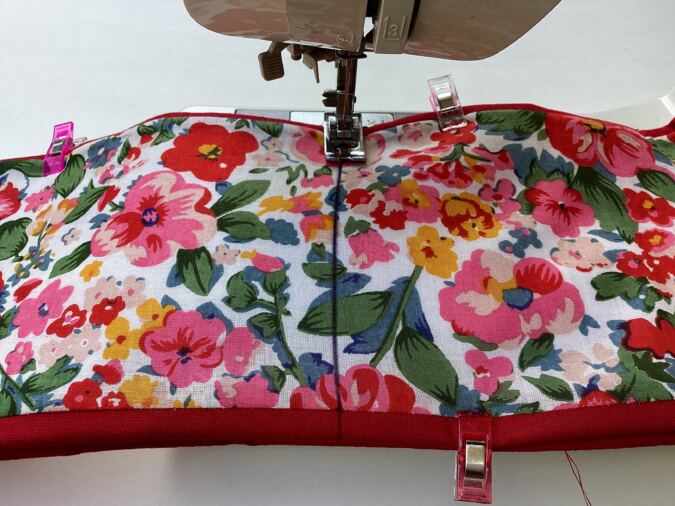
Sew along the lines to create compartments for the tissue rolls. **Make sure to reinforce at the start and finish.
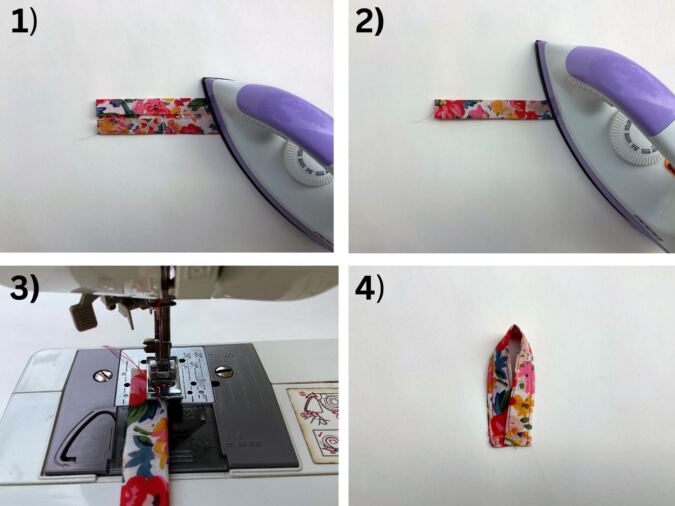
Next, we prepare the loop for hanging.
1) Take the loop piece, fold the two long edges by 5/8- inch towards the wrong side and press to set. 2) Fold it in half again lengthwise and press once more. 3) Sew it shut along the edge of the fold. 4) Fold it in half, align the raw edges, and sew to hold them in place.
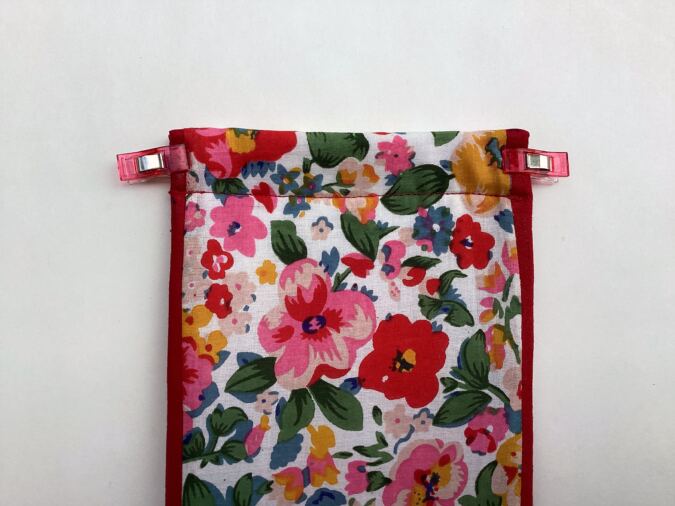
Next we finish the top edges.
Fold the two raw upper edges towards the inside by 1/2- inch and place clips to hold.
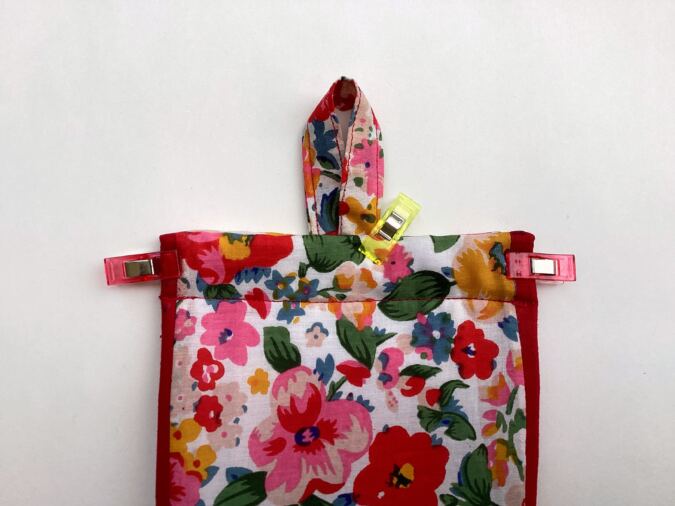
Slide the loop in between the folded edges of the organizer by 1/2- inch. Again place clips to hold.
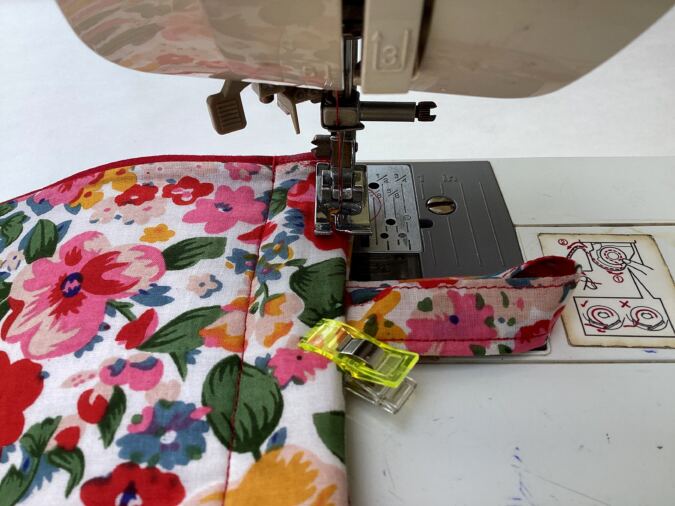
Sew along the top edge to attach the loop. Sew a second line 1/2 inch from the top edge to secure it. Once again, reinforce the stitches at the start and finish.
Make a medium size bow, referring the tutorial here, https://sewcraftyme.com/bow-sewing-pattern-free-bow-sewing-tutorial/, sew it 1/2- inch below the top edge, along the center and our tissue roll organizer is ready!
Insert your tissue rolls and hang it by the loop to keep your kitchen or bathroom organized and looking beautiful!