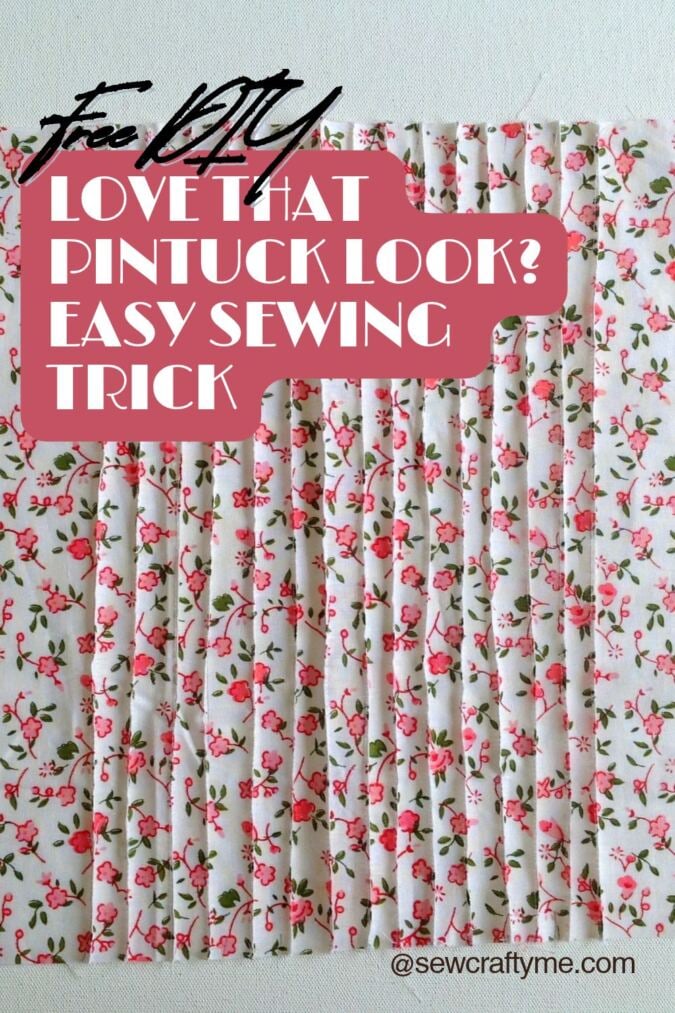
How to Make Pintucks
Ready to take your sewing and design skills to the next level? We have played around with different dress designs, experimenting with different styles of yokes and trims. And here is something entirely new for you — a technique that adds beautiful texture and detail to your fabric: a tutorial on how to make pintucks!
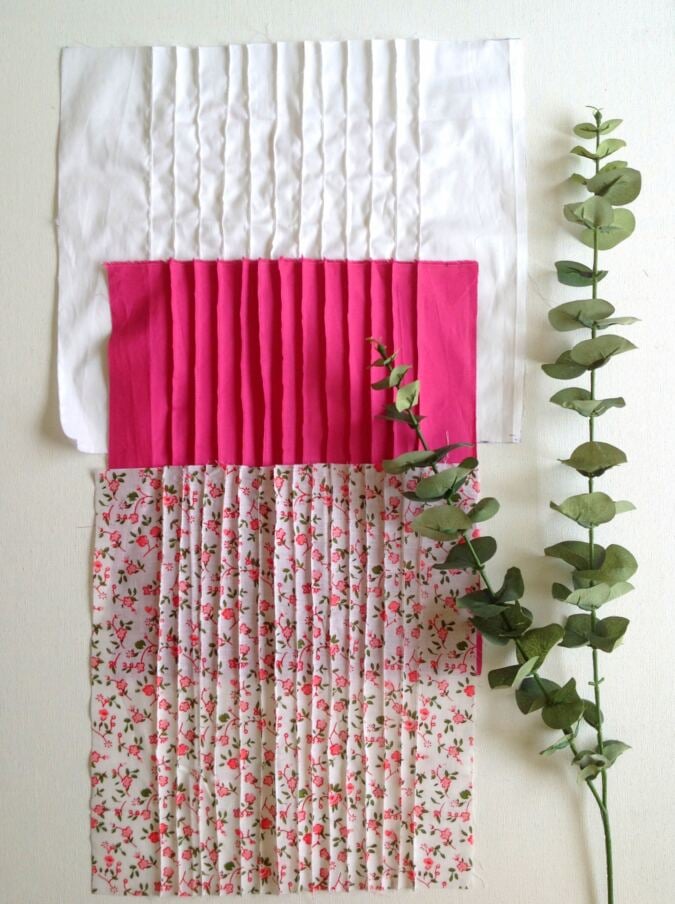
Well, don’t be hesitant! It is not a difficult technique. If you know how to sew straight lines, this is the perfect beginner-friendly technique for you to try.
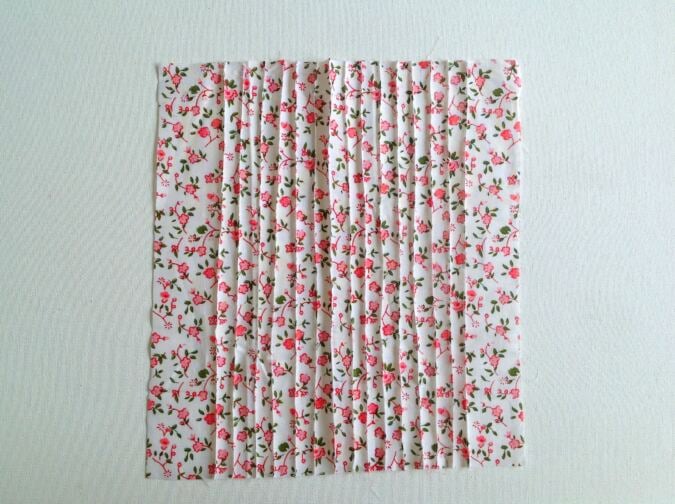
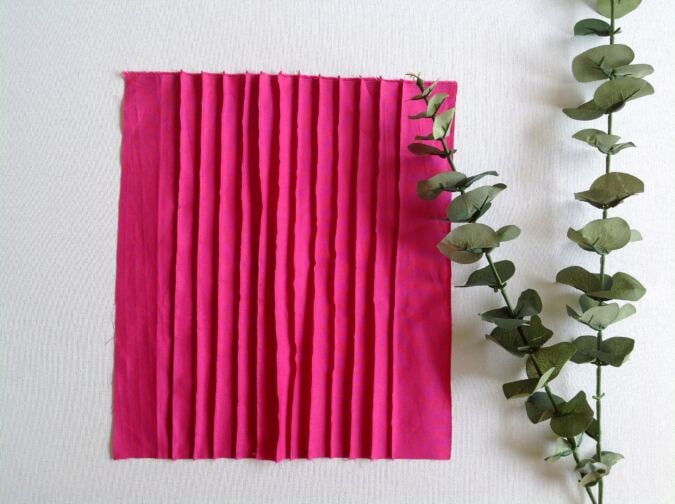
Once you get the hang of it, the design possibilities are endless! You can use pintucks to add beautiful details to your dresses, tops, and even skirts.
So, follow along as I take you through the simple and quick steps to making pintucks!
If you would like to learn how to make bias tape, both single and double folded, click on the picture below:
How to Make Pintucks
Supplies Needed
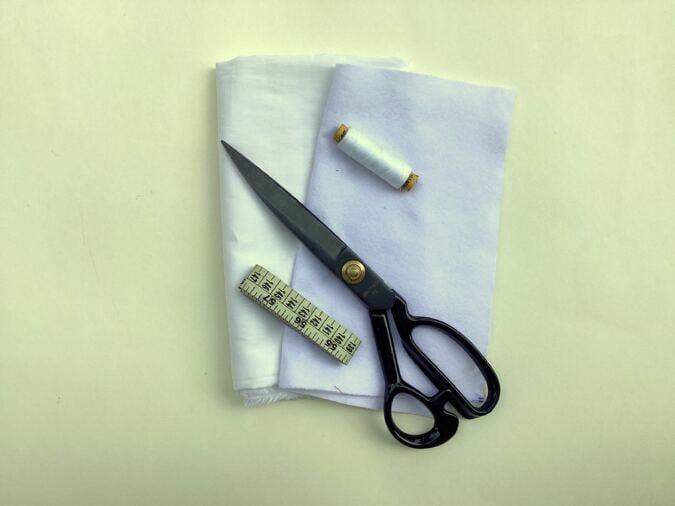
- Medium-weight cotton fabric in a desired color and print- 1/3 yard
- Sewing Notions.
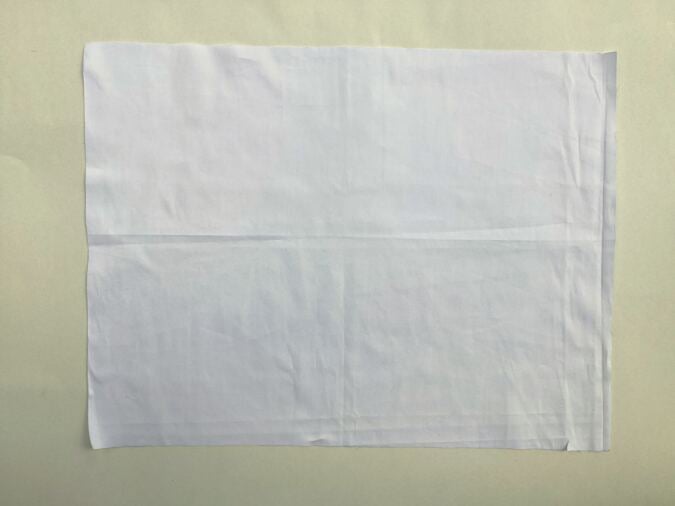
Note: This measurement above is for trial purposes. The calculation for determining the required fabric width is given below:
Required fabric width = Finished width + (Number of pintucks × 2 × Width of each pintuck)
For example, if you need 5 pintucks, each ⅛ inch wide, and the finished width is 12 inches:
Required fabric width = 12 + (5 × 2 × ⅛)
= 12 + 1.25
= 13¼ inches
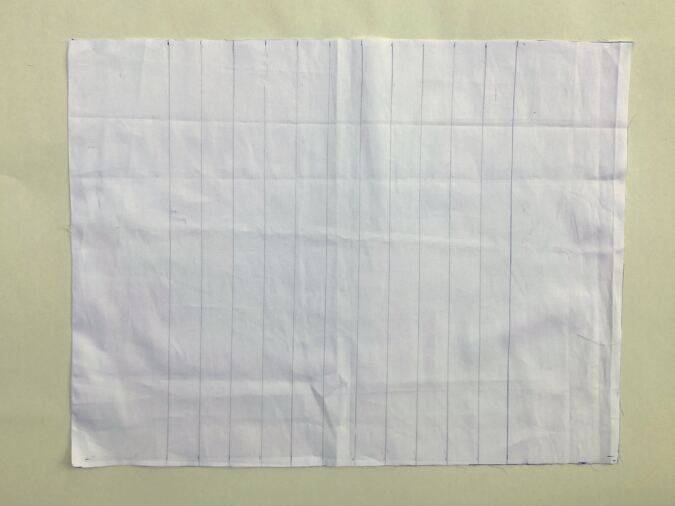
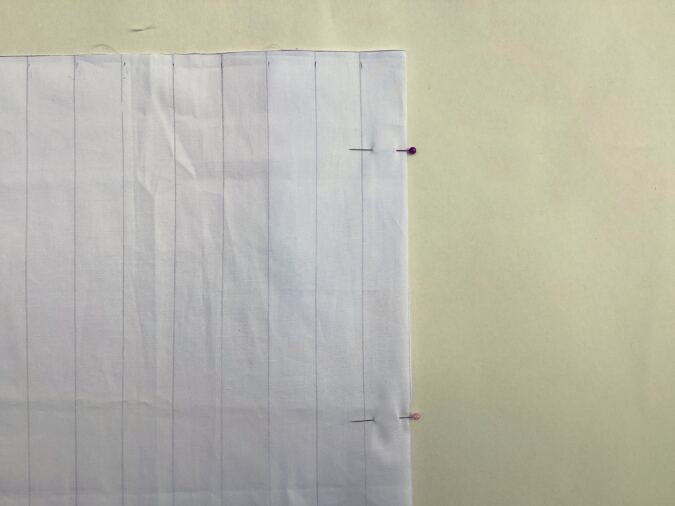
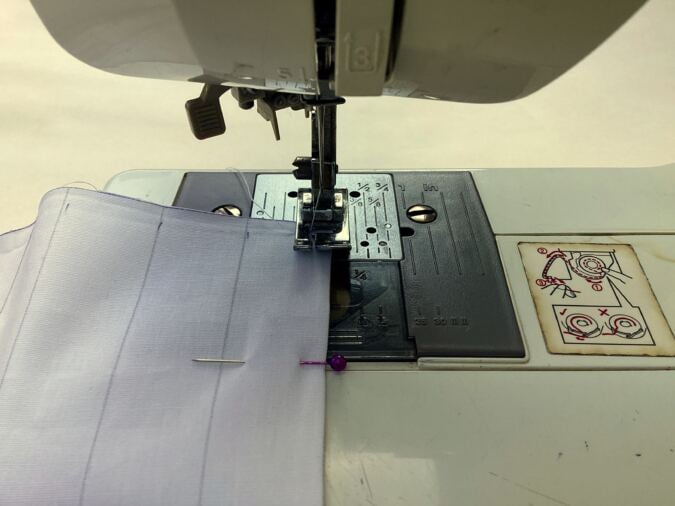
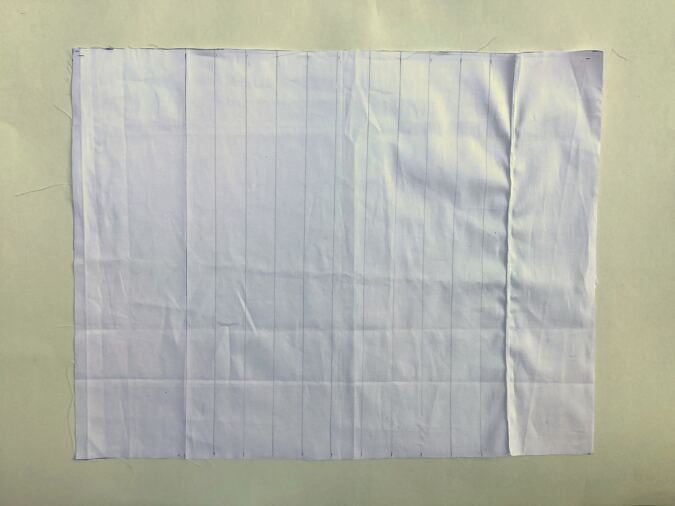
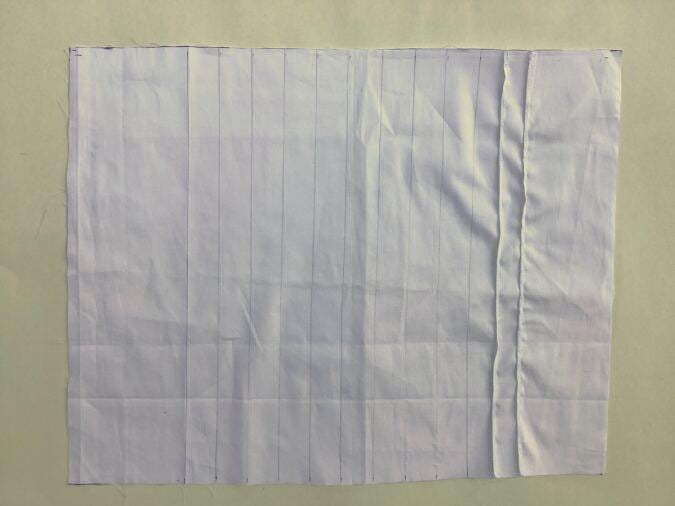
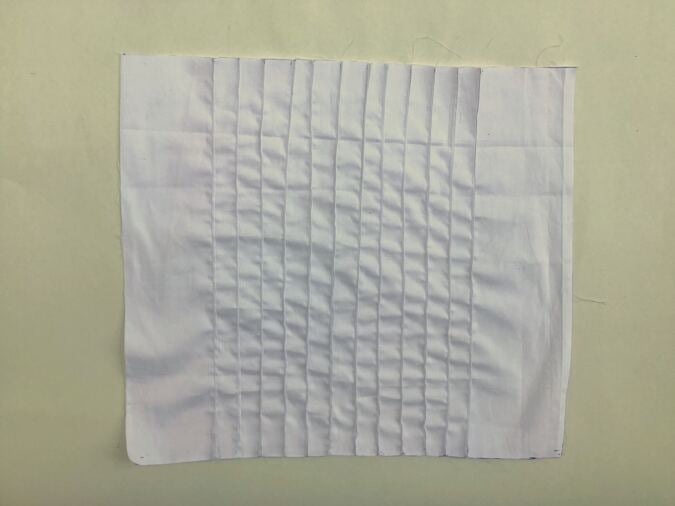
Let’s start putting the pintucks.
Pin it for later here,