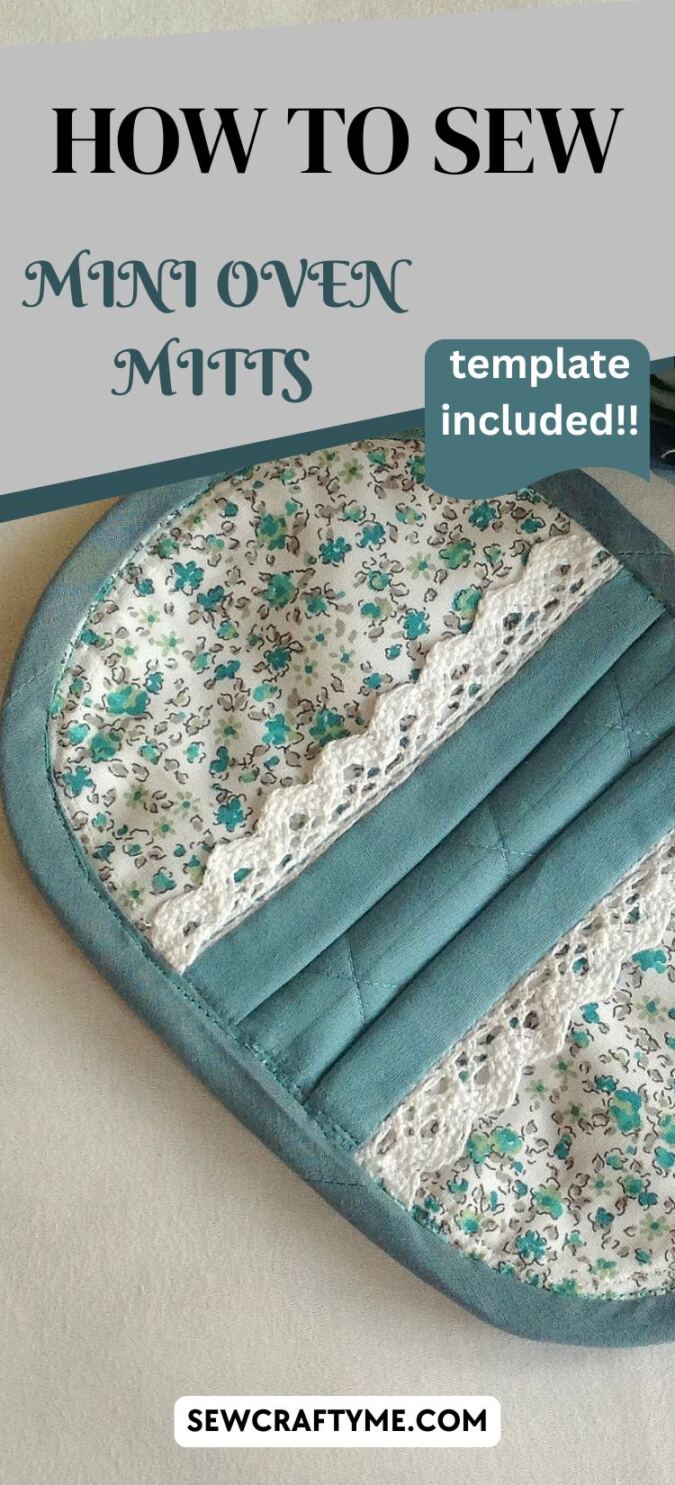
Tired of getting your hands burnt while cooking? Here’s something perfect for you — an oven mitt sewing pattern, your very own heat-resistant armor for the kitchen!


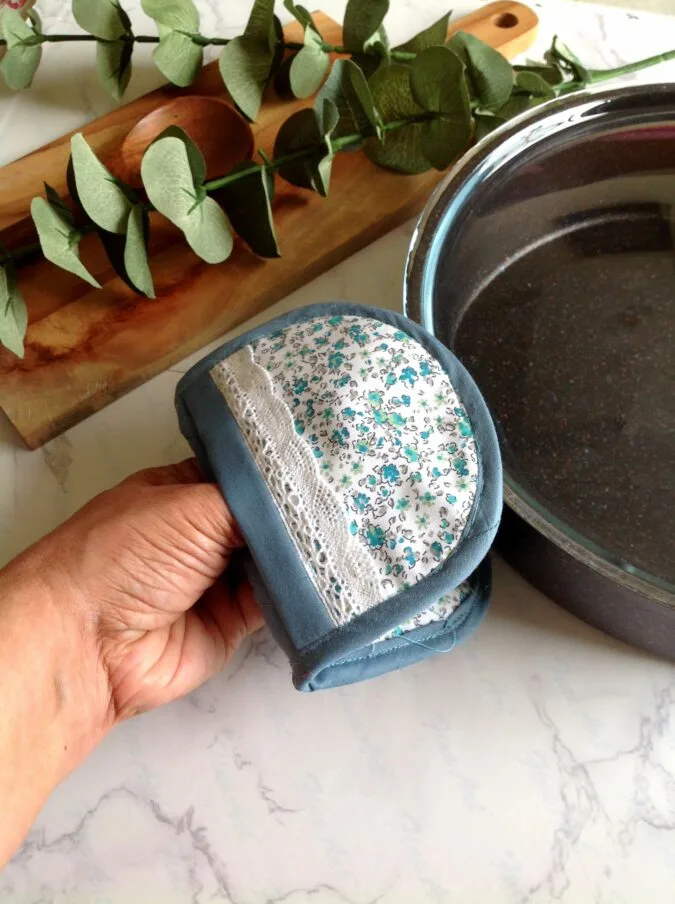
Unlike glove-style mitts, this simple design lets you easily slide your fingers in and get a firm grip on pots and baking trays while cooking or baking.


Plus, the oval-shaped design is so easy to sew that, with the included templates and instructions, even beginners can enjoy the satisfaction of creating something useful and beautiful with their own hands!
Easy Oven Mitts Sewing Pattern
Supplies Needed:
Medium weight cotton fabric for the potholder front and binding (I used a solid colored leftover fabric scrap)- 1/4 yard
Medium weight cotton fabric for the potholder back and pockets (I used a medium- weight printed cotton fabric scrap in a matching color)- 1/4 yard.
1/2- inch cotton lace- About 14- inches.
100% cotton batting- 1/4 yard.
Sewing Notions.
Oven Mitts Template. **Enter your email address and click the subscribe button to download the template.

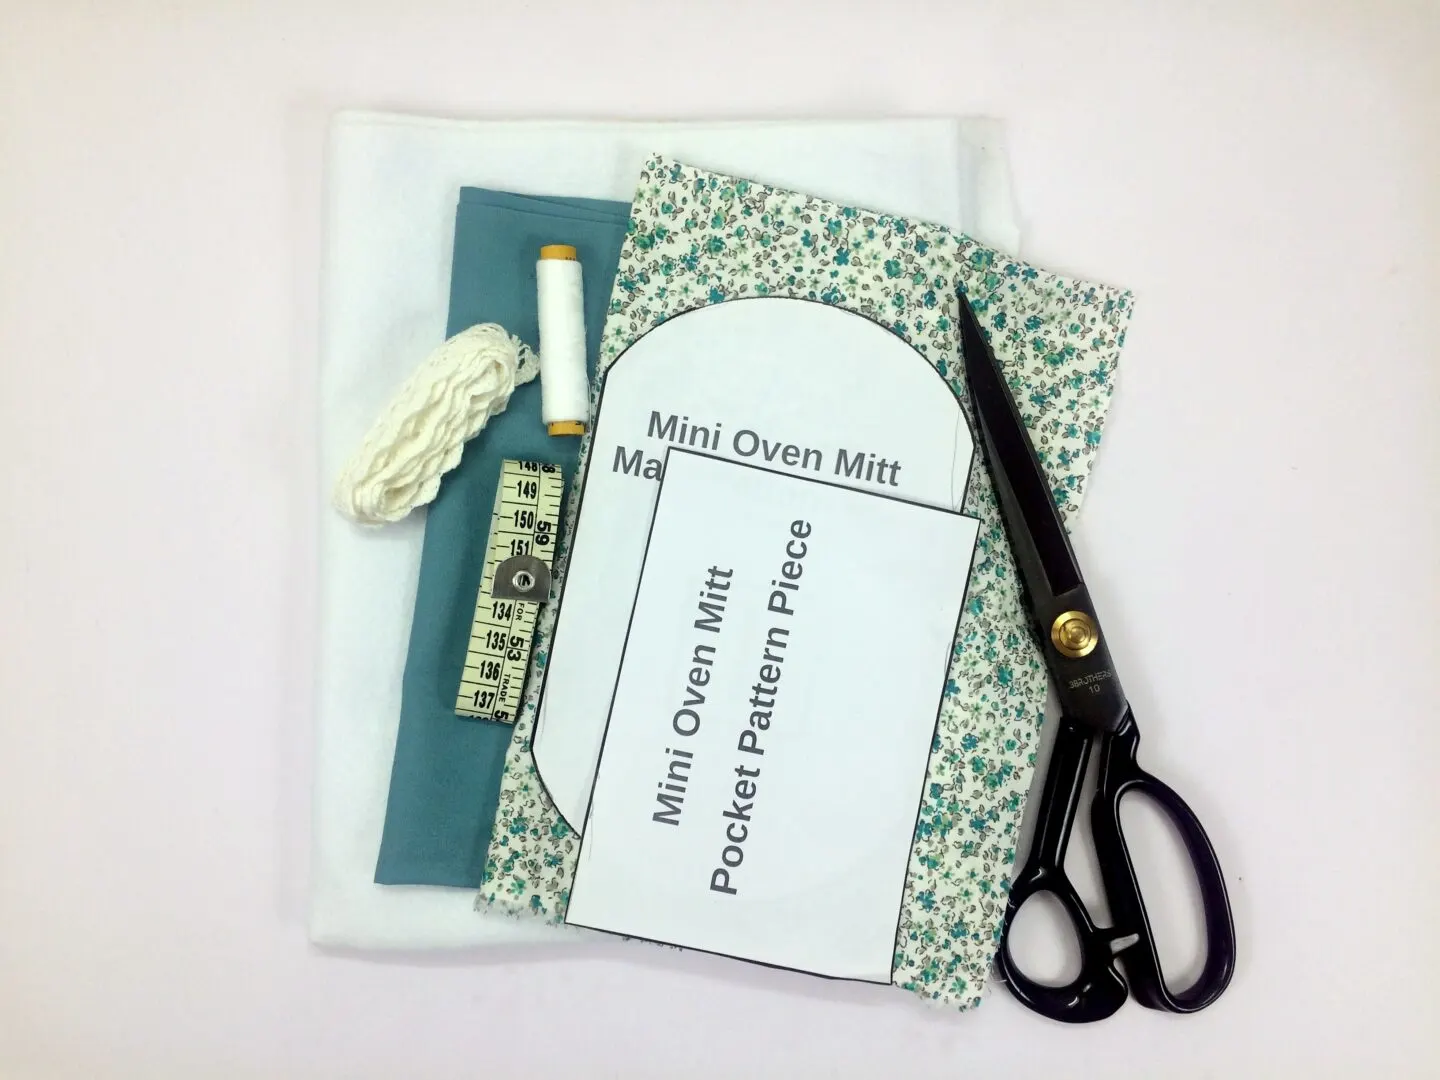
Gather your supplies.
You will need to cut fabric pieces with the following dimensions:
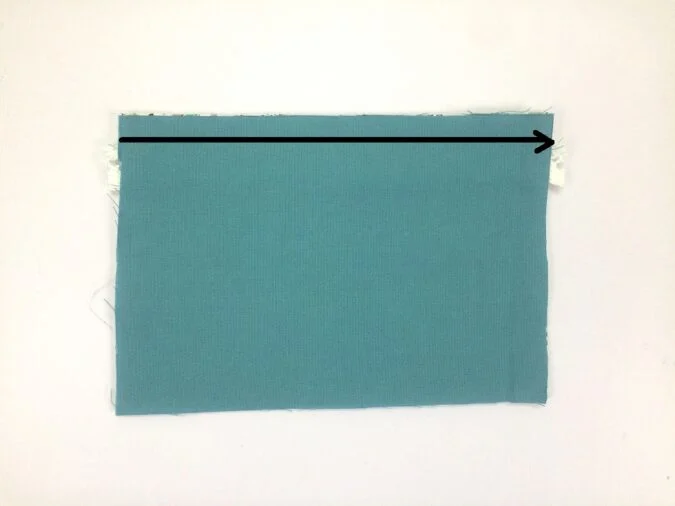
Main Fabric: 7″ Width x 10″ Length
Lining Fabric: Same as the above.
Interfacing: Same as the above.
Bias Binding Piece- 2″Width x 26″ Length

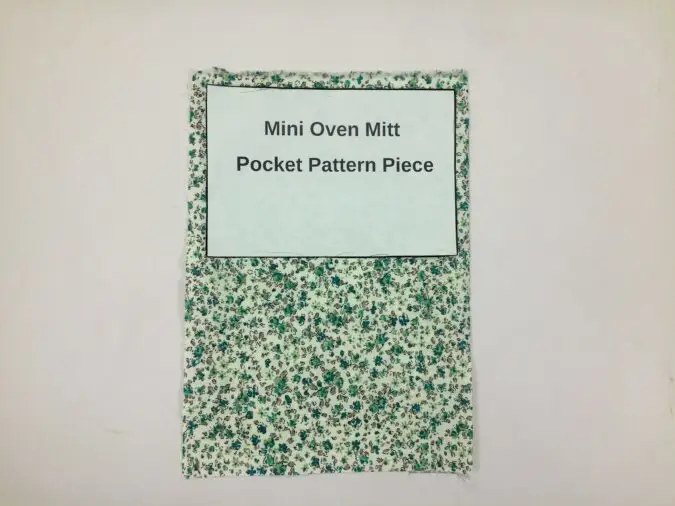
To cut the pocket, place the pocket template on top of the printed pocket fabric and cut two pocket pieces. Repeat with the solid fabric to make two pocket lining pieces.

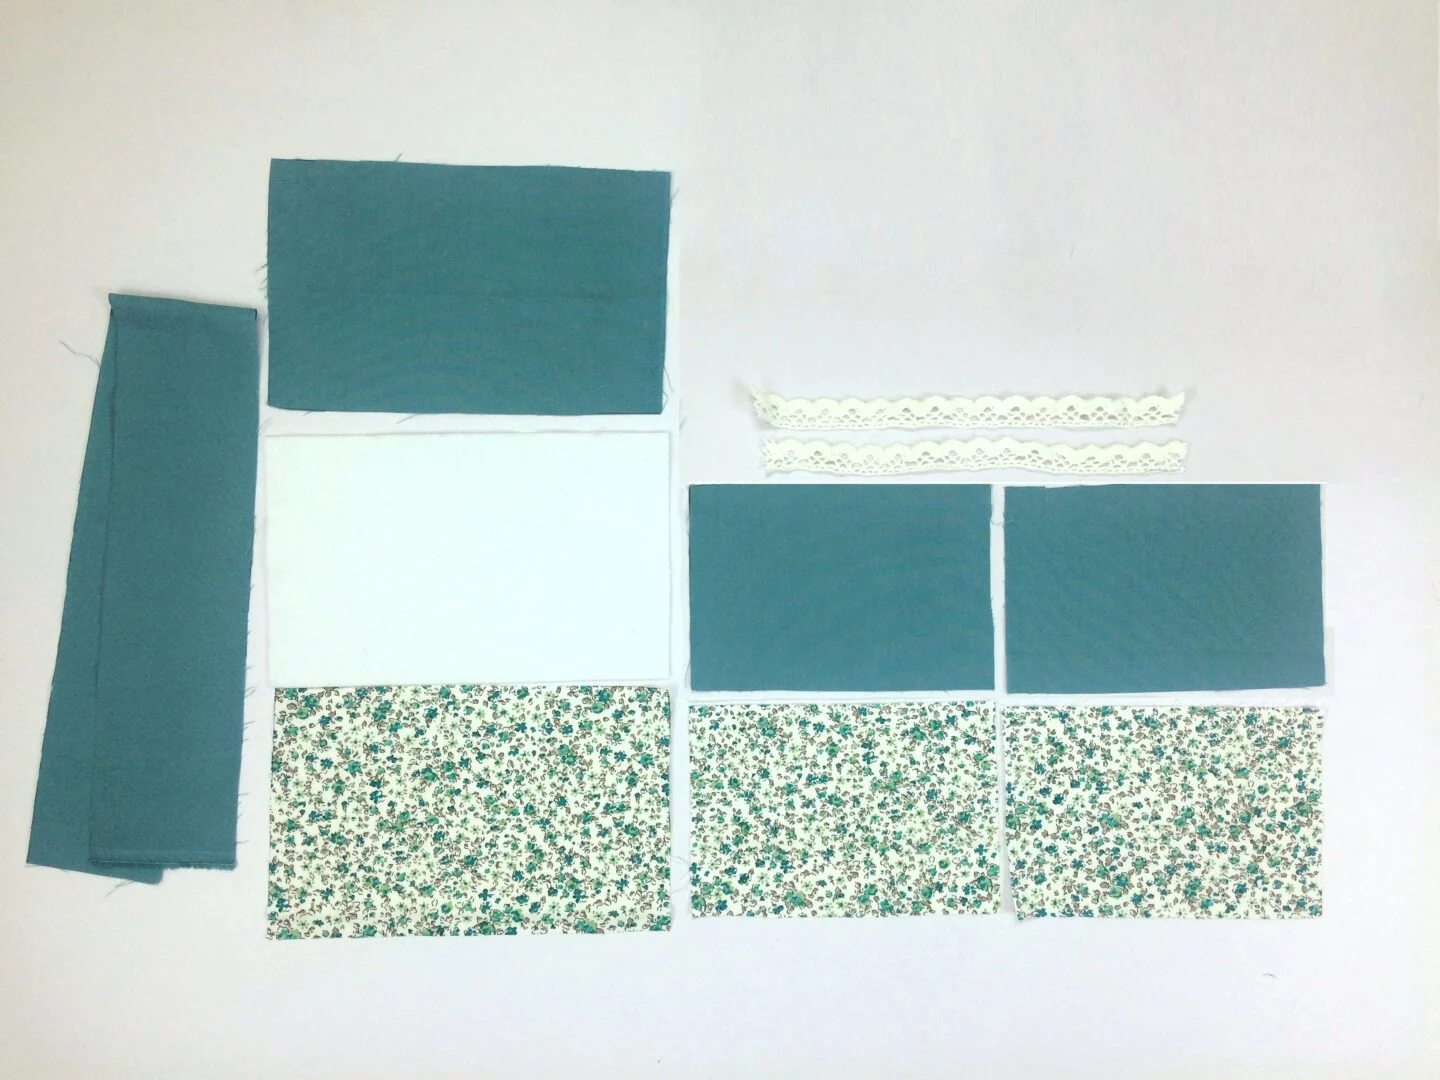
Your pieces would look like this once cut.
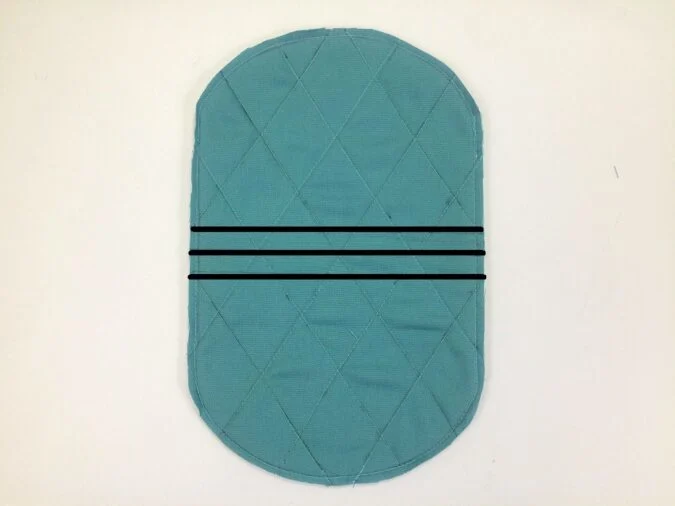
Let’s quilt the oven mitt.

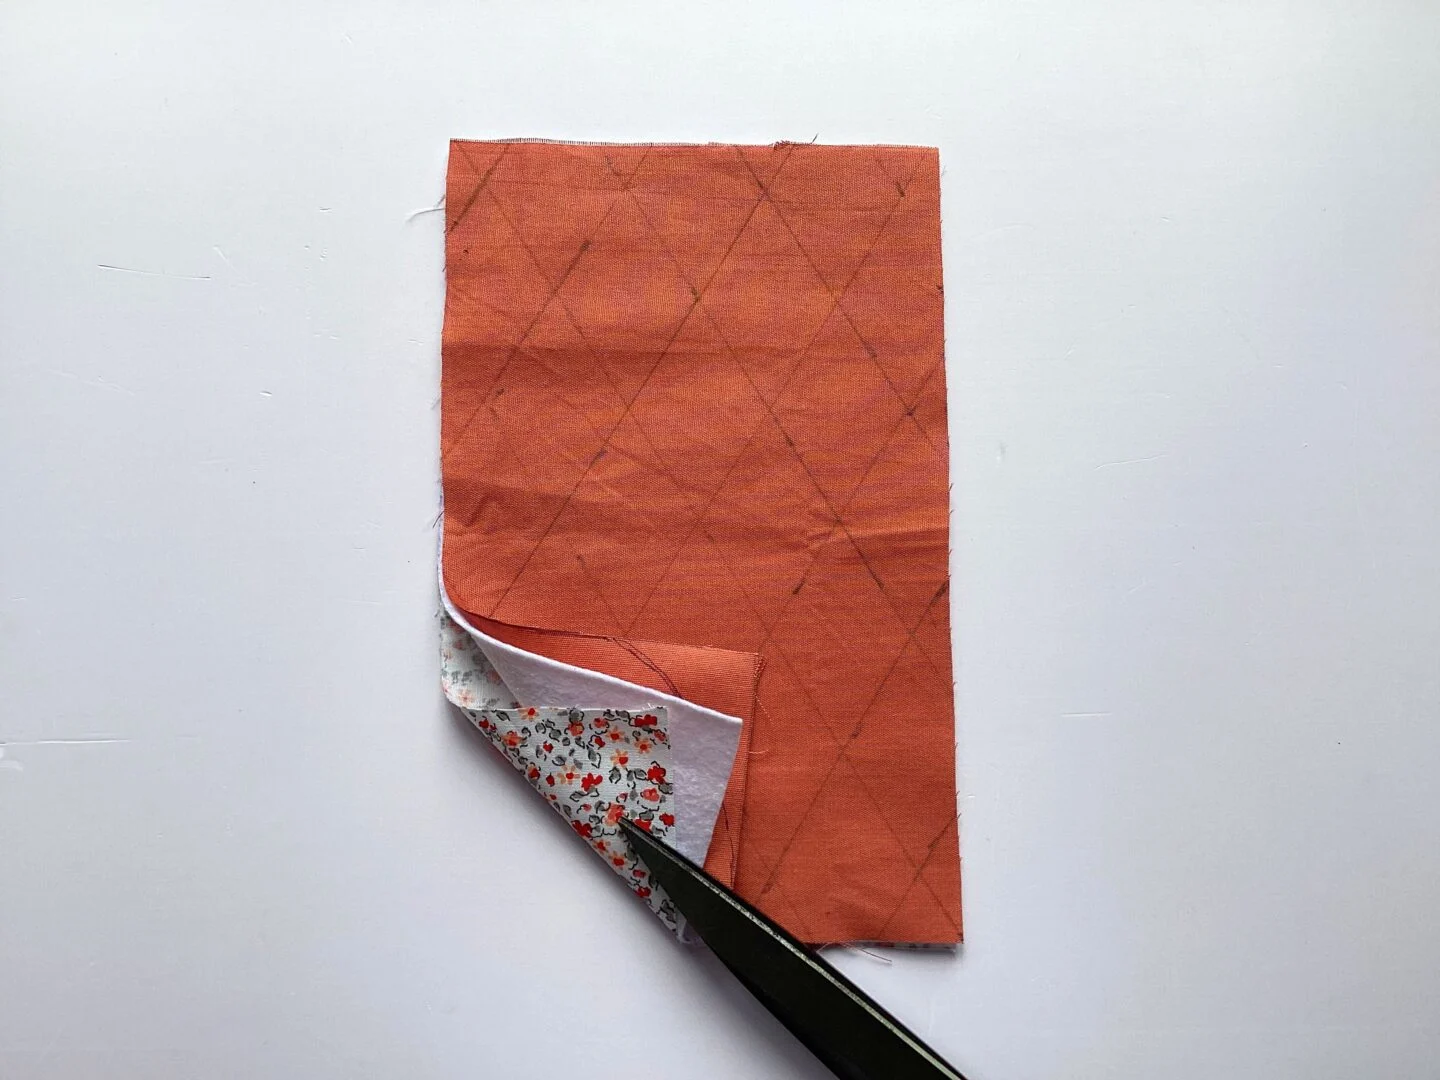
Place the back fabric down first, then layer the batting on top, followed by the front fabric — all with the right sides facing out and the edges aligned. Draw parallel lines 1.25 inches apart across the fabric. Then, draw a second set of lines at an angle to the first, creating diamond shapes as shown above (picture for illustration purposes).

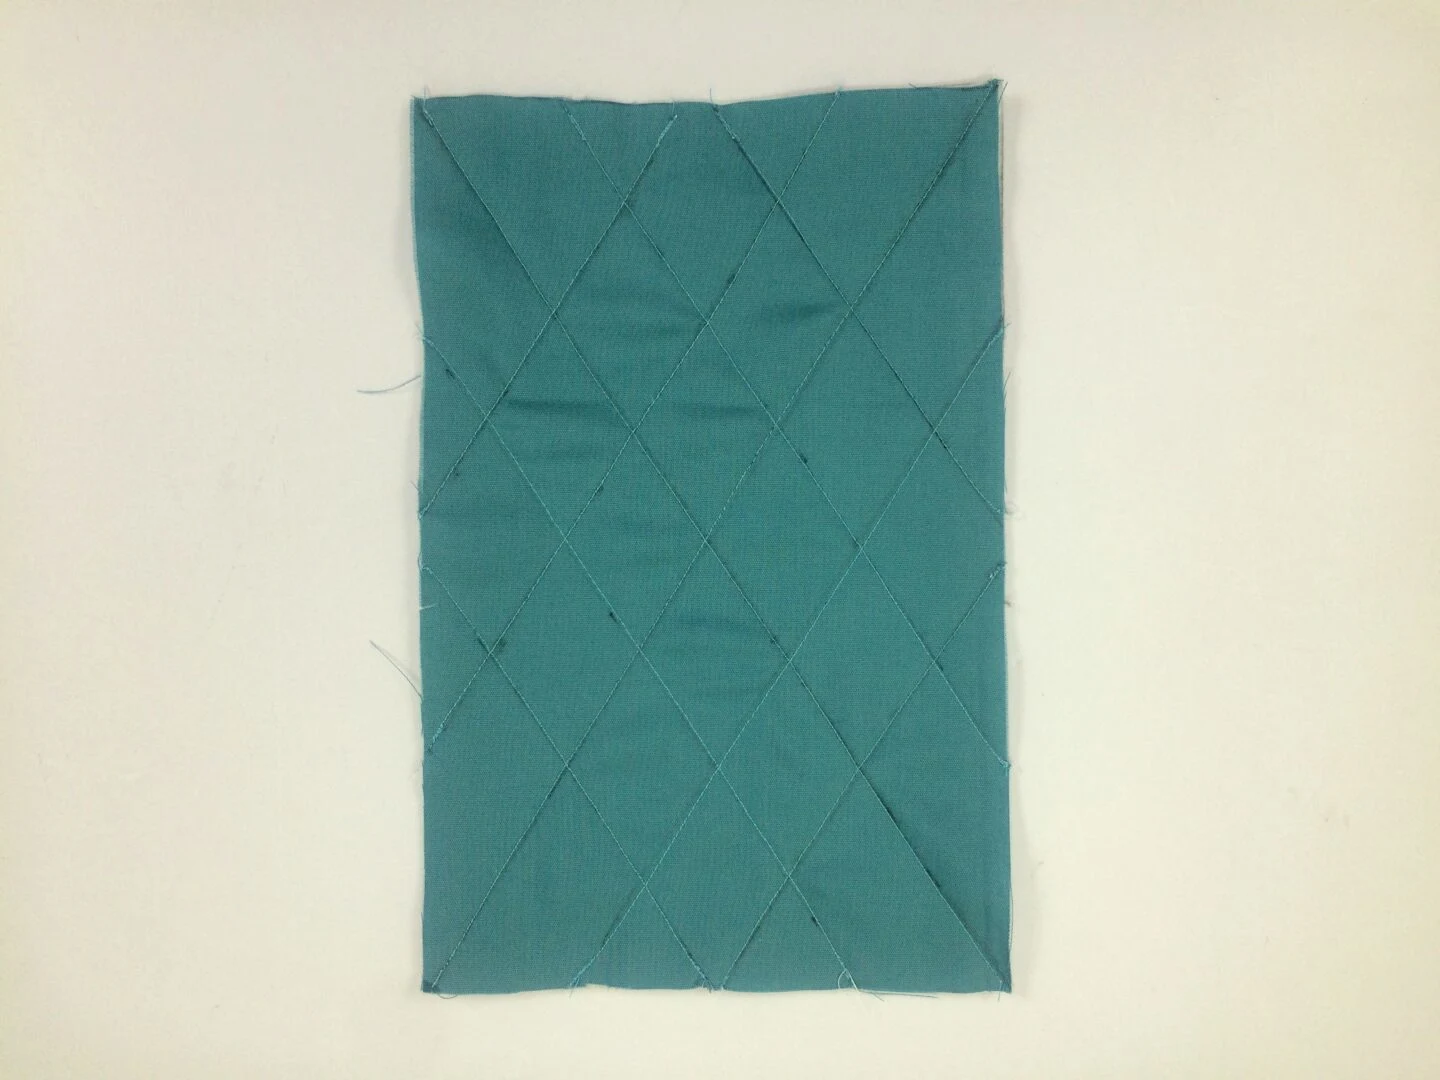
Sew along the lines to quilt.

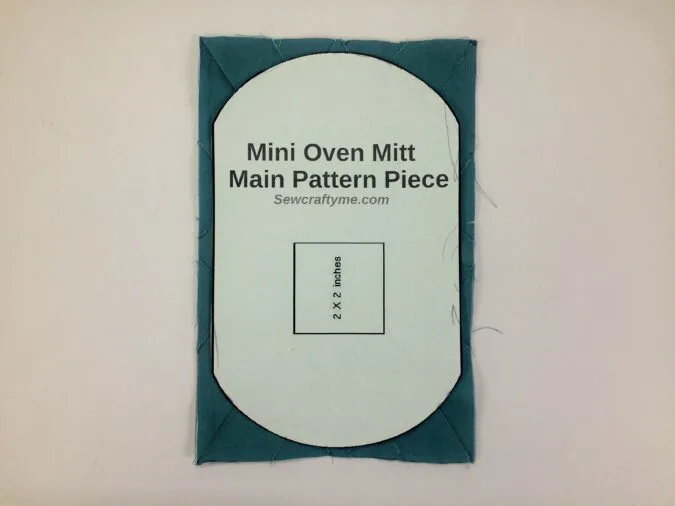
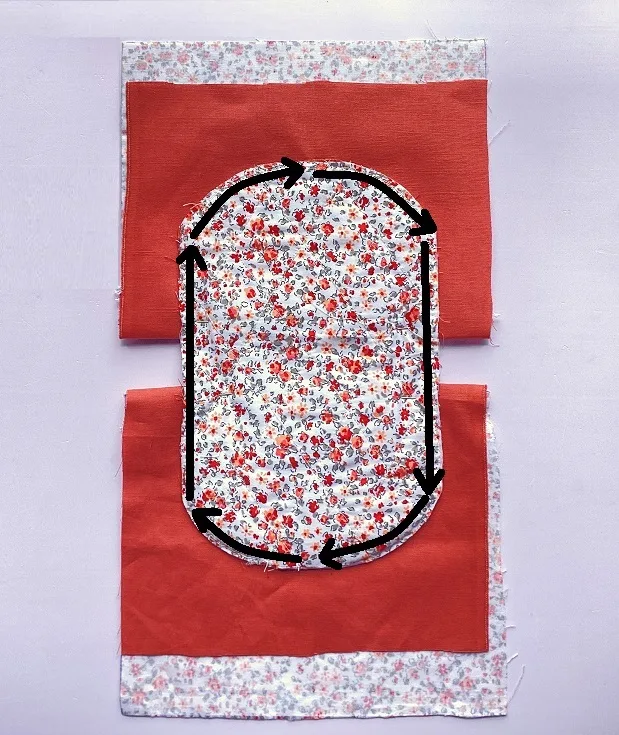
Cut the oven mitts template and place it over the fabric layer. Mark around the template and cut.

The quilted oven mitt front will look like this.

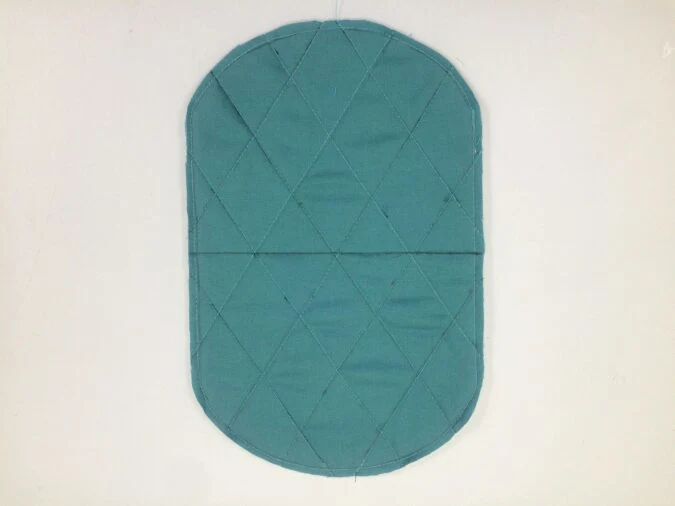
And back like this (picture for illustration purposes).
Let’s prepare the pockets.

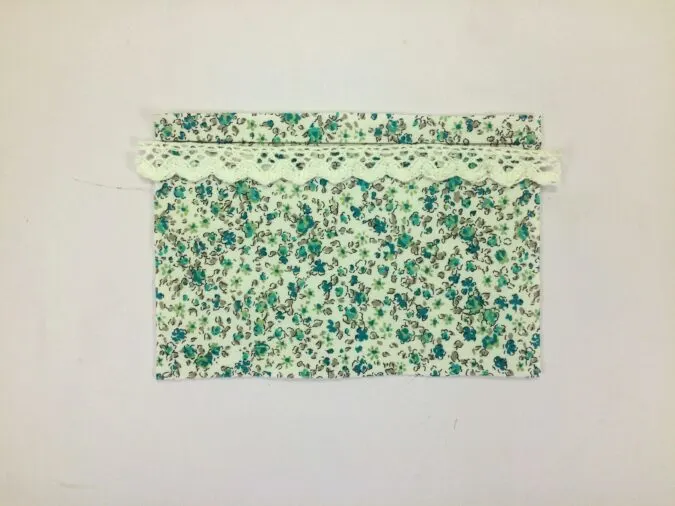
Take a pocket piece and draw a line 1/2 inch from one of the longer edges. Cut the lace into two equal pieces. Take one piece, align it with the marked line, and pin it in place. Sew to attach.

Place the pocket lining above it with the right sides touching and lining up the edges. Sew along the top edge to attach.

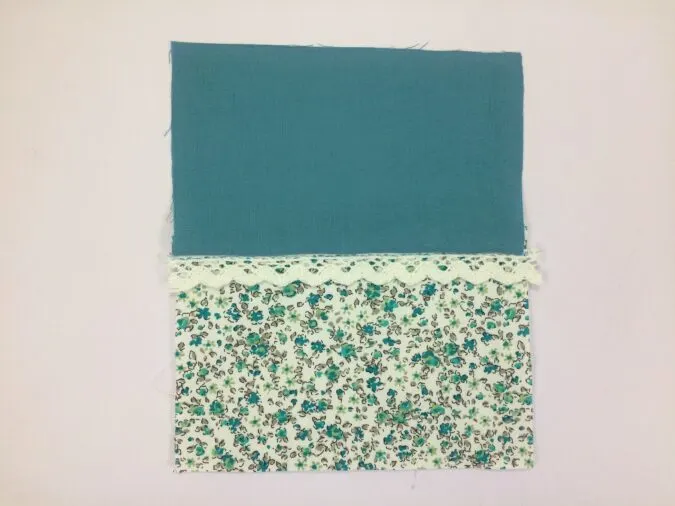
Open the above pocket and it will look like this.

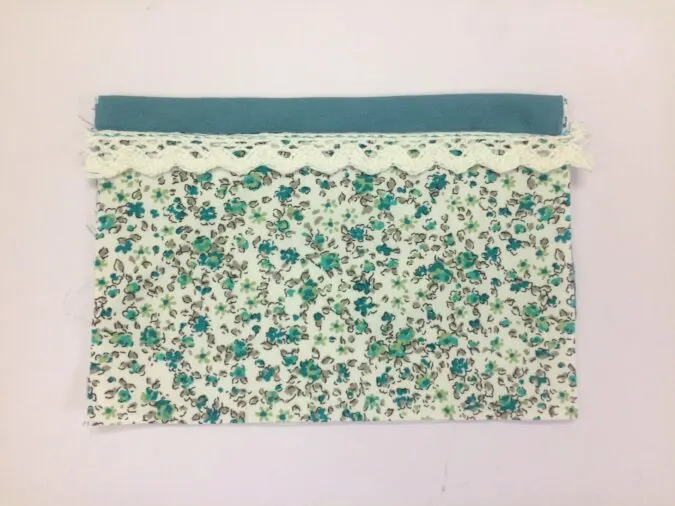
Fold it back with the right sides facing out, allowing the lining to extend 1/2 inch beyond the top edge. Press to make it neat and clean. Repeat to get the other pocket ready.

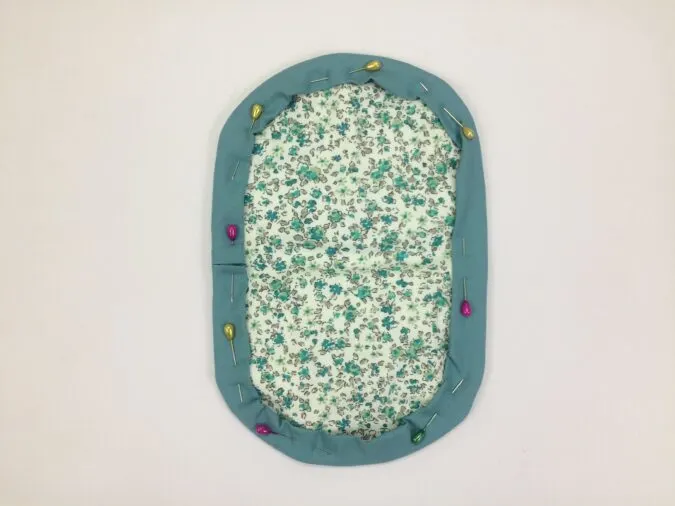
Fold the quilted oven mitt half widthwise and mark the center. Draw a line along the center. Then, mark two additional lines, each 1/2 inch from the center line on either side.


Line up the top edges of the pockets with the marked lines on either side of the center line, and pin them in place.

Turn over to the back side and sew around the edge of the oven mitts, securing the pockets as you sew (picture for illustration purposes).


Clip off the extra.
Let’s attach the binding.
First we need to make the double- folded binding, referring to the tutorial here,
https://sewcraftyme.com/how-to-sew-a-bias-tape.html
Open the folds of the binding.


Turn the oven mitts over to the front. Fold one short end of the binding by 1/2 inch, line up the edge with the center of the oven mitt, and start pinning.


Keep pinning the binding all around the mitt until you reach the other edge. Cut off the excess, fold the end again so that it touches the other end, and pin it in place.
Sew around the edge, attaching the binding as you go.

Turn it over to the back, fold the edge along the crease, then fold it again along the center crease. Pin the folded edge of the binding to the mitt all the way around.

Sew all around to secure.
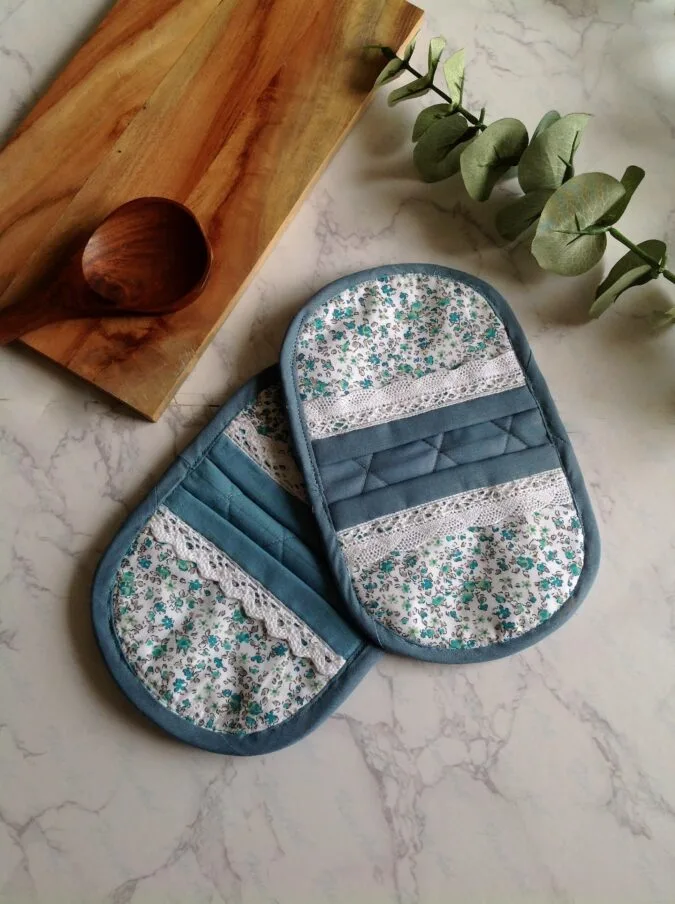
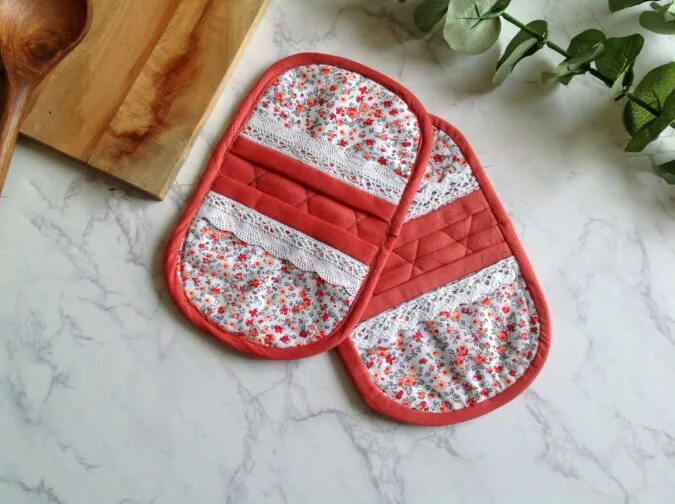
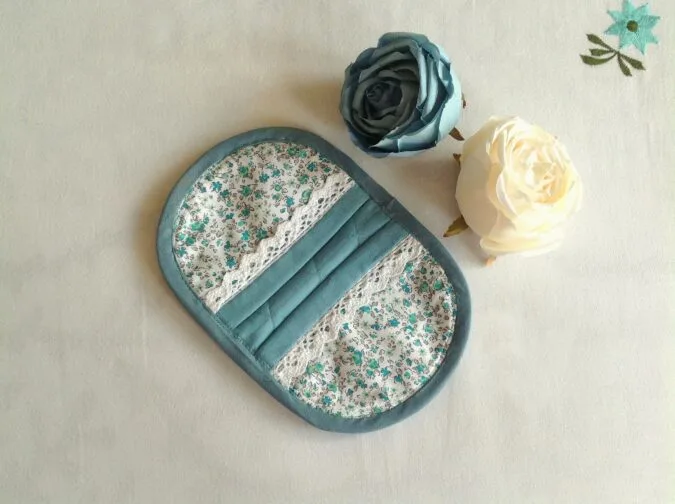
Your oven mitt is ready!
Find the webstory to the pattern here Stitch Your Own Oven Mitts: The Beginner-Friendly Pattern
Pin it for later here,