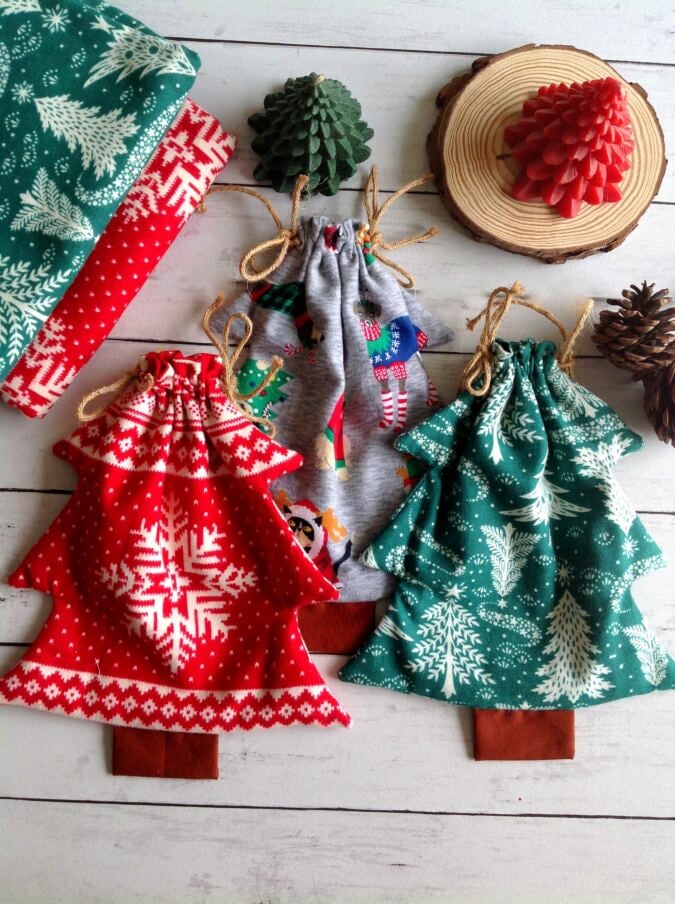
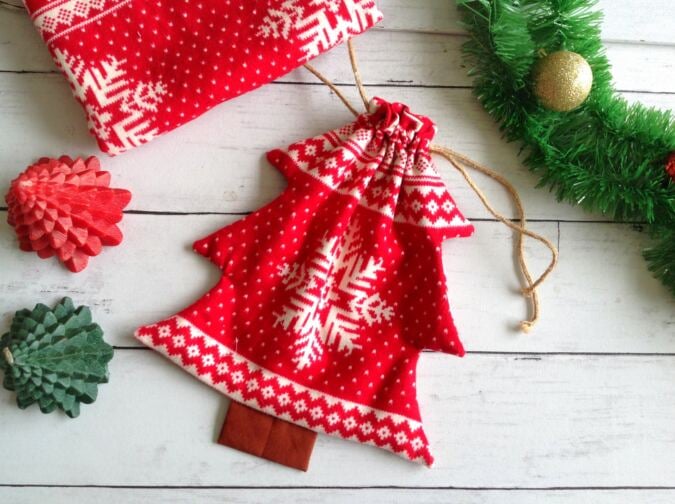
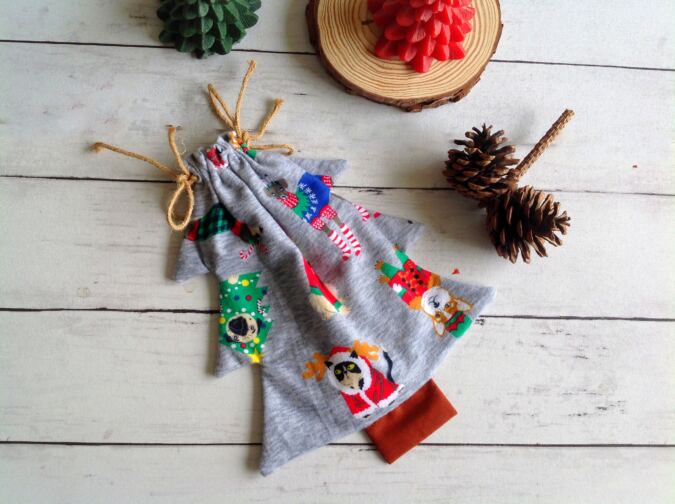
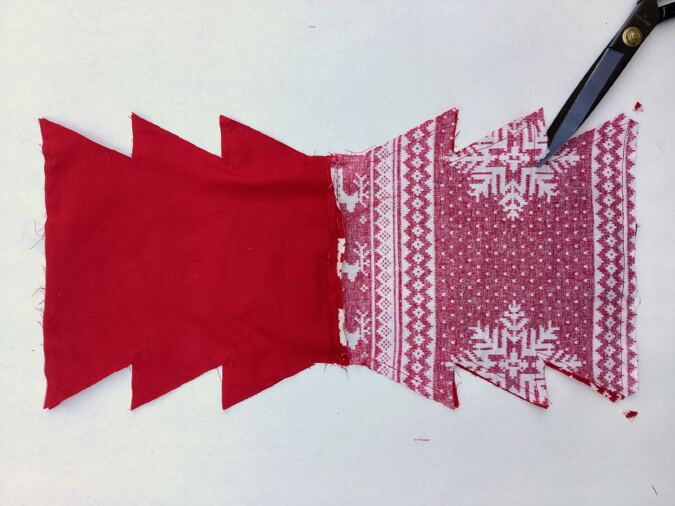
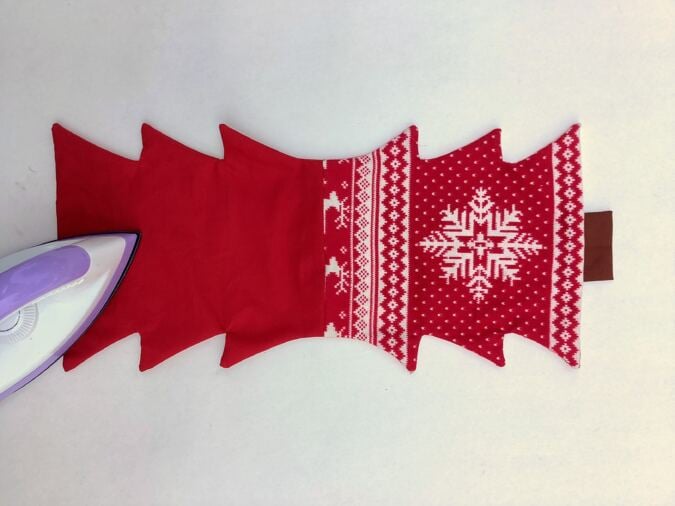
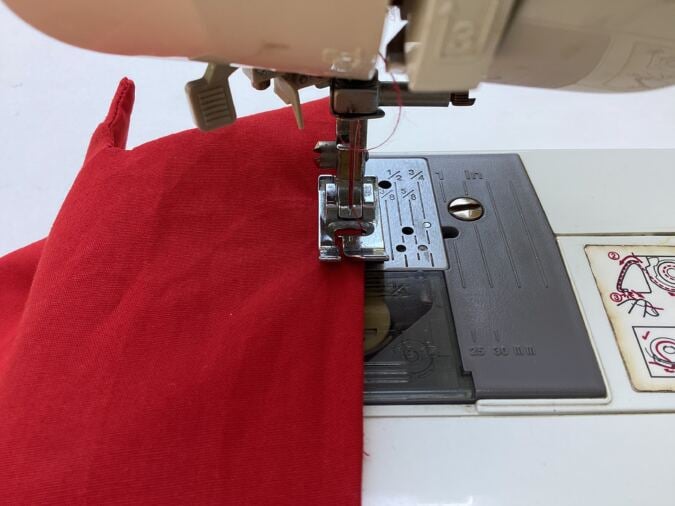
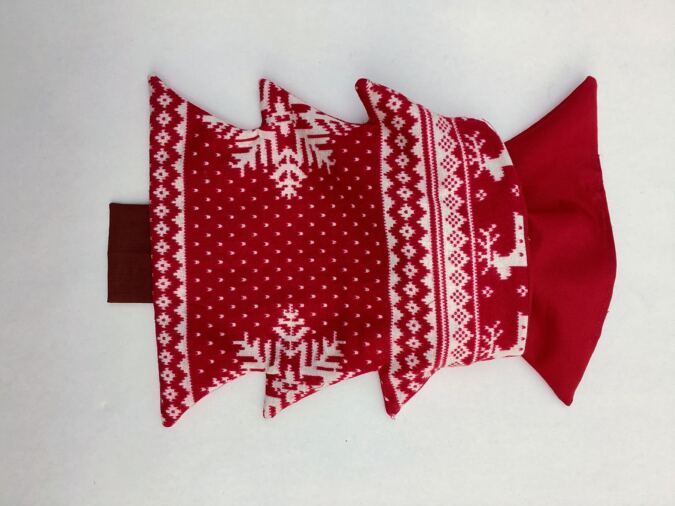
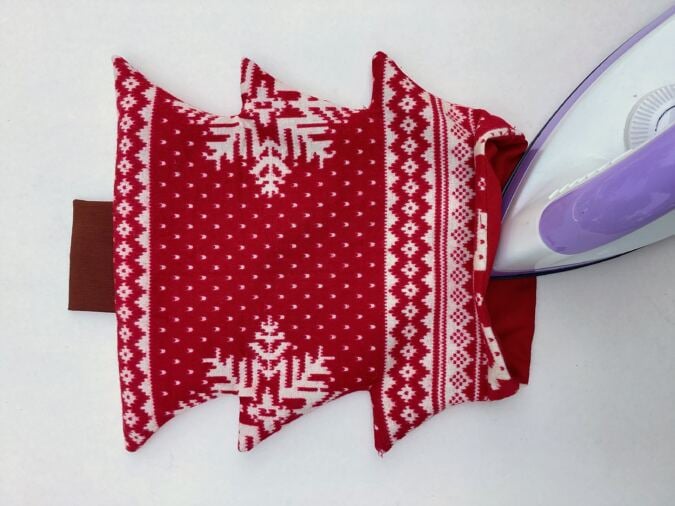
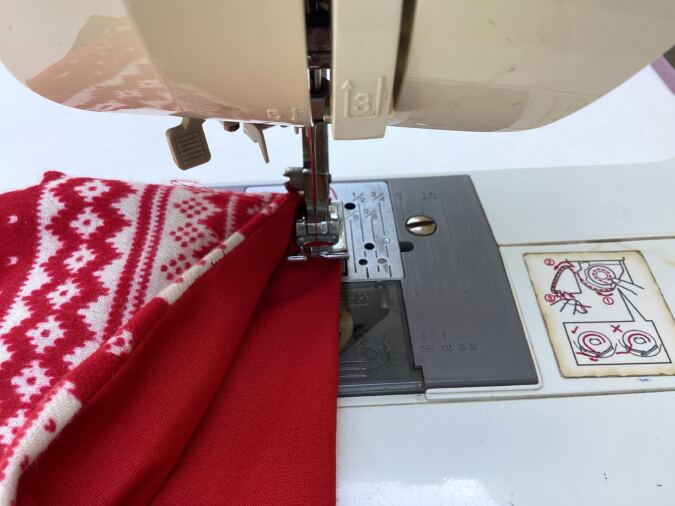
Ready to sew something that looks just like Christmas? Meet the Christmas tree drawstring pouch—a festive handmade gift that’s perfect for so many little surprises!
Fill it with Christmas candies, chocolates, homemade cookies, jewelry, or a gift card for a thoughtful present. You could also use it as a reusable gift bag for a teacher, friend, coworker, or someone special. If you’ve already made my round reversible pouch, you’ll find this one just as fun to sew!
Add it to your Christmas sewing projects list, choose your favorite Christmas fabric, and enjoy one of those quick sewing projects that makes holiday gifting extra special. Download the template and get started on a charming addition to your sewn Christmas gifts!
Easy Christmas Tree Drawstring Pouch Sewing Pattern
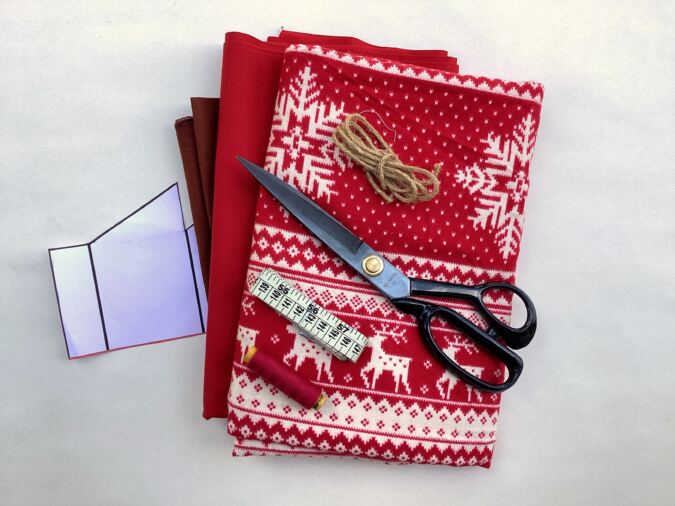
Supplies Needed:
Scraps of Christmas themed fabric for the Christmas tree pouch outer.
Scraps of fabric for the pouch lining.
Brown fabric scrap for the Christmas tree trunk.
Burlap cord- 15- inches (cut 2)
Sewing Notions.
Pouch template. **Enter your email address and click the subscribe button to download the template. Kindly wait for 2 to 3 minutes for the download window to appear
Gather your supplies.
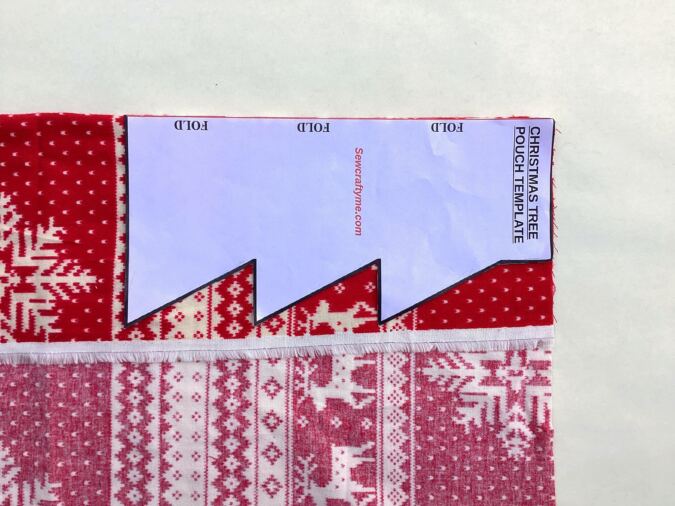
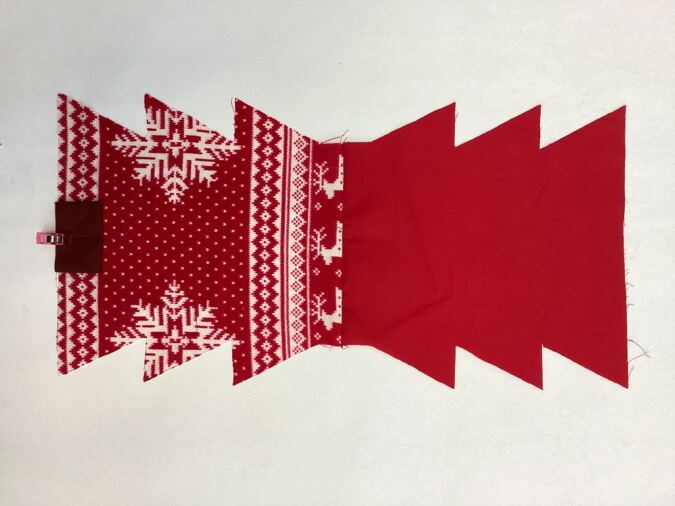
Take the fabric for the Christmas tree pouch outer, fold it to fit the width of the template and place the template on the fold. Mark around it and cut to get one of the pieces for the pouch outer. Repeat to get the next pouch outer piece. Cut two pouch lining pieces from the lining fabric in a similar way.
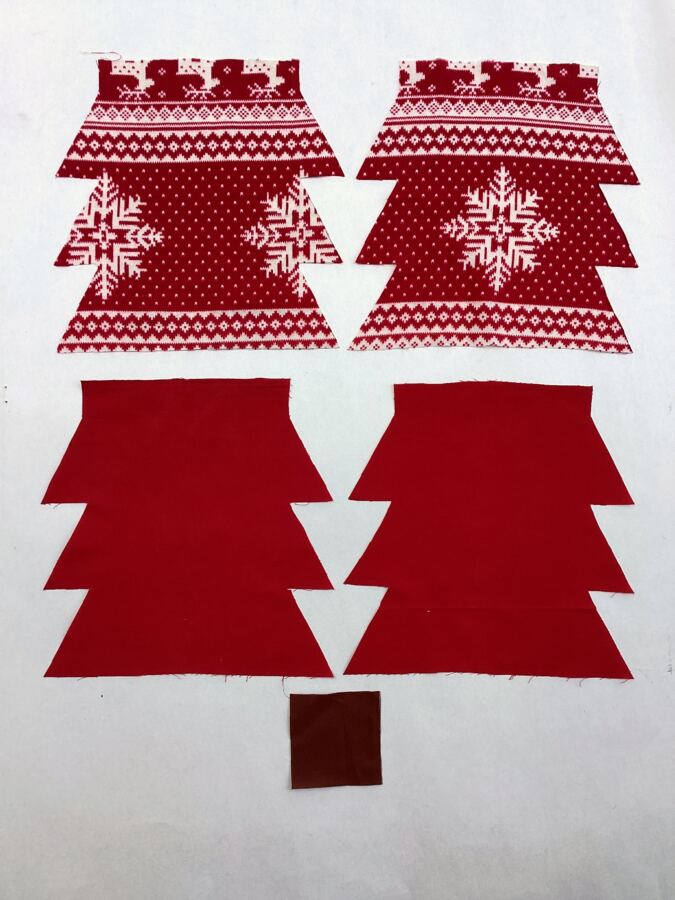
Cut your Christmas tree trunk piece from the brown fabric- 3.25L x 3.25W
You will get your Christmas tree pouch outer, lining and trunk pieces like this.
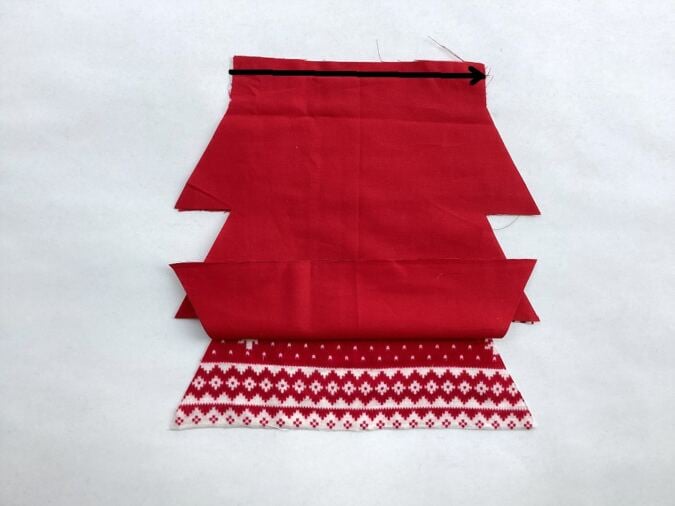
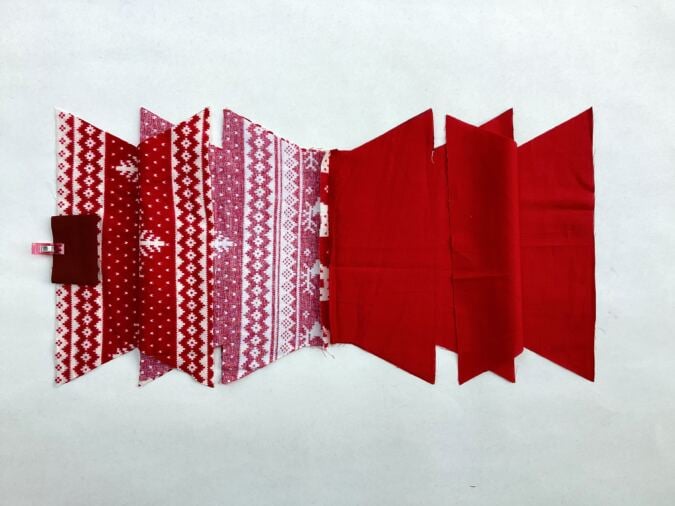
Take one outer piece and lining, layer them with the right sides together and aligning the edges. Sew along the straight edge to join.
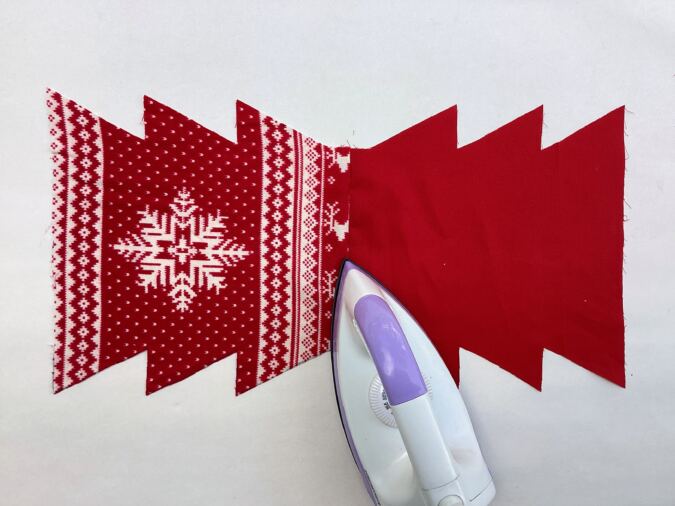
Press the seam flat. Repeat with the remaining pouch outer and lining pieces.
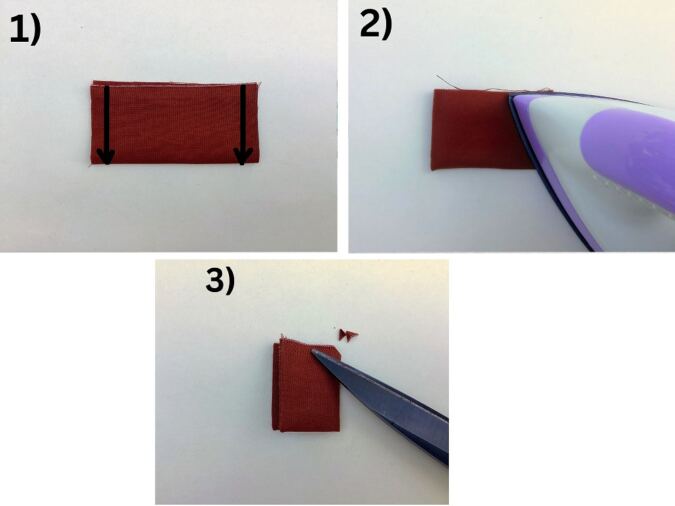
1) Take the trunk piece and fold it in half with the right sides together. Sew along the two sides. 2) Turn it right side out and press well to give it a neat, crisp finish. 3) Fold it in half once again and mark the center of the raw edge by making a small snip with your scissors.
Find the center of the lower edge of the pouch outer again by folding it in half lengthwise. Place the trunk piece on the right side of the pouch outer, aligning the center marks, and clip it in place.
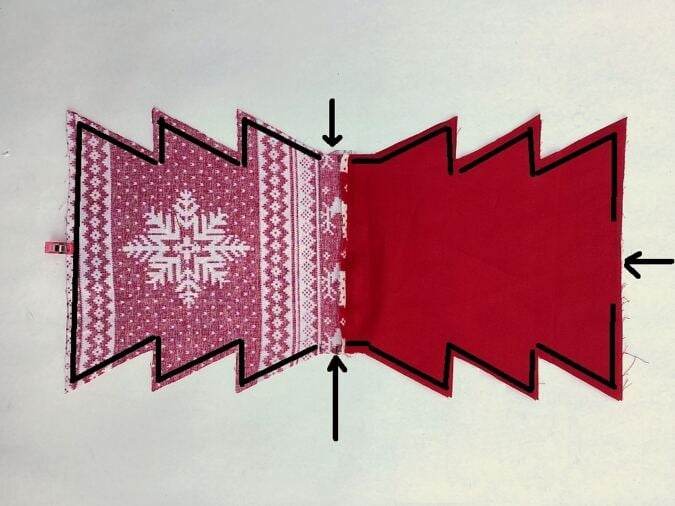
Next, take the joined pieces and layer them with the right sides together and aligning the edges. * Note that you have to keep the outer pieces facing each other and the lining pieces facing each other.
Leaving the straight edges of the outer on both sides and about 2- inches along the bottom edge for the lining (as marked by the arrows) sew around the edges.
Clip the edges to reduce the bulk in the seam. Take care to not rip the seam.
Pull the right side of the pouch out through the opening in the lining.
Tuck the raw edges in and press to make it crisp and clean.
Sew the opening in the lining shut.
Push the lining into the outer pouch. Use a wooden dowel to push out the corners and edges neatly.
Press around the top edge to make it clean and crisp.
Topstitch around the top edge again to make it clean and crisp.
Let’s sew a casing for the drawstring.
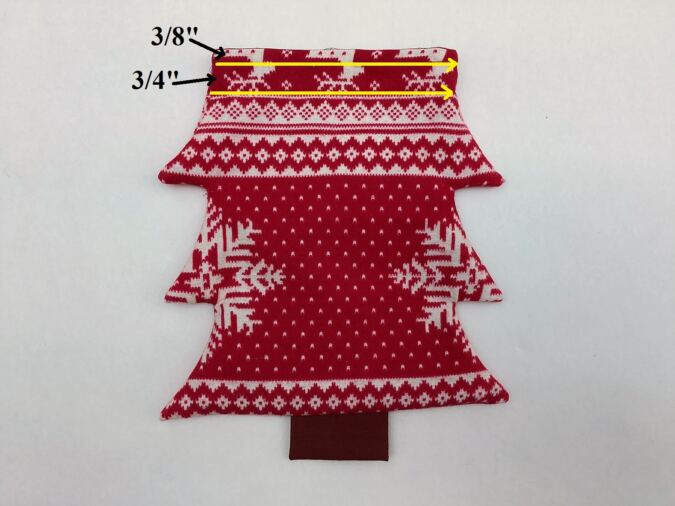
Sew a straight line 3/8 inch from the top edge, all the way around. Sew another straight line 3/4 inch below the first line.
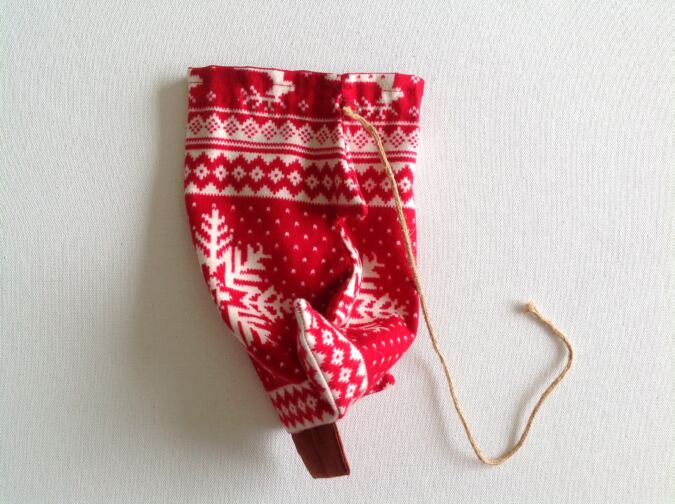
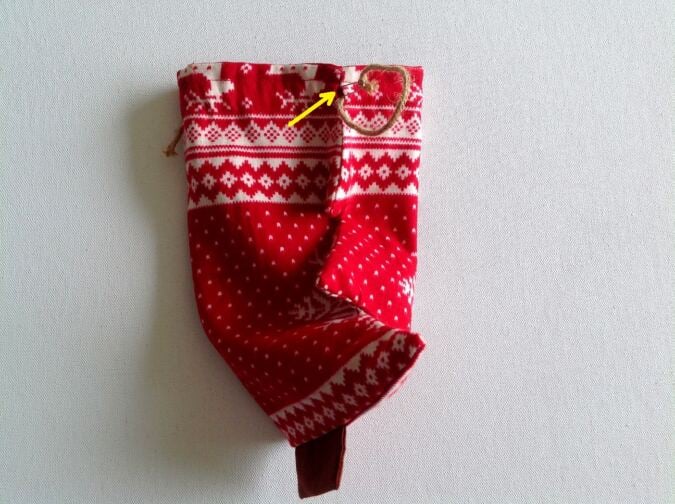
Take one of the burlap cord piece. Start inserting it through one end of the casing, using a safety pin.
Conitnue inserting the burlap cord into the casing on the other side, till it comes out.
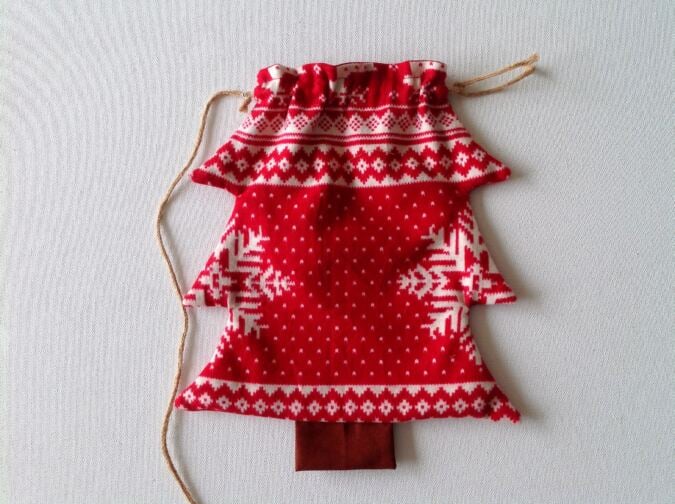
Next, take the other burlap cord piece and start inserting it through the casing from the opposite side. Continue as before.
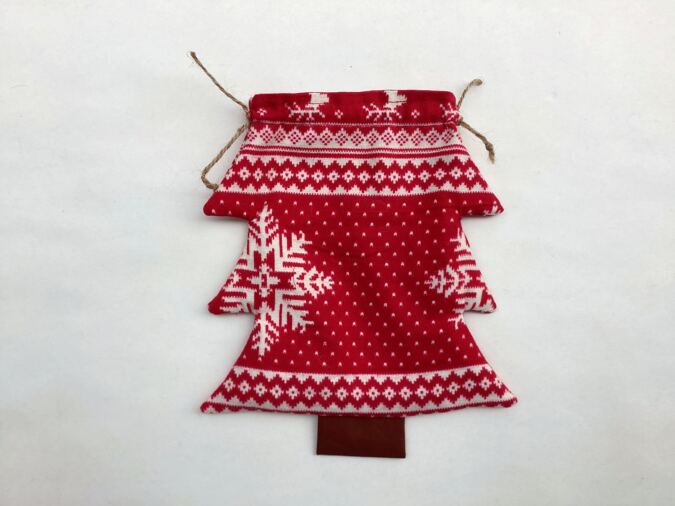
Your pouch will look like this once done.
Tie the ends of the burlap cord in a knot and pull the ends to close the bag. Our Christmas tree drawstring pouch is done!