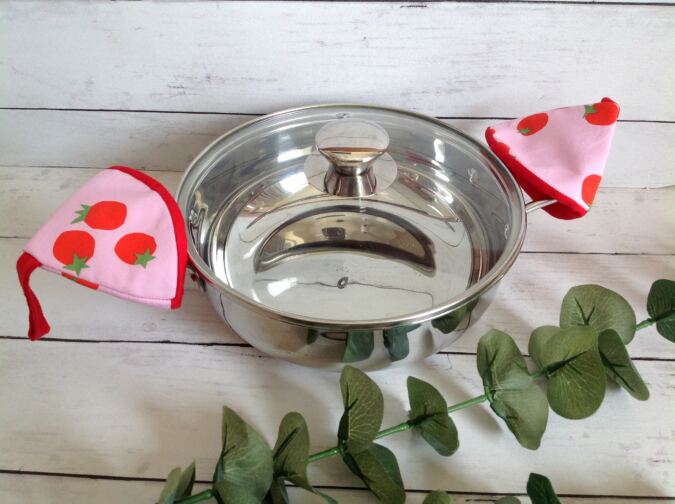
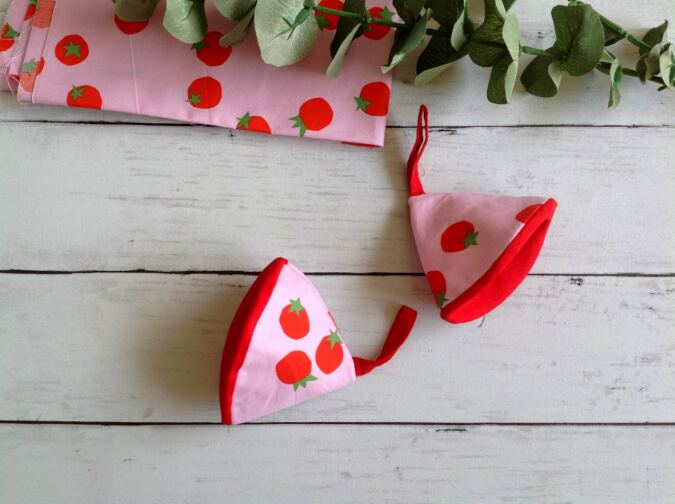
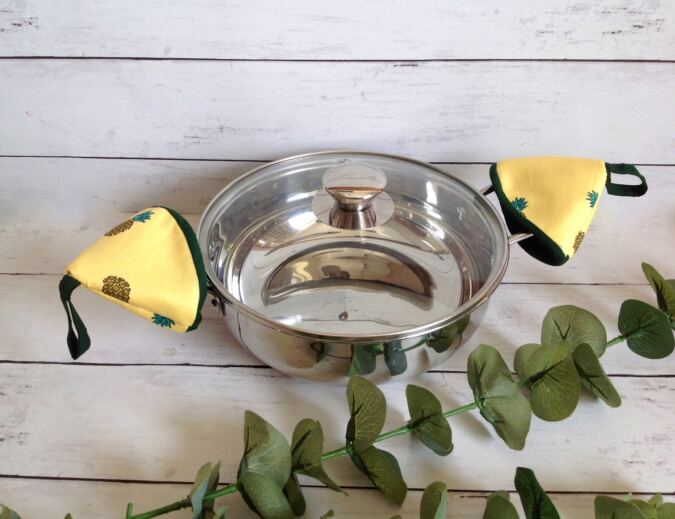
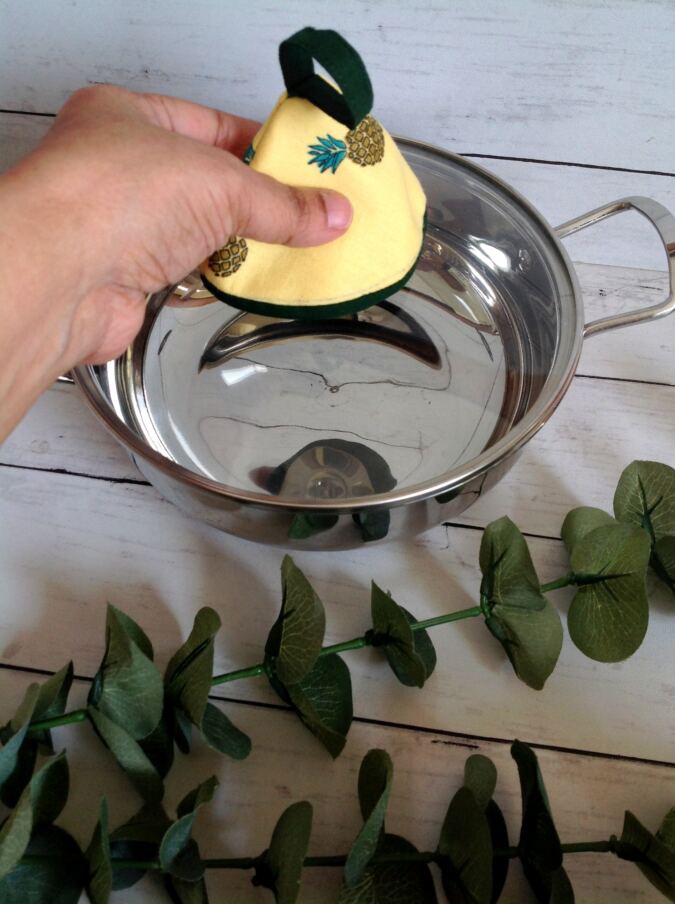
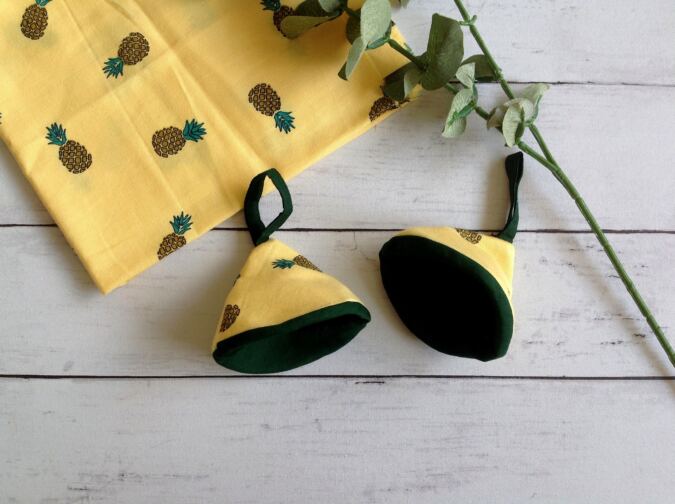
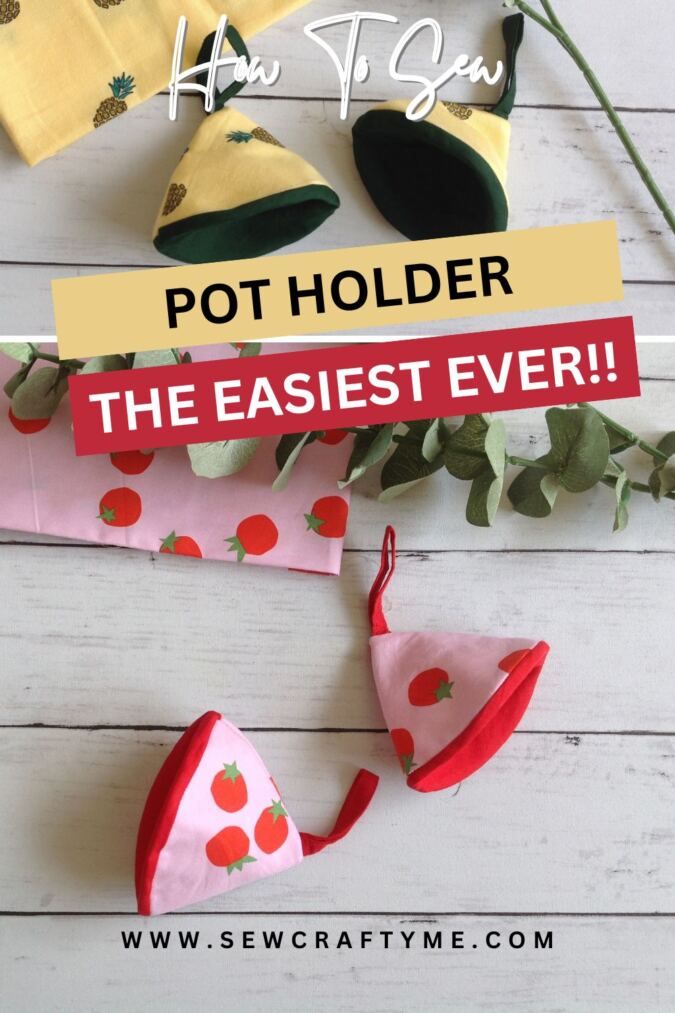
Looking for something small, simple, and useful for your kitchen? Here is one of the easiest pot handle holders you can sew! You only need a few fabric pieces and a handful of stitches to make these handy little pot holders.
They are so quick and easy to sew that, once the cutting is done, you can make several in one sitting. They’re perfect for using up your fabric scraps too!
And with the holiday season around the corner, these little pot handle holders make wonderful handmade gifts and stocking stuffers. Make a few in pretty fabrics and you’ll have thoughtful, practical gifts ready to go!
The Easiest Pot Handle Holders to Sew
Supplies Needed:
Medium weight cotton fabric for the potholder front – 1/4 yard (you may use fat quarters instead.
Medium weight cotton fabric for the potholder lining- 1/4 yard- ( you may use fat quarters instead
100% cotton batting- 1/4 yard.
A circular object approximately 8.75” in diameter
Sewing Notions.
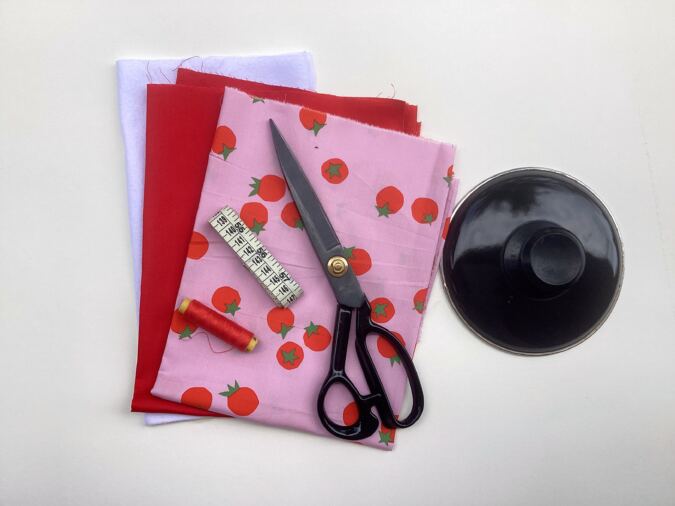
Gather the supplies.
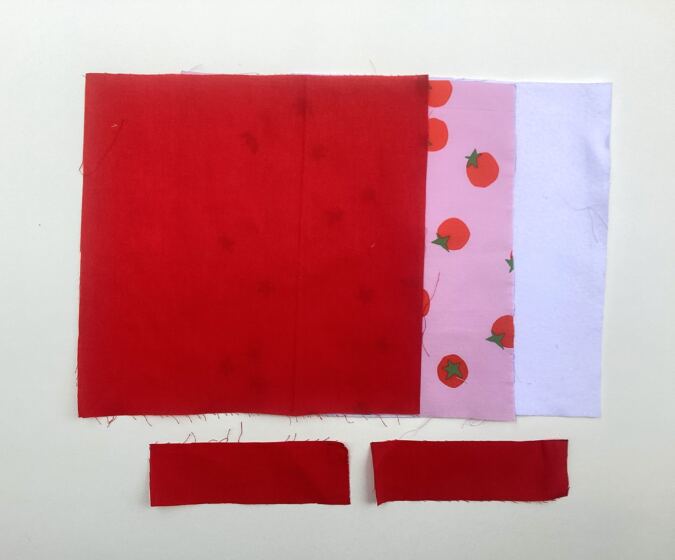
I cut my fabrics and batting into smaller squares just a tad larger than the circular object to make my cutting and sewing easier. Also cut your two strap pieces 1.75” wide and 5.25” long. Your pieces would look like the picture above.
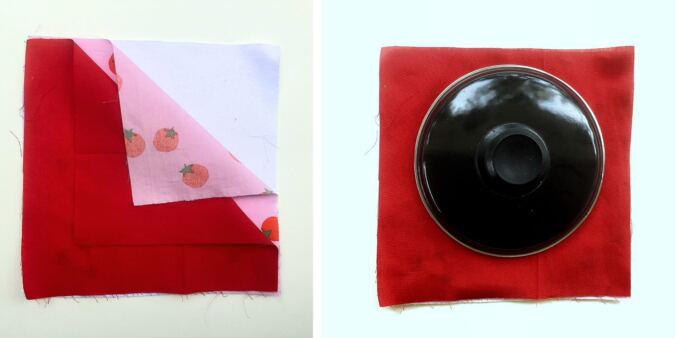
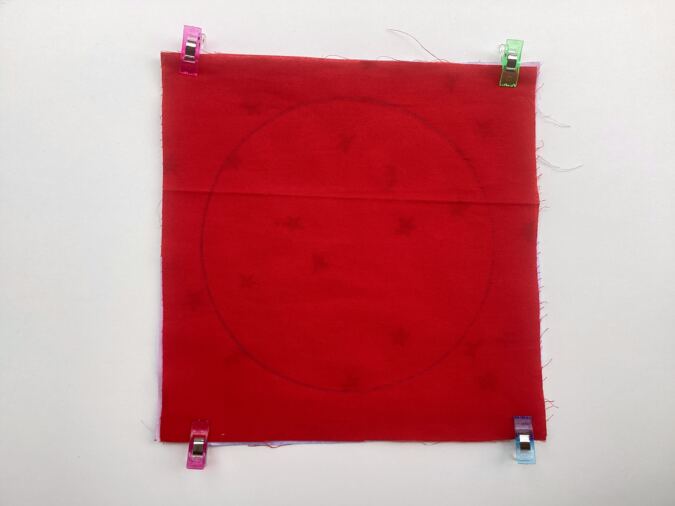
Layer the fabrics with the binding first, followed by the outer fabric with the right side up and then the lining fabric with the wrong side out. Place the round object over it and mark around the object.
Put clips around the edges to hold the fabric layers together.
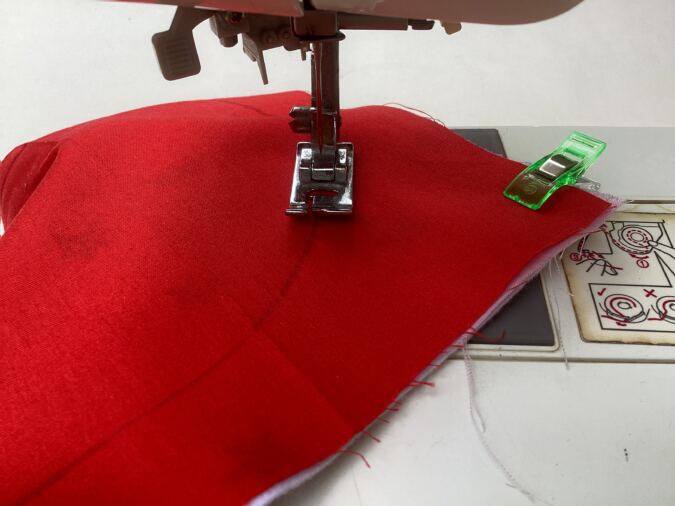
Sew along the circle.
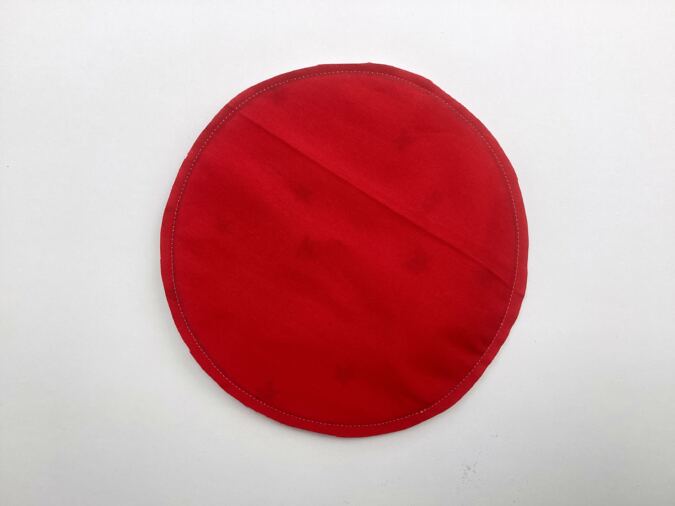
Cut around the sewn circle, leaving a 3/8- inch seam allowance.
The whole circle will give you two pot handle holders. So, next we cut the circle into two halves.
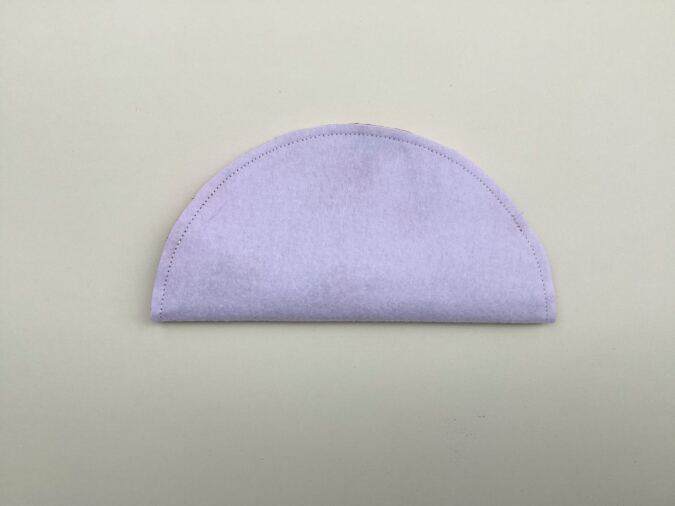
Fold the circle in half and hand press along the center to form a crease.
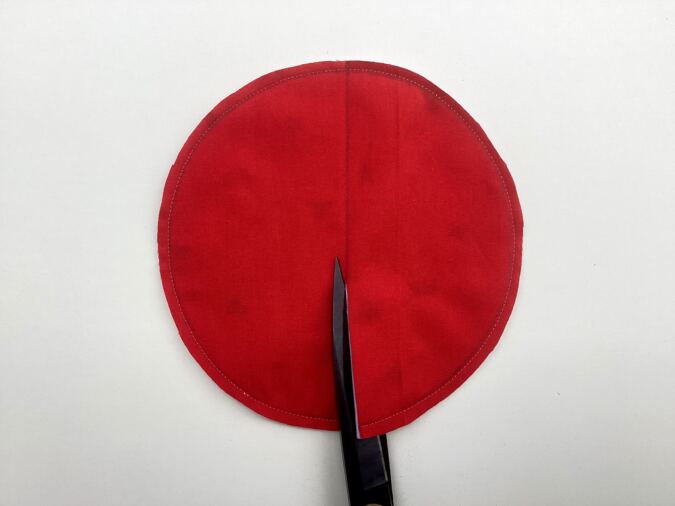
Cut along the crease to get two semi circles.
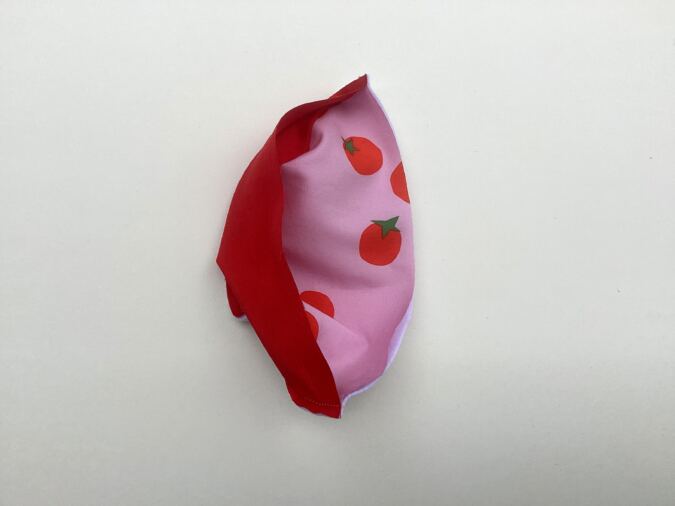
Slide your fingers in between the outer and lining to open the pot handle holder.
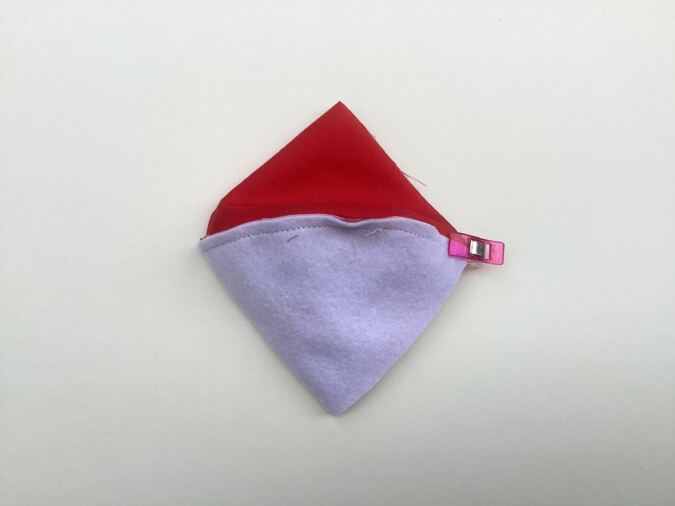
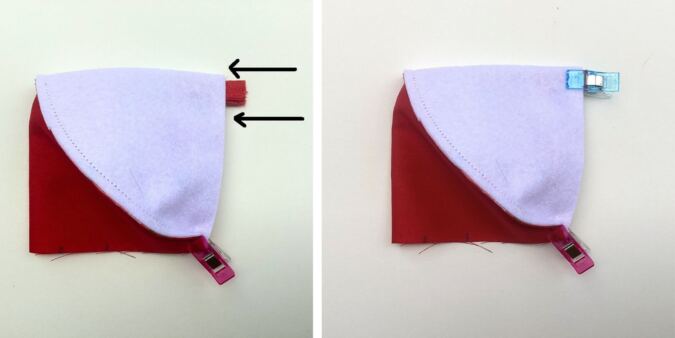
Realign the holder so that the edges of the lining are aligned together, the edges of the outer are aligned together, and the binding edges are aligned together, with the outer edges sandwiched between the layers of binding. Clip the edges together to hold them in place.
Next, let us prepare the loop.
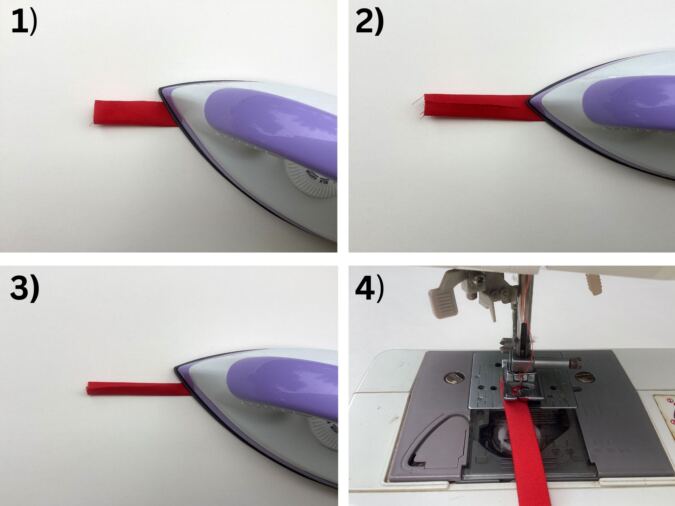
1) Take one of the loop pieces and fold it half lengthwise with the wrong sides together and press. 2) Open and fold the two long edges towards the center crease and press again to set. 4) Fold it again along the center crease and press. 5) Sew it shut along the edge. Repeat to get the other loop ready.
Fold the loop in half and slide it in between the outer layers. Line up the raw edges and put a clip to hold.
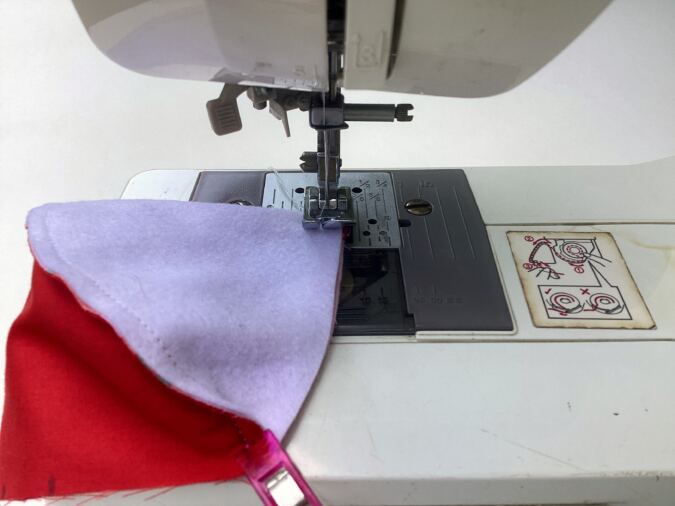
Sew around the edges leaving a gap of about 2- inches to bring the right side out.
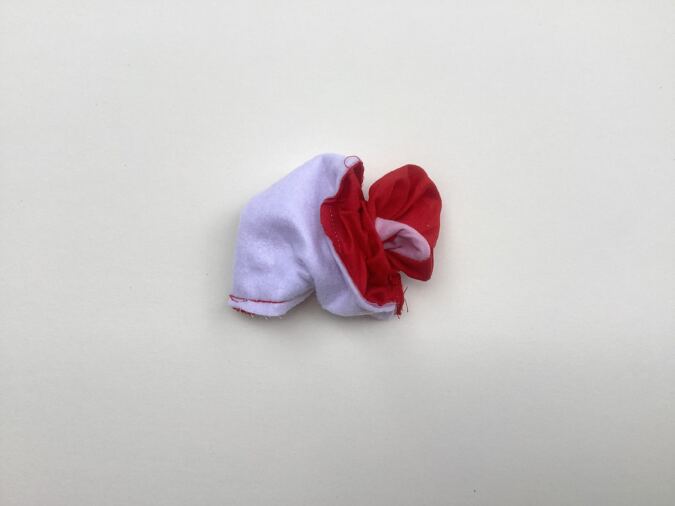
Pull the right side out through the opening.
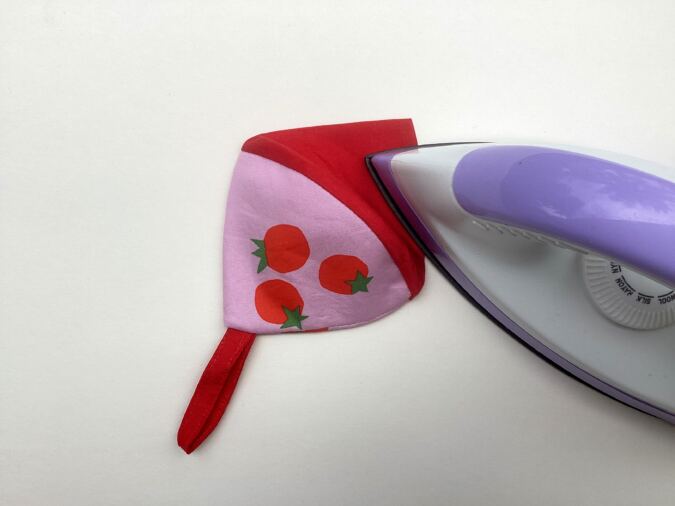
Tuck in the raw edges and press.
Sew the opening shut.
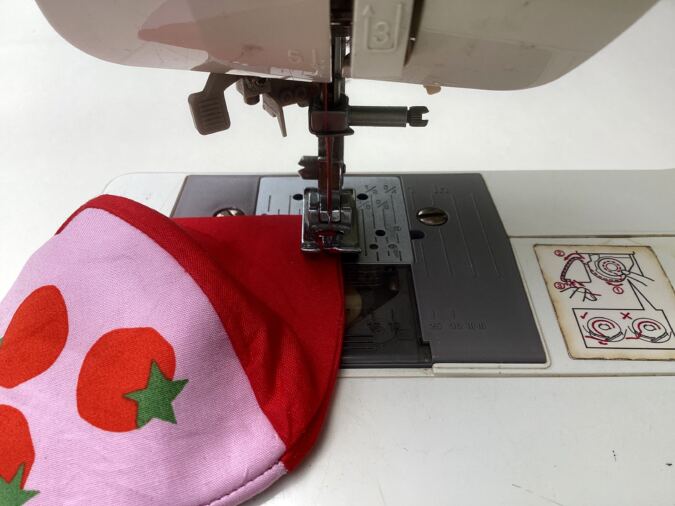
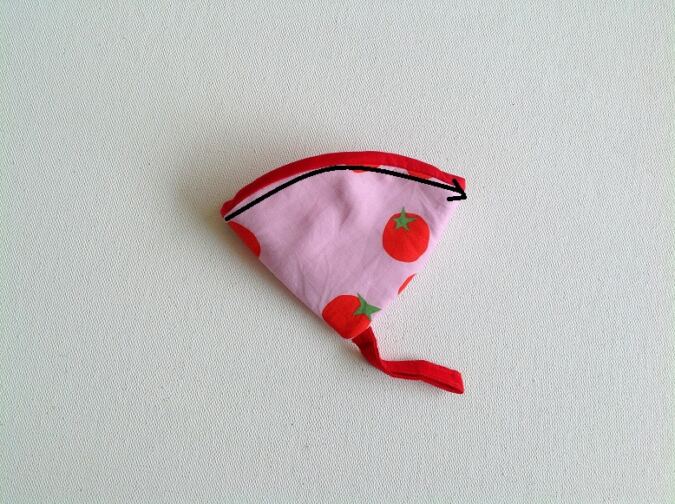
Push the lining into the outer, and pull the loop taut. Topstitch along the curved upper edge, keeping the lining extended slightly beyond the outer fabric, as shown.
And your pot handle holder is ready for use. Repeat to get the other pot handle holder handle ready!