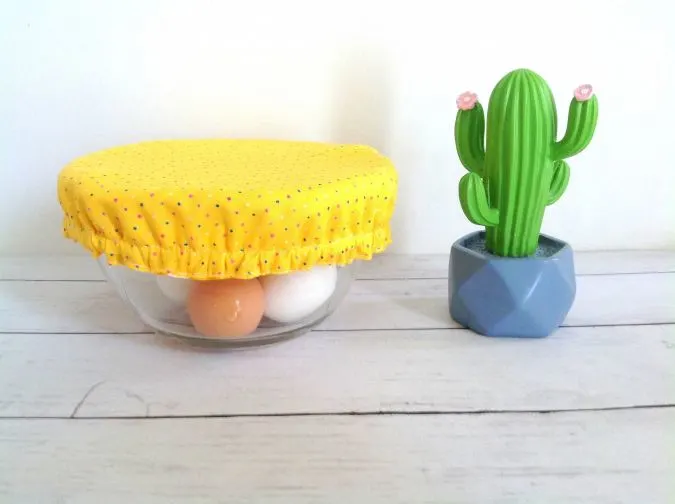
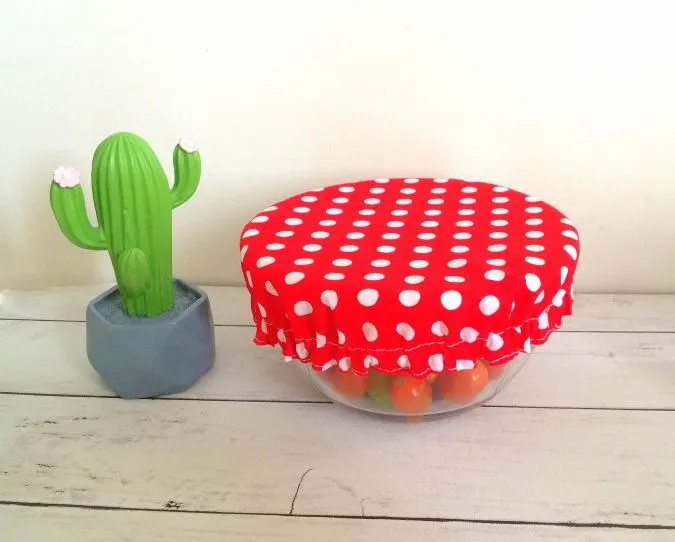
If you are looking to sew something quick yet useful, this DIY reusable fabric bowl cover is the right sewing project for you. These reversible bowl covers can be made in any size and in any color and print.

I have made this DIY bowl cover sewing pattern to be reversible and very quick to sew. Once the cutting is done, you can complete it in almost 10 minutes! Doesn’t that sound appealing to a beginner seamstress?

Of course, you may be wondering why you cannot use plastic wrap to cover the bowl and keep the flies away or to retain the heat. Yes you can, but we are all tying for a no-waste, zero-plastic world aren’t we? So, these DIY fabric bowl covers are one way to reduce your waste.

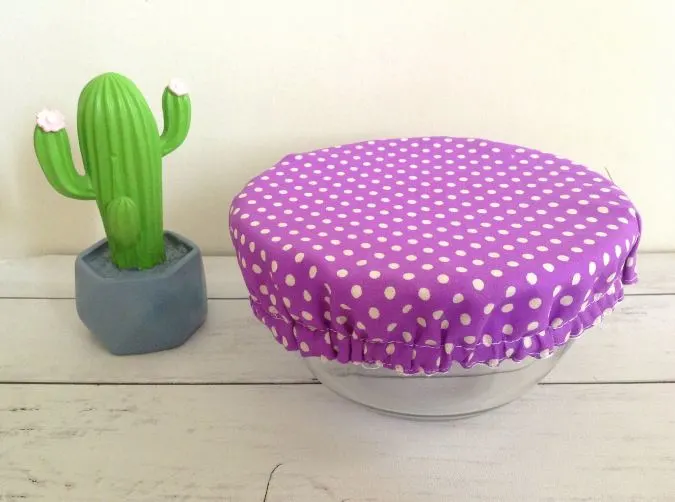

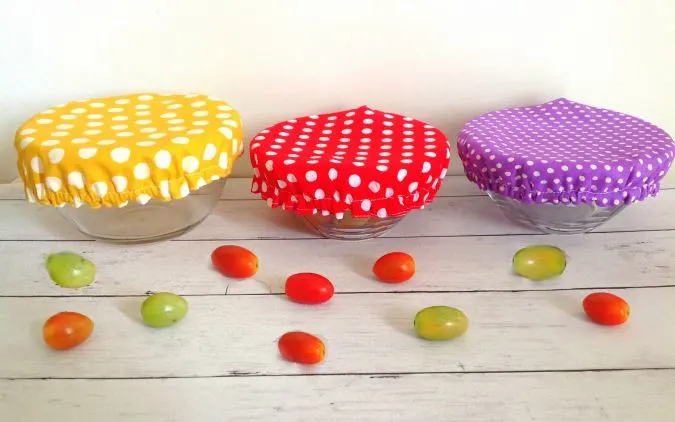
Once they get dirty, you can easily wash them clean! When you are bored with one side, just flip over and you get a totally different one! Also, these DIY reusable covers are so easy that any beginner seamstress can make them!
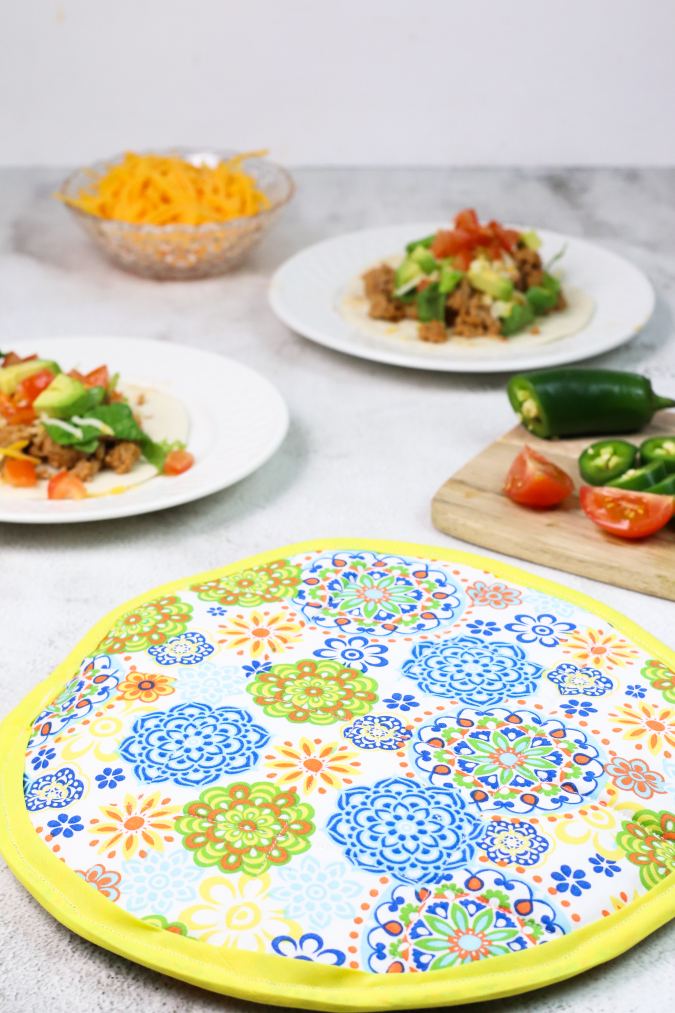
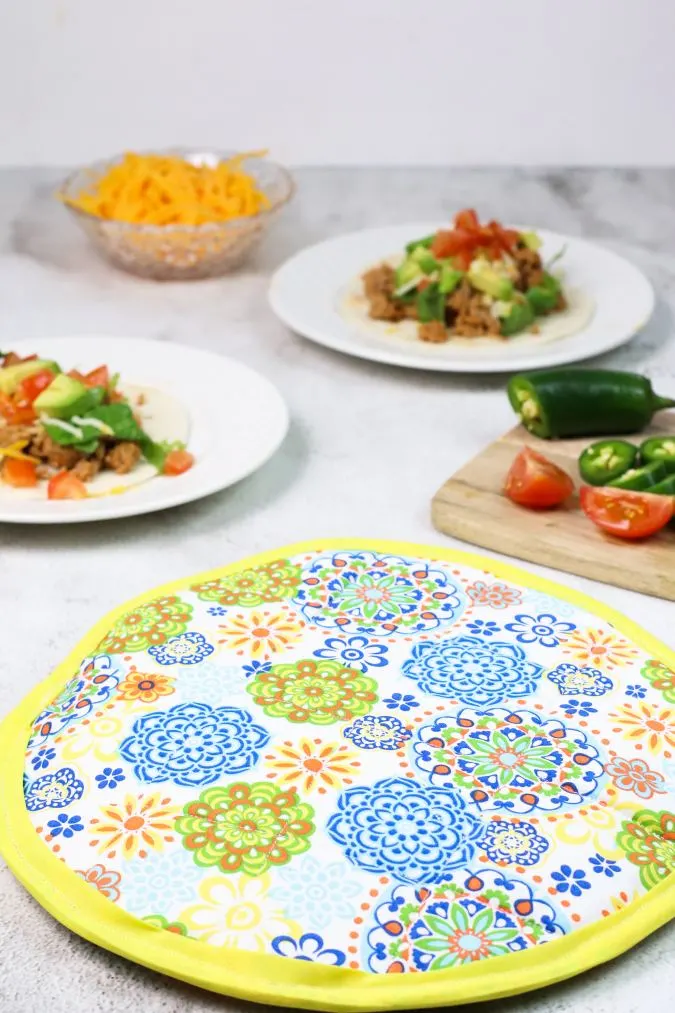
If you would like to see the tutorial on how to sew a tortilla warmer, click on the picture below,
10 Minute DIY Reusable Fabric Bowl Cover
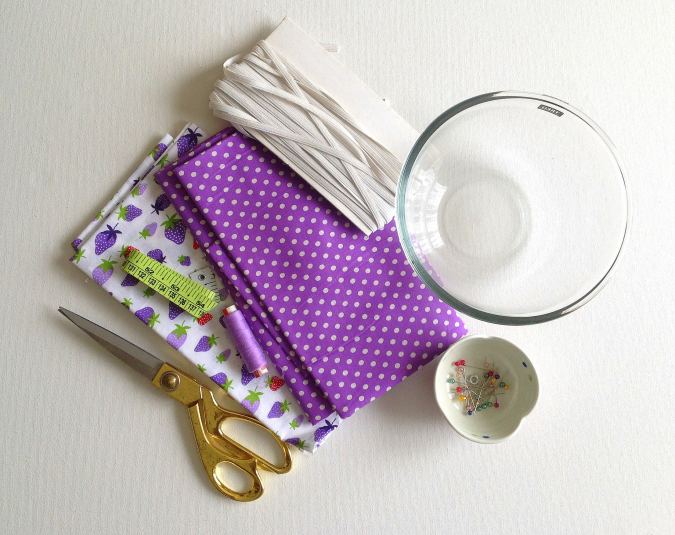
Supplies Needed:
100% cotton fabric for the bowl cover main- 1/3- yard.
100% cotton fabric for the bowl cover lining- 1/3- yard.
Sewing Notions.
1/4- inch elastic- Approximately 10- inches (refer below to find out the required length of the elastic).

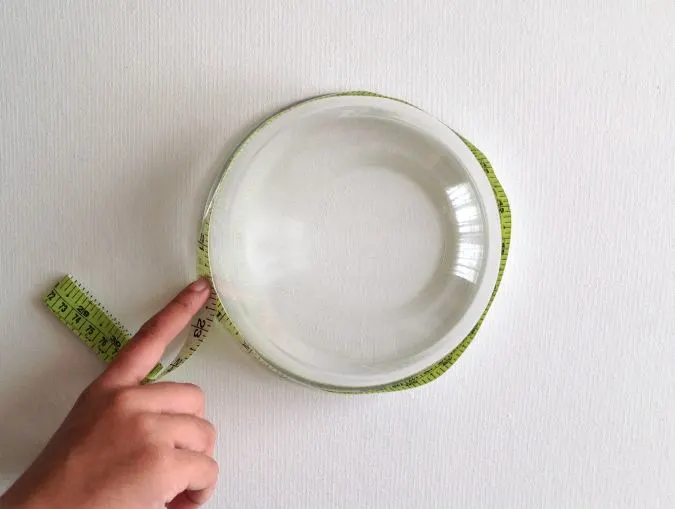
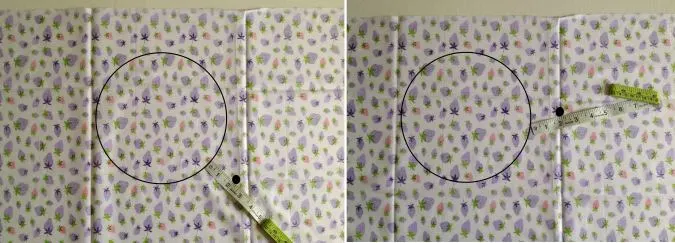
To find out the length of the elastic needed for the bowl cover, place the bowl upside down. Measure the circumference of the rim of the bowl, using a measuring tape. Your elastic should be 4-5 inches less than the measurement of the circumference.
Sewing

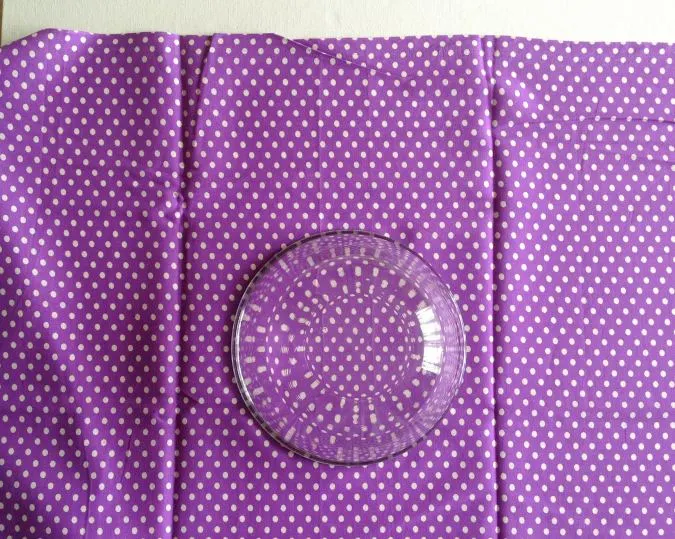
Gather your supplies.

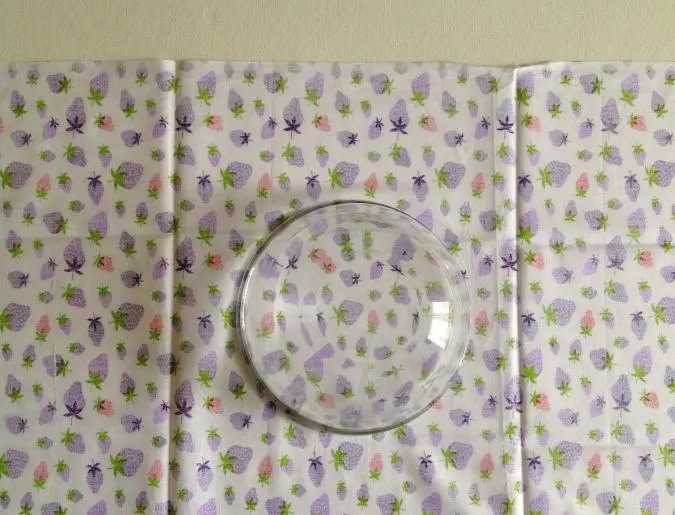
Next, place the bowl upside down on the wrong side of the fabric and mark around it with a tailor’s chalk or fabric marker. You will get a circle.
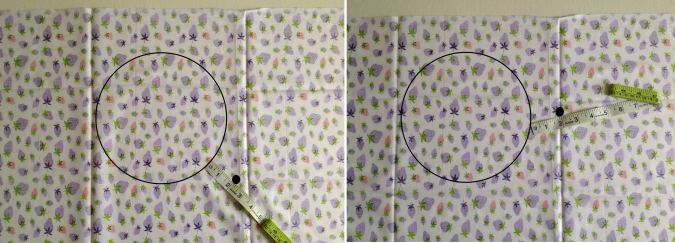
Remove the bowl and make additional markings about 2- inches from the initial line, all around.
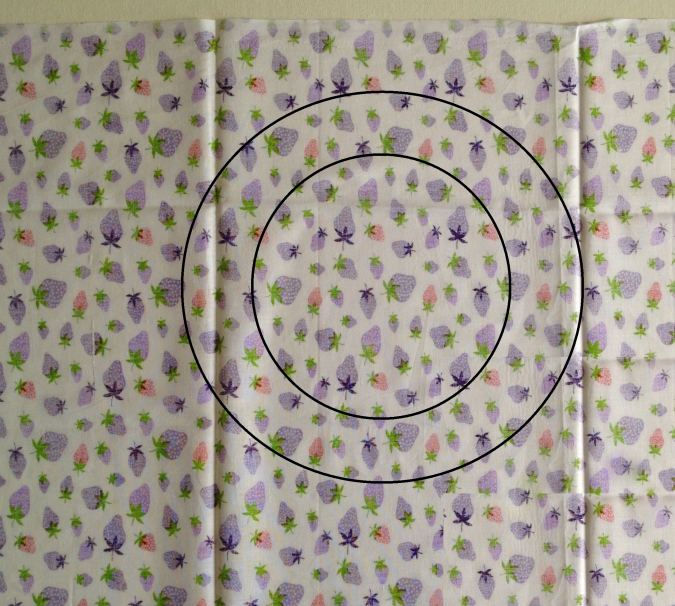
Connect the markings to draw a larger circle. Cut around the larger circle to get the bowl cover main piece.

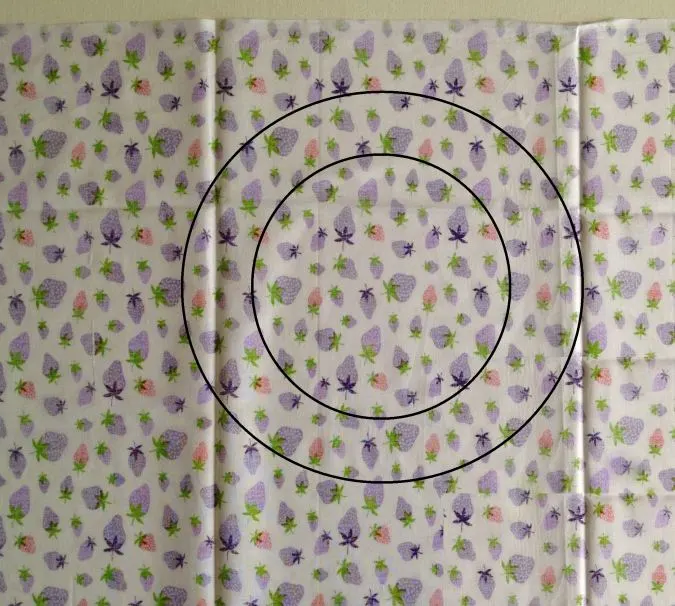
Repeat the steps on the lining fabric to get the bowl cover lining piece.

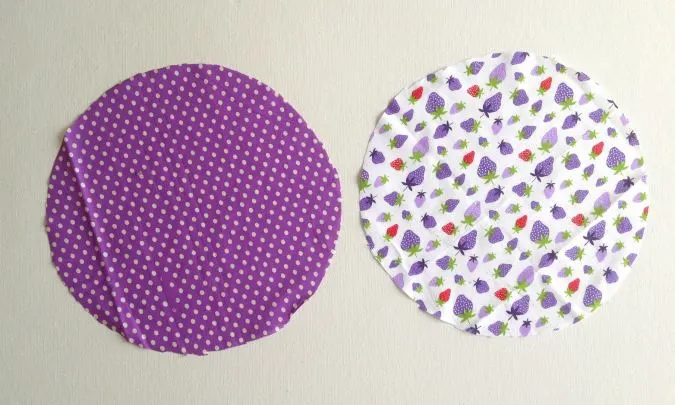
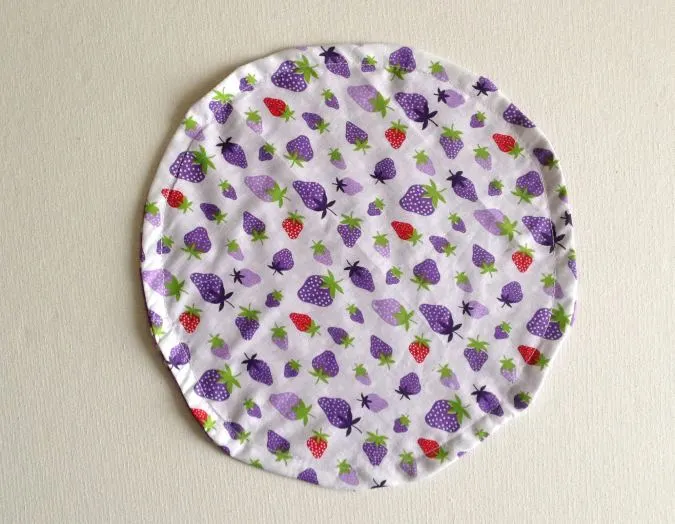
You will get your bowl cover main and lining pieces like the above.
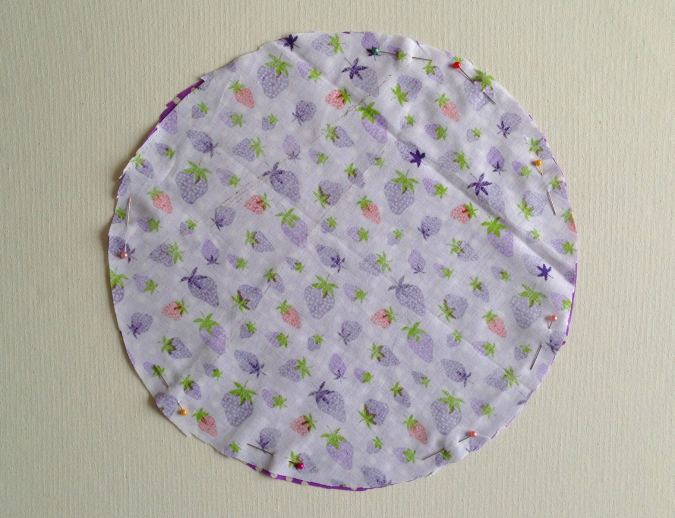
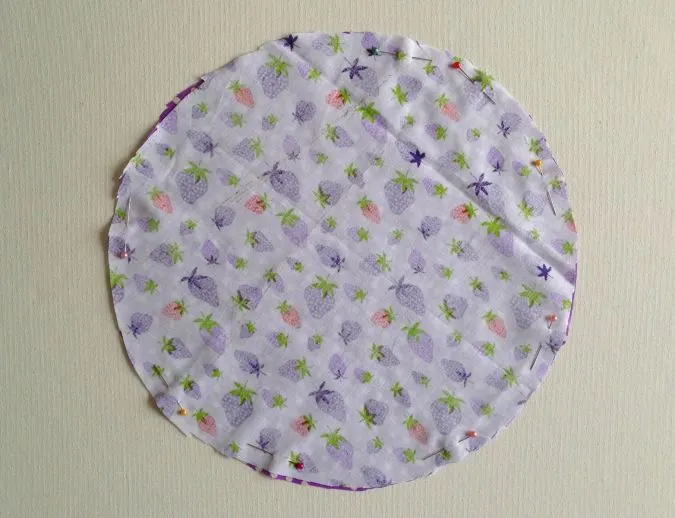
Next, layer the two pieces with the right sides together, lining up the edges and pin all around. Leave a gap of about 2 to 3 inches to turn the right side out.
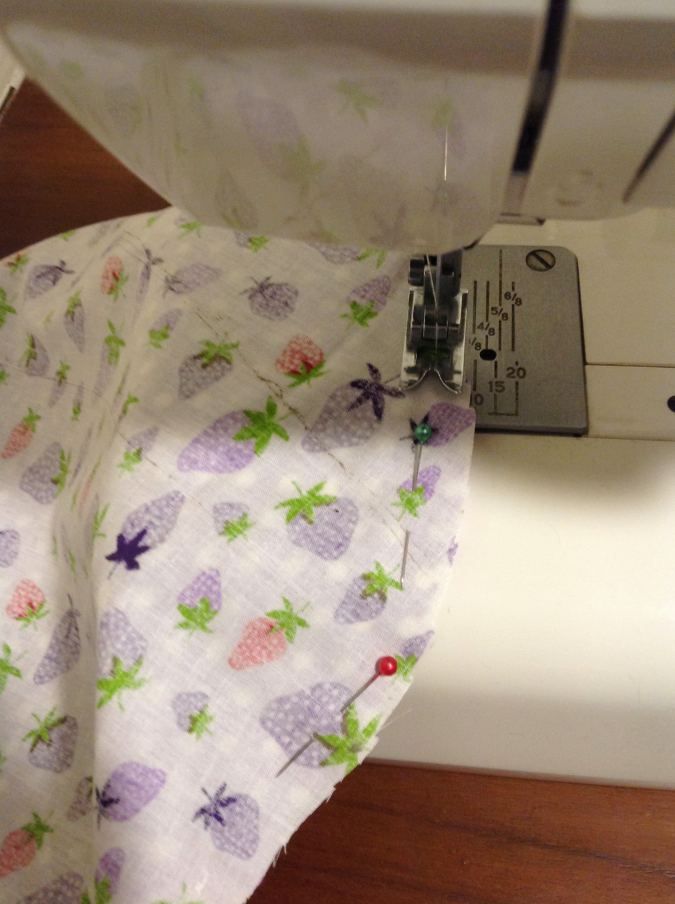

Sew around the pinned edges leaving the gap.

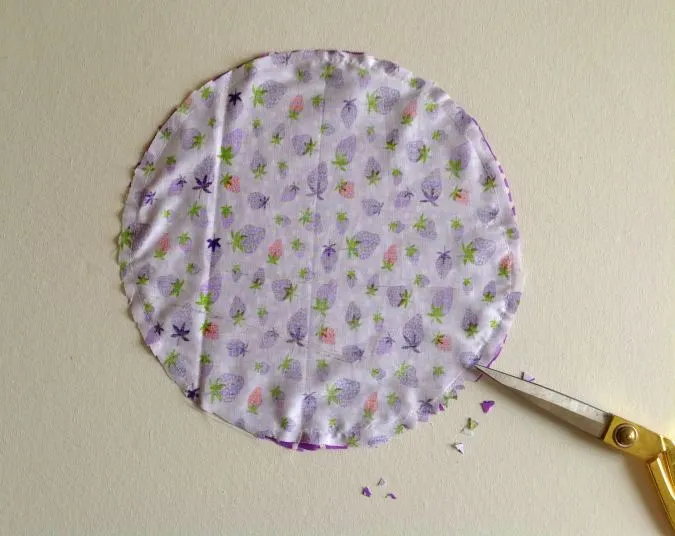
Notch out the seam to reduce the bulk.

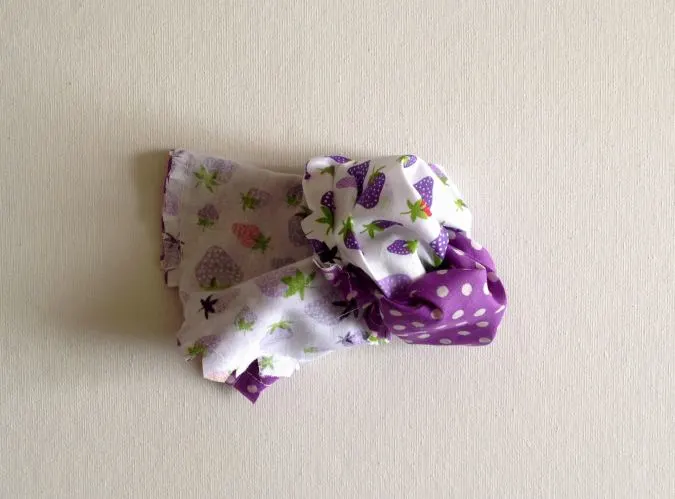
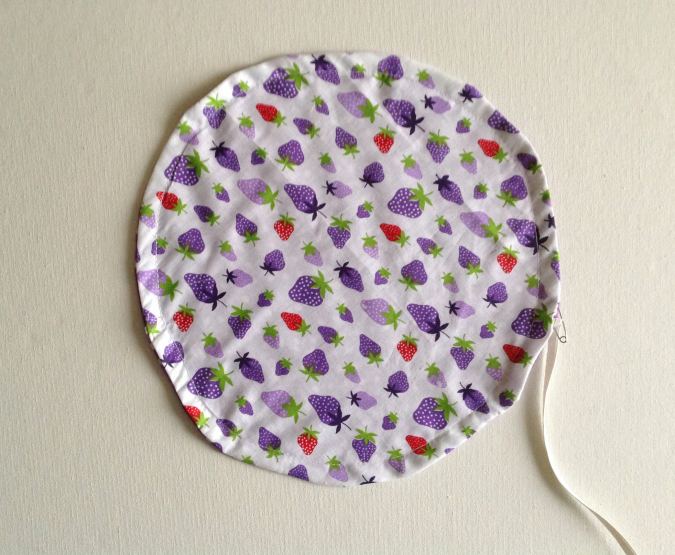
Turn the right side out through the opening.

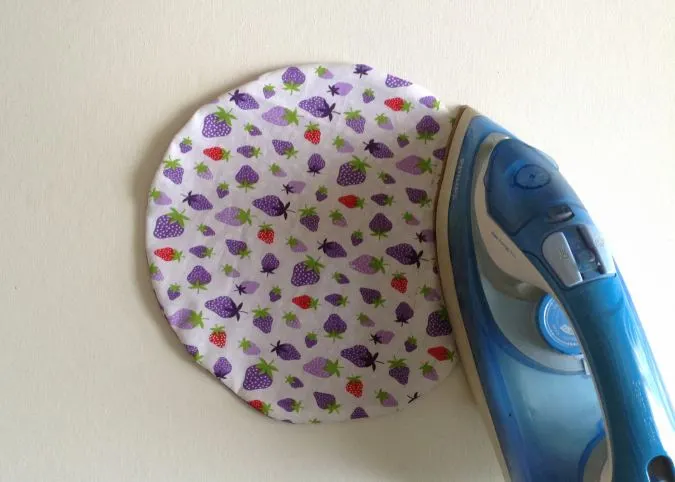
Poke out the edges with the help of a wooden dowel. Tuck the raw edges in and press.
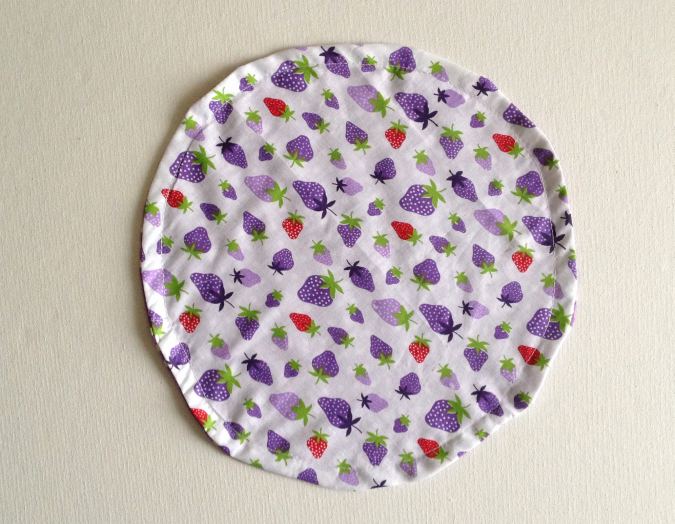
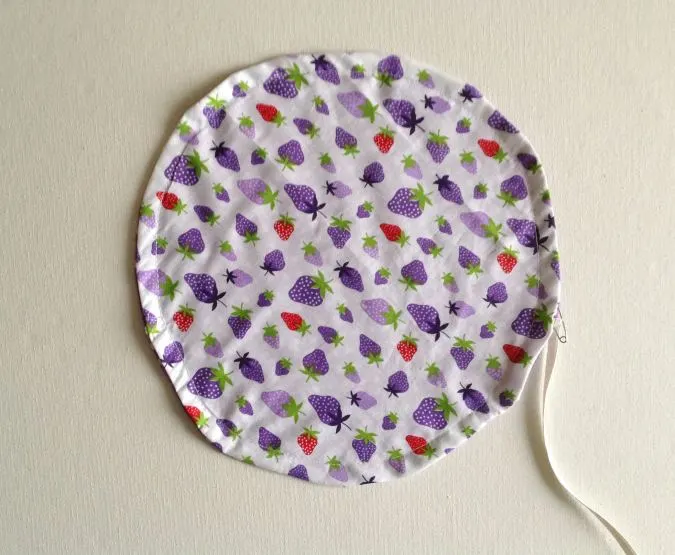
Sew a circle ½- inch from the edge, to create a casing for the elastic.
Take the required length of the elastic and insert it through the opening, with the help of a safety pin.
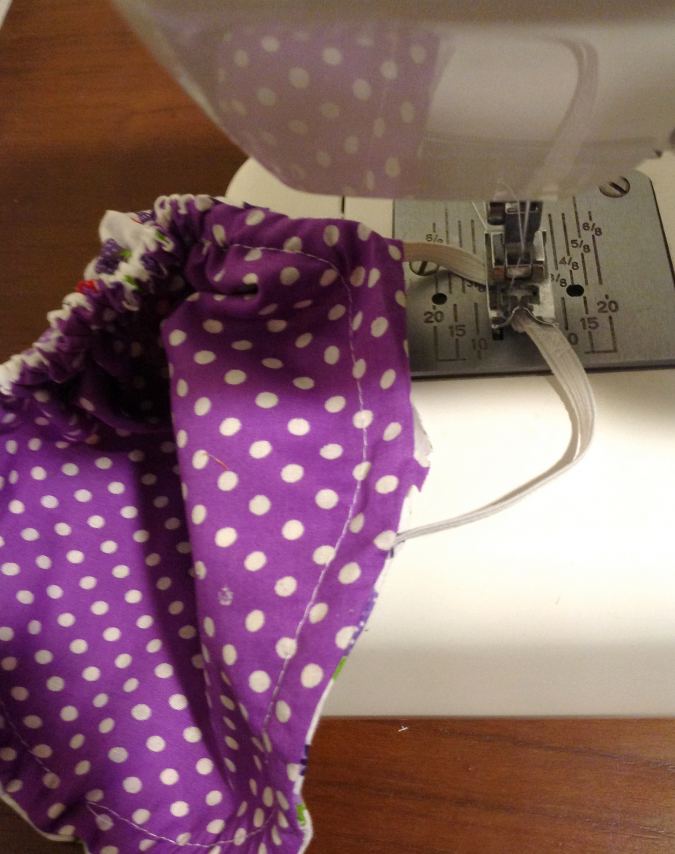
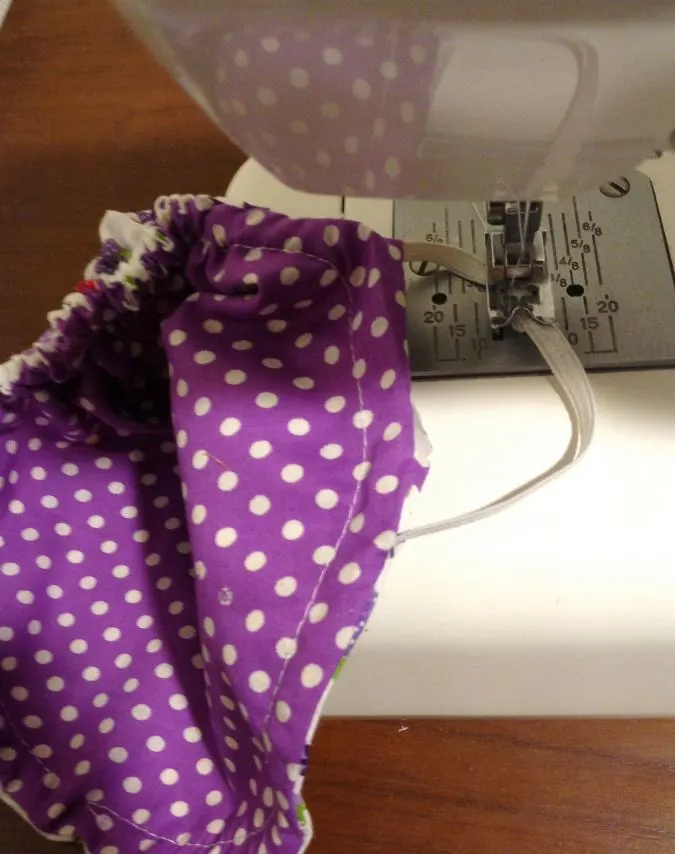
Keep the ends of the elastic overlapped and sew back and forth to join.

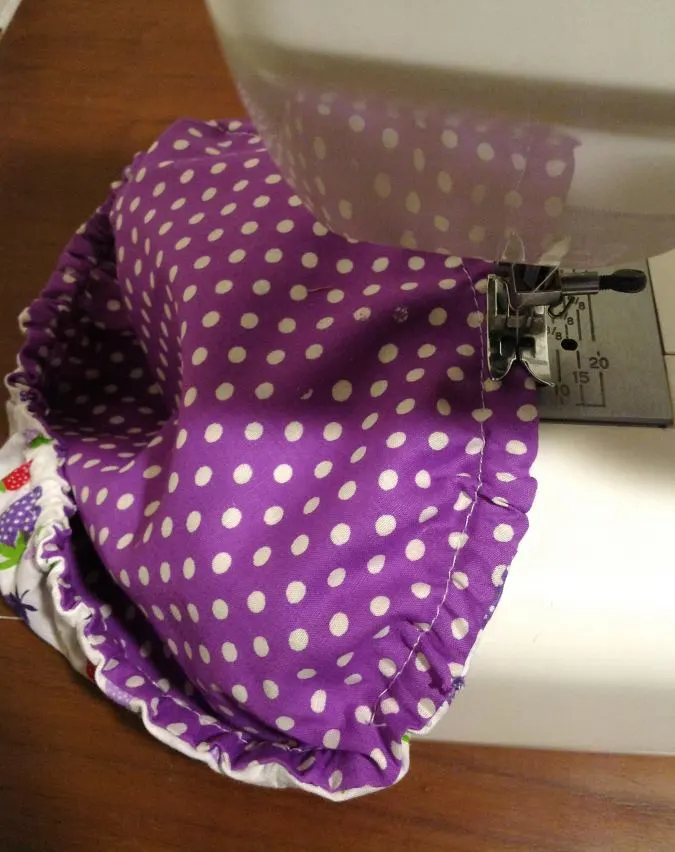
Topstitch along the edge all around for a cleaner finish and also to sew the opening shut.
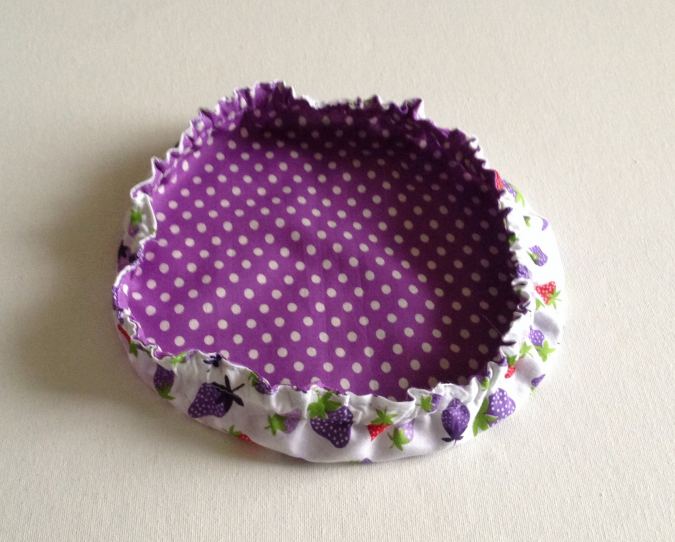
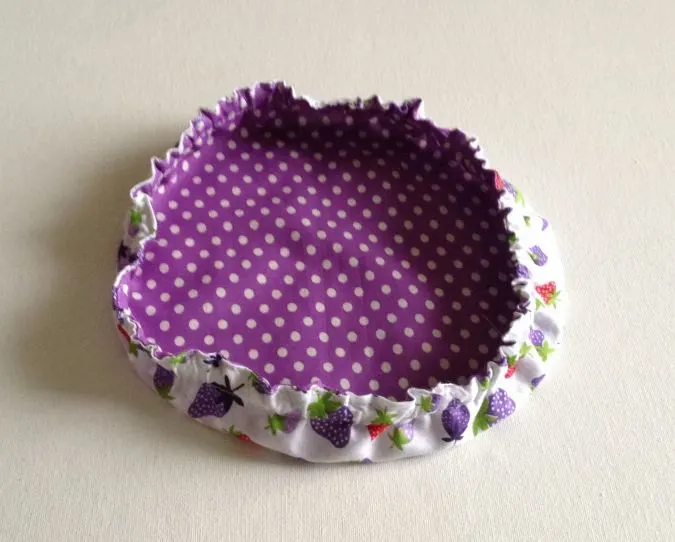
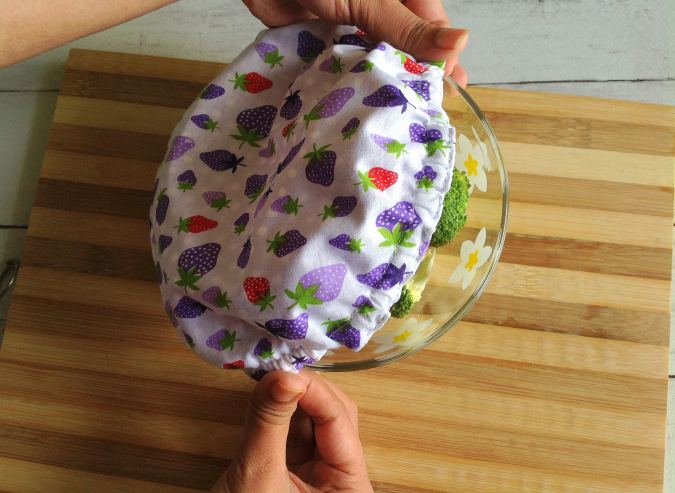
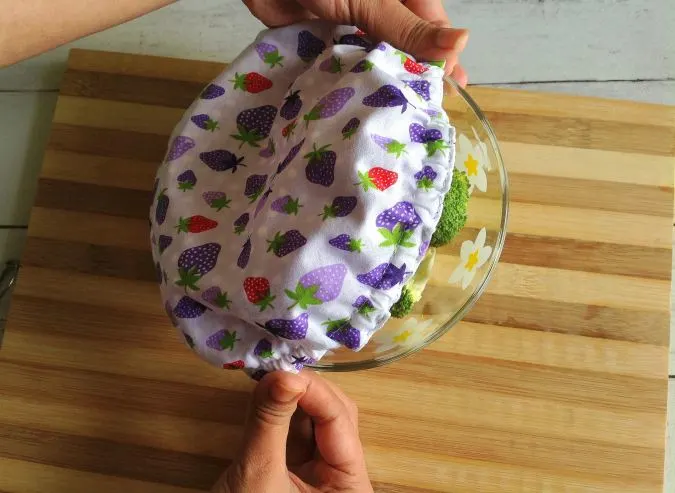
Your DIY reusable bowl cover is done!
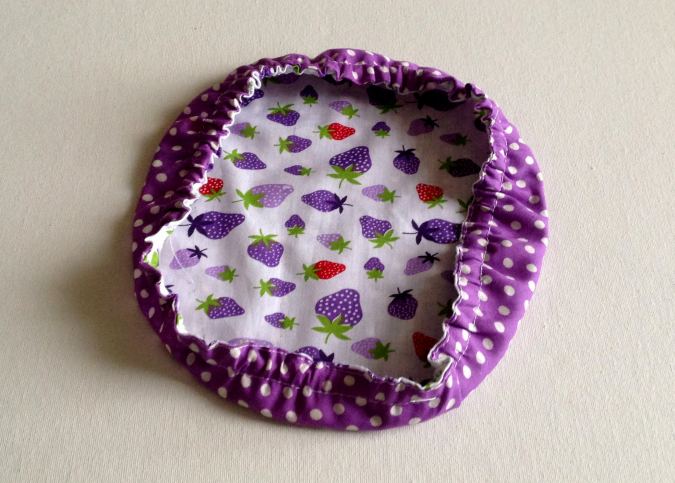
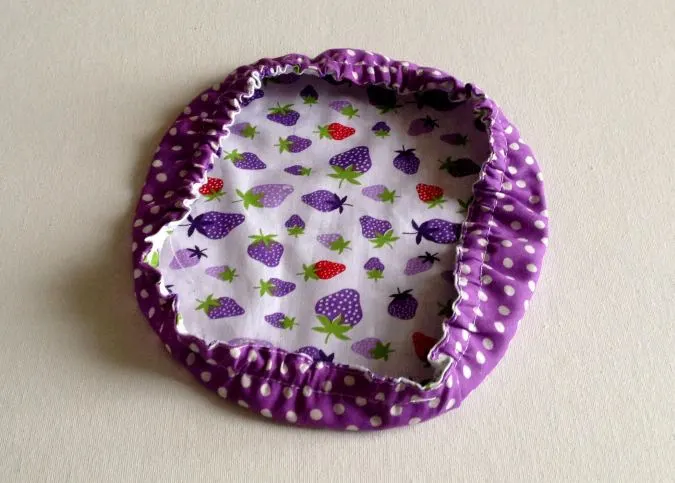
Flip over to the other side and you will get a totally new one!
Find the video tutorial below:
Find the webstory for the post here, The Easiest 10-Minute Bowl Cover Pattern
Pin it for later here,

If you would like to read about a few things to consider before buying your elastic, click here
So, you have learned how to make a DIY reusable fabric bowl cover. You can now sew a number of them to use in your own kitchen or as handmade gifts!
Louise
Tuesday 11th of July 2023
Oh, how easy they are to make, and you can make exactly whatever size you need. Great, and fantastic gifts, even double sided! Thanks.