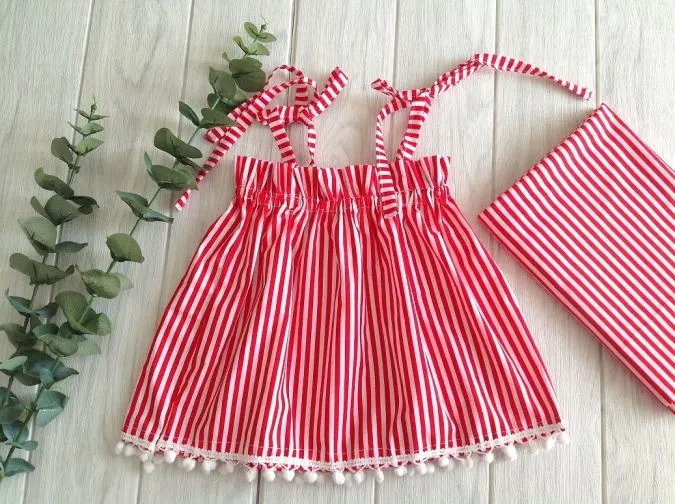
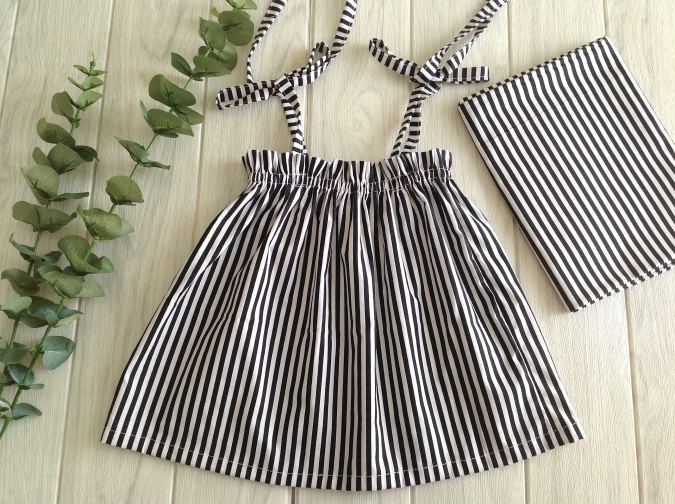
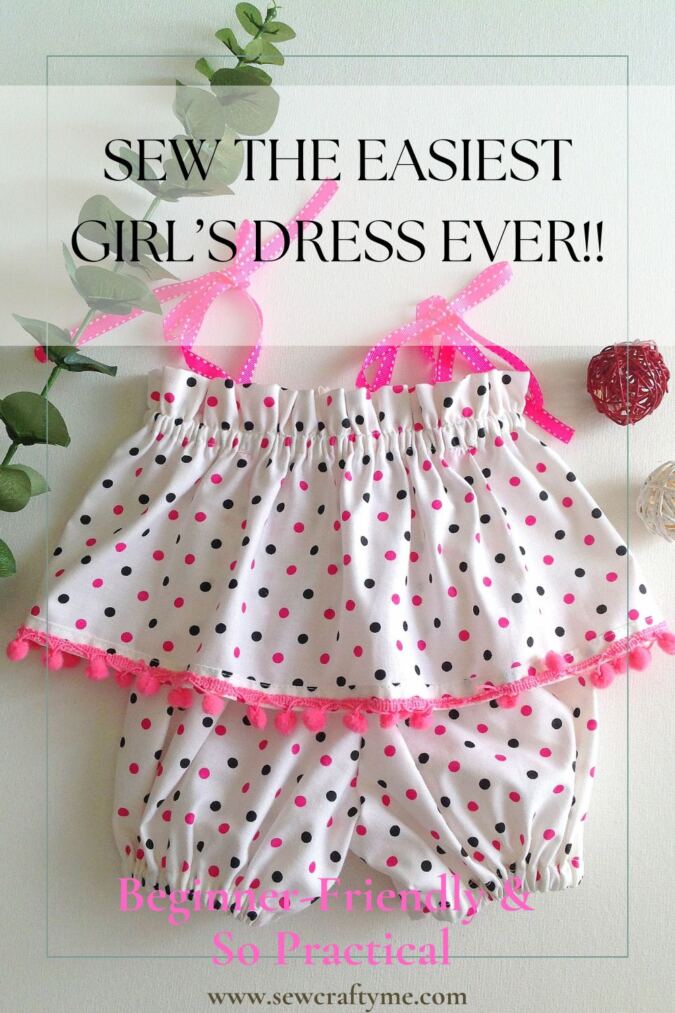
This flutter baby dress pattern is so much fun to make! This is an easy 15-minute baby dress that can be made from a rectangular piece of fabric. It is super comfy and perfect for summer! I love the dress in stripes and polka dots but you could make it in solid colors and prints too.

With everything going on right now, isn’t it a great time to relax with a new sewing project? It would help you keep engaged and give you a mood boost when you see the final product. It can be a great stash buster too, as it does not involve too much fabric. Make the pattern in different colors and prints for your little one to wear, all week long.

These flutter baby dresses are so easy that with the cutting done, you can whip them up in almost 15 minutes! No gathering required and no buttons or hooks to sew. Just a rectangular piece and a piece of elastic would do all the magic! Of course, there are straps to be sewn, but you can replace the straps with gross-grain ribbon if you are looking for a very quick- sew dress.
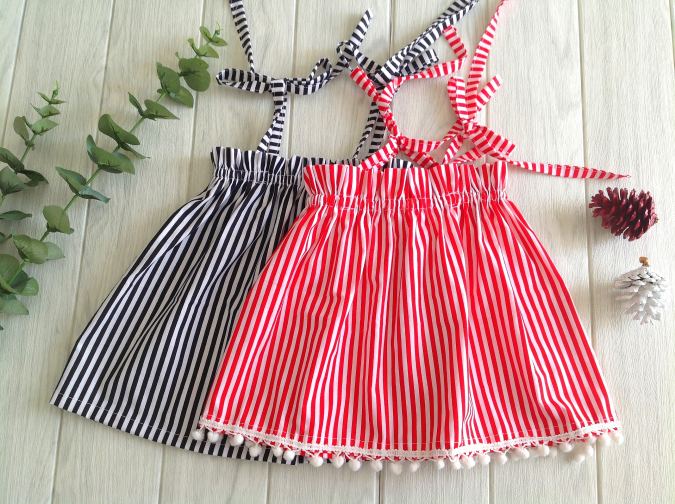
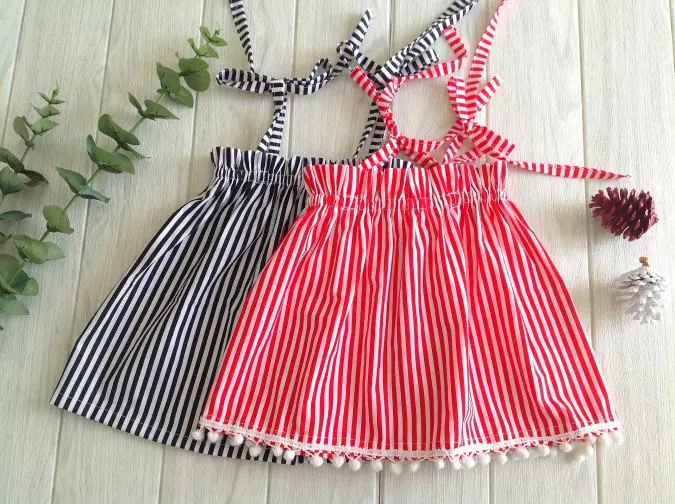
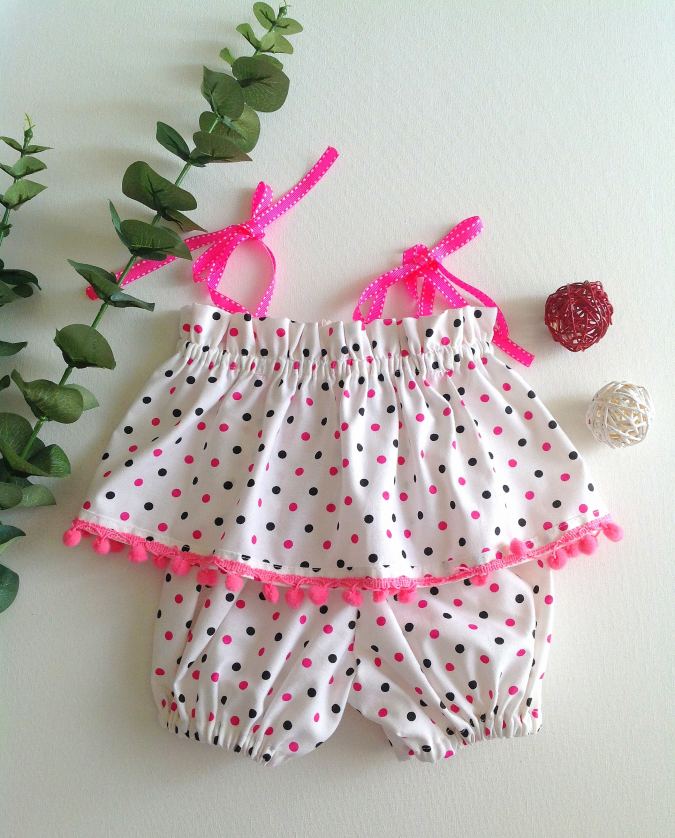
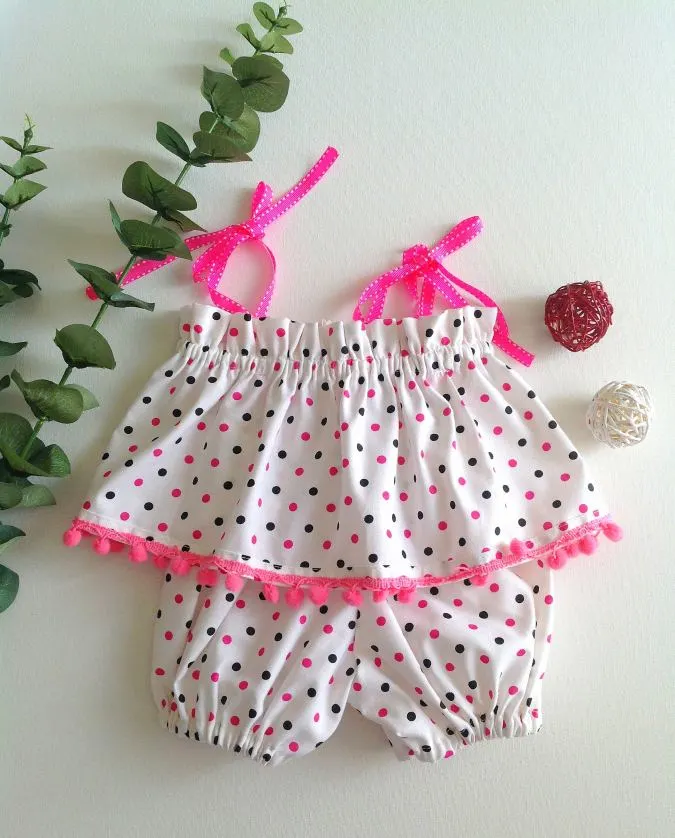
The flutter ruffle formed along the chest line without much of a hassle gives the baby dress all the prettiness and the girliness it needs. You can add lace, pompoms, or rick rack trims along the hemline to make it prettier!

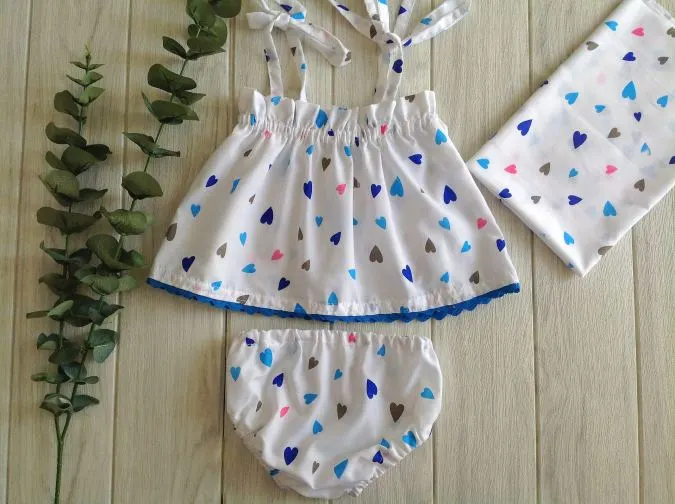
You can also sew this as a flutter baby top to go with my baby bloomers and my baby diaper cover patterns. In fact, I found the pattern cuter paired with puffy bloomers and diaper covers.
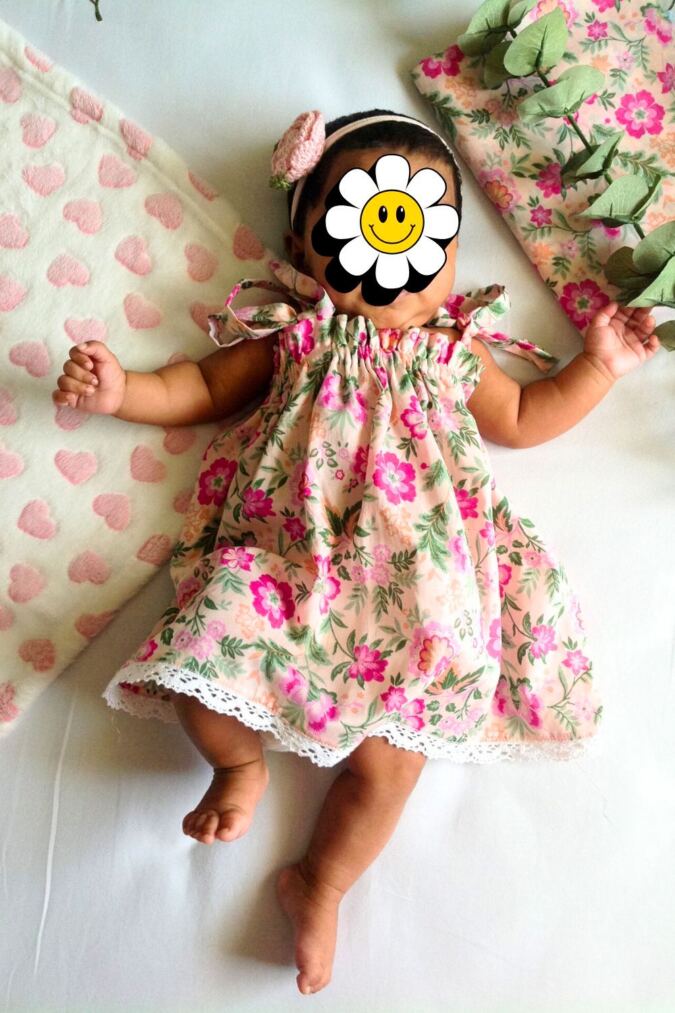
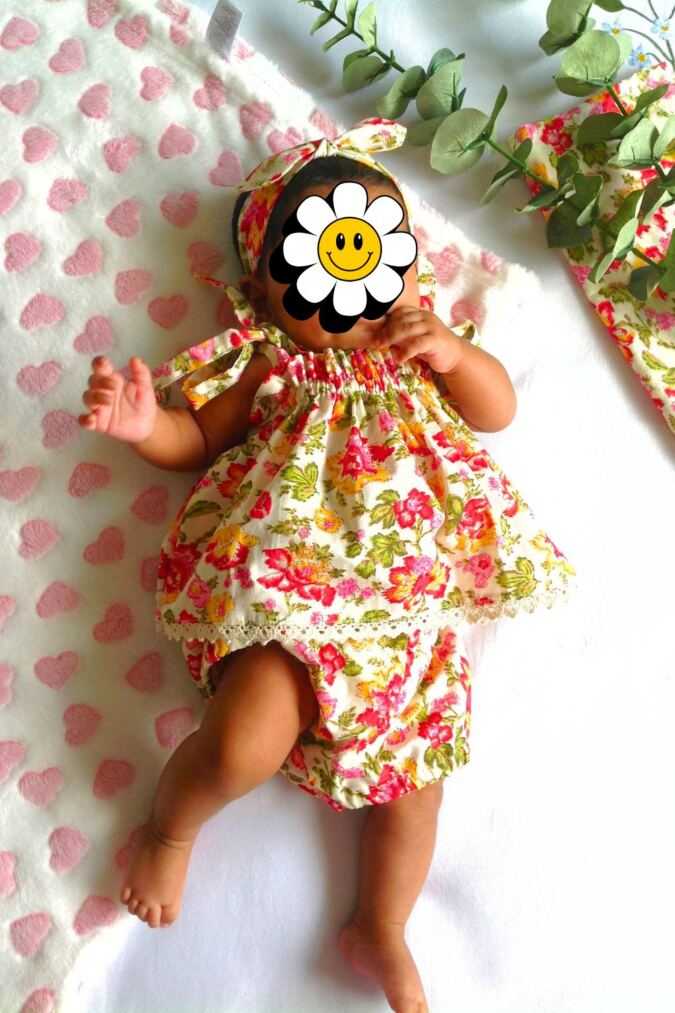
How does the dress version look on this little munchkin? This baby model is 2 months old, approximately 20 inches tall, has a chest measurement of 15.5 inches, and is wearing a newborn size.
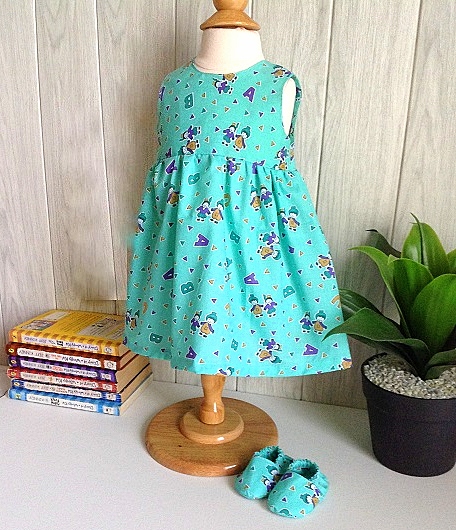
The same little one is now wearing the top version of the design, looking just as adorable and comfy.
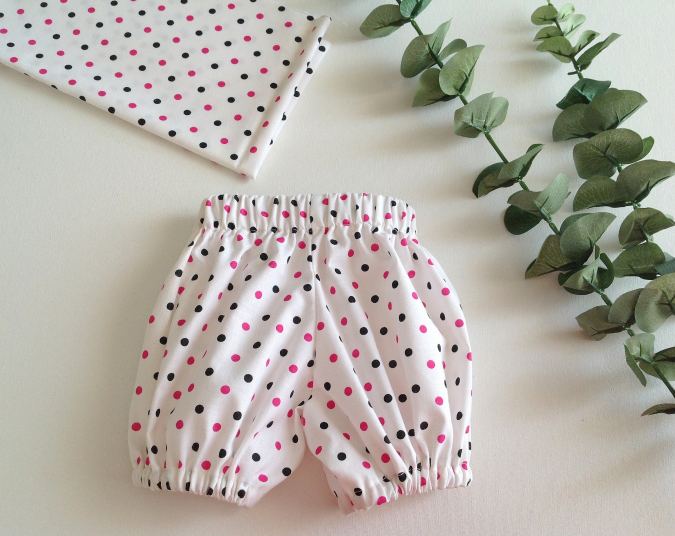
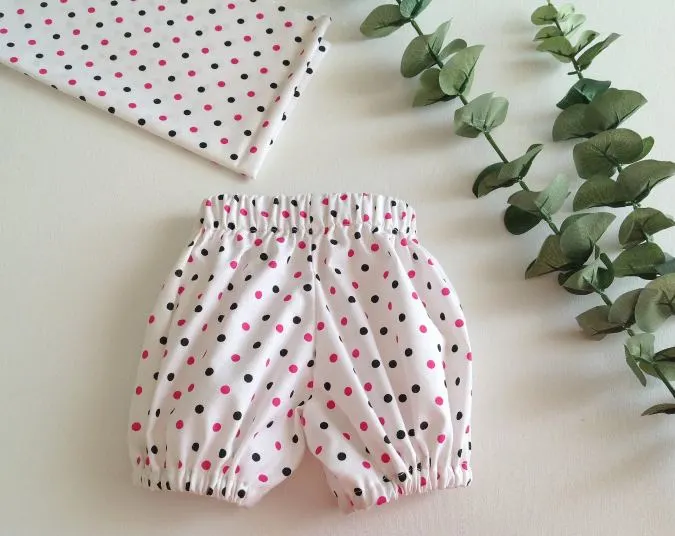
Click here for matching bubble bloomers.

Click here for a simple baby dress with a yoke pattern.
- The tutorial has been edited a few times to include the suggestions of my readers.
15 Minute Baby Dress from a Rectangle
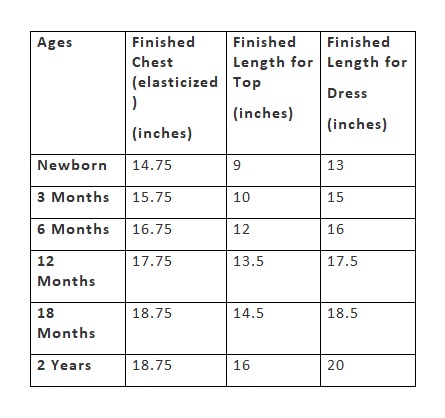
Finished Measurements:
Table-1
Note: Pinch to zoom the tables if you are on mobile.
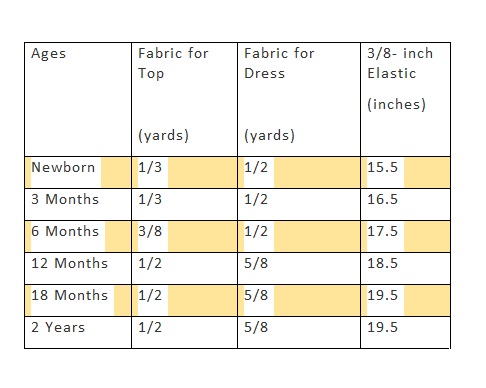
Materials Required:
Medium- weight cotton fabric in a desired print and color- requirement specified in the table below.
3/8- inch elastic- requirement specified in the table below.
Sewing Notions.
Material Requirements:
Table-2
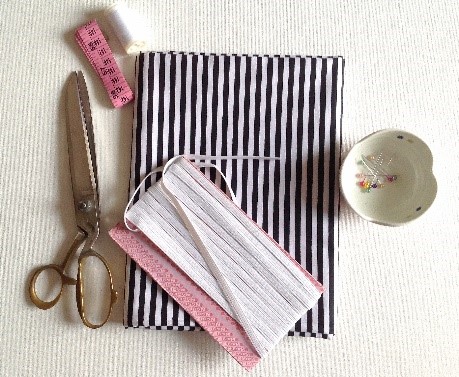

Gather your supplies.
Measurements:
In the table below, “L” stands for the length of the fabric and “W” stands for the width of the fabric piece to be cut.
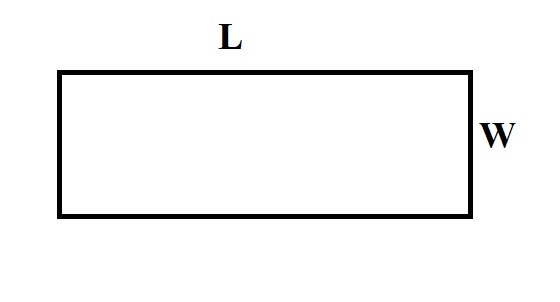
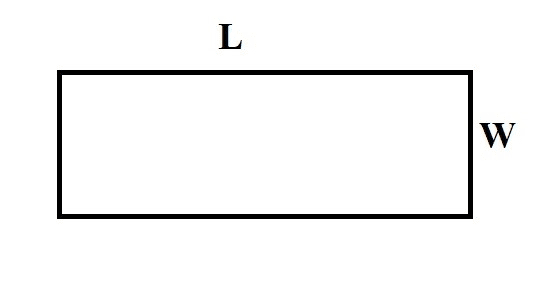
Table-3
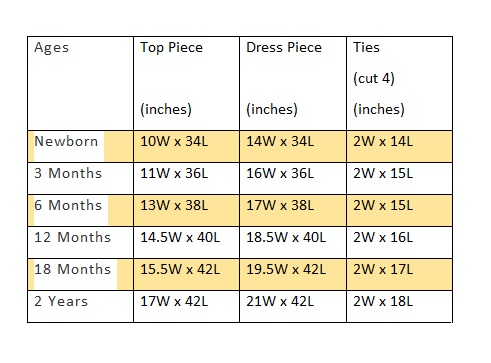
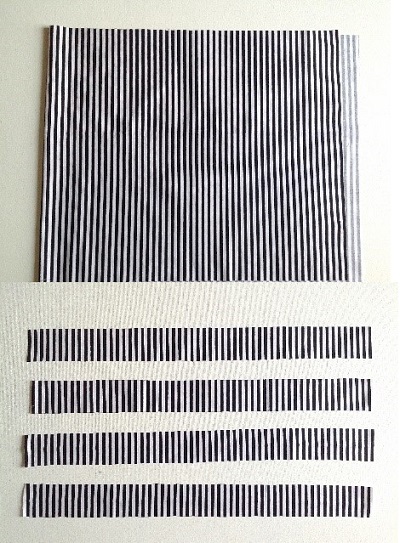
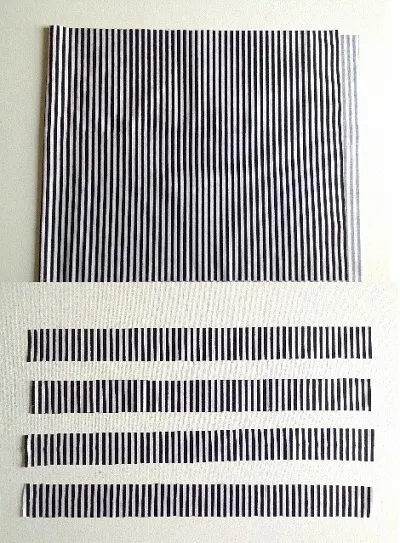
Cut the dress piece and the strap pieces, referring to the table- 3 above.
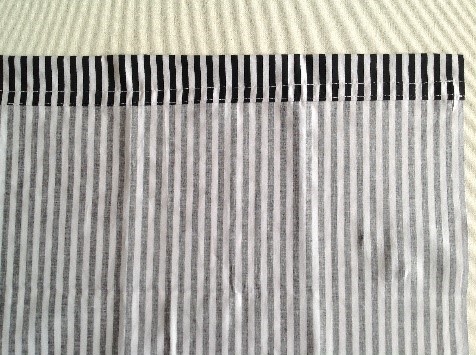
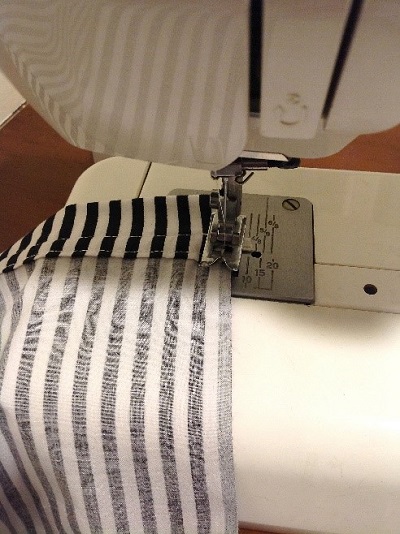
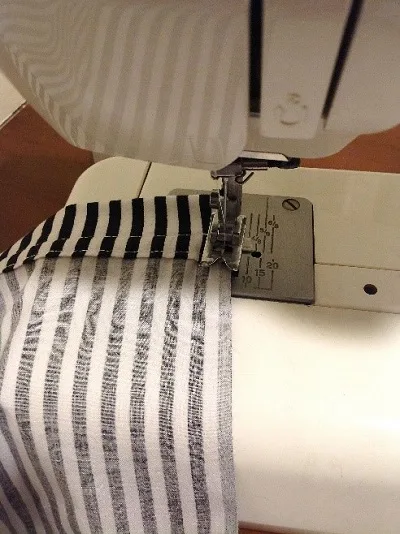
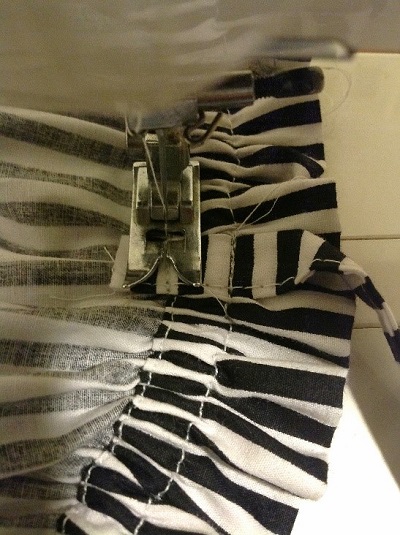
Let’s do the upper elastic casing of the dress.
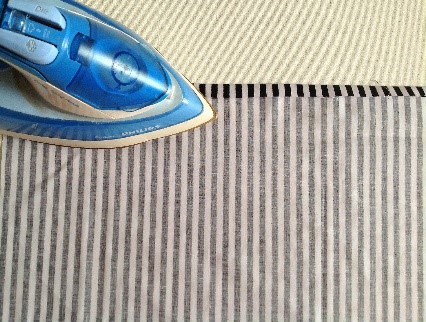

Fold one of the longer edges of the dress piece by 3/8- inch and press.

Fold again by 1 and ½- inch and press once more.

Sew down the fold along the edge.
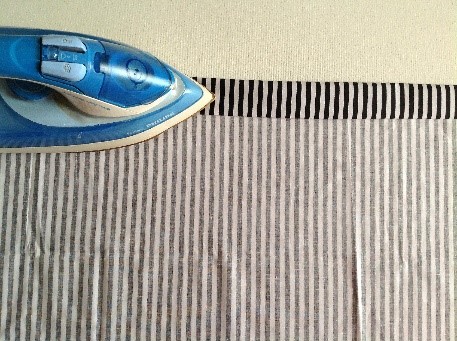
Next, we do the casing for the elastic.
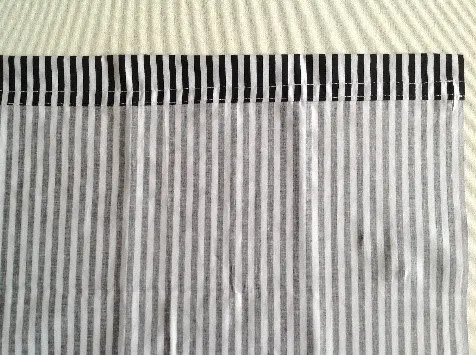
Sew a straight line ½- inch above the earlier stitch to form the casing for the elastic.


Take the required length of the elastic, referring to the table-2 above, and insert it through the lower casing, using a safety pin.
Secure the ends of the elastic by sewing back and forth a few times.
Let’s do the lower hem of the dress.

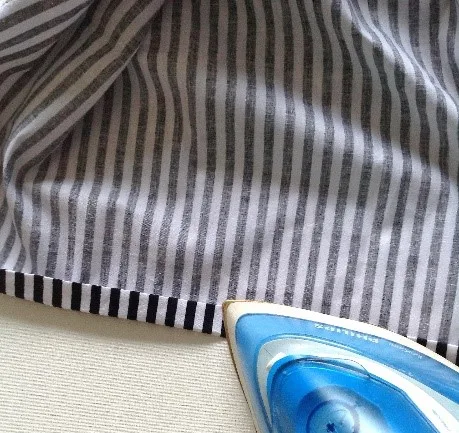
Fold the lower edge of the dress twice by ½- inch and press to set.


Sew down the hem along the edge of the fold.
Here you can add the trim along the hemline if you like.
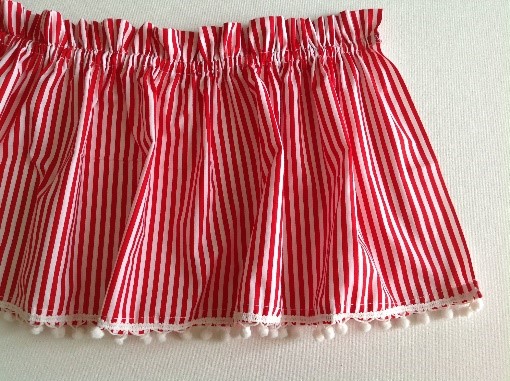
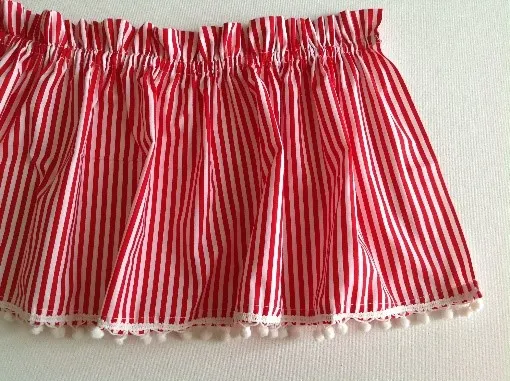
Place the trim along the hemline and pin. Sew to attach.
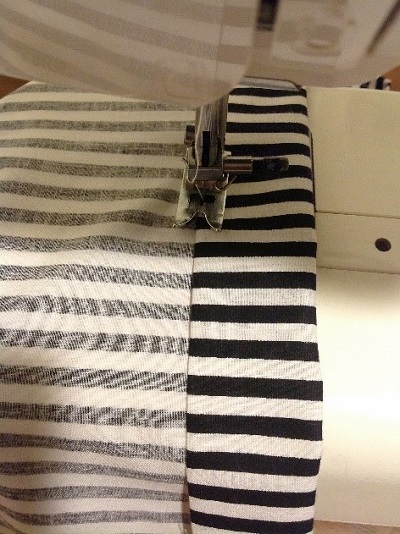
Fold the dress over, with the right sides together, and sew the side seam shut.
Next, we need to do the straps.


Take one of the strap pieces and fold the two longer edges towards the wrong side by 3/8- inch. Press to set the folds.
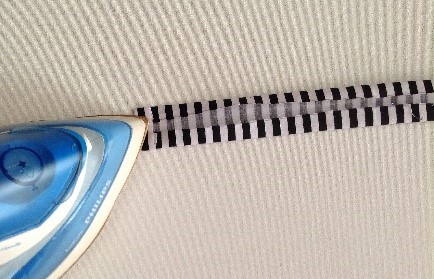
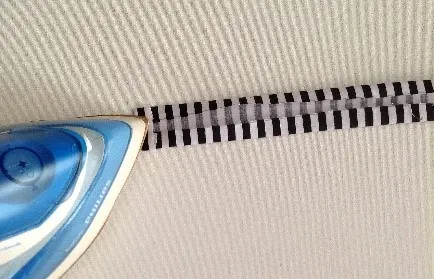
Next, fold one small edge towards the wrong side by 3/8- inch. Press to set the fold.

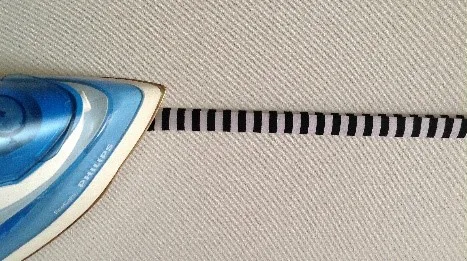
Fold it in half lengthwise and press once again.
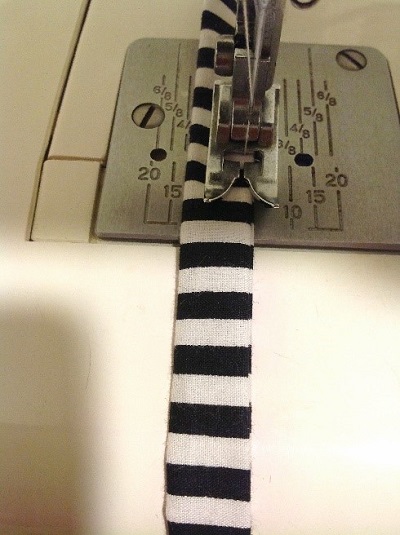
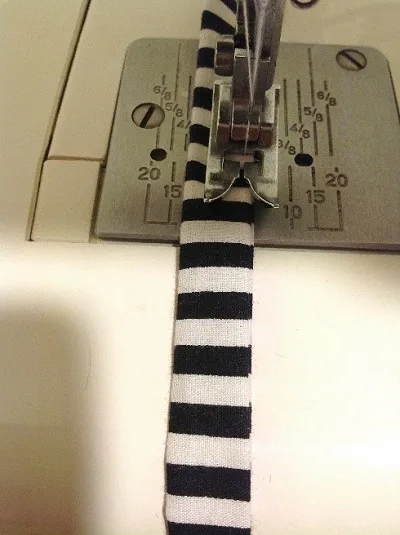
Sew the strap shut along the edge. Repeat on the remaining straps.
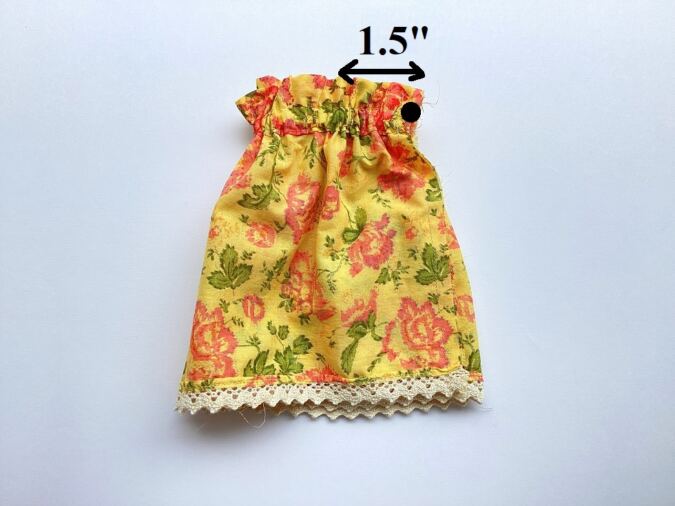
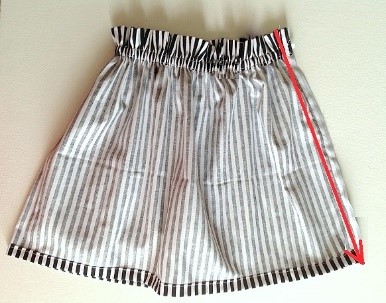
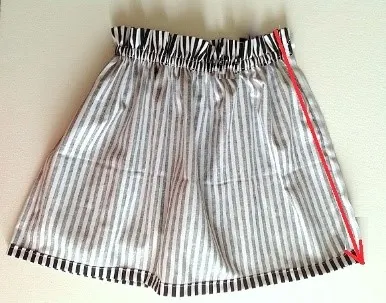
Next, fold the dress in half lengthwise in half, aligning the edges. Mark the top center. Measure 1.5- inches from the center on either side and mark points for strap attachment. Repeat the same on the back (picture for illustration purposes).
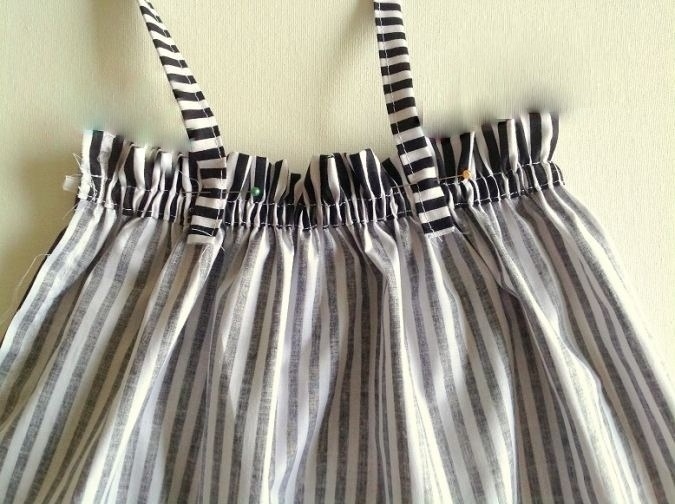
Place the straps at the marked points, with their lower edges extending the elastic casing by ½ inch. Pin the straps to the dress.
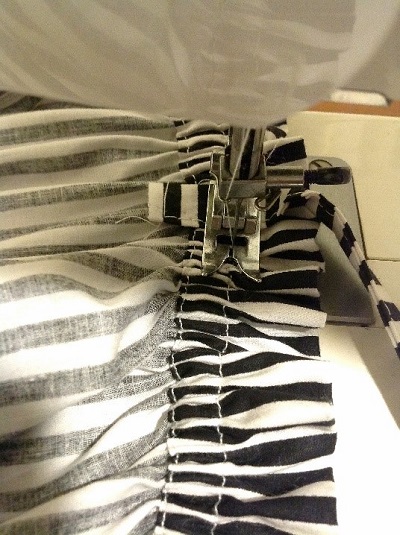

Secure the strap by sewing above the elastic casing.

Reinforce the strap by sewing below the elastic casing as well.
Our dress is done!
Find the webstory for the post here: Sew a Dress in a Flash: The 15-Minute Rectangle Wonder
Claudia
Tuesday 20th of January 2026
I heard from Surayya and received a lovely email...and the pdf file was attached. Thank you so much, appreciate it !!!
Claudia
Monday 19th of January 2026
I just went to PayPal and purchased the pattern/instructions but have not received any email with pdf ...etc. Can you please help with this? Today is Jan 19, 2026 5:33 pm here in Indiana.
Julie
Friday 28th of March 2025
This is my 1st clothing piece I have made, my 2 yr old granddaughter will be excited. Thank you for the easy instructions. I do have 1 questions about the straps, when measuring the 2½ and 3½ placements do I stretch the fabric flat or just let it relax?
Surayya
Thursday 10th of April 2025
That’s so sweet — your granddaughter is going to love it! 😊 For the strap placement, simply measure with the fabric laying flat and relaxed — no need to stretch it.
Alaska Raven
Wednesday 1st of May 2024
there are printed bias tapes you can get (I got some at Homesew.com)- add that to the hem vs the ball trim or ric rac if you don't have any... and also use as matching straps & it will look perfect AND be easier than actually making straps. Thank you for this! I'll be making it for my 1.5 yr old granddaughter!
Lesley
Wednesday 6th of September 2023
What is the side seam allowance measurement, please?
Surayya
Monday 11th of September 2023
The seam allowance is 3/8- inch for all my patterns, unless otherwise specified.