When my kids were little, I used to watch them play with tags on their baby clothes. I would notice how they would feel the tags and try to pull them with their little fingers. Years have passed by but still the sweet memories of my kids’ babyhood have not dwindled away. I remember most of my kids’ tiny little items and in fact, many of my best selling patterns have been inspired by them.

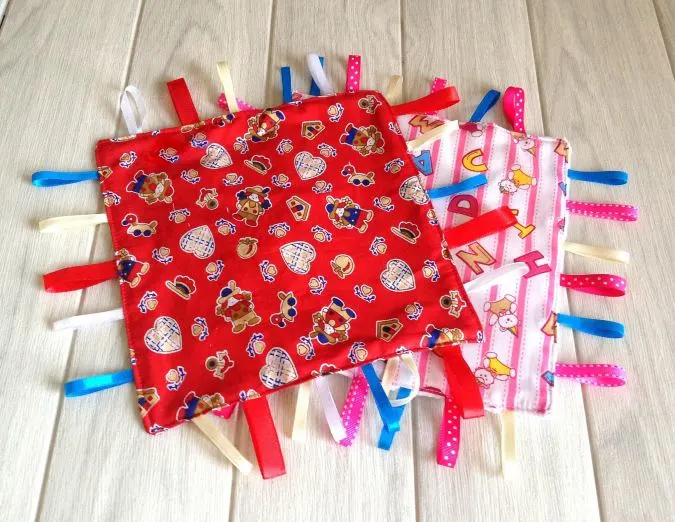
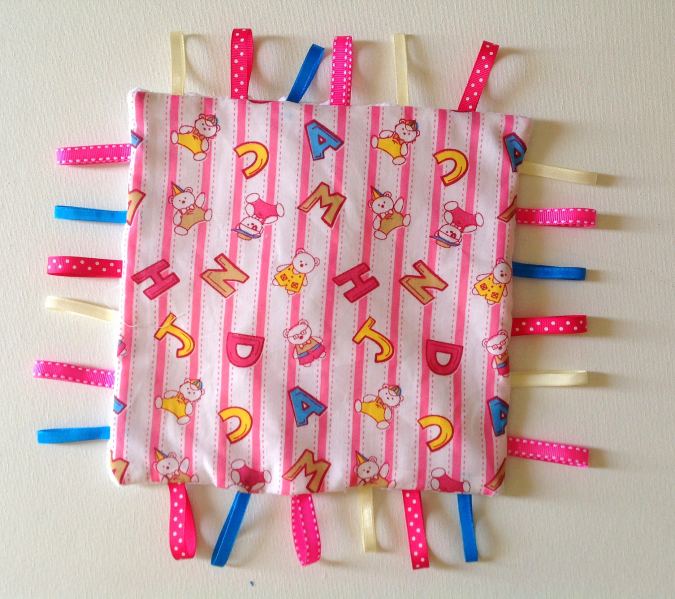
Here I have made a crinkle toy which was one of my kids’ favorites. This is so easy and quick to make that you can’t just stop making one. This sensory ribbon toy for babies has no sharp edges and it is easy for the baby to handle. With the crinkle sound for the ears, the colors of the tags and the feel of the fabric and ribbons, this is a great sensory toy for your little baby.
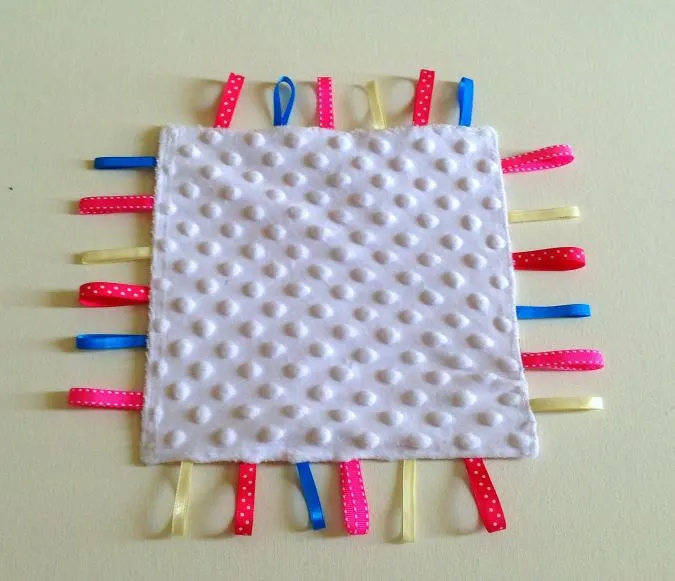
The colorful tags all around, the textured fabrics and the crinkle sound is enough to keep the little one busy and engaged for a long time. This DIY ribbon sensory toy is also a perfect addition to a baby shower gift basket.

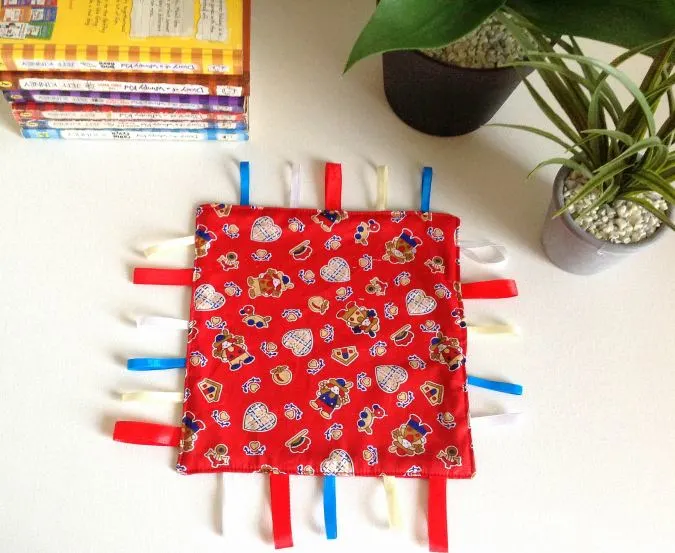


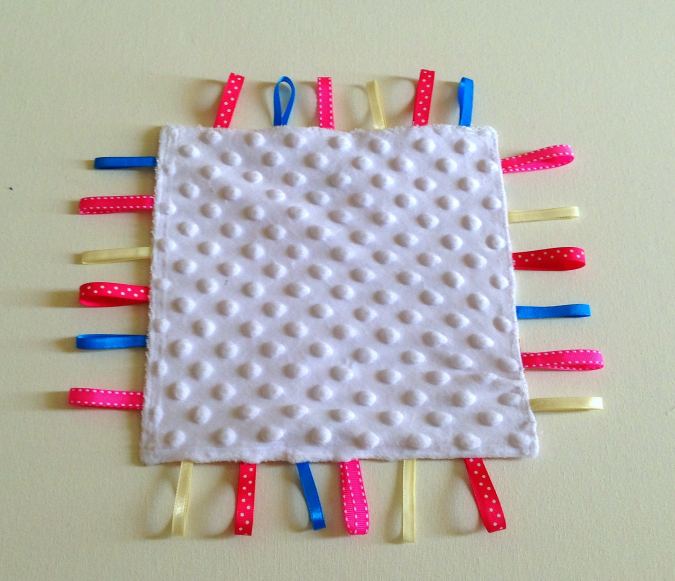
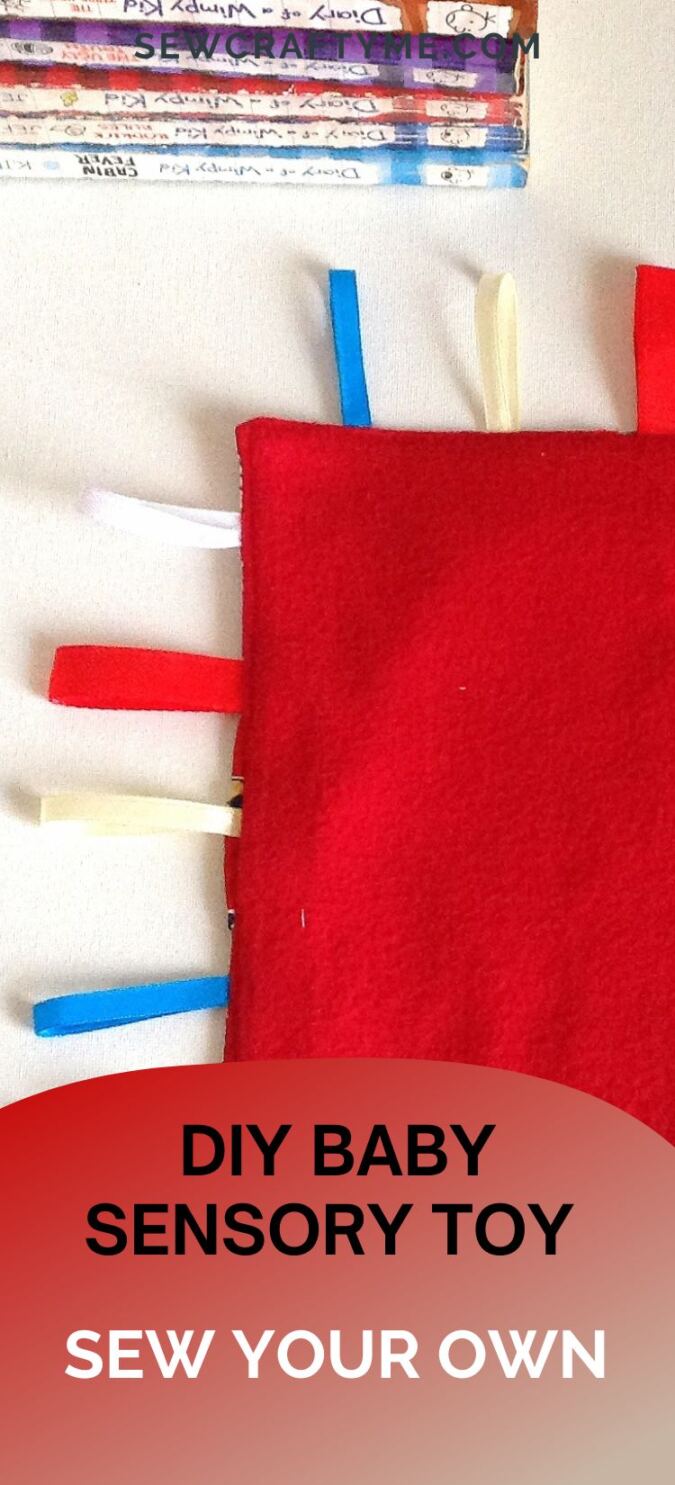
This is also the easiest baby toy you can make. Just a few straight line stitches and you are done! You can try making it with different soft and baby-friendly fabrics. Try using cotton fabric on one side and minky, fleece or flannel on the other. Ribbons of different colors and textures can also be used.
Easy Baby Girl Dress Sewing Pattern
DIY Sensory Ribbon Toy for Babies
Materials Required:
Cotton fabric scrap for the toy upper.
Fleece, Minky or flannel fabric scrap for the toy back.
Anything that makes a crinkle sound and that can be sewn- you may cut and use any food-grade plastic bag
Ribbons in assorted colors and textures.
Sewing notions.

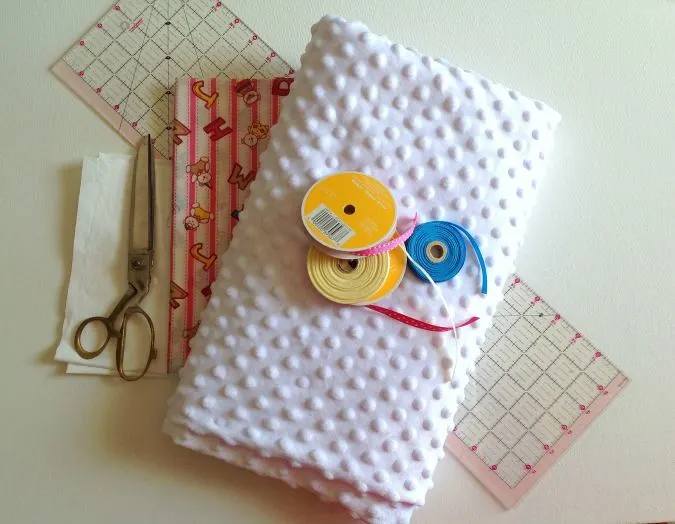
Gather your supplies. Here I have used four colors of ribbons.
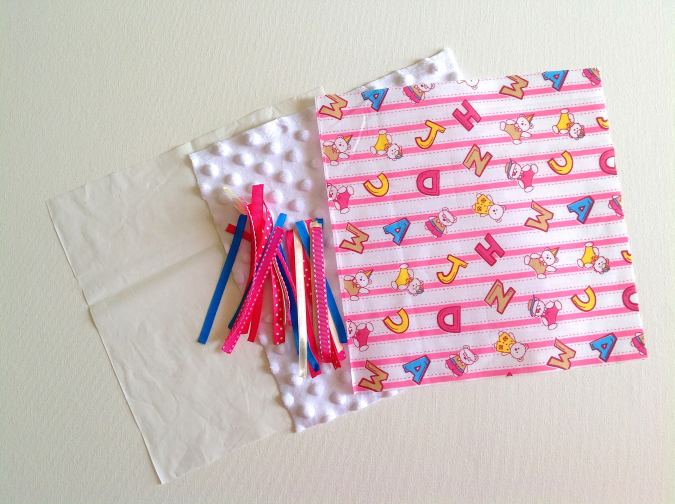
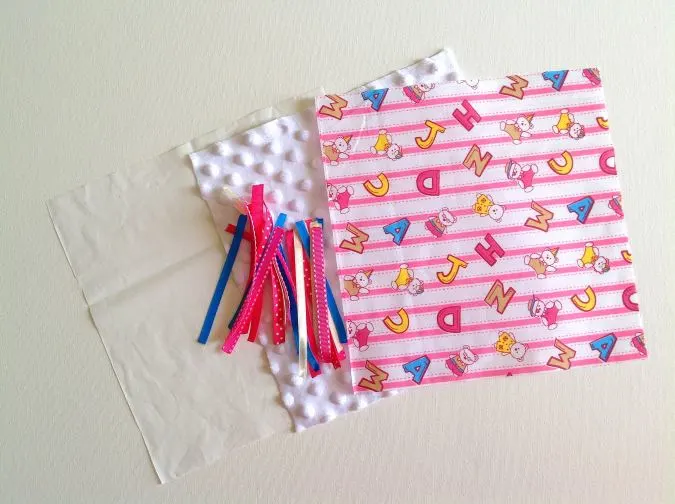
Cut the front and back fabric of the toy to squares of 10 x 10” dimensions. Also, cut your ribbon into 5” long pieces. I took 24 ribbon pieces in assorted colors.

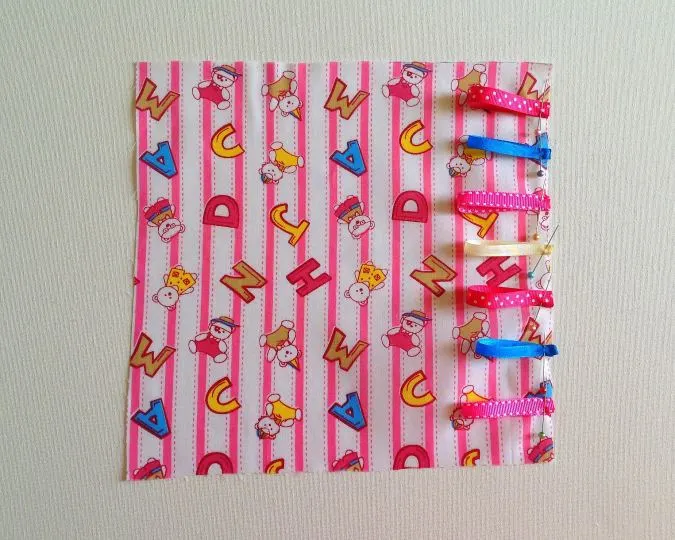
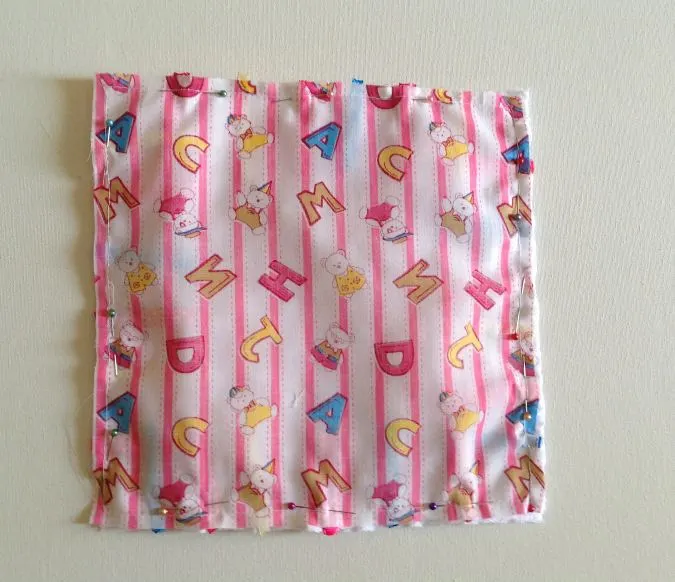
Fold the ribbon pieces in half, with the wrong sides together and start pinning along the edge of the toy upper. The ribbon loops should face inwards and should be pinned equally apart. There should be 6 ribbon loops on each side ( you may change the number of ribbon loops if you wish).
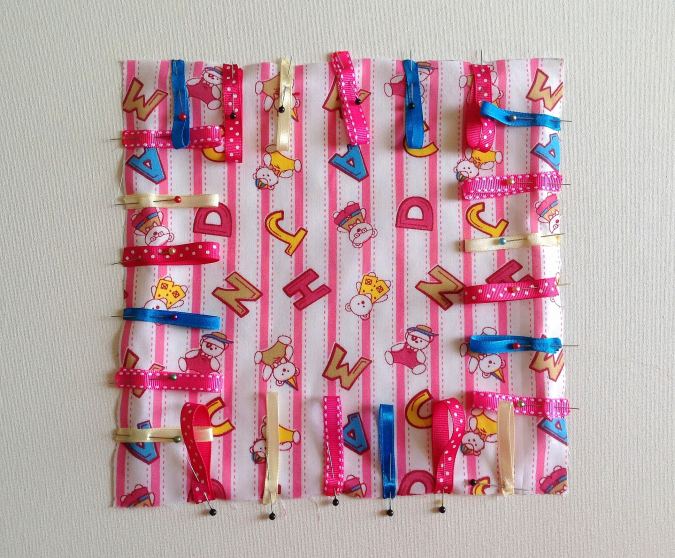
Keep pinning the ribbon loops till all the four edges are covered.

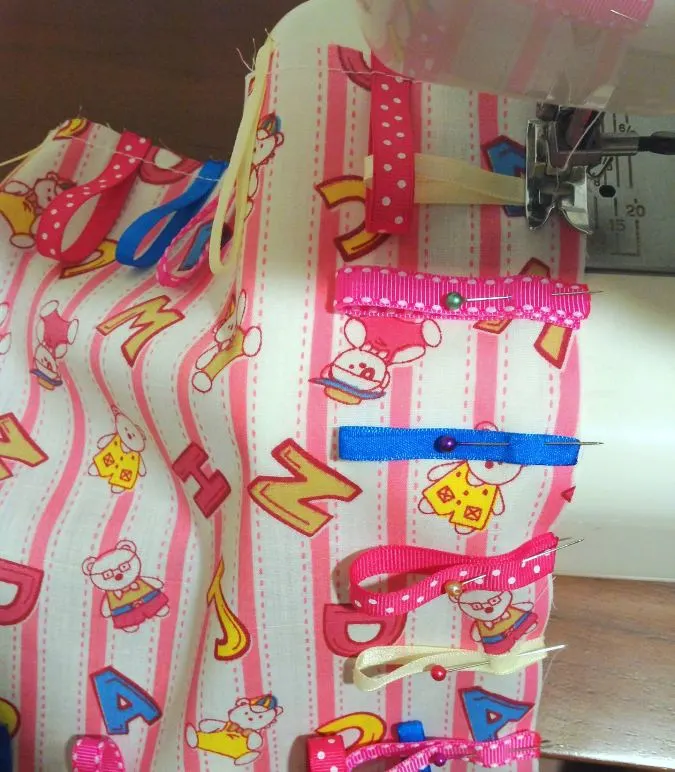
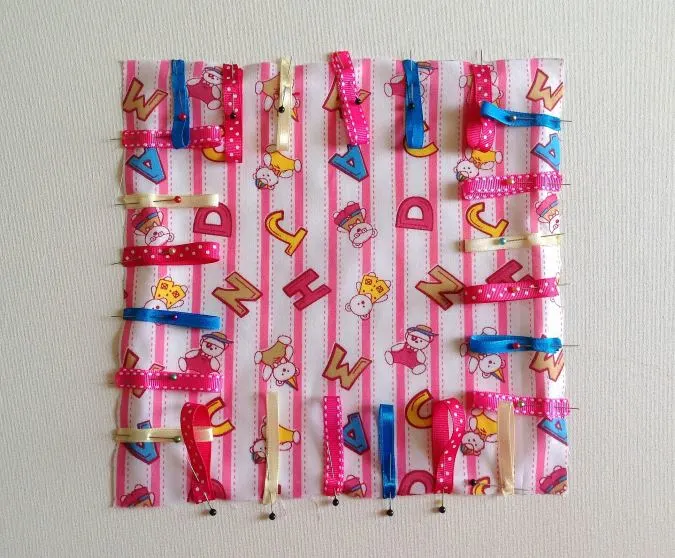
Sew the ribbons to the toy upper, removing the pins as you go.
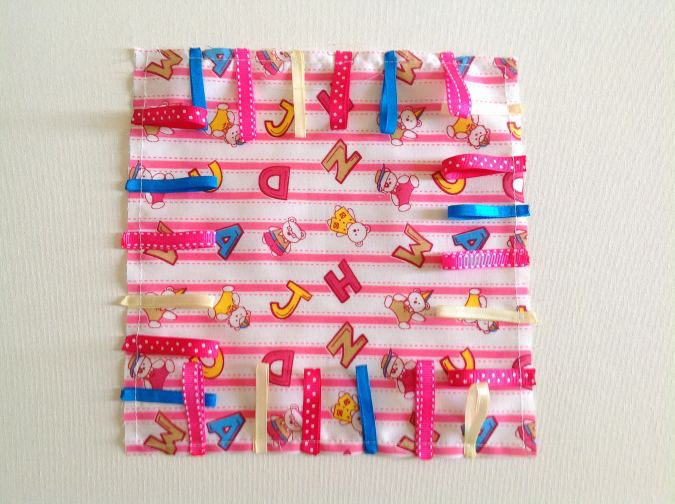
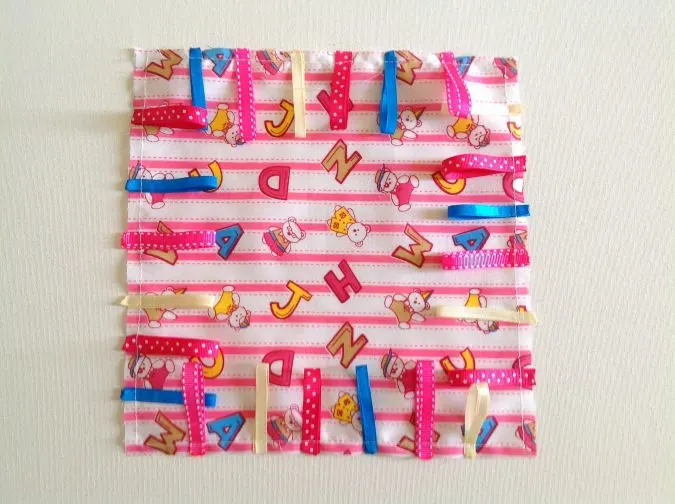
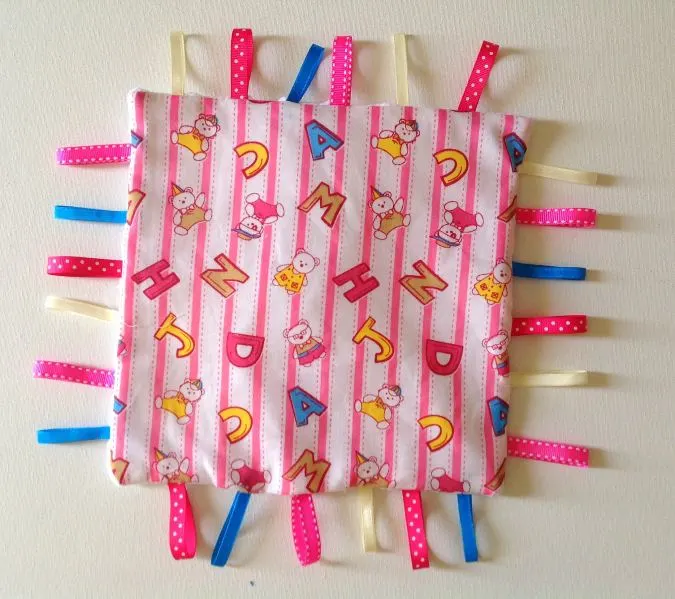
The upper would look like this once done.
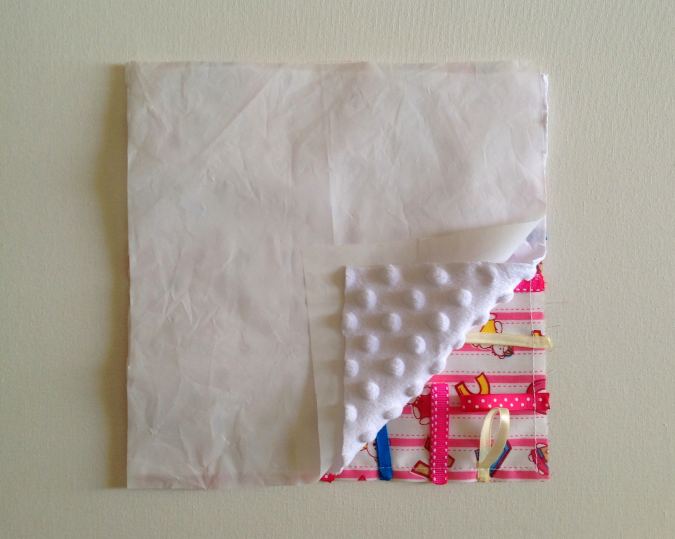

Place the minky square( toy back) over the done upper with the right sides together. Next, place the crinkle material over the minky. Align the edges and pin the three layers together.
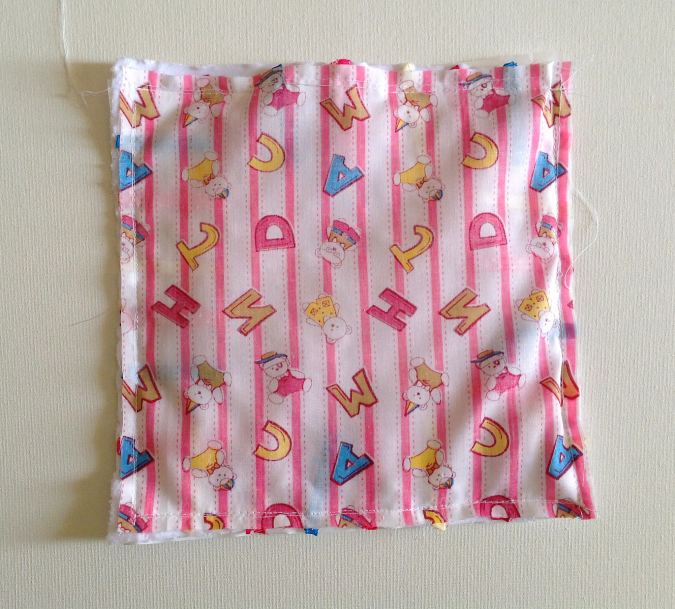

Sew the three layers together, leaving a gap of about 3- inches to turn the right side out.

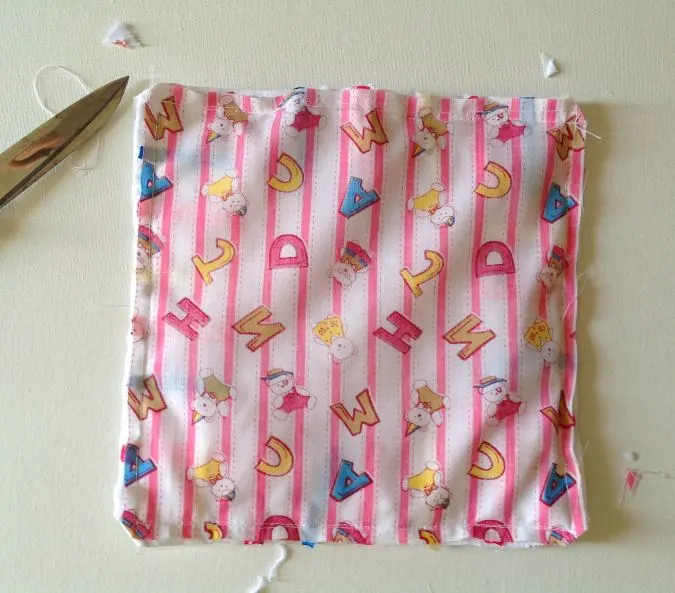
Clip the corners and trim the edges.

Slide your fingers in between the minky and cotton layer and pull the right side out.
Poke the corners out with the help of a wooden dowel.

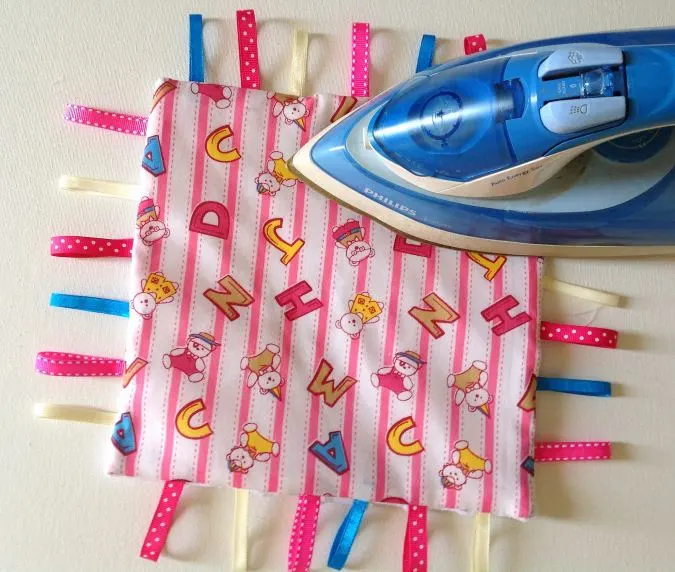
Press the toy, keeping the iron to a warm temperature and not on high heat.

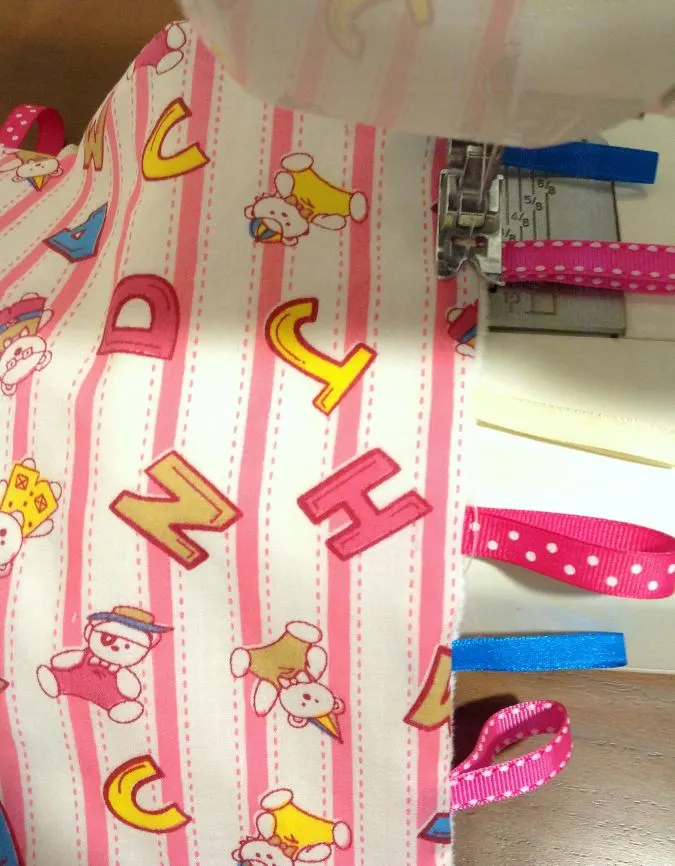
Topstitch along the edge to close the opening and to make it neat and crisp.

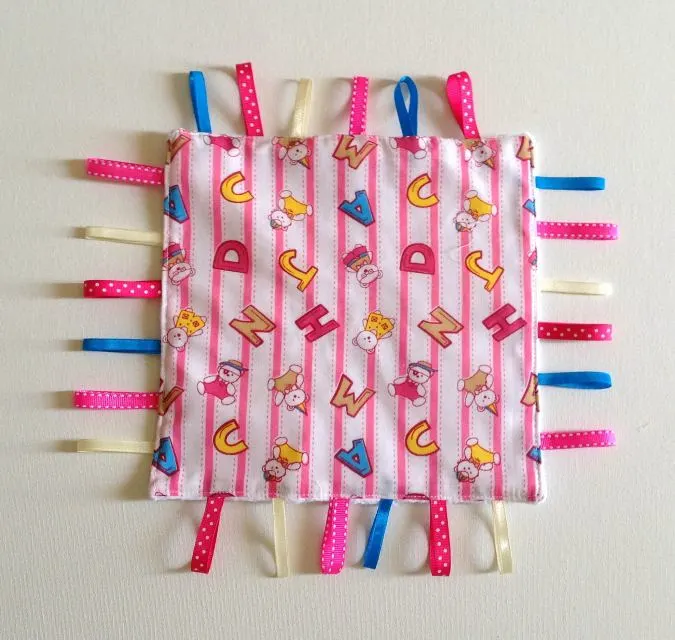
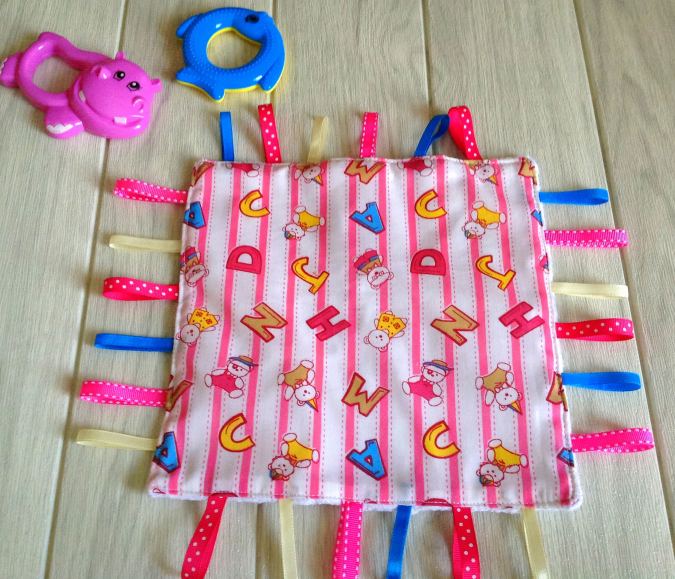
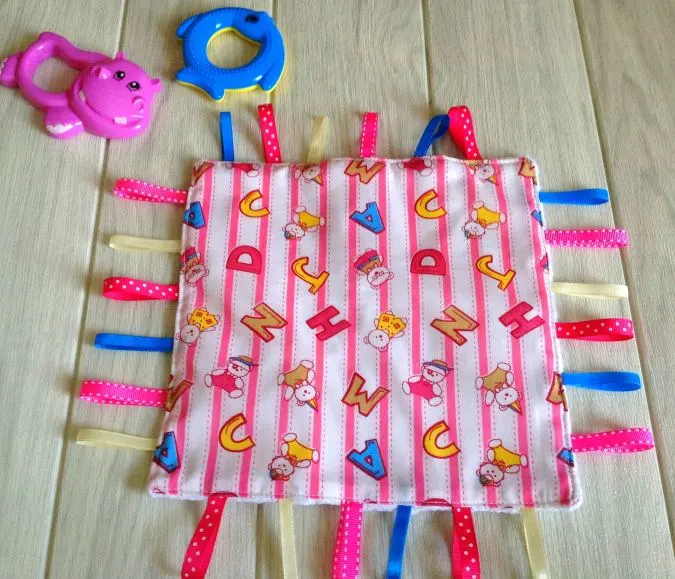
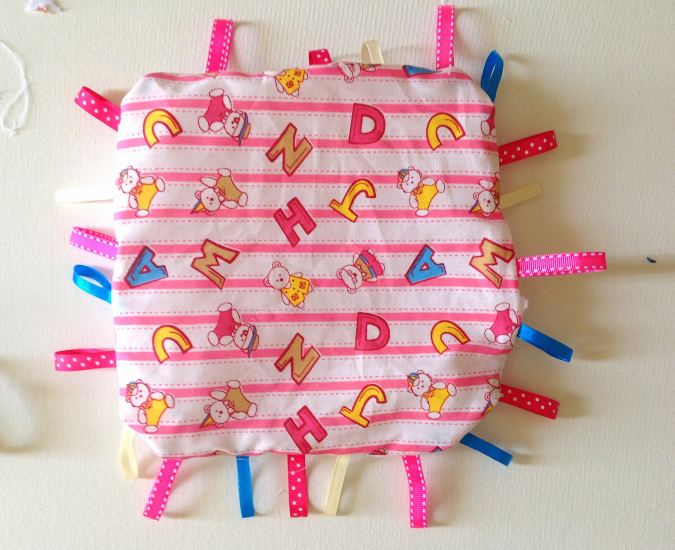
Our DIY sensory ribbon toy for babies is done!
Pin it for later here,
Find the webstory for the post here, Quick-Sew Sensory Ribbon Toy to Delight Your Baby
Pin it for later:
Paula
Thursday 26th of October 2023
I can't wait to do this - had thought about it from time to time, but having simple instructions & the perfect size scraps I have now are my incentive! Plus the neighbors have a 2 month old baby!
And there's no way to edit my reply to Becky - I have no idea what would be strong enough to survive washings yet loud enough to get the crinkle sound - found a small plastic bag that held rubber bands- loud, thick, plastic, but not big enough. Will keep looking... maybe a food saver seal bag - thick & strong, & a bit of noise?
kassidi
Friday 29th of July 2022
Can they be washed in the washing machine?
Surayya
Saturday 30th of July 2022
Yes, they can be washed in a washing machine.
Surayya
Saturday 30th of July 2022
Yes, sure you can!
Becky
Saturday 18th of April 2020
Hi, and thank you for the sensory ribbon toy pattern! Before I get started, do you mean just a plastic baggie like I would store leftover bread in? Just making sure that won’t hurt my machine. Thank you!
Paula
Thursday 26th of October 2023
@Becky,
I looked around here & thought maybe a cereal or cracker bag (from inside the box when it's done?) Would be sturdy enough and loud enough for that.
Surayya
Saturday 18th of April 2020
Yes, you may use a plastic bag that is used for storing bread. In fact, you can use any plastic bags, used to store food.