Learn how to sew easy baby bloomers in just 5 steps. This is an easy sewing pattern that you can make in just 30 minutes.

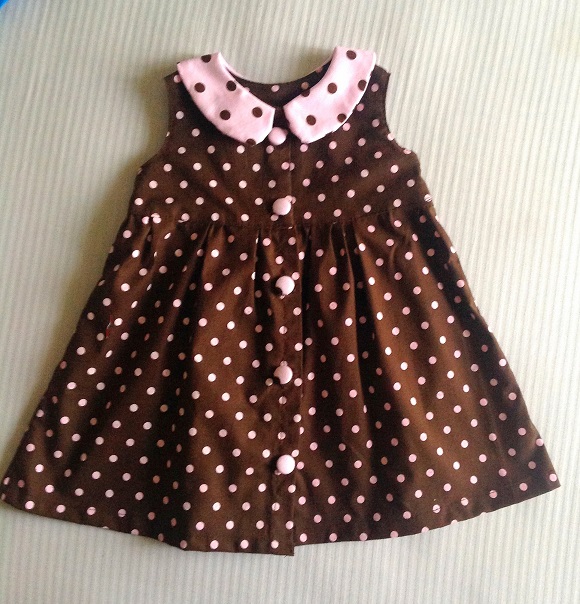
I love the sight of little babies wearing bubble bloomers. I feel babies would stay comfortable in them and it would look cute on little baby butts.

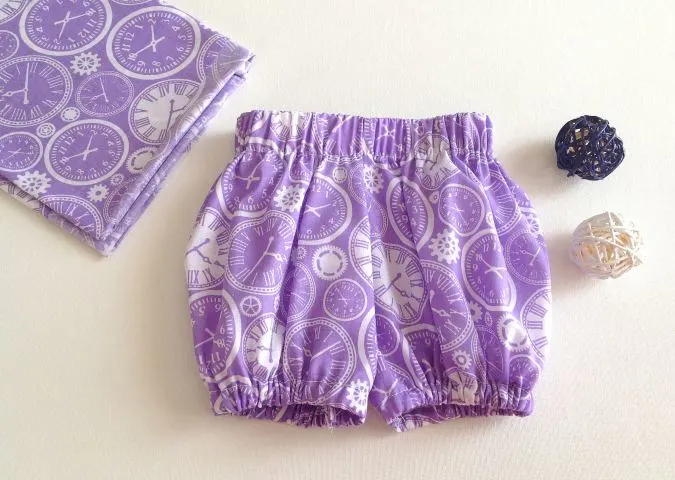
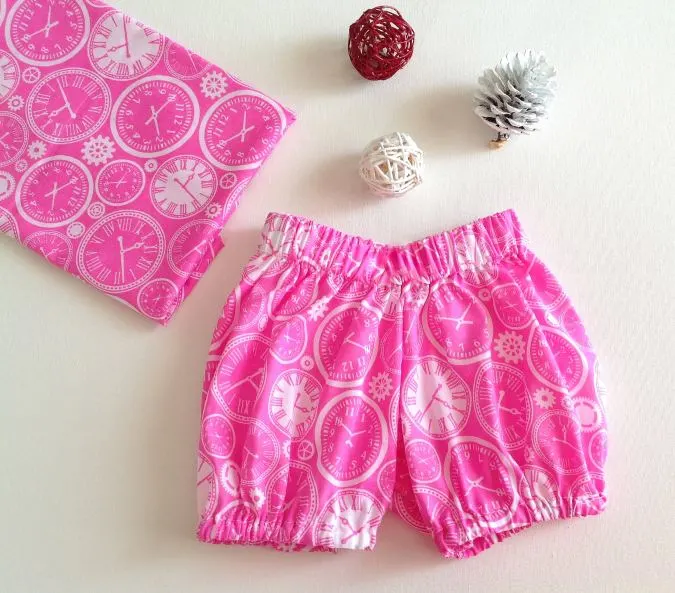
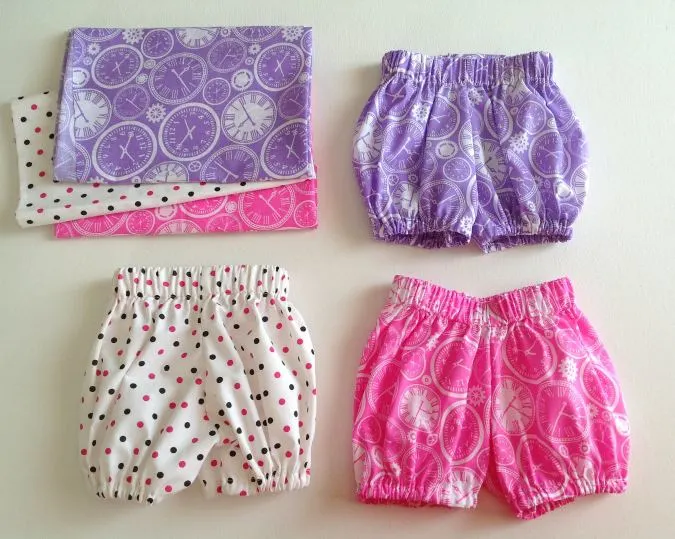
Puffy little bloomers are my favorites and with the elastic waistbands, they are roomy and large enough to accommodate diapers. These stylish baby bloomers can be made with lightweight or medium-weight cotton fabric in varying prints and colors for a baby girl or baby boy.
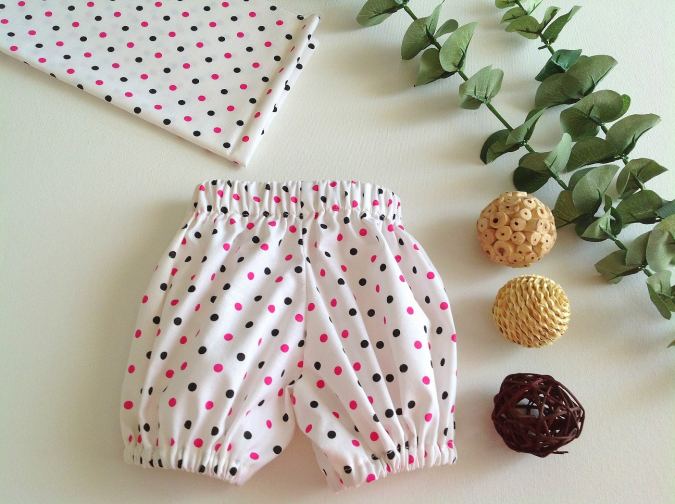

These DIY bubble bloomers can look great with any baby clothes. May it be onesies, tops or anything else. They are great for summer and worn over leggings, they can be great for the colder months too.


These adorable bloomers can be great a diy baby shower gift. You can make them with matching baby tops ( pattern coming soon) as a gift to your loved one’s baby! It is sure to become a staple in her summer closet!


This simple sewing tutorial will teach you how to make baby bloomers in just 5 steps. Just two pieces to cut and a few stitches to be made to make these great-looking bloomers. Also, these great bloomers come with a high rise for the back to give maximum coverage while wearing diapers and that comes as an added advantage.
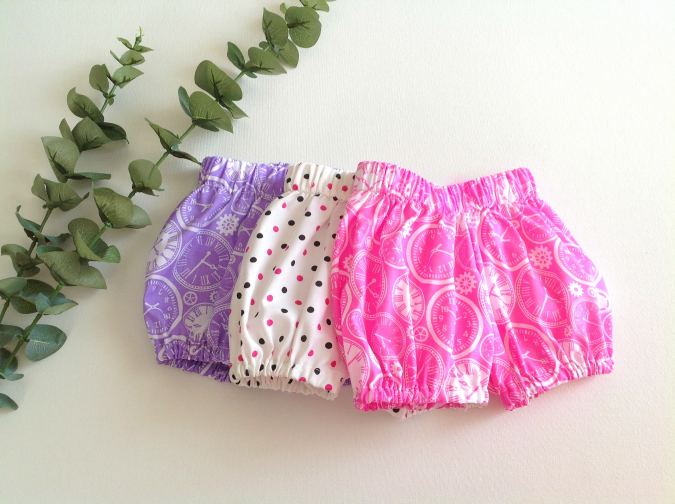
Sewing these bloomers was a breeze for me. I cut up all three photographed here together and stitched all three in one sitting. In fact, these were one of the first items I tried during my beginner sewing days, and this is the perfect project for all beginner sewers.
So, grab your fabric and your notions and start using this free baby bloomers pattern to whip up awesome bloomers for your little munchkin.
I have many more free baby patterns. Here is a list of free baby sewing patterns:
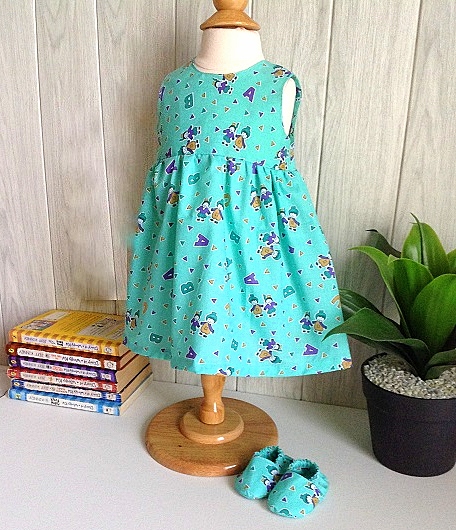

Easy Baby Dress

Baby Dress with Collar
Easy Baby Blanket with Animal Ears.
- Following the suggestions of many of my readers, the template has been edited and the finished measurements are included in the tutorial.
Easy Baby Bloomers in 5 Steps
**Skip to the end of the post for the video tutorial**
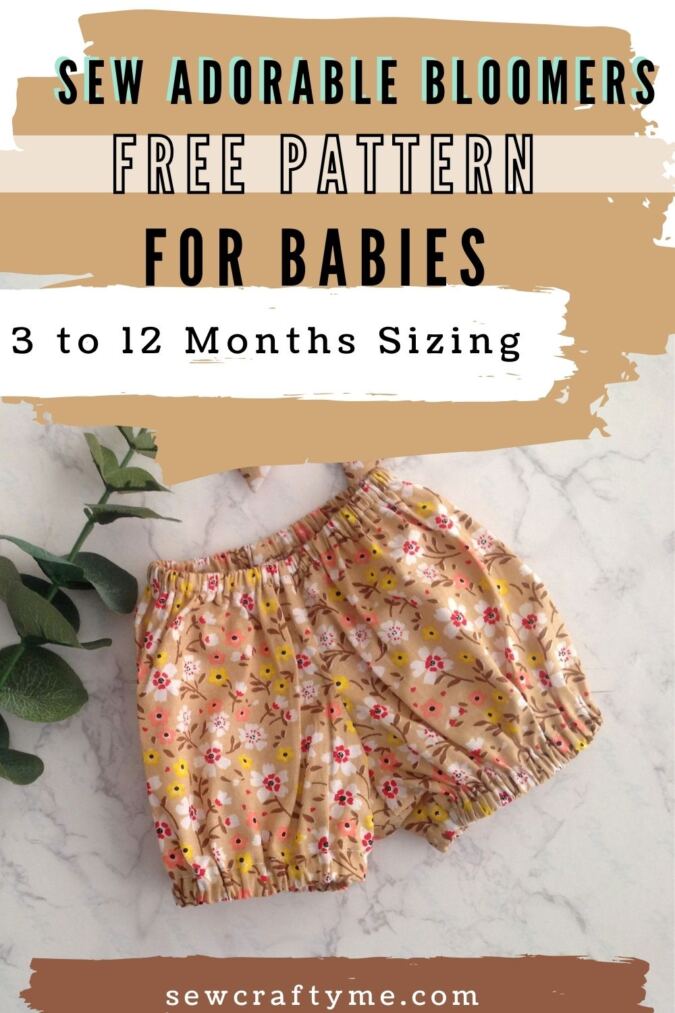
Finished Measurements For Different Sizes
3-6 Months:
Approximate finished length- 5.75- inches.
Approximate finished width at the waist (with elastic stretched)- 19- inches.
Approximate finished inseam- 1.25- inch.
6-12 Months:
Approximate finished length- 6.5- inches.
Approximate finished width at the waist (with elastic stretched)- 20.5- inches.
Approximate finished inseam- 1.75- inches.
- The fabric used here is 44-inches wide.
- The seam allowance is 3/8- inch unless otherwise specified.
Materials Required:
Medium- weight cotton fabric for the bloomers – 1/4 yard.
1/2 – inch elastic for the waist:
16.5 –inches for 3 to 6 months and 17-inches for 6 to 12 months.
3/8- inch elastic for the leg holes:
22- inches for 3 to 6 months and 23- inches for 6 to 12 months.
Sewing Notions.
Enter your e-mail address and click on the subscribe button to download the template automatically.
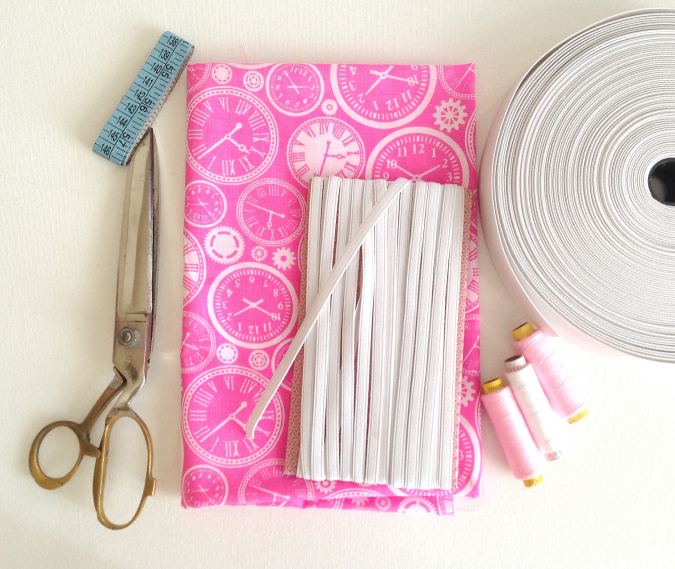
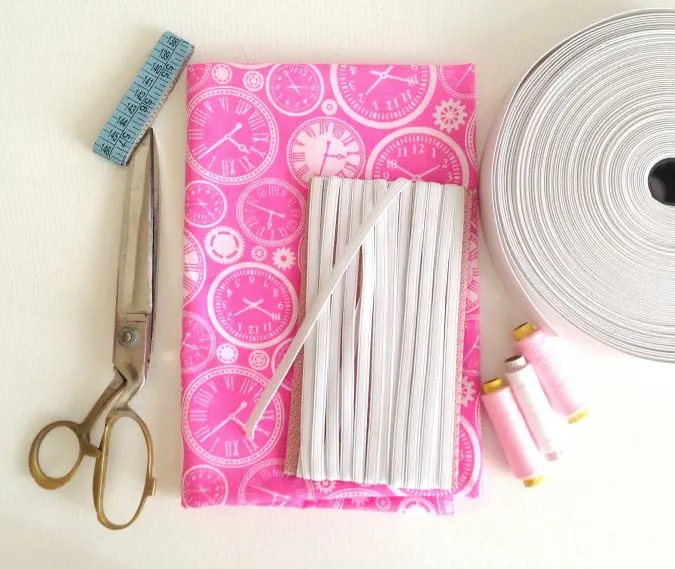
Gather your supplies.
Step-1: Cutting the pieces.
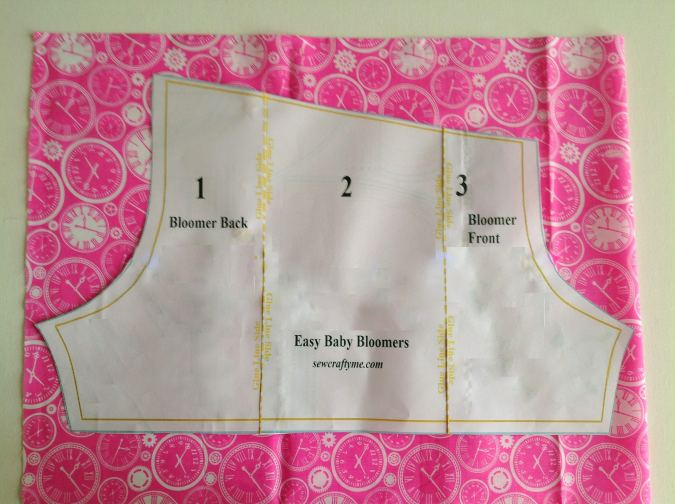
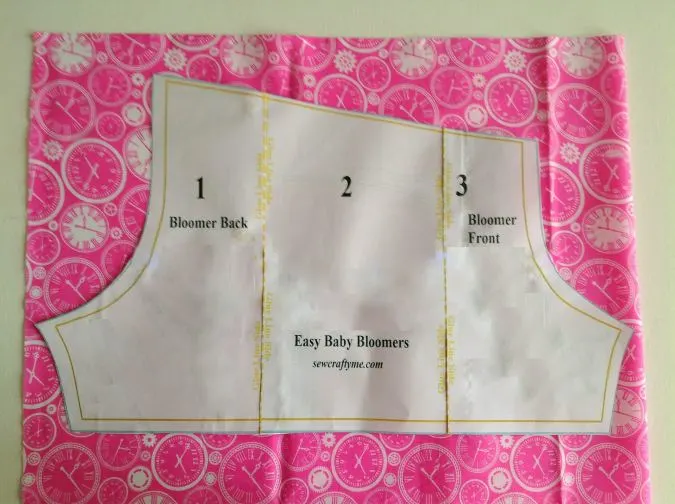
Fold fabric to fit the width of the template and place the pattern pieces over it. Mark around it and cut to get the bloomer pieces.
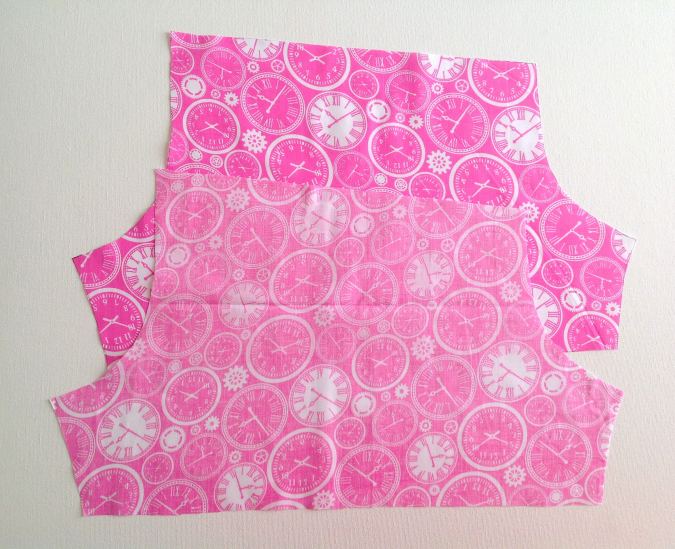
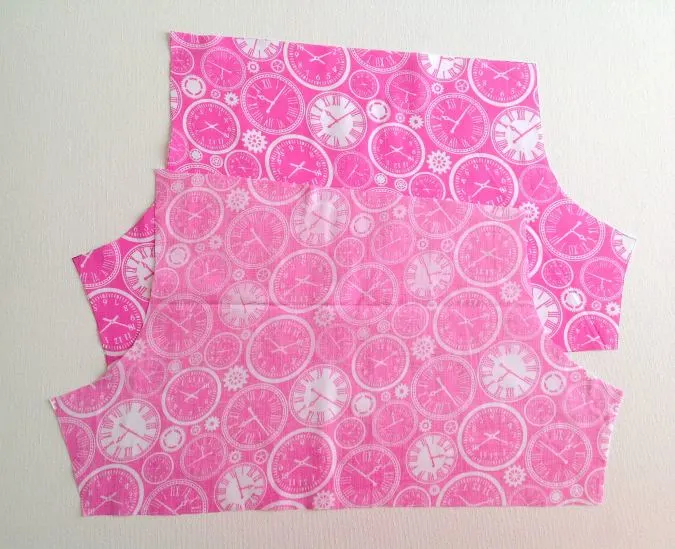
Your bloomer pieces will look like this. Note that one is the mirror image of the other.
Step 2: Sewing the side seams.
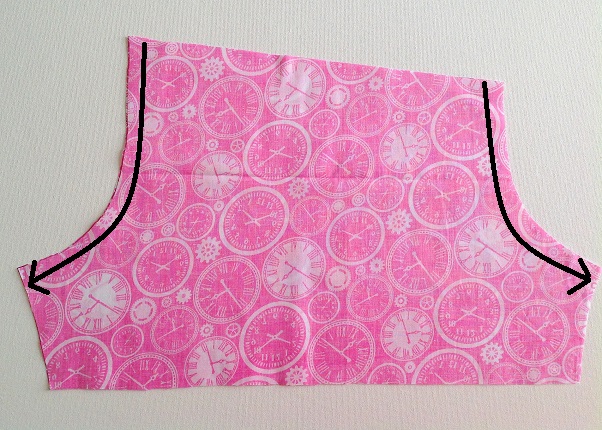

Keep the two bloomer piece layered, with the right sides together and aligning the edges. Sew with a straight stitch along the two curved edges to join.
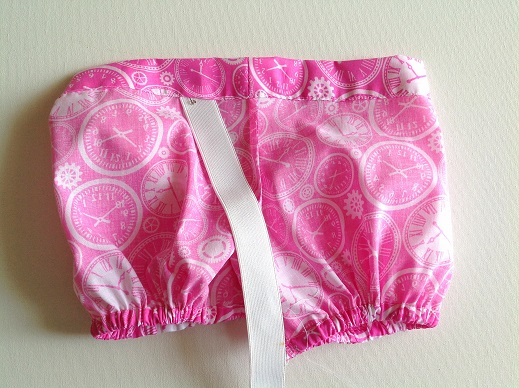
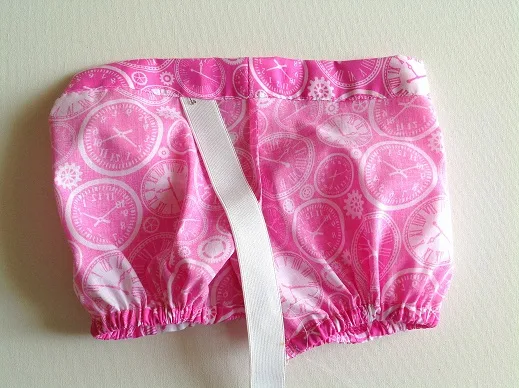
Step 3- Prepare the leg openings and the waist elastic casing.
Let’s hem the lower edges of the bloomer (note that the lower hem is also the lower elastic casing).

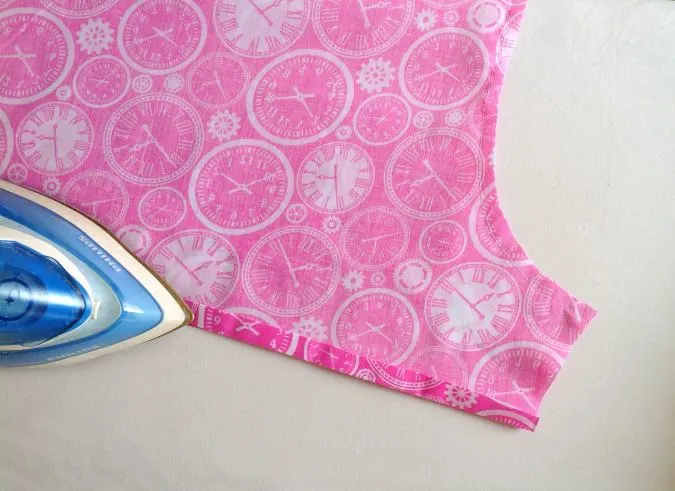
Fold the lower edge of one of the legs by 3/8- inch and press. Fold again by ½- inch and press once again.

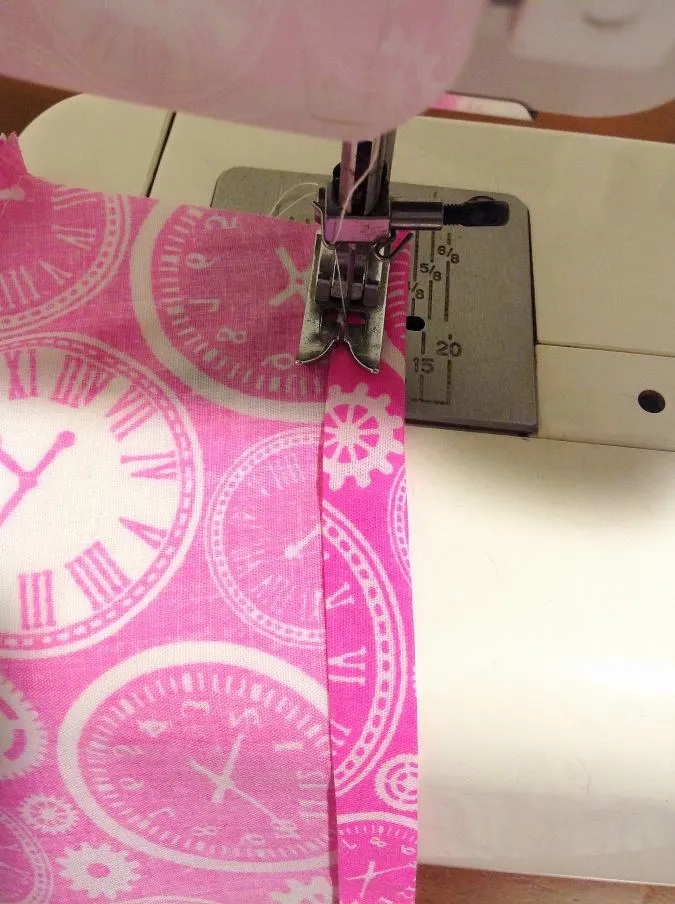
Sew the folded edge down in a straight line. Repeat steps on the other leg of the bloomer.
Let’s prepare the casing for the waist elastic.

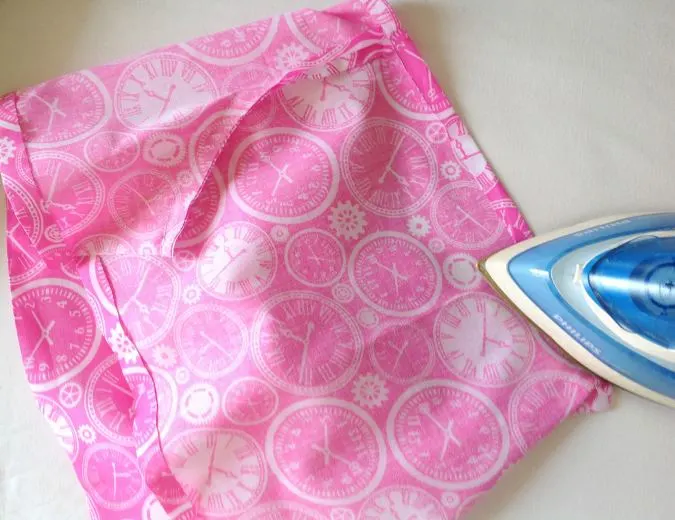
Fold the upper edge of the bloomer by 3/8-inch and press.
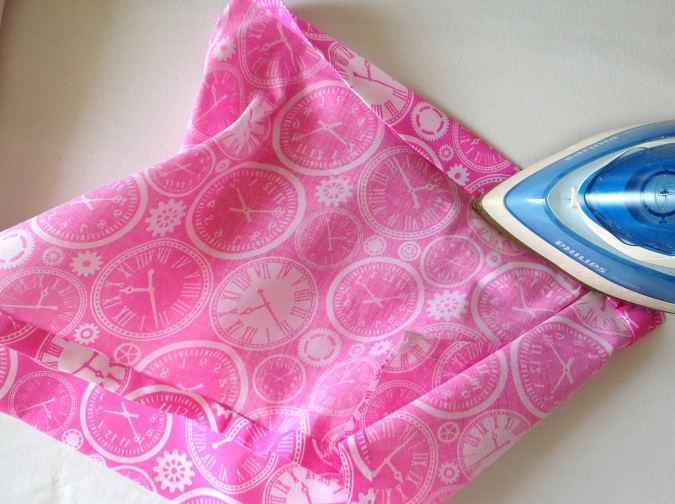

Fold by 5/8- inch and press once again.
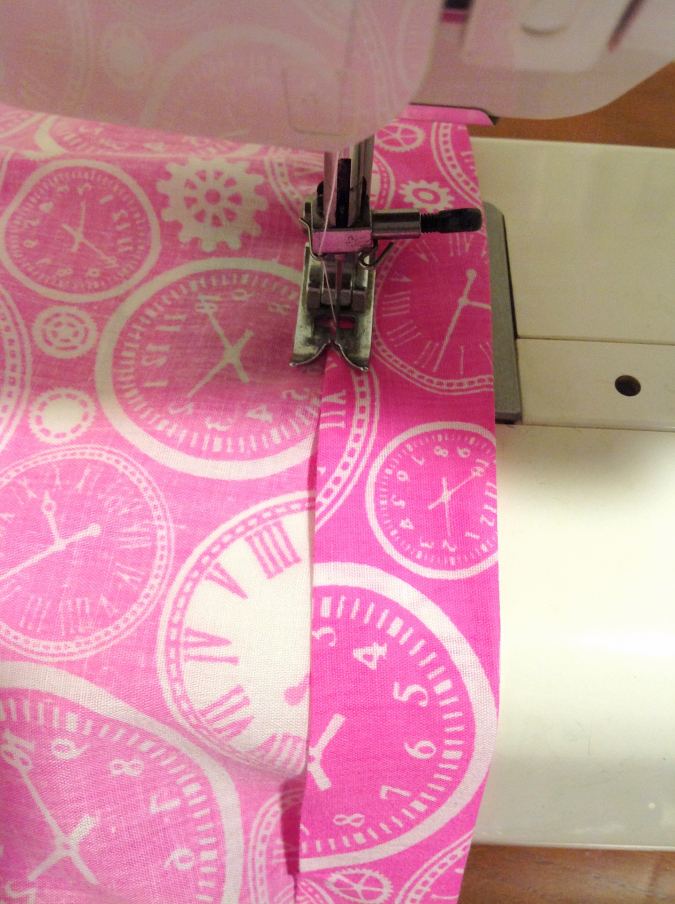
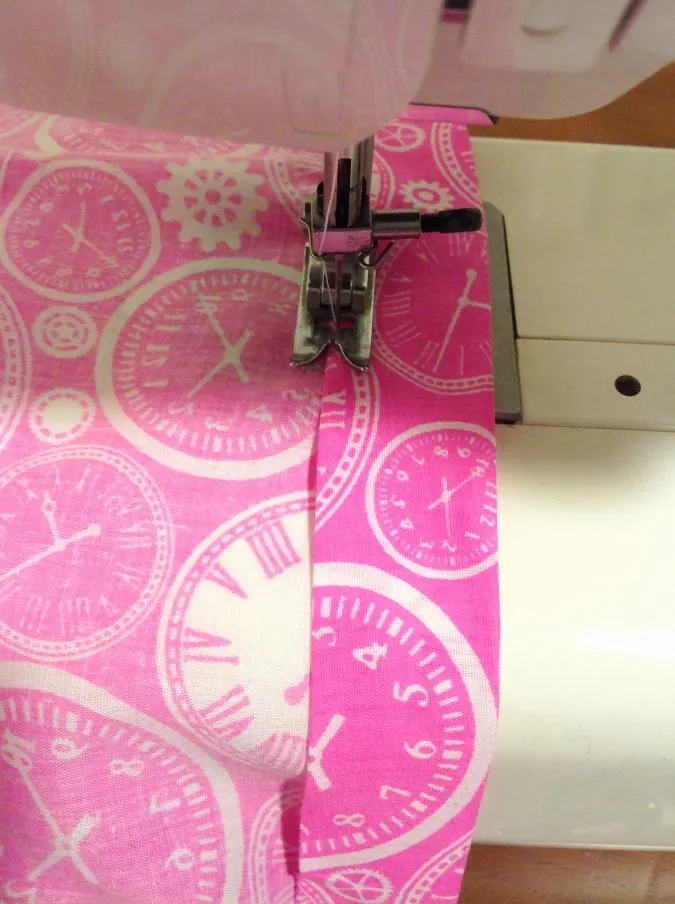
Sew the casing down along the edge of the fold, leaving about 2- inches for elastic insertion.
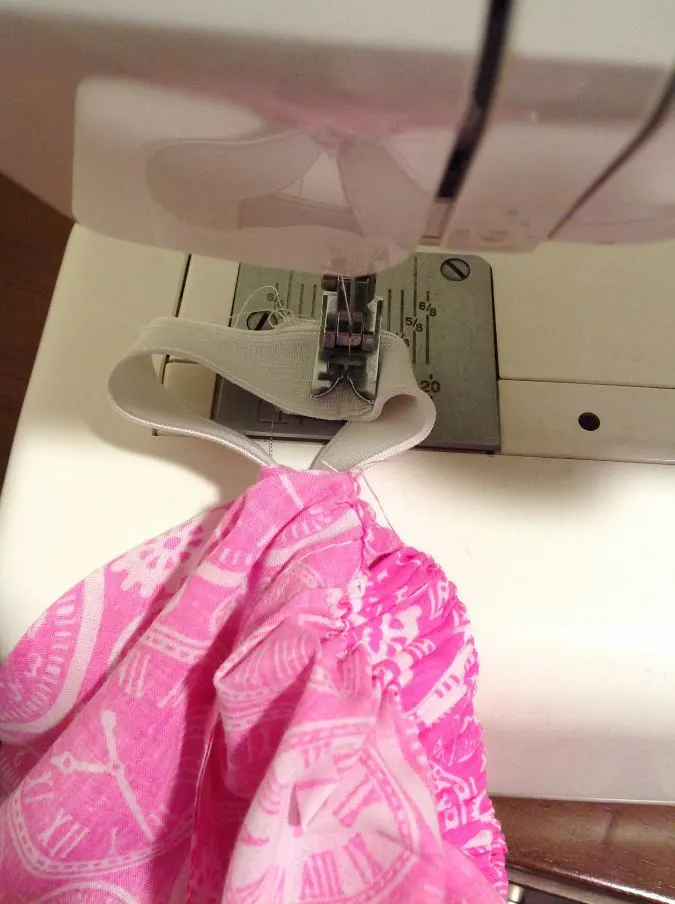
Step-4- Inserting the elastic.
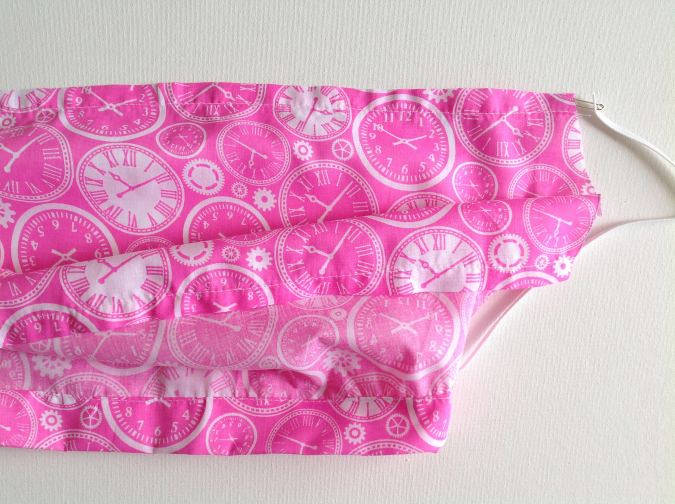

Next, cut the leg elastic into two equal pieces. Insert the elastic pieces through the casings in the hemline of the bloomer, with the help of a safety pin.

Secure the elastic ends by sewing back and forth a few times to form locking stitches. Repeat on the other leg.
Take the required length of the 1/2- inch elastic and insert it through the opening in the waist casing, using a safety pin.

Keep the ends of the elastic overlapping by about ½- inch and sew back and forth to join.

Sew the open hole in the casing shut.
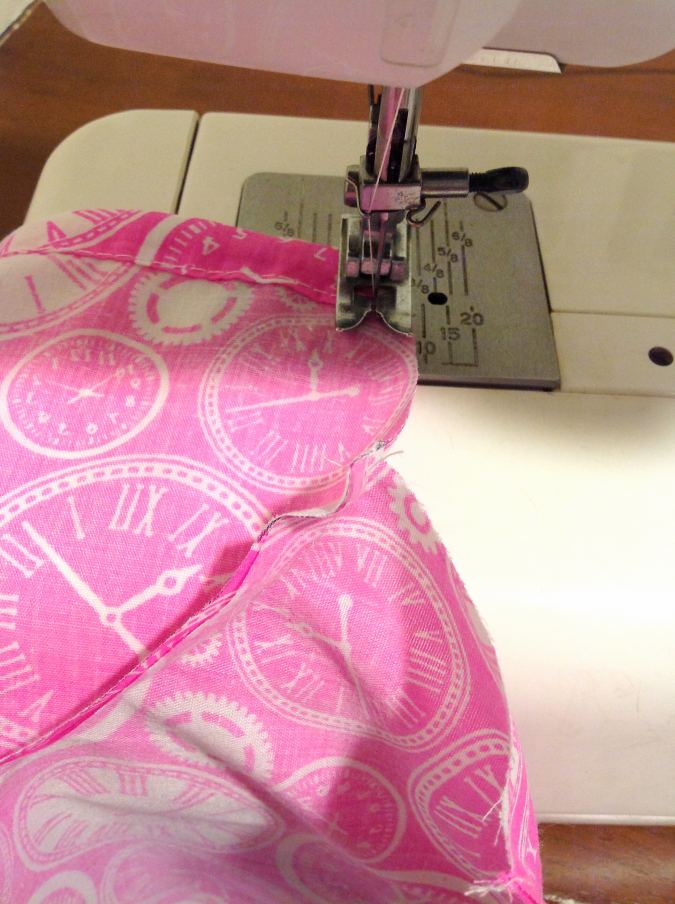
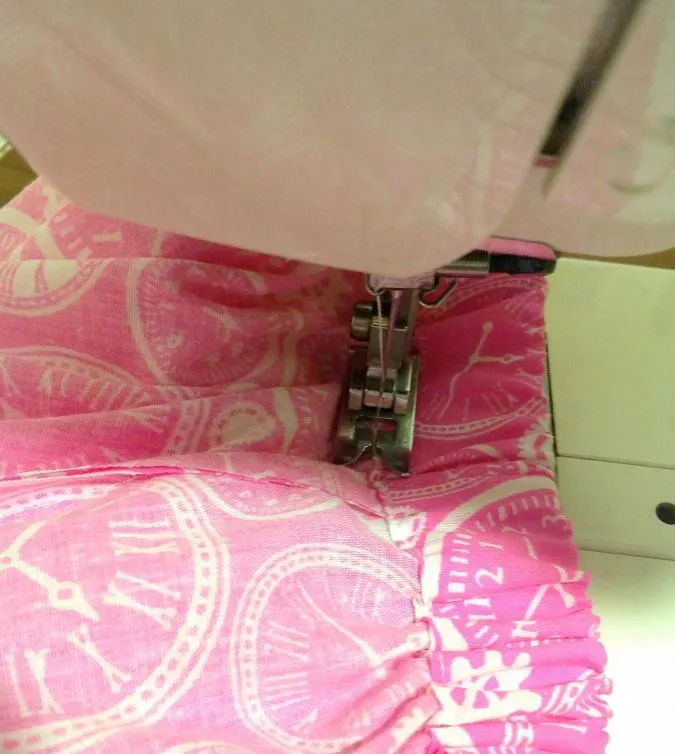
Step-5- Sewing the inseam
Let’s sew the inseam (crotch seam).
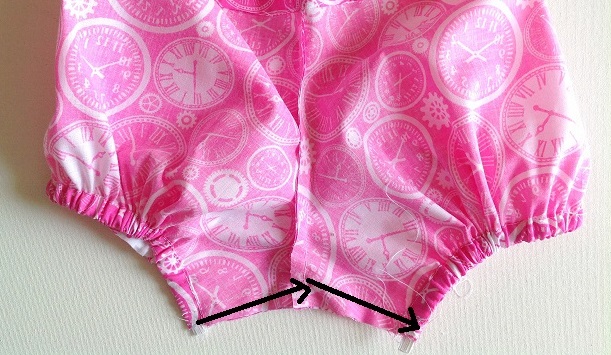

Keep the inseam of the front and back aligned and sew it shut as marked.
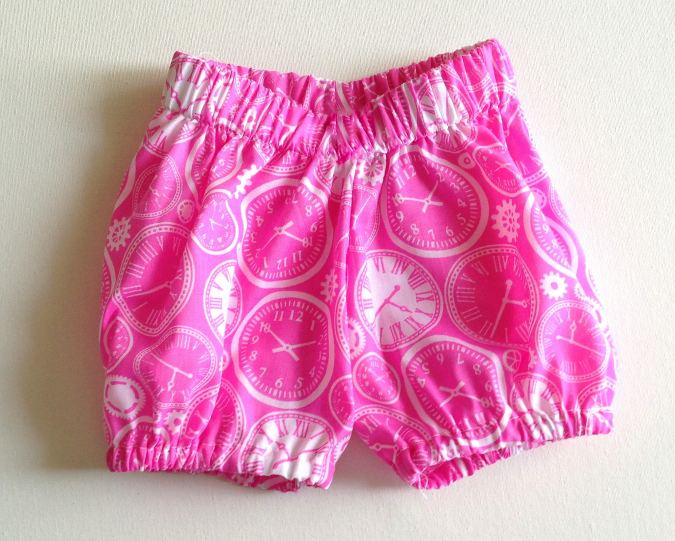
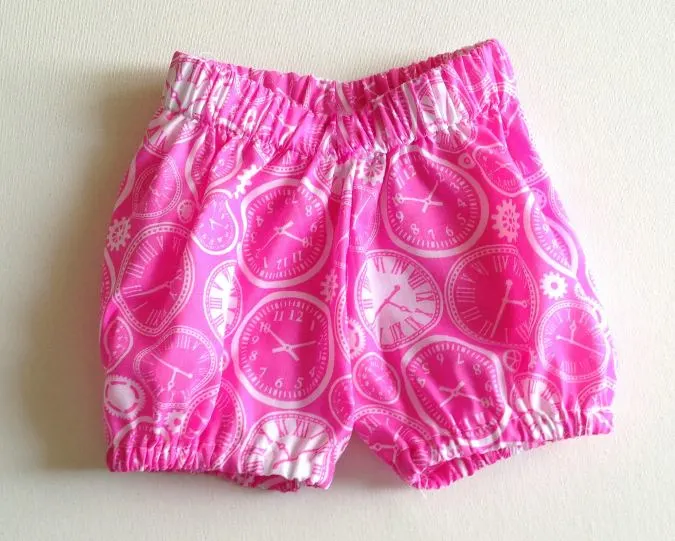
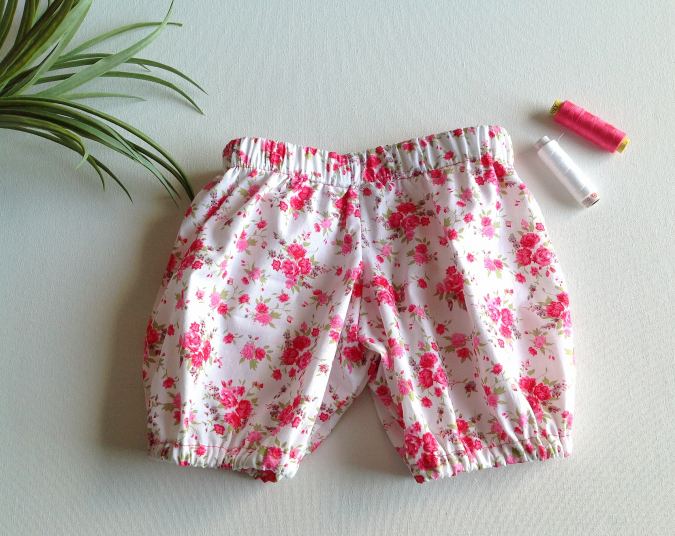
Our easy baby bloomer is ready! Happy Sewing!!
Find the video tutorial below:
Pin it for later here,
Have a look at the web story for the post here: Beginner-Friendly Baby Bloomers: The 5-Step Tutorial
Isn’t this free baby bloomers pattern the easiest and the sweetest? Let me know in the comment box below!
Elaine L.
Thursday 9th of April 2026
Made my first pair of baby bloomers, and they are so adorable.
Emily
Thursday 10th of April 2025
Hello, thank you so much for your detailed instructions and free pattern. I am a beginner at sewing and I got to the part where I’ve created both the leg and waist casings but haven’t inserted the elastic yet.
When I unfold the inseam, it only measures to 2.5 inches which looks smaller than the picture (I am making the 0-3mo size). Is this by design?
I’m wondering if I should I try to fix this by moving the side seams sewn in Step 2 closer to the edge of the fabric.
Surayya
Thursday 10th of April 2025
Yes, that’s totally normal. The photos show a larger size bloomer, so the inseams look longer. For the 0–3 month size, you will get a shorter inseam. No need to adjust the side seams — you’re on the right track!
Lynn
Sunday 10th of September 2023
Fantastic pattern and tutorial! I've already made 3 sets of baby bloomers to match baby dresses. Thank you for this!
LiNaruz
Saturday 13th of May 2023
I just bought the pattern for $2.99 thru PayPal. How do I get the pattern? Do you email it?
Surayya
Friday 26th of May 2023
Yes, the pattern is e-mailed
Dora
Monday 13th of February 2023
You show how to make the bloomers, but you do not share your templates, at least I could not find it.