

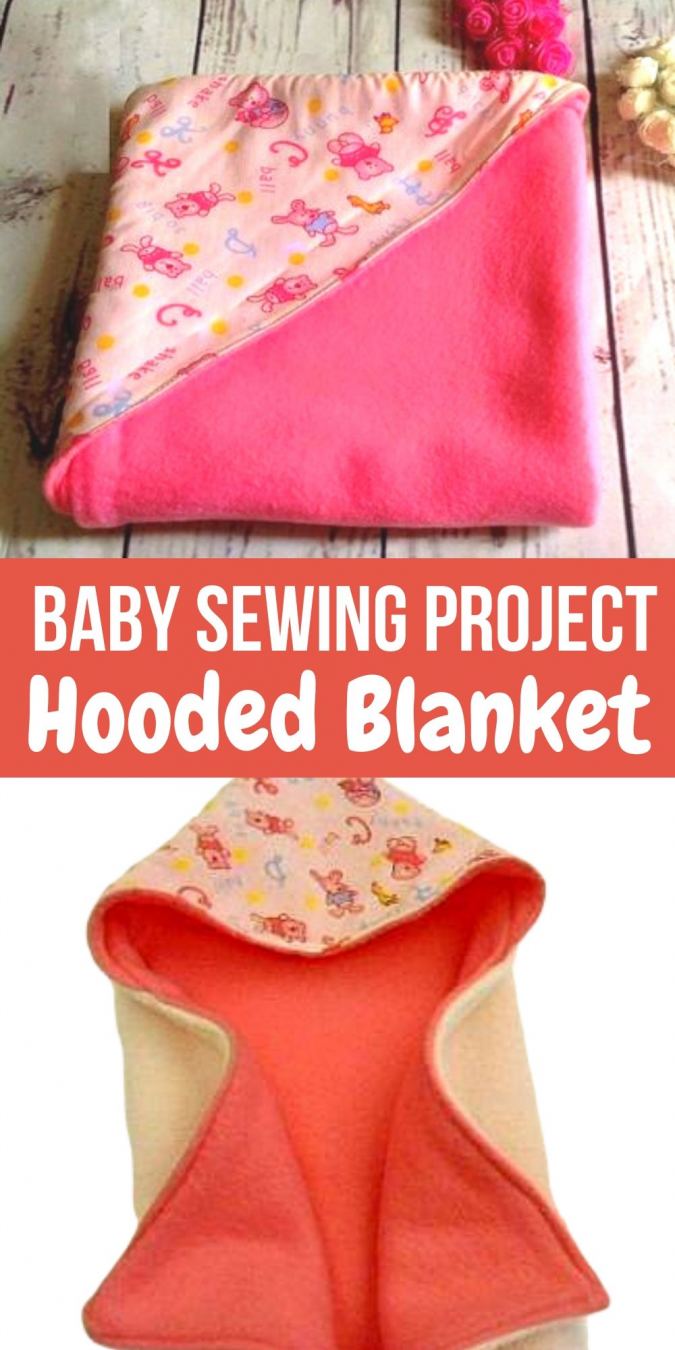
Reversible Hooded Baby Blanket Pattern


Reversible Baby Blanket

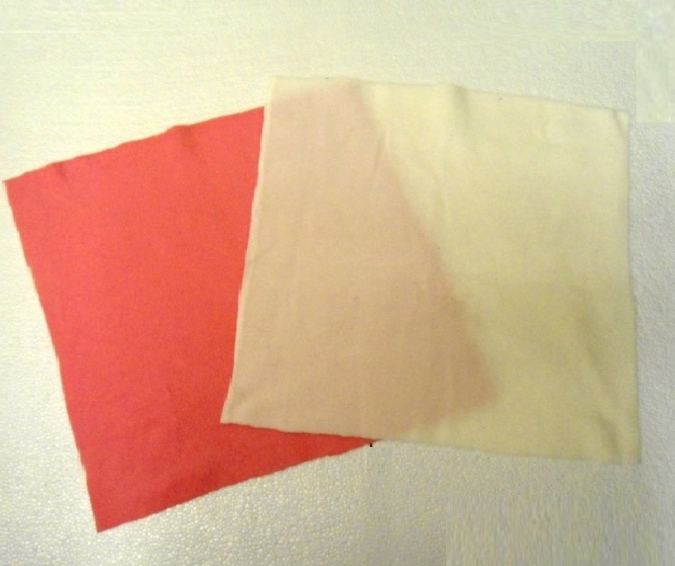

Cut one 36” x 36” square from each of the fabric for the blanket body.
Let’s move on to the hood.


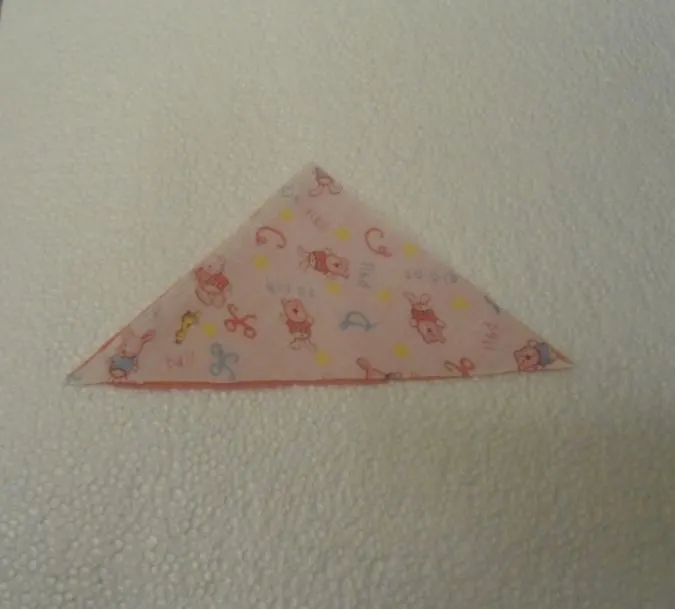
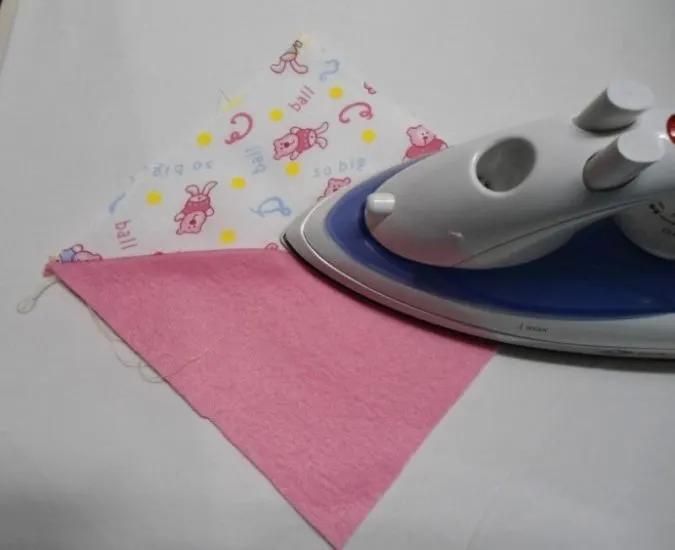
From one corner of the remaining fabric, measure approximately 13.5” from either side and mark it. Draw a line connecting the points to get a triangle as shown above. Cut along the line to get one triangle.

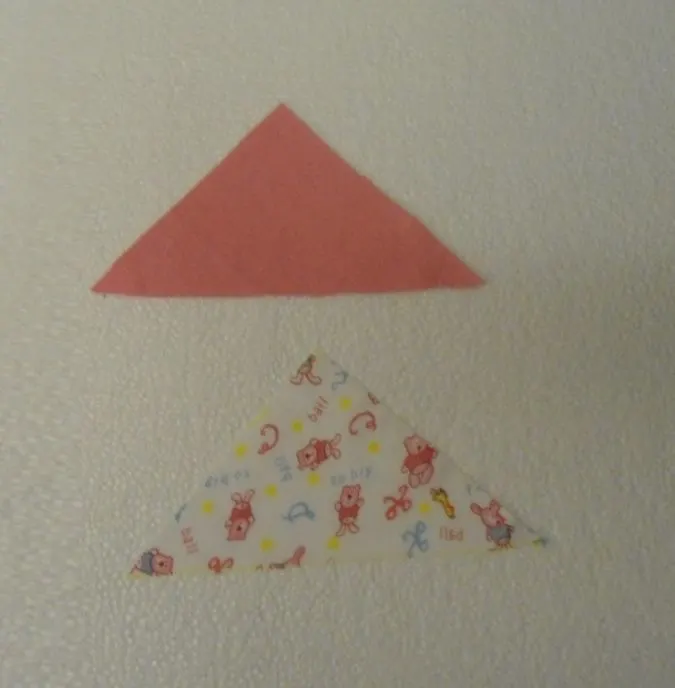
Repeat the steps to get another triangle from the cotton fabric in the same way. These two triangles will form the hood on either side.
Take the two triangle pieces and layer them with the right sides together as shown above.

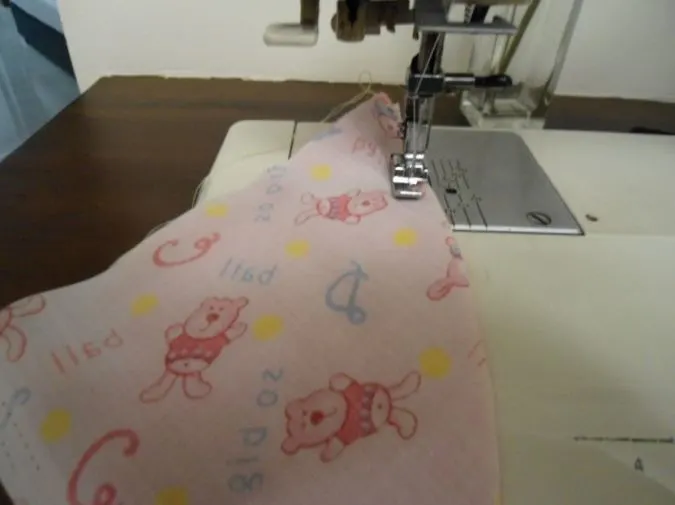
Sew along the longer side, leaving a 3/8-inch seam.
Clip the corners and trim the edges.

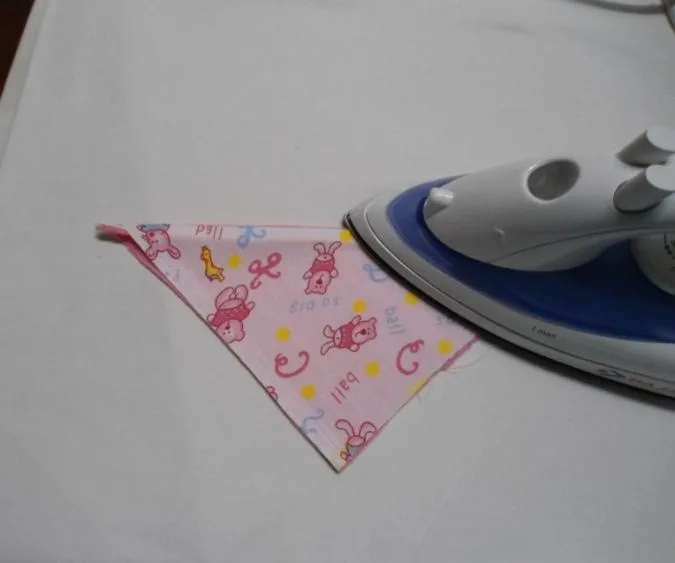
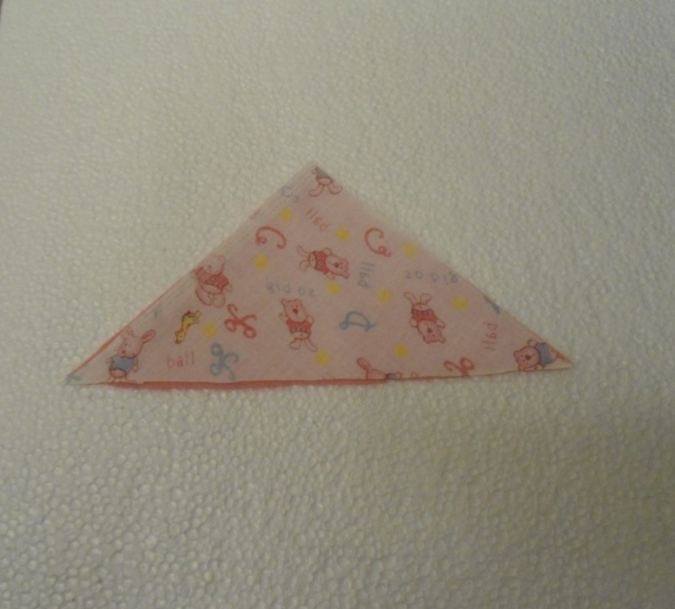
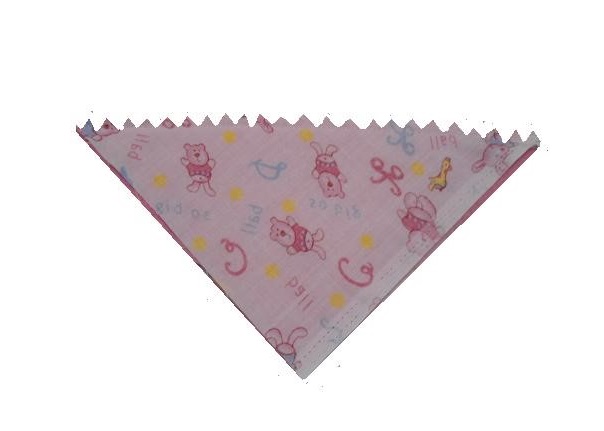
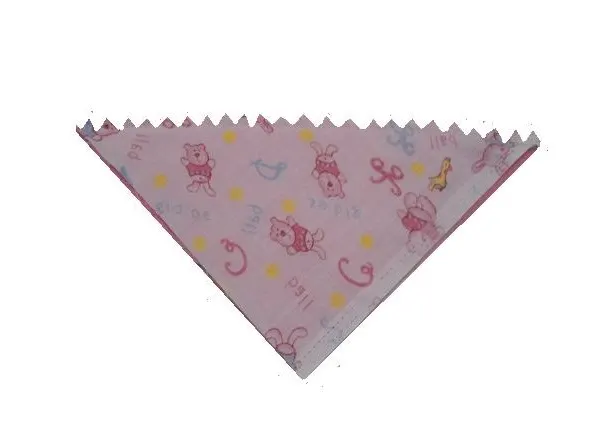
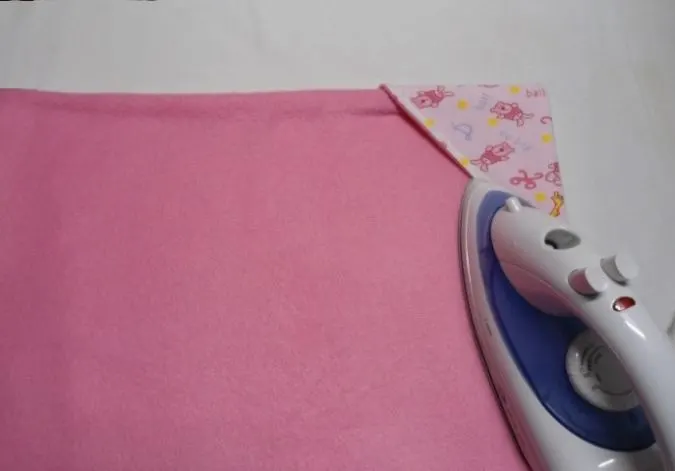
Open and press the seam as shown above. Fold over, Keeping the wrong sides together and press again to make it look neater.
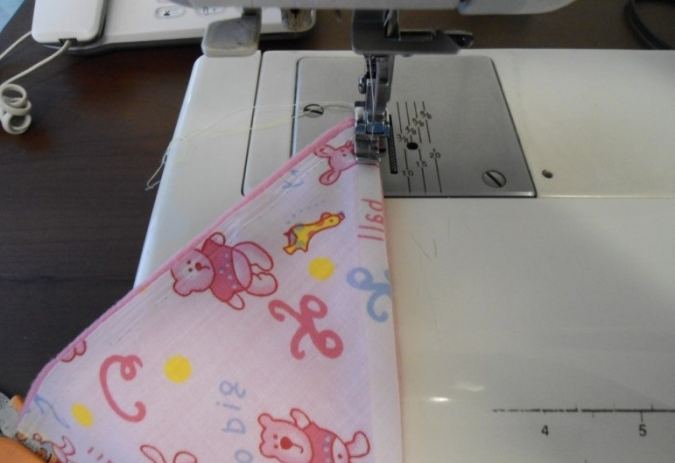

Topstitch along the longer side.

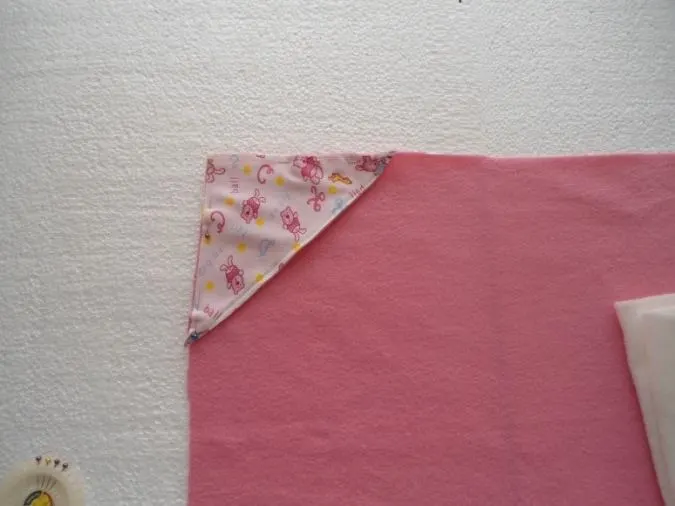
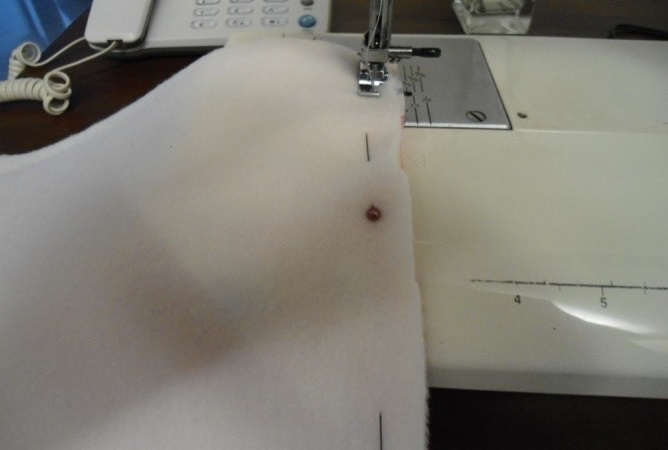
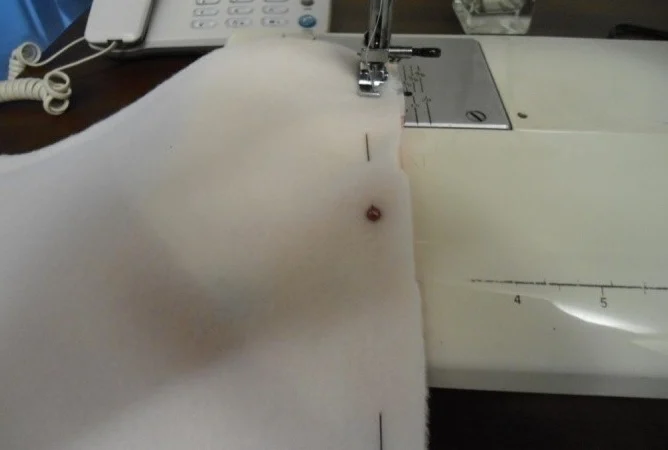
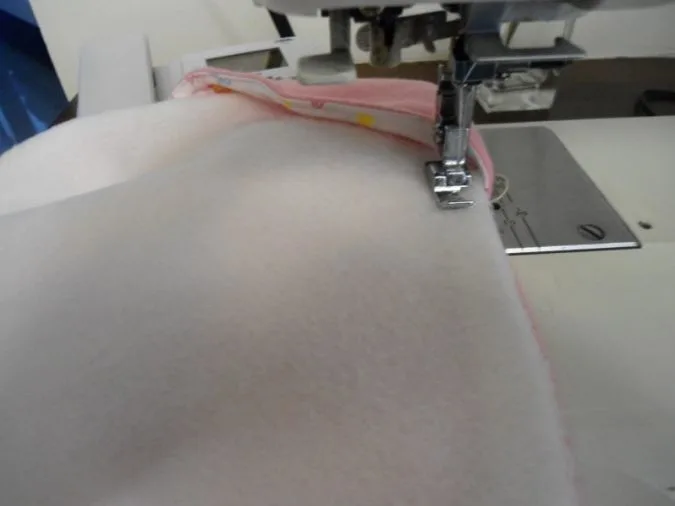
Keep the done hood along the corner of one of the blanket, align the side edges and pin in place.
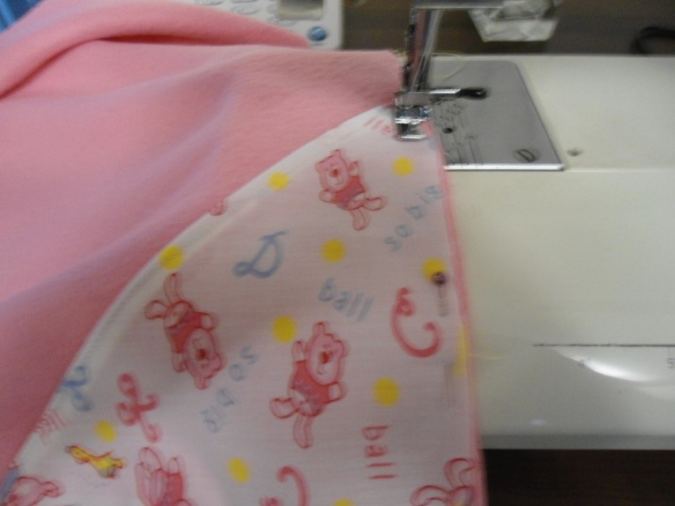

Sew along the pinned edges to secure the hood onto the blanket, make sure to sew back and forth a few times at the start and finish.
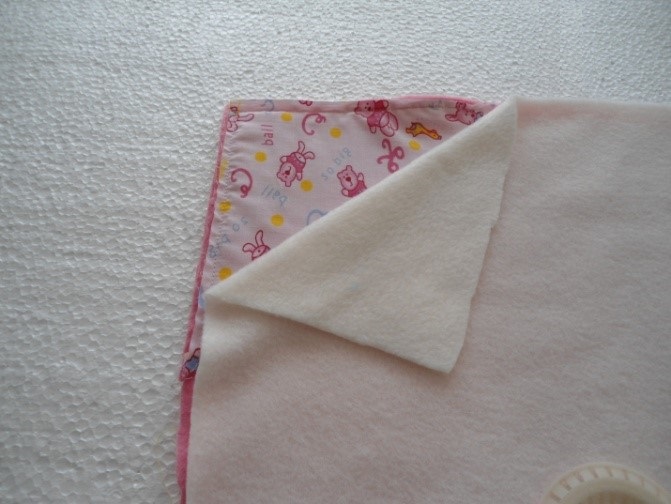
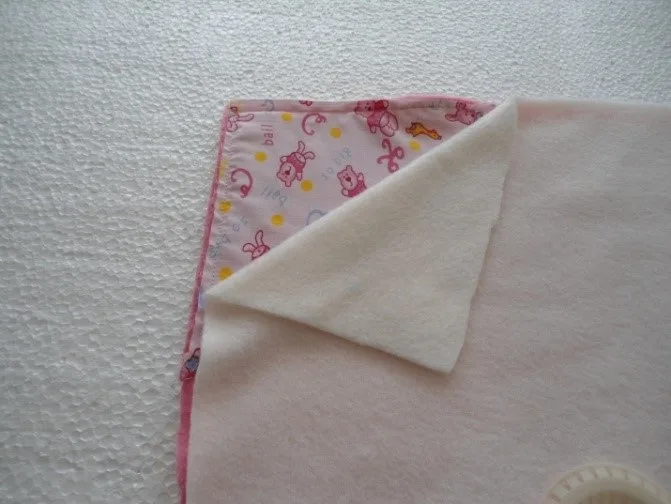
Now take the other blanket piece, keep it over the done blanket piece, aligning the edges and pin as shown above.
Sew the two blanket pieces together, starting from the middle of one side, leaving a seam allowance of 3/8 inches. Leave a 12 inch opening on the side to turn it inside out. Trim the seam to reduce the bulk.
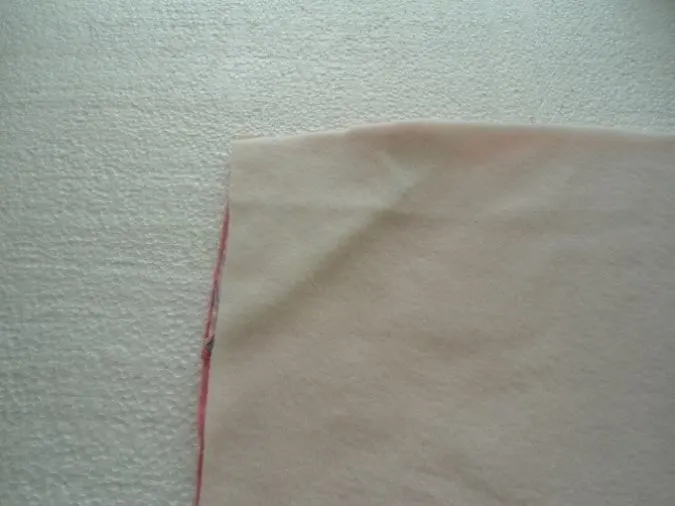
Turn the blanket inside-out through the opening and press to make it look neater, taking care to tuck in the edges at the opening

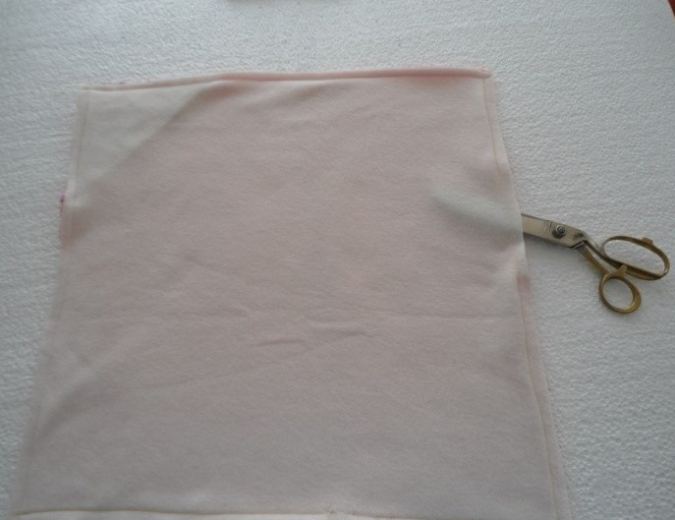
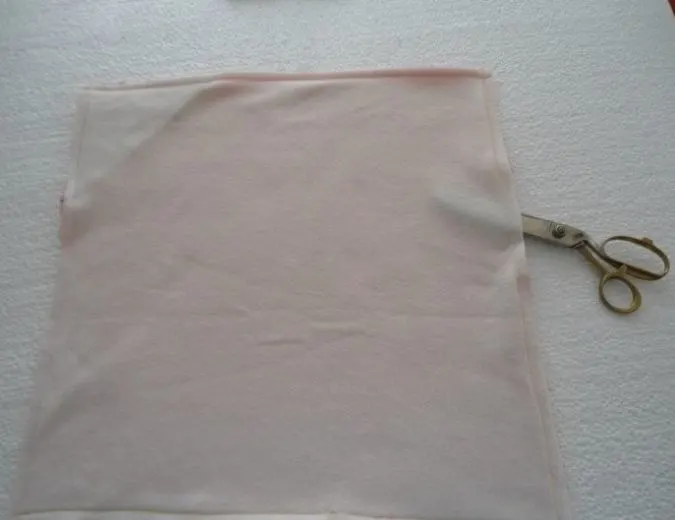
Topstitch along the edge, leaving the hood. Take care to reinforce at the start and finish (that would be just below the hood as shown above.

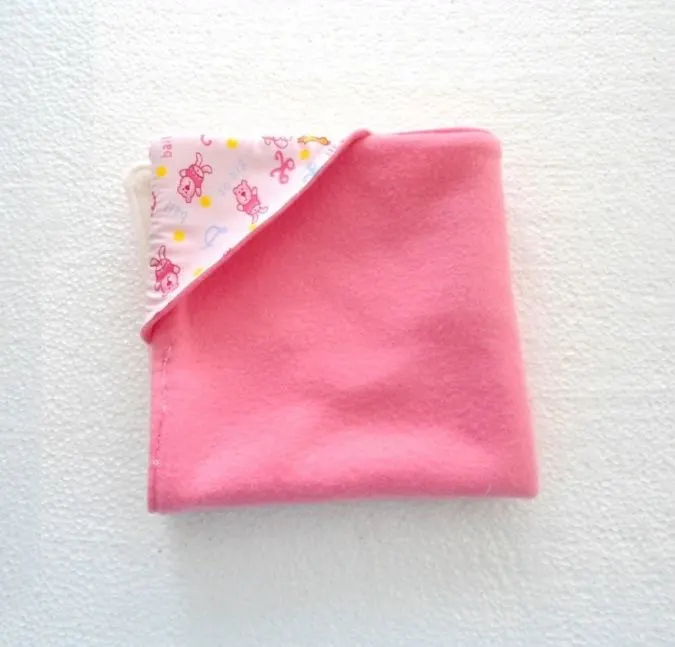
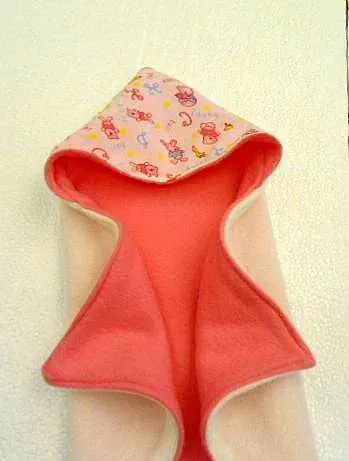
Lo, our blanket is ready! You can use the pink side with the cotton printed hood or flip the hood to the other side to get a different blanket with a different hood!. Go on, make your own combinations and create your own unique baby blankets!
If you would like more baby patterns, click here.
If you would like more free sewing patterns, visit allfreesewing.com.
Pin it for later:

Anonymous
Friday 26th of April 2013
It's not a lot the safety of individuals who "personally" have interaction in this "networking" thing; instead the indirect publicity to those around them, who usually do not defend by themselves, in the unknowing., from people who they did not know; existed. 'Ex: A friend's Screw buddy's real boyfriend is robbing the home; & killing your dog in the process. Not random.
My web-site - online dating Free weekend
Gifts to pakistan
Wednesday 29th of August 2012
Do you have some more collection for baby girls?
Anonymous
Sunday 8th of July 2012
I simply love the baby blanketmadonna
Lindsay(PACountryCrafts)
Thursday 28th of June 2012
Super cute! My girls have now requested bathing suits for their baby dolls and I might make some towels to go along with them. :)
Hubba
Tuesday 26th of June 2012
i love how cute this is! Thanks for the pictures I want to make something like this. I'm a new follower from a blog ho. Would love if you followed me at www.iheartpears.blogspot.com