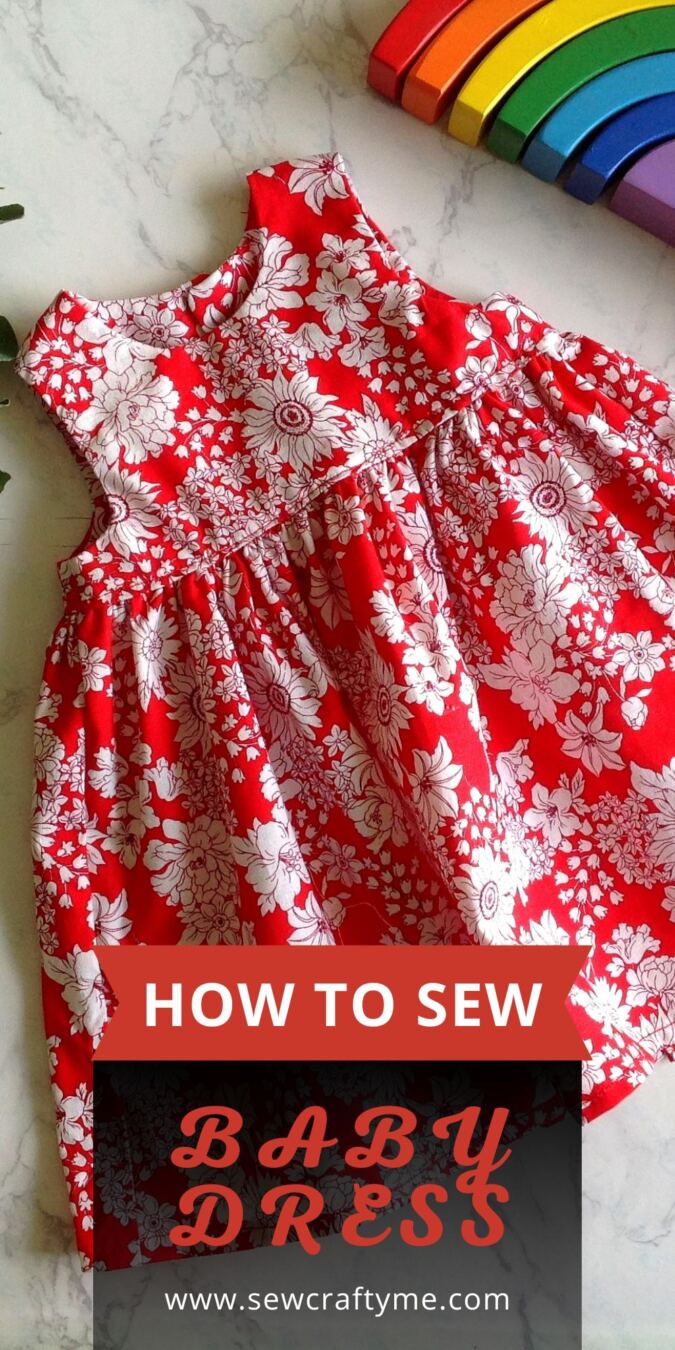
Use this easy baby girl dress sewing pattern to sew classic style dresses for your baby or toddler. This DIY tutorial comes with free templates for four sizes to make sewing easy for any beginner seamstress.

The sewing for baby saga continues and this time it is an easy baby dress pattern. I have a few people expecting this summer and a pile of stash mounting up. So, I definitely need to sew a lot of little things.

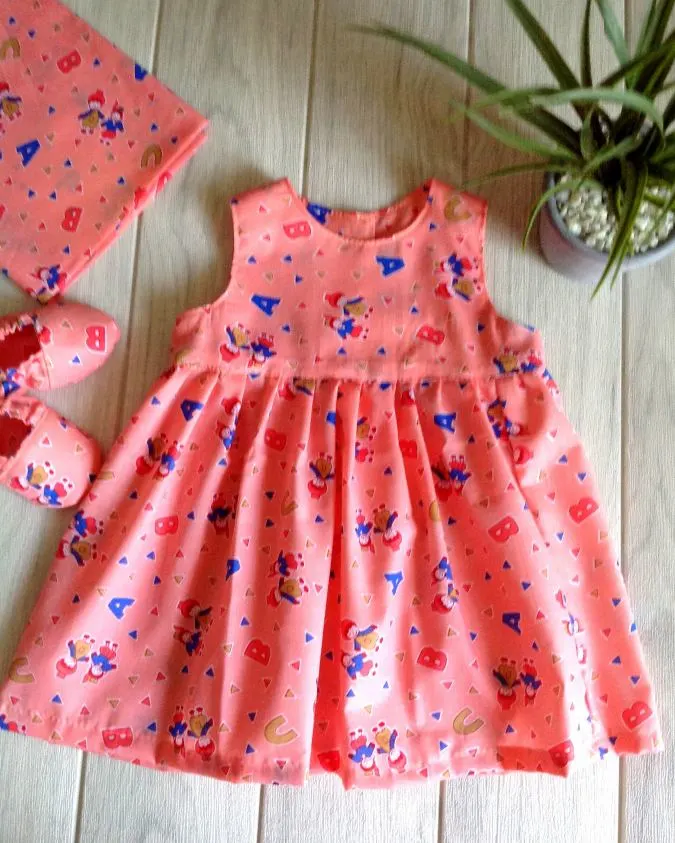
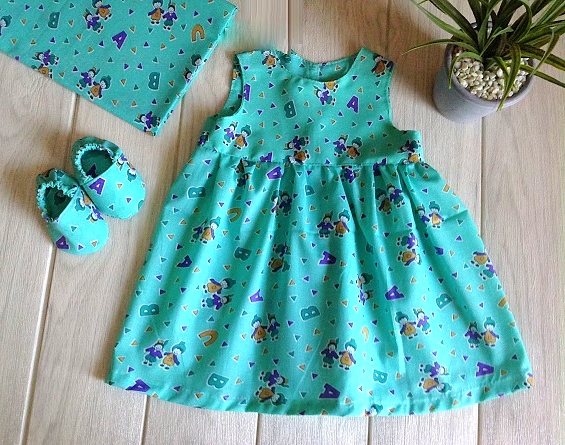
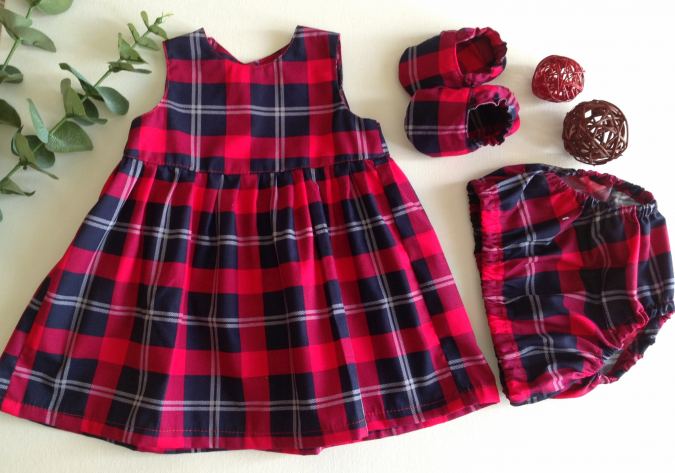
Summer is around the corner and babies definitely need a lot of summer dresses. I love the sight of the little one wearing a cute little baby dress. It becomes even cuter if she wears matching accessories.

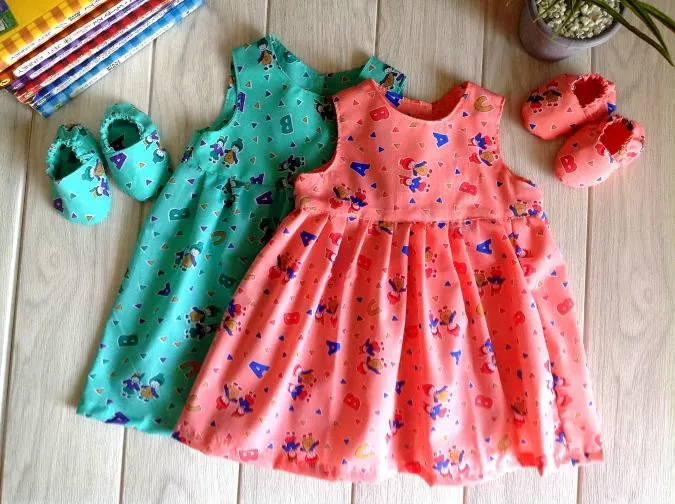
This is a very easy baby girl dress sewing pattern, which does not take much time or fabric to sew. You can complete it quickly to get a boutique-style baby dress! Templates are available for newborn babies to 12-month-olds.

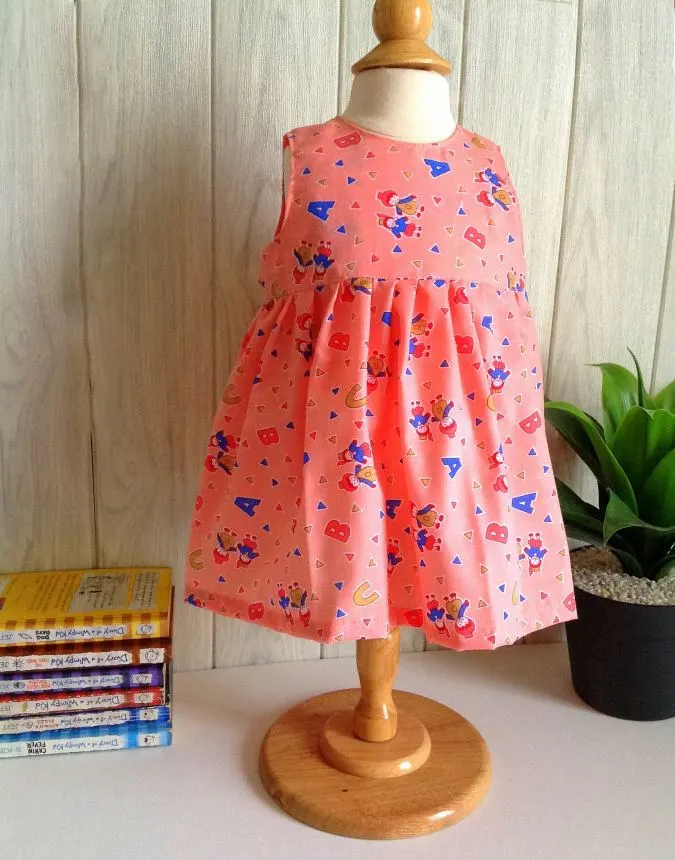
This classic style baby dress pattern is great for toddlers too! Given the template and the easy instructions, now you can learn how to make the dress the easy way!


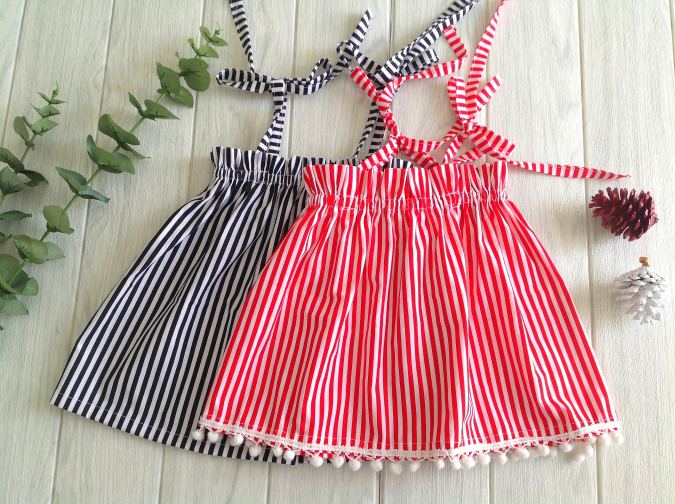
I have kept this free baby girl’s dress sewing pattern simple for a quick sew. You can add lace, ribbons or rickrack to make it prettier and more girly.

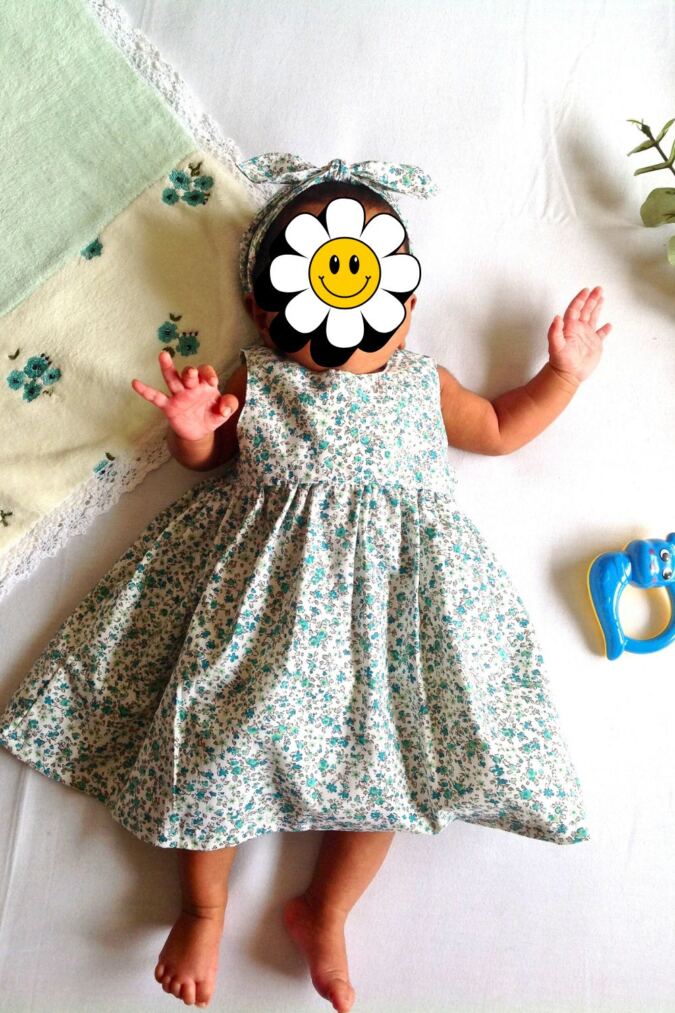
Here is a picture of our pattern on a little model, paired with a matching knot-bow headband. She is one and a half months old and wearing a newborn size!
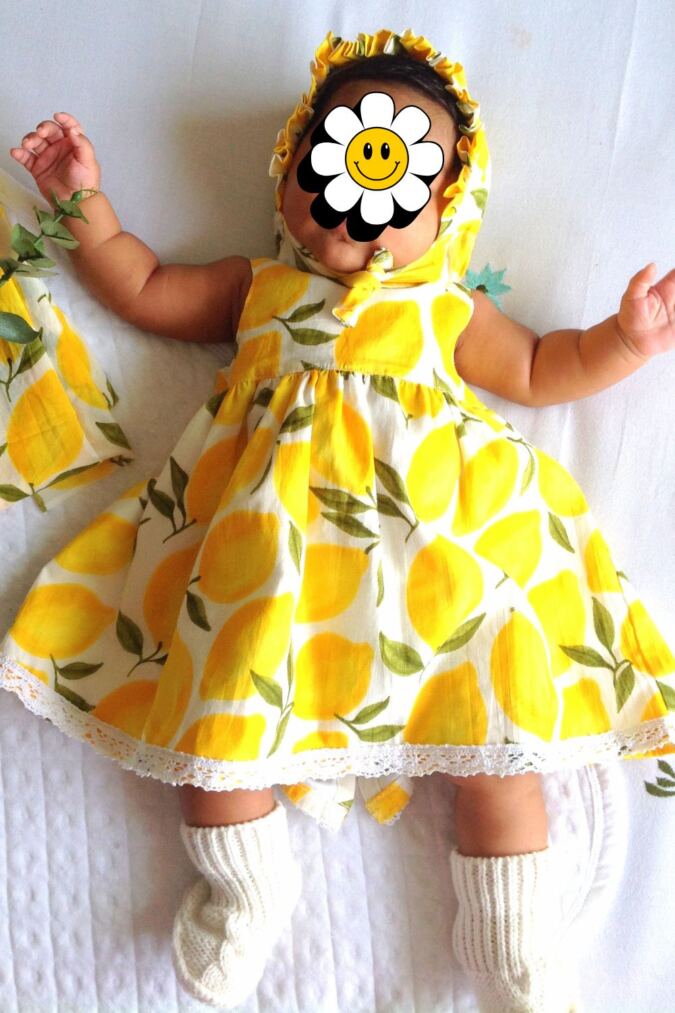
The same baby at four months, with a matching bonnet. The choice is yours. Make a matching diaper cover, a pair of booties, and a headband to make her look like a little princess!
Free Baby Booties Sewing Pattern


Easy Baby Girl Dress Sewing Pattern
Materials Required
- Medium- weight cotton fabric for the dress- requirements specified in the table-2 below.
- Sewing Notions.
- Fabric Marking Pen.
- Buttons or Velcro.
- Enter your e-mail address in the box below to download the template.
All the fabrics used here are of 44/ 45 inches width.
The seam allowance is 3/8-inch unless otherwise specified.
I suggest you read the entire pattern once before starting to get a general idea.
All seams are to be finished by zigzag or serger.
The fabric should be pre-washed to prevent it from shrinking later after cutting and sewing.
Approximate Finished Measurements.
Table-1.
| Ages | Finished Chest
(inches) |
Finished Length
(inches) |
| Newborn | 18 | 14 |
| 3 Months | 19&1/2 | 15&3/4 |
| 6 Months | 20&1/2 | 17 |
| 12 Months | 21&1/2 | 18&1/4 |
Fabric Requirements.
Table-2
| Ages | Fabric for
Dress (yards) |
| Newborn | 1/2 |
| 3 Months | 5/6 |
| 6 Months | 1 |
| 12 Months | 1&1/6 |
Measurements
Table-3
In the table below, “l” stands for the length and “W” stands for the width of the fabric piece to be cut.
| Ages | Front Skirt Piece
(inches) |
Back Skirt Piece
(inches) (cut 2)
|
| New-born | 10.5L x 20W | 10.5L x 11W |
| 3 Months | 10.75L x 22W | 10.75L x 12W |
| 6 Months | 12L x 23W | 12L x 13W |
| 12 Months | 13.25L x 24W | 13.25L x 14W |
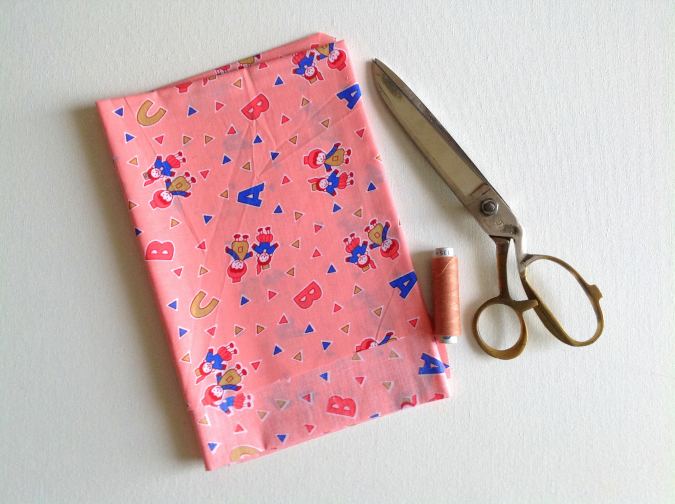

Gather your supplies.
Cut the templates for the bodice front and bodice back from the PDF above.
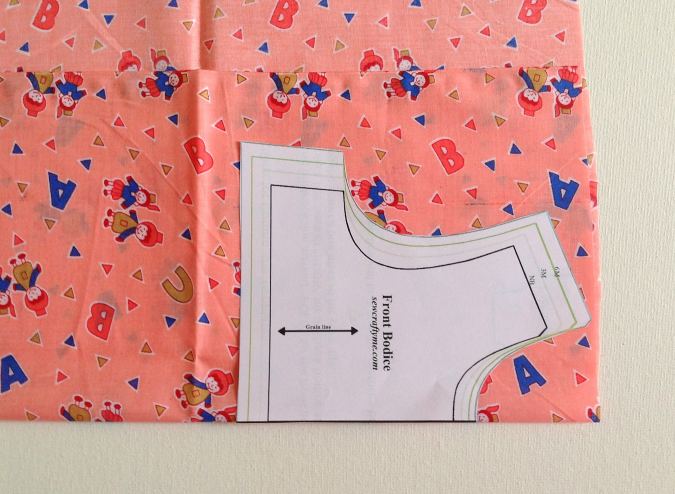
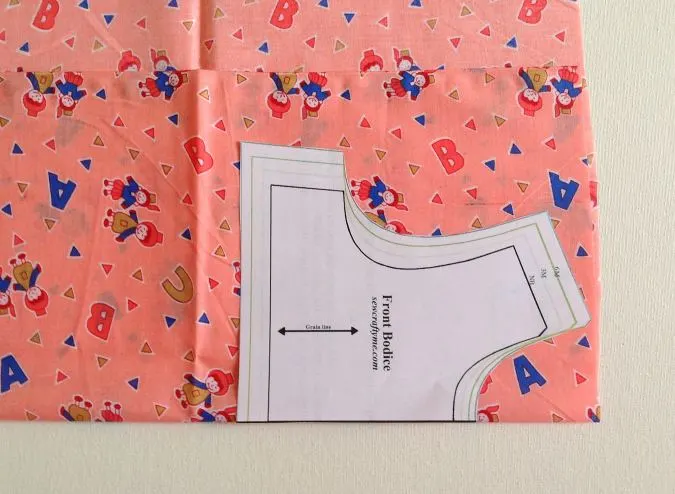
Take the dress fabric and the template for the front bodice. Fold the fabric to fit the width of the template and place the template on the fold. Mark around it and cut to get the front bodice piece. Repeat the steps to get the front lining.


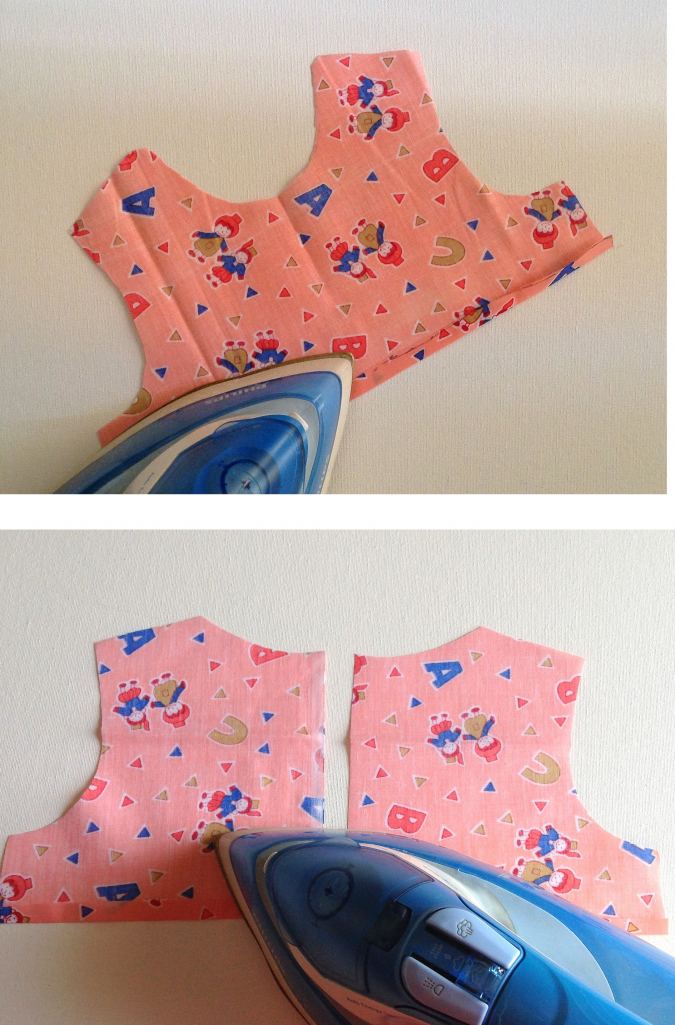
Let’s cut the back bodice. Here again, fold the fabric, but this time, place the template for the back bodice, along the edge of the fabric. Mark around it and cut to get two pieces for the back bodice (the back part of the dress is done in two pieces, for button opening). Repeat the steps to get the back lining pieces.


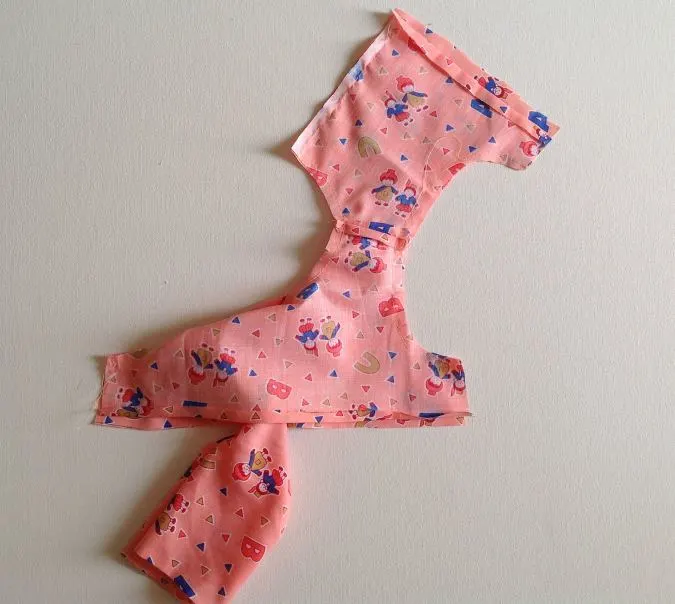
Your bodice-front, bodice –back and lining pieces will look like the picture above.


Cut the skirt pieces referring to the table-3 above. The buttonhole edge comes along the length of the back pieces (you may put a pin to mark it).
Sewing


Take the two back bodice pieces and place them over the front bodice piece, with the right sides together, aligning the shoulders and side seams and sew the shoulders shut.


Press the seams flat.

Next, take the lining pieces, fold the lower edges towards the wrong side by 3/8-inch and press to set.
Sew the front and back lining pieces together, just as the bodice pieces.


Place the bodice lining over the main bodice, with the right sides together, aligning the center back, neck and armholes. Pin and sew along the neck and center back, and also along the two armholes. *Note that you need to leave 3/8-inch along the lower edges of the bodice for skirt attachment.


Clip the edges and cut the corners.

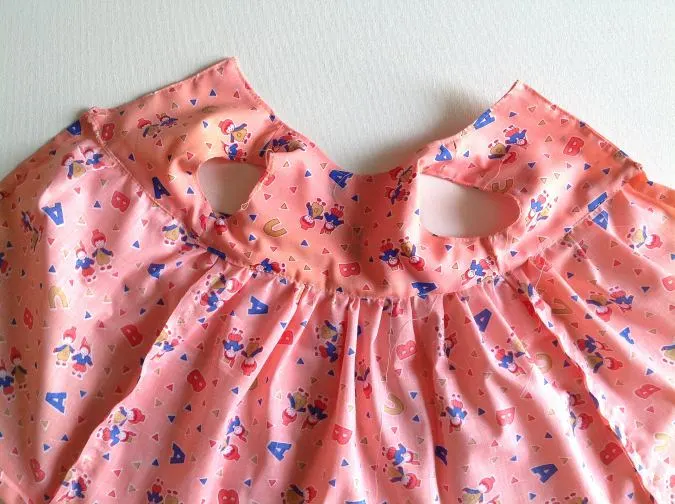
Pull the right side of the back bodice out, through the shoulders. Keep pulling the back bodice on either side, till the whole bodice is turned inside- out.


Poke the edges sharp, with the help of your scissors and press taut. Topstitch along the armholes, neck and buttonhole edges, leaving 3/8-inch at the lower edges of the armholes and buttonhole edges.


Flip the lining upwards. Align the side seams of the back and front bodices together and the side seams of the front and back lining together. The right sides should touch and the folds along the lower edges of the lining kept intact. Pin the aligned edges (side seams) together and sew along the pinned edges.


Clip the bulk at the seam.
Our bodice is done. We move on to the skirt.


Fold the button edge of one of the back skirt pieces by 3/8-inch towards the wrong side and press. Fold again by ¾ -inch and press once more. Sew the fold down along the edge. Repeat the steps with the other back skirt piece.
Let’s join the front and back skirt pieces together.


Keep the two back pieces over the front piece, with the right sides together and the edges aligning. Sew the side seams on both sides. * Note that the folded edges come along the center.
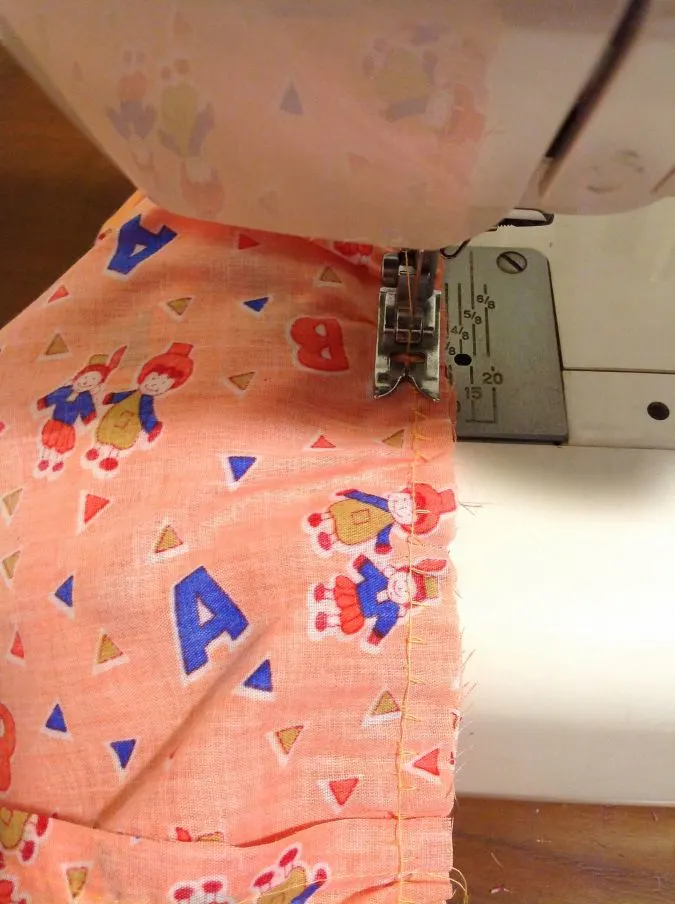
Next, we need to gather the skirt. Turn the upper thread tension of your machine to zero and stitch length to the longest to get a basting stitch.


Sew a basting stitch along the upper edge of the skirt and gather it. Adjust the gathering to make it uniform and to fit the lower edge of the bodice.
Let’s attach the skirt to the bodice.

Flip the lining upward. Align the ruffled edge of the skirt along the lower edge of the bodice, with the right sides together and pin all along. The side seams of the bodice and skirt should come in line while pinning. *Note: take care to keep the lining away while pinning.
Turn the machine settings back to normal.

Sew the skirt to the bodice, removing the pins as you go.


Turn the waist seam up, towards the bodice and place the folded edge of the lining over the seam. Turn over to the right side and topstitch along the seam line of the skirt and bodice carefully to sew the lining shut, covering the waist seam. You may optionally hand-sew the folded edge of the lining to the waist seam.

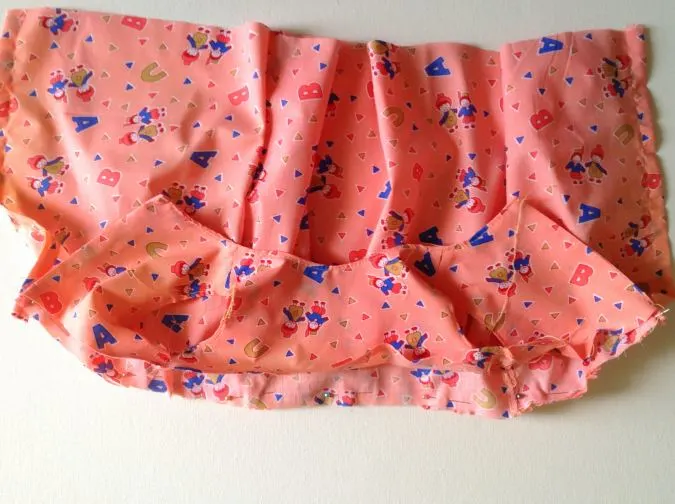
Your dress will look like this on the wrong side.
We need to hem the lower edge of the dress.
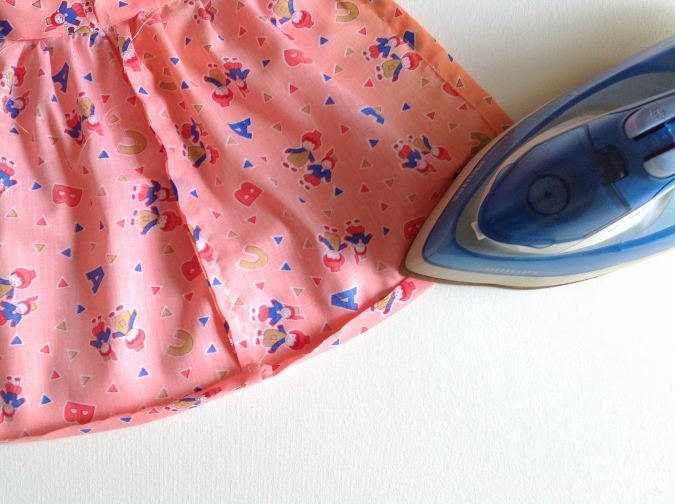

Fold the lower edge of the dress by 1/2-inch towards the wrong side and press.


Sew down the hem along the edge of the fold.
Let’s attach the Velcro or the buttons.


*For higher ages, you can sew the back opening shut by a few inches, starting from the hem. However, I prefer to keep the back open completely for easy on and off.

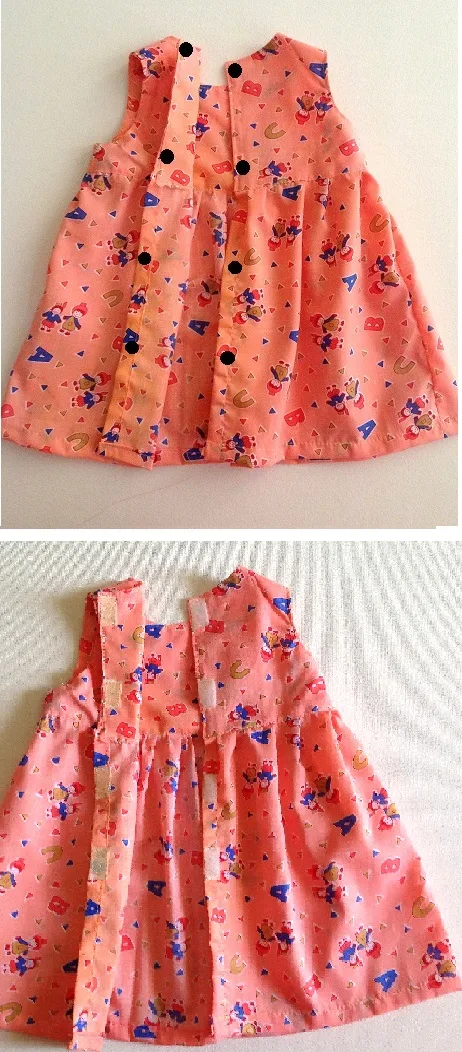
Starting from the top edge, make markings at 2-inches gap from each other, on the right side of one of the back pieces and sew the Velcro or the buttons. Make markings with a 2-inch gap on the wrong side of the other back piece also and sew the complimentary Velcro or the buttonhole.


Cut off the hanging threads and our dress is done!
So, now you can make a classic style dress with my easy baby girl dress sewing pattern even if you are a beginner!
Find the web story for the post here: Sewing Made Sweet & Simple: Our Go-To Baby Dress Pattern
Pin it for later here,
So come on, grab your notions, your fabric, and get ready to sew thiseasy baby dress sewing pattern!
If you would like to watch a video tutorial of the dress being made, click below:
Julie
Friday 17th of April 2026
I can't print the pattern. It will let me download it but not print. It pops up on a site called box.com. I even created a login for that site hoping it would allow me to print it but still nothing. What am I doing wrong?
Surayya
Thursday 28th of May 2026
I’m sorry you’re having trouble! You are not doing anything wrong. The pattern opens on Box.com because that is where the PDF is hosted. Please try the following: Download the PDF to your device first (do not print directly from the browser preview). Open the downloaded file using a PDF reader like Adobe Acrobat Reader. Then click the print icon or press Ctrl + P (Windows) or Command + P (Mac). Sometimes Box.com’s preview window does not allow proper printing, especially on phones or certain browsers. Try these steps and hopefully it should work!
Hilary
Wednesday 8th of April 2026
I can't fine the pattern for the dress. There is no box to subscribe. Please send the pattern to me.
Surayya
Thursday 28th of May 2026
Please enter your email address and click the Subscribe button in the blue box provided under the “materials required section” to download the template. Kindly wait 2–3 minutes for the download window to appear after subscribing.
Jackie
Saturday 1st of November 2025
it is a beautiful pattern, I look forward to making the dress
Tonia Matthews
Friday 1st of August 2025
I purchased the printable pattern, but I am not finding a link to print it. Please help!
Surayya
Saturday 2nd of August 2025
The pattern has been emailed. Kindly check your inbox and your spam folder too.
Maria
Friday 1st of August 2025
Hi Surayya, I hope all is well. I like your baby dress and I have placed the order for the baby dress pattern on may 03, 2025, but I have not received your emailed pattern, can you please check and send me? Thank you
Surayya
Saturday 2nd of August 2025
The pattern has been emailed. Kindly check your inbox and your spam folder too.