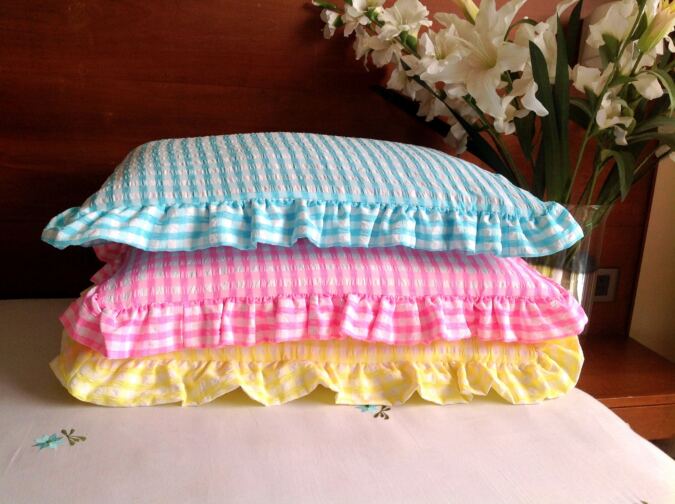
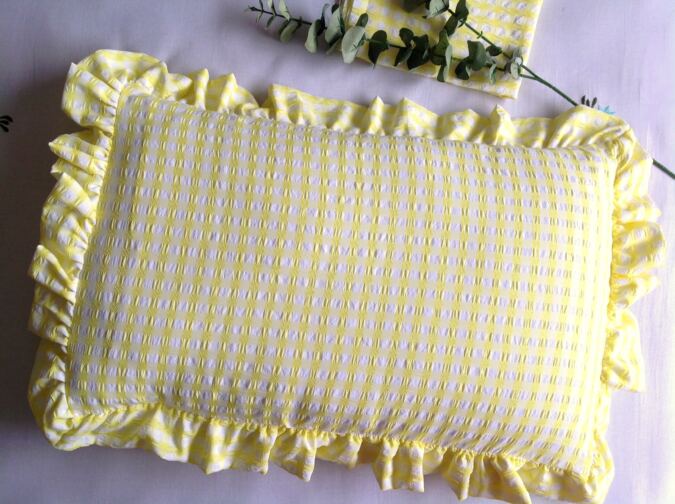
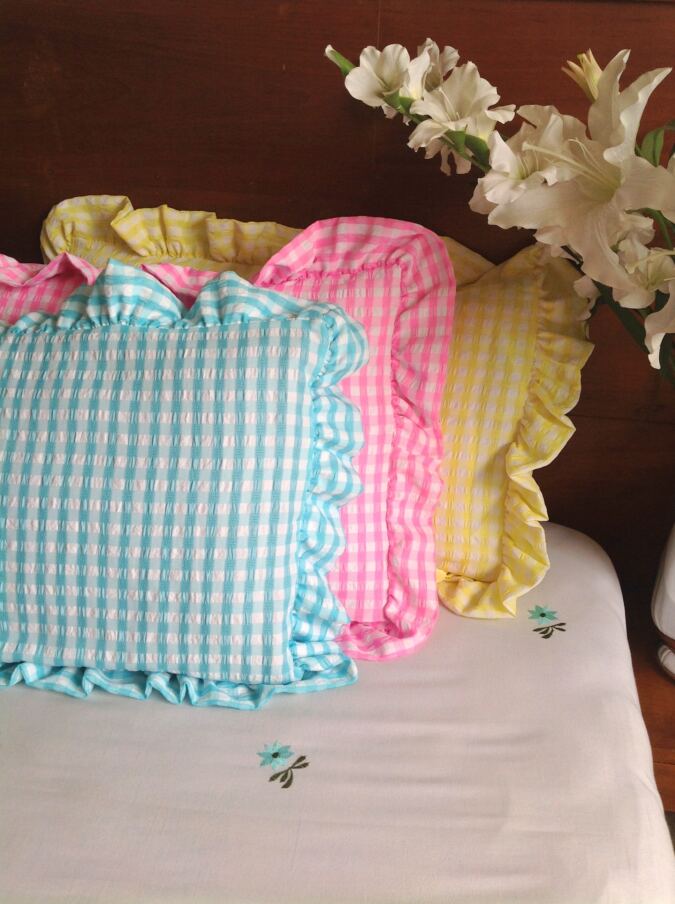
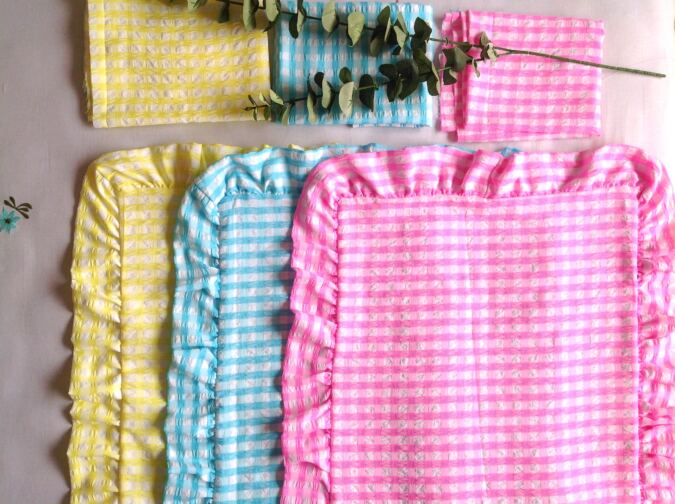
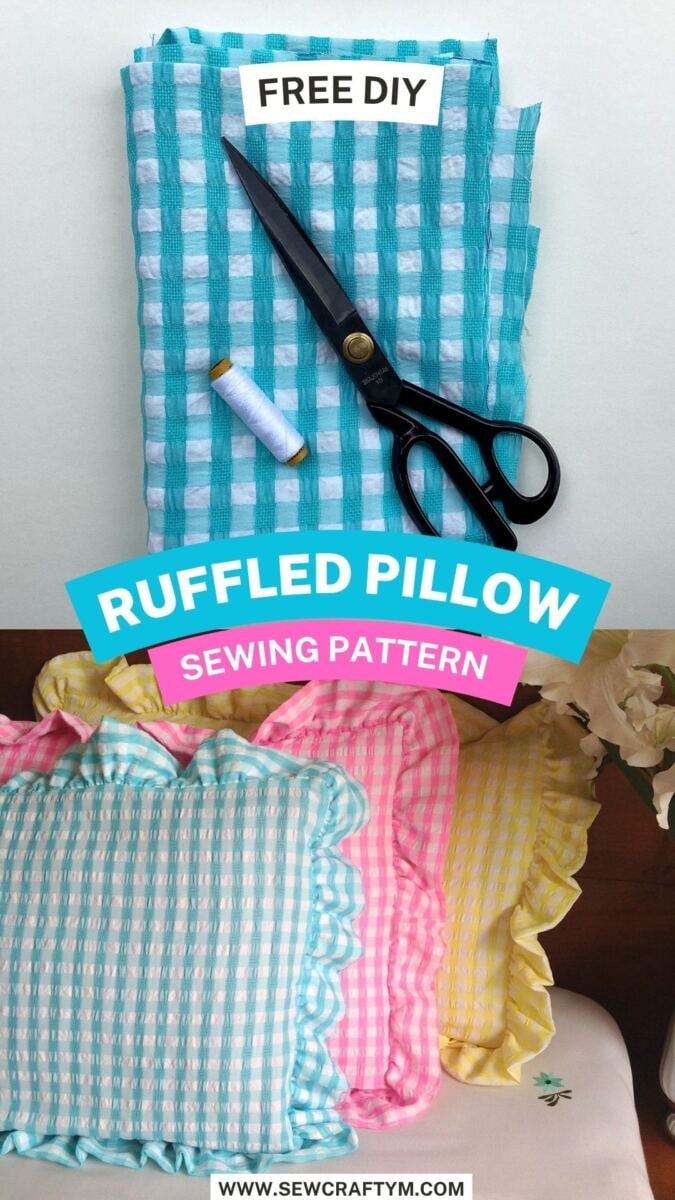
How about sewing a beautiful vintage-style ruffled pillow cover for Christmas? Picture those charming heirloom pillowcases with soft, cascading ruffles all around, finished with delicate lace and pretty trims—the kind of handmade details that once added so much warmth and beauty to our homes.
This pillowcase features a simple envelope-style closure, so there are no zippers, buttons, or ties to worry about. Just two overlapping fabric pieces create an easy opening, making it simple to slip the pillow insert in and out whenever needed.
Despite its elegant, vintage-inspired look, this ruffled pillowcase is surprisingly easy to sew. There is, of course, a long length of ruffle to gather, but apart from that, the rest of the project comes together quickly and easily. It’s a lovely sewing project for adding a touch of handmade charm to your Christmas décor—or for creating a timeless piece you can enjoy all year round!
How to Sew a Vintage Style Ruffled Pillow Cover
You will need:
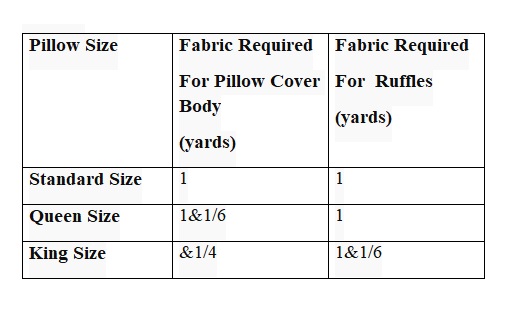
Medium- weight cotton fabric for the pillow cover body- requirements given in the table-1 below.
Medium- weight cotton fabric for the ruffles- requirements given in the table-1 below
Sewing Notions.
Pillow Foam.
Fabric Required
Table-1
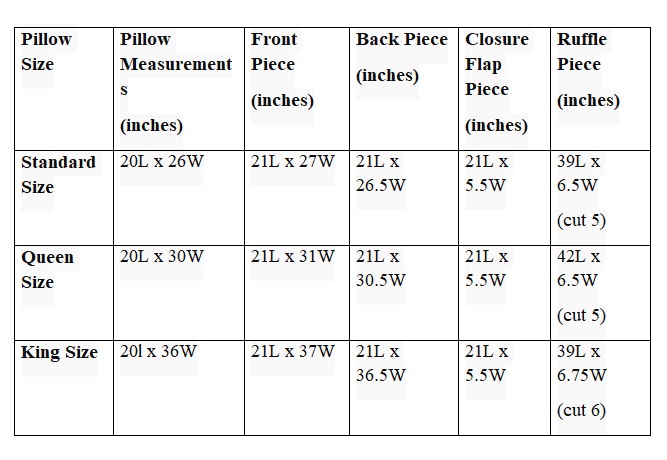
Measurements
Table-2
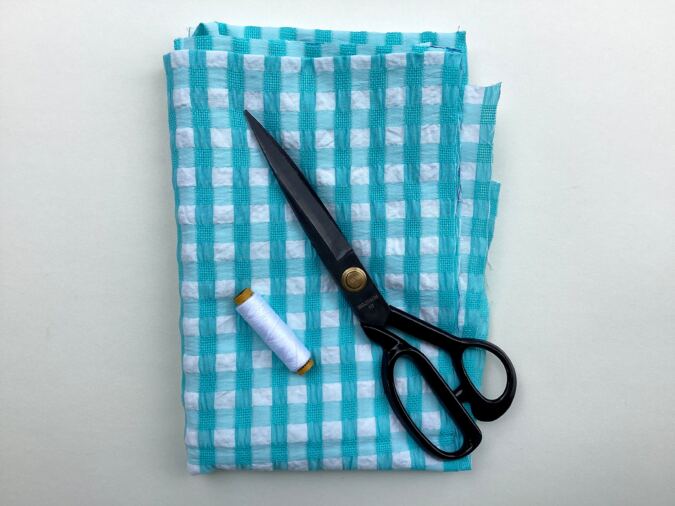
Gather your supplies.
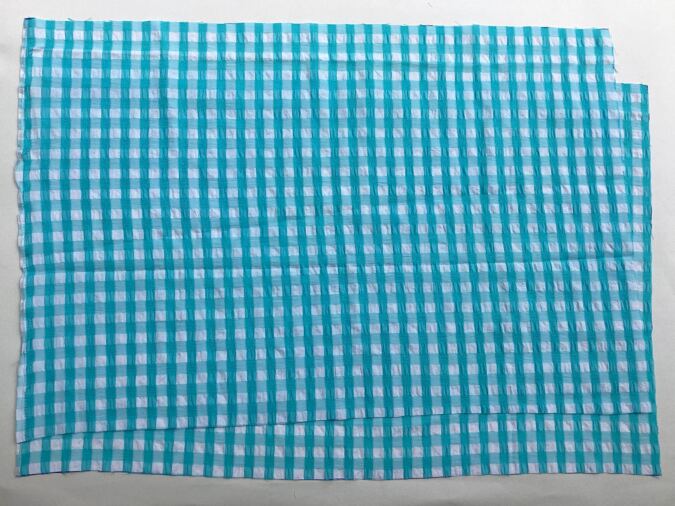
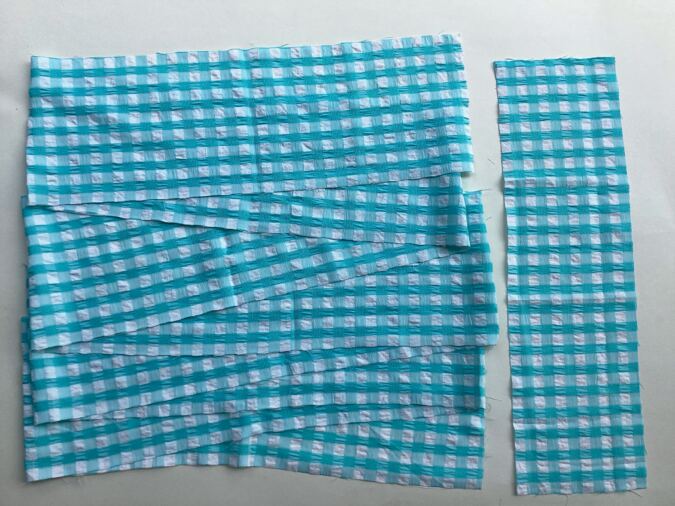
Cut your front and back pieces referring to the cutting dimensions given in the table-2 above.
Also cut your closure flap and ruffle pieces, referring to the table-2 above.
Let’s prepare the ruffles.
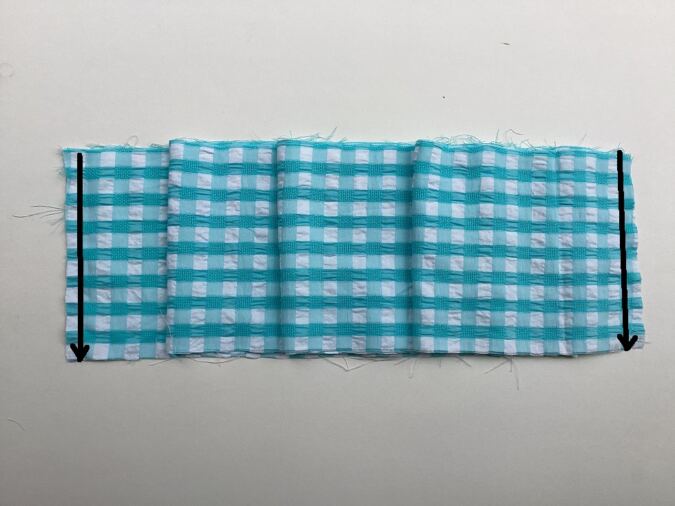
Join the ruffle pieces along the short edges to get the required length and to get a closed fabric tube.
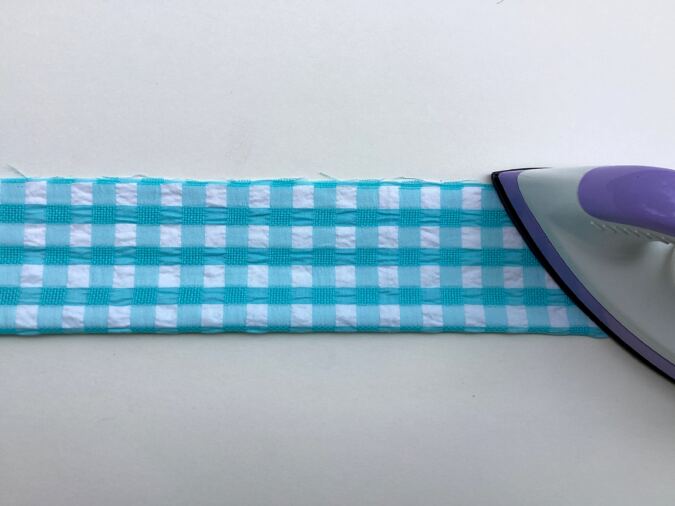
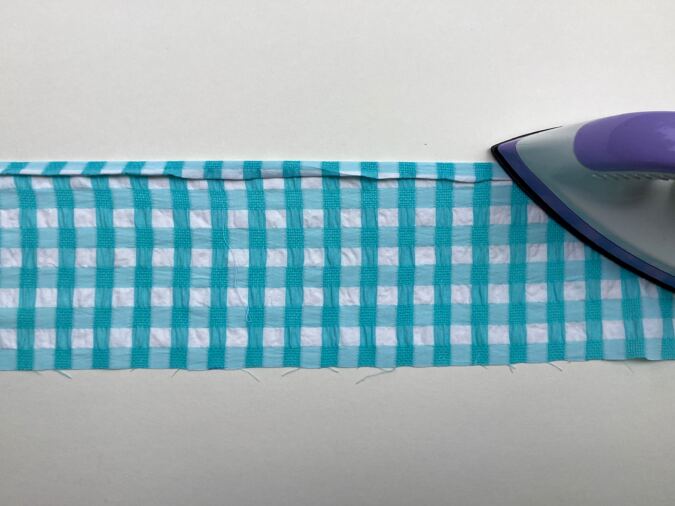
Fold it in half lengthwise, with the wrong sides touching and press to set.
Let’s gather the ruffle.
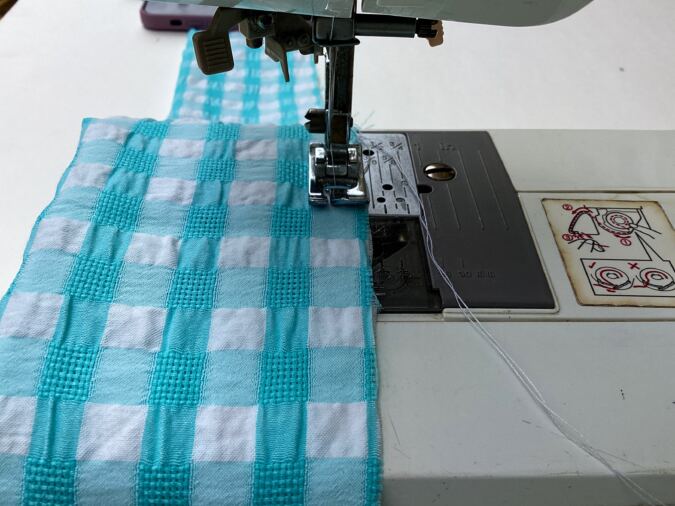
Turn the upper thread tension of your machine to zero and stitch length to the longest to get a basting stitch.
Sew a basting stitch along the raw edges of the folded ruffle piece, leaving a long tail of thread about 6 to 7 inches long to pull and gather it.
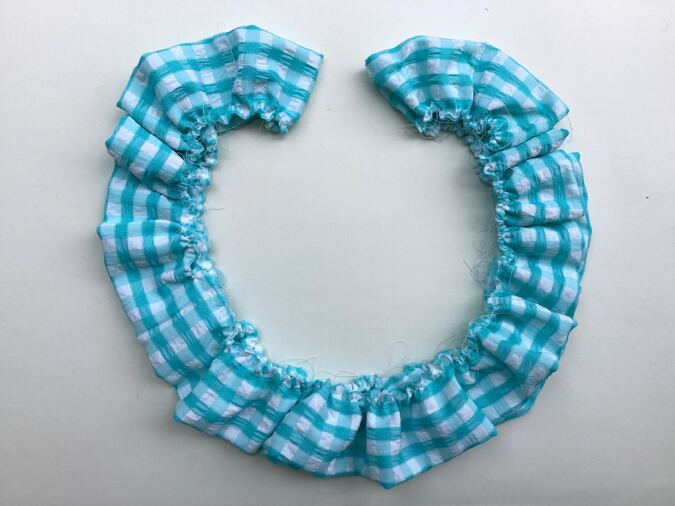
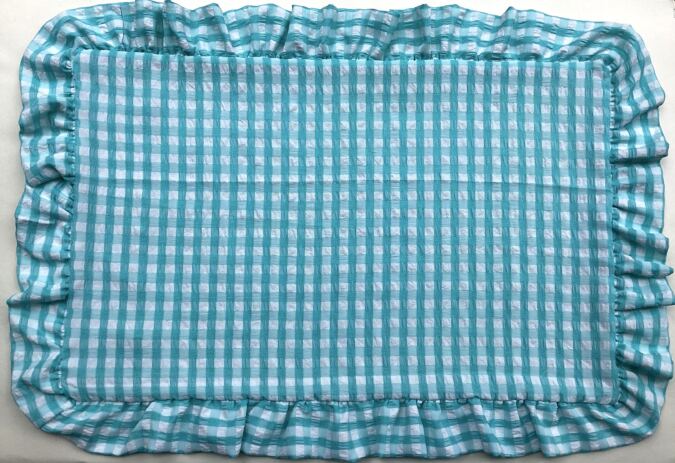
Pull the bobbin thread gently to gather the ruffle. Adjust the gathers to match the edge of the pillow front piece all around, making sure they are evenly distributed.
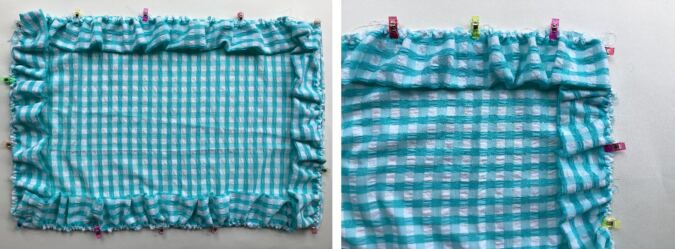
On the right side of the front piece, place the ruffle all around, matching the raw edges. Secure it with clips or pins. Take care to pin neatly around the corners, as shown in the second picture.
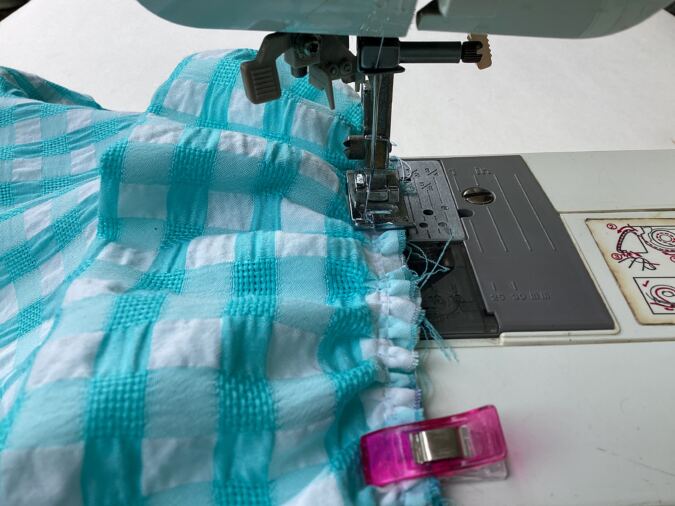
Turn the machine settings back to normal and sew the ruffle to the front piece, all around the edges.
Let’s prepare the back piece and the closure flap.
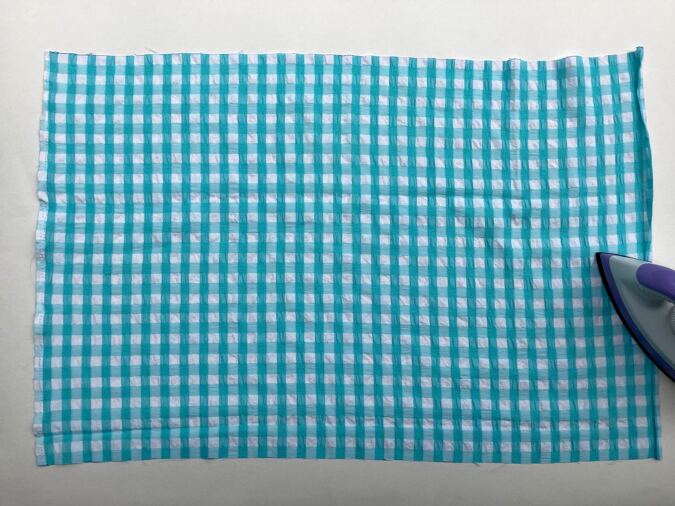
Take the flap, fold one of the long edges by 1/2- inch twice and press to set.
Repeat on the back piece.
Sew the hem down for both the pieces.
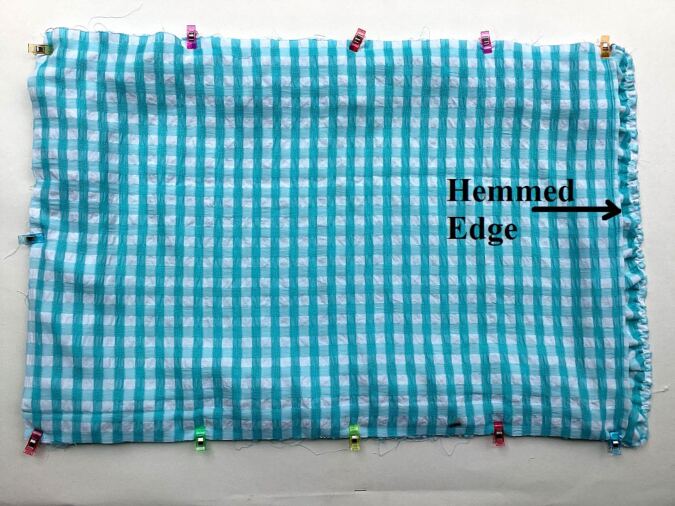
Place the back piece over the front piece, with the right sides together, aligning the raw edges. Make sure the hemmed edge lies along the center. Secure the edges with clips or pins.
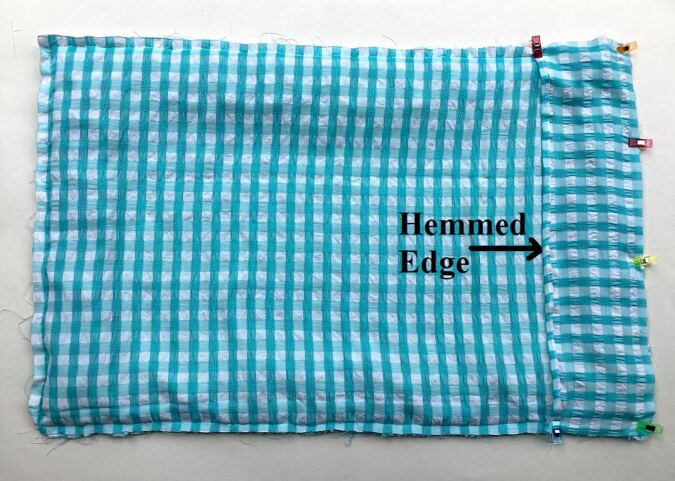
Next, place the closure flap piece over the front piece, with the right sides together, aligning the raw edges and place clips all around to hold. Note that hemmed edge of the piece should again come along the center.
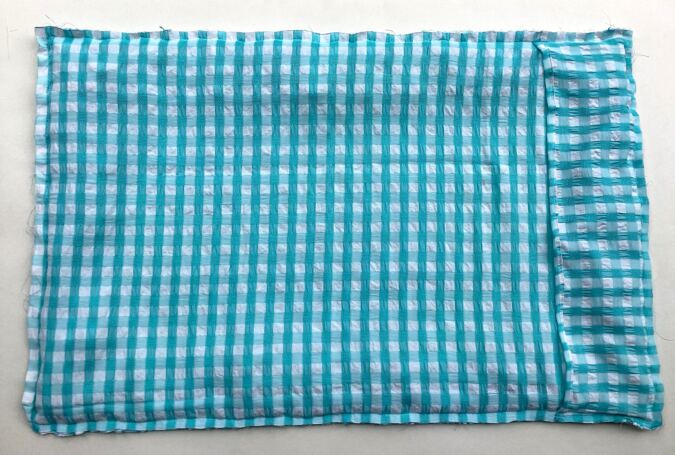
Sew around the edges to join. Zigzag to prevent fraying.
Bring the right side out and our ruffled pillowcase is ready for use!