Nothing can replace the comfort of warm and cozy fleece blankets during cold winter days. Of course, you get a variety of these in stores, but sewing them according to your needs and tastes is a different feeling altogether.
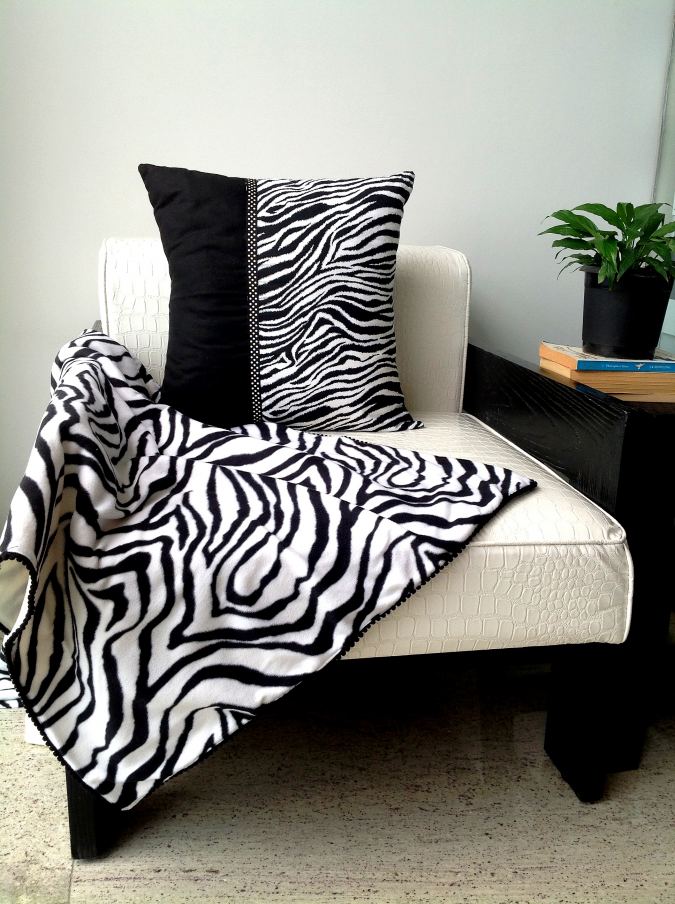
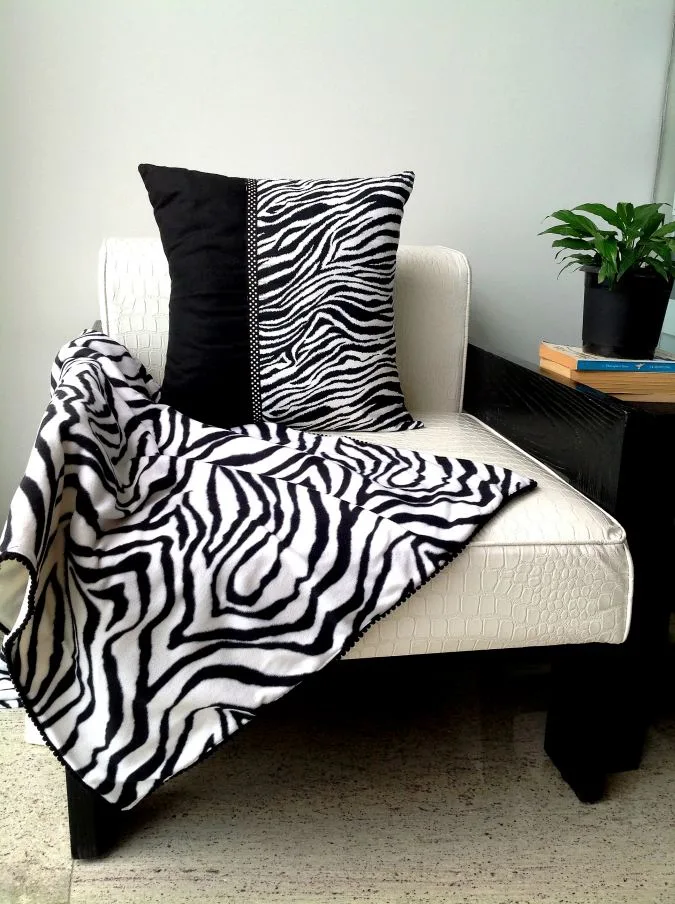
These fleece blankets can be made in different colors, with different fabrics and trims. You may make a throw blanket to cuddle up on your couch while watching a movie or make a larger one to keep you warm and comfortable during your night’s sleep. You can even make it smaller, in child and baby sizes.
Now, coming to the making part of the blankets; they may be chunky but they are easy to sew. Be it flannel, fur or fleece fabric, they involve just a few straight line stitches and they can be done even by a beginner seamstress.
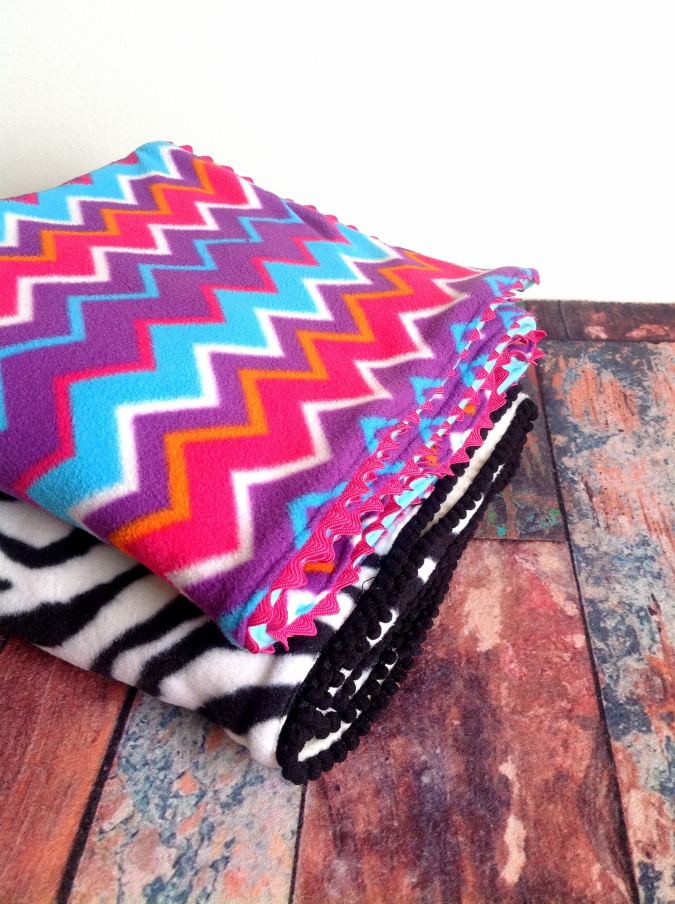
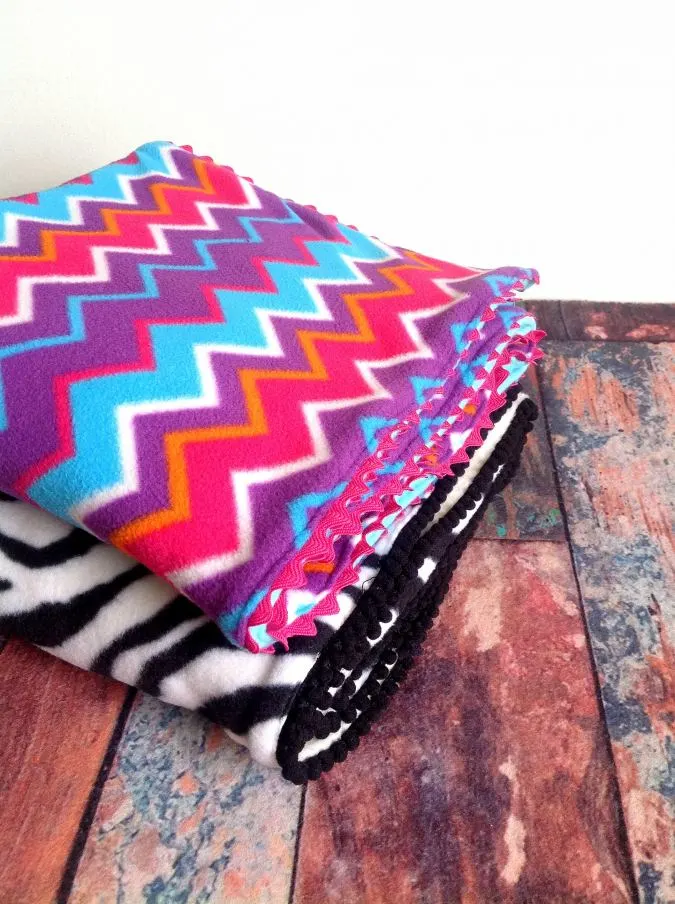
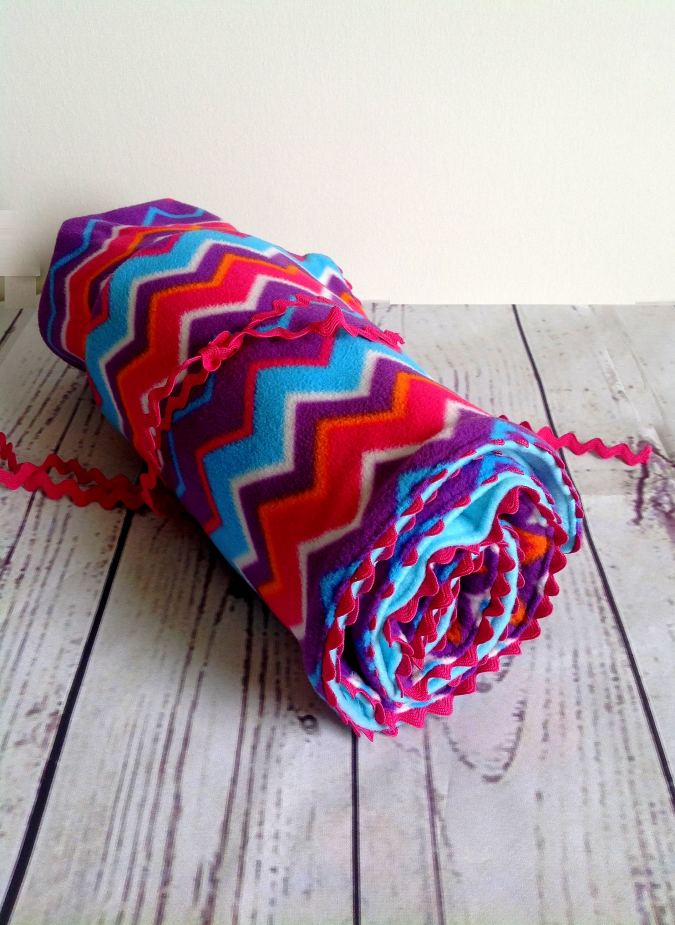
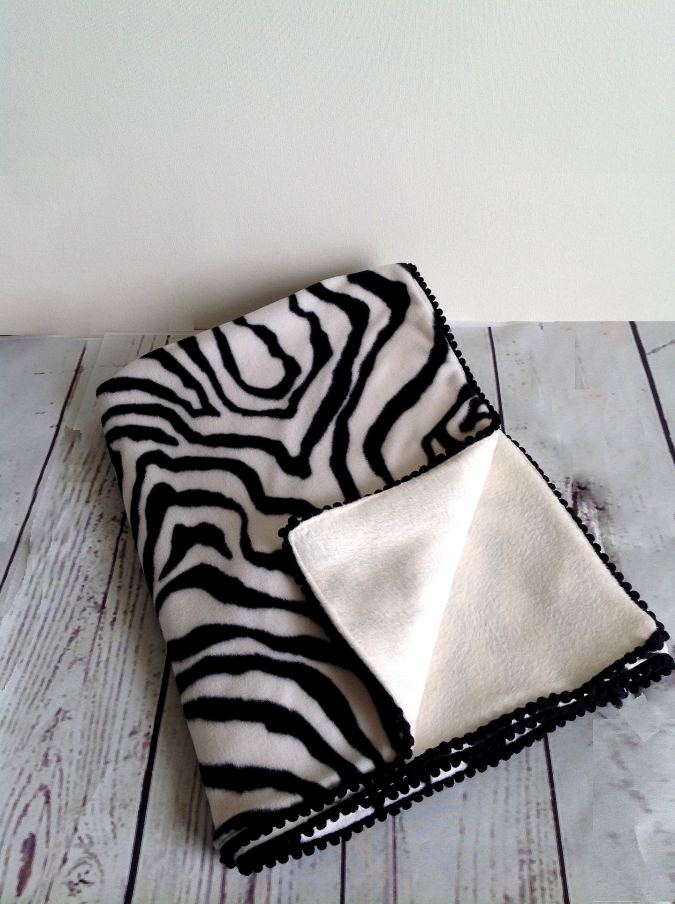
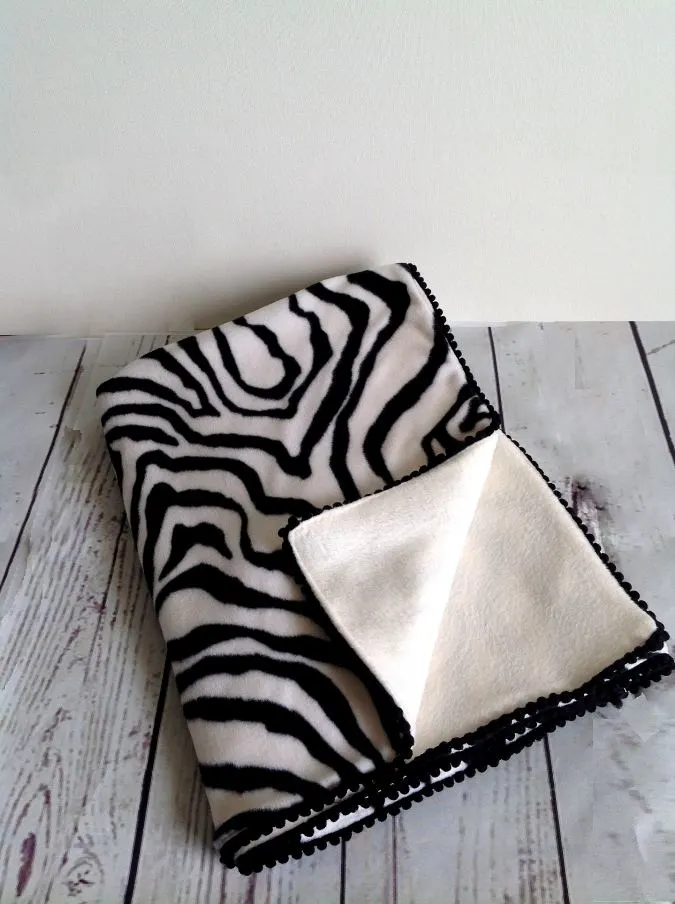
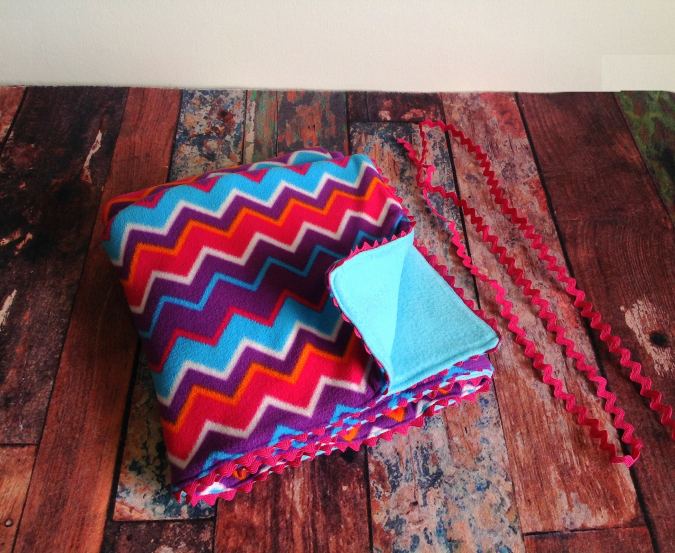
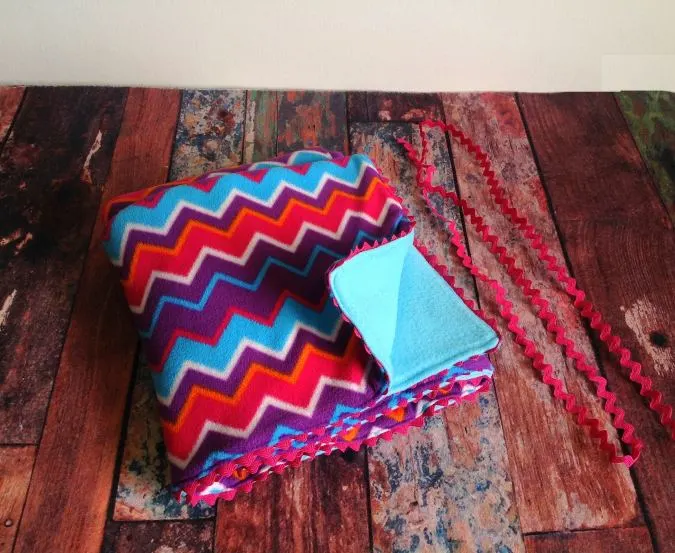
This tutorial will teach you to make fleece blankets, that are reversible. You can use fleece on both sides if you want to use it for winter. Use flannel on both sides or replace fleece with cotton on one side, if you need a lighter blanket. Here I have used small pompom trims for embellishment. You can use lace or rickrack if you wish.
How to Make Fleece Blankets
Supplies Needed:
*I have used 60″ wide bolts of fleece here.
Fleece or flannel fabric for the upper and lining- 1.75 yards each.
*This is for a standard throw blanket, 60- inches long. You can take 2.5 yards if you need a larger blanket, 90-inches long.
7- yards of Pompom, ricrac or lace trim for a throw blanket and 8.5 yards for a larger one. (here I have used a small pompom trim).
Sewing Notions.
*Wash and dry the fabric you are using.

Gather your supplies.
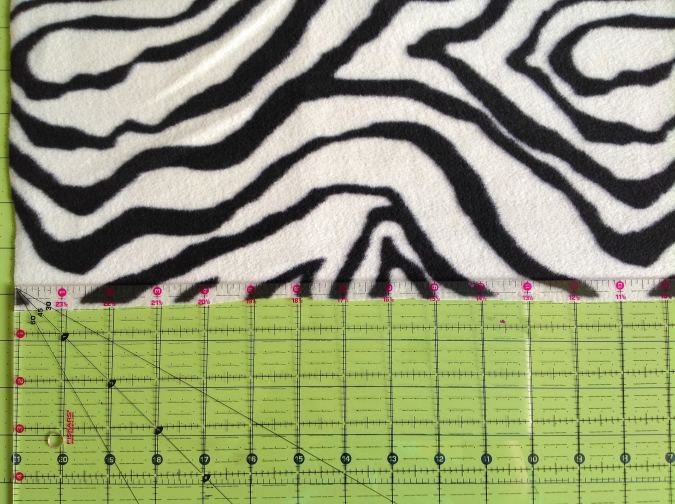
Cut the two fleece pieces 52-inches wide and 60-inches long for a throw blanket and 60-inches wide and 90-inches long for a larger one. The blanket shown here is a throw blanket.
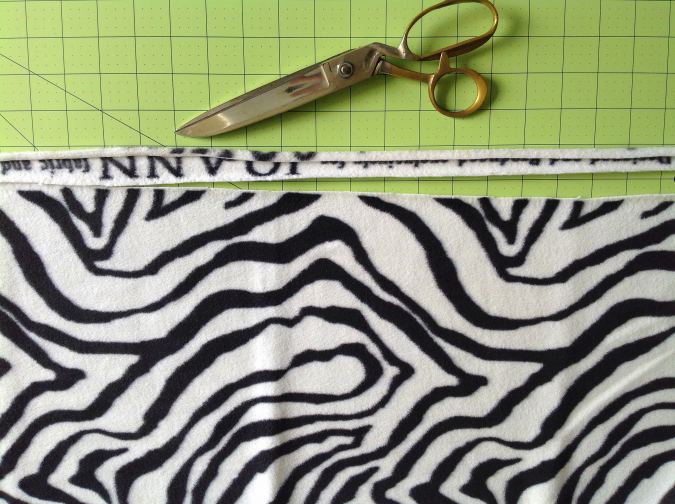
Cut off the selvages.

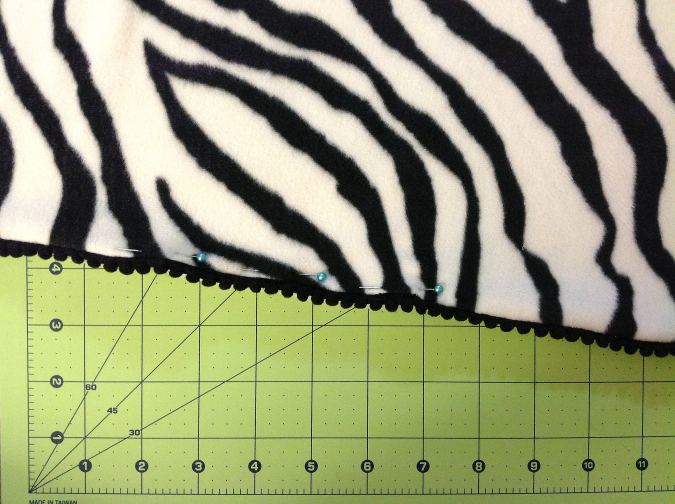
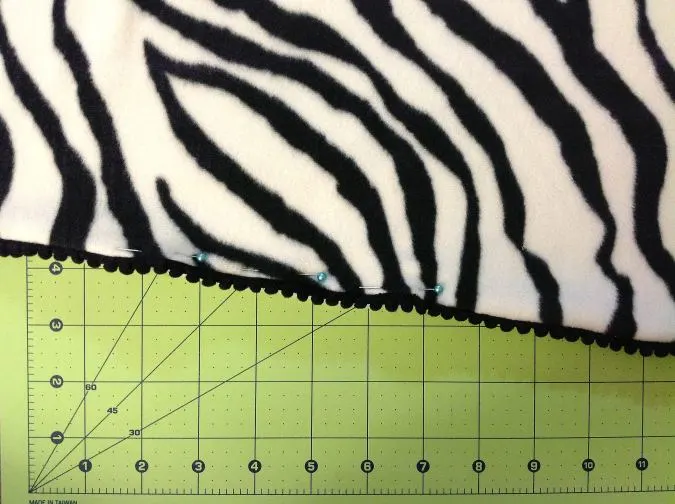
Measure ½-inch inward from the edges, on the right side of the fabric and mark lines on all four sides.
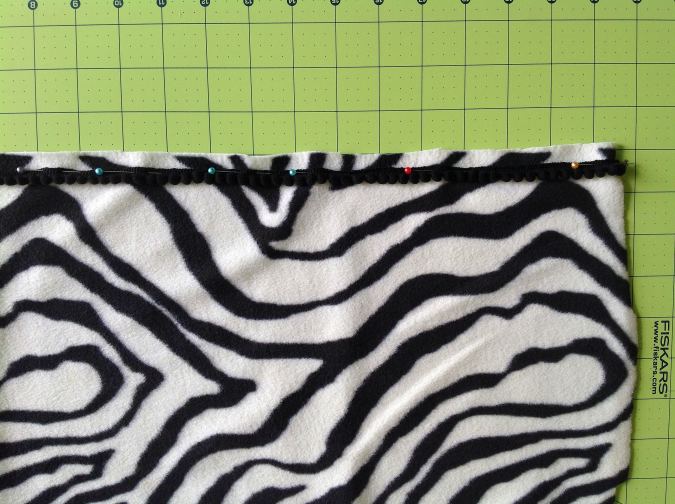
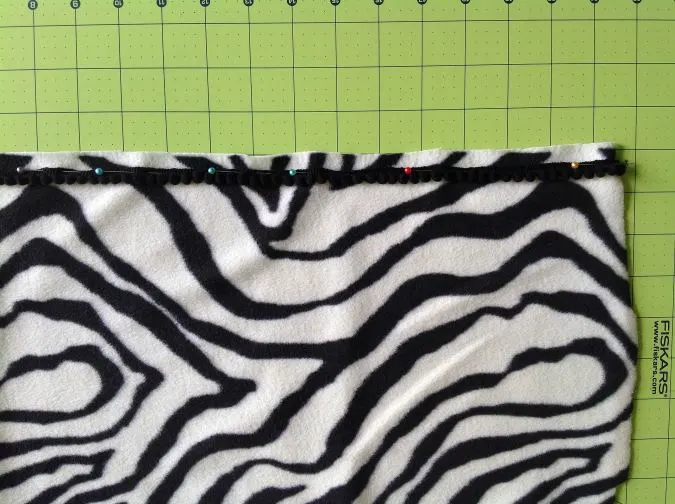
Cut two pieces from the pompom trim, 52- inches long and two pieces 60- inches long. Take one of them and start lining it up along the marked line on the corresponding edge and pin. The pompom balls should face inward while pinning.
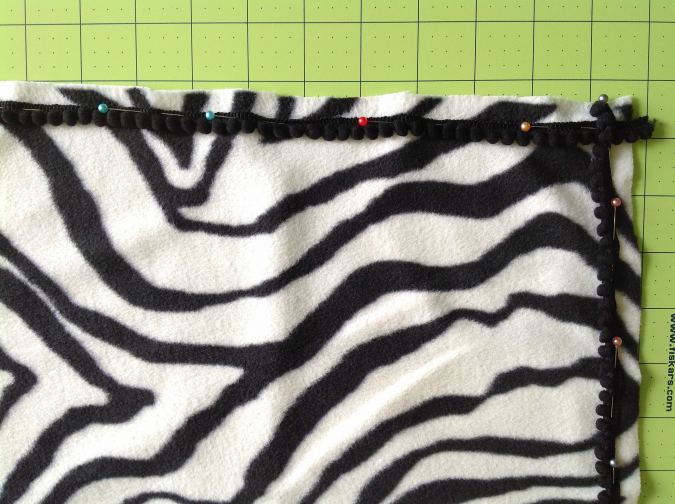
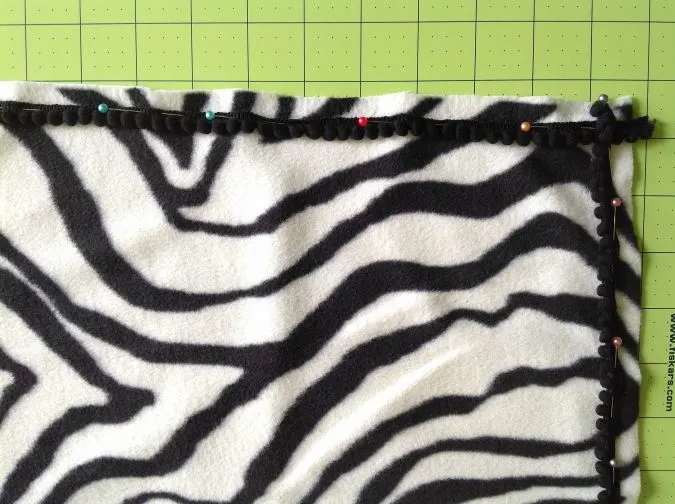
Take the next piece of the trim, matching the length of the next edge and place it overlapping the first as shown above. Line it up along the marked line and pin.

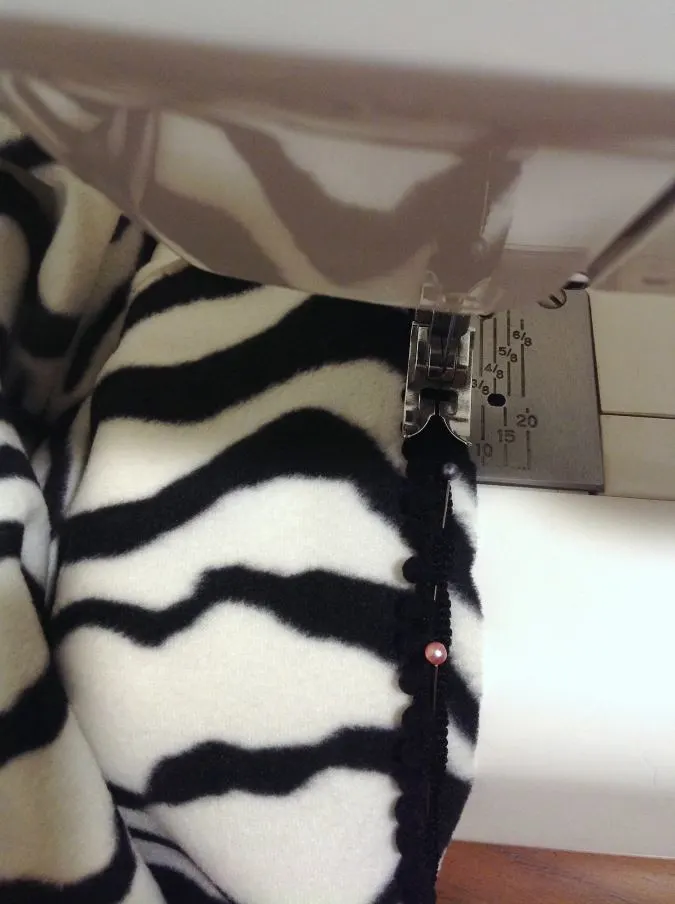
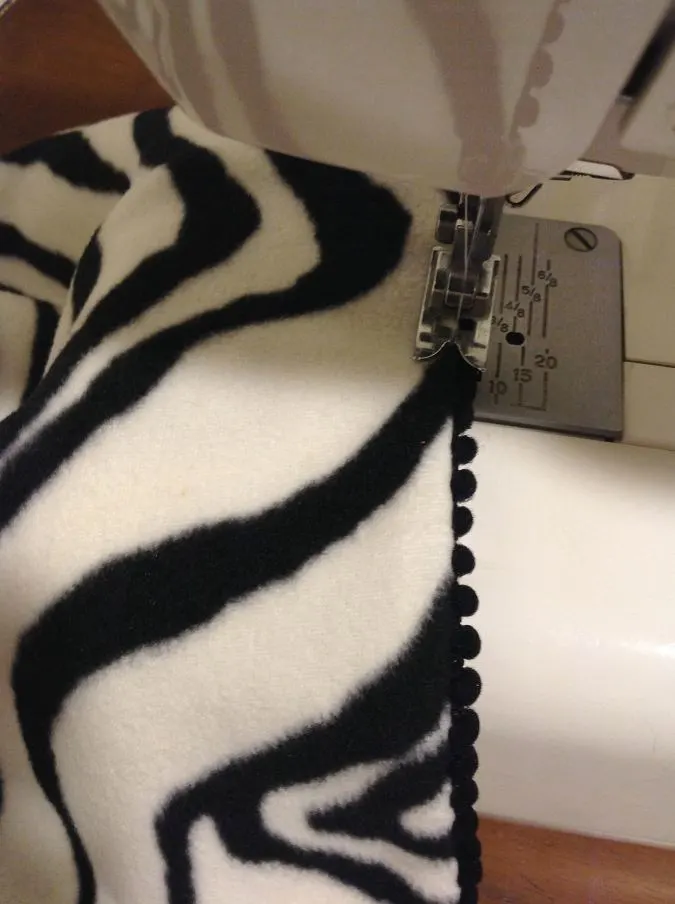
Sew the trim to the fleece piece, along the edge. Use a zigzag stitch or a straight stitch.

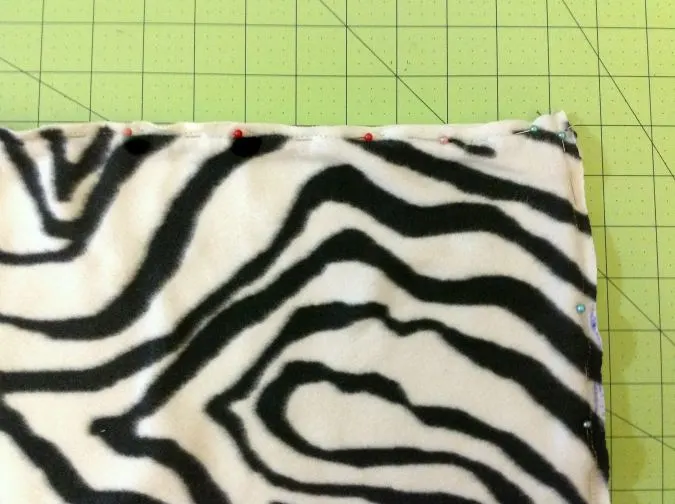

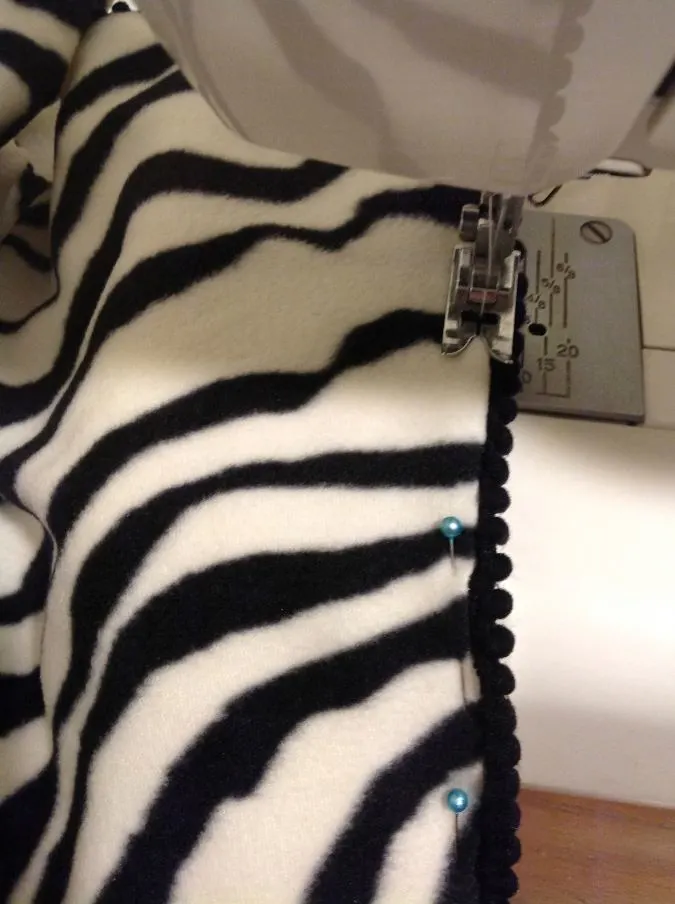
Take the other fleece piece and keep the two-layered, with the right sides together and aligning the edges. Pin them together all around the edges.
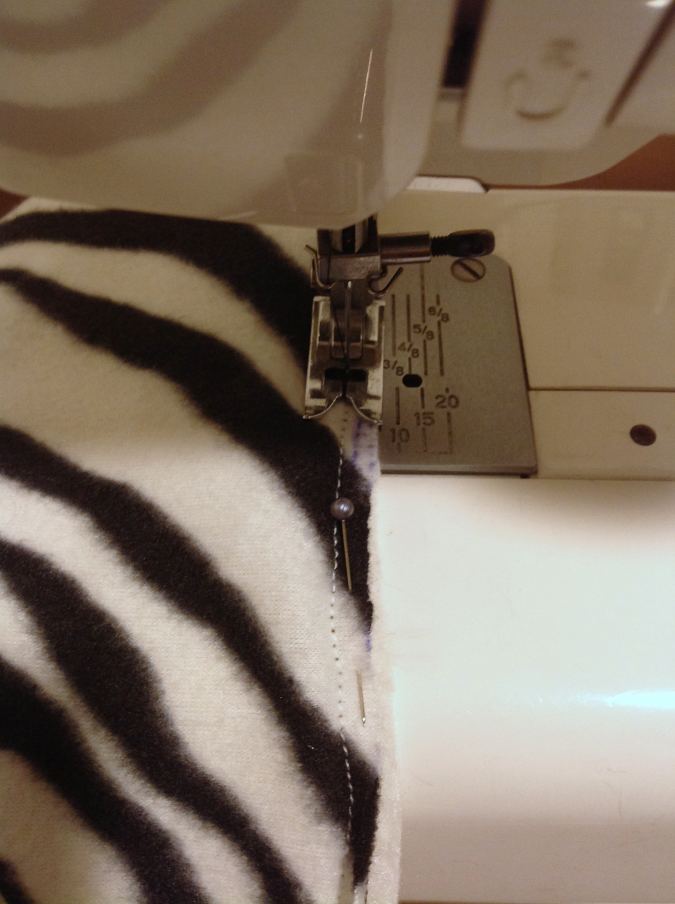

Sew the two pieces together, along the previous stitching. Leave a gap of 4-5 inches to turn the right side out.
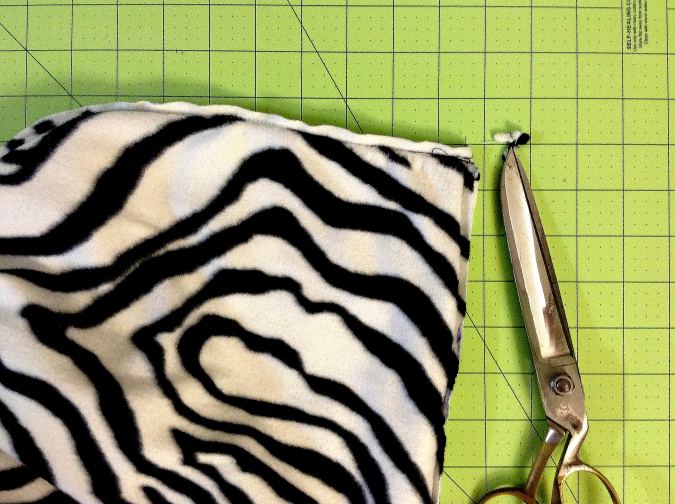

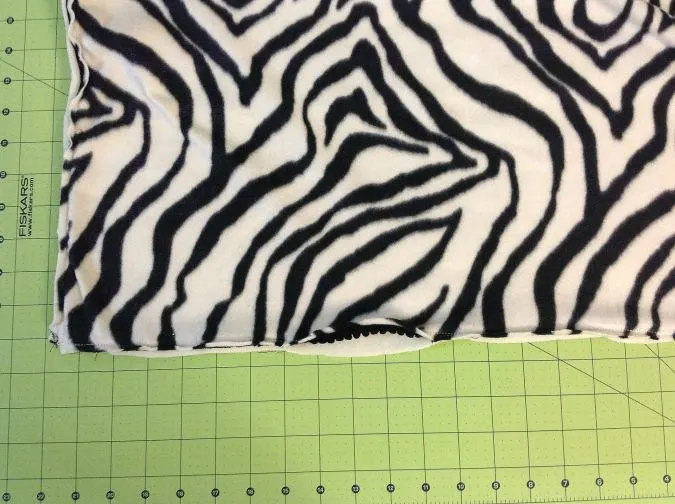
Cut the corners off with the help of your scissors.
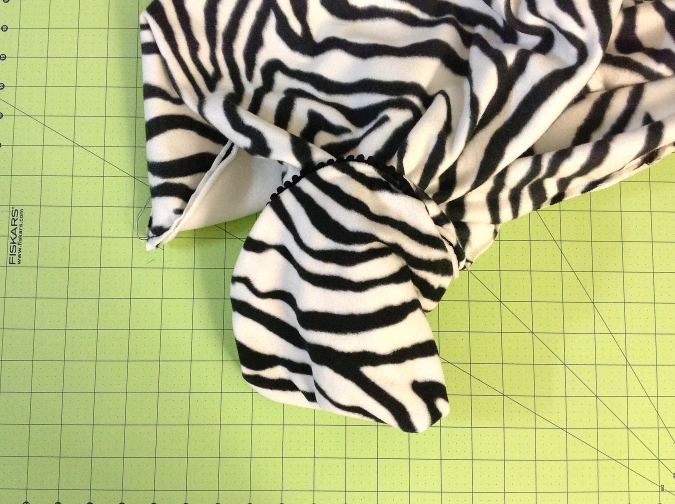
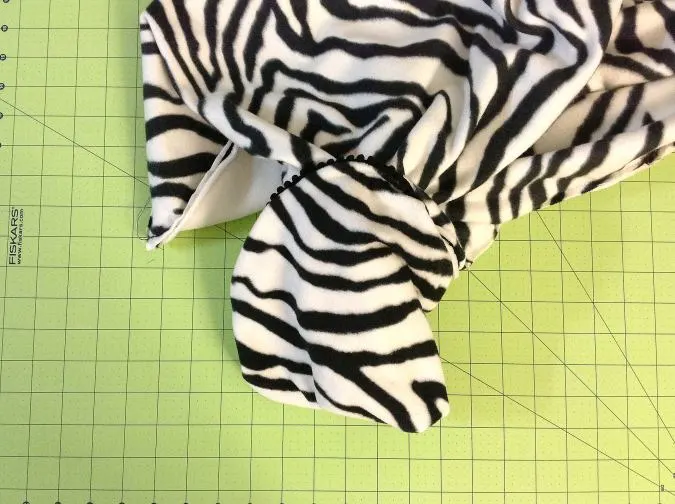
Slide your hand through the opening and bring the right side out.
Pull the trim taught and poke the corners out with the help of a wooden dowel.
Tuck in the raw edges of the opening and pin it closed.

Topstitch along the edge next to the trim to close the opening. Continue sewing all around the edges to make it neat and crisp.
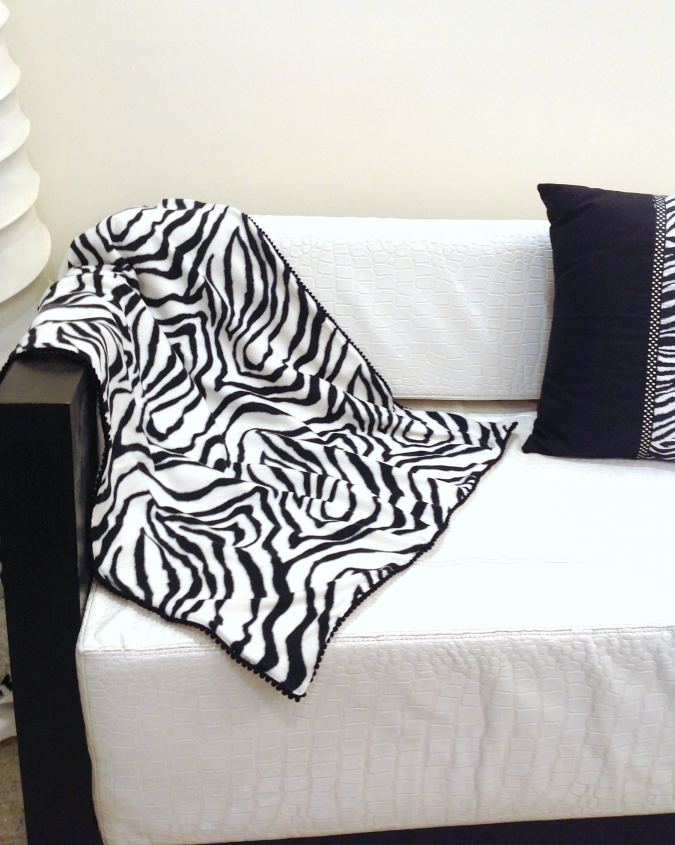

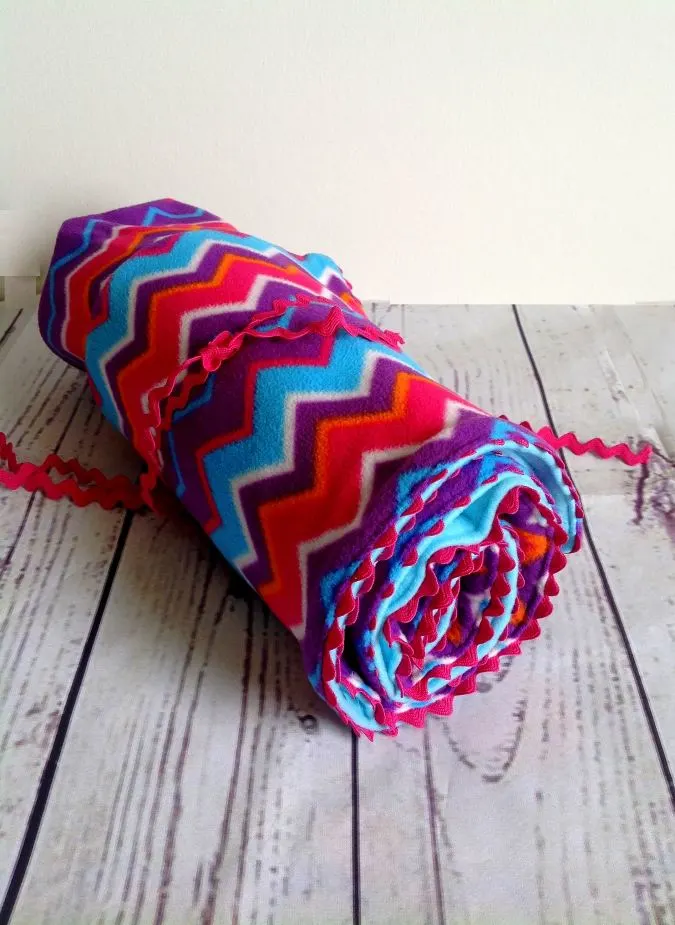
Our blanket is ready!
For more of my free patterns, click here.
For hundreds of free patterns and DIYs, visit allfreesewing.com.
![]()
![]()
Jean
Friday 3rd of January 2025
Love your patterns and easy to follow for me.