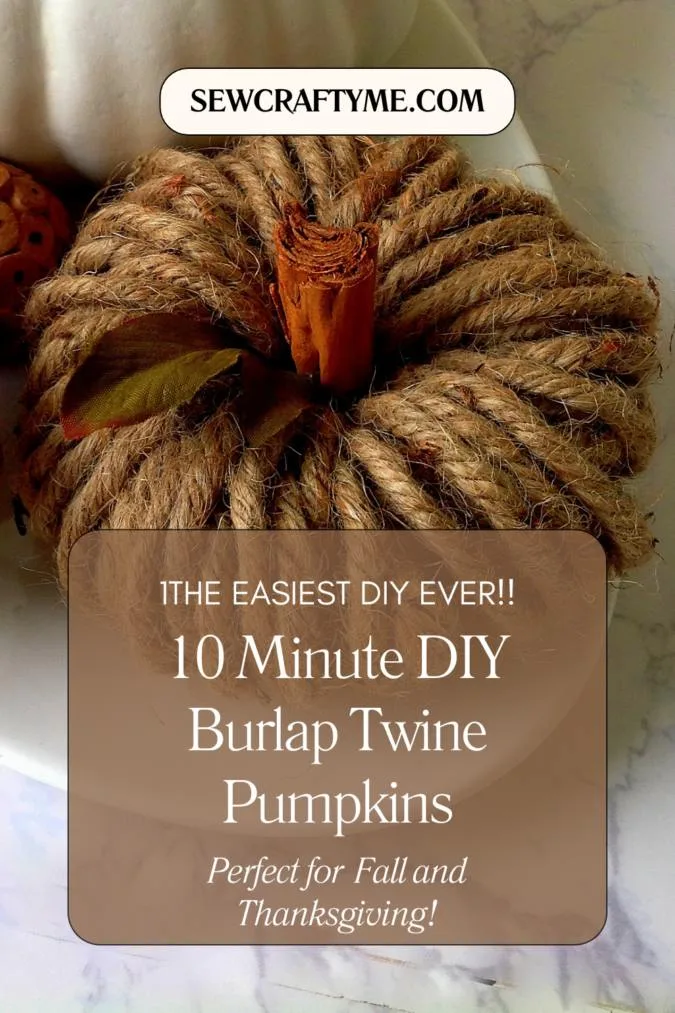
Tired of the same old store-bought pumpkins cluttering your Thanksgiving table? Want to add a unique and personal touch to your holiday decor? Look no further than this 10-Minute DIY Burlap Twine Pumpkin tutorial!

With just a few simple supplies and minimal time, you can create a stunning burlap rope pumpkin that will be the centerpiece of your Thanksgiving table.


Feel free to experiment with different materials, such as yarn or macrame cord, to customize your pumpkin.


This project is perfect for those who love DIY crafts but don’t have a lot of time or experience. Let’s get started!
The Easiest DIY Burap Twine Pumpkin in 10 Minutes
Supplies Needed:
Empty toilet paper tube.
Burlap twine roll.
Glue Gun.
Tape.
Cinnamon stick.
Faux leaves.


Gather the supplies.


Cut the burlap twine a little longer (about 3 to 4 inches extra) on either side of the tube you are taking. Leaving the extra on either sides, tape the twine to the ends of the tube or you may alternatively hotglue it.


Take the remaining twine roll and glue the end to the end of the tissue tube. Start winding the twine around the tube, not too loose or not too tight ( just right enough to easily remove it from the tube, once it is wound fully). Make sure to keep the strands as close to each other as possible.


Wind the twine till it reaches the other end of the tube, covering it completely. Cut the twine and glue the end to secure.


Remove the taped ends of the twine piece beneath. Carefully push the strands out, from the left end. You can see the burlap twine rings coming out on the other side.


It should look like this.


Tie the ends of the twine piece inside the loops together tightly to secure.


Rearrange the twine strands to get the shape of the pumpkin.
Glue the cinnamon piece and the leaf along the center as shown above.
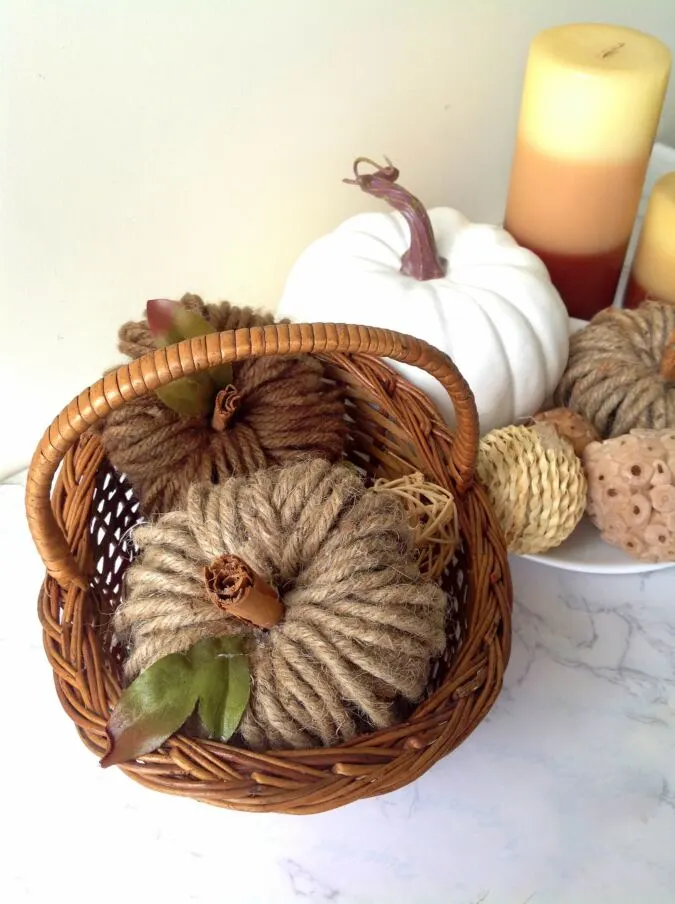
Your burlap twine pumpkin is ready!
Find the webstory for the post here; The Quickest Burlap Twine Pumpkin You Can DIY
Pin it for later here,