I love sewing organizers, be it tabletop or hanging. Organizers help you clear away the messy little things and arrange everything neatly. They also add color and flair to your rooms.
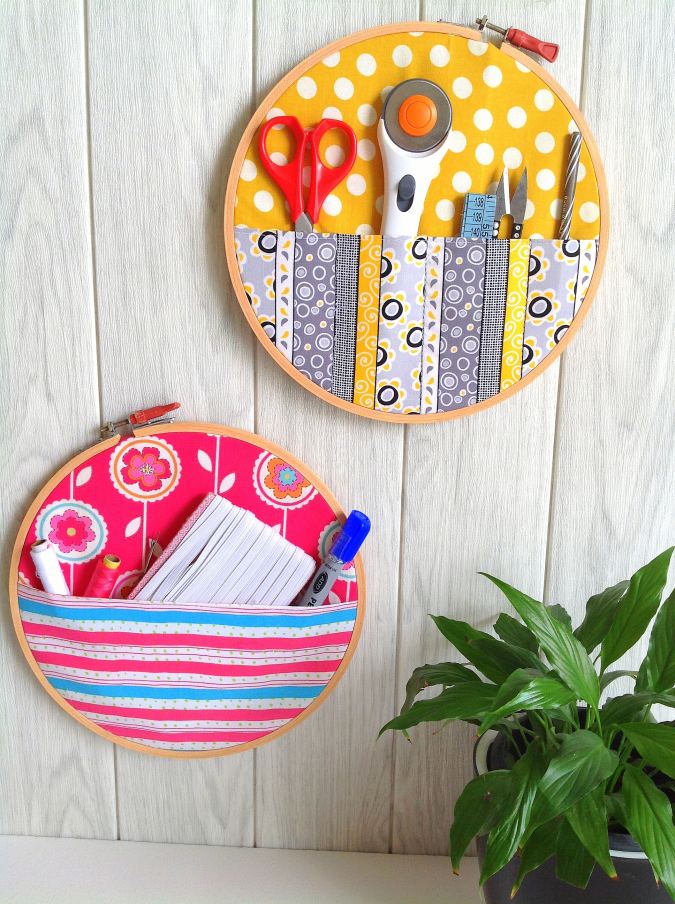

Embroidery hoops are another one of my favorites. They are so cute, so classy and so vintage! I did have a few wall hangings with embroidery hoops that I loved. Here I will teach you how to make organizers with embroidery hoops. These wall hangers are perfect to tuck away your little things. And the main advantage; you don’t have to look for them everywhere, they will be right on your wall, popping out from the pockets!

These DIY embroidery hoop organizers require very little or no sewing and they can be done in minutes. They are so easy and quick to make that you can make a number of them in one sitting. Don’t they sound like the perfect handmade gifts? So come on, make them in different colors and prints and brighten up your walls!


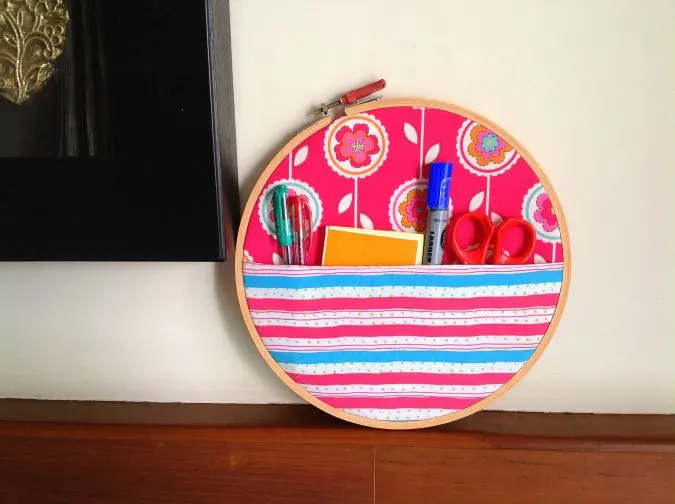
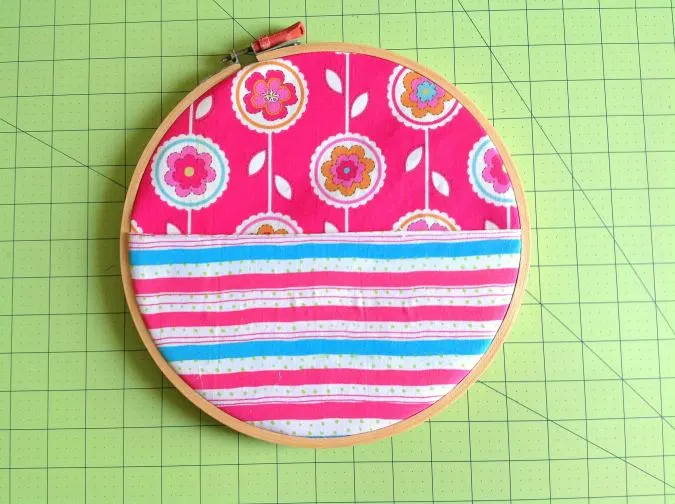
Here I have made a hoop organizer with a single pocket or a divided pocket, I had made this organizer to store my sewing supplies and so I needed one to store small sewing supplies and also things that are a bit wider. You may choose to divide the pocket into sections that suit your storage requirements.
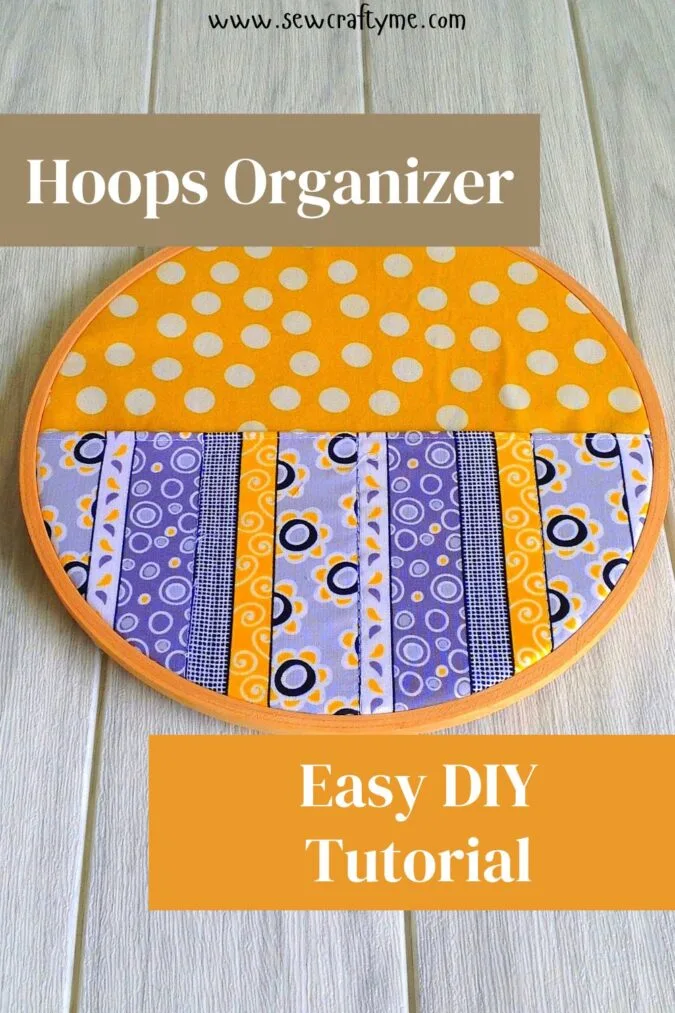
How to Make a Hoop Organizer
You will need:
Embroidery Hoop.
Medium- weight cotton fabric for the background- You need to measure the diameter of the hoop. Your fabric pieces should be a square, measuring 2” more than the diameter.
Medium- weight cotton fabric in a coordinating color and print for the pocket- In the same dimension as above.
Medium- weight fusible interfacing: one piece in the same size of the background fabric and one-piece, half the size of it.
Sewing Notions.

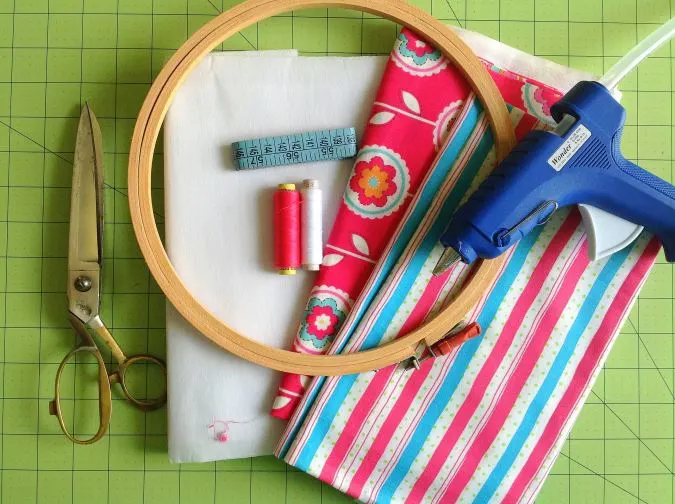
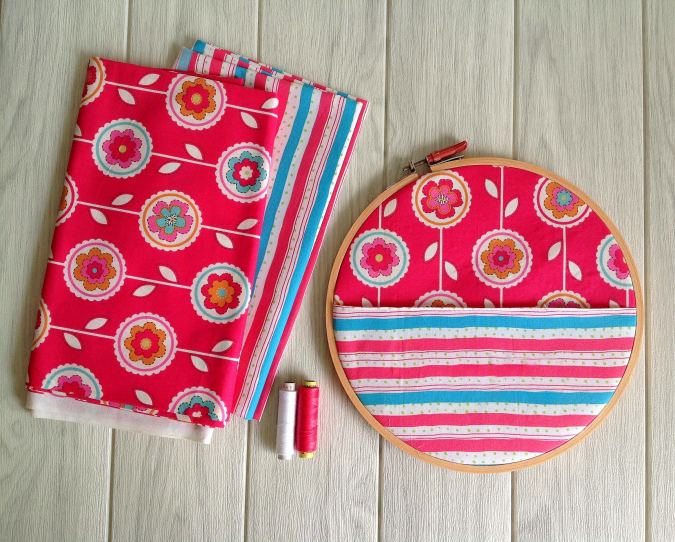
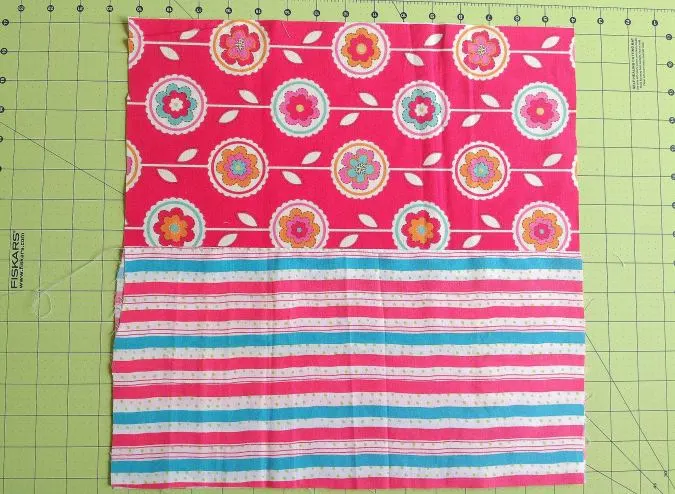
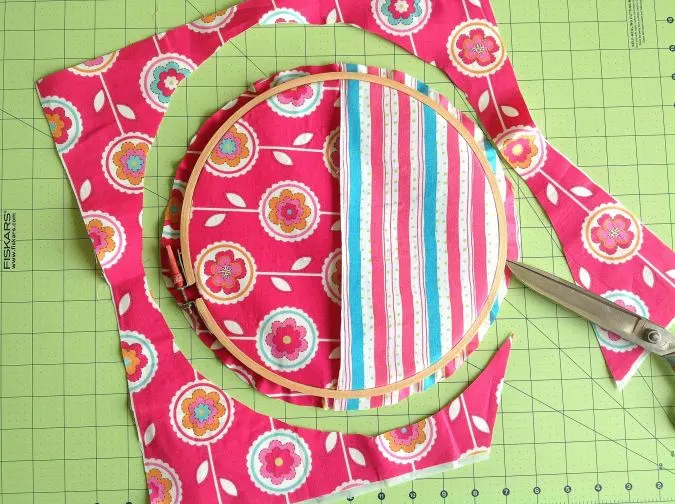
Gather your supplies.
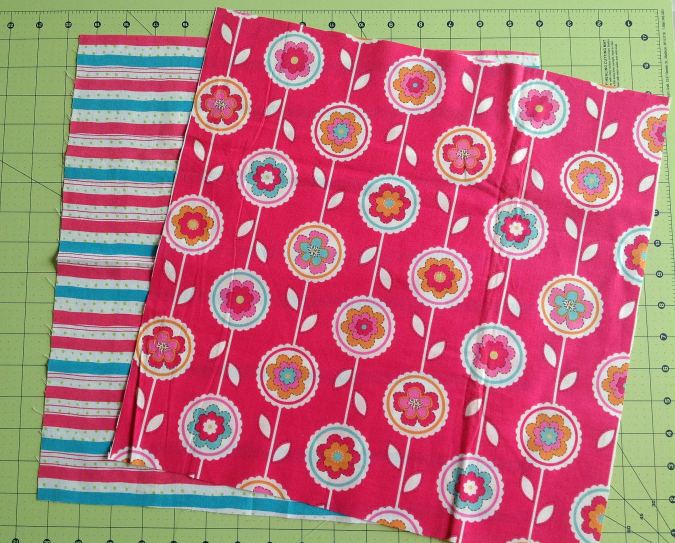

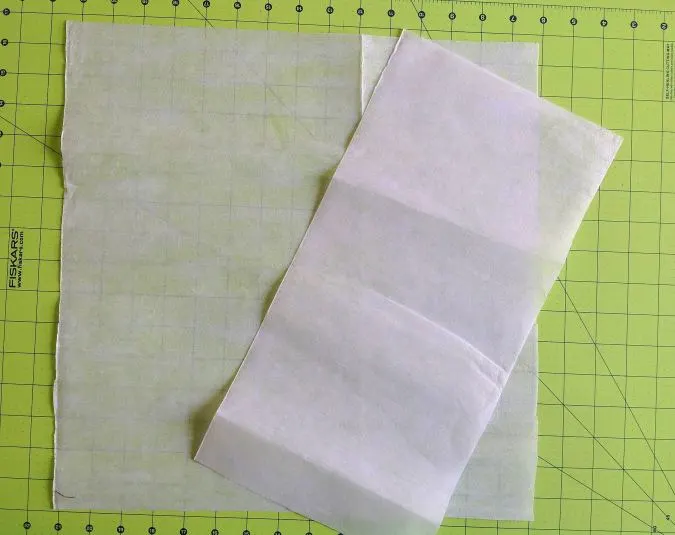
Cut your cotton and interfacing pieces, referring to the dimensions above.

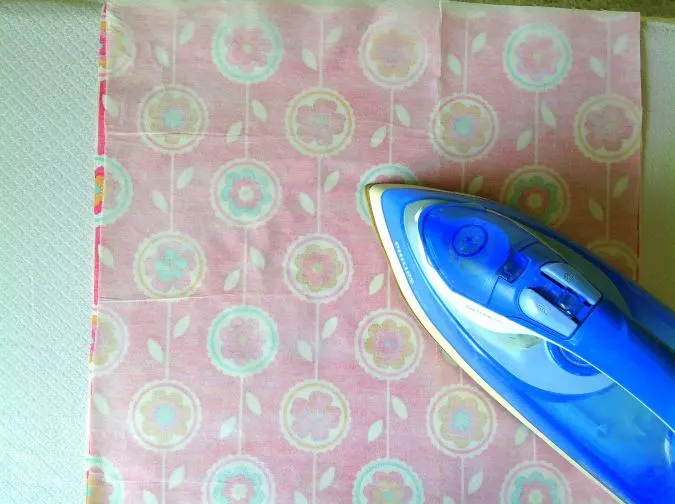
Fuse the interfacing on the wrong side of the main piece, following the manufacturer’s instructions.
Place the pocket interfacing on one of the halves of the pocket piece, on its wrong side and fuse.

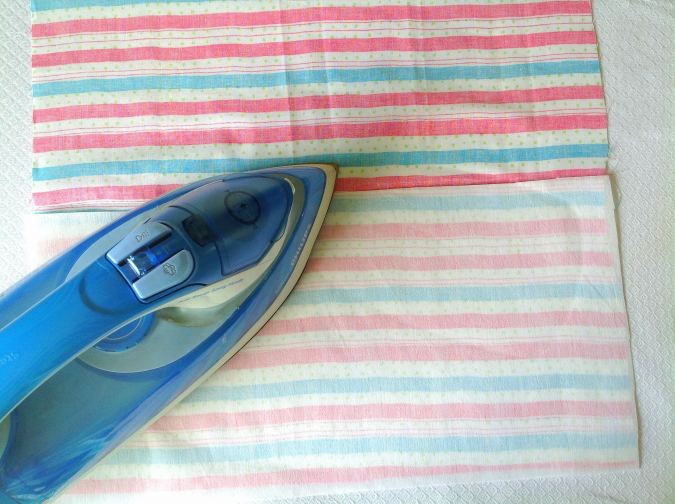
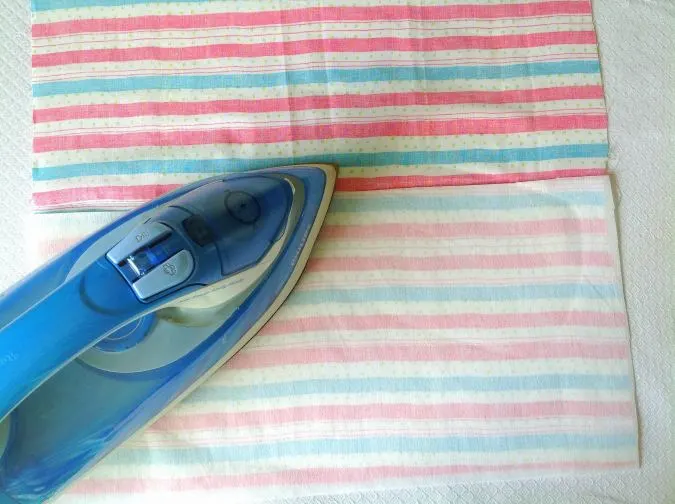
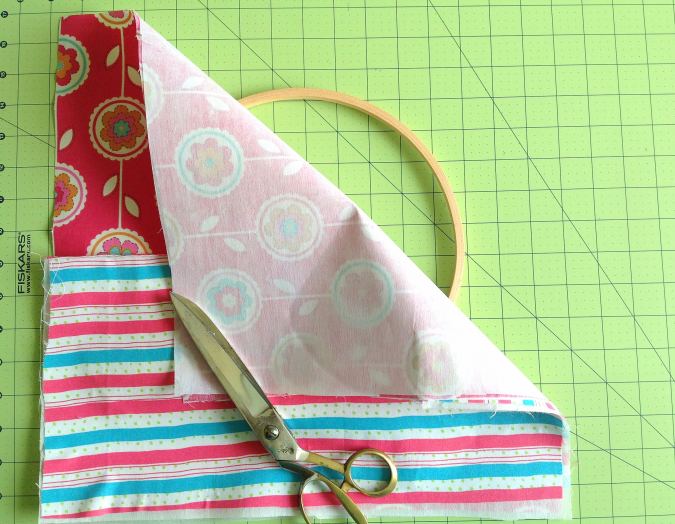
Fold the pocket piece in half, with the wrong sides together and press the edge to set.
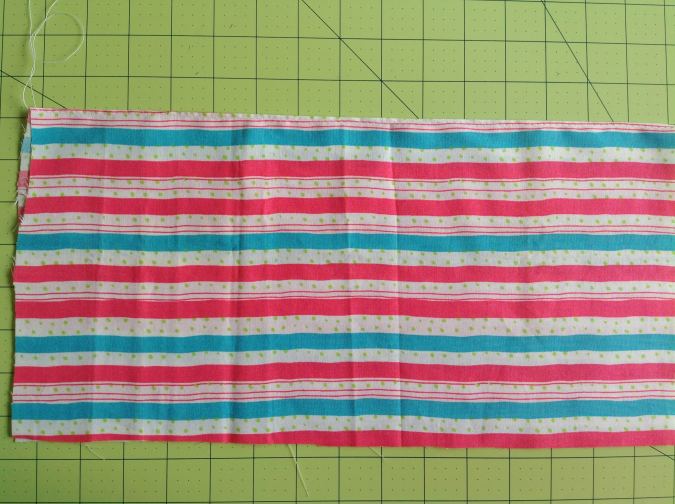

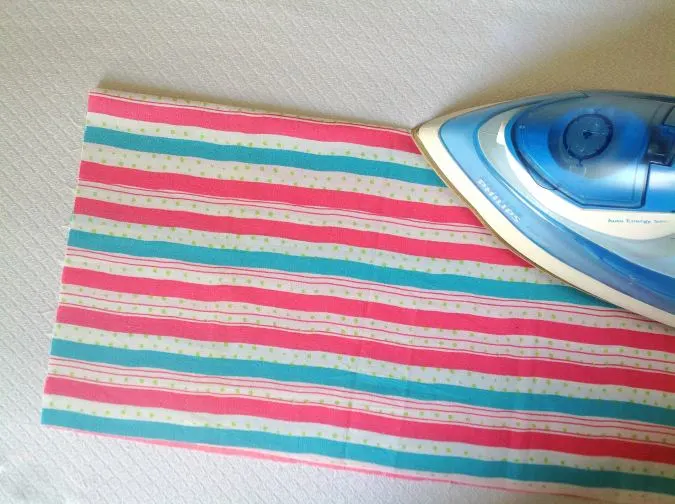
Topstitch along the folded edge.

Place the pocket on the main piece and pin (you can place the pocket halfway down from the top of the main piece).


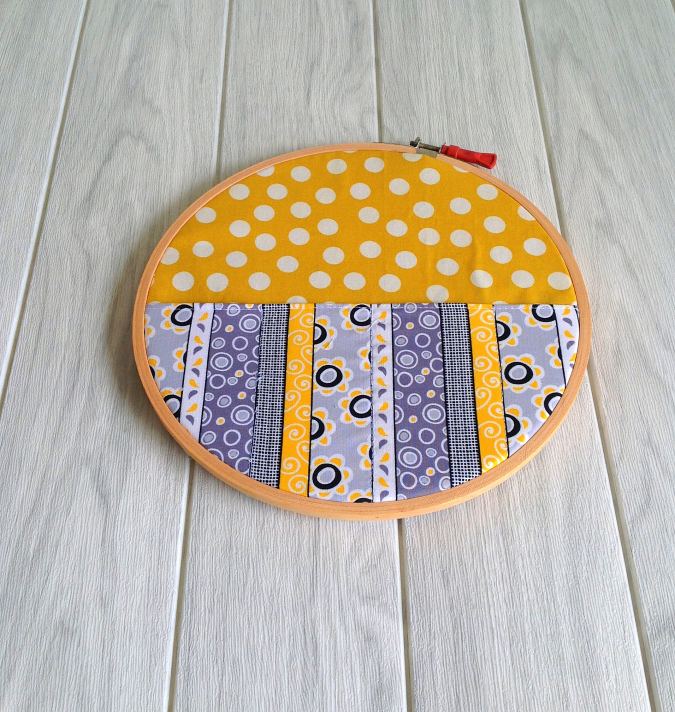
At this point, you may choose to divide the pocket into sections, by sewing straight lines (picture for illustration purpose).

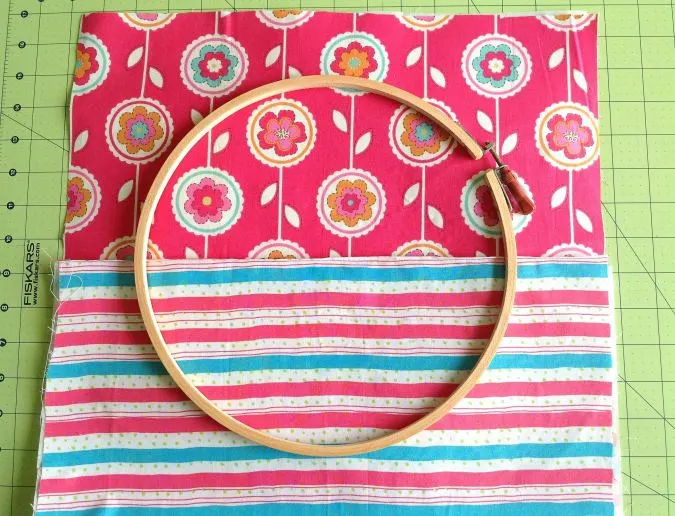
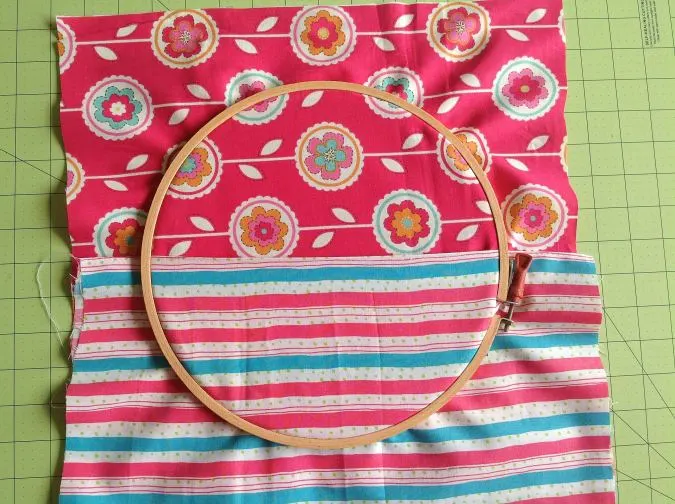
Place the hoop over the arrangement and check the position of the pocket. You might have to make slight adjustments to get the desired look.

Slide the inner embroidery hoop below the main piece and adjust the position to get the desired look.

Loosen the screw of the outer embroidery hoop, place it over the fabric layer and gently push it down. Pull the fabric from the sides to make it neat and taut. Tighten the screw.

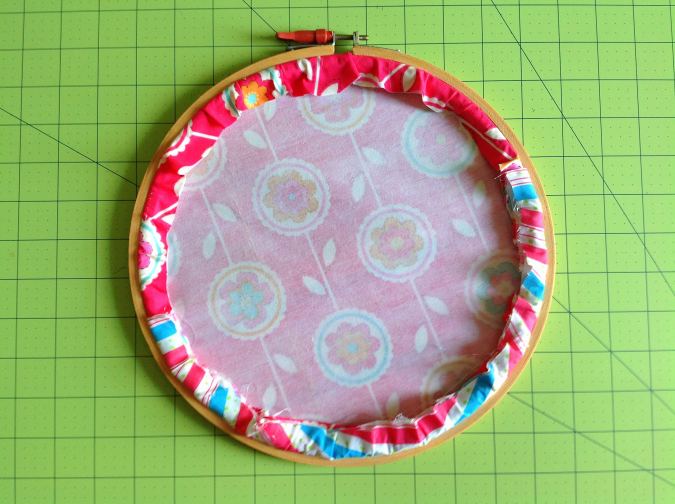
Cut off the excess fabric and leave about ½- inch all around.
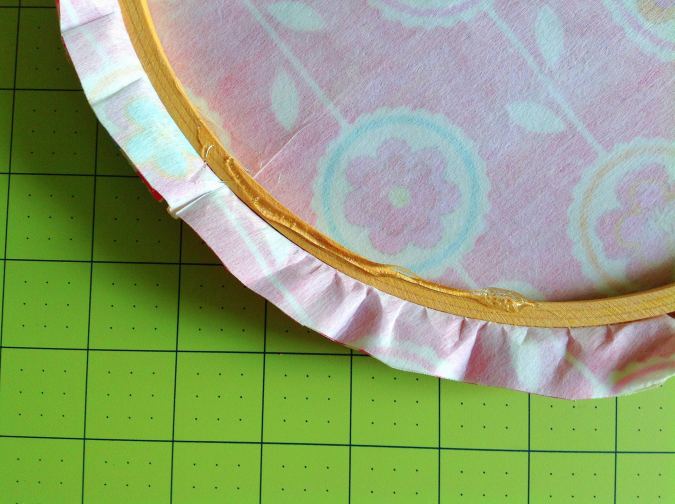

Turn over to the wrong side and hot-glue the excess fabric onto the inner hoop behind.

Continue gluing the fabric all around the hoop.
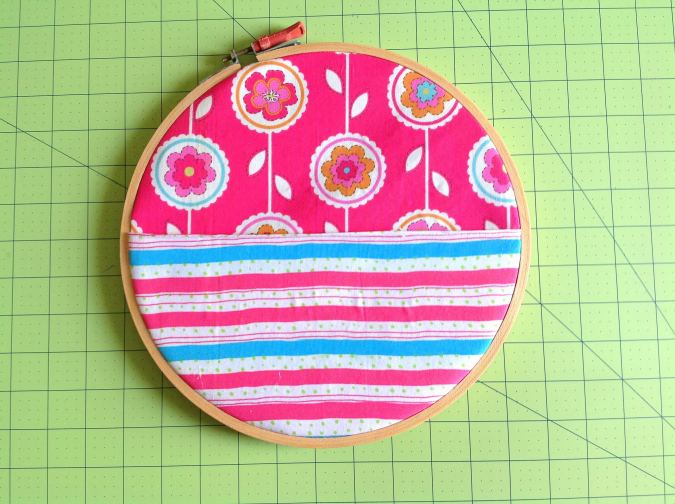
And we are done!
Pin it for later here,

For more of my free patterns, click here.
For hundreds of free patterns and DIYs, visit allfreesewing.com.
Have a look at the webstory for the post here, How to Build an Easy Hanging Hoop Organizer
Heather
Tuesday 4th of February 2025
Definitely on my bucket list.
Mary R
Sunday 22nd of January 2023
This hoop organizer gets me so excited to make it...great tutorial.
Madeline
Wednesday 5th of October 2022
Another wonderful but easy, fast project. Love it
Surayya
Thursday 6th of October 2022
Thank you!
Jackie Koepnick
Tuesday 7th of June 2022
Oh what a fantabulous idea I have a place for these things now I have a dedicated sewing room that is going to be sprayed semi gloss white and these will be pictures and practical I love them thank you