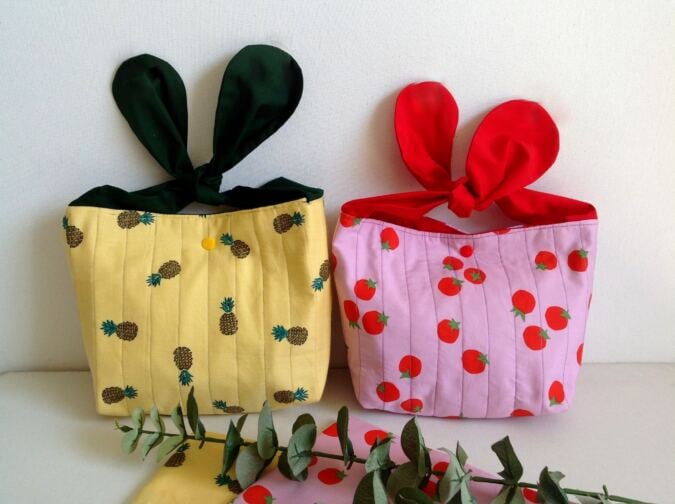
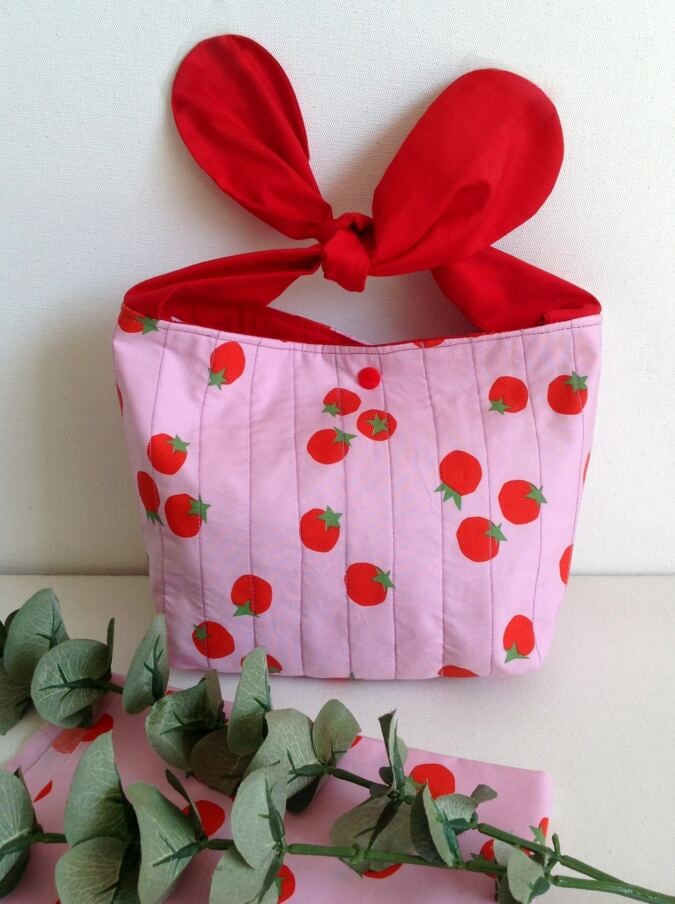
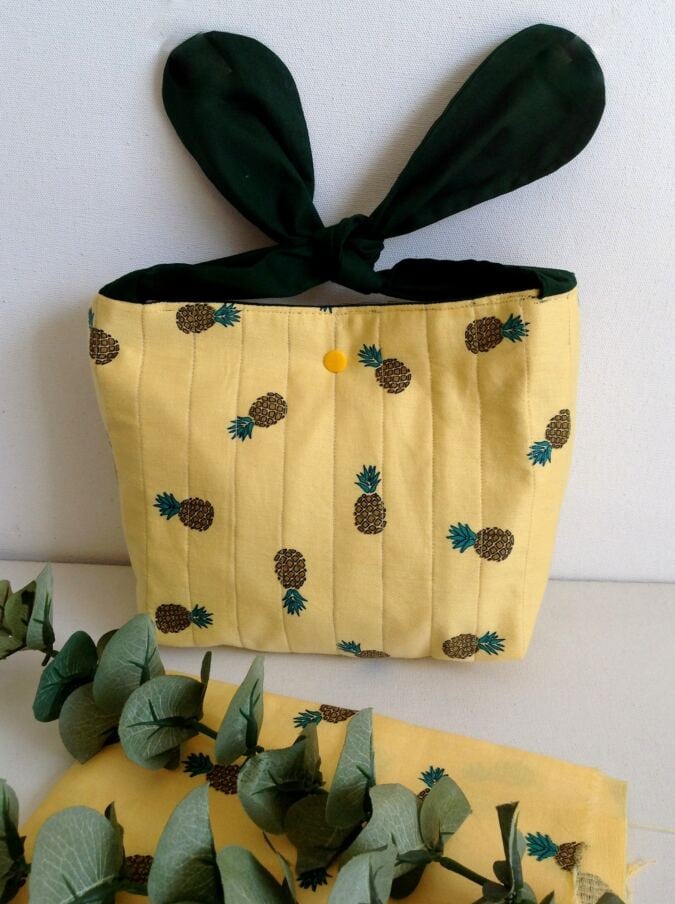
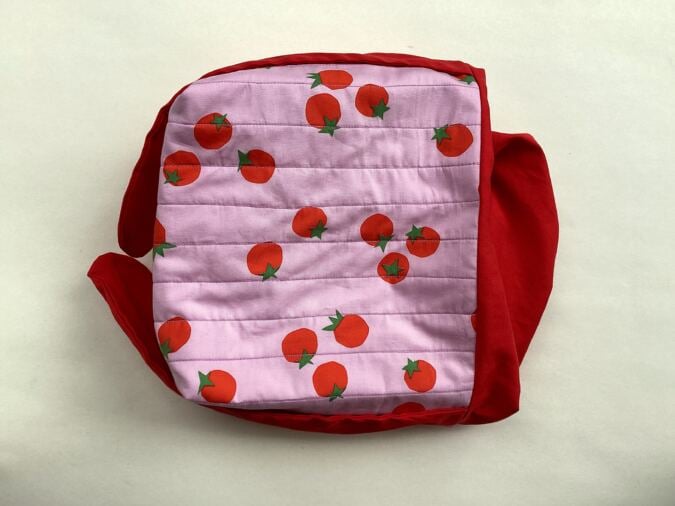
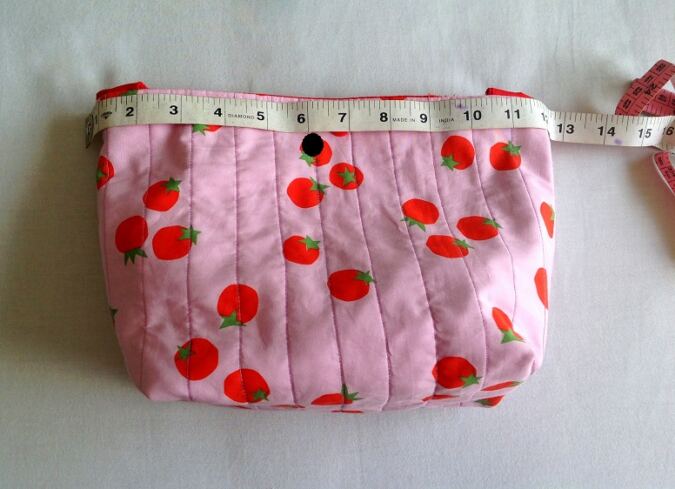
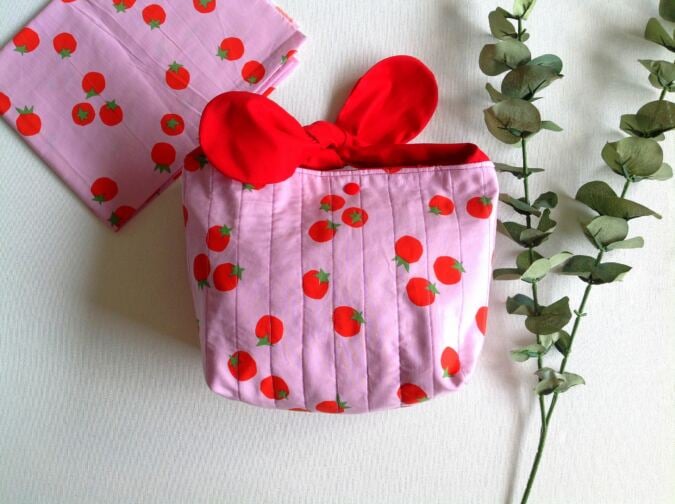
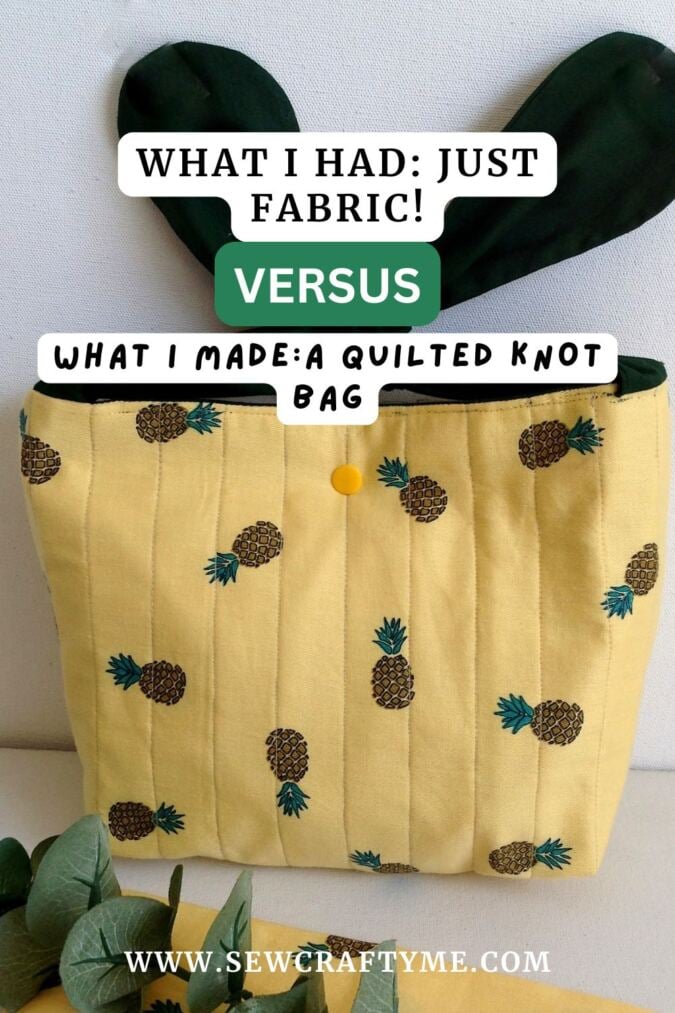
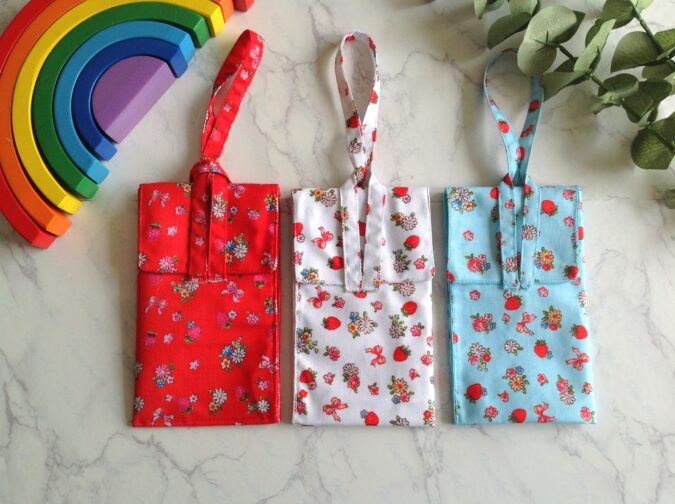
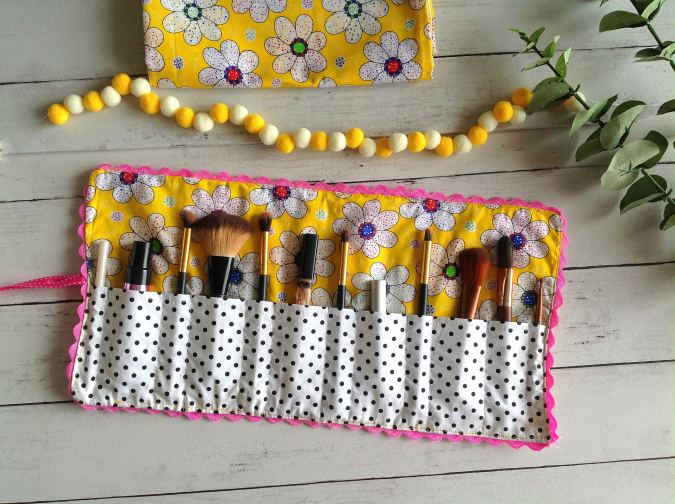
Looking for something cute and practical to carry your little things this holiday season? Then here’s something easy and fun you can sew—a DIY quilted knot bag!
The bag has boxed corners for extra room and no zippers, making it both easy to sew and easy to use. Simply tuck your little belongings inside, snap the button closed, and knot the straps to keep everything nice and secure. The knotted strap also doubles as a convenient handle—how clever is that?
This is a great beginner-friendly sewing project with just a few pattern pieces. The only part that takes a little extra time is the quilting, but if you’re new to quilting, this is a wonderful project to start with. Give it a try—you’ll love how quickly this little bag comes together!
How to Sew a Quilted Knot Bag
Supplies Needed:
Medium-weight cotton fabric for the bag outer – 2/3 yard
Medium-weight cotton fabric for the bag lining – 2/3 yard
1/4-inch thick cotton batting – 2/3 yard (I used 1/8-inch thick batting for this tutorial to make sewing easier. However, 1/4-inch thick batting will give you a sturdier bag with more structure and body.)
Sewing notions
Strap template. Enter your email address and click the subscribe button to download the template. Kindly wait for 2-3 minutes for the download window to appear.
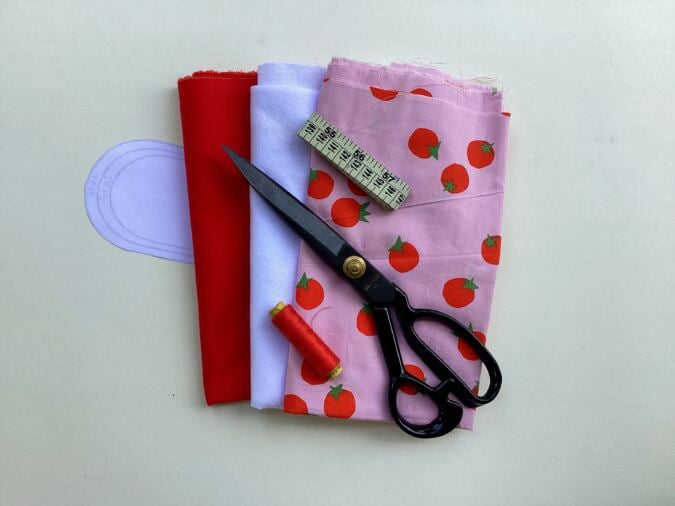
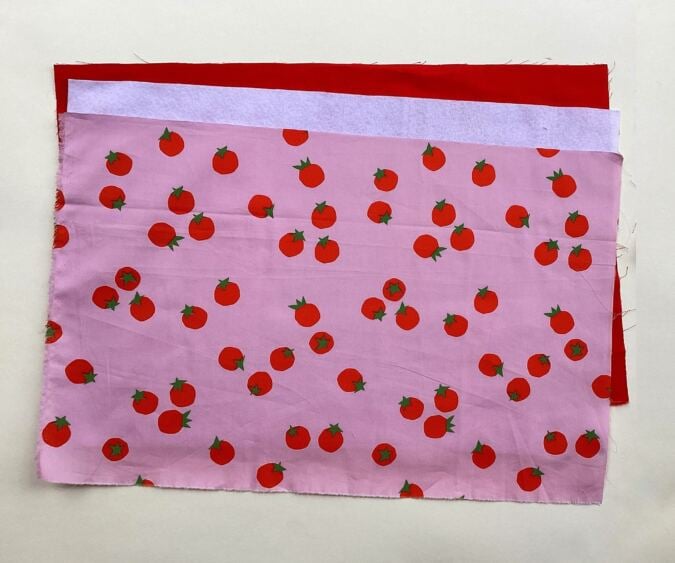
Gather your supplies.
You will need to cut fabric pieces with the following dimensions:
Main Fabric: 12.5”W x 19.5”L
Lining Fabric: 12.5”W x 19.5”L
Batting: 12.5”W x 19.5”L
It will look like this.
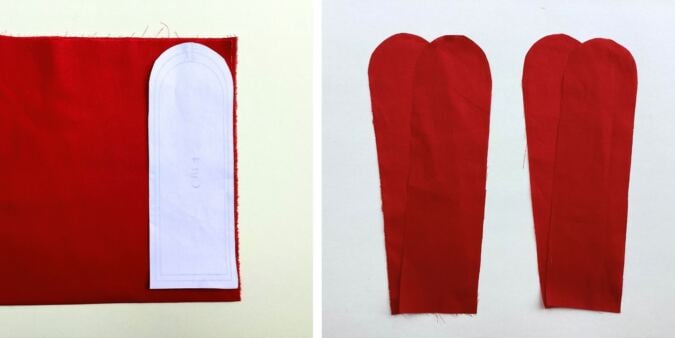
Use the strap template to cut 4 pieces for the strap.
Let’s first quilt the bag outer.
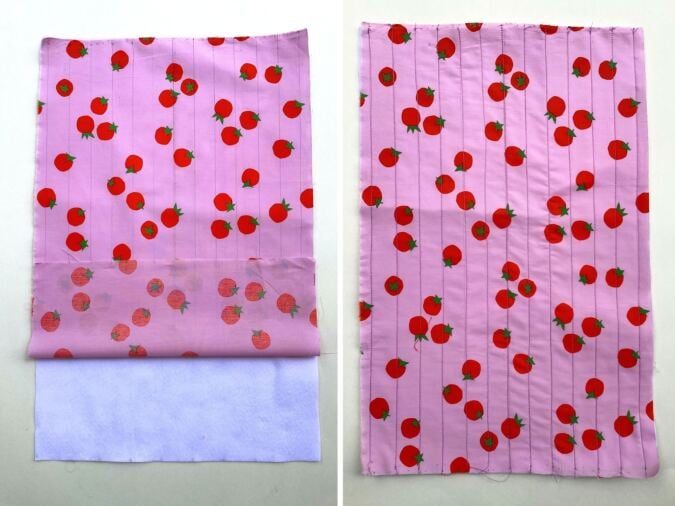
Place the batting down first followed by the front fabric with the right sides facing out and the edges aligned. Draw parallel lines 1- inches apart across the fabric
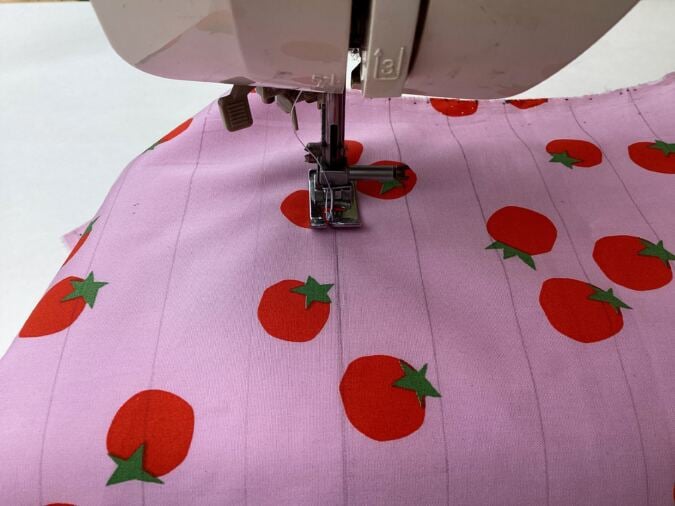
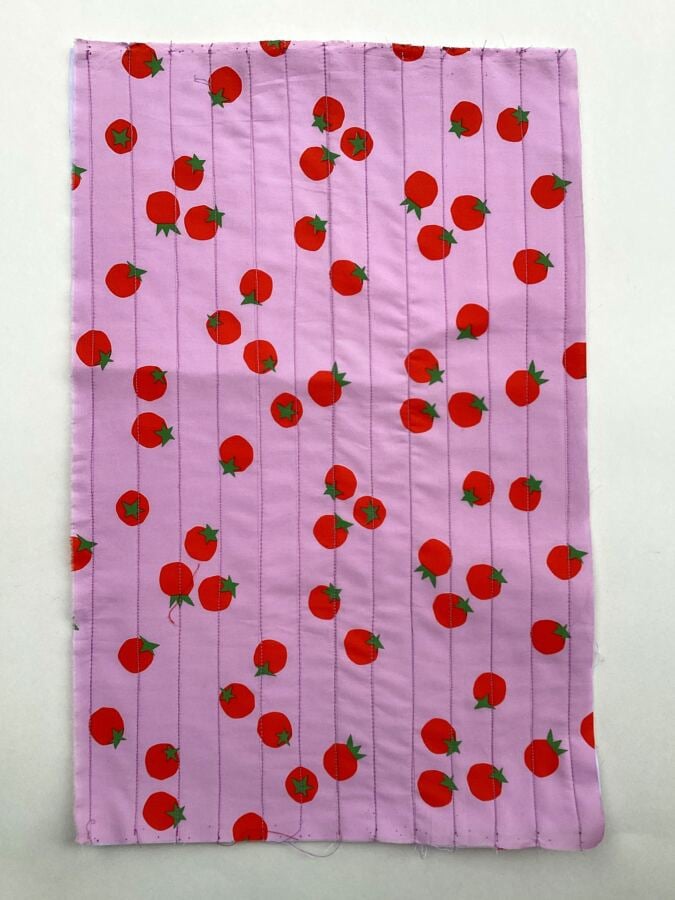
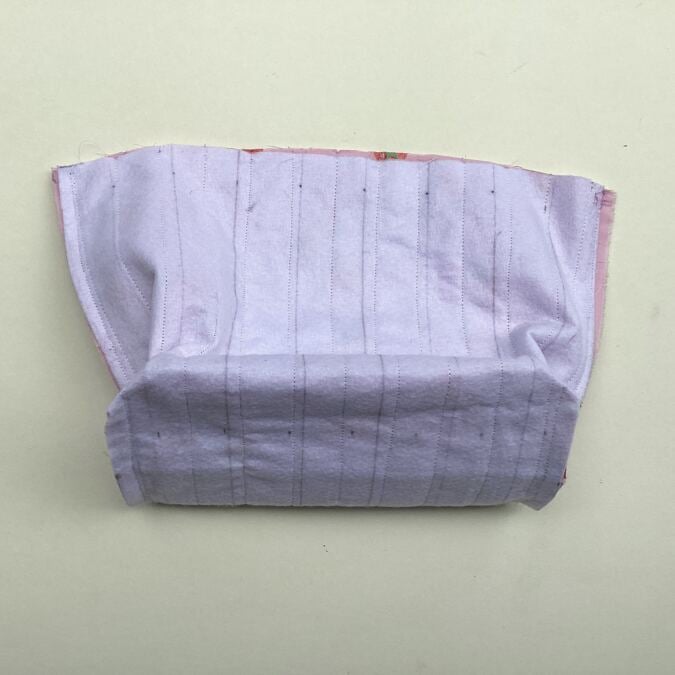
Sew along the lines to quilt.
The quilted bag outer will look like the above.
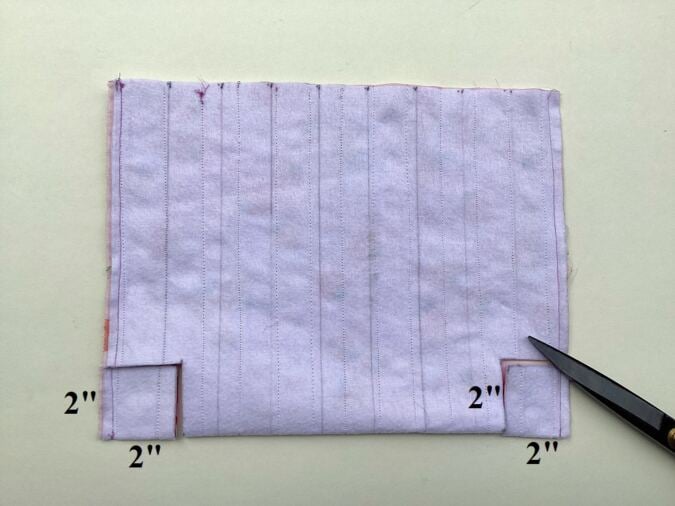
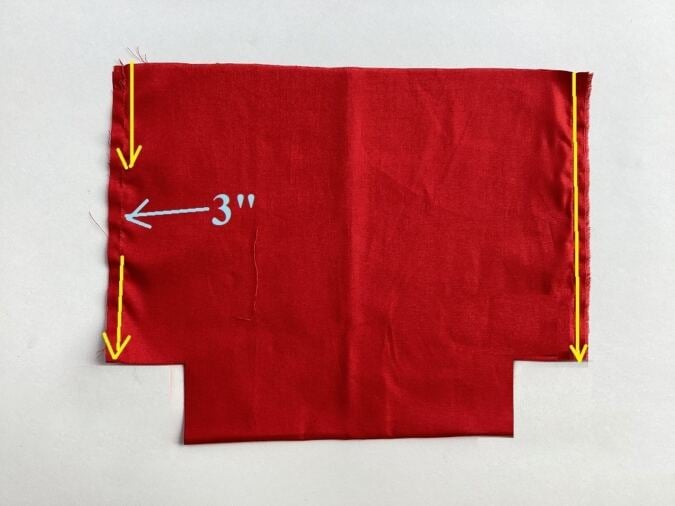
Fold the bag outer in half widthwise with the right sides together and lining up the edges. Cut off 2” squares from the lower edge, on both the corners as shown above.
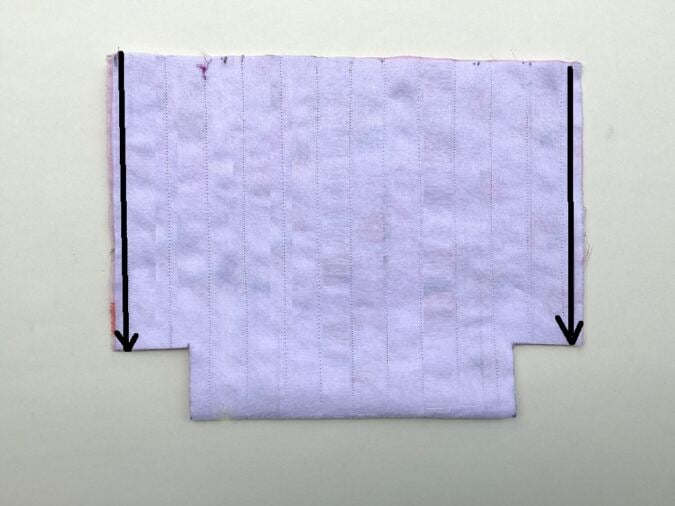
Sew the side seams shut on both sides.
Let’s box the corners.
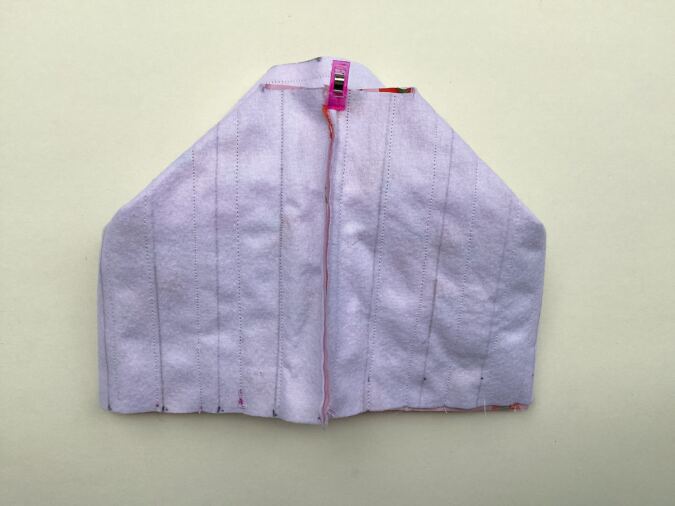
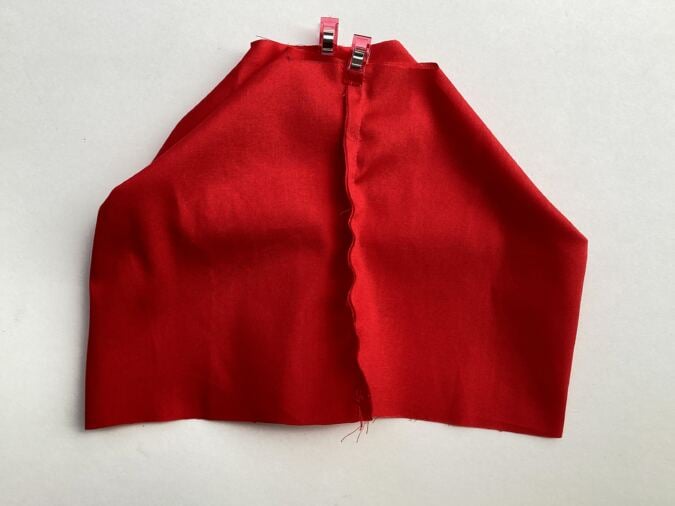
Pinch open the corner and line up the side and bottom edges. Put clips along the aligned edges to hold it in place. Repeat on the opposite corner.
The bag will now look like this with both the corners boxed.
Let’s prepare the lining.
Fold the lining in half just like the bag outer and cut off 2- inch squares from the corners. Sew the side seams shut, leaving about 3- inches to turn the right side out later.
Box the corners just as you did for the bag outer.
Next, we prepare the two straps.
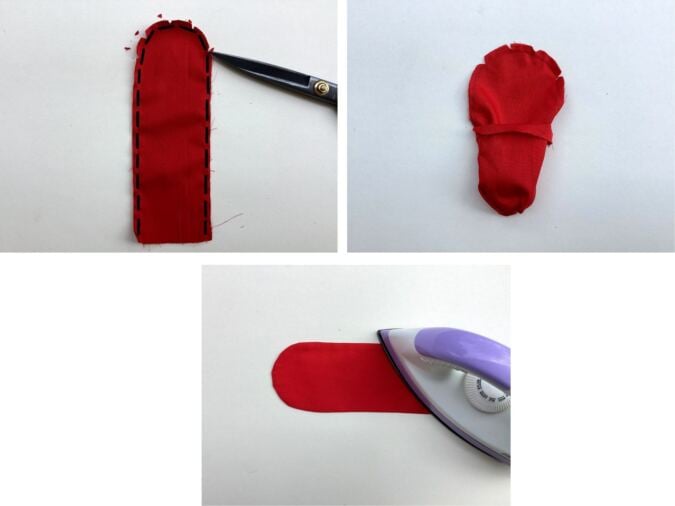
Take two pieces for the strap, layer them with the right sides together, lining up the edges and sew around the edge, leaving the bottom straight edge open. Clip the corners to reduce the bulk in the seam. Bring the right side out through the opening. Press to make it neat and crisp. Repeat to get the other strap ready.
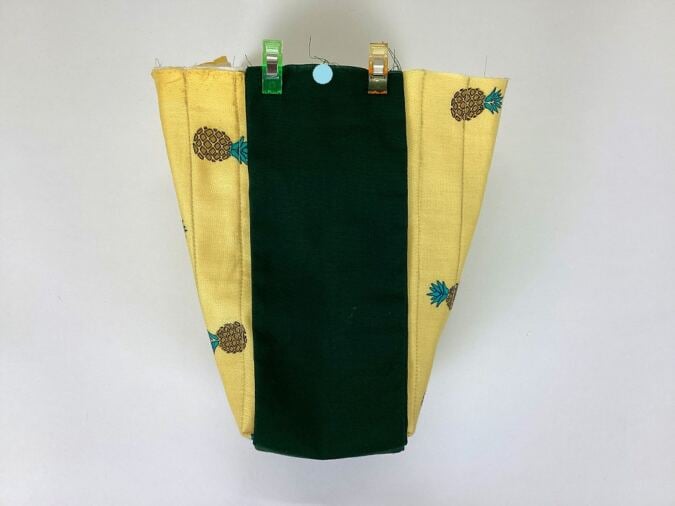
Take one strap and find the center of its raw edge using a measuring tape. Mark the center point. Align the raw edge of the strap with the raw top edge of the bag, matching the center mark with the side seam of the bag. Secure it in place with clips. Repeat on the other side (picture for illustration purposes).
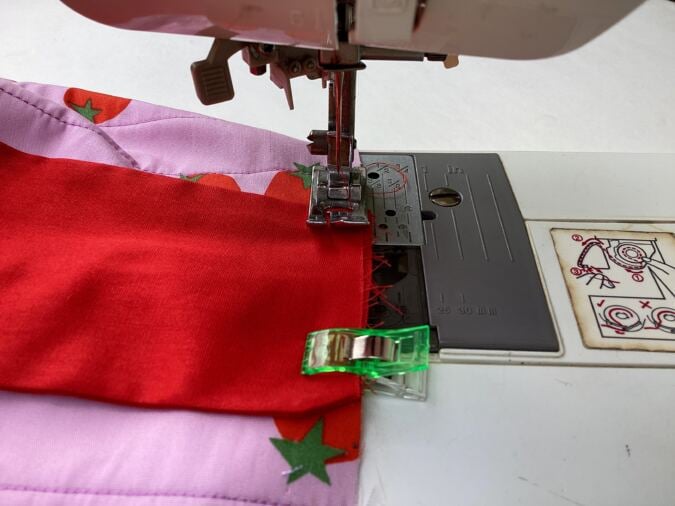
Sew the straps to the bag.
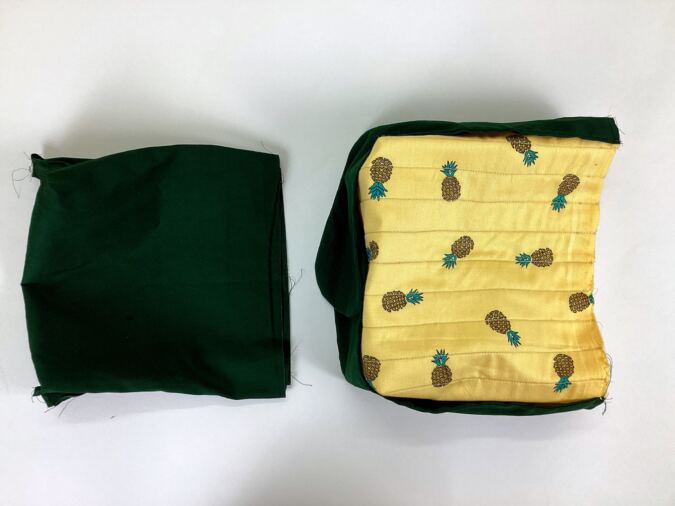
Keep the lining on its wrong side and the bag on its right side, above the lining (picture for illustration purposes).
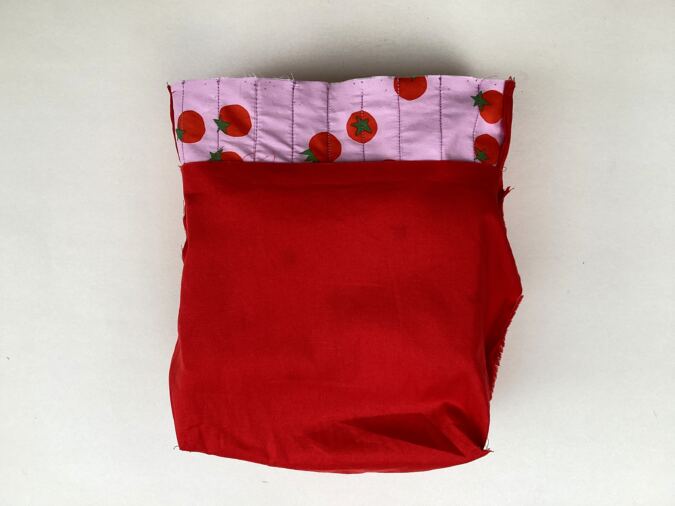
Slide the bag into the lining.
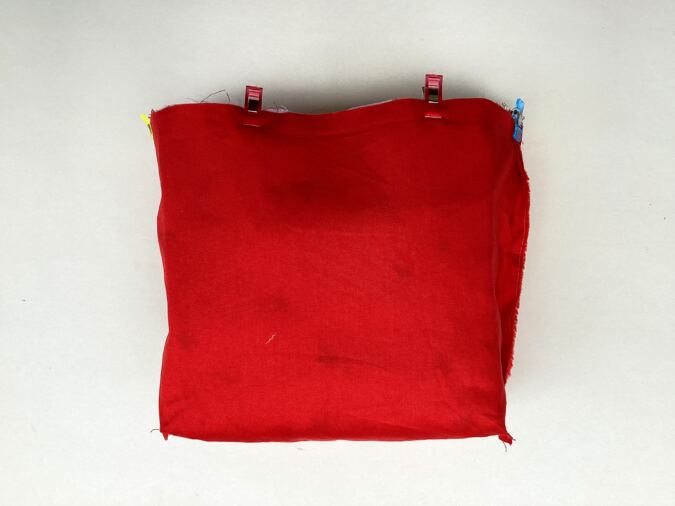
Line up the raw edges at the top and place clips to hold them together.
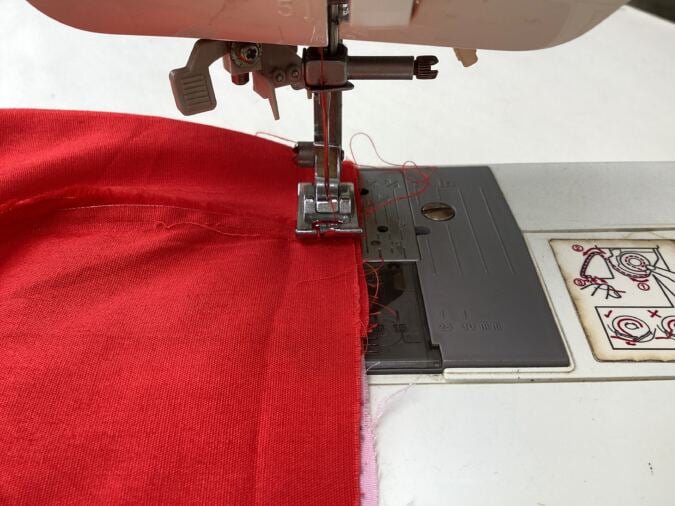
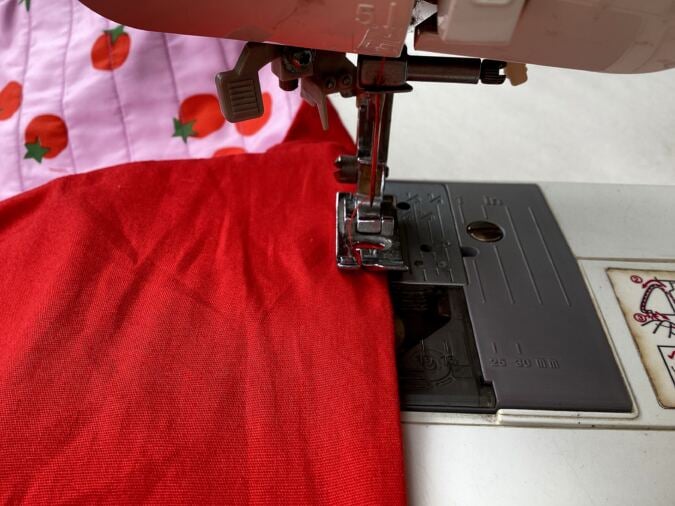
Sew the aligned edges together to join.
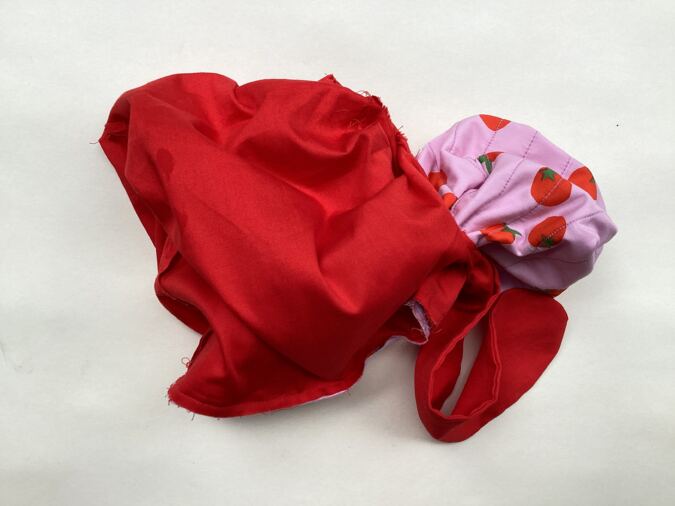
Pull the right side out through the opening along the side of the lining.
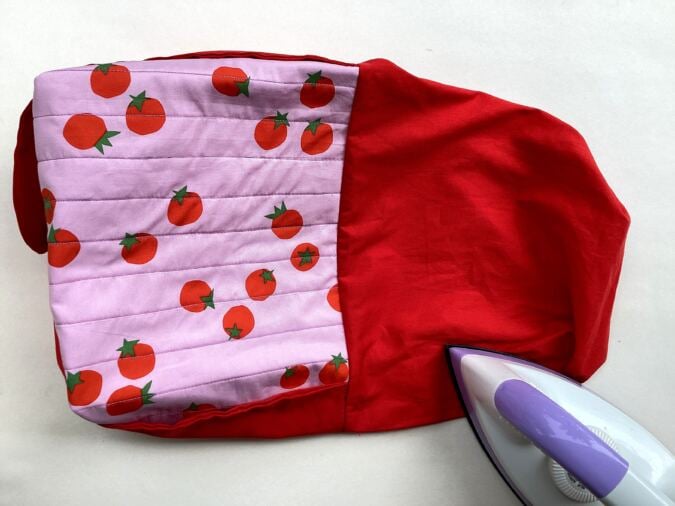
Tuck the raw edges of the lining in and press to set.
Sew the opening shut along the edge.
Keep the strap out, push the lining into the inside of the bag.
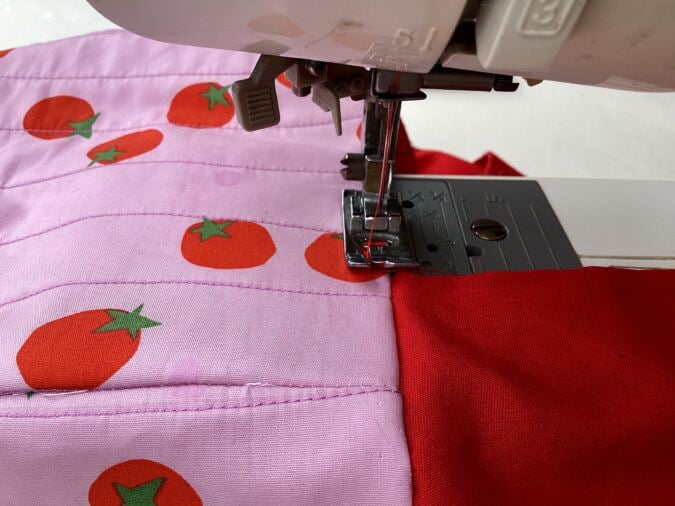
Topstitch around the top edge of the bag to make it neat and crisp.
Find the center of the front and back of the bag, about 3/4- inch from the top edge, using a measuring tape. Mark the points. Attach the KAM snaps following the instructions in the manual.