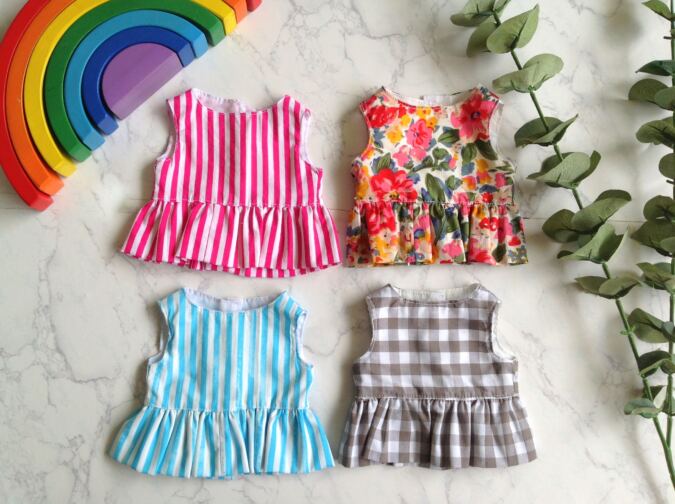
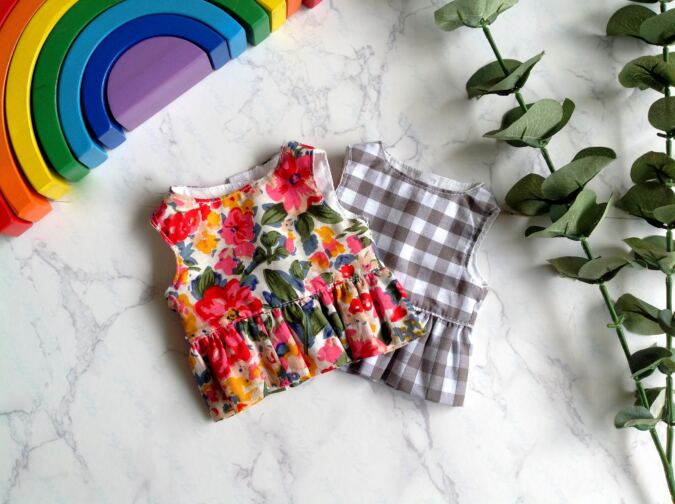
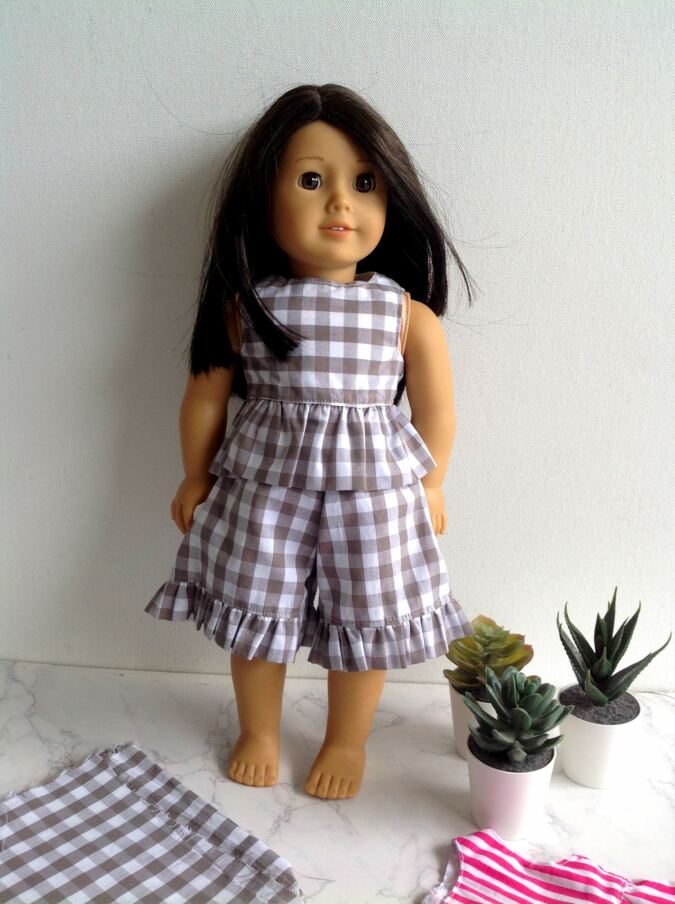
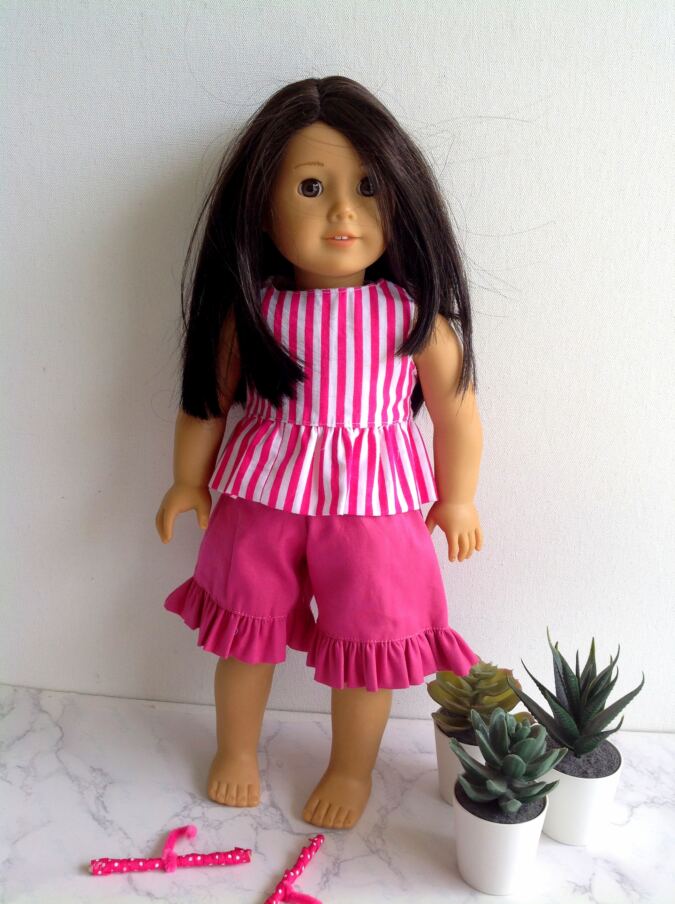
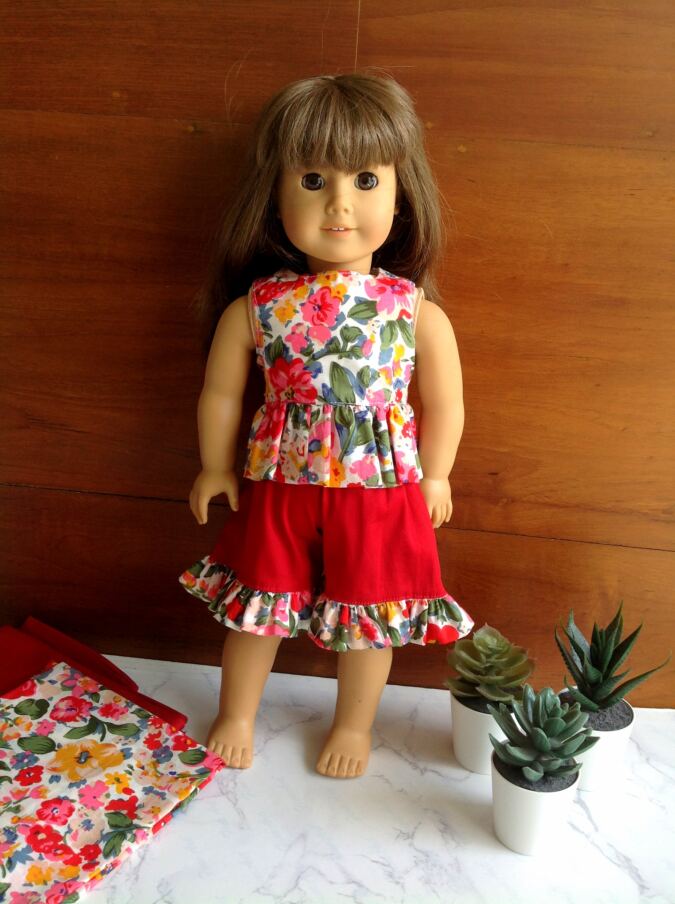
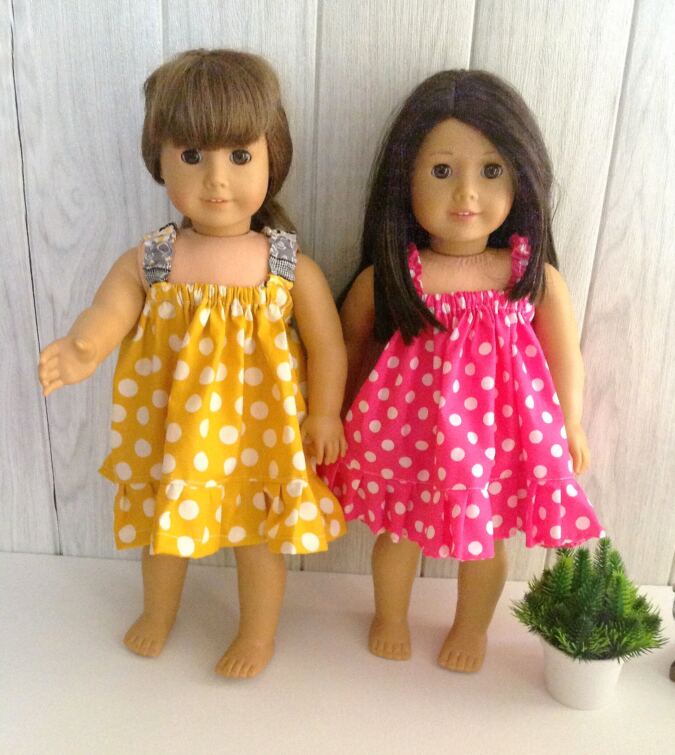
What if I told you that you can sew a matching Willow Top and Ruffle Shorts set for your little one’s 18-inch doll too? Of course, there would be no limit to her joy!
After sewing the Willow Top and Shorts for your girl, don’t throw away those leftover fabric scraps. Save them to create an adorable matching outfit for her favorite doll. It is a wonderful way to make the most of your fabric while creating something extra special.
And the best part? Once you have sewn the outfit for your child, you will find this doll-sized version much easier and quicker to put together.
So, gather your scraps, thread your machine, and let’s get started right away!
How to Sew a Peplum Top for American Dolls- The Willow Doll Top Pattern
Materials Required
Medium- weight cotton fabric scrap in a desired print and color for the top outer.
Medium- weight cotton fabric scrap in a coordinating print and color for the top lining.
Sewing Notions.
Fabric Marking Pen.
1/2- inch wide Velcro- 3.75- inches.
Pattern template. **Enter your email address and click the subscribe button in the box below to downoad the template:
The seam allowance is 3/8-inch unless otherwise specified.
I suggest you read the entire pattern once before starting to get a general idea.
All seams are to be finished by zigzag or serger.
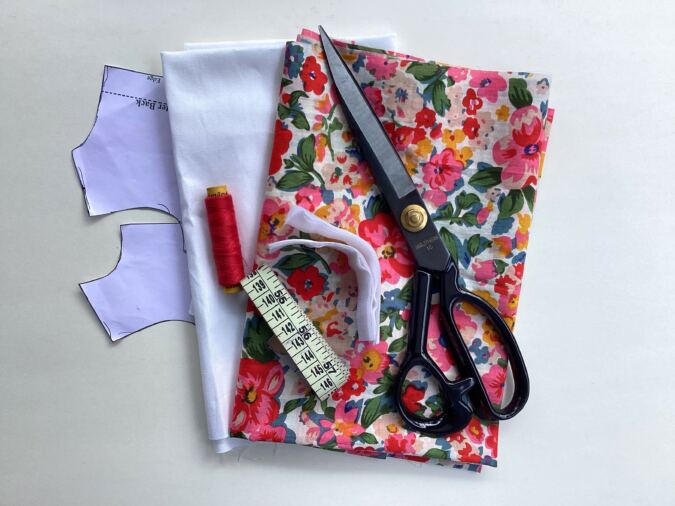
Gather the supplies. Cut the templates for the top front and top back from the attached PDF.
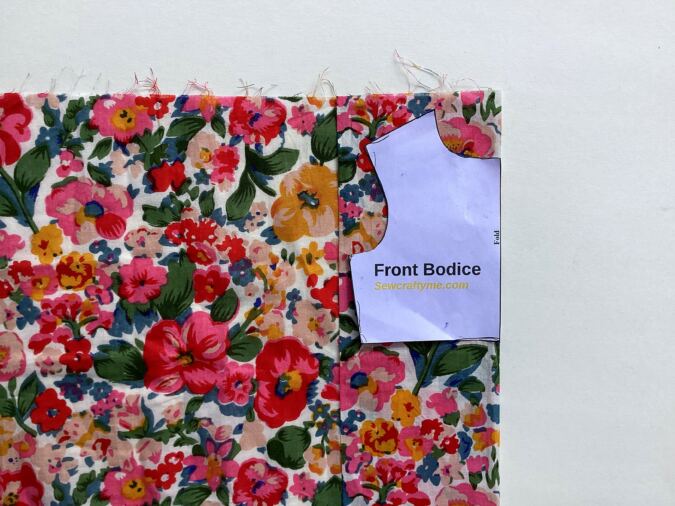
Take the top fabric and the template for the front bodice. Fold the fabric to fit the width of the template and place the template on the fold. Mark around it and cut to get the front bodice piece. Repeat the steps to get the front lining.
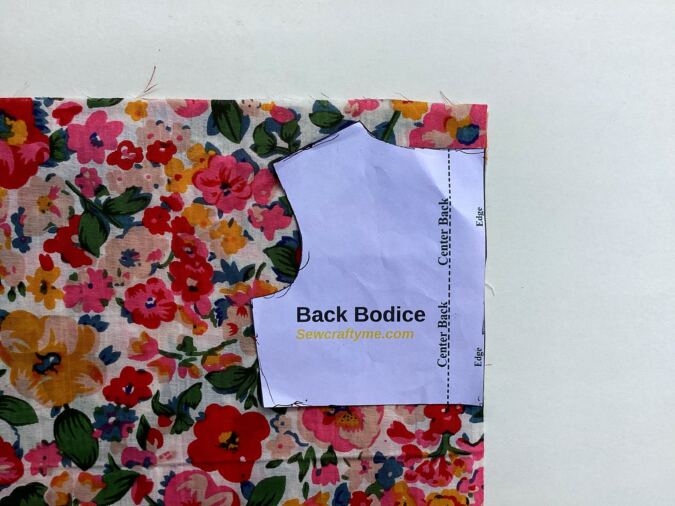
Let’s cut the back bodice. Here again, fold the fabric, but this time, place the template for the back bodice, along the edge of the fabric. Mark around it and cut to get two pieces for the back bodice (the back part of the top is done in two pieces, for button opening). Repeat the steps to get the back lining pieces.
Cut your ruffle piece 4.75- inches wide and 24- inches long.
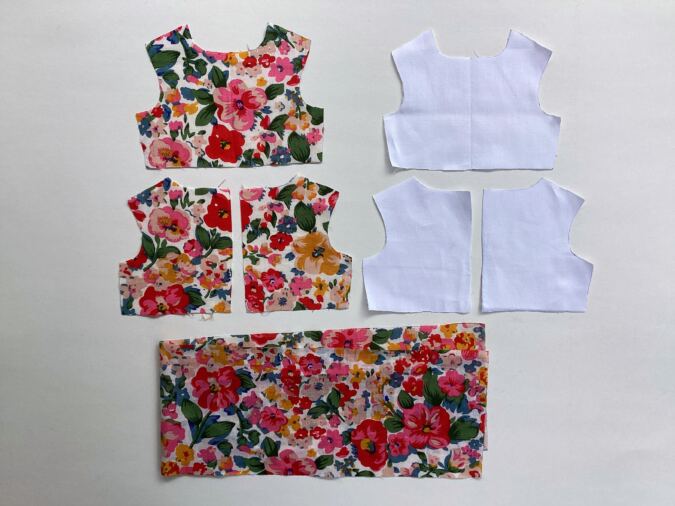
Your bodice-front, lining, bodice –back, lining and ruffle pieces will look like the picture above.
Sewing
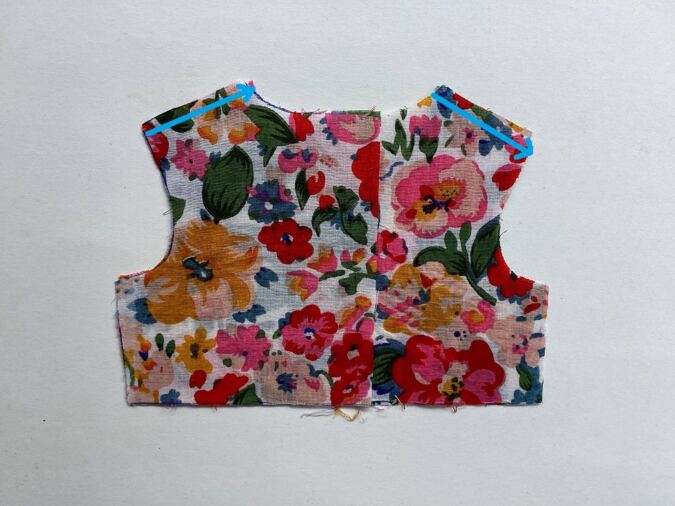
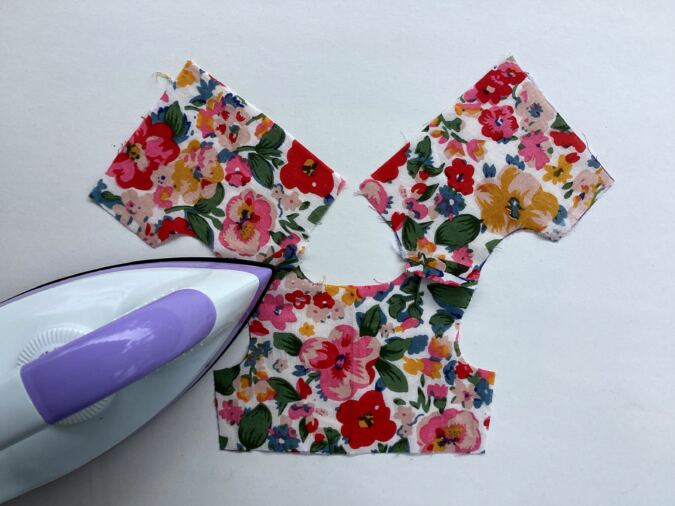
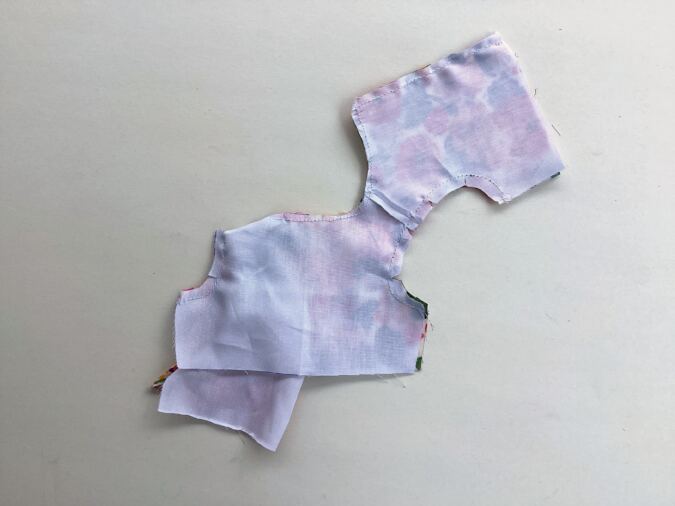
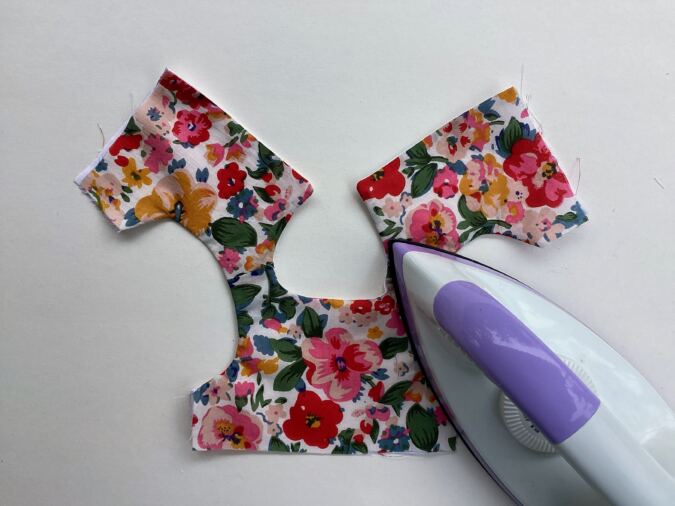
Take the two back bodice pieces and place them over the front bodice piece, with the right sides together, aligning the shoulders and side seams and sew the shoulders shut.
Press the seams flat.
Sew the front and back lining pieces together, just as the bodice pieces.
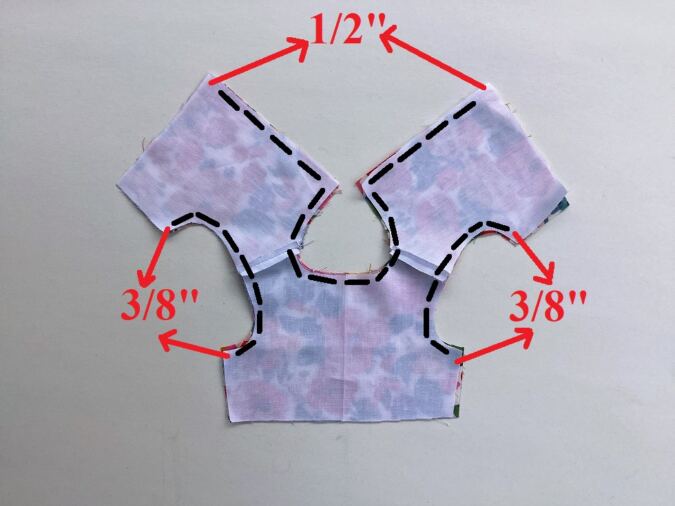
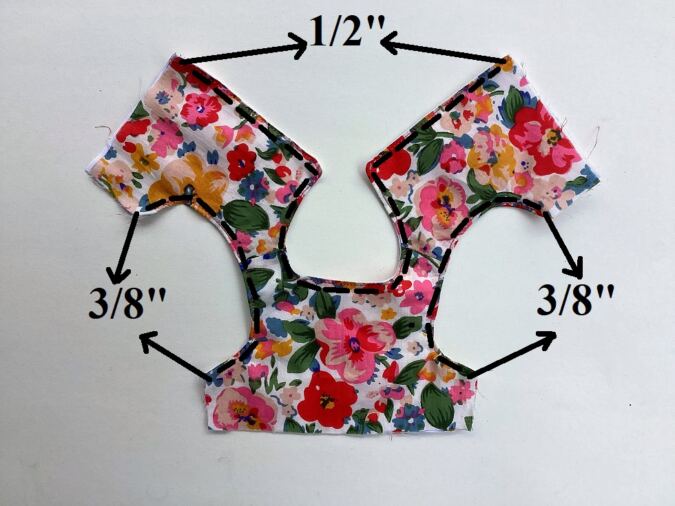
Place the top lining over the top outer, with the right sides together, aligning the center back, neck and armholes. Pin and sew along the neck and center back, and also along the two armholes. *Note that you need to leave 3/8-inch along the lower edges of the armholes and 1/2- inch along the lower edges of the top back, as marked.
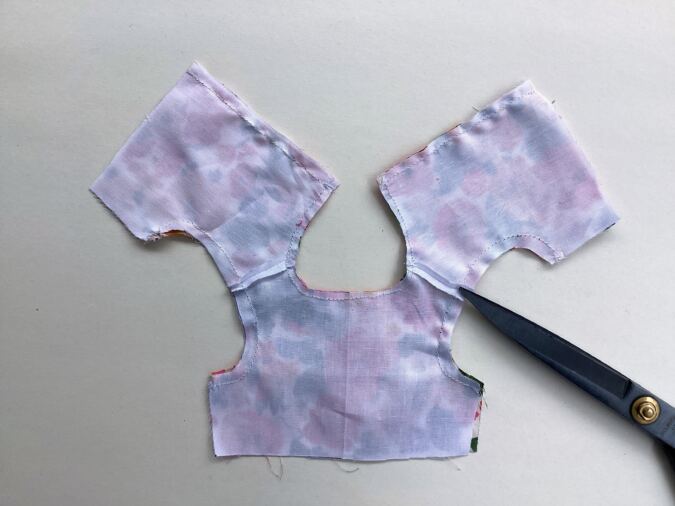
Clip the edges and cut the corners.
Pull the right side of the back bodice out, through the shoulders. Keep pulling the back bodice on either side, till the whole bodice is turned inside- out.
Poke the edges sharp, with the help of a wooden dowel and press taut.
Topstitch along the armholes, neck and buttonhole edges, leaving 3/8-inch at the lower edges of the armholes and 1/2- inch at the lower edge of the top back, as marked.
Let’s sew the side seams of the bodice shut.
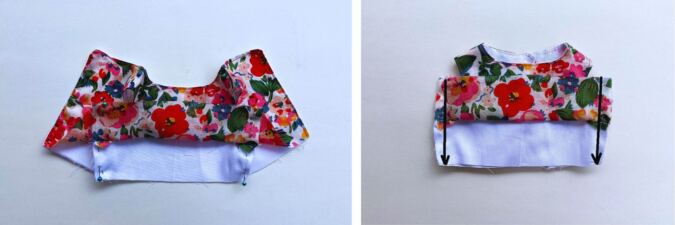
Flip the bodice upwards. With the right sides touching, align the side seams of the back and front bodices together and the side seams of the front and back lining together. Pin the aligned edges (side seams) together and sew along the pinned edges.
Clip the bulk in the seam.
Fold the lower edge of the lining towards the wrong side by 1/2- inch and press to set.
Our bodice is done. We move on to the ruffle.
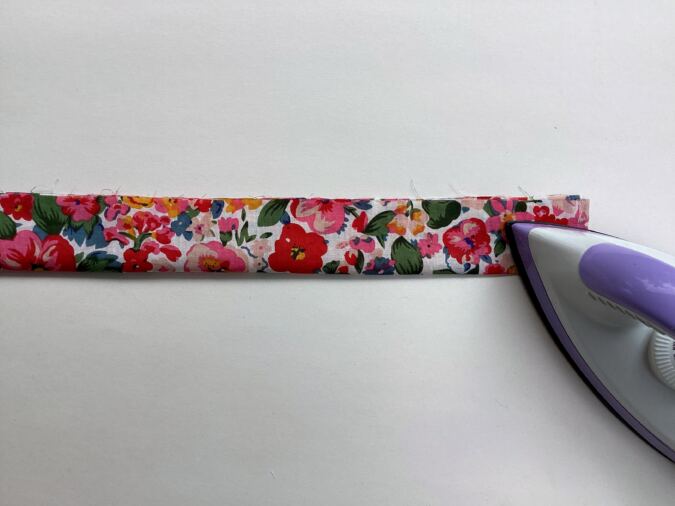
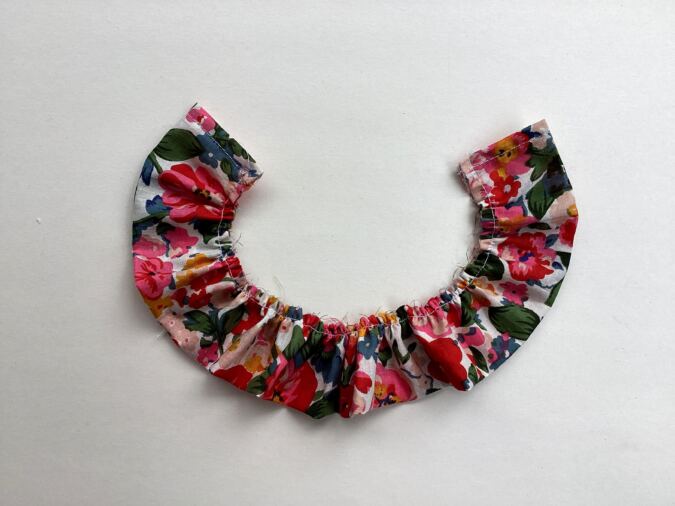
Take the ruffle piece, fold it in half lengthwise, with the wrong sides touching, lining up the edges and press to set.
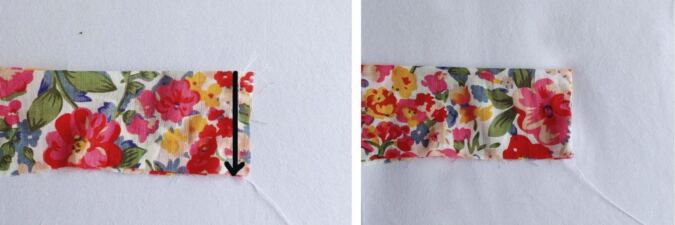
Next, open the fold and fold the ruffle backwards, with the right sides together, lining up the edges. Sew the short edge shut. Repeat on the other short edge and turn it over to the right side.
Next, we need to gather the ruffle. Turn the upper thread tension of your machine to zero and stitch length to the longest to get a basting stitch.
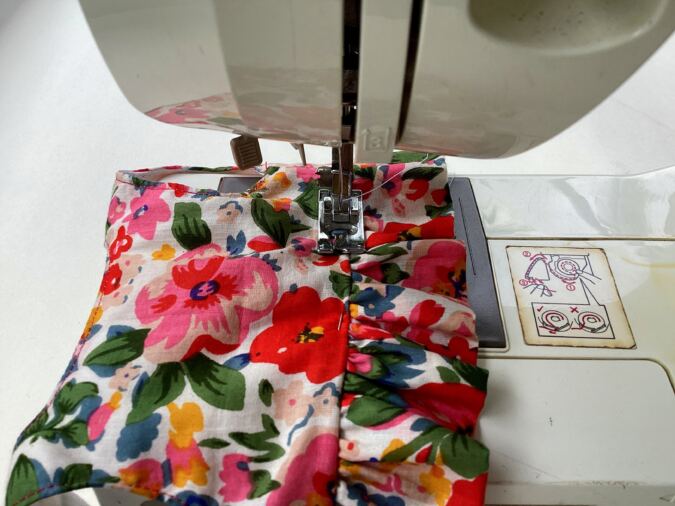
Sew a basting stitch along the raw upper edge of the ruffle and gather it. Adjust the gathering to make it uniform and to fit the lower edge of the bodice.
Let’s attach the ruffle to the bodice.
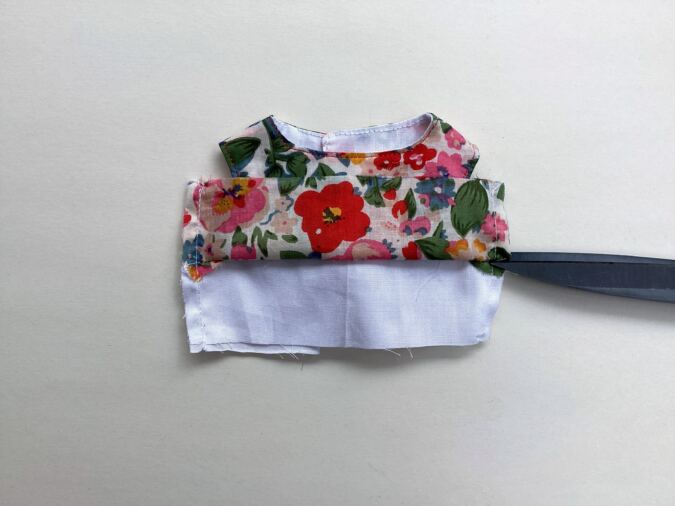
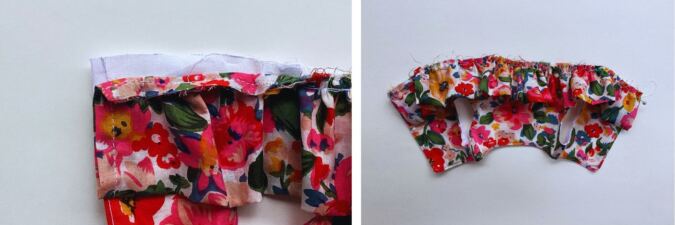
Flip the lining upward. With the folds along the button edge intact, align the gathered edge of the ruffle along the lower edge of the bodice, with the right sides together and pin all along.
Turn the machine settings back to normal.
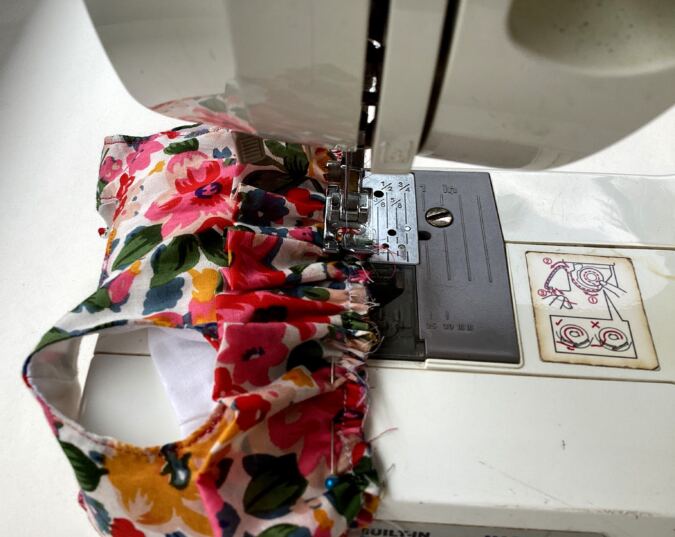
Sew the ruffle to the bodice, removing the pins as you go. Zigag the edges to prevent fraying. **Note: Take care to keep the lining away while sewing.
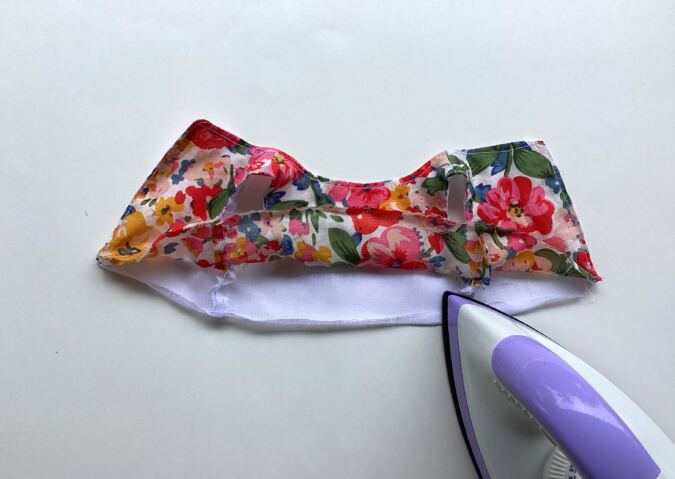
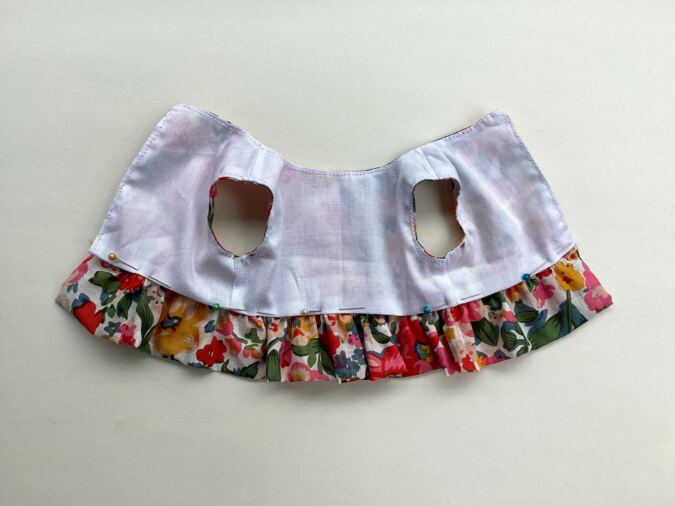
Next, fold the waist seam up towards the bodice, place the lining over the seam keeping the fold along the lower edge intact and pin all along, covering the seam.
Turn over to the right side, and carefully topstitch along the seam to sew the lining shut and to make it neat and crisp.
Let’s sew the velcro.
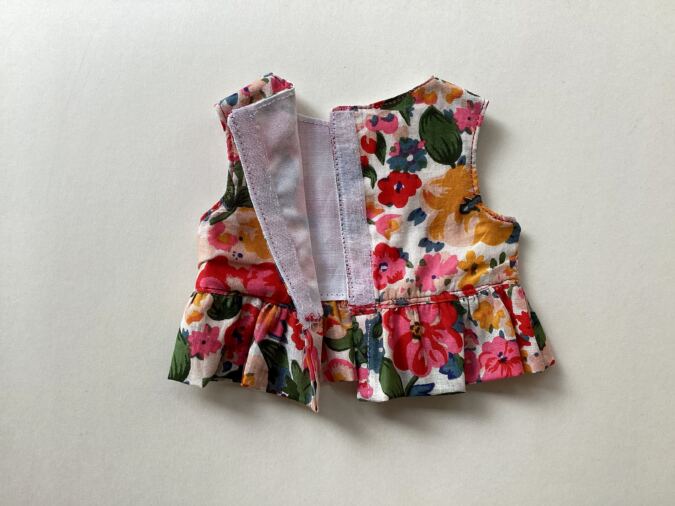
Take one of the Velcro pieces and secure it on the right side of one of the back pieces by sewing around the edges. Attach the complimentary Velcro piece on the wrong side of the other back piece.

This is adorable! How do I make this pattern to fit my granddaughters? Do you have a template for sizes 2x to size 7?
Thank you! Please find the same pattern for little girls from sizes 2 to 6 years here, https://sewcraftyme.com/free-willow-ruffle-top-pattern-for-girls.html