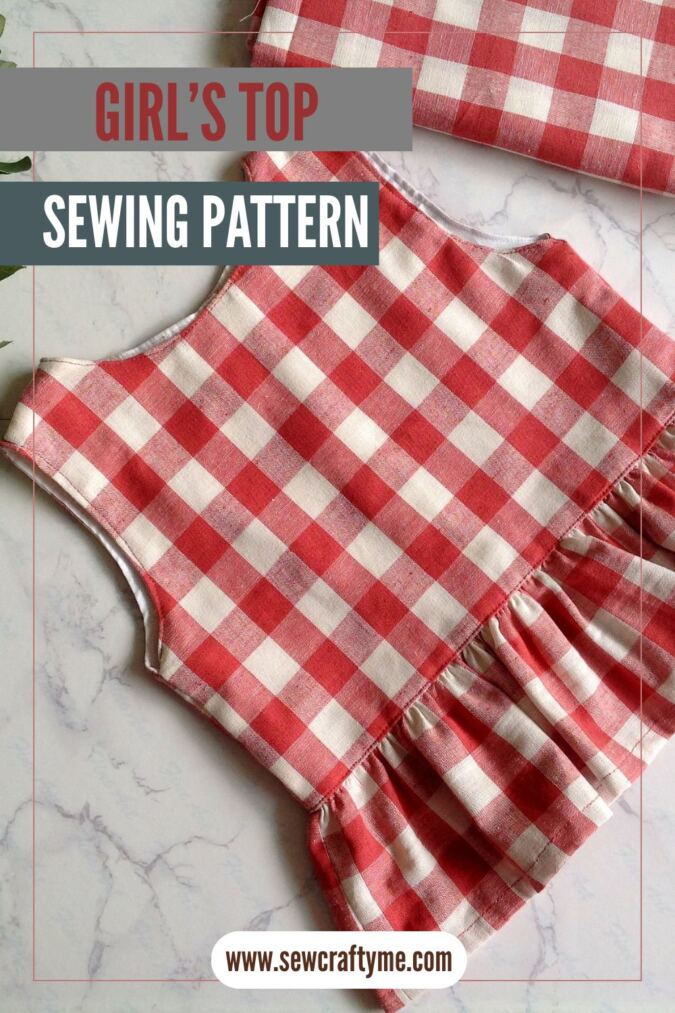
Say hi to the top pattern that is very much in vogue these days — the Willow Top Pattern!
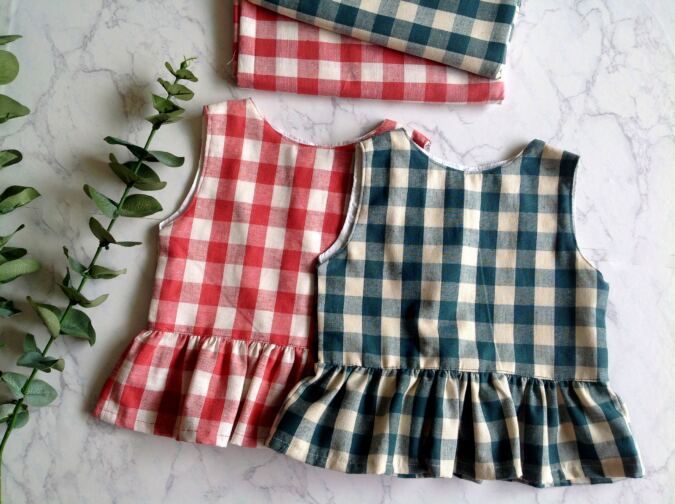
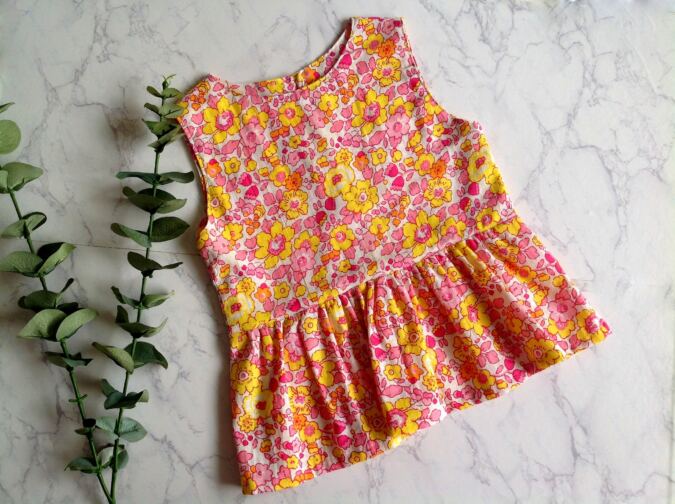
The pattern has a round neck, an extra-long yoke with a pretty ruffle along the bottom, and it makes any little girl who wears it look just awesome! The loose and airy fit makes it perfect for everyday wear as well as outings.
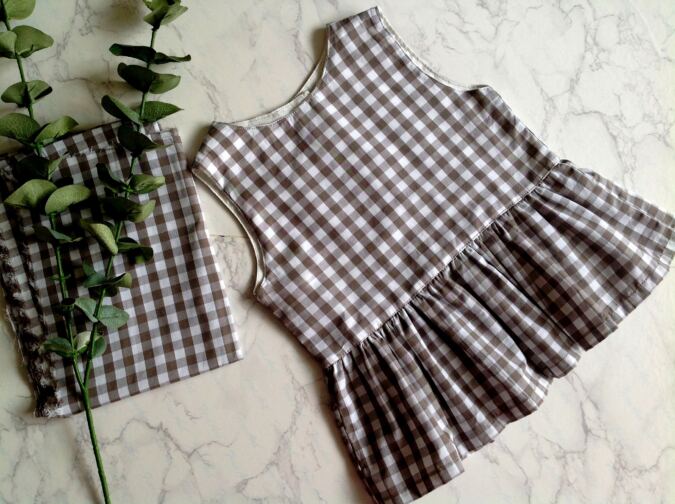
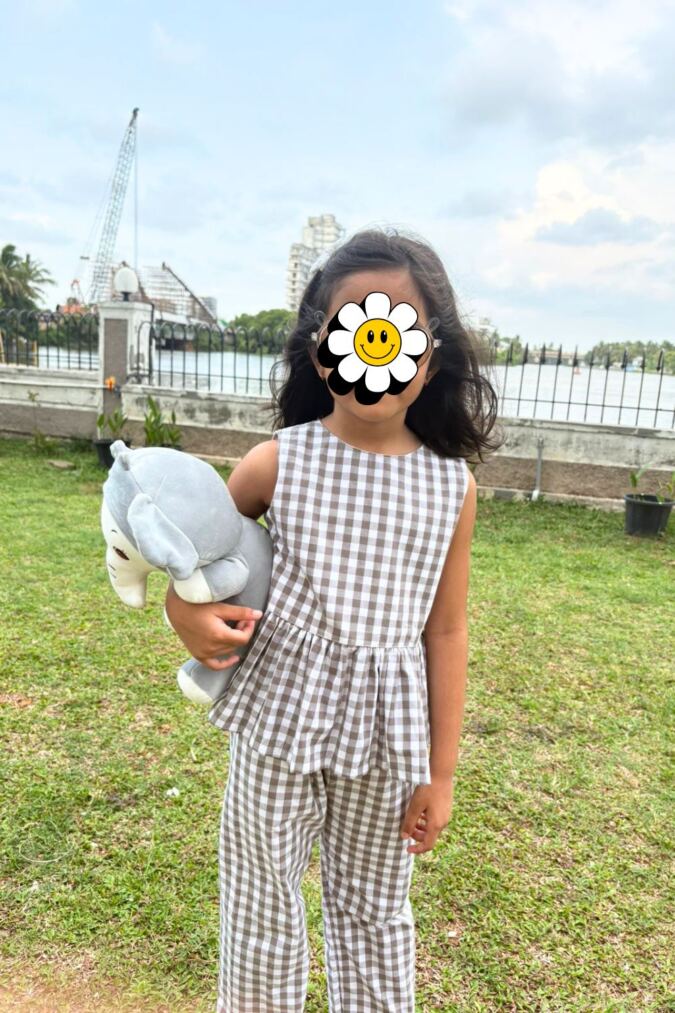
It is comfy and stylish to wear, and very easy to put on and take off with the back buttons. You can mix and match it with different fabrics and prints to create a variety of looks. It is a great top pattern to be paired with my elasticized pants, lounge pants, and ruffle shorts patterns.


And the best part? It is quite an easy pattern for all my readers who have been following me all along, even if you are a beginner. So let’s get started right away!
Free Willow Ruffle Top Pattern for Girls
Materials Required
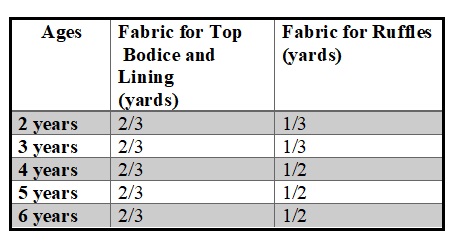
- Medium- weight cotton Fabric for the top bodice and lining- requirements specified in the table-3 below.
- Medium- weight cotton Fabric for the ruffles- requirements specified in the table-3 below.
- Sewing Notions.
- Fabric Marking Pen.
- 1/2- inch buttons (if you know how to sew buttonholes) or optionally you may use KAM snaps- 3 sets.
- Pattern template. *Enter your email address and click the subscribe button in the blue box below to download the template
All the fabrics used here are of 44/ 45 inches width.
The seam allowance is 3/8-inch unless otherwise specified.
I suggest you read the entire pattern once before starting to get a general idea.
All seams are to be finished by zigzag or serger.
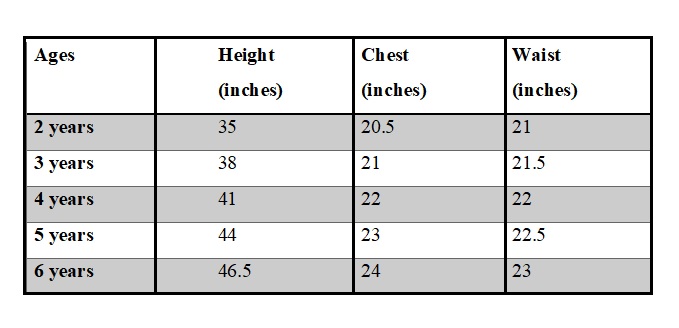
Size Chart
Table-1
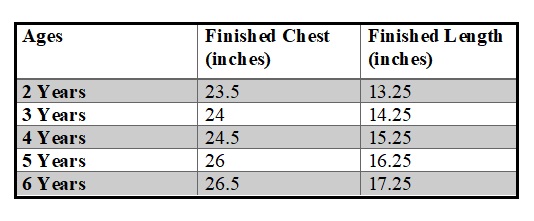
Approximate Finished Measurements.
Table-2
Fabric Requirements.
Table-3
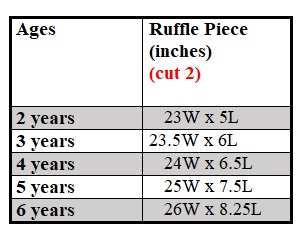
Measurements
In the table below, “W” stands for the width and “L” stands for the length of the fabric piece to be cut.
Table-4
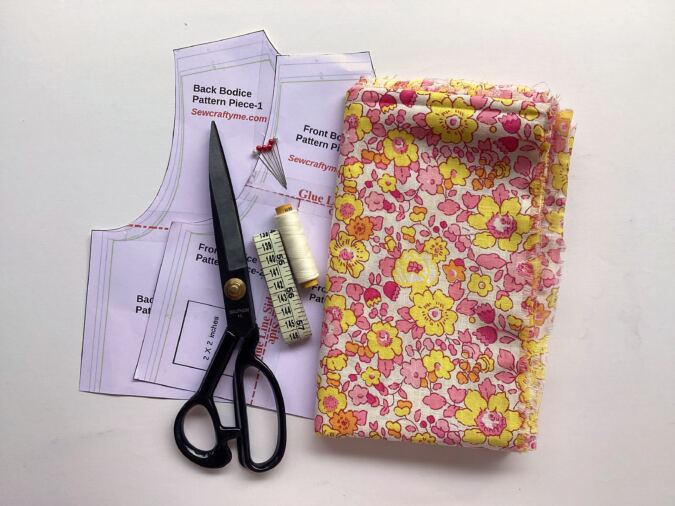
Gather the supplies. Cut the templates for the top front and top back from the attached PDF.
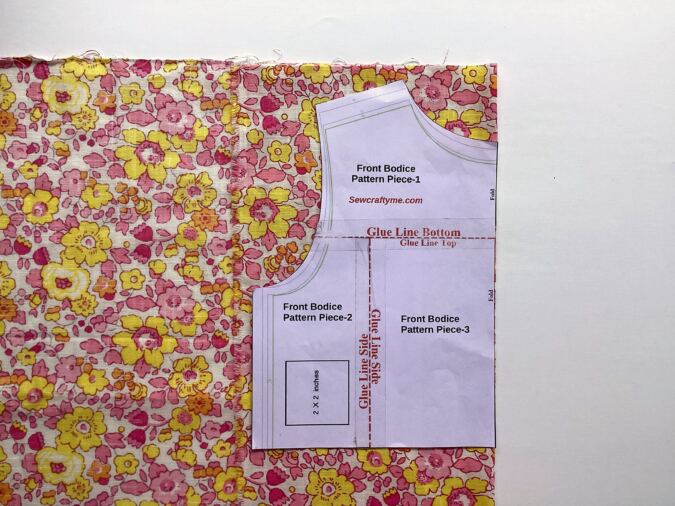
Take the top fabric and the template for the front bodice. Fold the fabric to fit the width of the template and place the template on the fold. Mark around it and cut to get the front bodice piece. Repeat the steps to get the front lining.
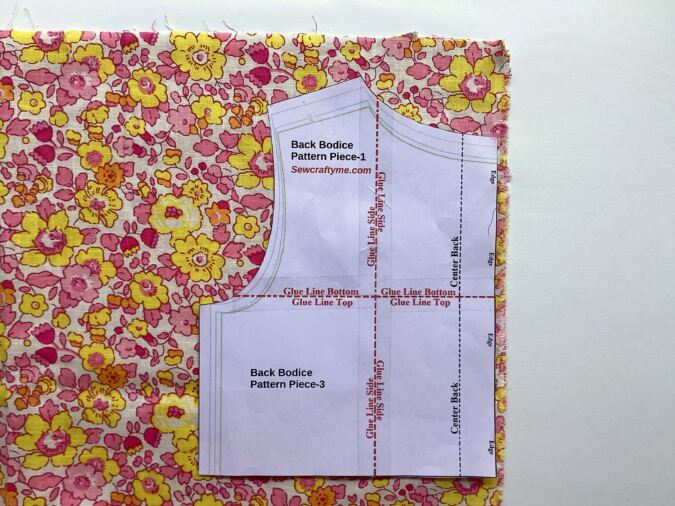
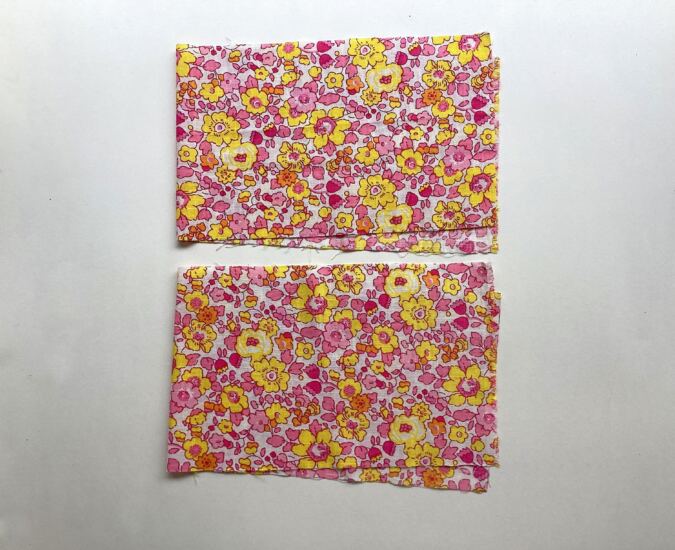
Let’s cut the back bodice. Here again, fold the fabric, but this time, place the template for the back bodice, along the edge of the fabric. Mark around it and cut to get two pieces for the back bodice (the back part of the top is done in two pieces, for button opening). Repeat the steps to get the back lining pieces.
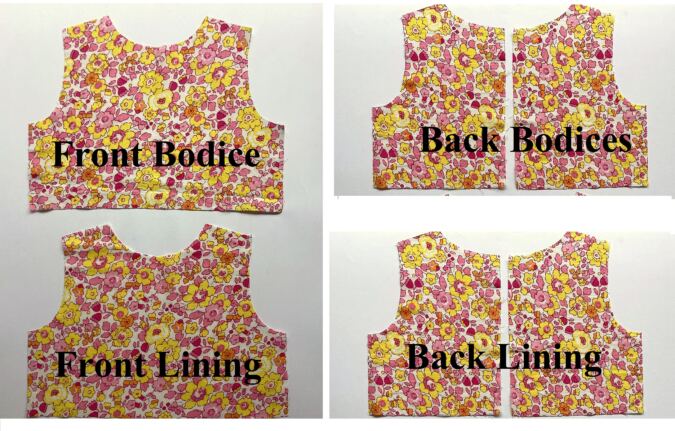
Your bodice-front, lining, bodice –back and lining pieces will look like the picture above.
Cut the ruffle pieces referring to the table-4 above.
Sewing
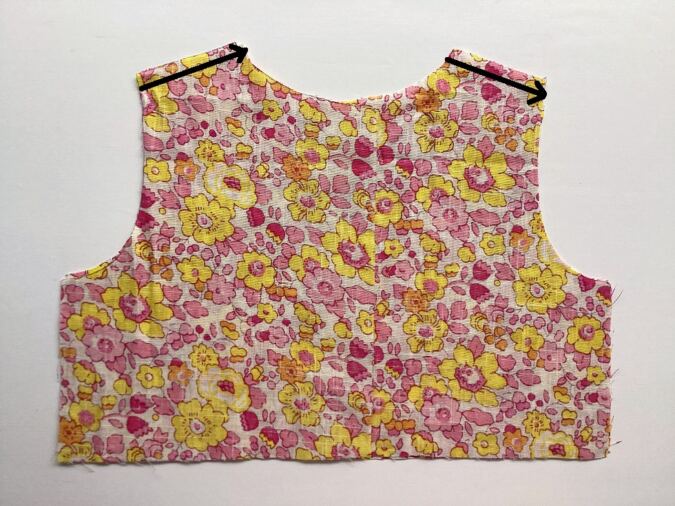
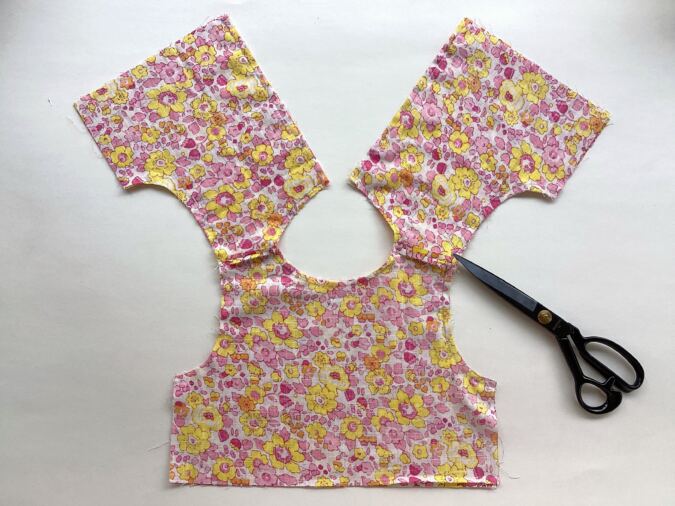
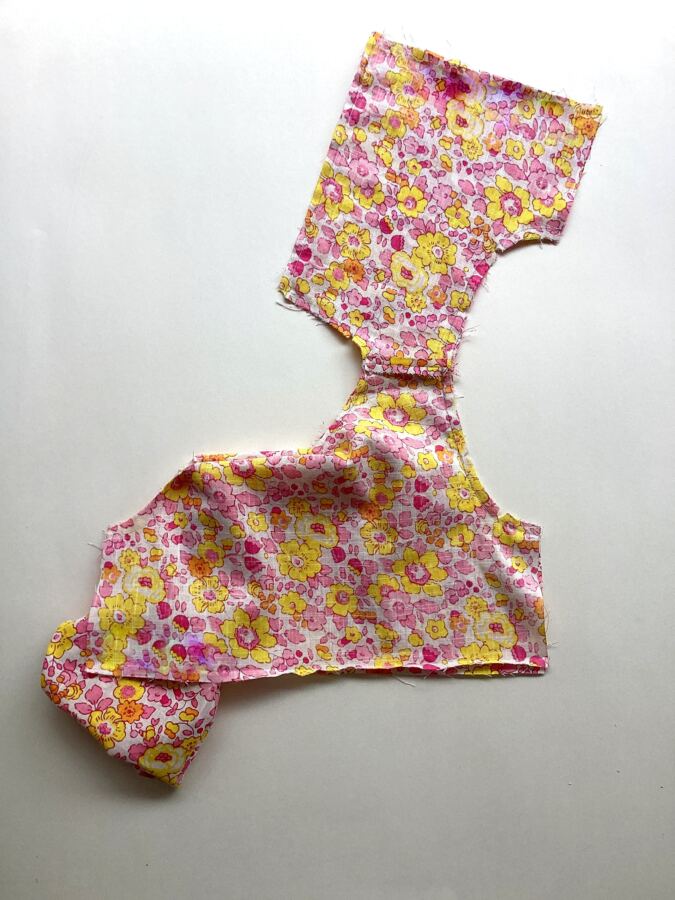
Take the two back bodice pieces and place them over the front bodice piece, with the right sides together, aligning the shoulders and side seams and sew the shoulders shut.
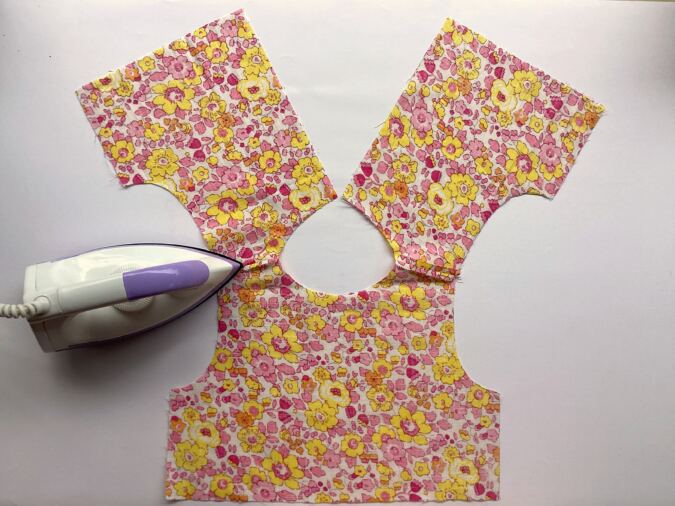
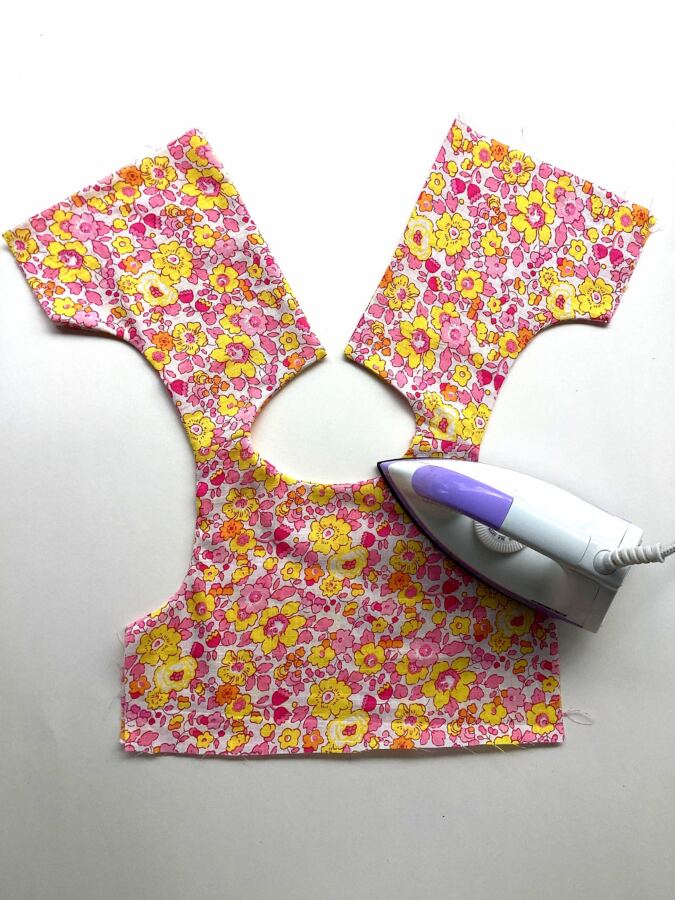
Press the seams flat.
Sew the front and back lining pieces together, just as the bodice pieces.
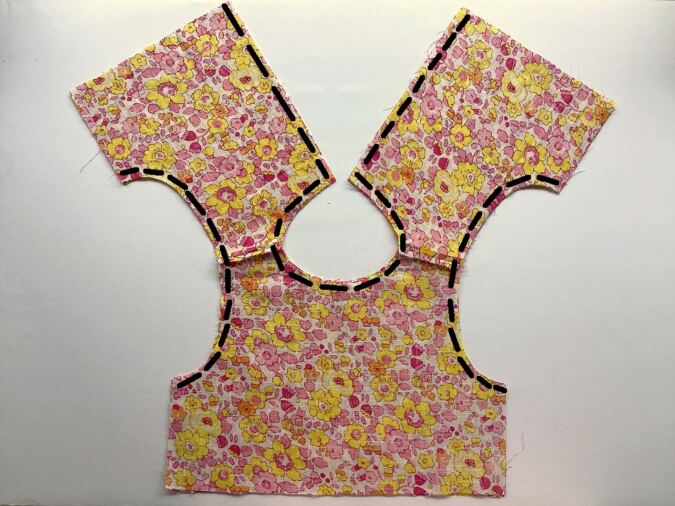
Place the bodice lining over the main bodice, with the right sides together, aligning the center back, neck and armholes. Pin and sew along the neck and center back, and also along the two armholes.
Clip the edges and cut the corners.
Pull the right side of the back bodice out, through the shoulders. Keep pulling the back bodice on either side, till the whole bodice is turned inside- out.
Poke the edges sharp, with the help of a wooden dowel and press taut.
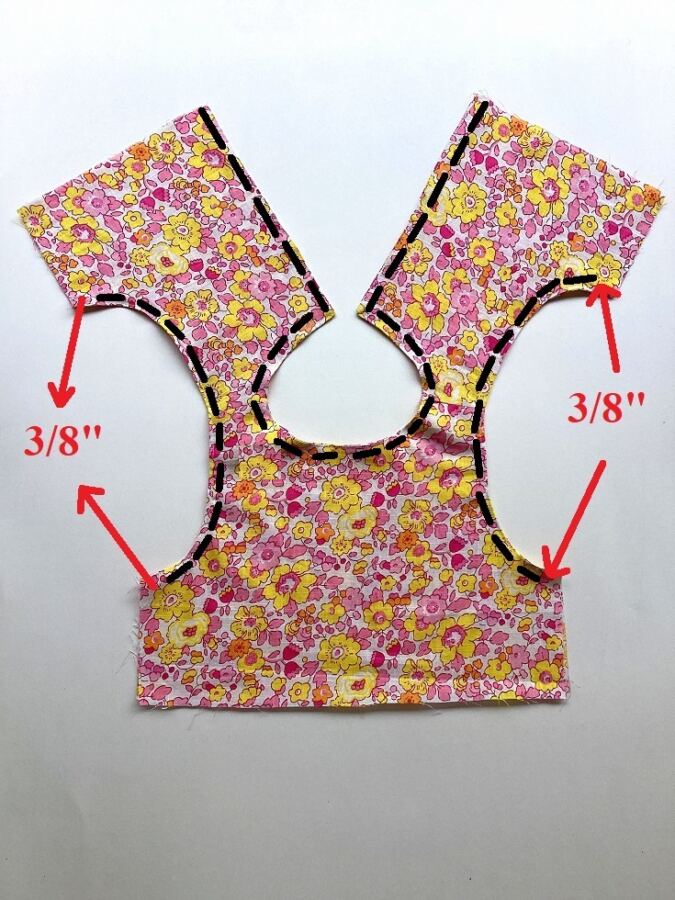
Topstitch along the armholes, neck and buttonhole edges, leaving 3/8-inch at the lower edges of the armholes.
Let’s sew the side seams of the bodice shut.
Flip the lining upwards. With the right sides touching, align the side seams of the back and front bodices together and the side seams of the front and back lining together. Pin the aligned edges (side seams) together and sew along the pinned edges.

Clip the bulk in the seam.
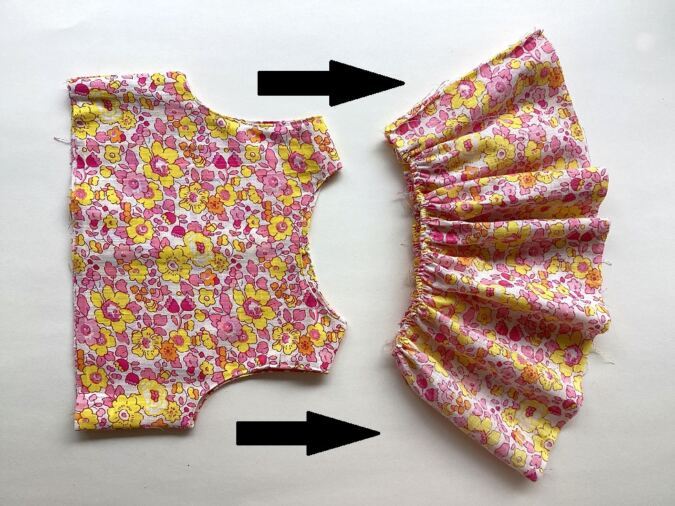
Our bodice is done. We move on to the ruffle.
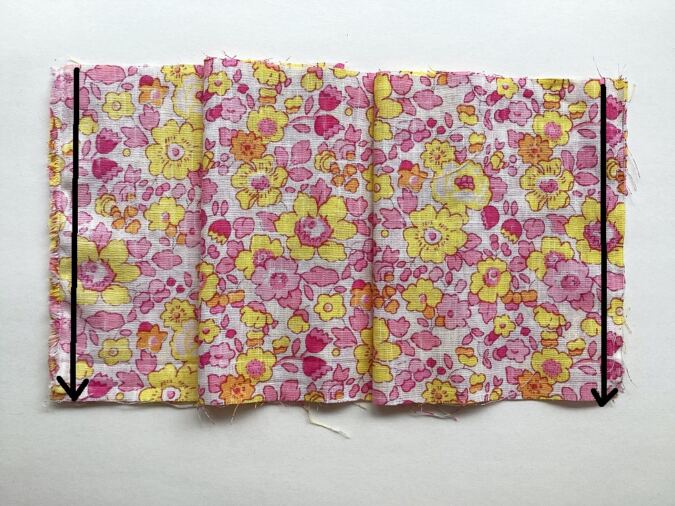
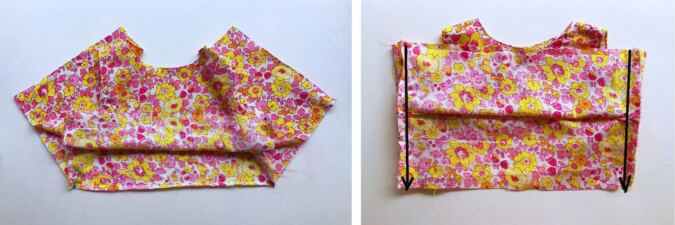
Keep the two ruffle pieces layered, with the right sides together and the edges aligning. Sew the side seams on both sides.
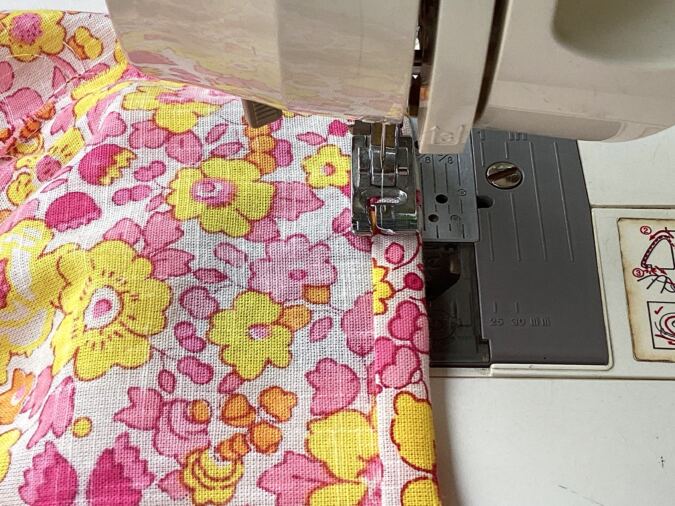
Next, we need to gather the ruffle. Turn the upper thread tension of your machine to zero and stitch length to the longest to get a basting stitch.
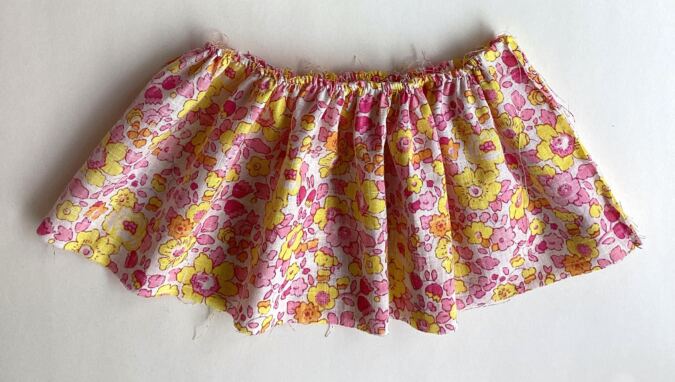
Sew a basting stitch along the upper edge of the ruffle and gather it. Adjust the gathering to make it uniform and to fit the lower edge of the bodice.
Let’s attach the ruffle to the bodice.
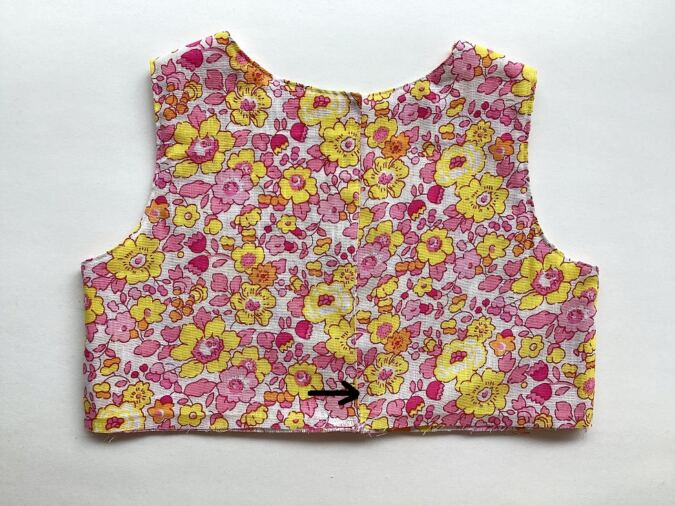
Turn the bodice over to the back. Keep the side seams in place, with the center back edges overlapping and the armholes along the front and back in place. Sew the overlapping edges shut, 0.25- inch above the lower edge.
Keep the ruffle on its wrong side. Keep the bodice on its right side, with its shoulders facing the ruffle and slide the bodice into the ruffle.
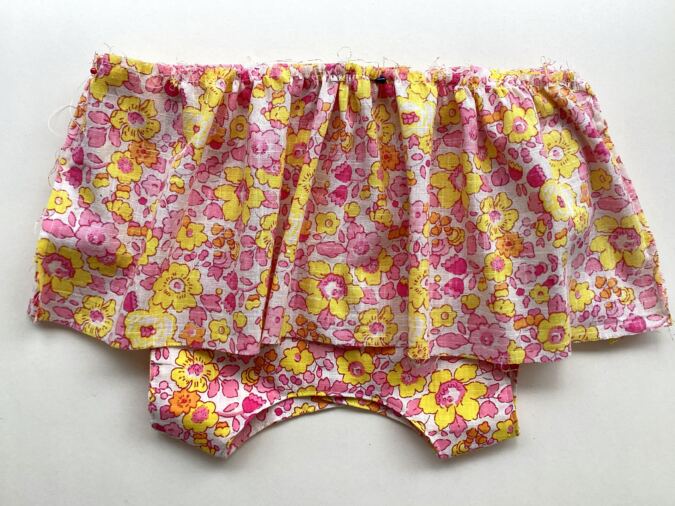
Align the gathered edge of the ruffle along the lower edge of the bodice, with the right sides together and pin all along. *Note: take care to keep the sides seams of the bodice and ruffle lined up while pinning.
Turn the machine settings back to normal.
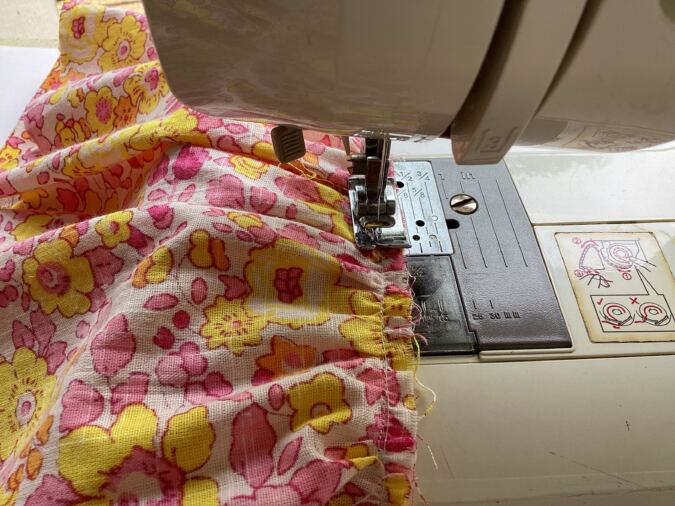
Sew the ruffle to the bodice, removing the pins as you go. Zigag the edges to prevent fraying.

Turn over to the right side, fold the waist seam up towards the bodice and topstitch along the waist seam to make it neat and crisp.
Next, we need to hem the lower edge of the top.
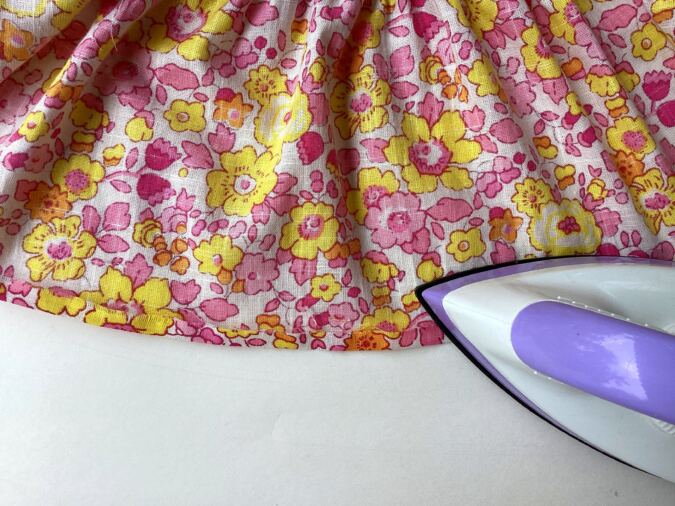
Fold the lower edge of the top by 1/2-inch twice, towards the wrong side and press.
Sew down the hem along the edge of the fold.
Let’s attach the buttons.
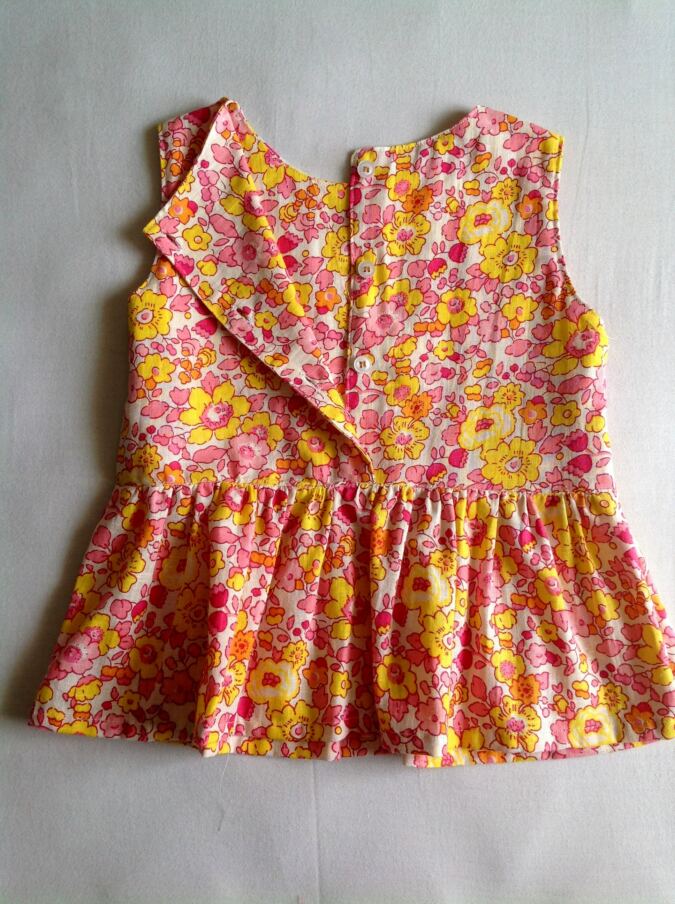
Starting from the top edge, make markings at 2-inches gap from each other, on the right side of one of the back pieces and hand- sew the buttons. Make markings with a 2-inch gap on the wrong side of the other back piece also sew the buttonholes.
Cut off the hanging thread and our top is done!
Pin it for later here,
Cathy
Monday 22nd of June 2026
Topstitch along the armholes, neck and buttonhole edges, leaving 3/8-inch at the lower edges of the armholes. What is the purpose of leaving 3/8th-inch at the lower edges of the armholes? In the willow top?
Surayya
Monday 22nd of June 2026
The purpose of leaving 3/8 inch at the lower edge of the armholes is to ensure a smooth and neat side seam. Topstitching all the way to the edge can create bulk and cause the seam to pucker when the side seams are sewn together.
Betsy
Monday 15th of June 2026
I love your patterns! I just bought this one - hoping it will come soon!
Surayya
Tuesday 16th of June 2026
I am glad you like my patterns. The pattern is usually emailed to your Paypal email, within 24 hours of payment!
Laurence
Tuesday 26th of May 2026
Bonjour, est-ce que les coutures sont incluses dans le patron ou bien faut il ajouter 0.40 inches (1 cm)?
Laurence
Wednesday 27th of May 2026
@Surayya, merci beaucoup et belle journée à vous!
Surayya
Tuesday 26th of May 2026
The seam allowance is 3/8- inch unless otherwise specified and is included in the pattern.
Deborah Cariker
Saturday 23rd of May 2026
Adorable! I’m looking for my purchased pattern and can’t wait to sew this!!! I envision rick-rack, lace, mixing fabrics, and much fun in designing and sewing. Thank you.
Shonta
Friday 22nd of May 2026
Hello, I am wondering is it really necessary to add lining to this top or can that step be omitted? Thank you
Surayya
Friday 22nd of May 2026
You can omit the lining but you will need to finish the neck and armholes with bias tape or facing.