
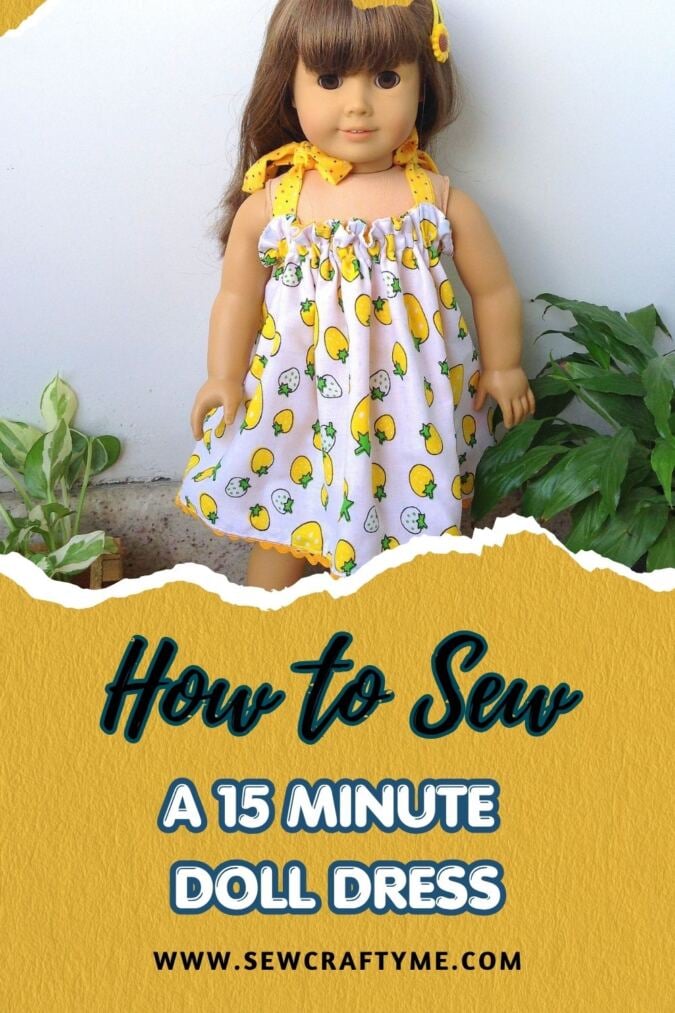
How to sew a reversible doll dress in 15 minutes
It has been a while since I designed doll dresses. I have been busy designing and sewing masks and other items helpful to combat the pandemic we are facing today. But this week, I wanted to sew something to make my mind lighter, something small, cute, and colorful. That is when the idea of a reversible doll dress came up in my mind.
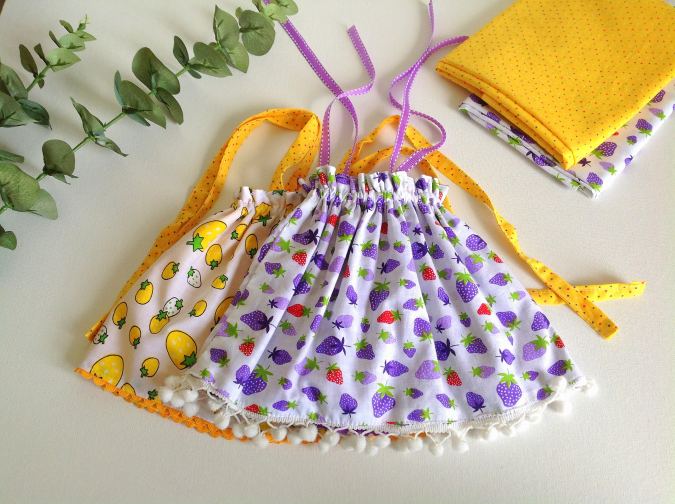
You may have a little girl who loves to dress up her dolls. But store-bought ones are expensive and the little ones are never satisfied with the doll dresses they have. You may be an expert seamstress but you may not have time to sew a lot of them. Well, here is a doll dress sewing pattern that offers the perfect solution. This pattern can help you sew a two- in one doll dress in no time
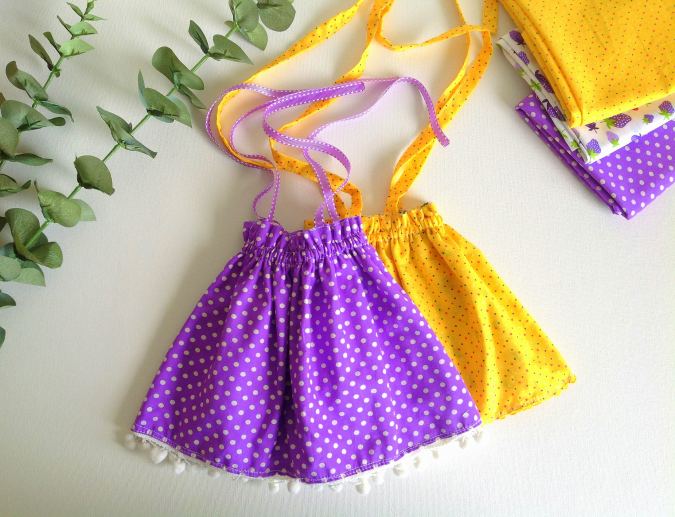
This is also the perfect sewing project for a beginner seamstress who fears sewing curved seams. This DIY tutorial on how to sew a reversible doll dress has just a few straight line stitches and is perfect for a very beginner. Replace the shoulder straps with gross grain ribbon and you can make it in just 15 minutes.
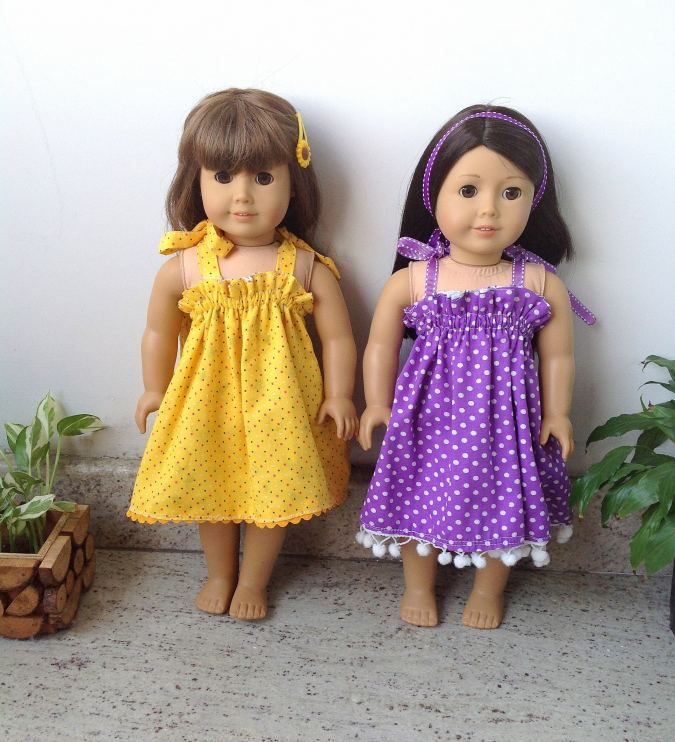
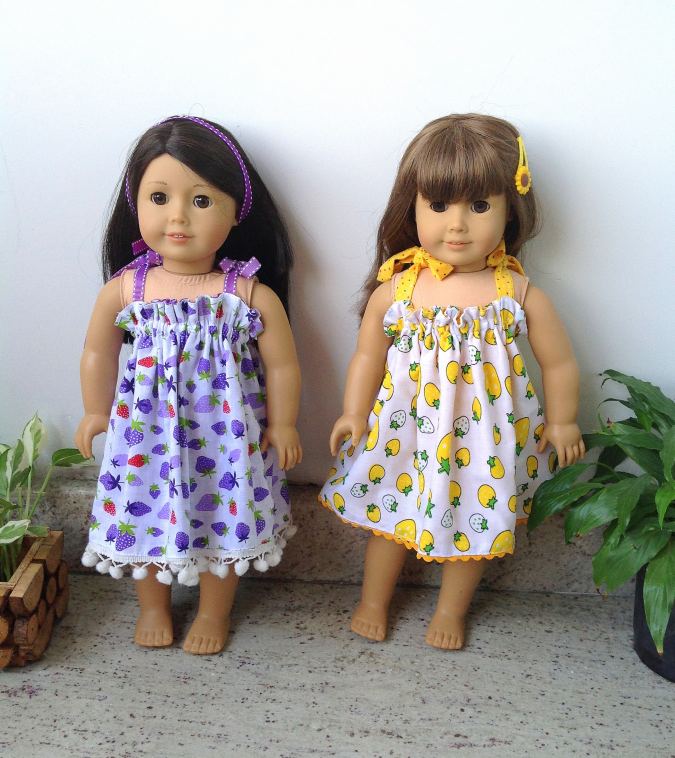
This sweet little doll dress pattern can be made from just two rectangular pieces of fabric. You may opt for a clean and simple hemline or add trims like pompoms, rickracks, or lace. Just change the width of the fabric pieces to be cut and you can make it as a maxi dress or as a top. So come on, let your creative skills awaken and make cute little outfits for your little one’s dolly wardrobe.
For more of my doll dress patterns, click on the pictures below:
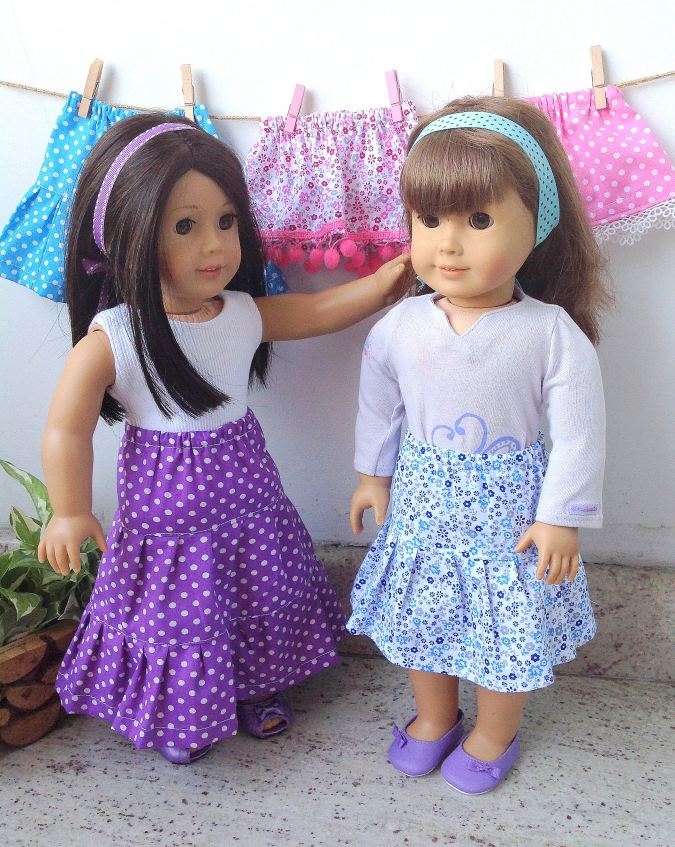
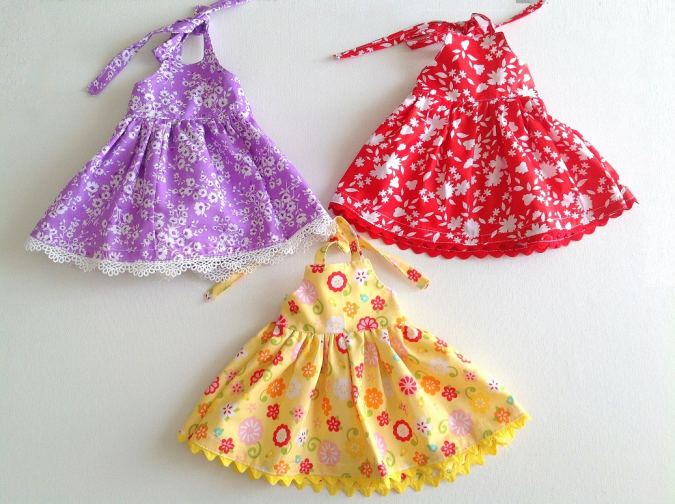
How to sew a reversible doll dress in 15 minutes
Supplies Needed:
Two light or medium weight cotton fabric pieces in a coordinating color and print for the dress body and lining- 29- inches long and 9.25- inches wide.
Four fabric strips 12- inches long and 4- inches wide for the straps ( Optionally you may replace them with 3/8- inch wide grosgrain ribbon with the same length).
3/8- inch elastic- 10.5- inches long for the chest.
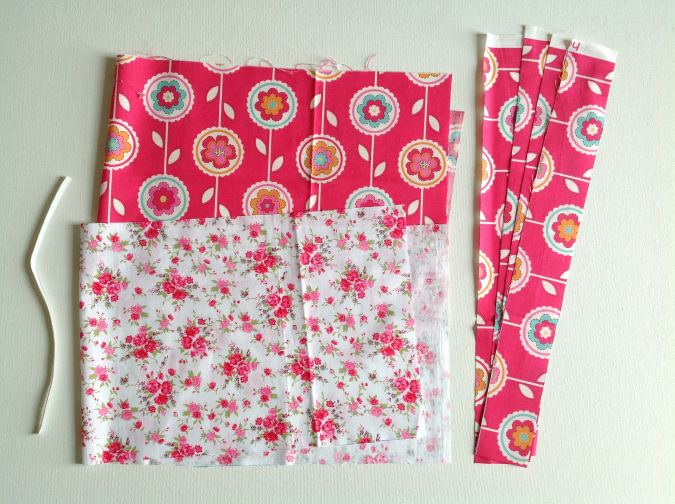
Let’s call the pink side of the dress as “ dress outer” and the white as “dress lining” for convenience.
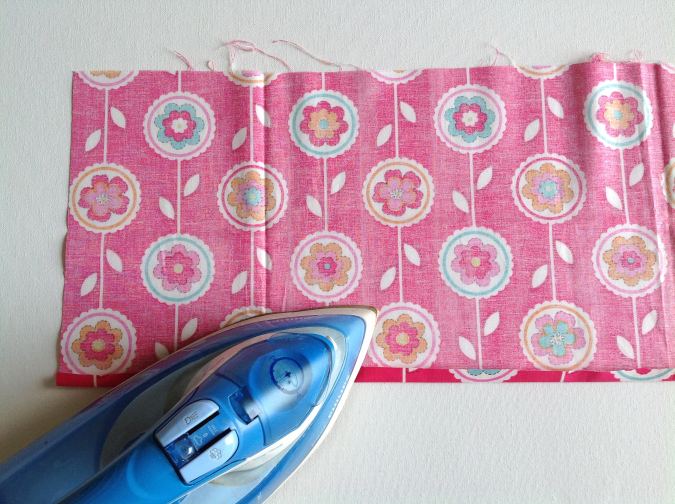
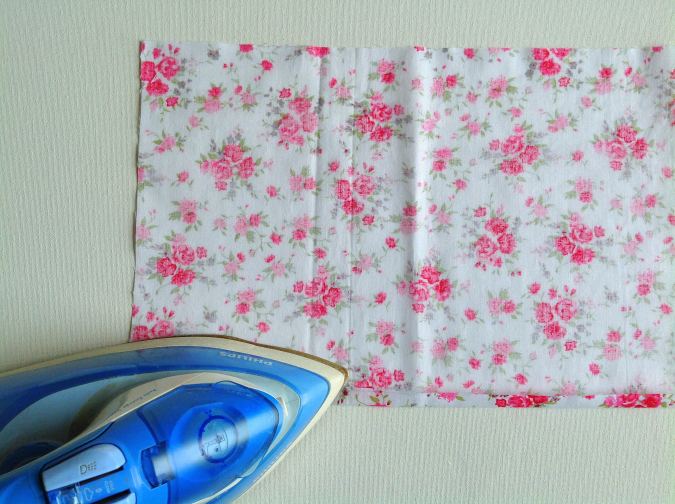
The folded edges form the hemline of the dress.
Let’s do the straps.
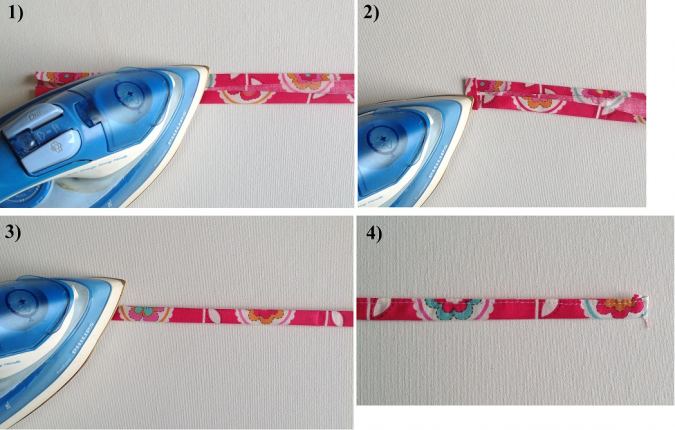
2) Fold one of the short edges also towards the wrong side by ½- inch and press.
3) Fold in half lengthwise and press once more.
4) Sew the strap shut along the folded edges.
Repeat to get the other three straps.
Let’s sew the side seams.
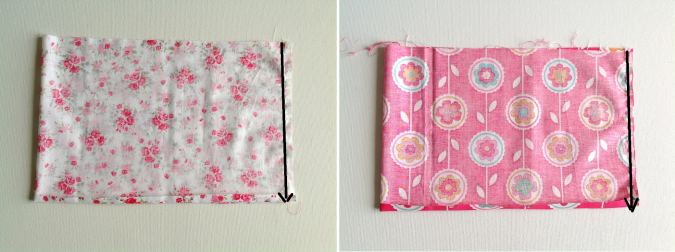
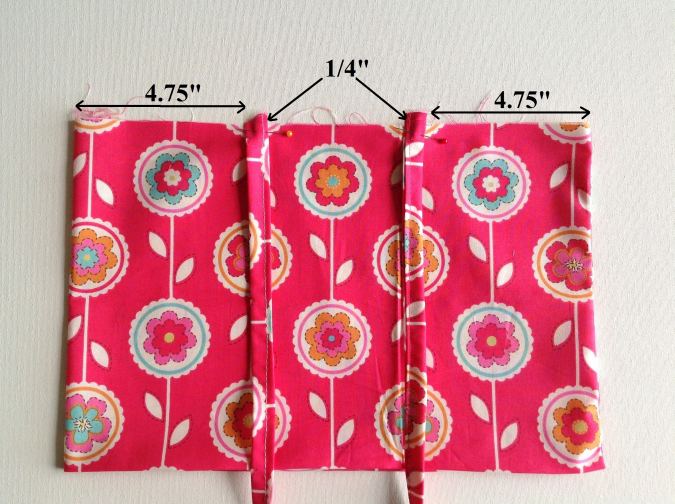
Next, we sew the dress outer and lining together.
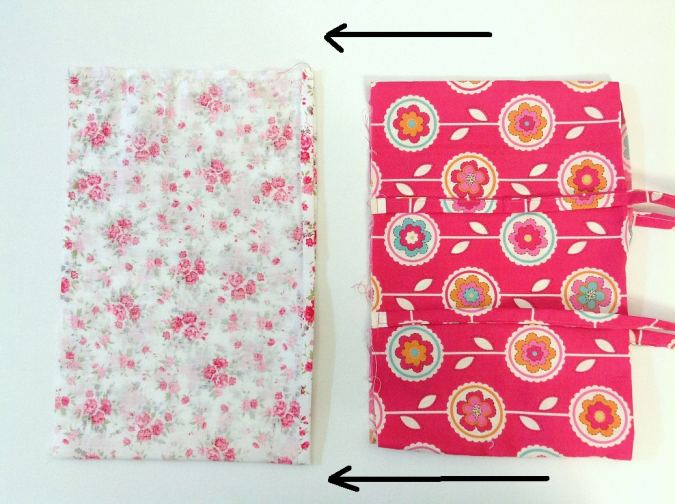
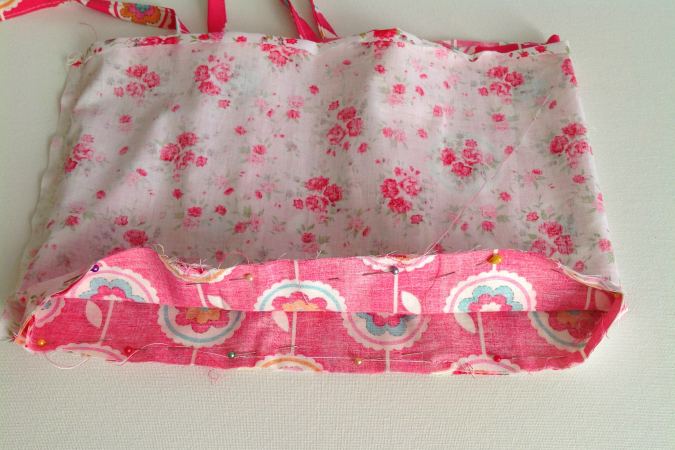
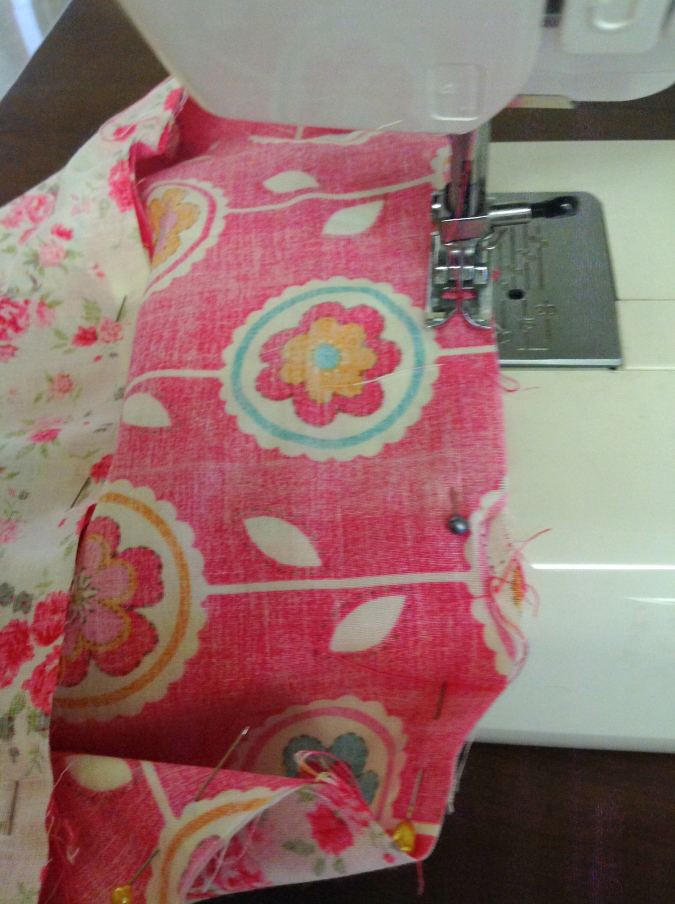
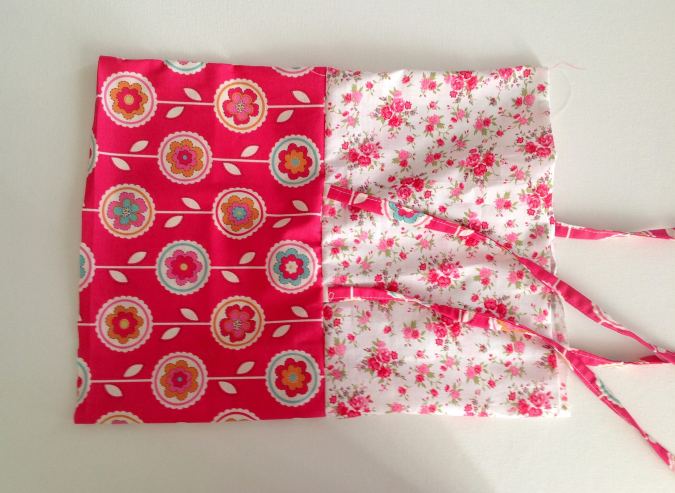
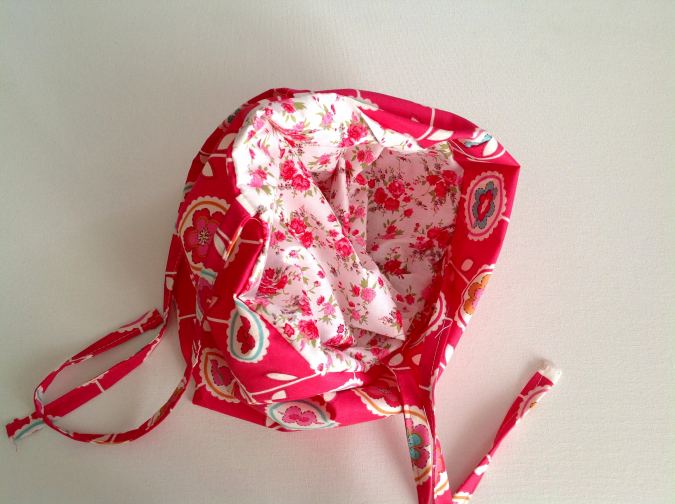
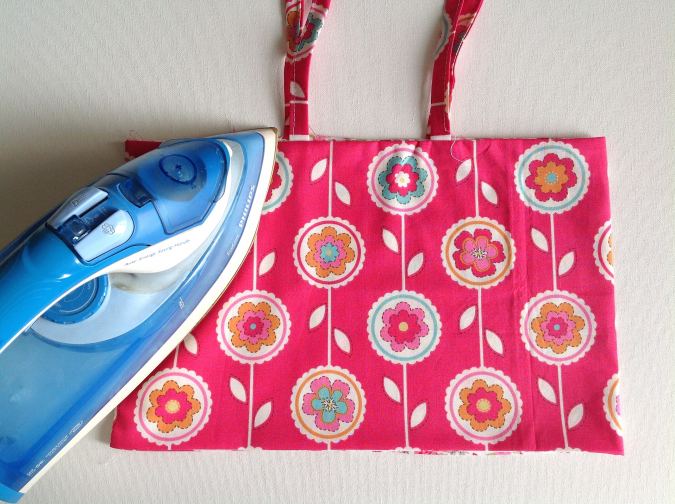
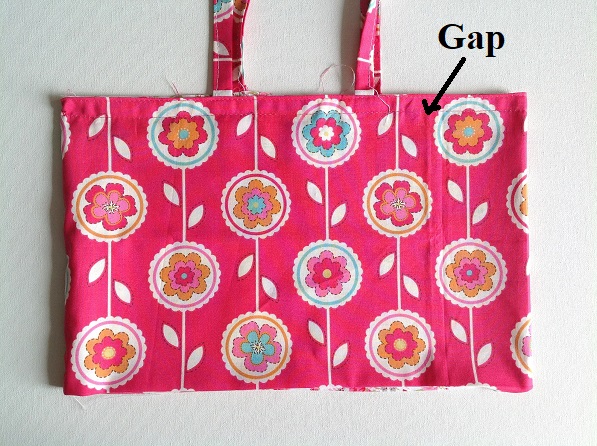
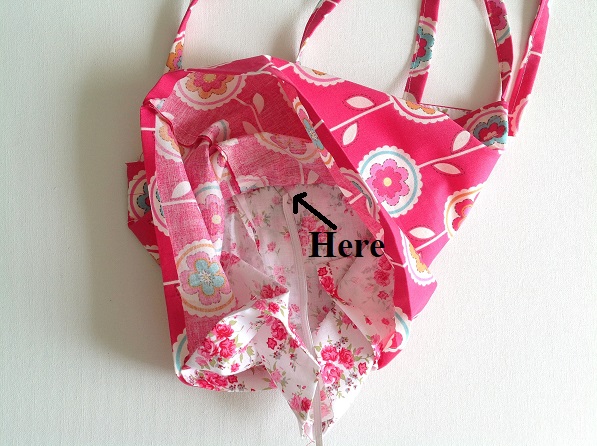
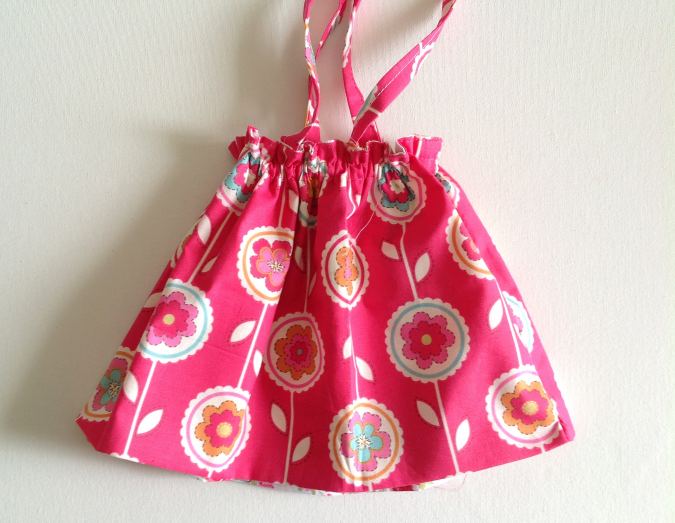
Next, we finish the hemline. You may either align the two folds along the hemline together, pin and sew it shut or add trims as directed below.
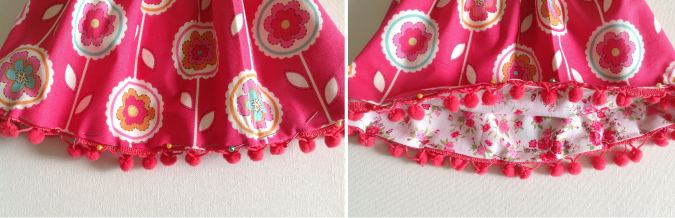
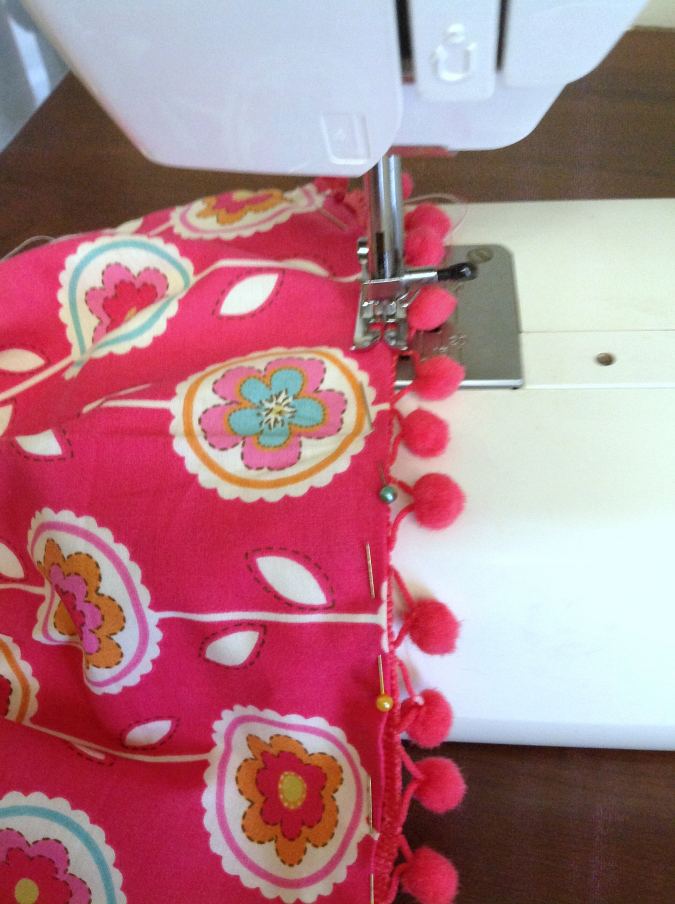
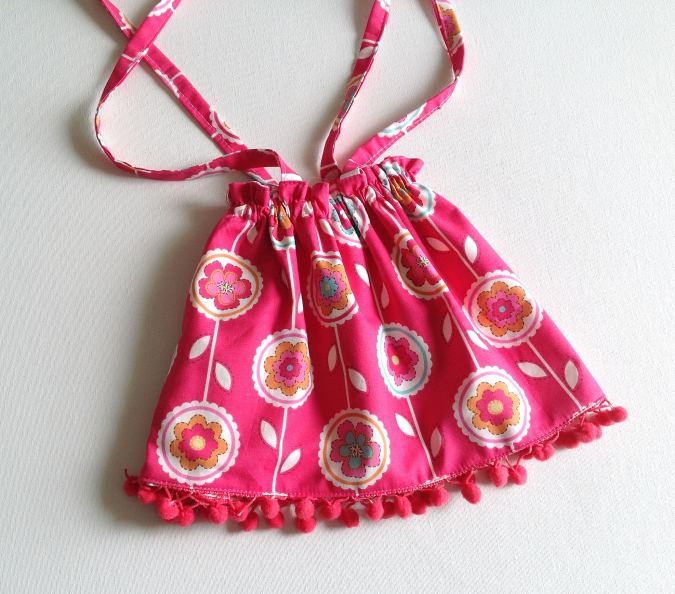
For more doll patterns, click here.
For more free patterns, click here
Find the webstory on the post here, Free Reversible Doll Dress Pattern and Tutorial
Pin it for later here:


Hello!
I wanted to ask if you know whether it would be possible to (additionally to the elastic at the top of the dress) add an elastic at the waist, so as to make it minimally more “fitted” on the doll? I would be very grateful for a reply, despite not being sure whether this is the right place to ask within the comments? Thank you very much! This is an adorable dress!
Yes, you can. Try inserting the chest elastic first and then move on to the waist.
Thank you for such a nice pattern 😊 I looked but, I didn’t see, what size doll this dress is for? Thank you
It is an 18- inch American Doll dress pattern.
I think besides putting photographs you should post video so it would be easy to understand .🙏
Good