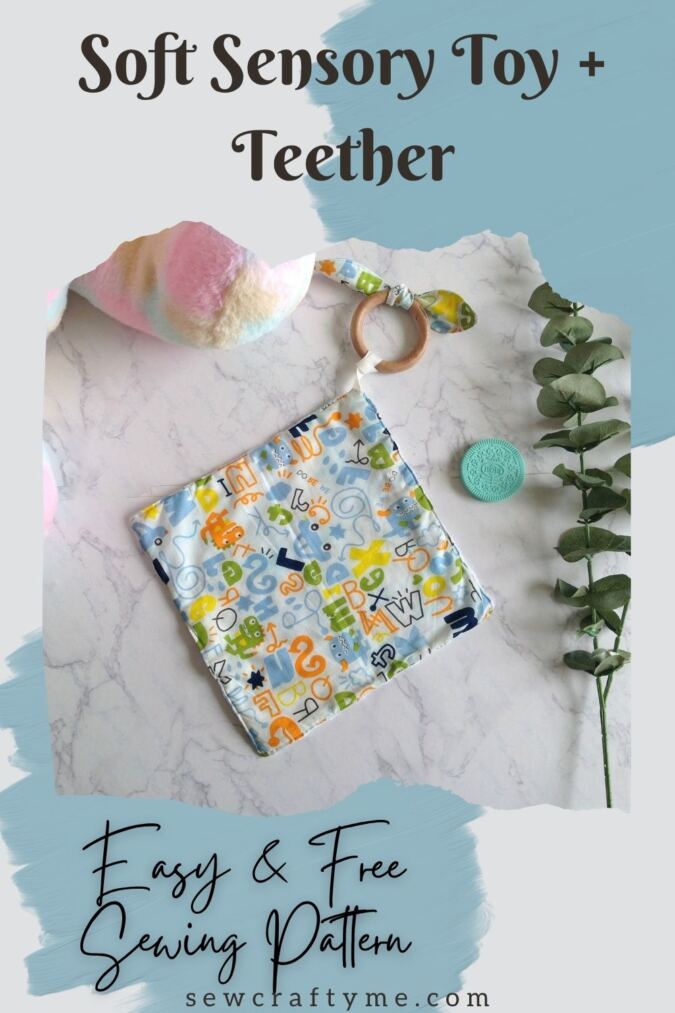
If you’re looking to learn how to sew a baby lovey in 10 minutes, this quick and thoughtful DIY baby shower gift—or just a fun, easy sew for your little munchkin—is just what you need!
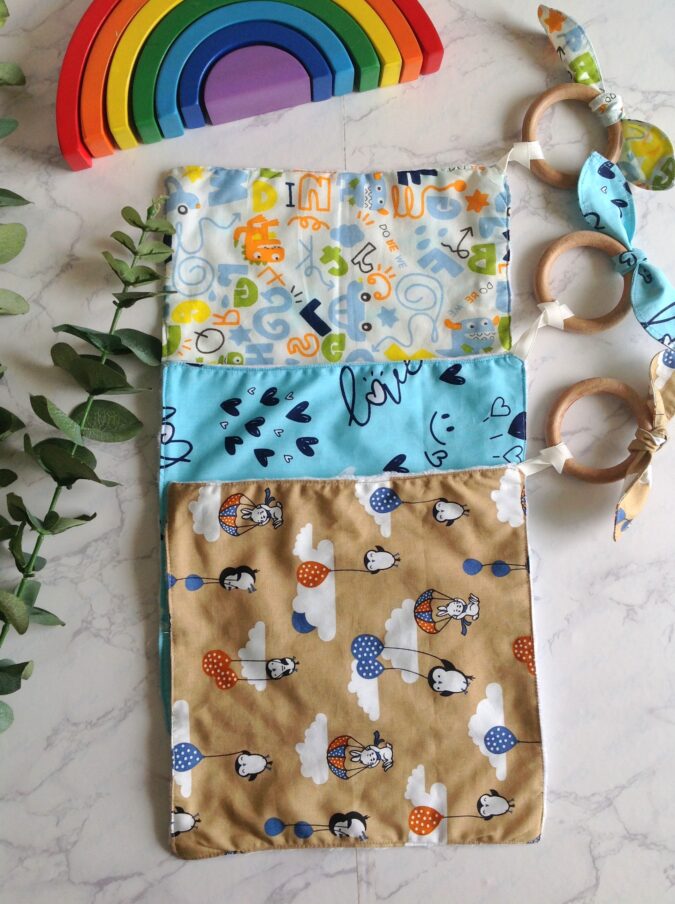
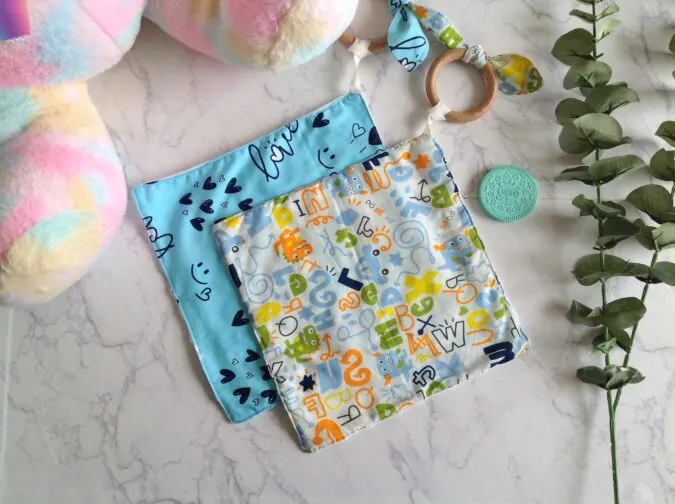
With the cutting done, you can sew it up in just 10 minutes! Mix and match textured fabrics to create a sensory-rich experience, and add teethers for extra fun and comfort. The teether is removable, making it super easy to toss in the wash!

Want to make it even more special? Pair it with my baby bib, burp cloth, or baby blanket patterns to create a sweet, coordinated gift set. Of course, you can also explore my full collection of baby sewing patterns for even more inspiration!
How to Sew a Baby Lovey in 10 Minutes
Materials Needed:
1) Medium- weight cotton fabric in a desired color and print for the baby lovey front- 1/3 yard (you may use fat quarters instead).
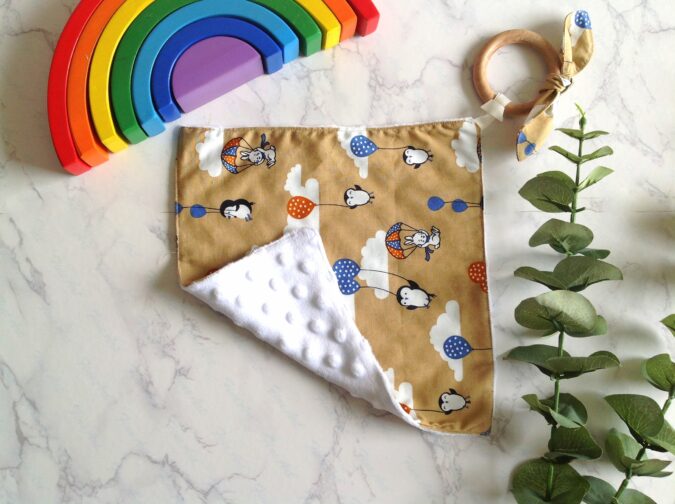
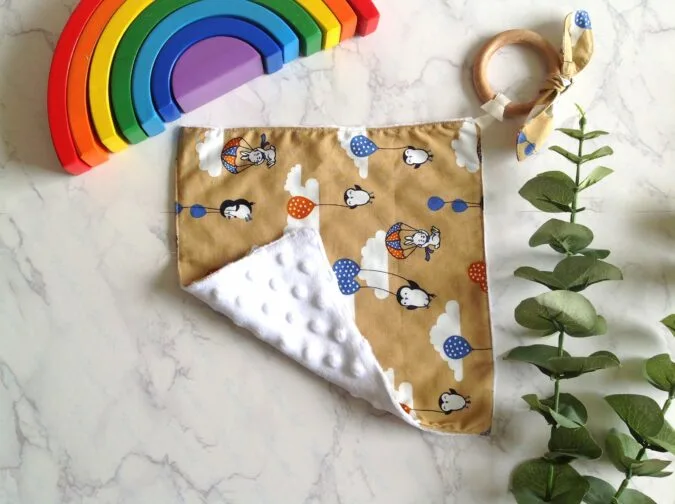
2) Minky, fleece or flannel fabric for the lovey back- requirements same as above.
3) 1/2- inch gross grain ribbon- 7- inches.
4) Wooden teether ring-1
5) Sewing Notions
6) Template for the bunny ear. **Enter your email address and click the subscribe button, in the blue box below, to download the template.

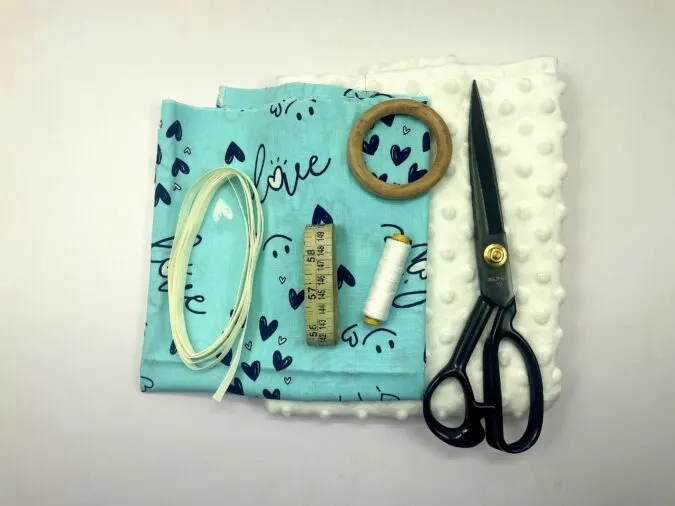
Gather your supplies.

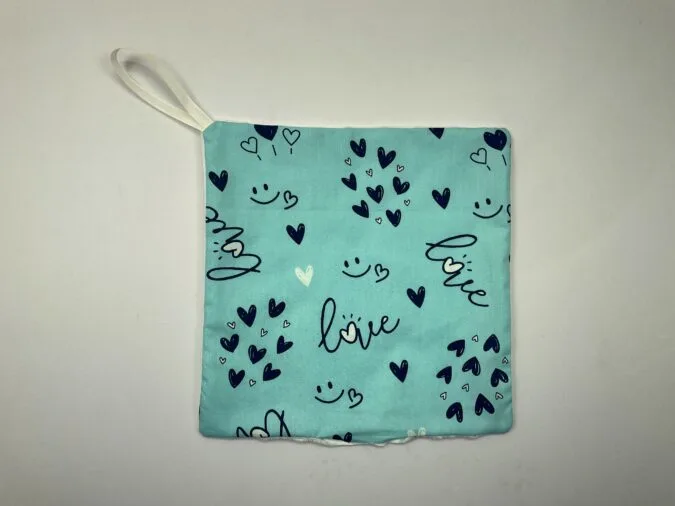
Cut your lovey front and back fabrics to 12 x 12 -inch squares.


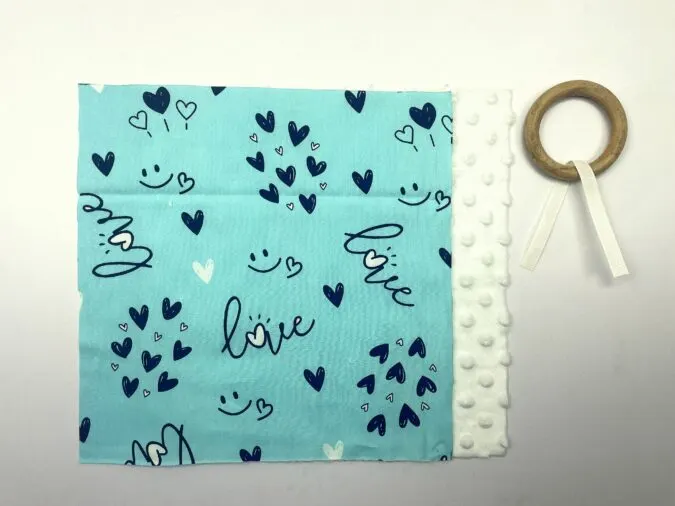
1) Fold the gross grain ribbon in half, and pin the raw edges to one of the corners of the lovey back fabric, on the right side. 2) Place the lovey front fabric above it, with the right sides together and lining up the edges. Pin the layers together, all around.

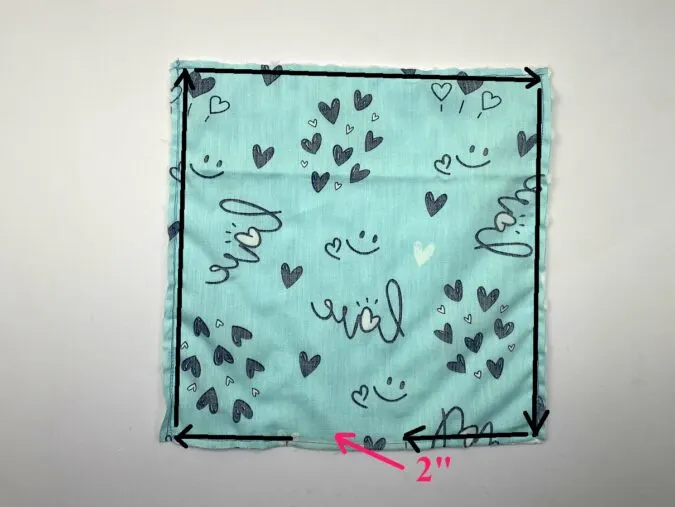
Sew around the edges, leaving a 2- inch gap to bring the right side out.


Clip the corners.

Pull the right side out, through the opening.

Pull the ribbon taut and poke the corners out with the help of a wooden dowel.

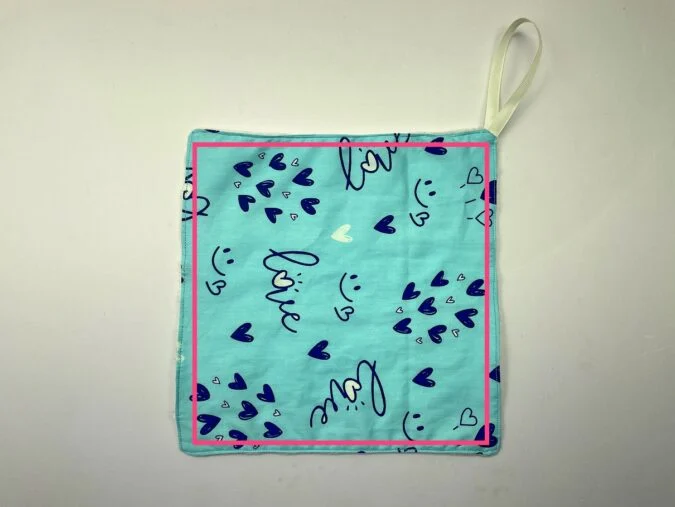
Tuck the raw edges in and topstitch around the edges.

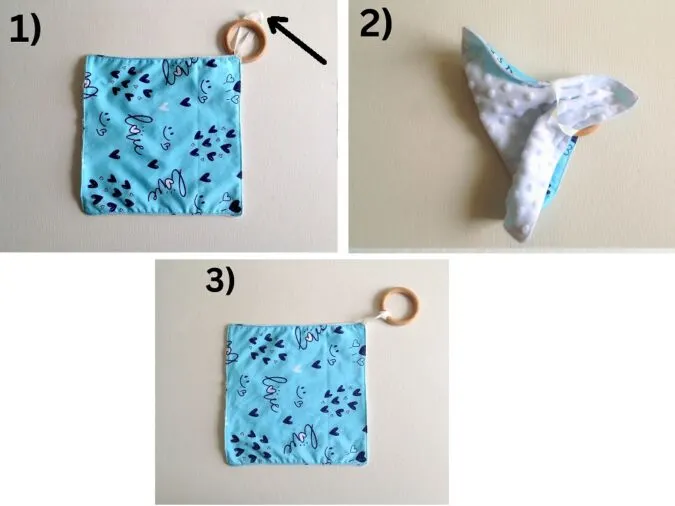
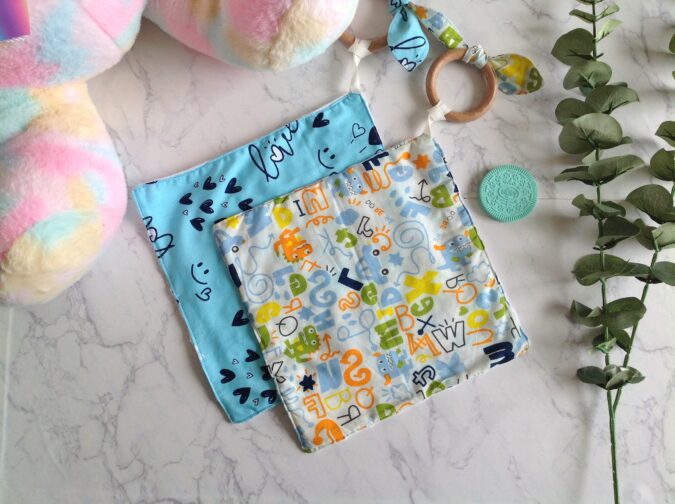
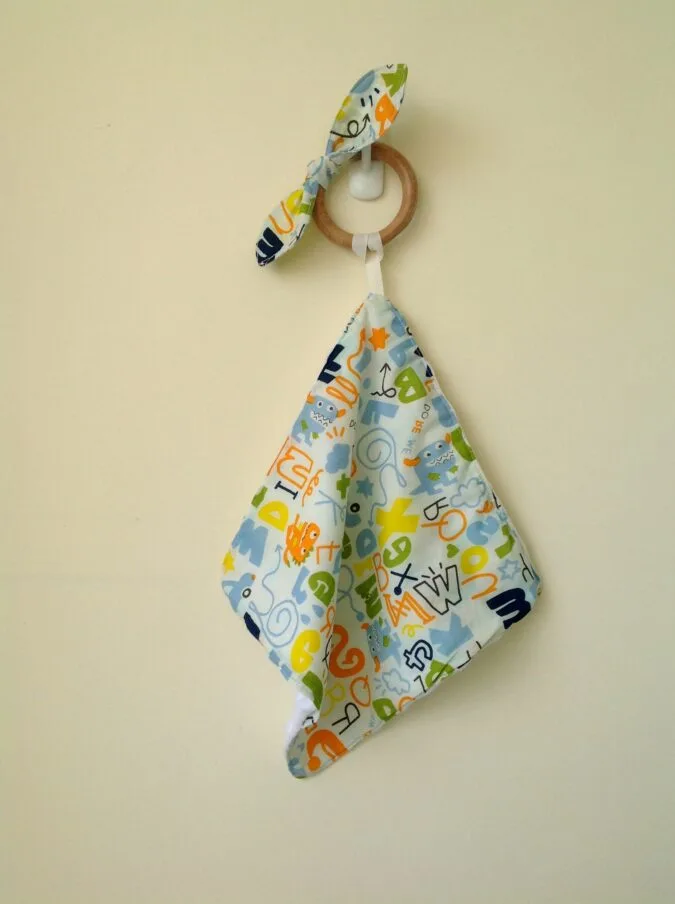
1) To tie the teether to the lovey, thread the satin ribbon loop through the inside of the teether ring.
2) Next, bring the opposite corner of the lovey and insert it through the satin ribbon loop that extends beyond the teether ring. ** You can see the loop marked in the first picture).
3) Pull the lovey tight till the whole of it is brought out through the ribbon loop.
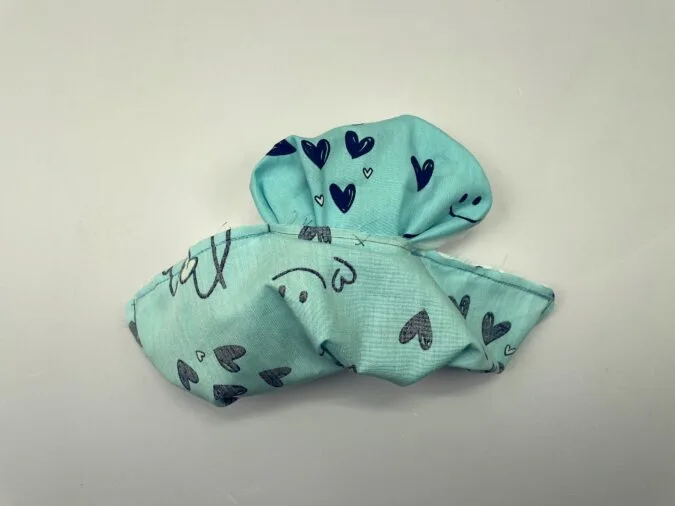
Next, we make the bunny ears.

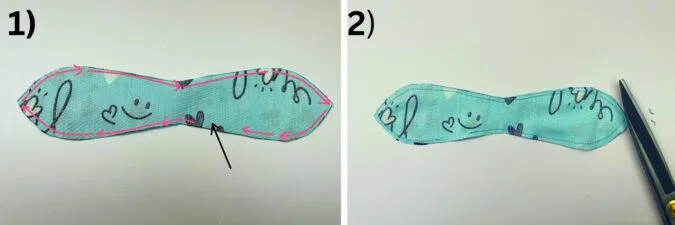
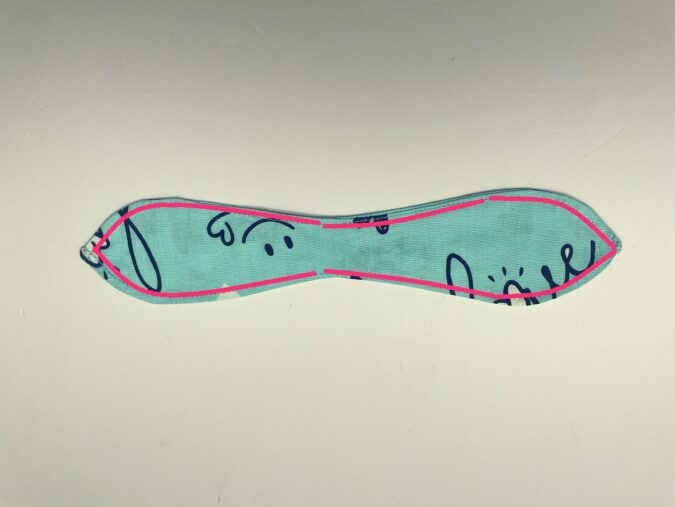
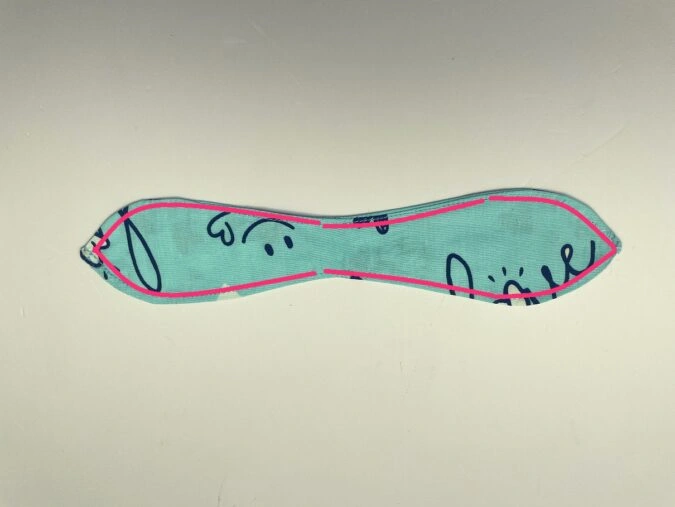
1) Cut two bunny ear pieces and layer them with the right sides together, lining up the edges. Sew around the edge, leaving a small opening to bring the right side out. Cut the corners and clip the edges.

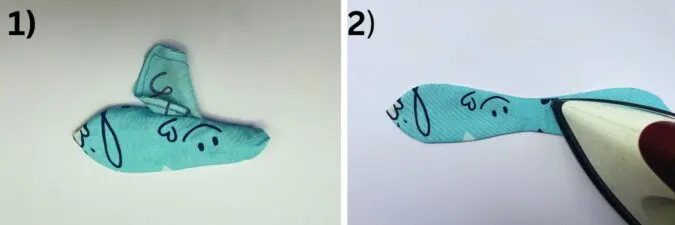
Pull the right side out through the opening.
Tuck the raw edges in and press.
Topstitch around the edges to make it clean and crisp.


Tie the bunny ears on the teether and your baby lovey is ready!
Find the webstory to the pattern here Sew a Baby Lovey Fast: Under 10 Minutes
Pin it for later here,