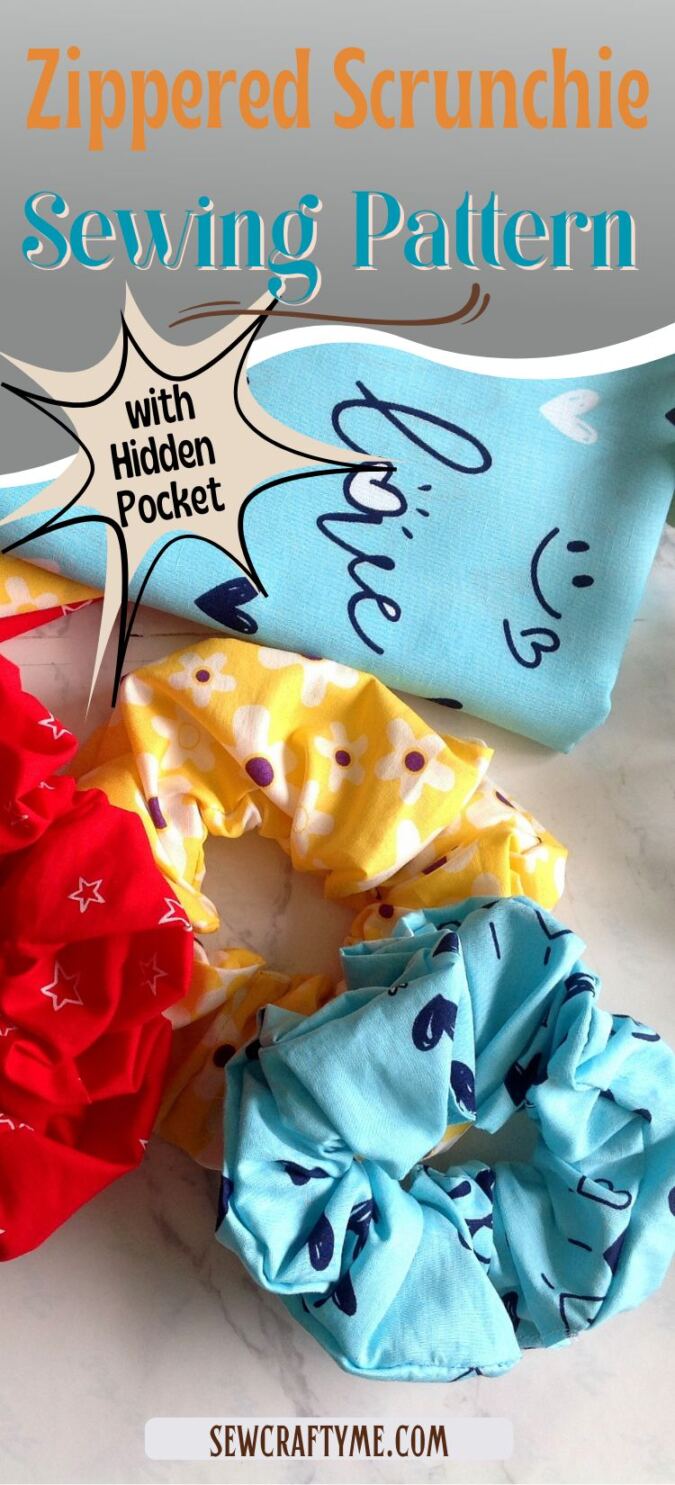
Wondering why I’m back with another scrunchie pattern?
Well, I do have a scrunchie tutorial I shared earlier — but this one has a twist. It’s not just a scrunchie; it’s a scrunchie with a secret!
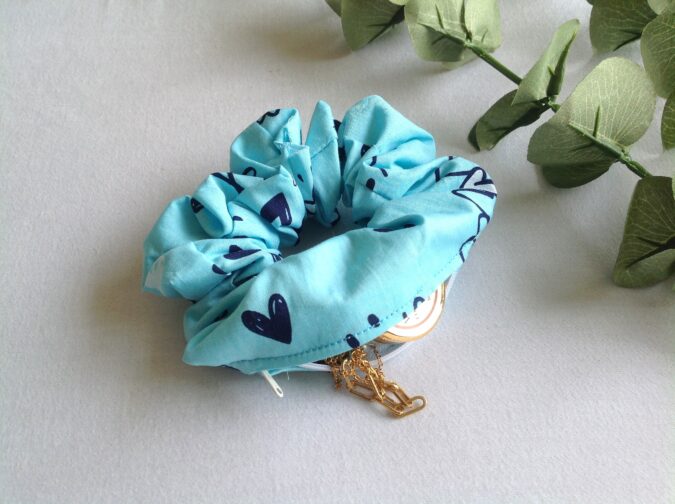

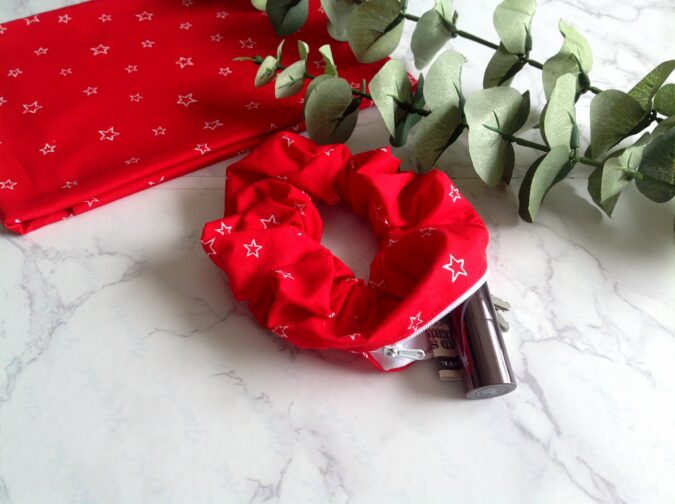
A hidden pocket to stash your little essentials — so you can carry them around without anyone even noticing.


Would you like to learn how to sew this fun and functional scrunchie?
Let’s learn together how to turn fabric scraps into a magical scrunchie — complete with a zippered closure!
How to Sew a Scrunchie with a Hidden Pocket
Supplies Needed:
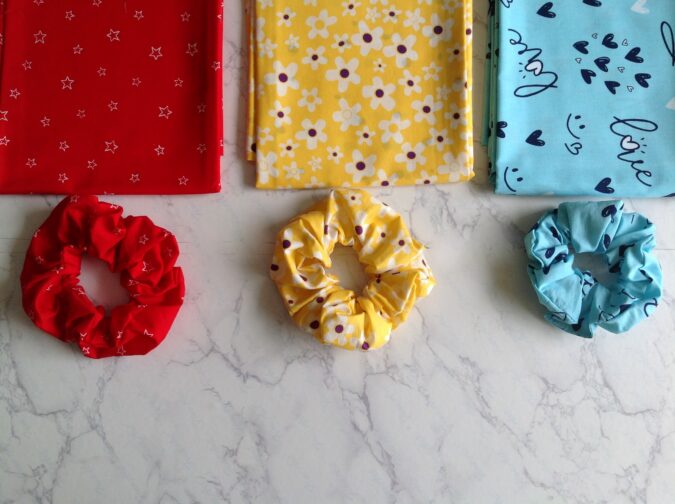
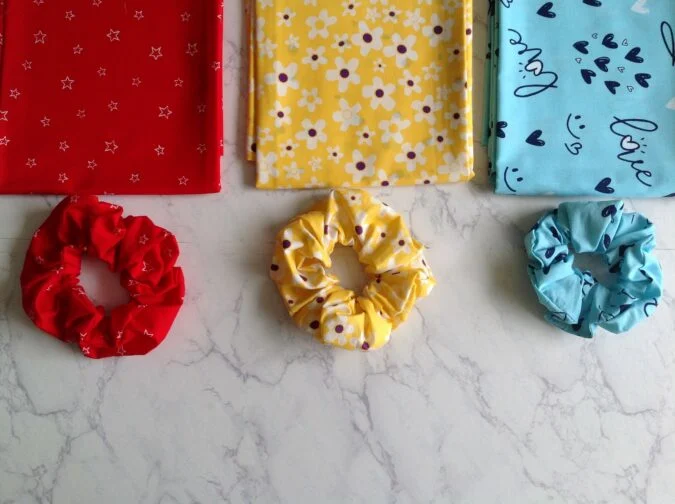
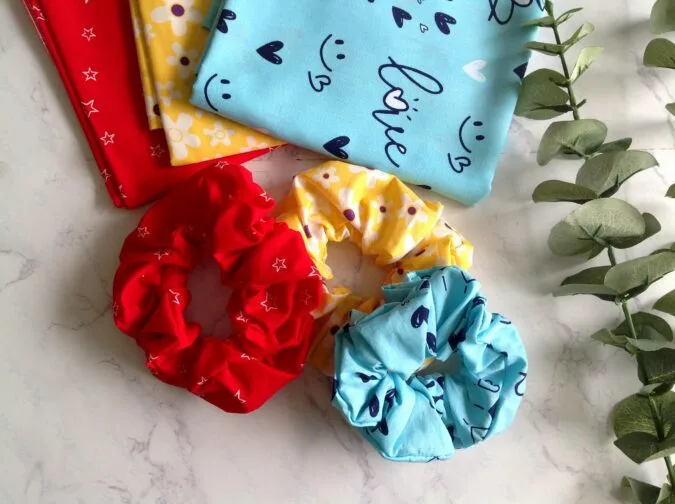
Cotton fabric Scraps in a desired colored and print.
1/4- inch of elastic- 9- inch.
10- inch zipper in a matching color.
Basting tape.
Sewing notions.

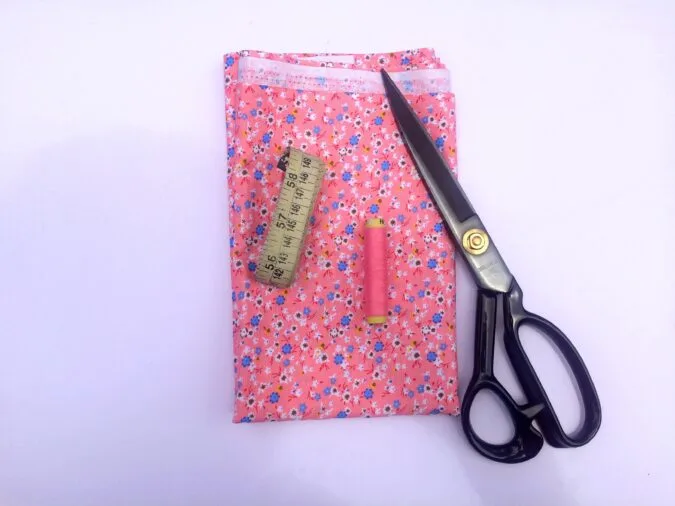
Gather your supplies.

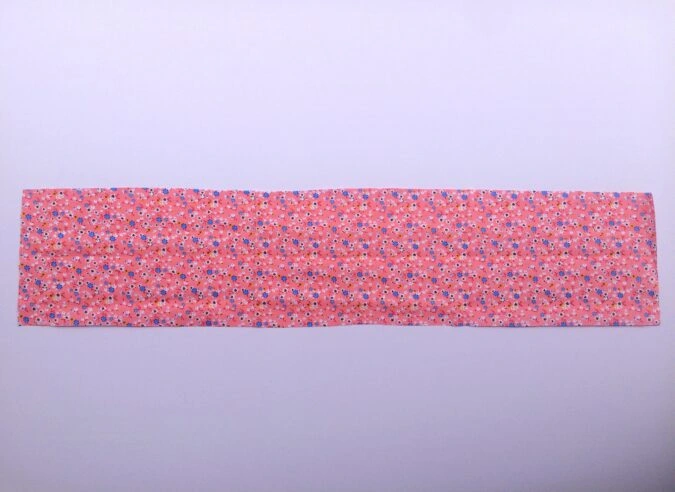
Cut a piece of fabric, 27.5- inches long and 6.5- inches wide.

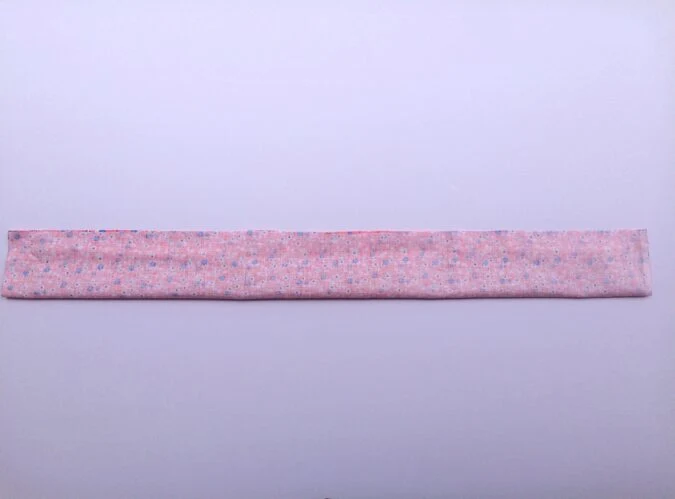
Fold the fabric in lengthwise in half, with the right sides together.

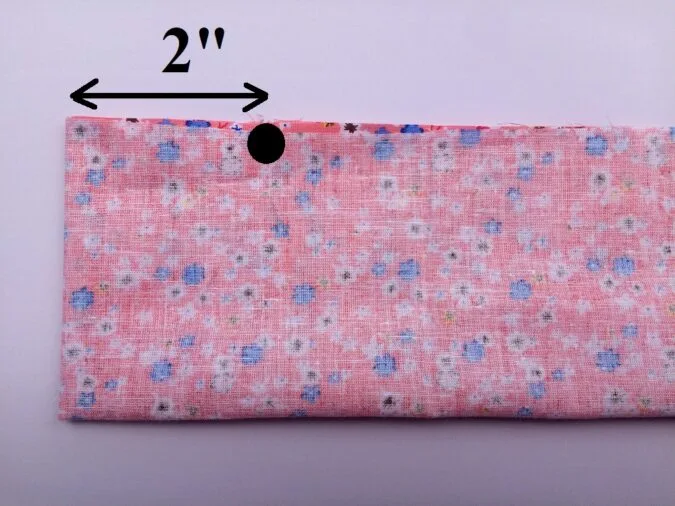
Fold it in half again widthwise. Mark points 2- inch from the folded edge on either side (Now you have 4- inches marked at the center).

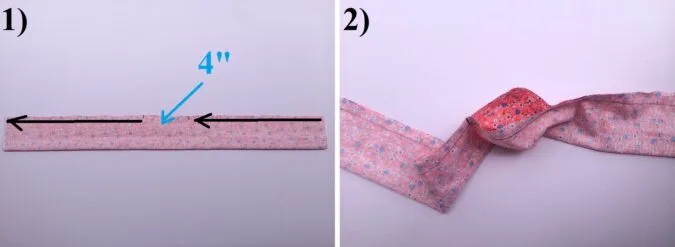
Sew it shut along the edges, leaving the 4-inches along the center open.

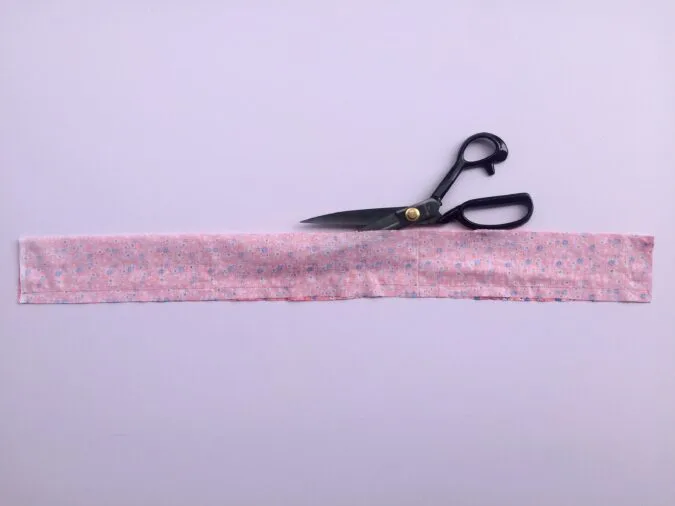
Cut open the opposite (folded) edge.

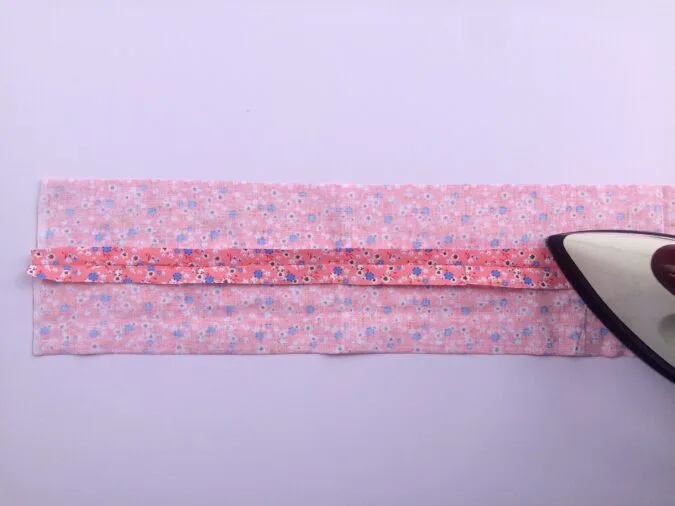
Press the seam open.
Next, we attach the zipper.


Place the zipper along the opening in the seam, with the right side facing down, and secure it using basting tape on both edges. Make sure the zipper pull (runner) falls inside the opening while basting.

Sew around the zipper to attach.

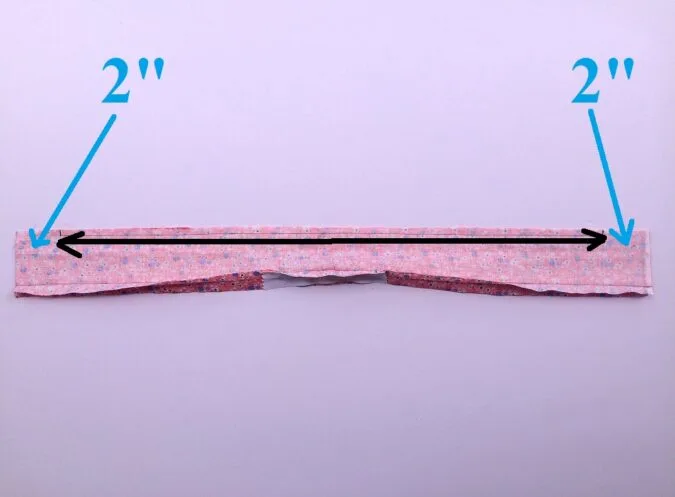
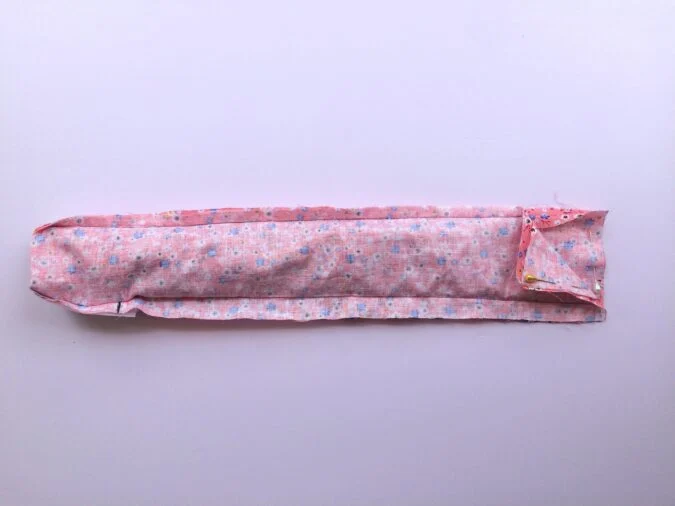
Fold again, lining up the raw edges. Mark 2- inches from the short edges on both sides. Sew it shut leaving the 2- inches on either side open.

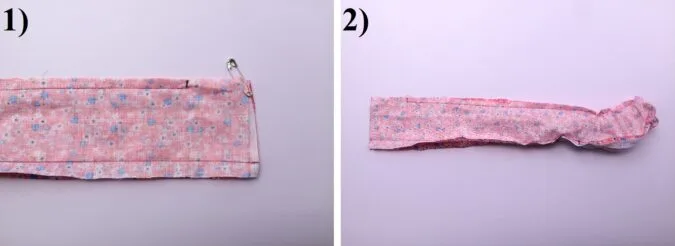
Put a safety pin on one of the short edges of the fabric tube and thread it through the fabric tube till it reaches the other short edge. **Make sure to keep the zipper open half- way before threading to pull the right side out later.

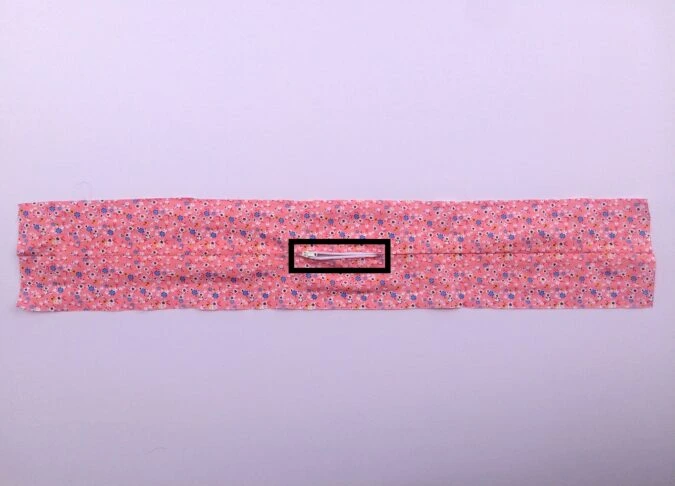
Line up the short edges together and pin.


Sew along the pinned edges (marked in black), leaving the 2- inches along the sides open.

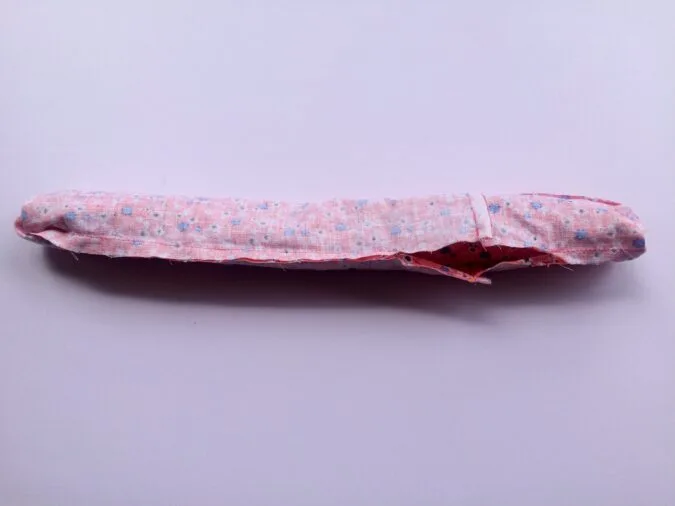
Pull out the inner layer, revealing the opening in between.


Sew the opening shut.

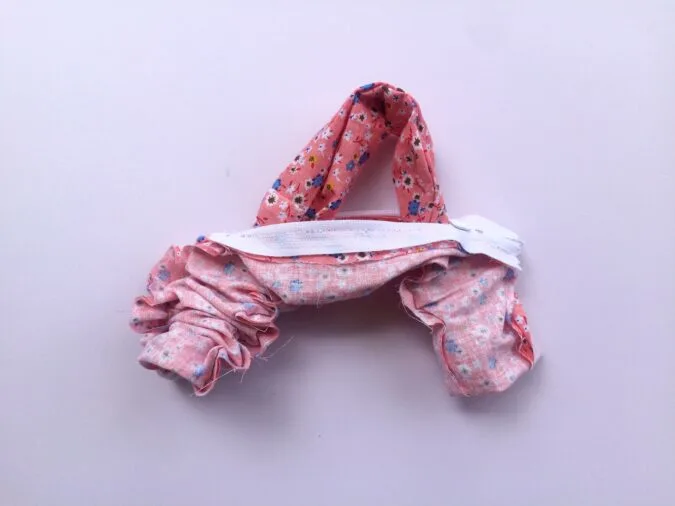
Next, open the zipper completely and pull the right side out.
**The few pictures below are for illustration purposes and as such may vary from the original.

Take the elastic and insert it through the zipper opening.

Keep threading the elastic till it comes out through the other end. Keep the ends of the elastic overlapping by 1/2- inch and sew back and forth a few times to join.
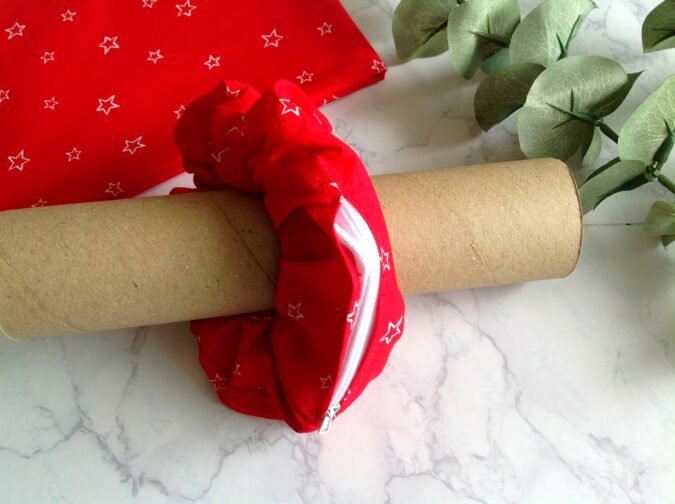
Our scrunchie with a hidden pocket is ready for use!
Find the webstory to the pattern here Step-by-Step Guide: Sewing a Scrunchie with an Inner Zipper Pocket
Pin it for later here,