This self-binding blanket project has been on my mind for quite some time. Over the years, I’ve loved seeing my readers grow with me—moving from simple projects to more advanced ones, like dresses and beyond 😊. It’s been such an exciting journey! Yet, I believe this classic self-binding baby blanket tutorial remains a timeless staple that deserves to be shared.


This pattern is both simple and enjoyable, making it perfect for all levels of sewing experience. Whether you’re just starting out or have been sewing for years, it’s a project you can approach with confidence. It’s a wonderful way to practice your technique while creating something both beautiful and practical.


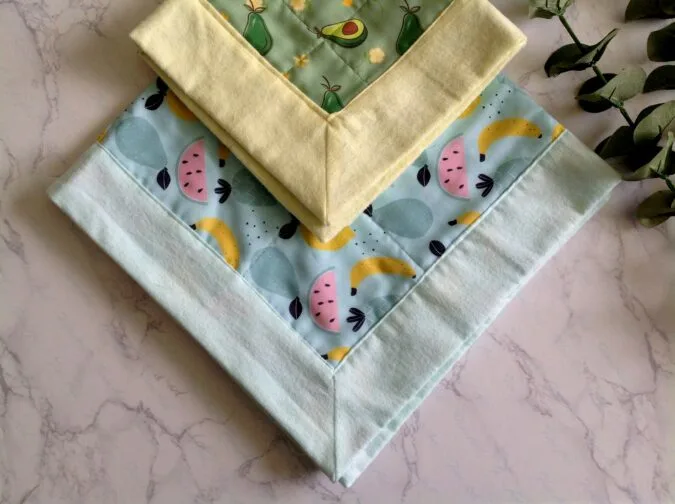
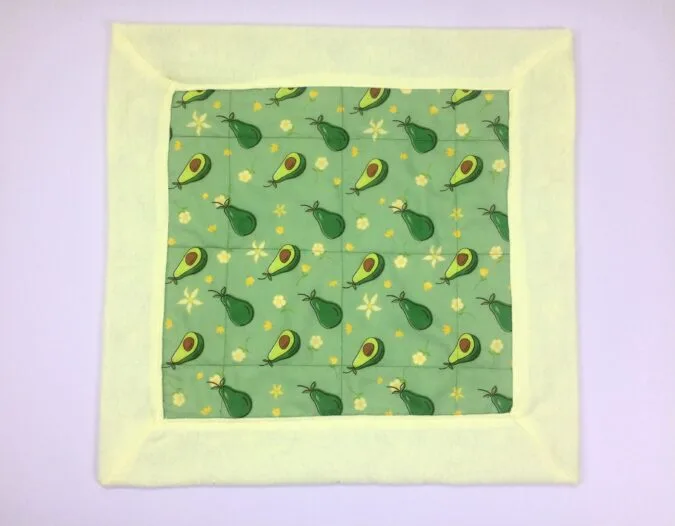
Think of this blanket as a blank canvas for your creativity. You can experiment with different sizes—I’ve shown a doll-sized version here for easier photography and illustration. You can also try varied binding widths or mix and match fabrics to create unique combinations. Each variation has its own charm and delivers lovely results.
Now, let’s get started!
If you would like to learn how to sew a reversible baby blanket in 15 minutes, click on the picture below:
How to Sew a Self- Binding Blanket
Supplies Needed:
Medium-weight cotton fabric for the blanket front- requirement specified in table-1 below.
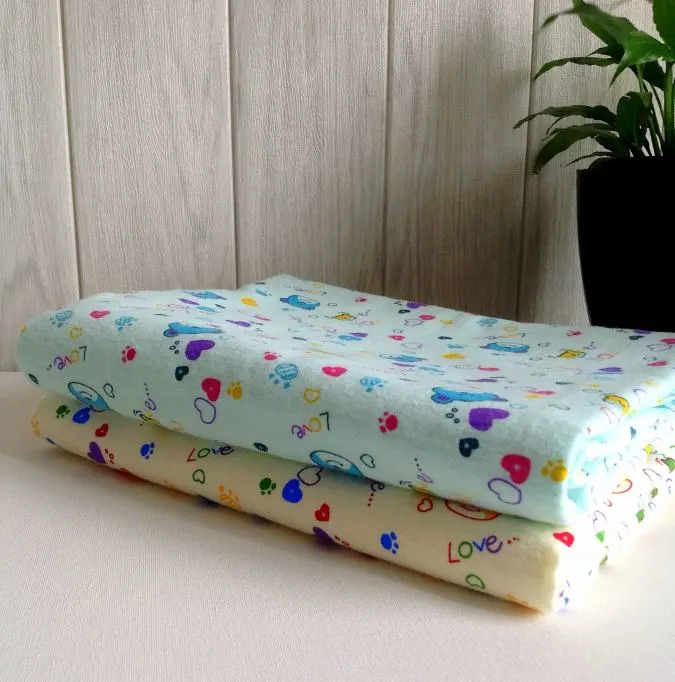
*** You may use fabric like quilting cotton and linen for the blanket front during the warmer months and flannel, minky or fleece for the cooler months*****
Flannel, minky or fleece for the blanket back- requirement specified in table-1 below.
Sewing Notions.
***The seam allowance is 1/2- inch unless otherwise specified.

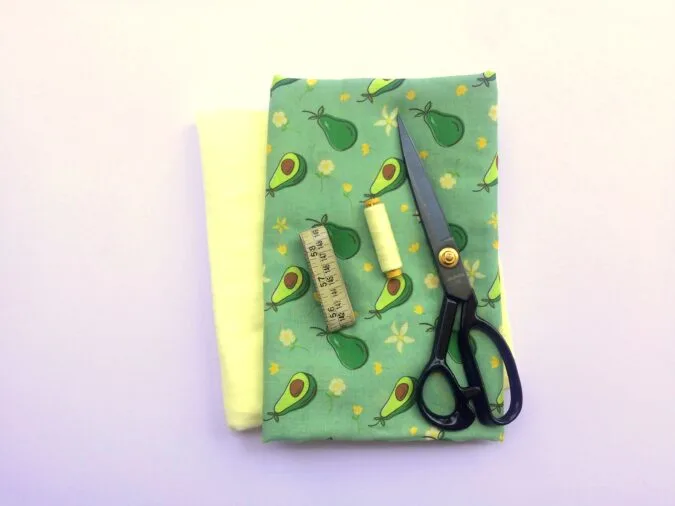
Gather your supplies.
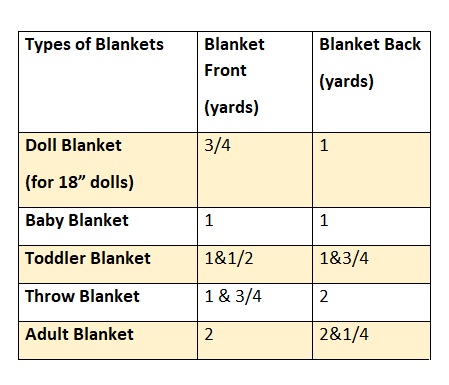
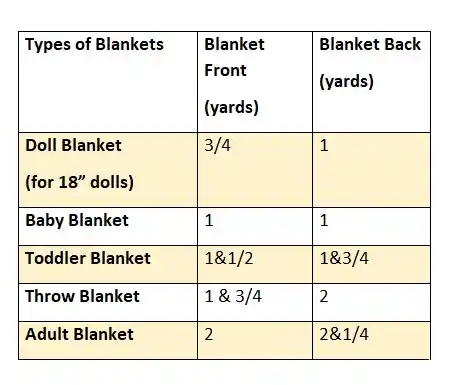
Fabric Requirements:
Table-1
Measurements:
Table-2

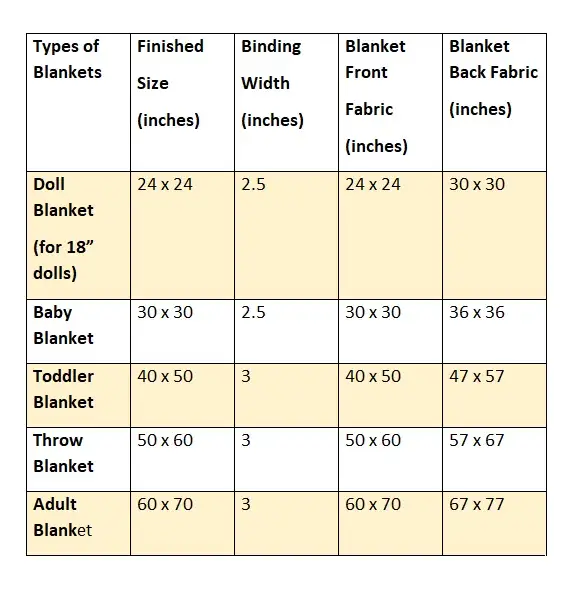
If you’d like to sew a blanket in any custom size, the dimensions of the front fabric will be the same as the finished dimensions. For the back fabric, use the formula given to calculate the dimensions (this applies to both length and width).
For example, for a finished blanket size of 30″ × 30″ with a 2.5″ binding, you will need:
• Front fabric: 30″ × 30″
• Back fabric: Finished size + (binding width + seam allowance) × 2
= 30″ + {(2.5″ + 0.5″) × 2}
= 30″ + (3″ × 2)
= 30″ + 6″
= 36 inches

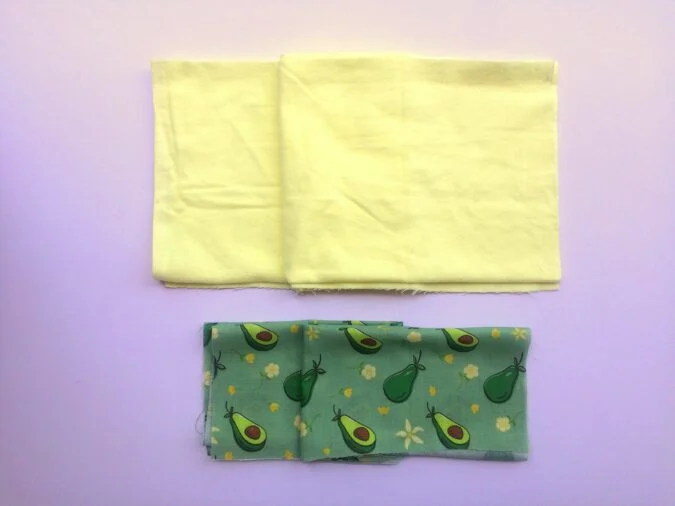
Your pieces would look like this once cut (Note that they are kept folded here).
Fold the blanket front and back pieces in half and mark the center of the top and side edges.
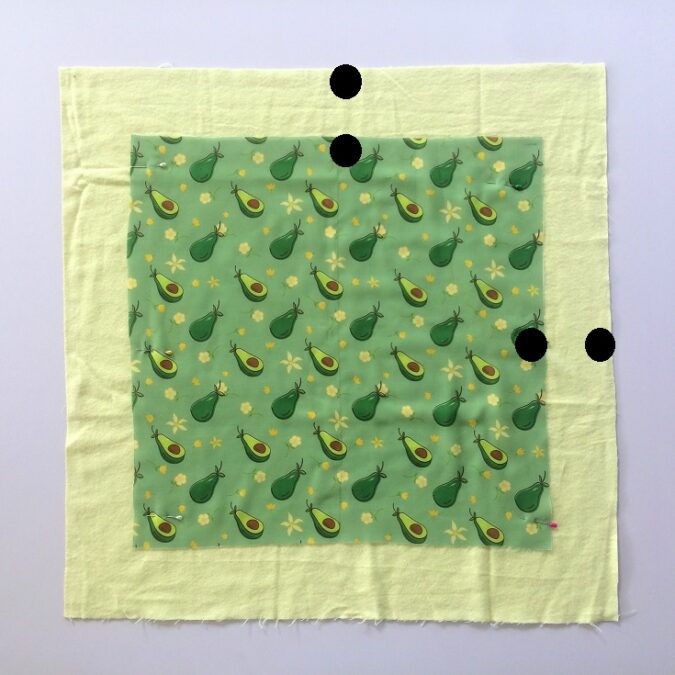
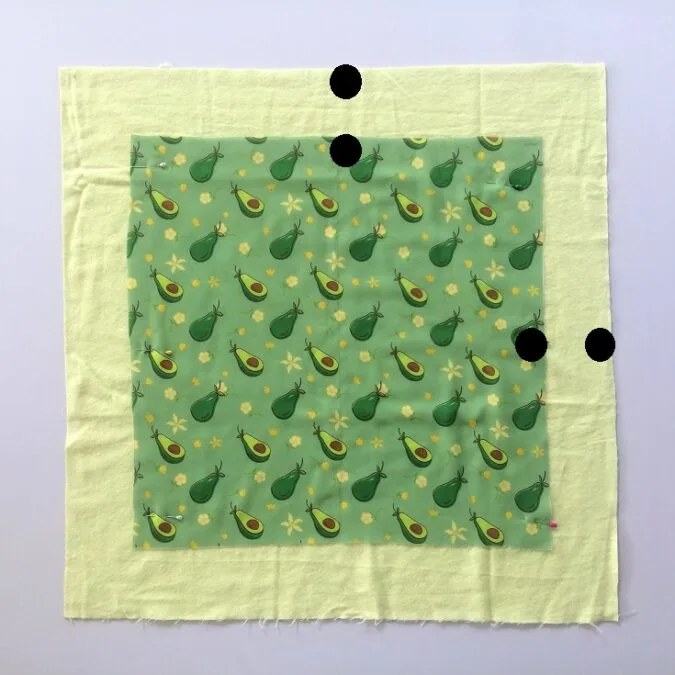
With the wrong sides touching, place the front piece over the back, such that the marked center points are in line.
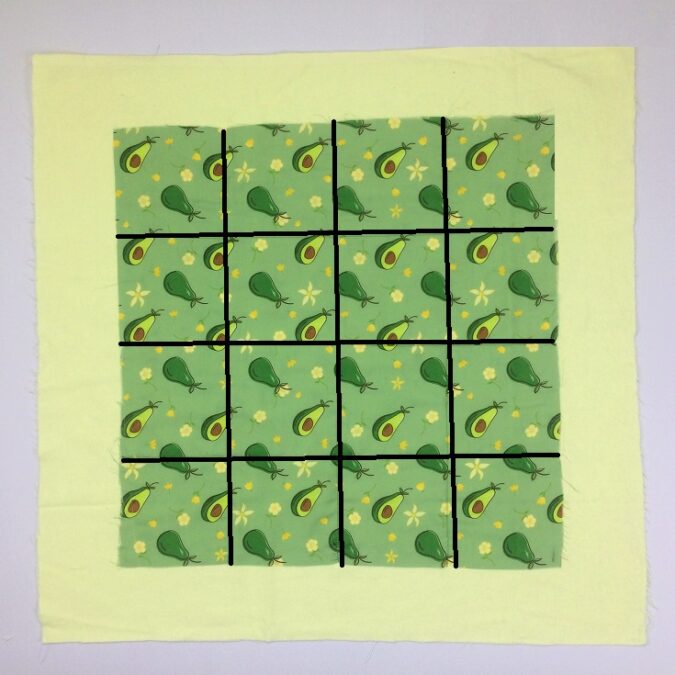
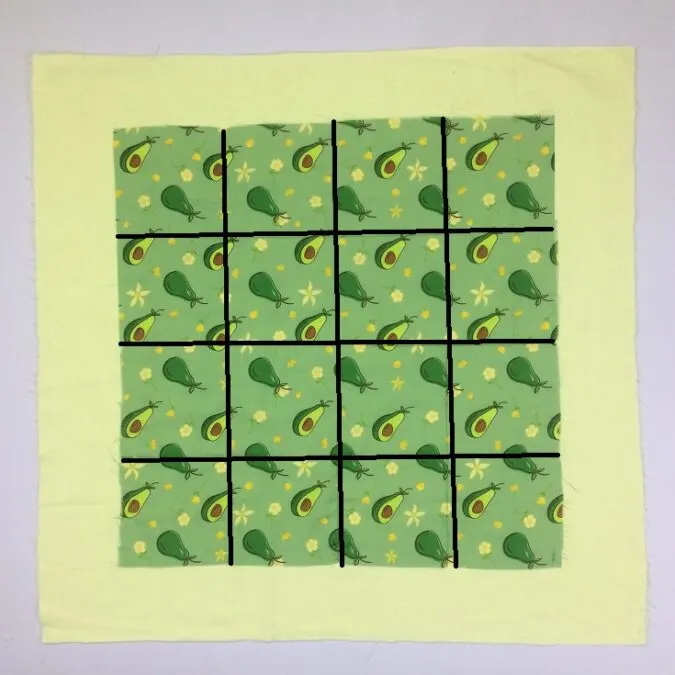
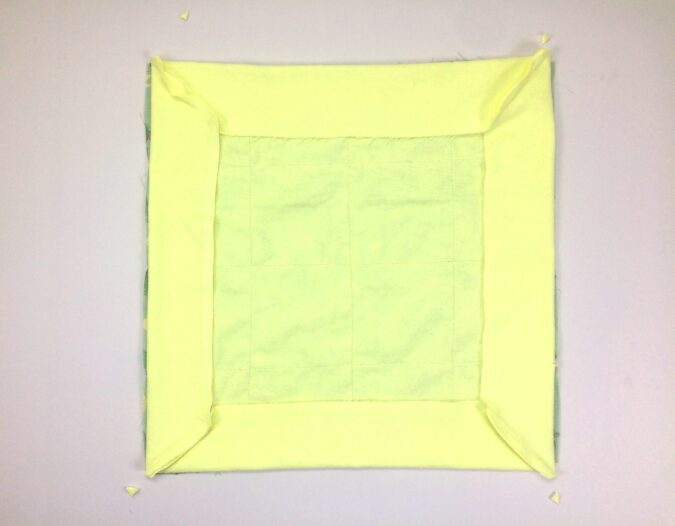
Draw parallel lines 3- inches apart across the front fabric (for larger sizes, you can draw the lines 5- inches apart). Then, draw a second set of lines at right angles to the first, creating squares as shown above. Sew along the lines. **This is done so that the layers of fabric do not get separated while using and washing.

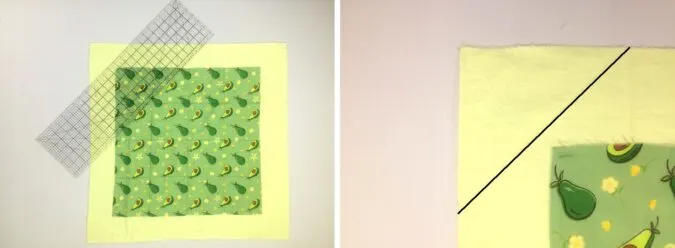
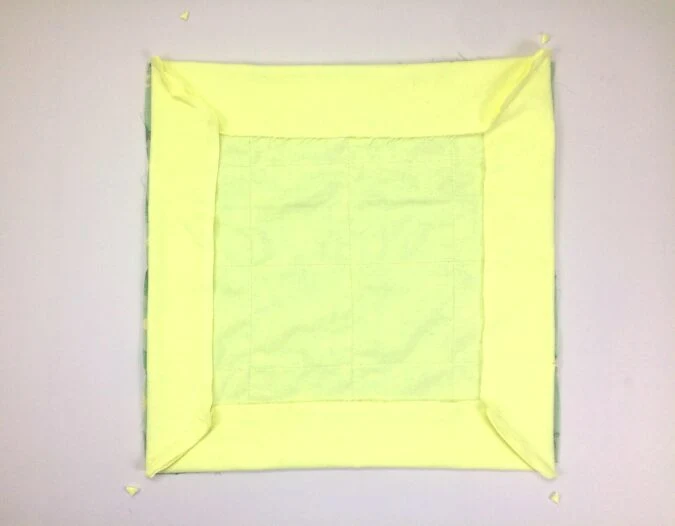
Place your ruler at 45 degree angle to the sides and 1/2- inch above the corner of the inner fabric. Draw a line to mark.
Repeat on all the four corners.

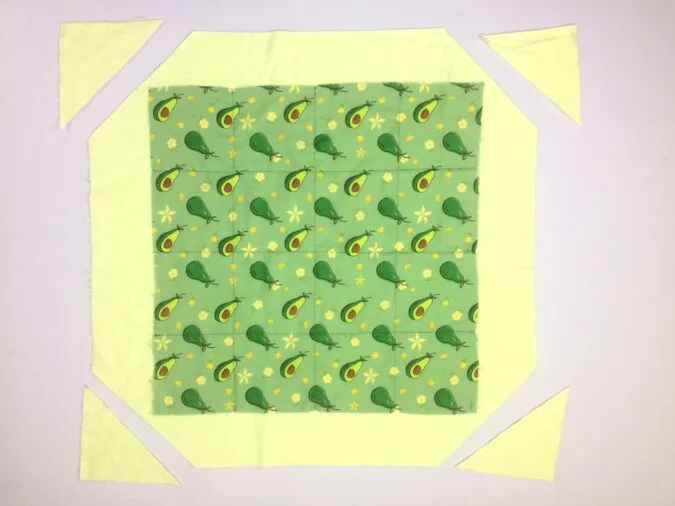
Cut along the lines for all the corners.

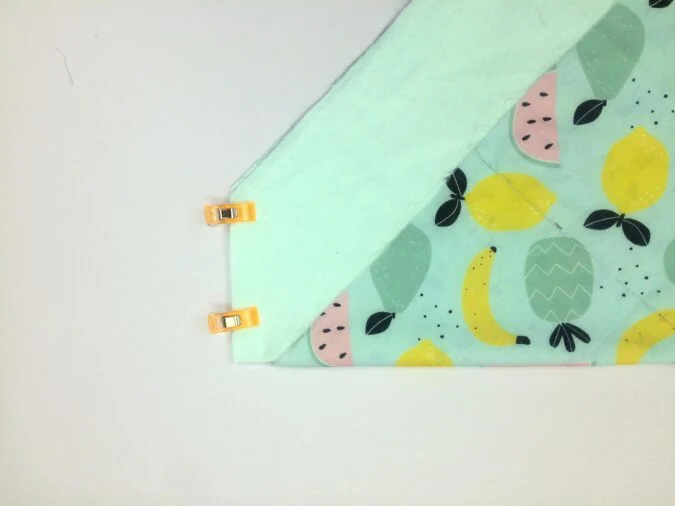
Fold the corner with the right side of the front fabric facing out and edges aligning. Put clips to hold the edges together. (picture for illustration purposes).


Sew the edges together, removing the clips as you go. Repeat on the remaining three corners.
Cut off the corners and it will look like this along the back.

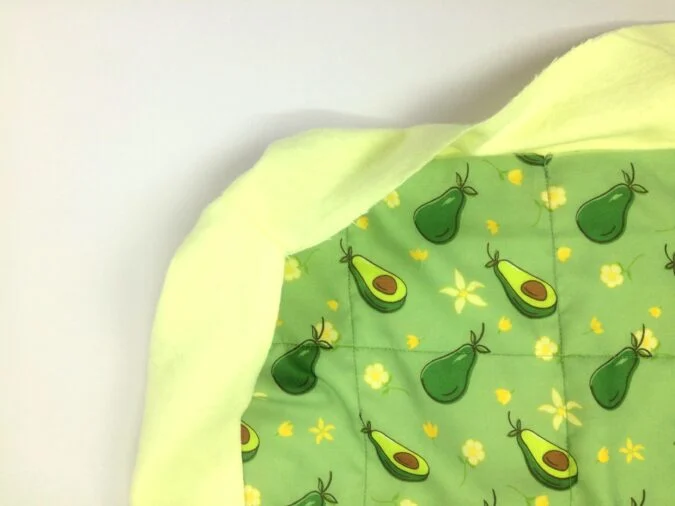
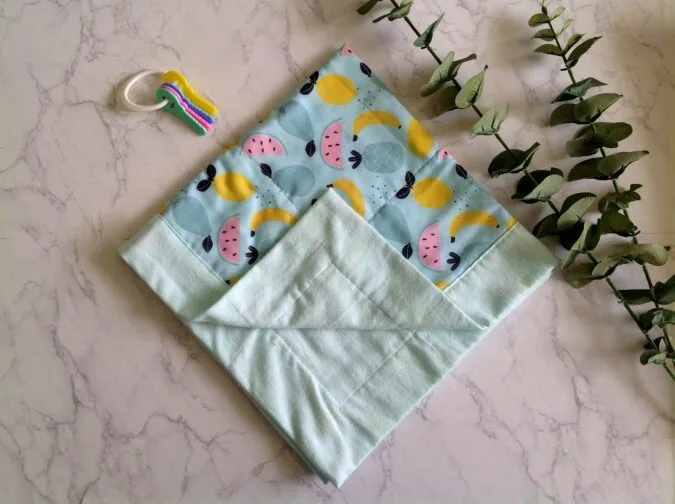
Flip the binding over to its right side and to the blanket front.


Poke out all the four corners.

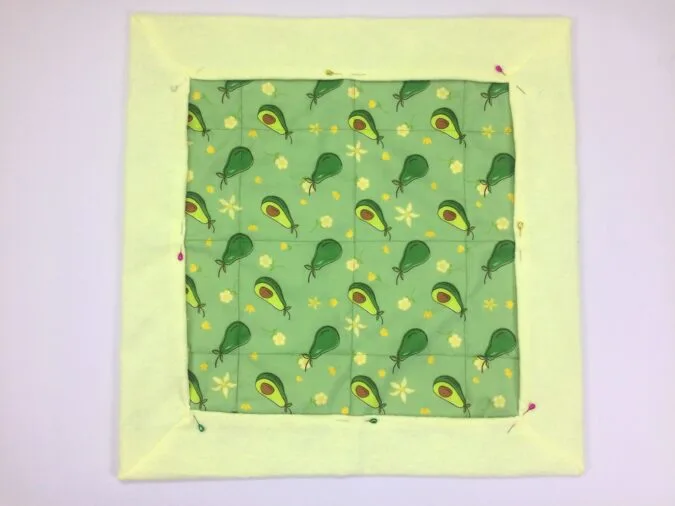
Fold the raw edge of the binding all around by 1/2- inch and put pins to secure the fold.

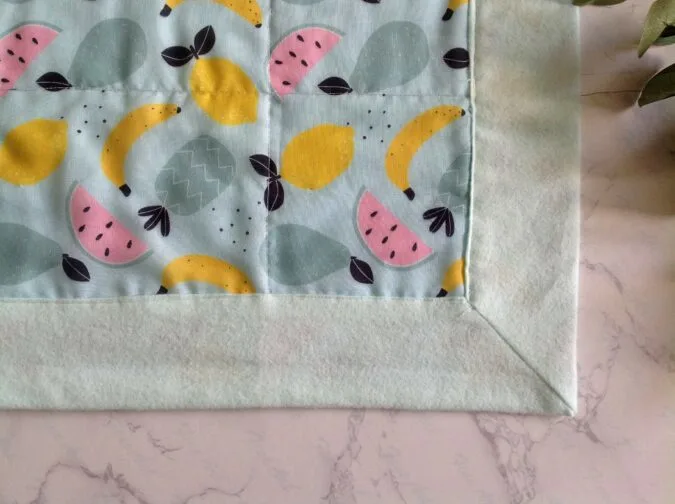
Sew down the folds along the edge, all around. Yay! Your self- binding blanket is ready!
Find the webstory link to the pattern here Sewing a Self-Binding Blanket: A Step-by-Step Guide
Pin it for later here,
![]()
![]()