This simple tutorial will teach you how to sew a bias tape easily. No cutting or joining multiple strips, just a square piece of fabric is all you need to make a long continuous bias binding piece.
Have you found it hard, to make a bias tape all by yourself? Have you found it tough, to join the slanting edges and to line up the side edges correctly? Well, I had felt so until I discovered this technique.
Store-bought bias tapes have never been my option. Maybe because it is hard finding a matching one where I live. I often always end up sewing my own DIY bias tape.


There are ways to teach you how to make a bias binding. They often involve joining multiple strips. These techniques require a lot of time and of course patience.

However, this sewing tutorial will teach you how to sew a continuous bias tape easily. You just have to sew together two triangular pieces and draw a few lines to make the bias binding. It is so simple, I can assure you that you will never go wrong.
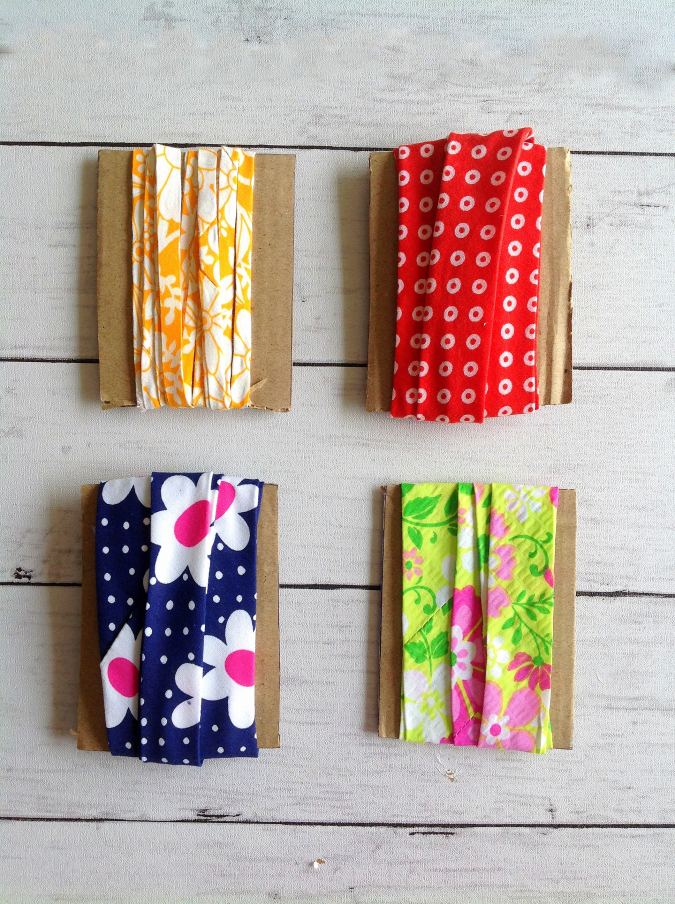
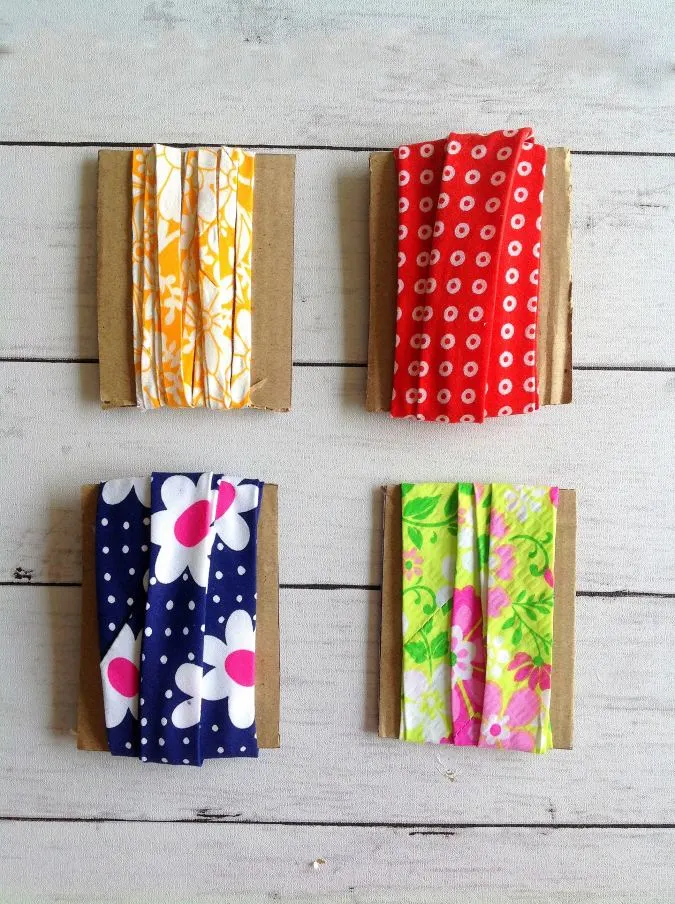
If you would like to learn how to make yarn tassels click on the picture below:

** If you would like to see the video tutorial on how to make a bias tape, skip to the end of the page.
What is a bias tape?
Before I go into the details on how to make the bias binding, let me first explain what a bias binding is. Well, a bias binding is a long strip of fabric, that is used to cover and finish raw edges of many things like blankets, quilts, napkins and even to finish the necklines and armholes of dresses. The fabric strips are cut along the bias to make it stretchier so that it can go around curves smoothly.
Types of Bias Tapes
There are two types of bias tapes; the single-folded and the double-folded.
Single-Folded Bias Tape
For a single-folded bias tape, the long edges of the fabric strip are folded towards the center. It is mainly used as a thin facing to finish the armholes and necklines of dresses.
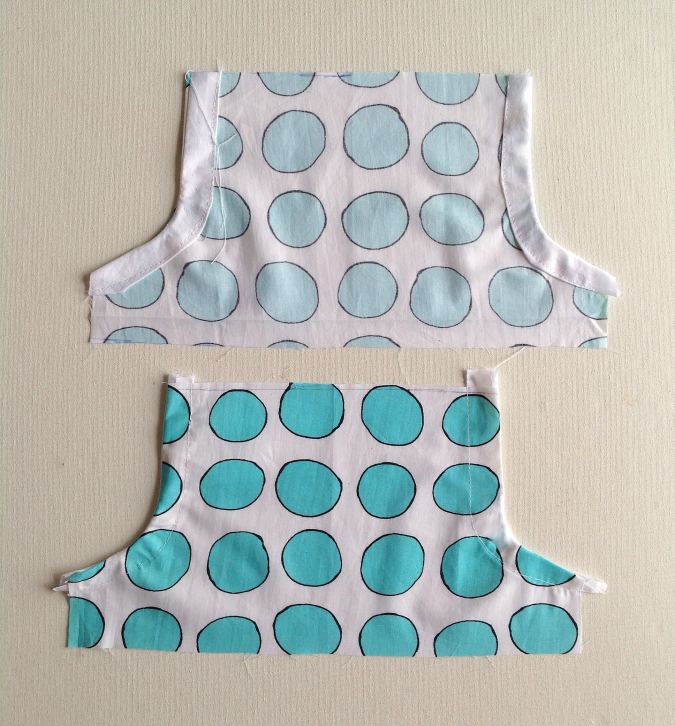
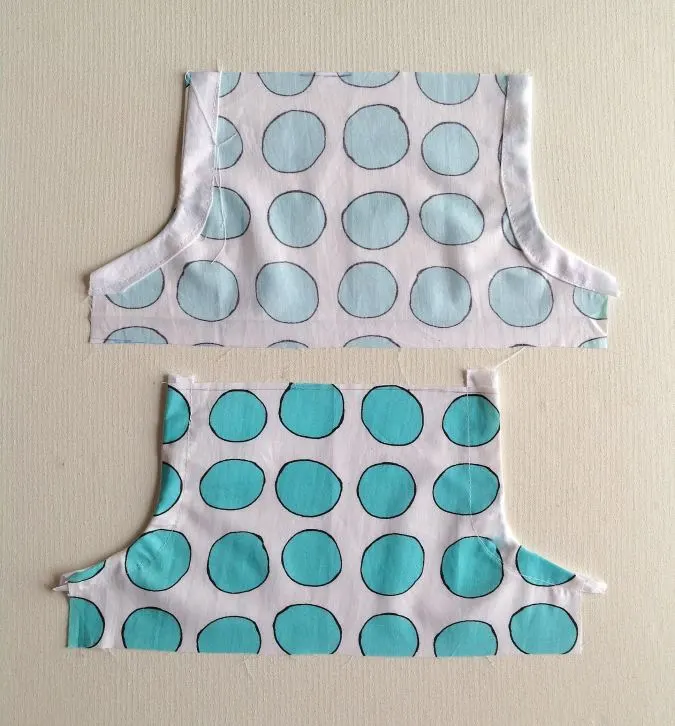
The single-folded bias tape is completely turned over to the wrong side of the fabric and is not seen on the right side, as seen in the picture above.
Double-Folded Bias Tape
A double-folded bias tape is just a single-folded bias tape that is folded again in half. It is used to bind raw edges and also as a decorative trim.
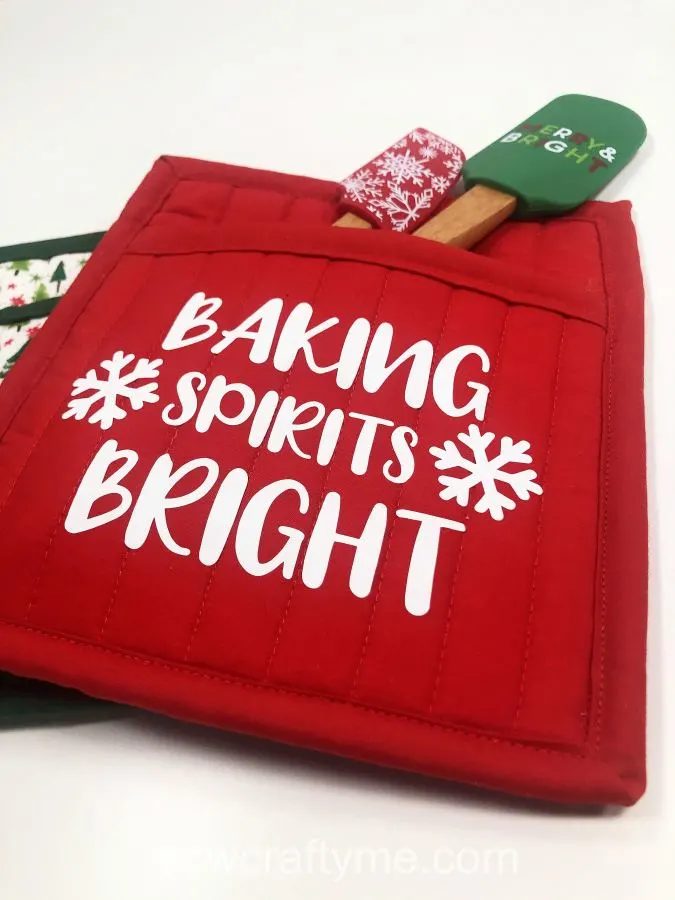
Here, half of the tape is visible on the right side of the fabric. The above picture shows how I have used it to bind a potholder.
How to Sew a Bias Tape
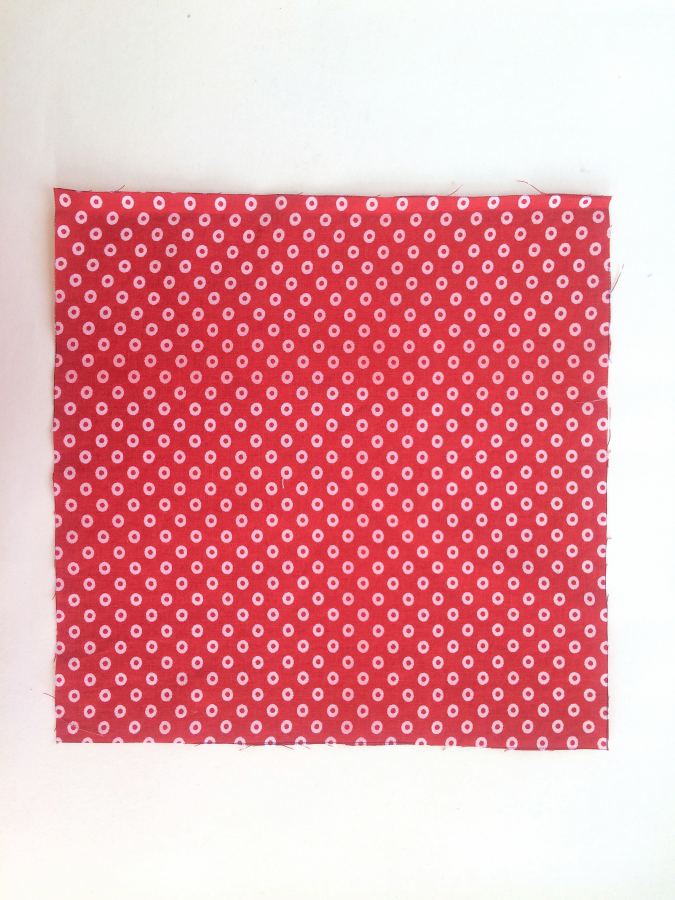
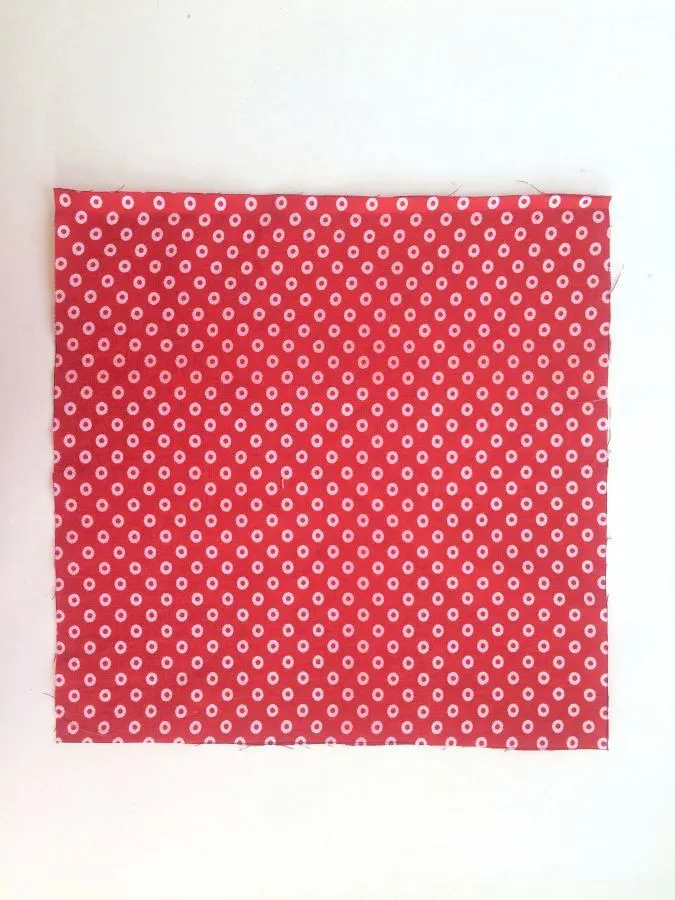
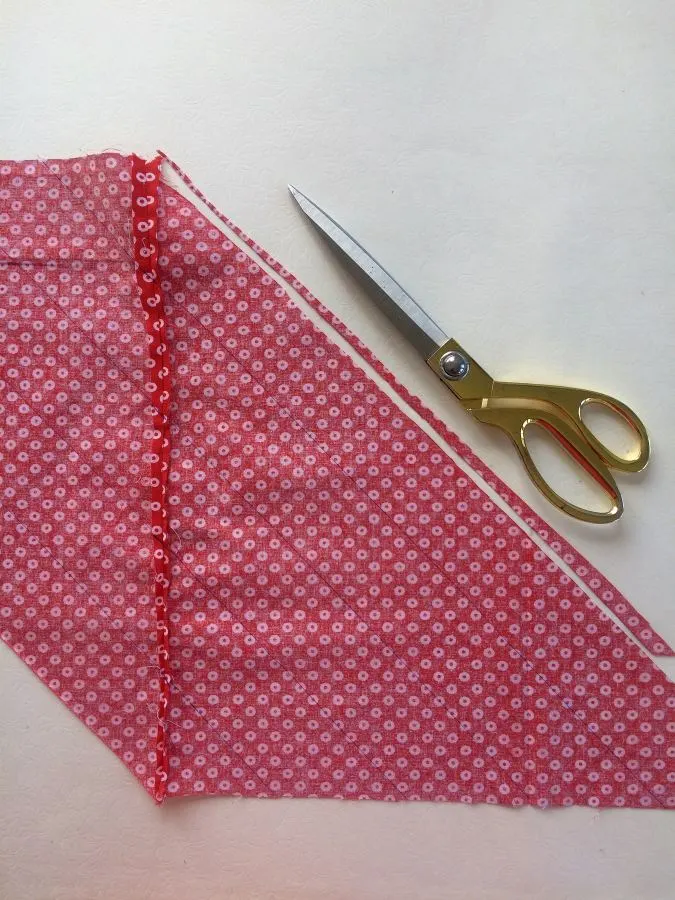
Cut a 15 x 15 inches perfect square.
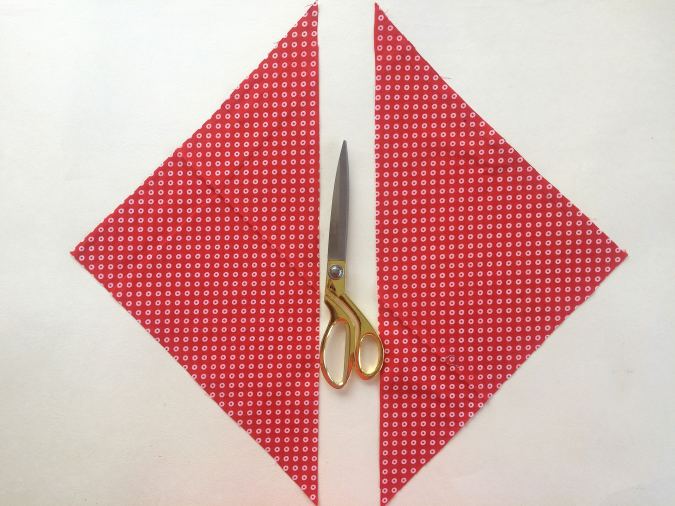
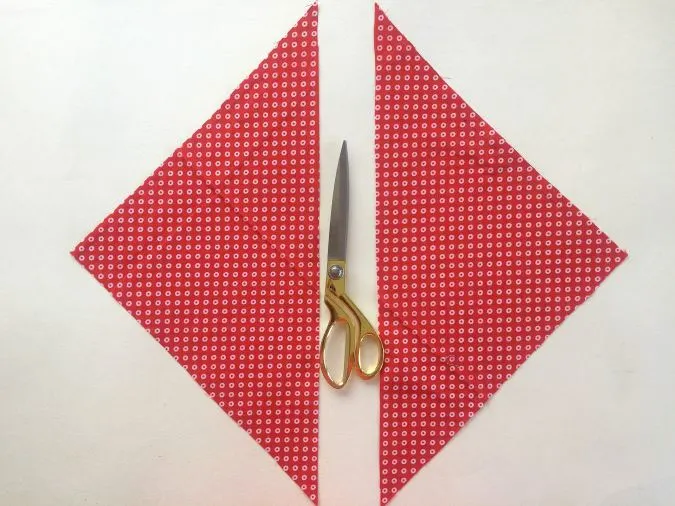
Using your ruler, draw a diagonal of the square and cut along the diagonal to get two triangular pieces.
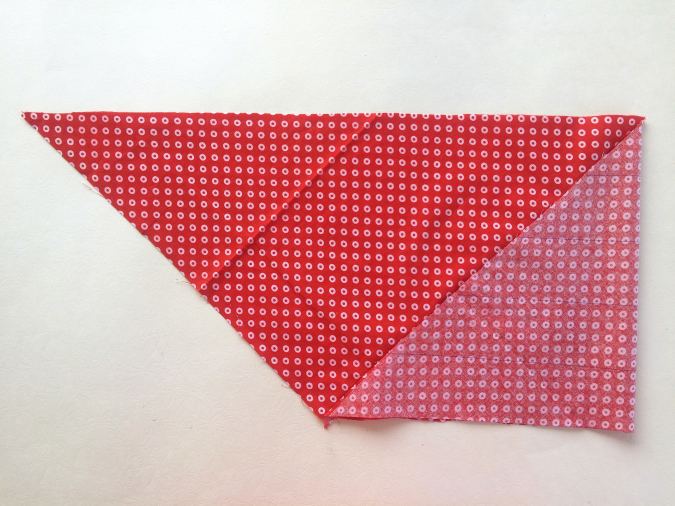
Next, we put the two triangular pieces together.

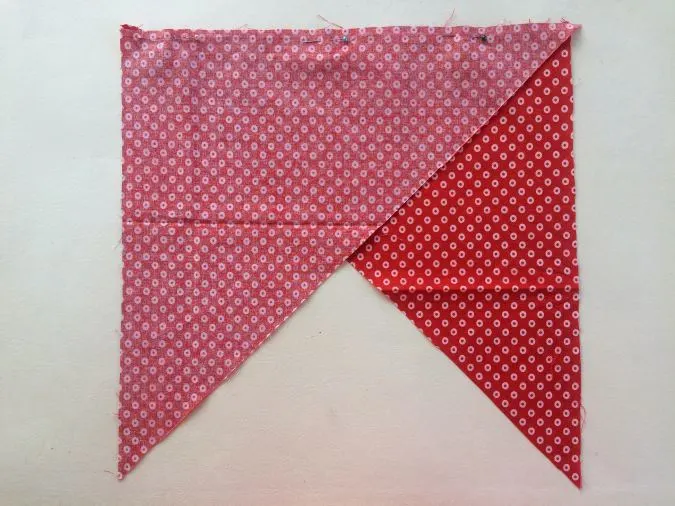
With the right sides facing each other, line up the straight edges of the two triangles and pin the edges together. Sew along the pinned edge to join. Note that now the slanting edges form an “X” along the center.
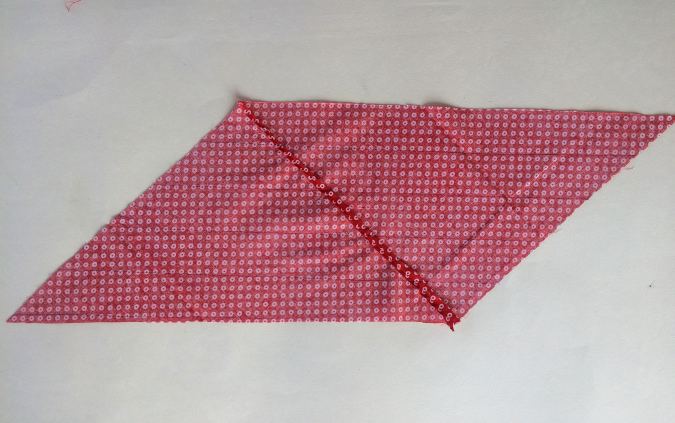
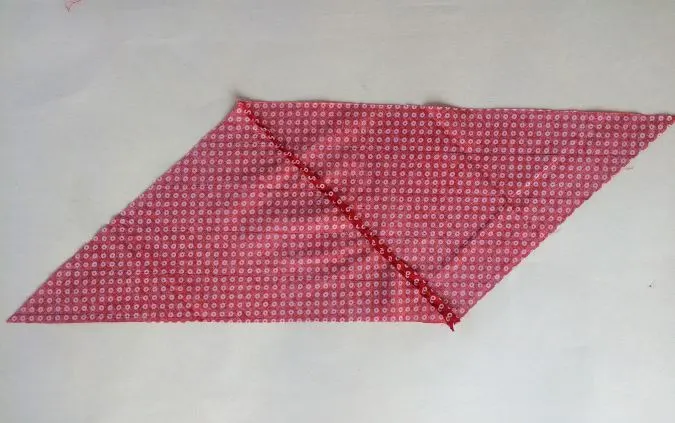
Open and the piece now looks like a parallelogram.

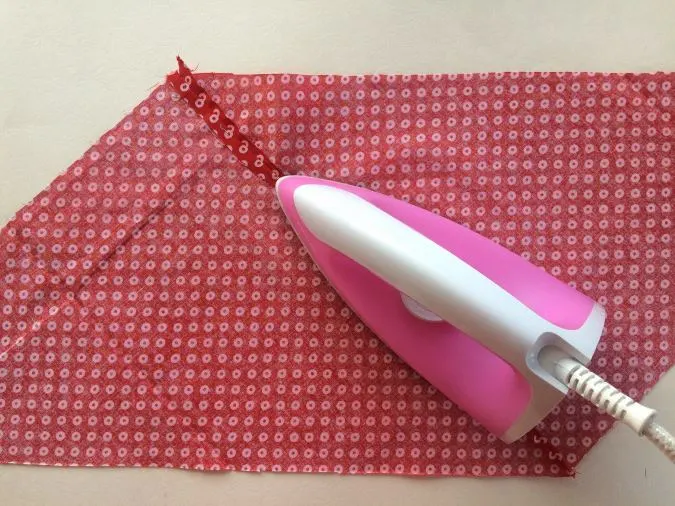
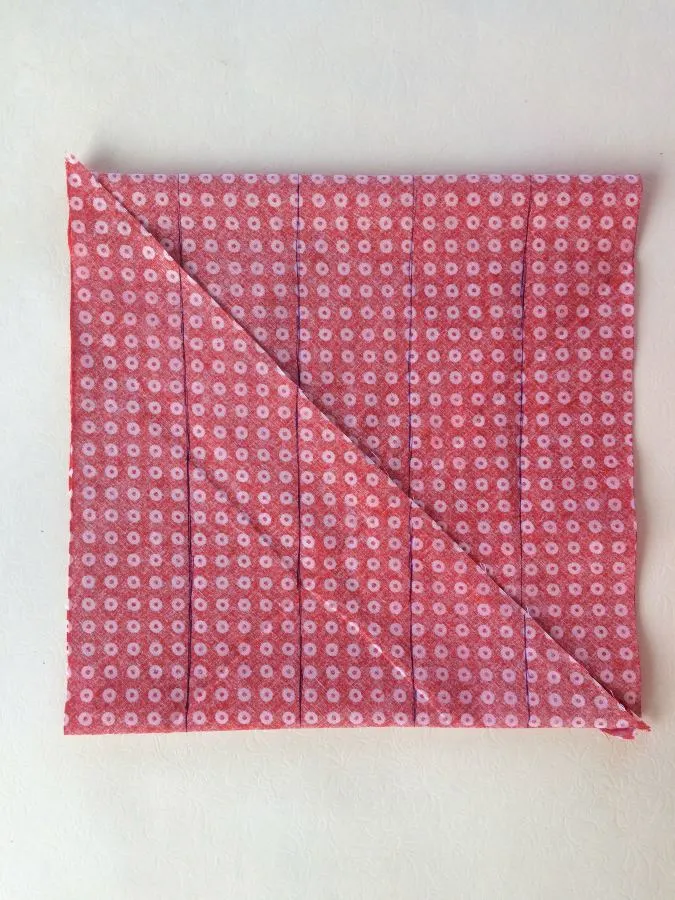
Press the seam open.
Next, we draw lines on the parallelogram. The width of the lines would be four times the required width of the bias tape. I was making a 1/2” wide bias tape so my width was 1/2” x 4 = 2”
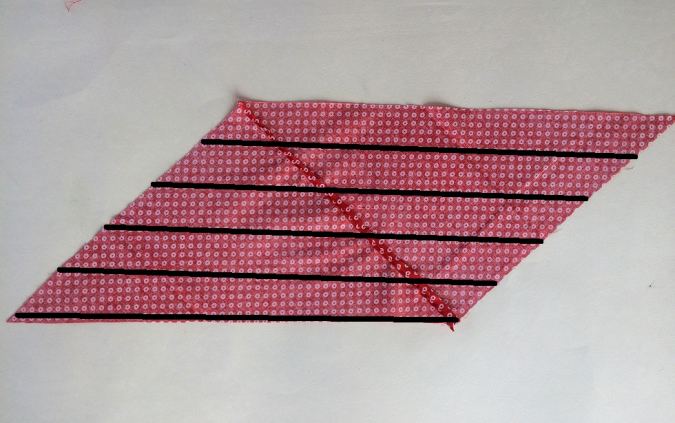

Draw lines that are 2- inches apart and parallel to the long edges of the parallelogram.
Cut off any extra.

Turn over to the right side and fold the tip towards the center seam of the parallelogram.

Do the same on the other side. You will get a square now.
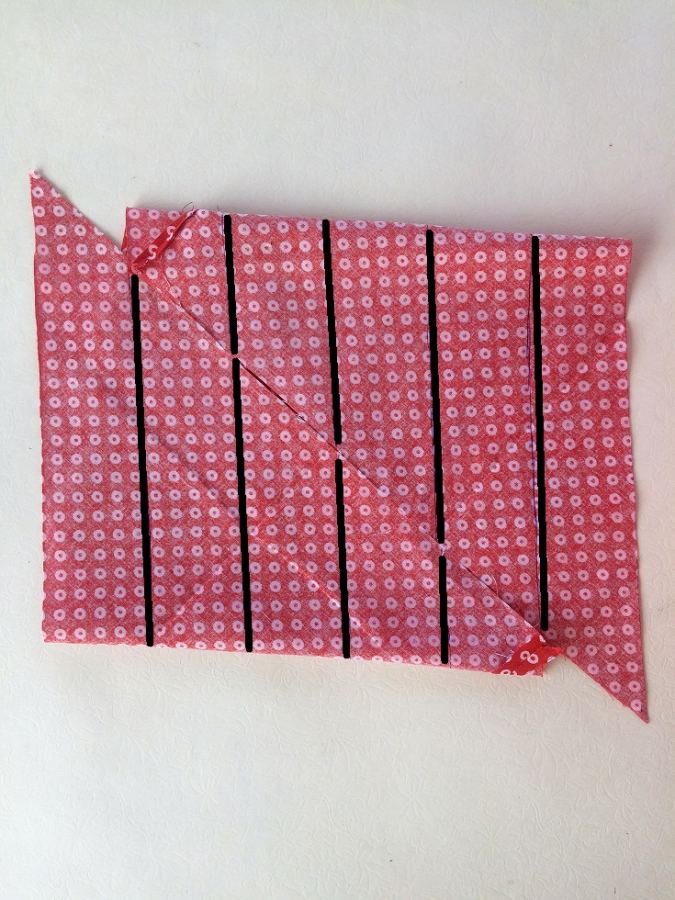

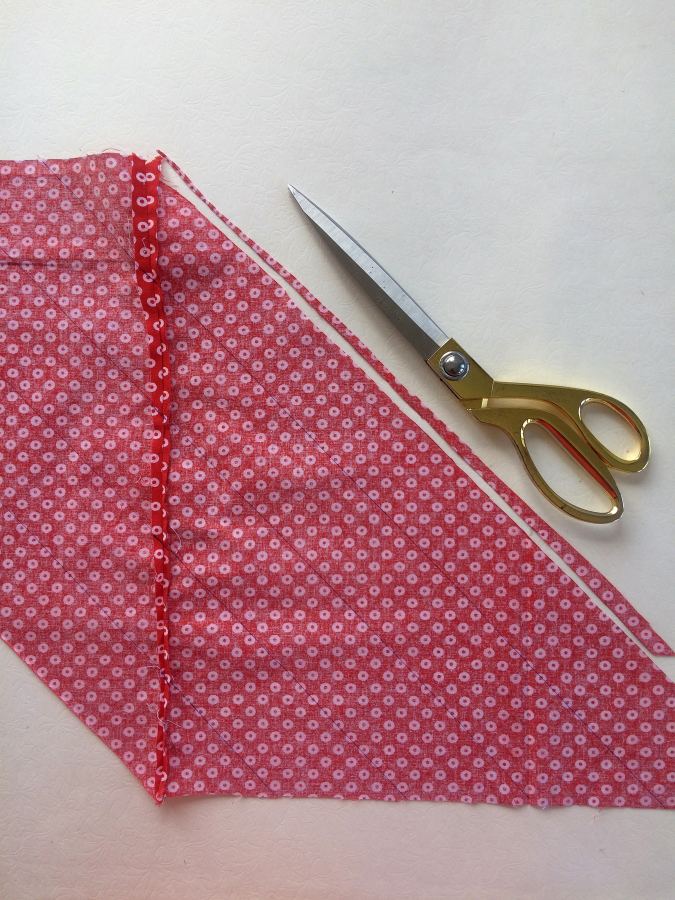
Skip the first line and match the edges of the following lines with lines on the other half and pin or clip the edges together ( I have re-drawn the lines to make them more visible). Now the slanting edges are free on either side to start cutting.

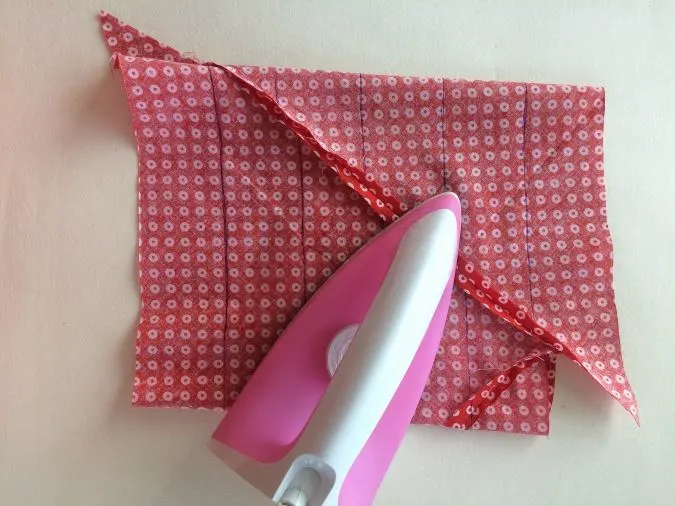
Sew along the pinned edge to join and press the seam flat. Now you have a fabric tube.

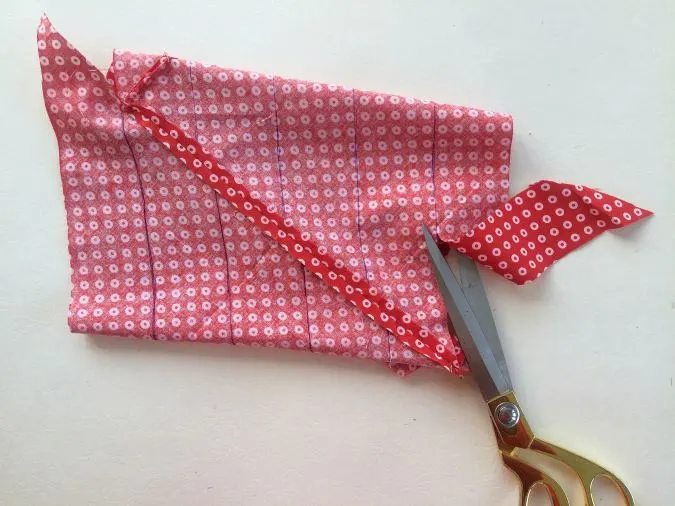
Take your scissors and start cutting along the first line.
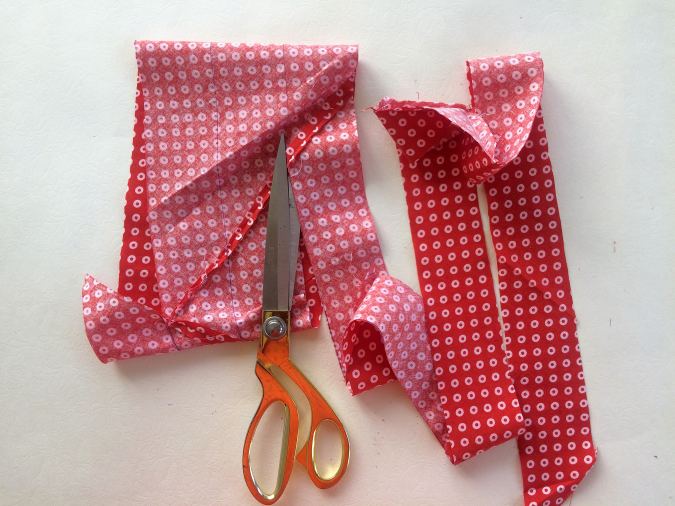
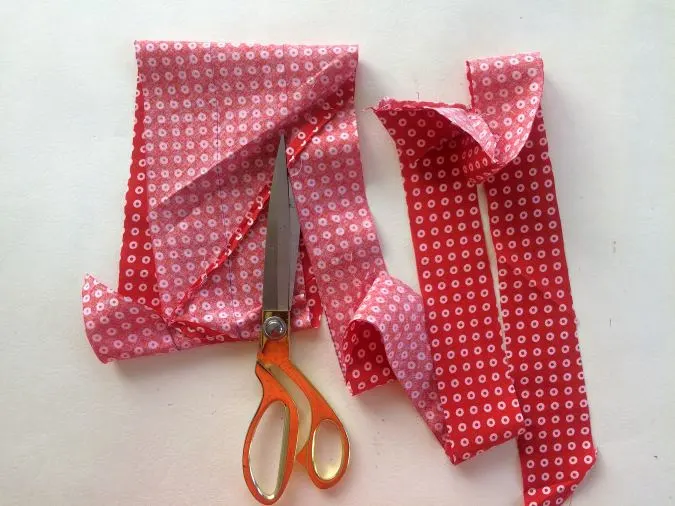
Keep cutting spirally along the lines till the whole of the bias tape is cut.

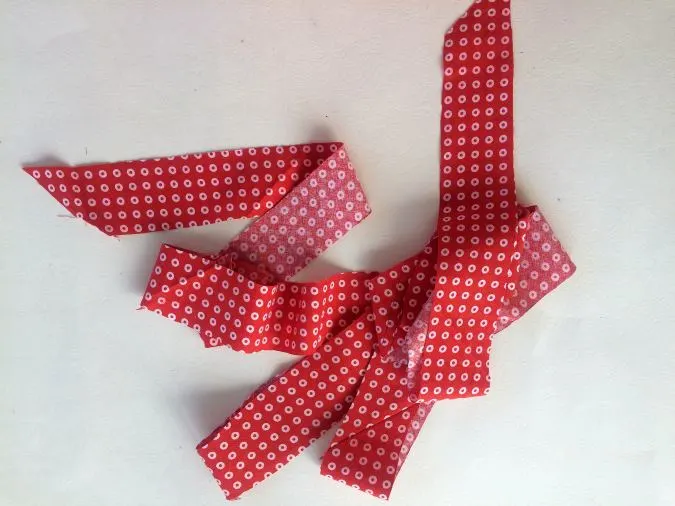
This is what it would look like.
Grab the bias tape maker.
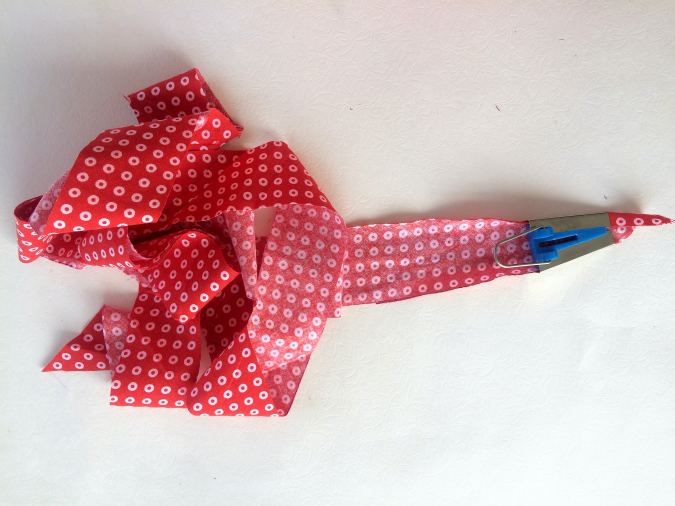

Start inserting the pointed corner of the bias tape through the wide end of the bias tape maker and pull out through the shorter end.
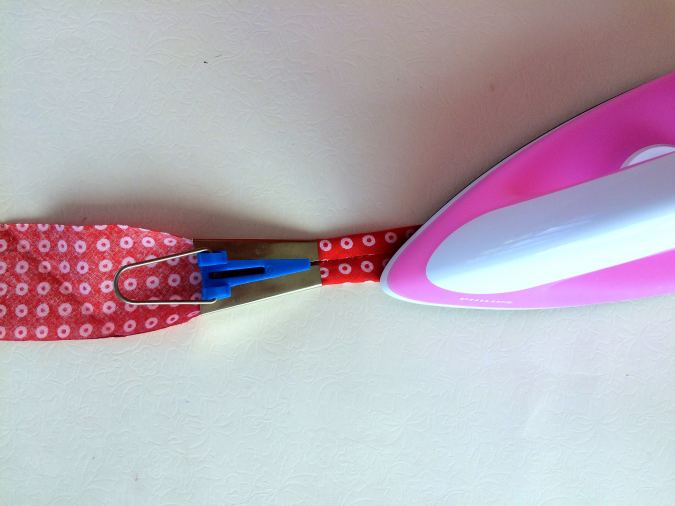

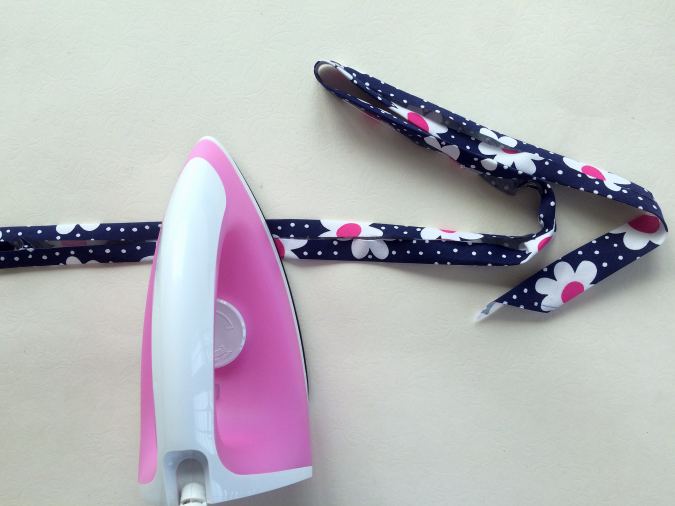
The bias tape is would come out folded. Press to set.
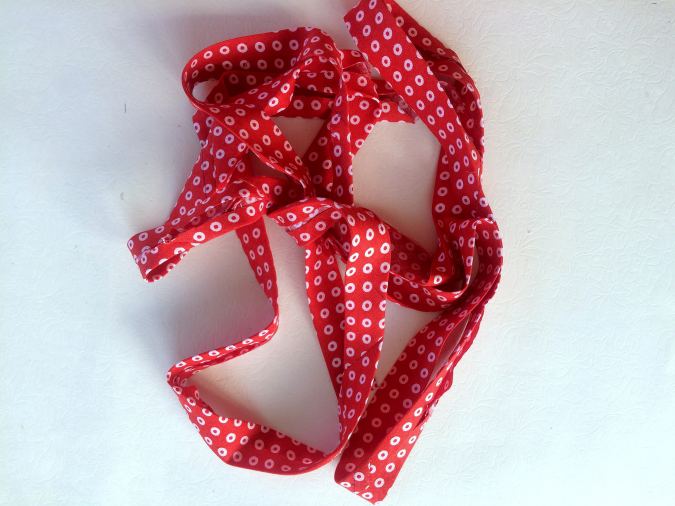

Pull the entire tape through the bias binder and keep pressing. Your bias tape is now ready for binding!
Let’s see how we can make the bias binding without the bias tape maker:
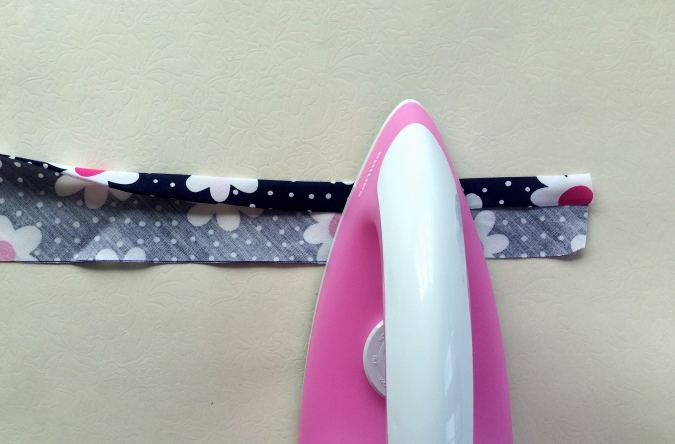
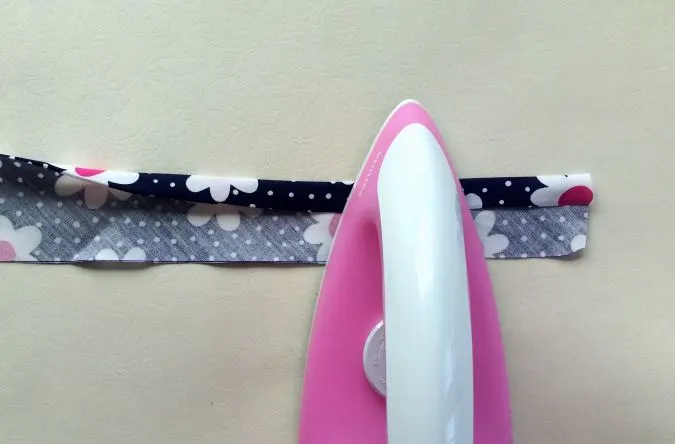
After cutting the bias binding strips, fold one of the long edges by 1/2- inch and press to set.
Fold the other long edge by 1/2- inch and press again

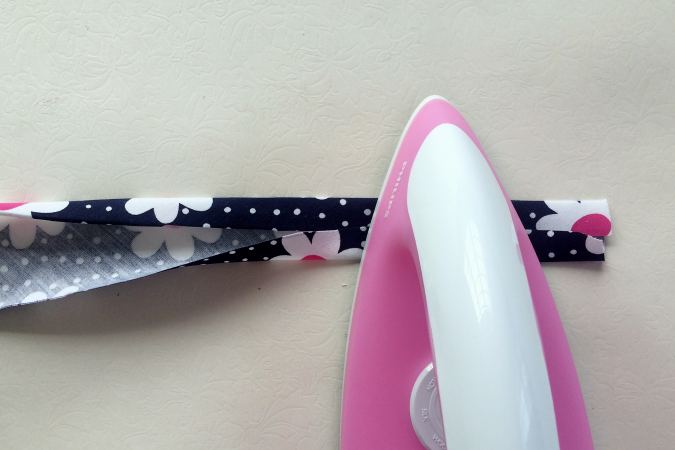
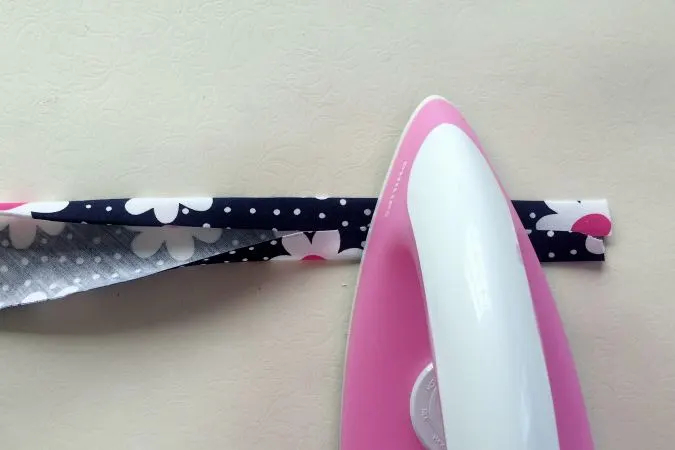
Your single-folded bias tape is ready for use. Fold it in half again and press to get your double-folded bias tape.
Find the video tutorial below:
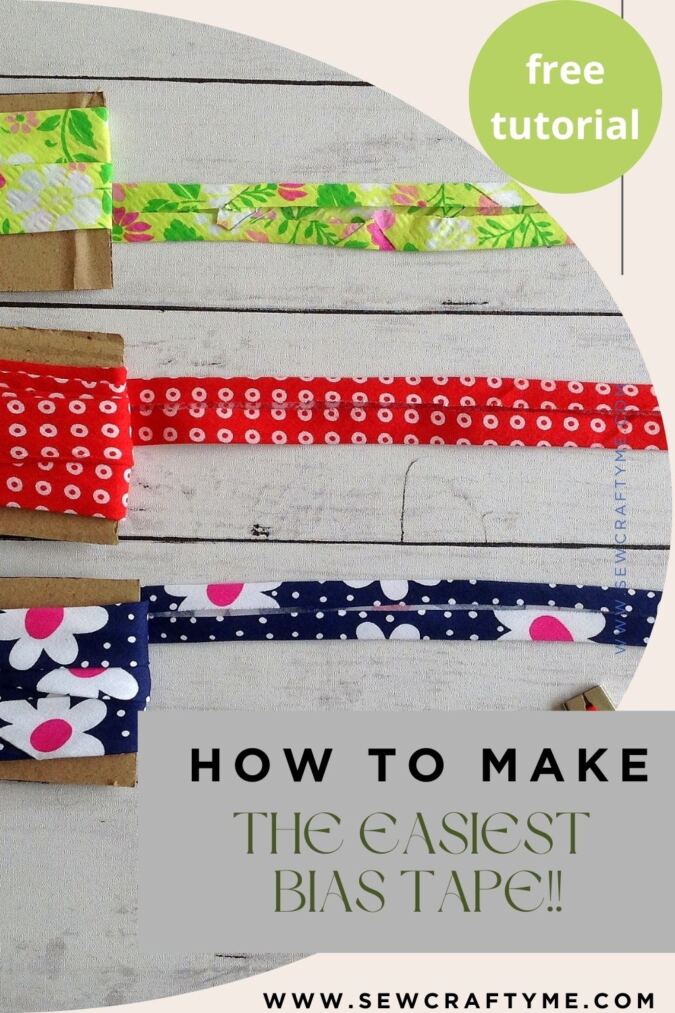
Find the webstory for the post here, How to Sew Bias Tape: A Step-by-Step Tutorial
Pin it for later here,
Hope you have enjoyed learning how to sew a continuous bias tape, as much as I enjoyed making this tutorial for you!