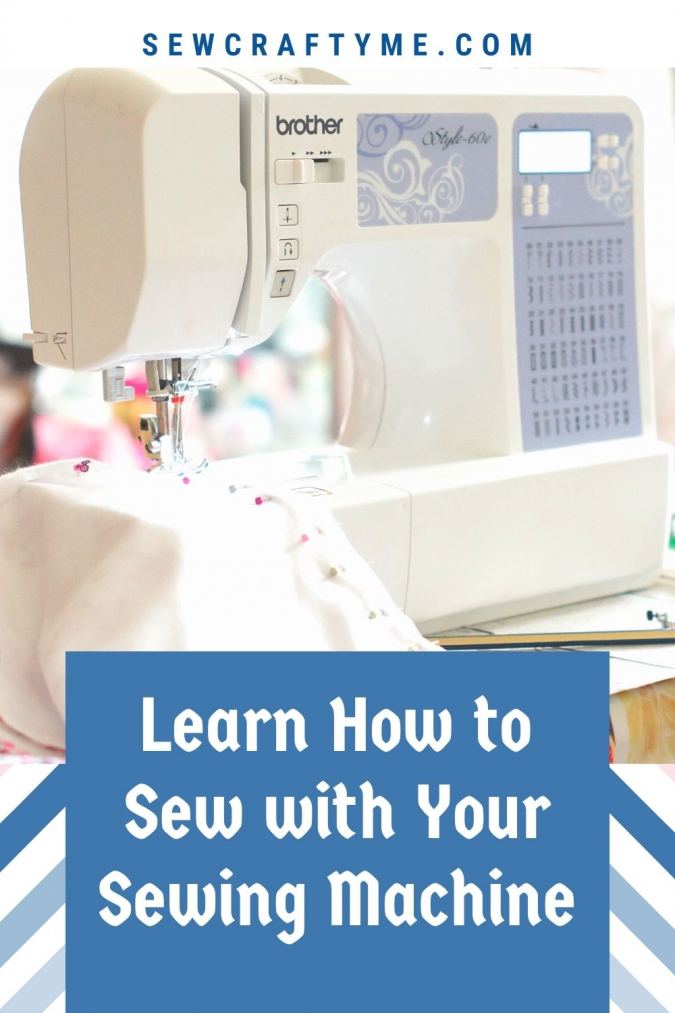

I remember when I received my first sewing machine and it just sat in the box for a month because I was too scared to get started and never knew how to sew with a sewing machine.

A sewing machine has so many buttons and levers and knobs it can be overwhelming to learn. Even if you just want to make a simple project, there’s so much to figure out. Well never fear! Today I’m going to take you through the basics of using a sewing machine for beginners.

You’ll learn to identify the important parts of your machine and what they’re used for. I’ll also walk you through setting everything up and starting and stopping your seams. Then stick around until the end for my favorite useful tips for sewing beginners.
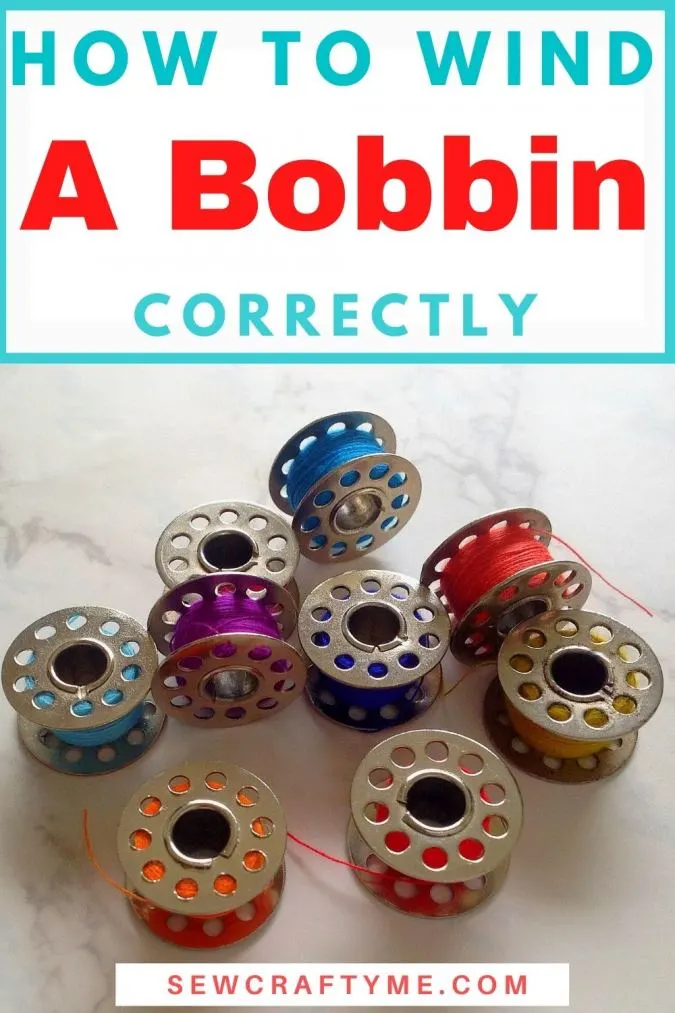
If you would like to learn how to wind a bobbin, click on the picture below:

Parts of a Sewing Machine
Let’s start by learning the parts of the machine so that you know what I’m talking about when I or anyone else teach you how to sew with a sewing machine.
Now, I want you to know before we start that since I am a sewing blogger, I likely have a much more complicated machine than you have as a beginner. Don’t get overwhelmed with all the buttons. Today I’m only going to show you which ones are on ALL sewing machines.
And even though that may look a little different on your machine, they all work the same and have the same identifiers. You’ll be a pro in no time, even if your machine looks nothing like mine.
Let’s start with the side.
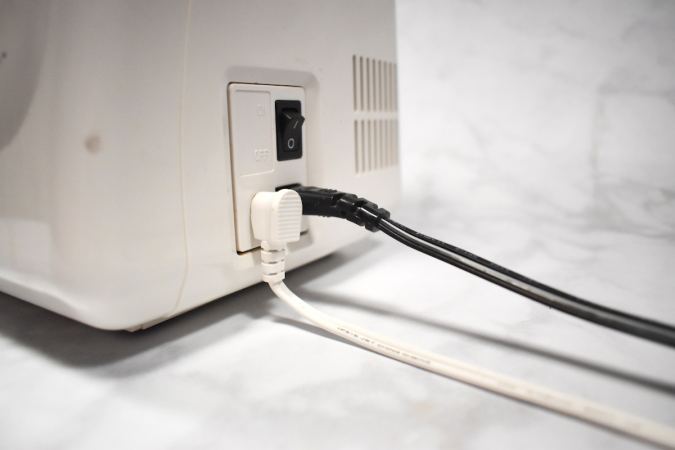
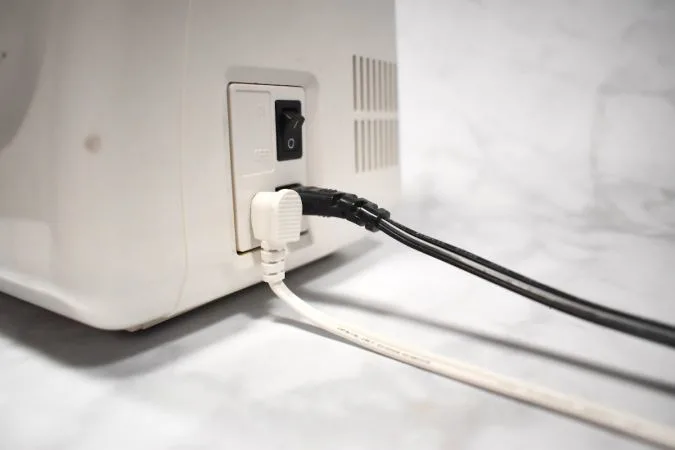
This is going to look almost exactly the same on every machine. You’ll have a post for a power cord which you plug into the wall on the other end, and one for a foot pedal.
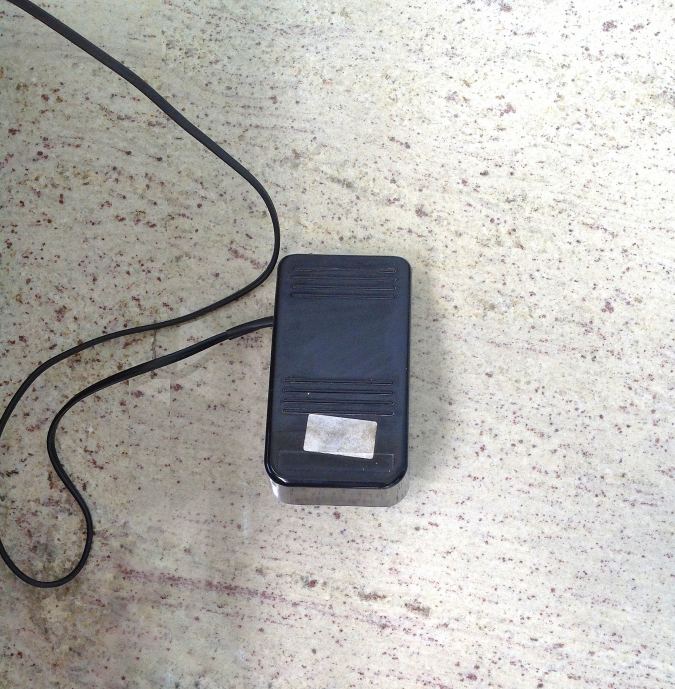
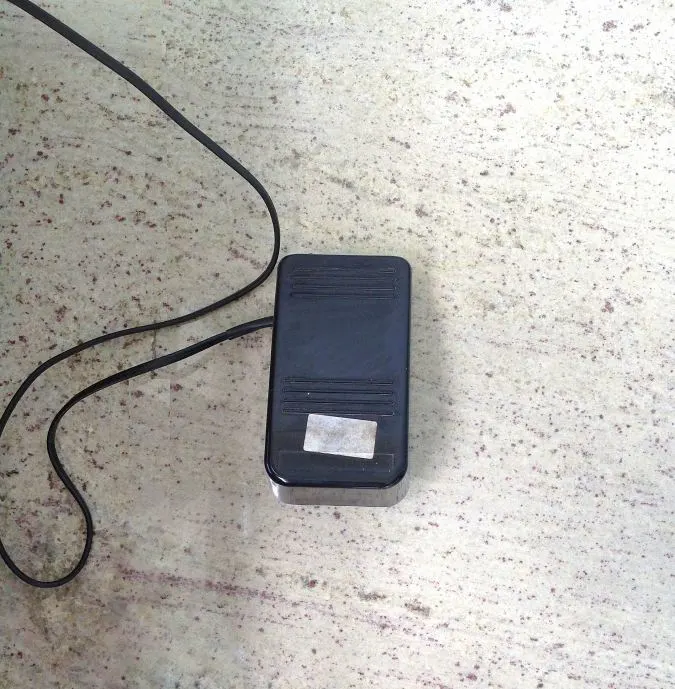
What you’ll do is hang the cord down the side or front of your workspace and place the pedal on the floor at a spot that’s comfortable and easy to reach while you’re sitting in front of your machine.
This is also where the switch to power on your machine will be.
Above the power area, you’ll have one knob and depending on your machine, possibly a lever.
This lever controls would be to control the direction (forward vs backward) of the stitching. On my machine, this function is held by a button on the front. So when we discuss that section, if you can’t find a similar button on your machine, remember that it will probably be over here.
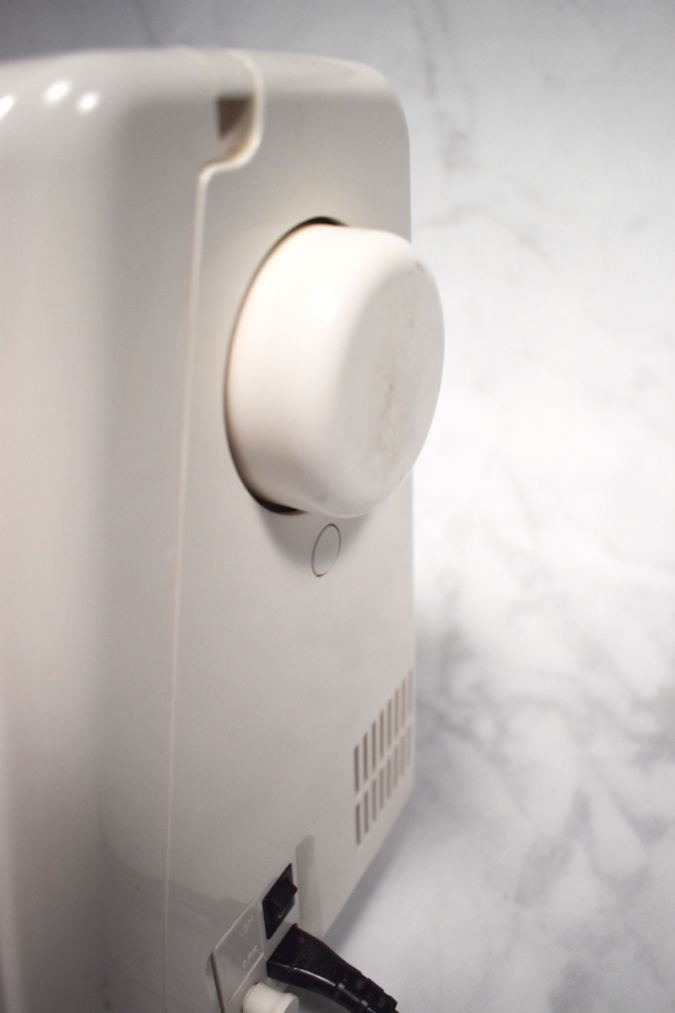
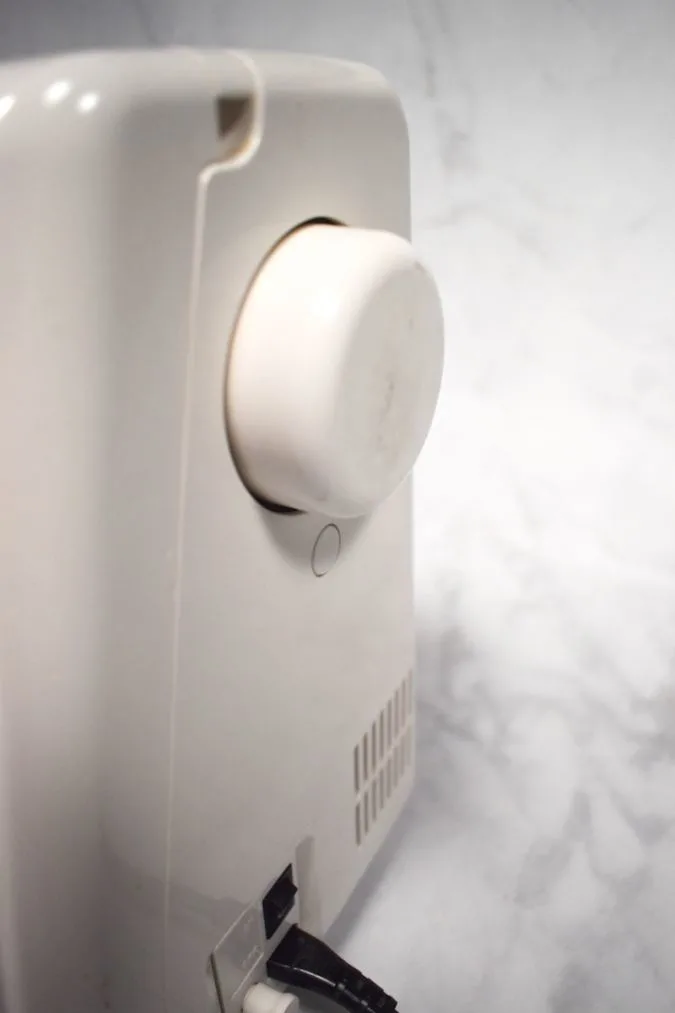
The knob shown above is the handwheel. Turning this will move the needle up and down with more control than using the foot pedal. It’s good for when you need to make sure the needle is up before moving your fabric or putting it down to make a small angle in your seam.
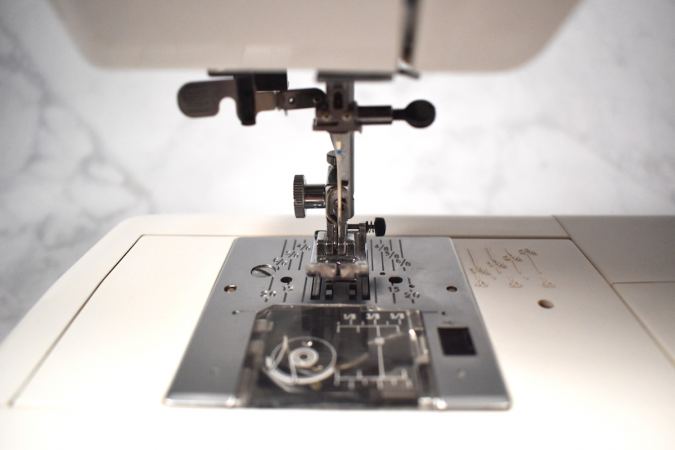

Next, we will move to the front of the machine. On the left side is this area where you run the fabric through the machine. It’s got lots of important parts which I will go over individually later.
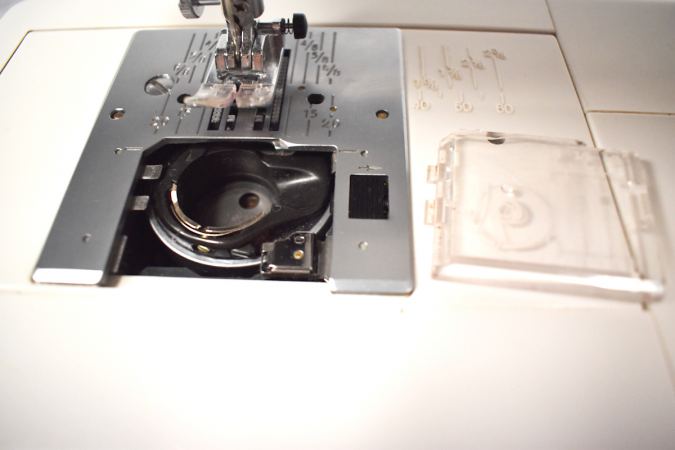
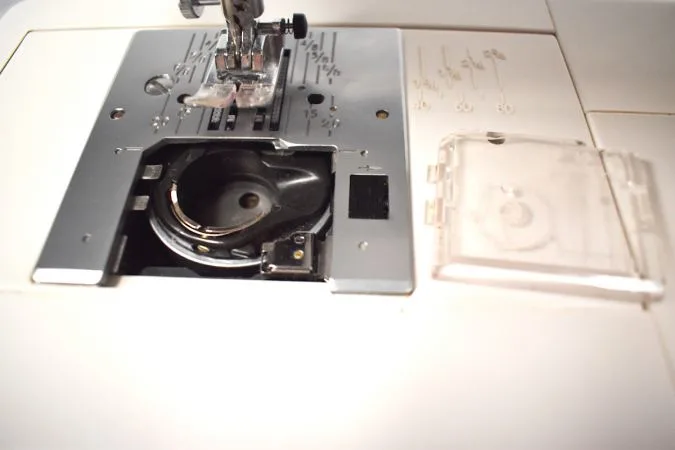
In front of the needle and foot, there is a round piece of machinery with an empty cylinder in it. This is where you put your bobbin. On my machine and lots of others, you access the bobbin holder from above. These are called top-loading machines.
There are plenty of machines which have you access the bobbin from in front. Most machines have a panel in front of the needle that pops open like below. Some of those have the access panel to the bobbin in here.
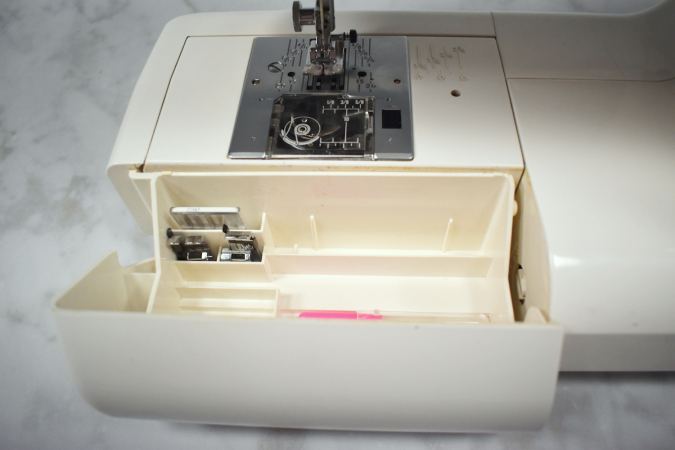
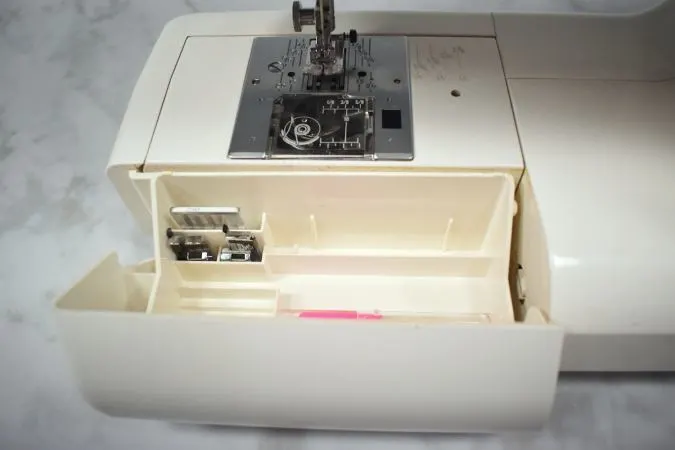
Since this machine is top-loaded, this pull-out area is just some extra storage space for needles and some other accessories. You can also pull this section out to the left to remove it if you’re working on tight corners like the inseam of pants.
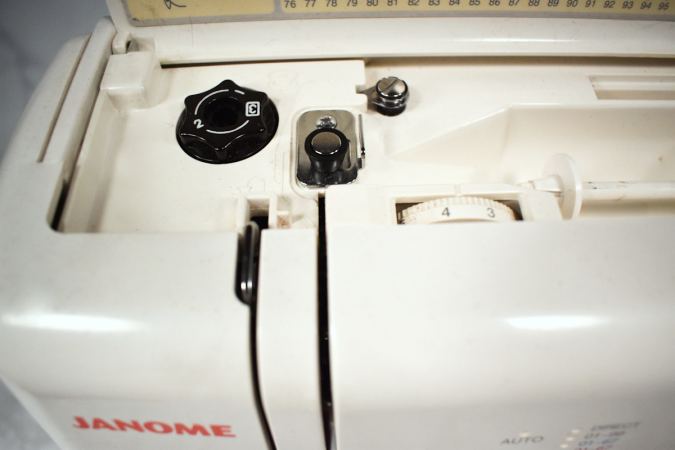

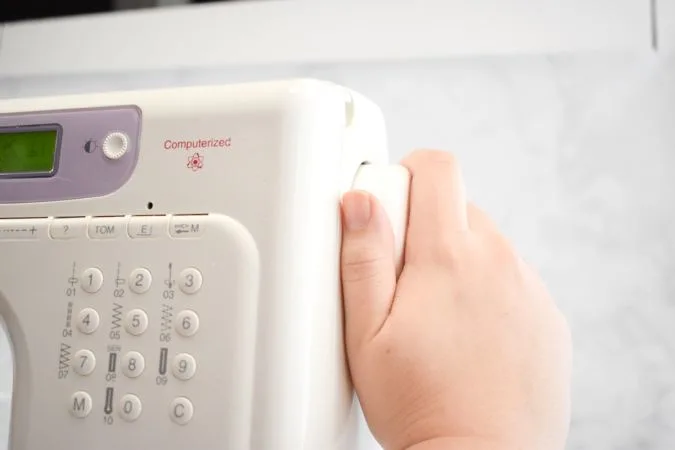
On the top left of the machine, you will see a couple of knobs and an arrangement of small metal pieces. Therese knobs control the tension of your threads. The three small metal pieces are used for guiding the thread into a bobbin or down into the needle. And to the right of all these is the pole and cap which hold your spool of working thread. Some machines have this sticking straight up and might be on the right end on top of the machine.

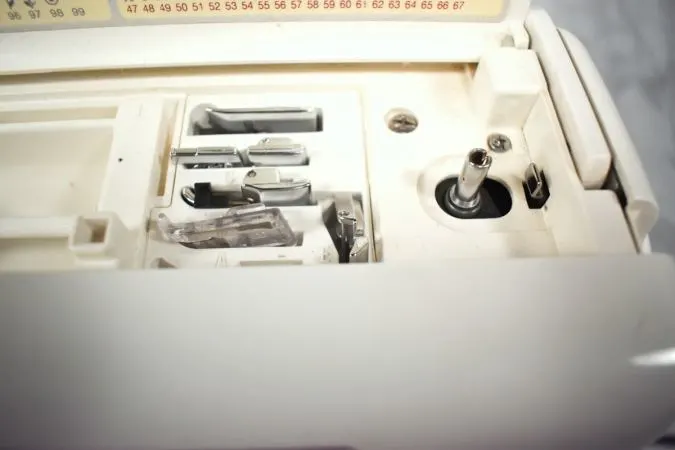
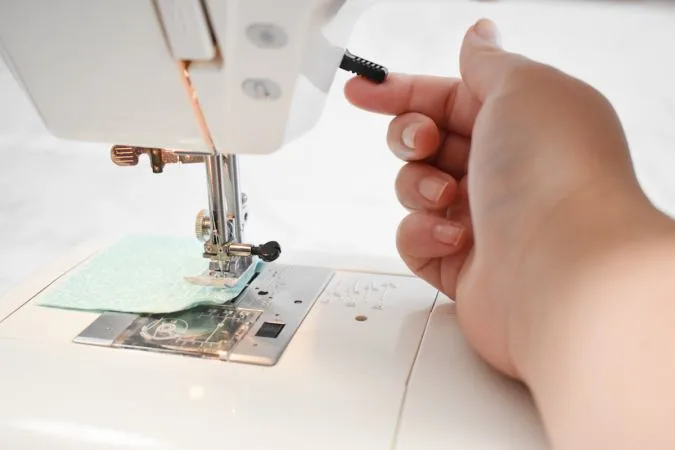
Then all the way to the right, you’ll have something like this. Here I have some storage compartments for my machine’s replacement feet. I believe most machines don’t have this though. If not, you can just keep your accessories in that storage compartment in front of the bobbin. Then at the very end, there is a short metal pole that slides to the right and back. This is where you place your bobbin when winding thread onto it.
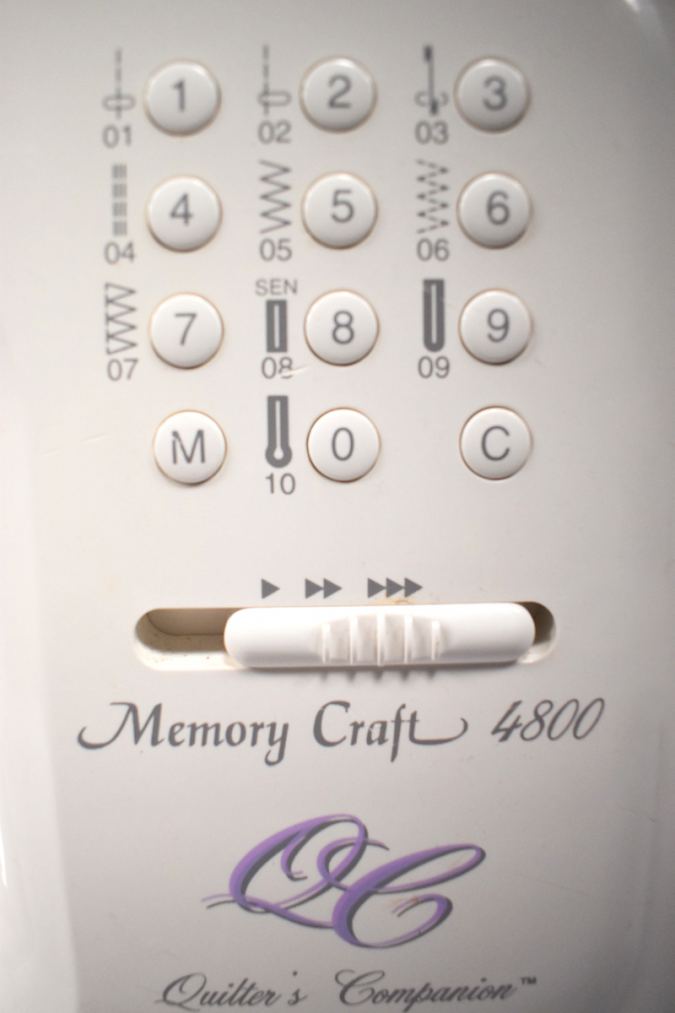
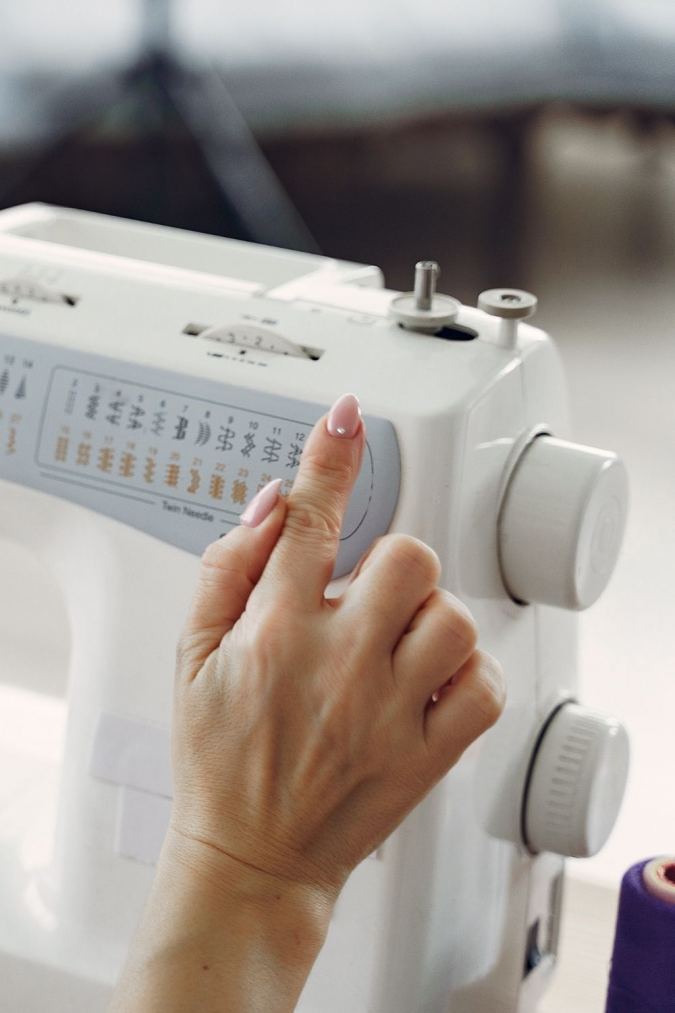
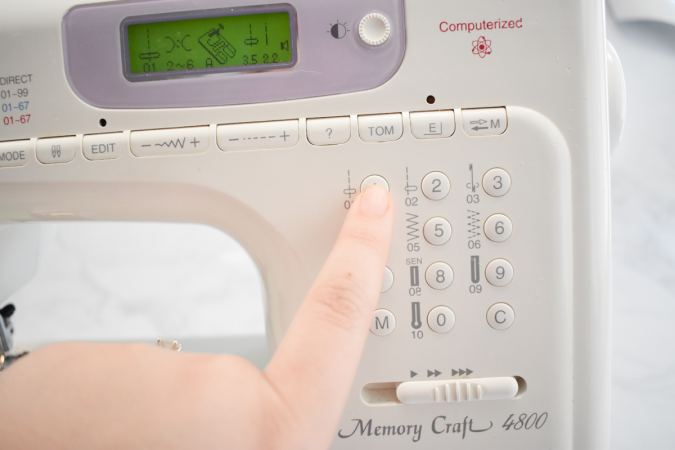
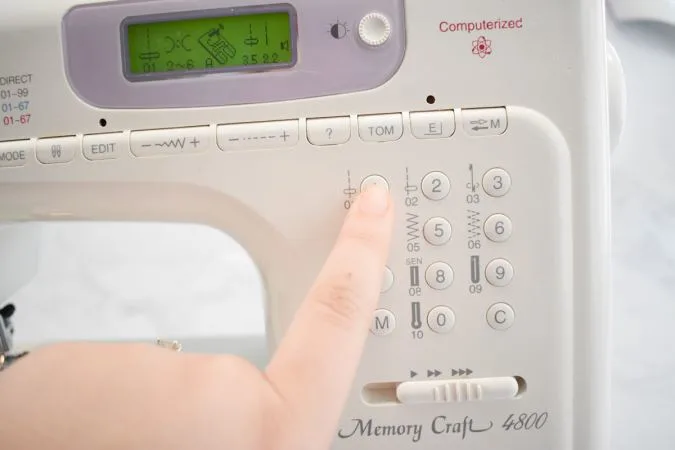
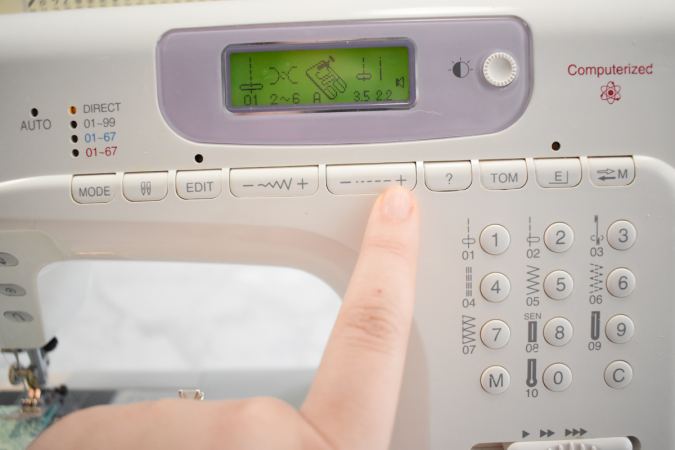
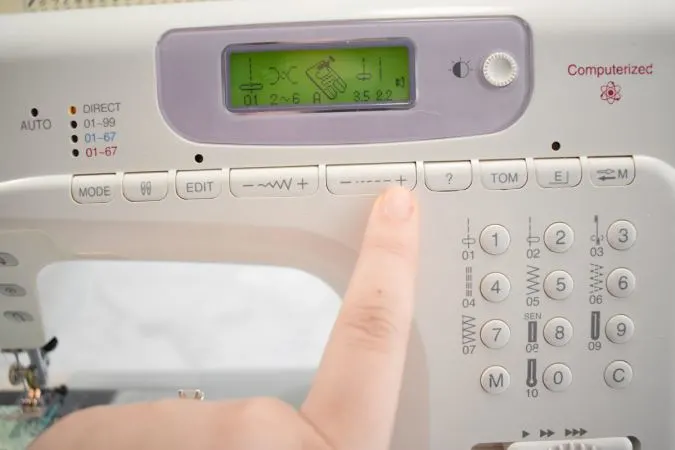
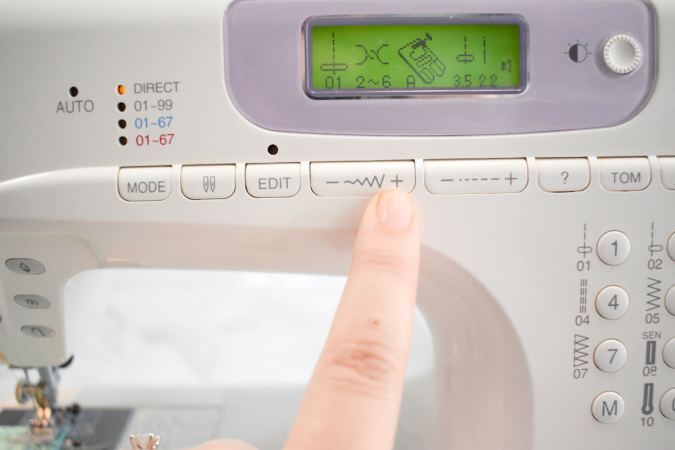
Next, the front right of the machine will have either a couple of sets of buttons or two knobs, depending on whether your machine is computerized. One of these knobs or set of buttons will control what type of stitch pattern your needle will make.
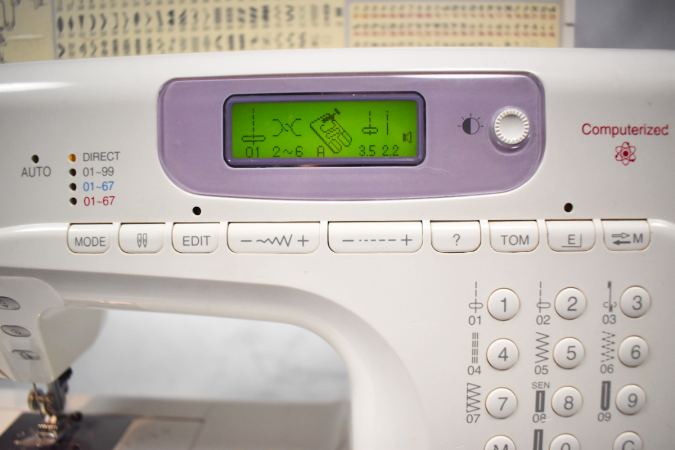
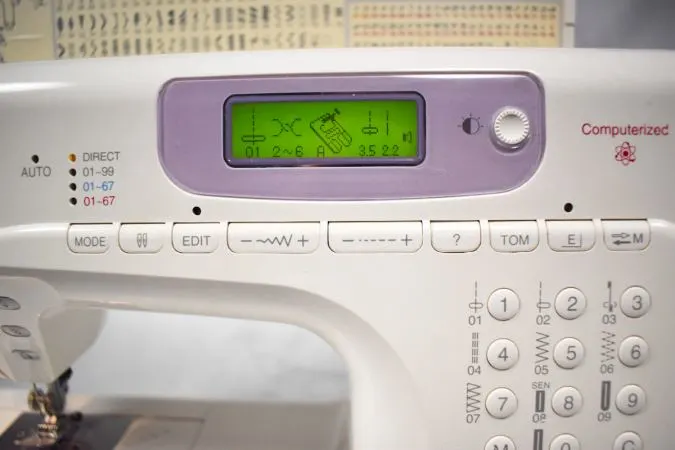
The other will control at least the stitch length (The button with the dashed line.) – probably more if you have a computerized machine. For example, mine also controls stitch width and the embroidery capabilities of this machine.
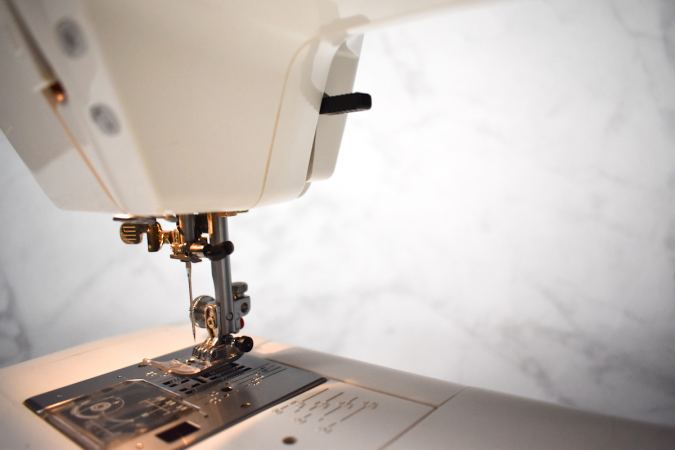
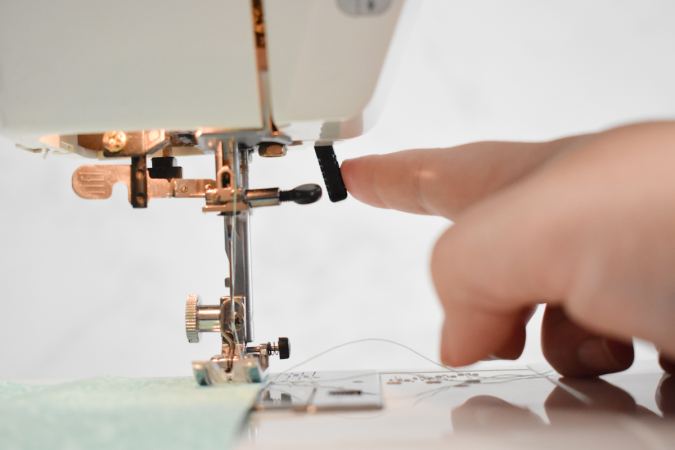
One last important part is this lever hiding underneath the top arm toward the back. When it’s in this position, the machine foot is held up above the fabric. When you press the lever down, the foot presses down on the fabric.
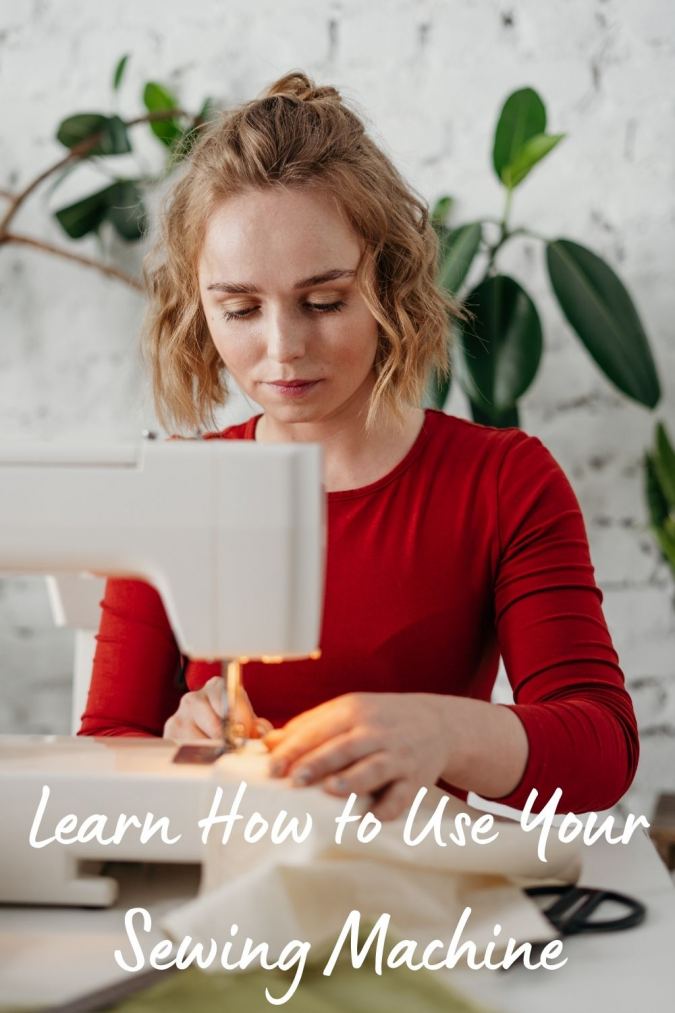
How to Sew with a Sewing Machine
The first thing you’ll need to do is thread your needle, and insert a full bobbin. I’ve explained that in the tutorials below:
so I’m going to skip ahead to the next part.
The first thing you’ll need to do is make sure your settings are all correct. You’ll most likely want to use the straight plain center stitch for your first project. Other stitches are typically either decorative or used for specific situations. You’ll get to know these better as you keep sewing.
You should also check the stitch length. You’ll usually want a small to medium-length stitch. Longer ones are helpful for when you have thick fabric or lots of layers to sew through.

One other thing that you’ll occasionally need to look at is the stitch width. Since you’re using a plain straight stitch, you don’t need to worry about that this time.

And finally, press this lever down to clamp the fabric in place and you’re ready to sew!

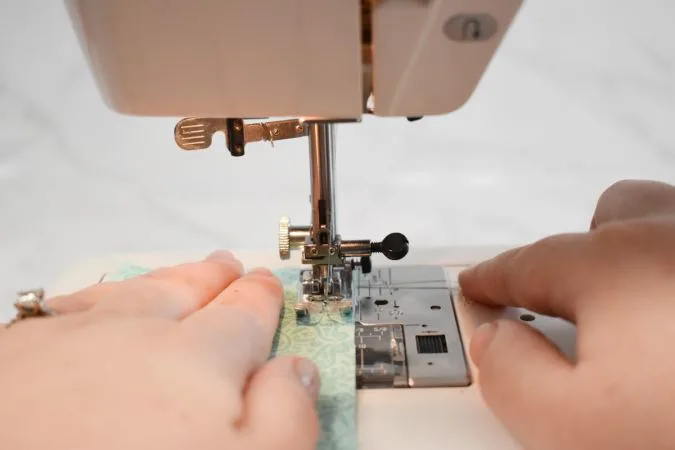
Press the pedal with your foot, slowly at first until you get a few base stitches in.

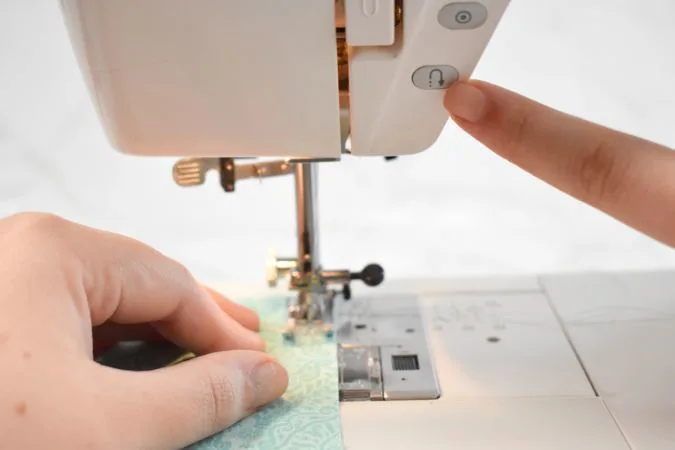
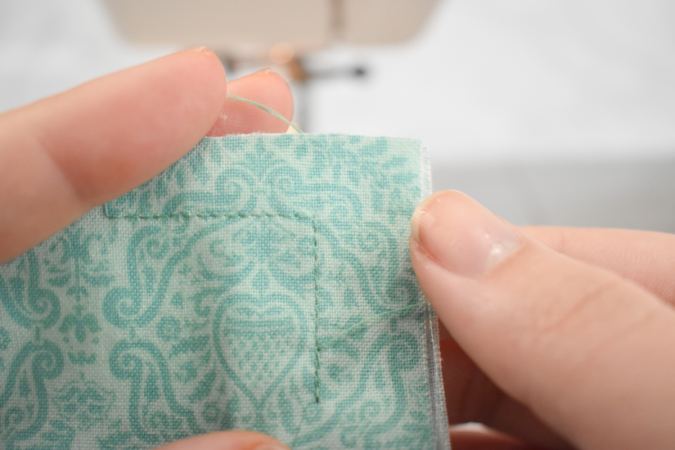
Next, to secure the end of the thread, you’ll want to do a couple of back stitches. I hold down this button here while I use the foot pedal to sew, and that makes the fabric feed backward through the machine, creating the back stitches. Remember, if you don’t have this button, you likely have a lever on the right side of the machine which you hold down instead to sew backward.

Then you can sew the rest of the way down your seam. Backstitch again at the end to finish off the end of the seam.

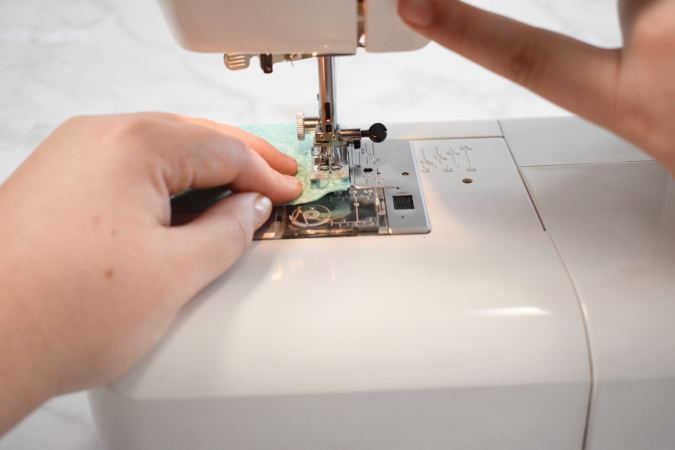
Then flip the lever back to raise the foot, and you can slide your fabric out.

Make sure your needle is up before you tug on the fabric!

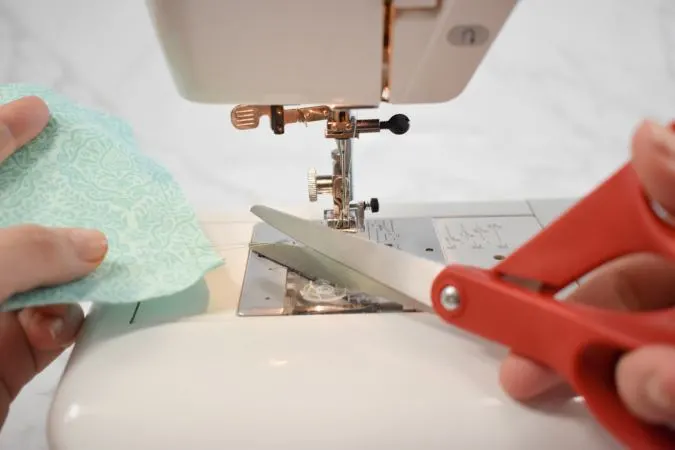
Trim the thread and your first seam is done!
Other helpful things to know:
Tension – Your thread should look about the same on the front as the back of your work. If one sticks out or goes through farther, then you may need to adjust the tension of your machine.
Speed – You may have noticed earlier that my machine has a speed gauge on the front. That just affects the max speed your machine will go. Whether you have that gauge or not, the softer you press on your foot pedal, the slower your needle will go.
Don’t be afraid to go slow while you’re learning.
Changing the needle – Most people (myself included) don’t switch out their machines needle nearly often enough. Over time it can become dull, bend, or even just snap. Ideally, you want to switch it out before that happens!

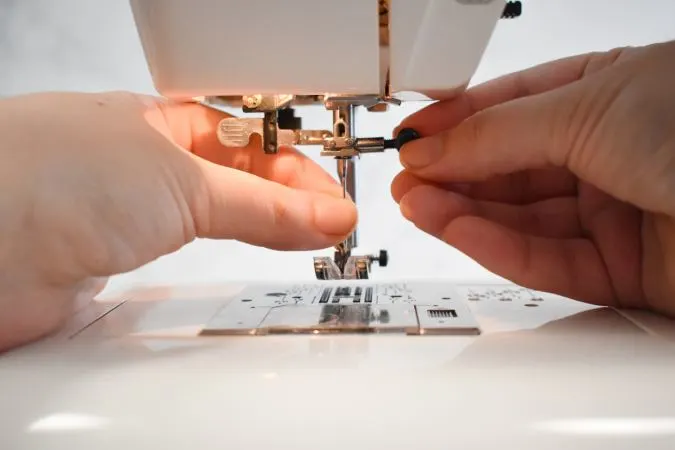
To switch out your needle, twist the screw just above the needle base to loosen the machine’s grip on the needle. Then you can just slide the old one out and the new one back in. Machine needles are flat on one side of the base so that you can’t put them in facing the wrong direction.


Changing the Foot – Depending on what you’re making, some steps might be easier with a different foot on your machine. There will be a small button or lever at the very back that you can push and the foot should just slip out so you can put a new one back in.
Sewing Tips for Beginners
- Every time you try a new kind of fabric, do some test stitching first. Different fabrics handle differently, and you’ll want to know how to work with it before you use your pattern pieces.
- Different fabrics use different kinds of needles. Make sure you have at least a backup universal needle and a ballpoint needle for knit fabrics. There are also different sizes for when you are working with thinner or thicker material.

- You can use your handwheel to make sharp turns. Sew down the first side, and when you get to the end, use the handwheel to make sure the needle is down. Then lift the foot enough that you can rotate the fabric around the needle until it is facing the direction you want to sew next. Then just keep going.
- Know what size bobbin your machine uses and get lots of extras. It’s super annoying to have to wind and unwind a bobbin every time you want to switch thread colors. Just get a bunch. Trust me.
- The lines on both sides of the needle are seam guides. They have fractions that match up to common seam allowances so that you can guide the edge of the fabric along the line and keep your seams even.
- Always pull the thread out from the bottom. If you are constantly pulling the thread out from the top of the machine, it will shed inside the machine as it comes back out and can cause problems down the road.
Have a look atthe webstory for the post here, Learn to Sew Like a Pro: Using Your Machine
Pin it for later here,
Hopefully, now you’re a little less intimidated and are ready to sew with your first sewing machine. Let me know if you have any questions! I’d be happy to help!