Do you find hand stitching intimidating? Come along and I’ll walk you through some easy steps to teach you how to sew with your hand!

I first started my sewing journey by hand-sewing clothing. My mother was a pro at sewing clothes by hand (she never used a sewing machine!). She taught me my very first lessons on how to sew with hand.
Being a born seamstress, I was taught my basic stitches for hand sewing, such as the running stitch, ladder stitch, back stitch, and blanket stitch, very early on.
Before I obtained my first sewing machine, which I believe was in the seventh grade, I frequently made adjustments to my outfits by hand. And I became pretty skilled at that.
Fast forward a few years and I switched all of my sewing projects over to my sewing machine. But I never forgot how to sew by hands, and I continued doing it as a hobby and for specific projects that I thought would work out better by hand sewing.
I frequently receive questions from readers who want to know if some of my creations can be hand-sewn. In some cases, I had to explain the alternatives to the machine stitches they could use.
In order to help any hand sewist along their sewing adventure, I have explained some simple hand-sewing stitches below. You can use one or all of these stitches to sew practically anything.
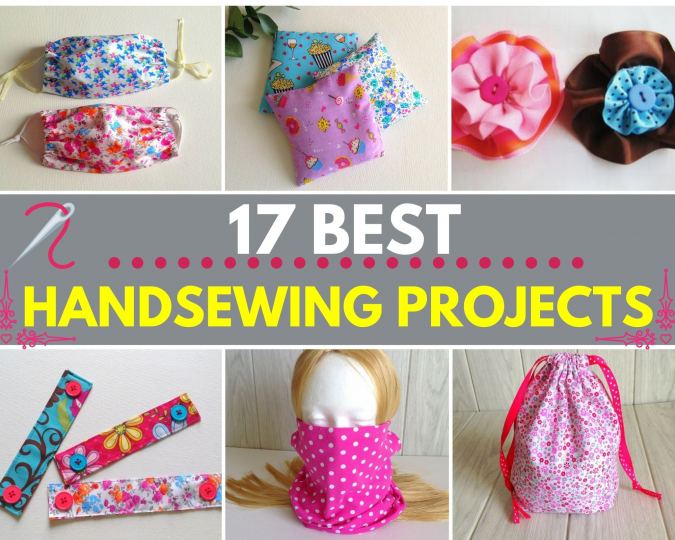
If you would like to see my post on 17 hand-sewing projects, click on the picture below:

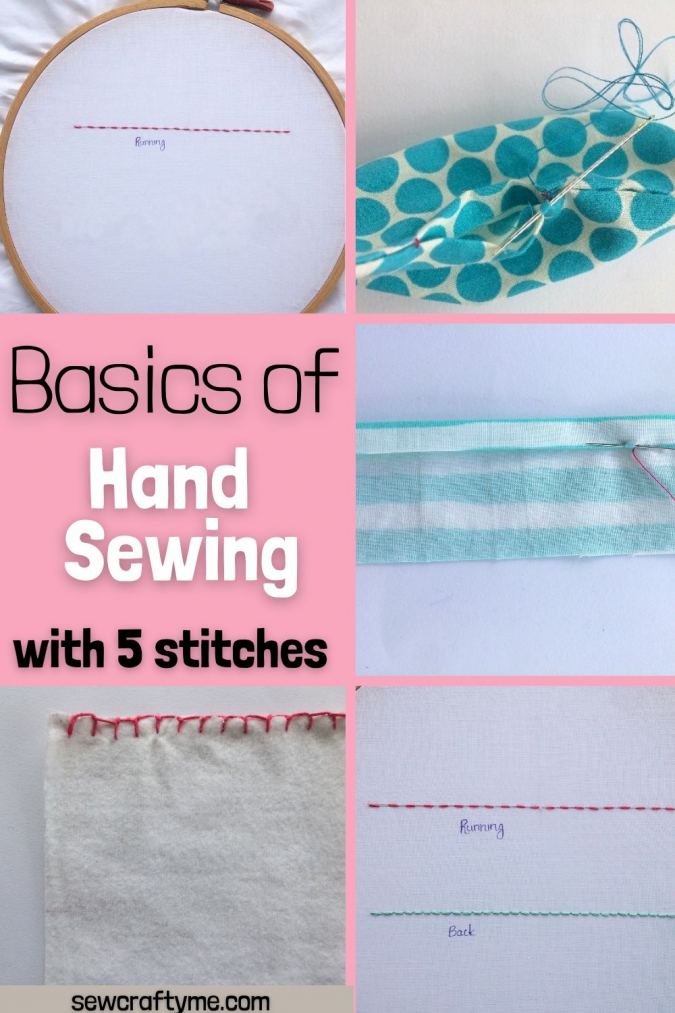
5 Common Stitches for Hand Sewing
******If you would like to see the video tutorial, skip to the end of the page.
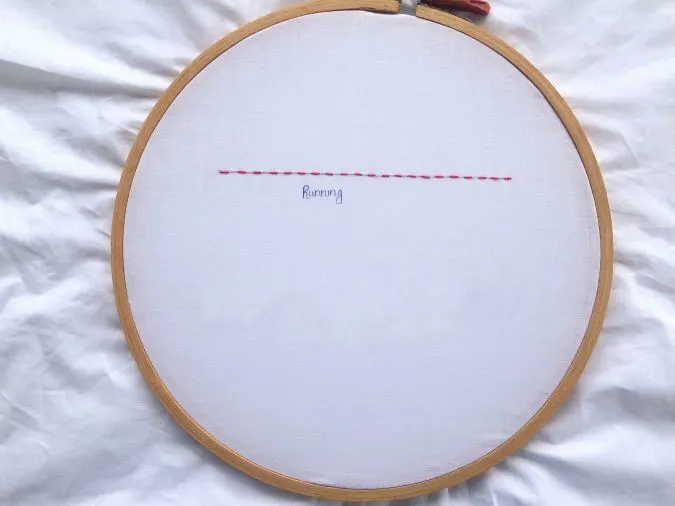
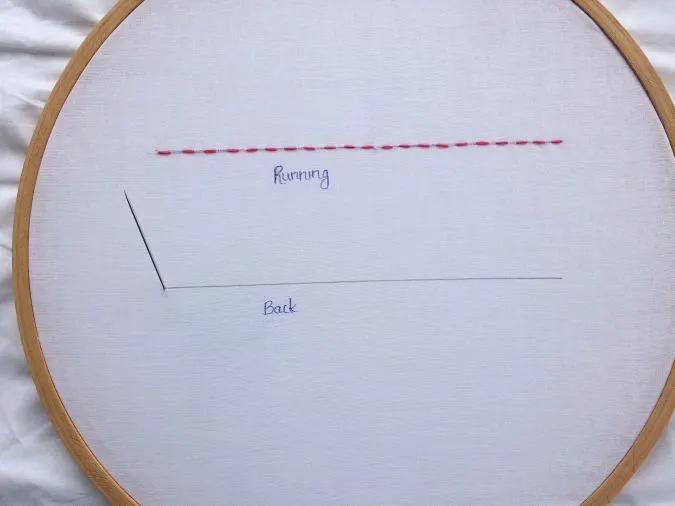
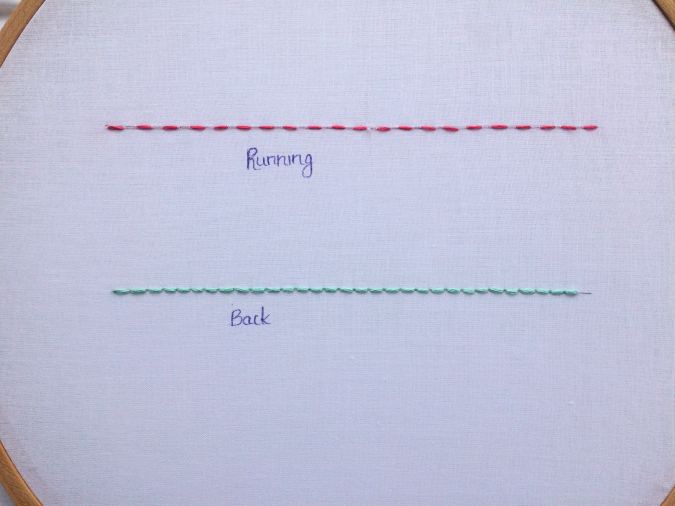
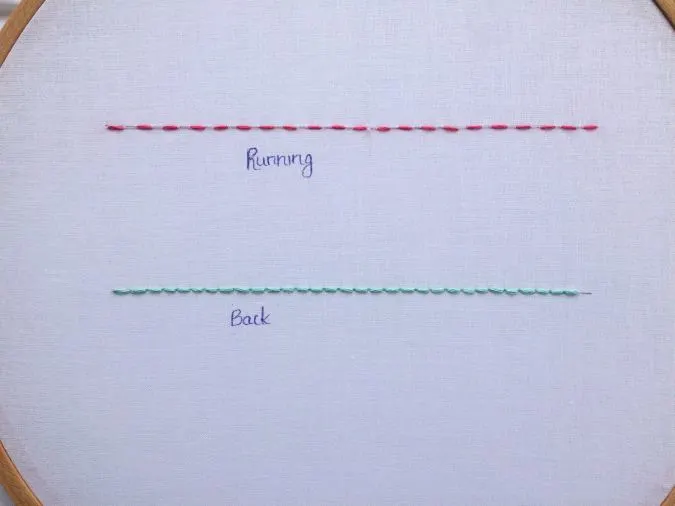
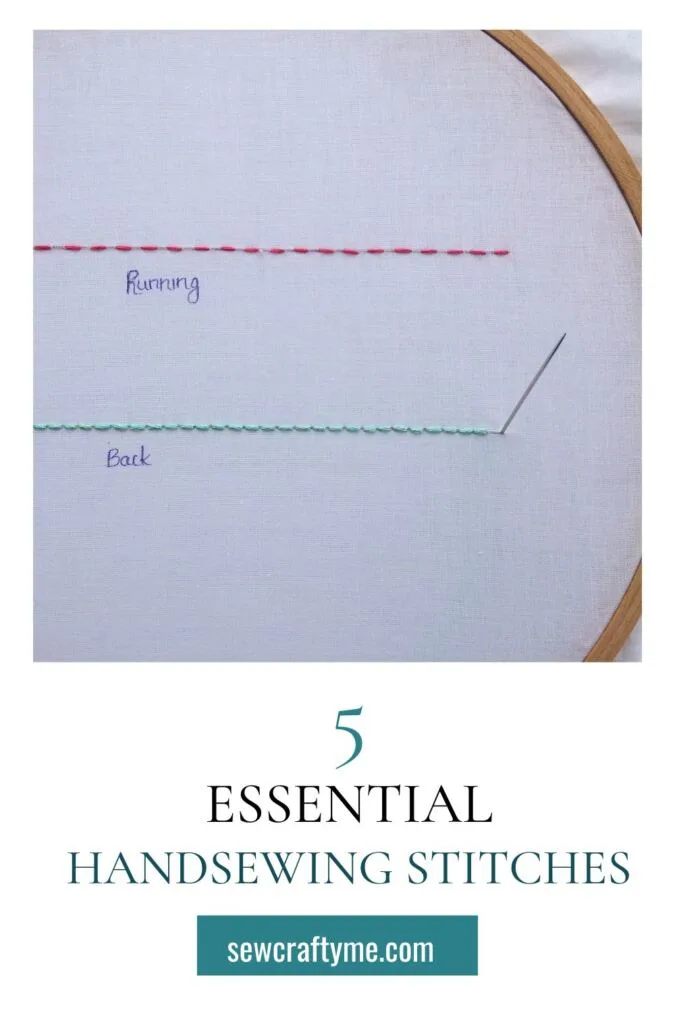
Running Stitch

Running stitches are normally used to hold fabric layers in place before you actually start your machine sewing. They are also known as basting stitches and are removed once the machine sewing is done.
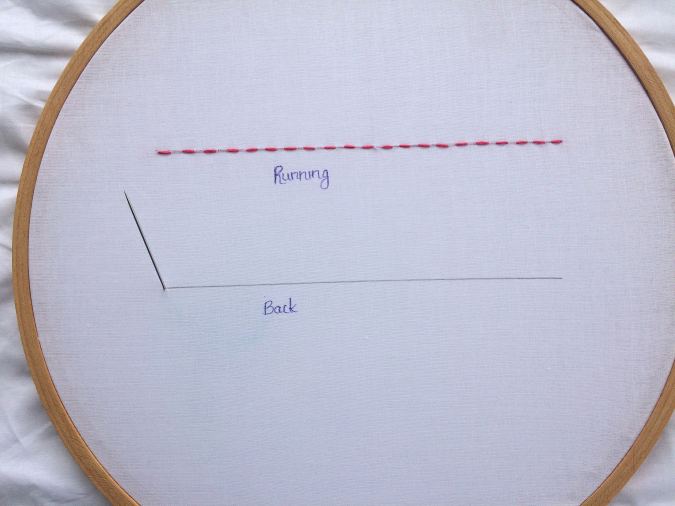
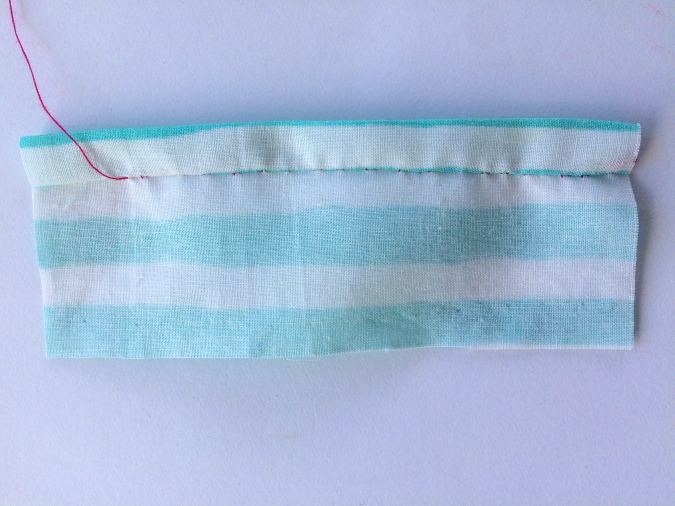
Running stitches are also used to gather fabrics in hand sewing. You can change the size of the stitches to get large or small gathers. The running stitches would look the same on the right and wrong sides of the fabric.
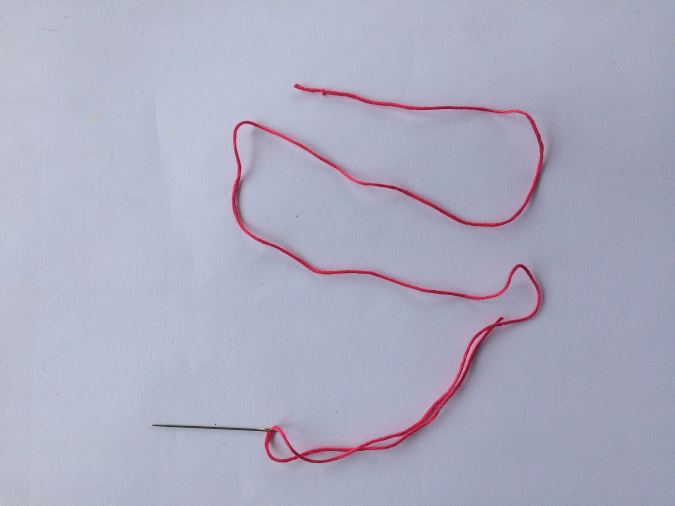
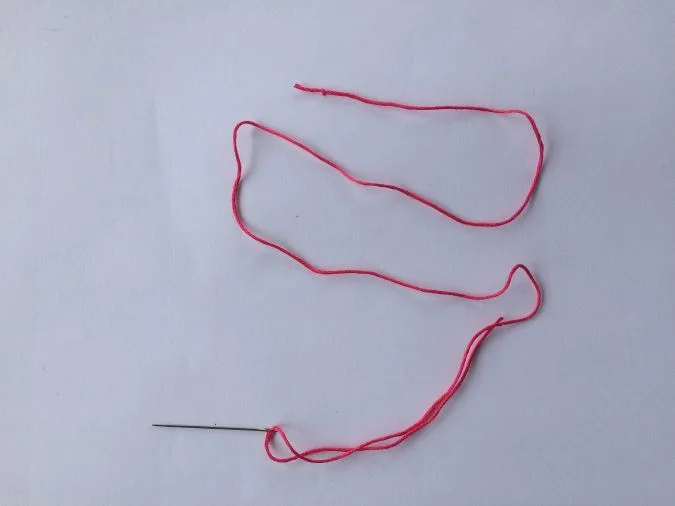
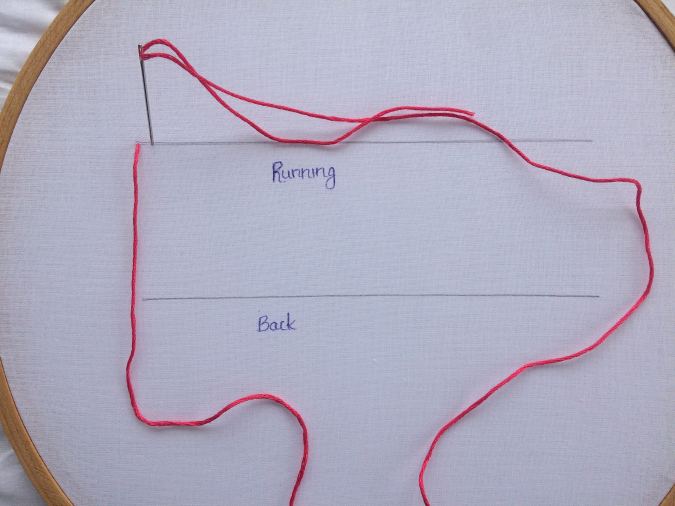
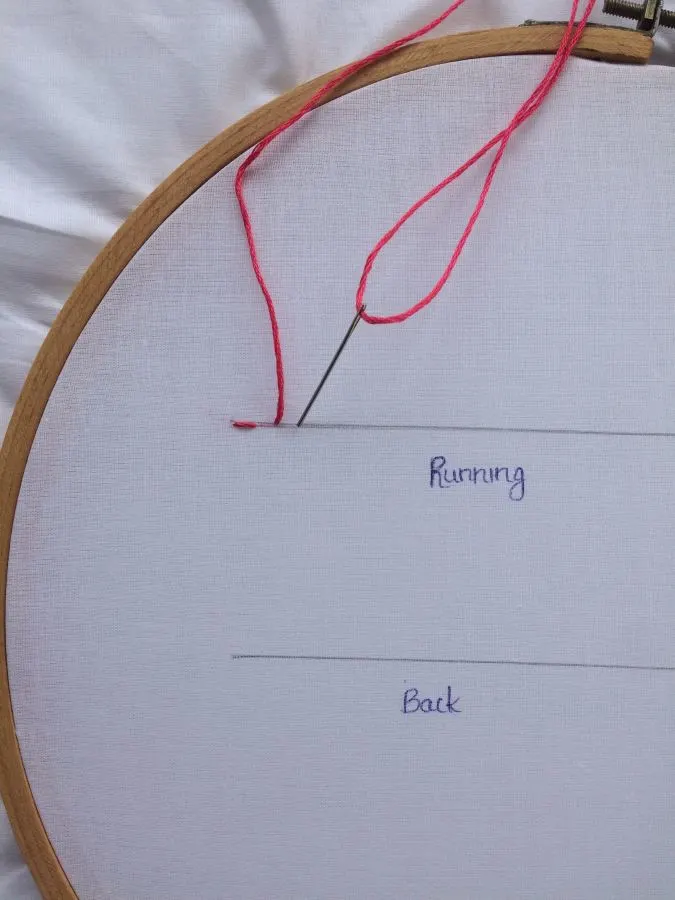
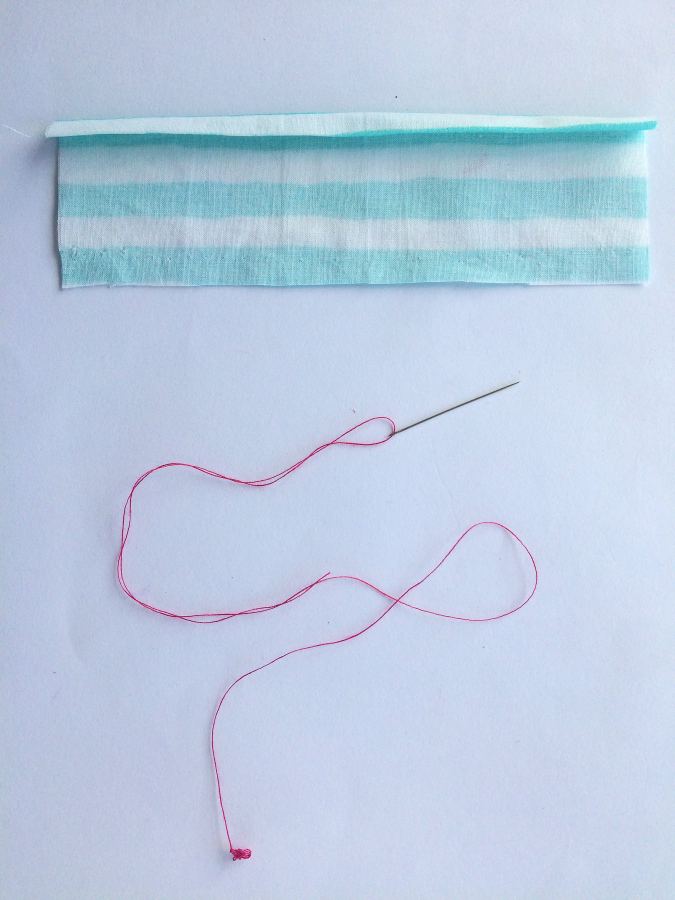
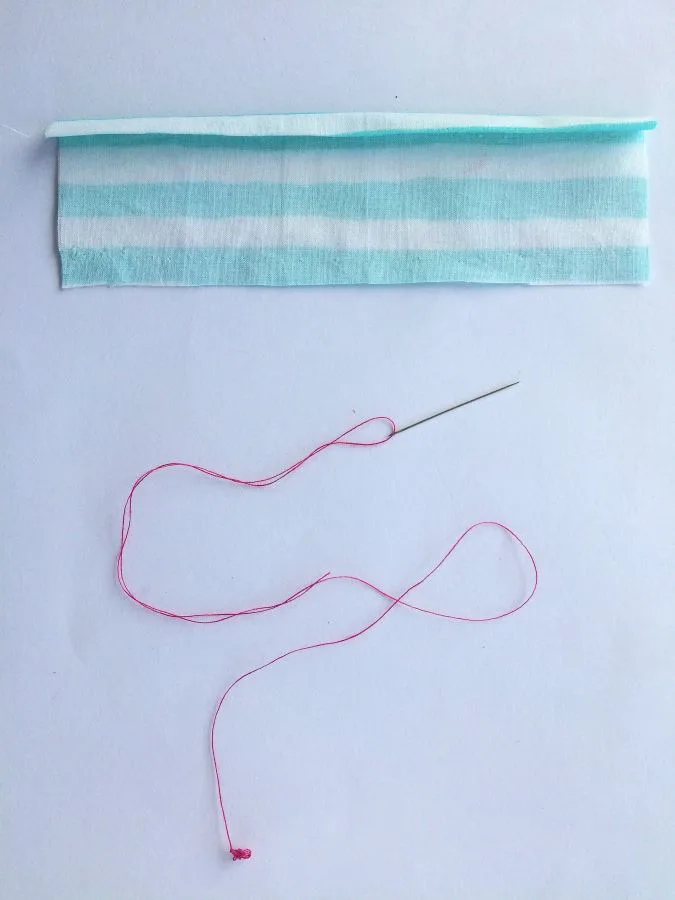
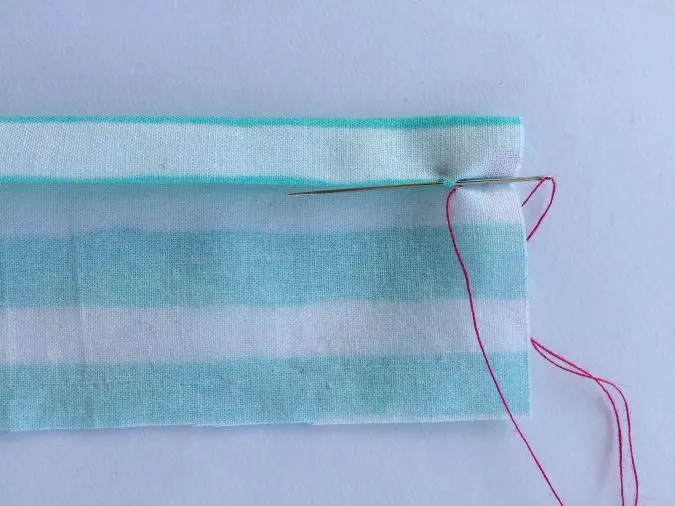
Start by threading your needle and tie a knot at the end of the thread ( you may use one or two strands of thread for running stitches).

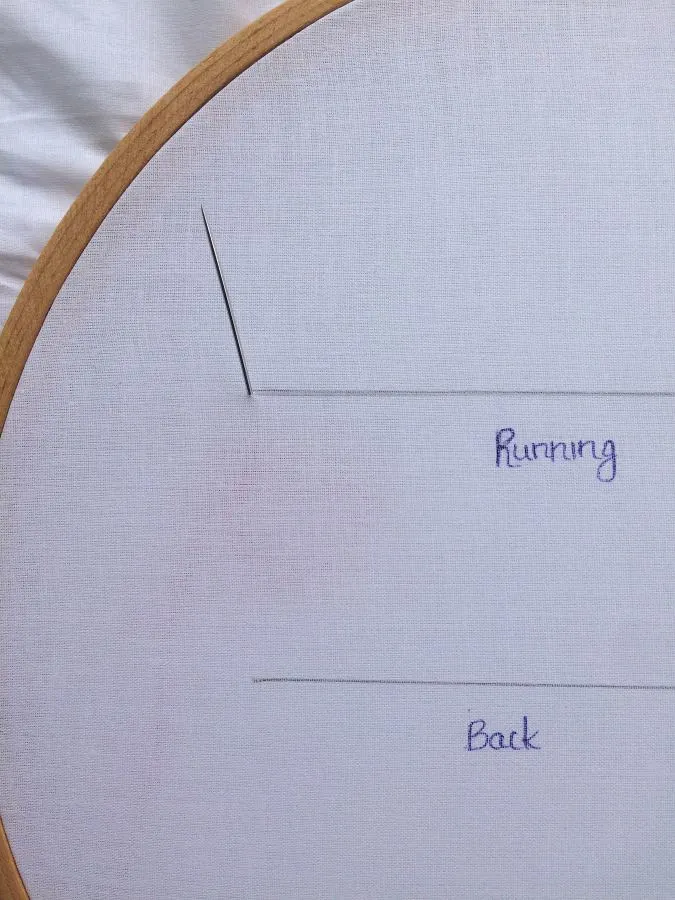
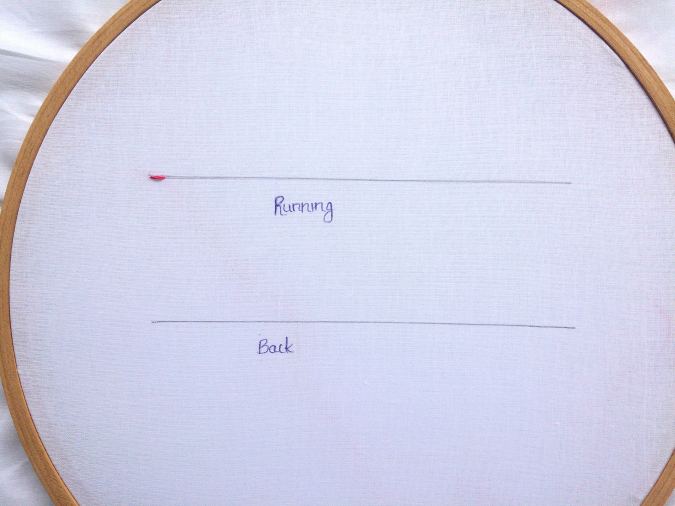
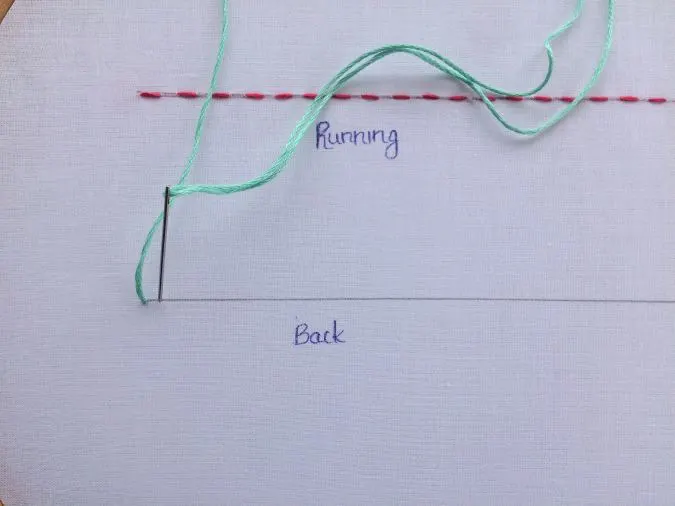
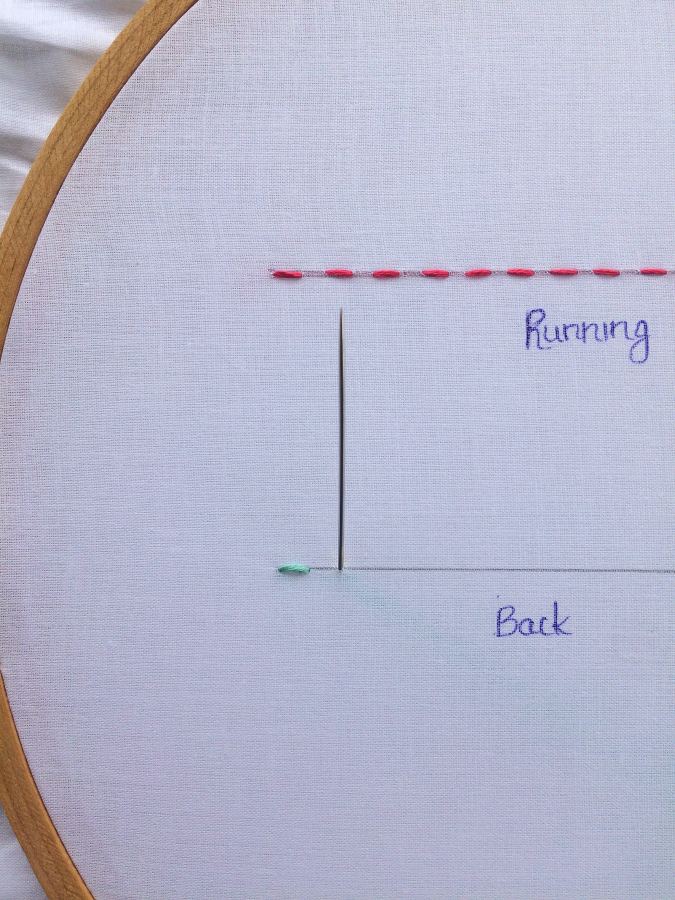
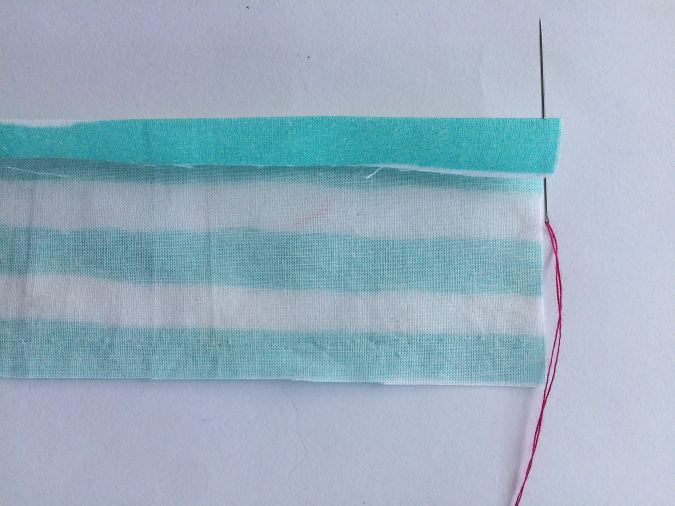
Here I have drawn a straight line in order to keep my stitches straight. From the underside of the fabric, bring up the needle from the end of the line.
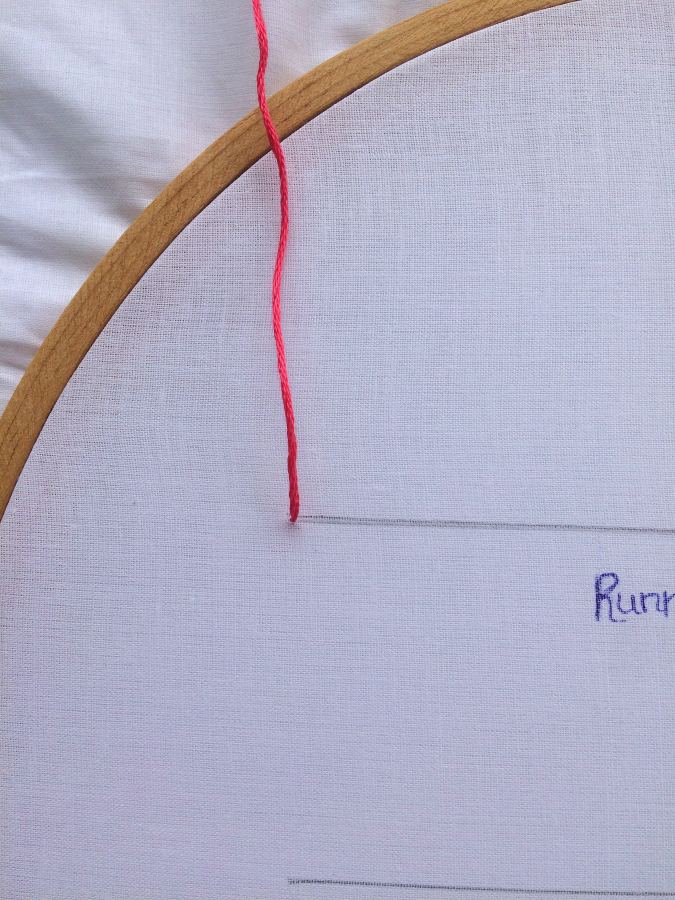
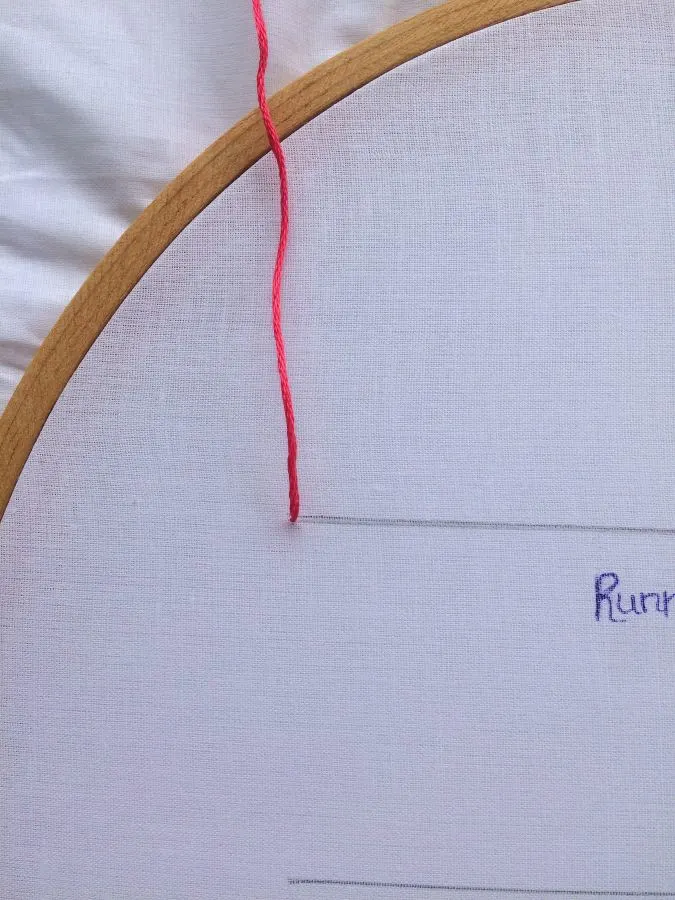
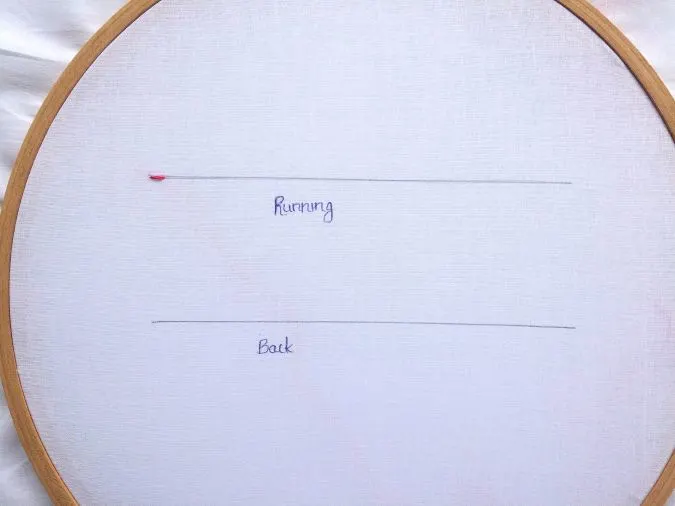
Pull up the thread.

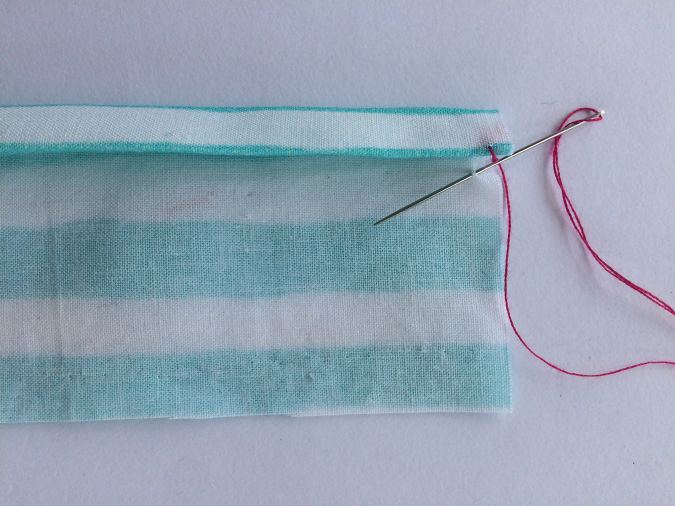
Leave a gap, equivalent to your desired stitch length, and insert the needle from the top to the under side of the fabric.
Pull the thread till you form the stitch.

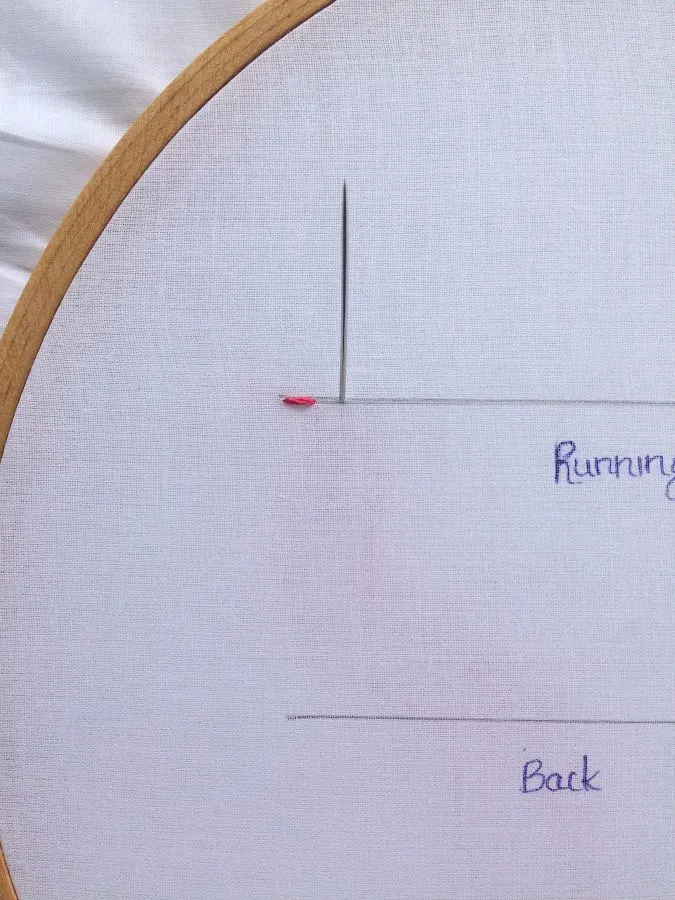
Leave one more stitch length and bring the needle upwards from the back.

Leaving one more stitch length, push the needle back to the underside.
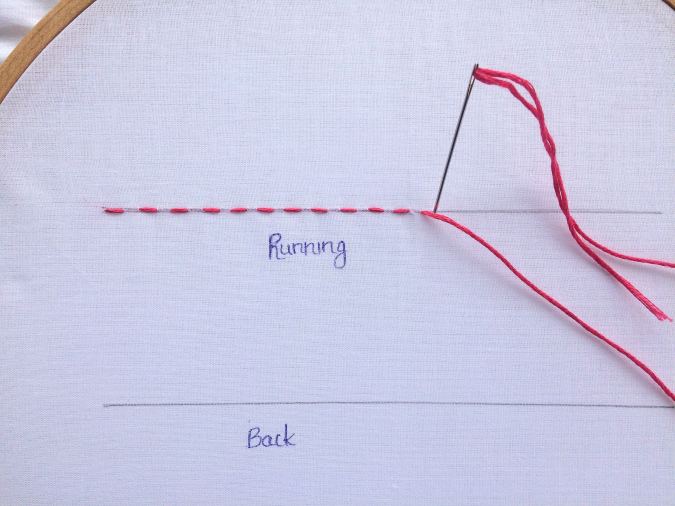

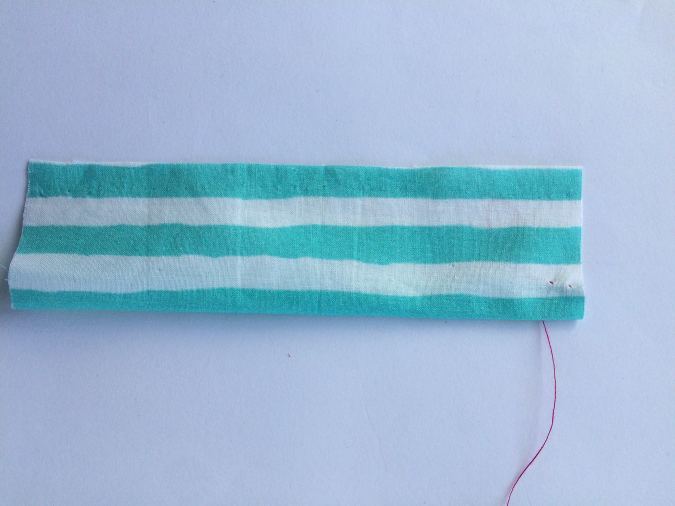
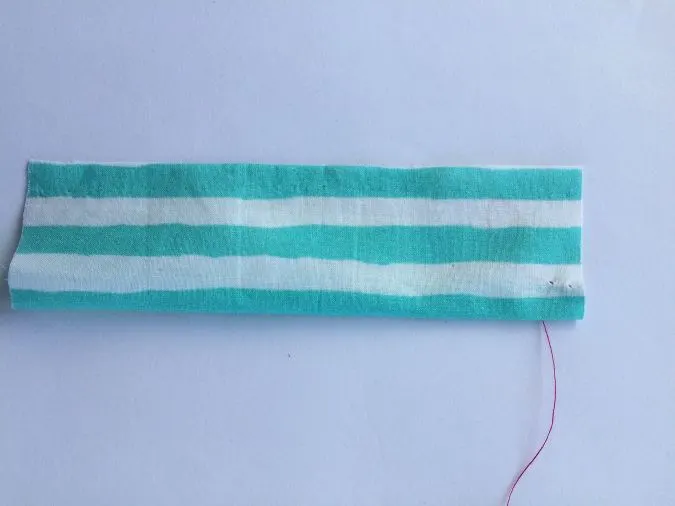
Continue sewing till you reach the other end of the line.

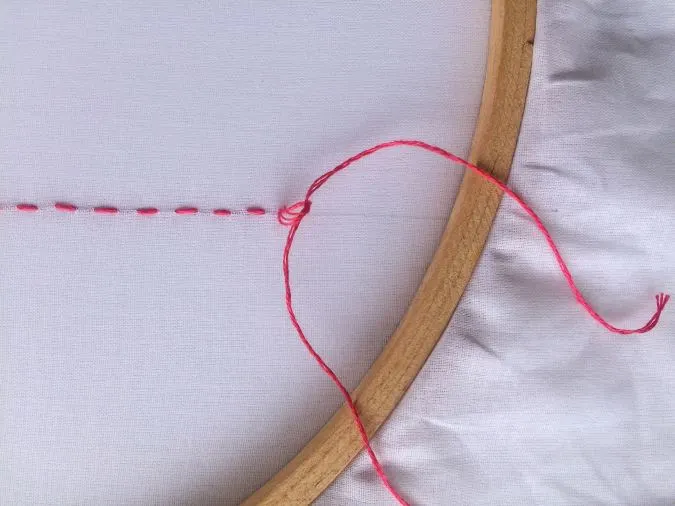
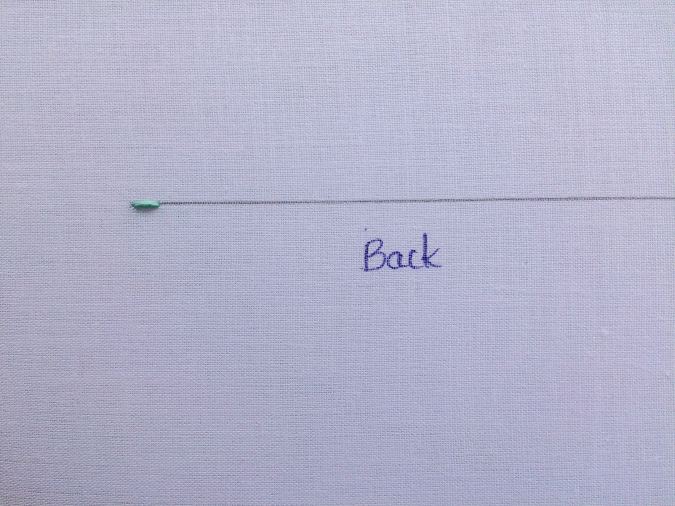
At the end, push your needle to the wrong side of the fabric. Insert the needle through the last stitch and tie a knot to secure. And you are done!
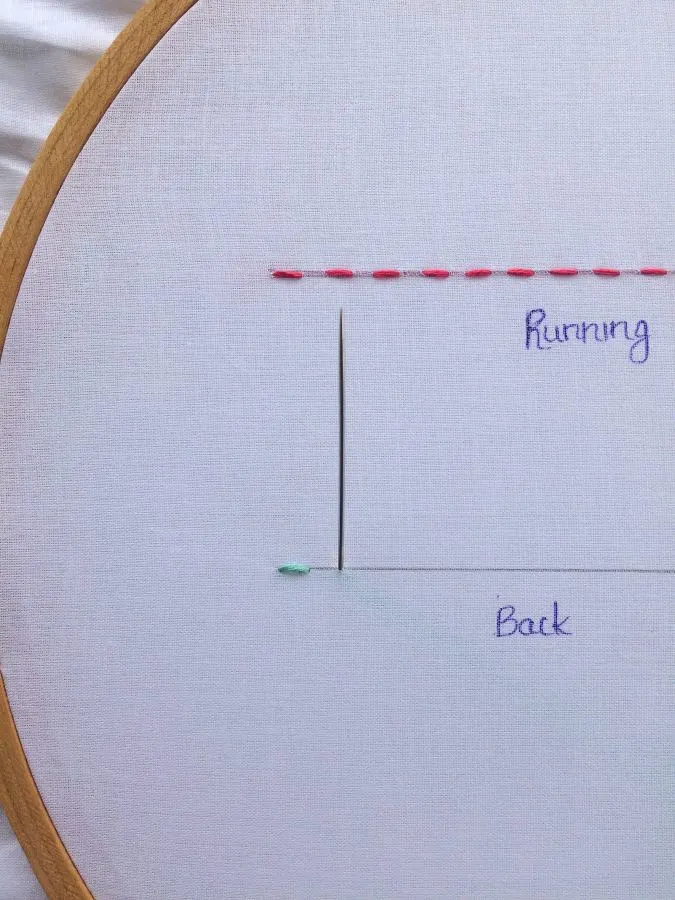
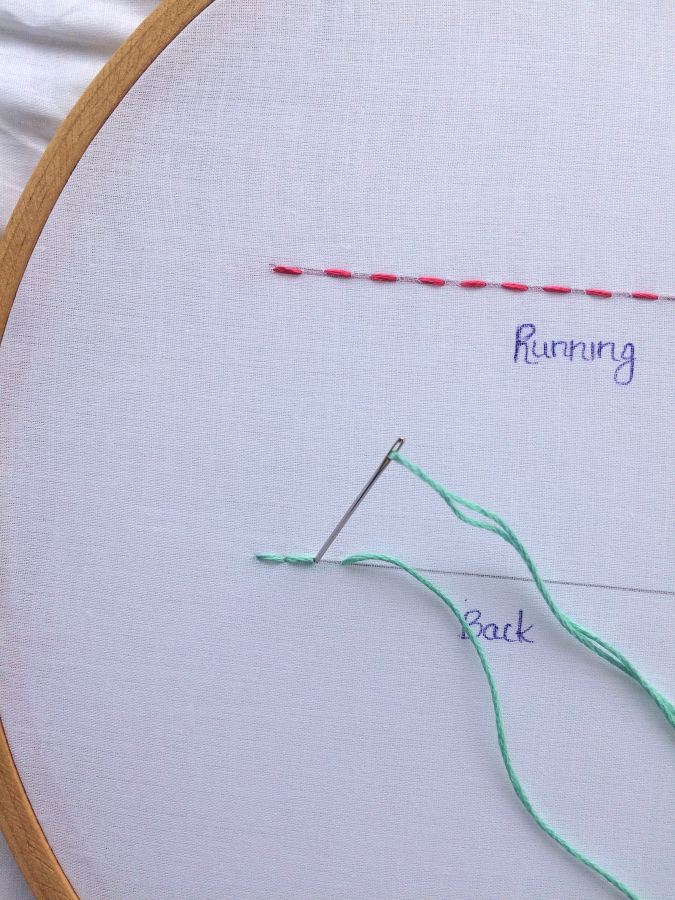
Backstitch
Next, let’s learn how to backstitch by hand. This is one of the strongest stitches by hand. In hand sewing, backstitches are used when you need to hold two fabric pieces together like along the side seams or along the crotch for shorts or pants.
Backstitches have the strength and look of machine stitches and they are durable.
Thread your needle and tie a knot at the end. Here again, I have drawn a straight line for illustration purposes.
Bring the needle up from the wrong side of the fabric, at the start of the line.
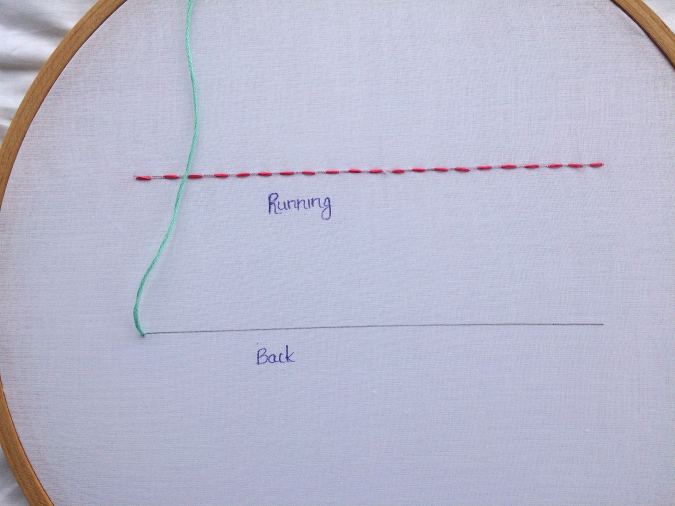
Pull the thread up.
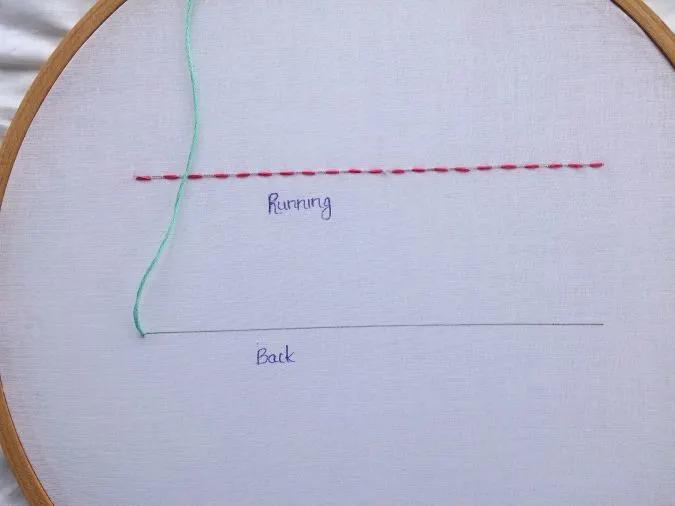
Leave a stitch length and push the needle back to the wrong side.
Pull the thread to form the stitch.
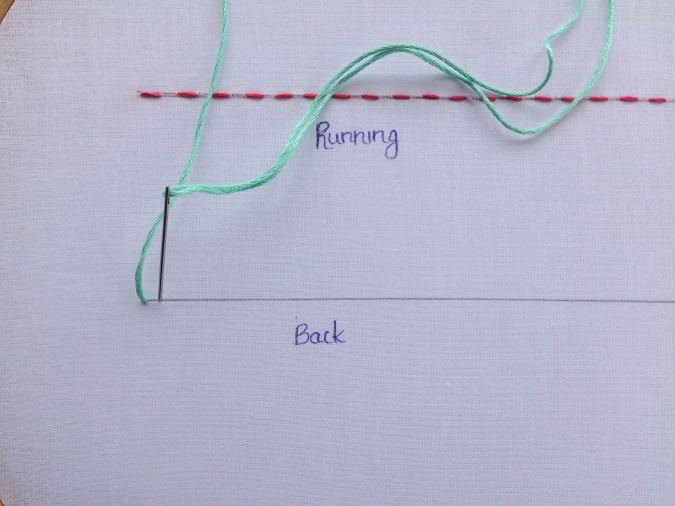
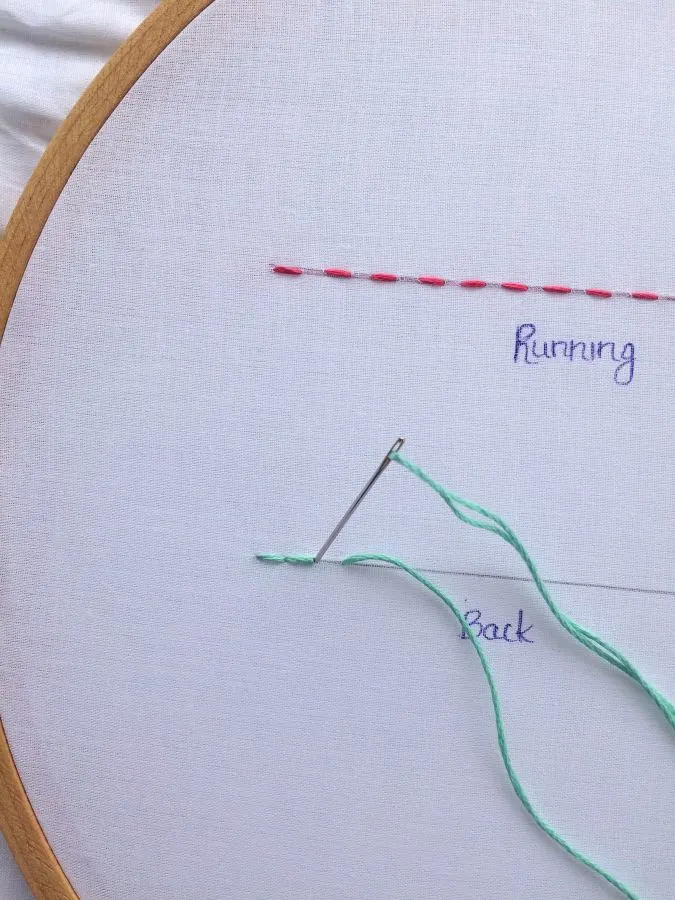
Leave a stitch length and bring the needle up from the underside.
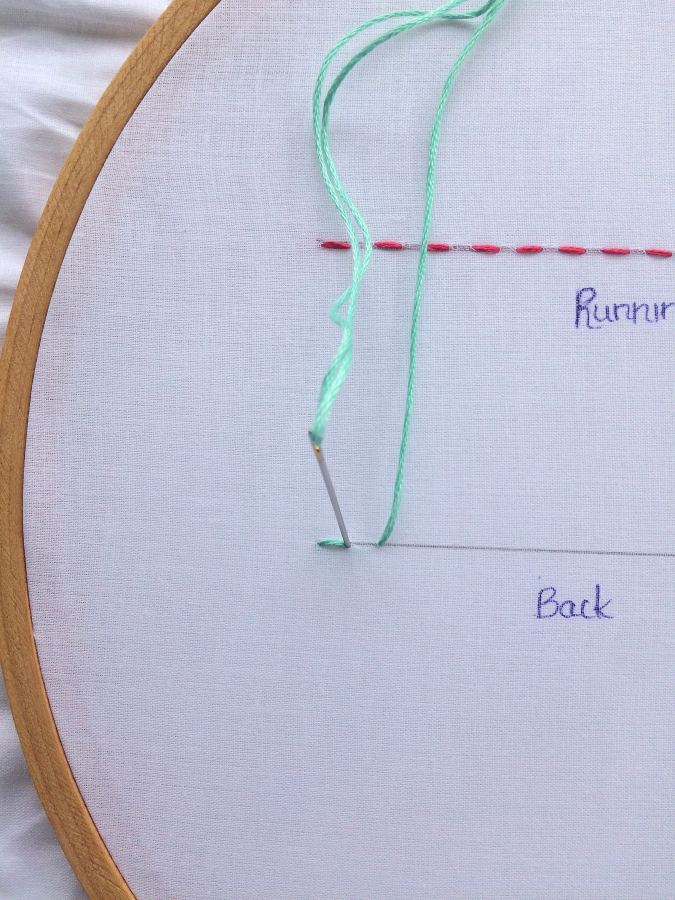
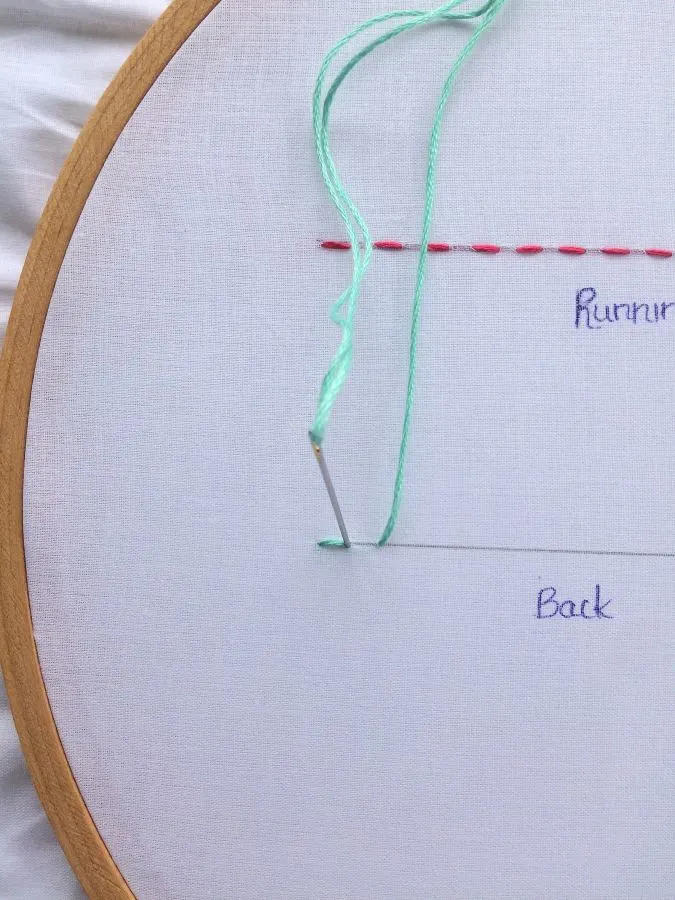
Pull the thread, bring the needle backward and insert it at the end point of the previous stitch. Pull the needle to form the stitch.

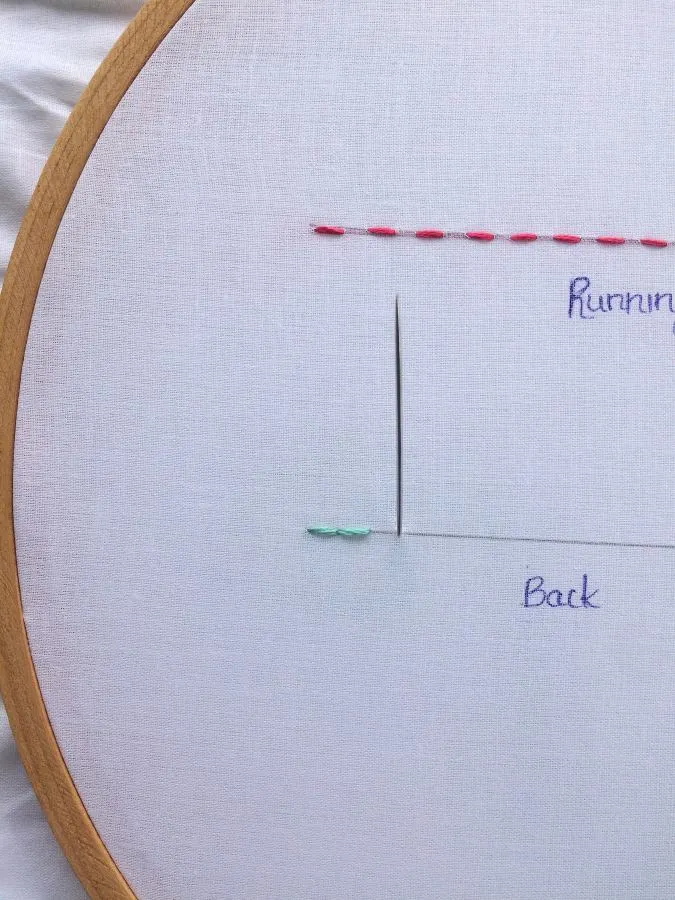
On the right side of the fabric, now you have two small stitches without a gap between the two. Again, skip one stitch length, and bring the needle up from the wrong side.
Again insert the needle at the end point of the previous stitch. Pull the thread.
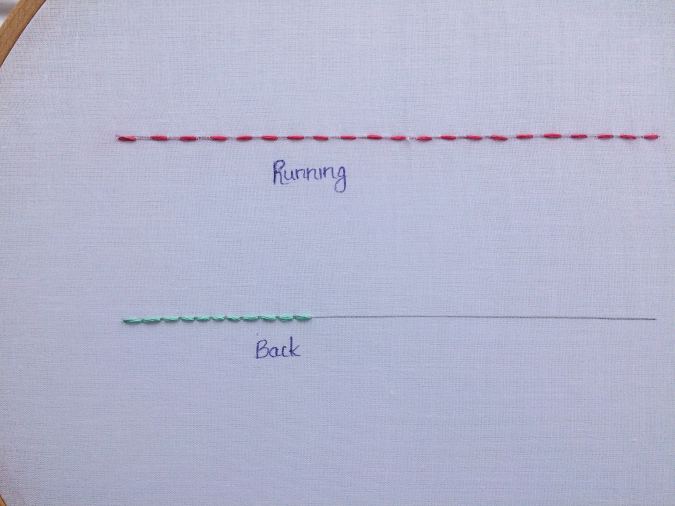
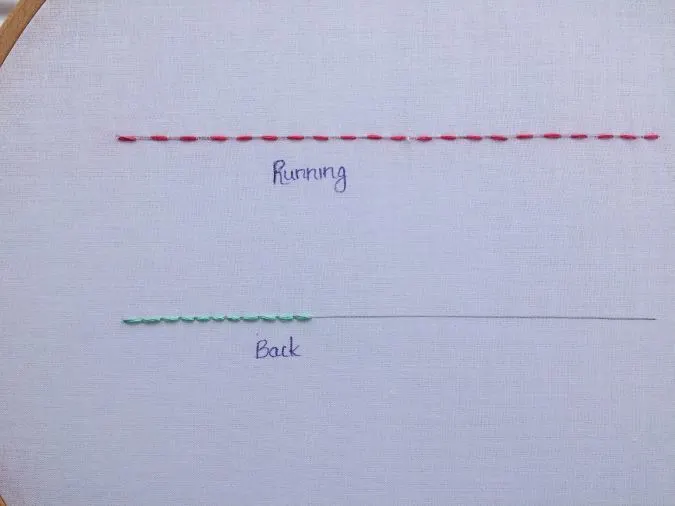
Repeat the process.
Till you have completed the line.
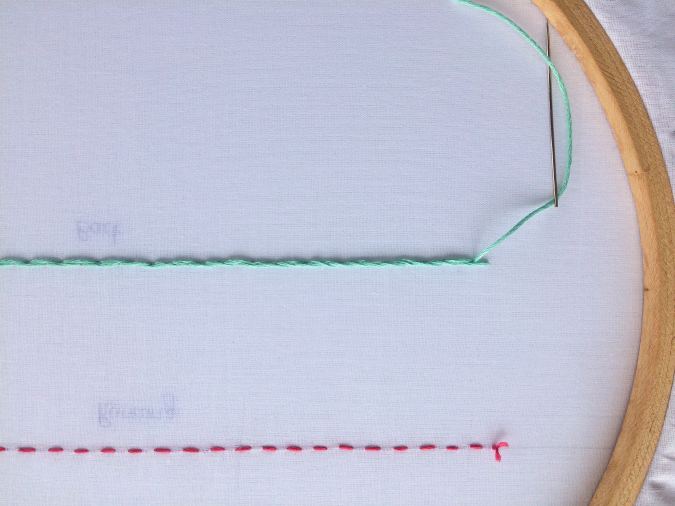
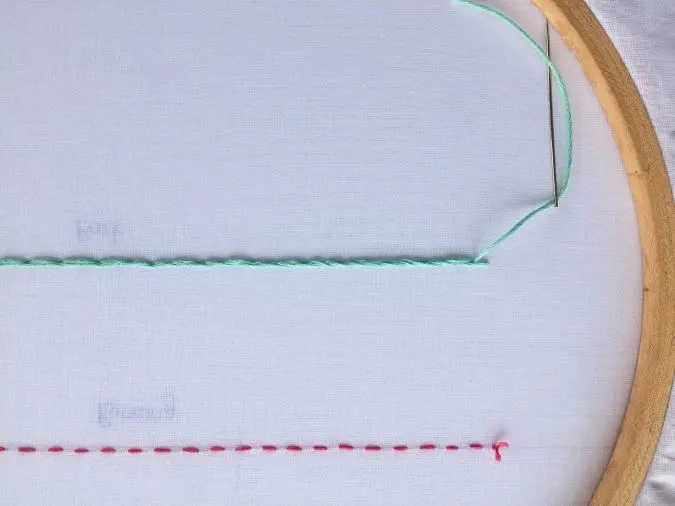
Turn over to the wrong side and this is how it would look like, with overlapping strong stitches (the ones in green are the back stitches).
Tie the ends in knots to secure the thread and cut off the hanging thread with your scissors.
Blind Hem Stitch
The blind hem stitch is used to finish the hemline of a garment while sewing by hand. The blind hem stitch is done using a matching thread and it is sparingly visible on the outside.
This stitch is made using just one strand of thread.
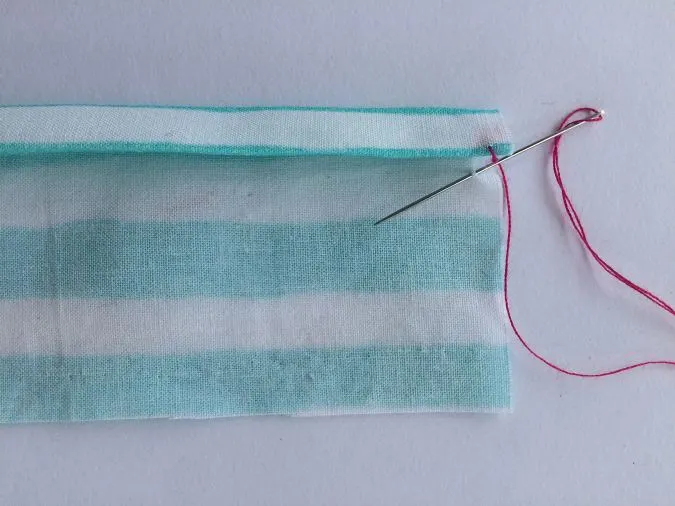
To start the stitch, we first make the two hemline folds as required and press to set. Thread your needle and tie a knot at the end of one strand only.

Slide your needle into the fold and pull it out The knot is now hidden inside the fold. Make a small anchoring stitch on the fold.
Next, bring your needle to the fabric on the front and scoop up a bit of the fabric (about two threads). Pull the thread.

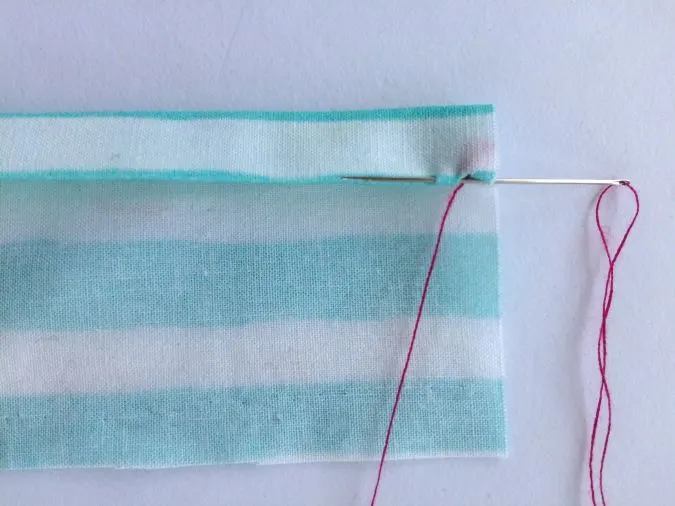
Next, bring the needle back to the fold and insert it through the fold. Skip a stitch length and bring it out. Pull the thread.
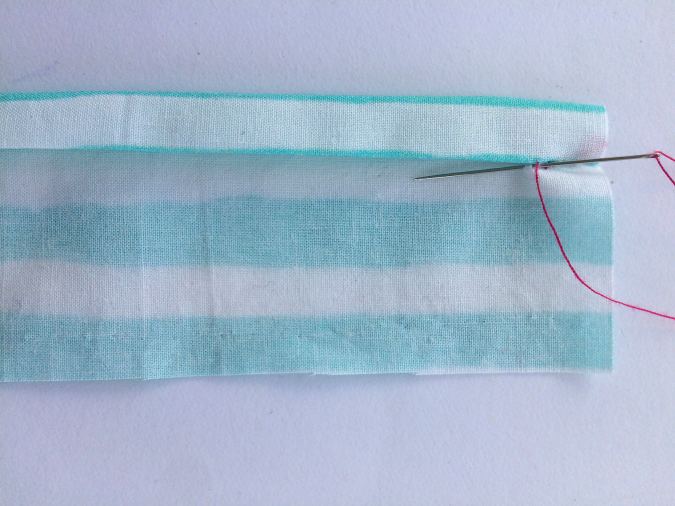
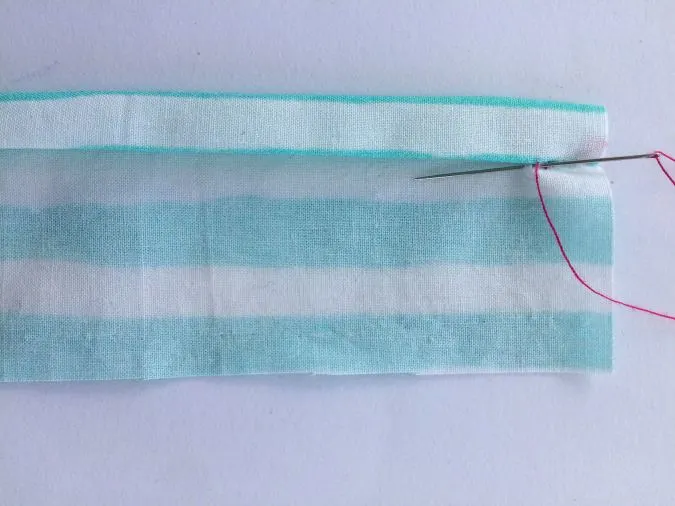
Again bring the needle to the fabric in the front and scoop up a tiny bit of fabric.

Next, bring the needle backwards and insert a stitch length in to the fold.
This is how the right side of the hem would look like with tiny dots of threads showing.
Repeat the stitches till the hemline is completed.
Tie the thread in a few knots and cut it off with your scissors.
Slip Stitch or Ladder Stitch
Slip stitch or ladder stitch is mostly used to sew an opening shut. Mostly after turning the right side out of fabric pieces sewn together. These stitches are concealed and are rarely visible on the outside if sewn with a matching thread.
You can see such an example in my hand warmers, scrunchies, etc.
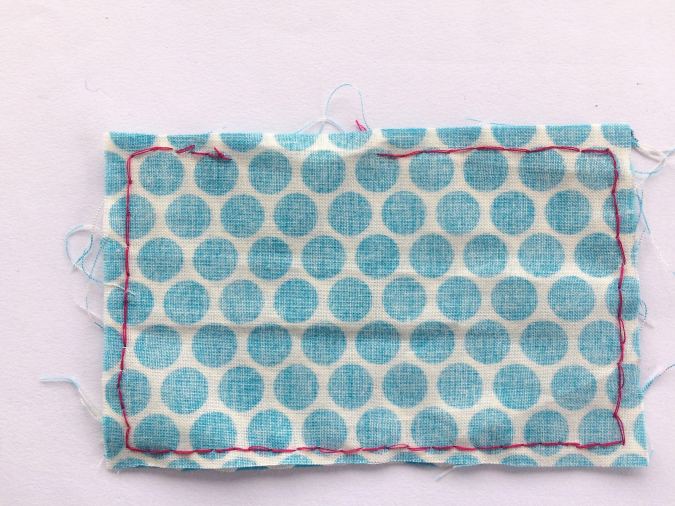
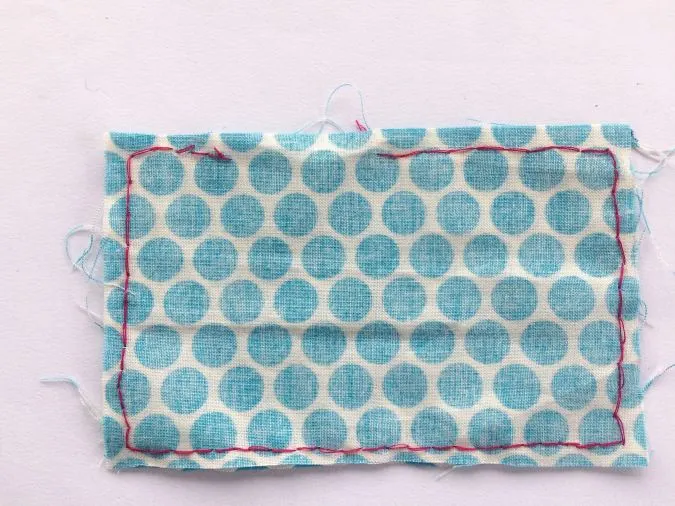
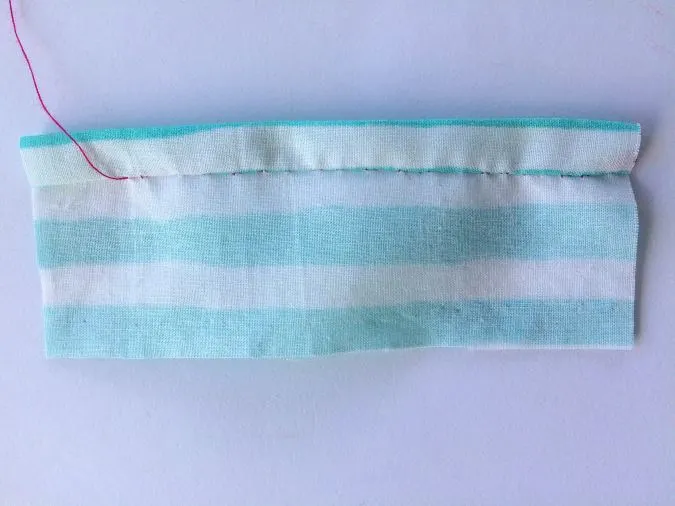
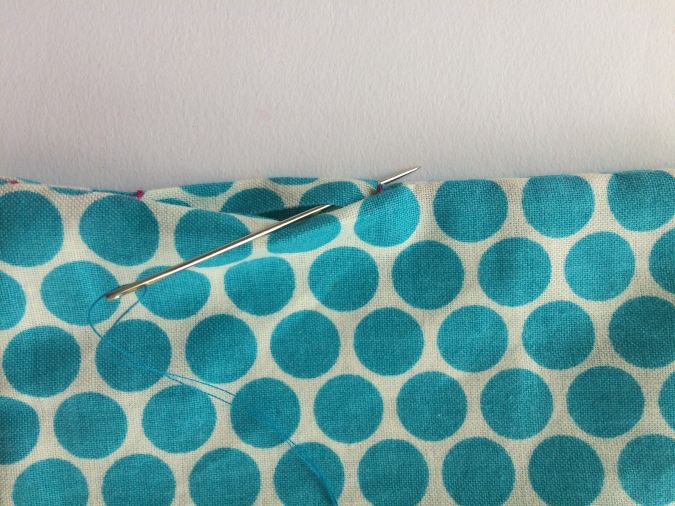
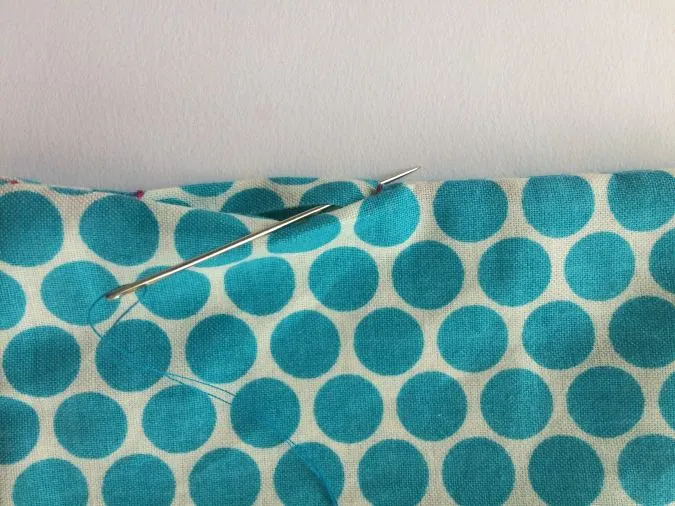
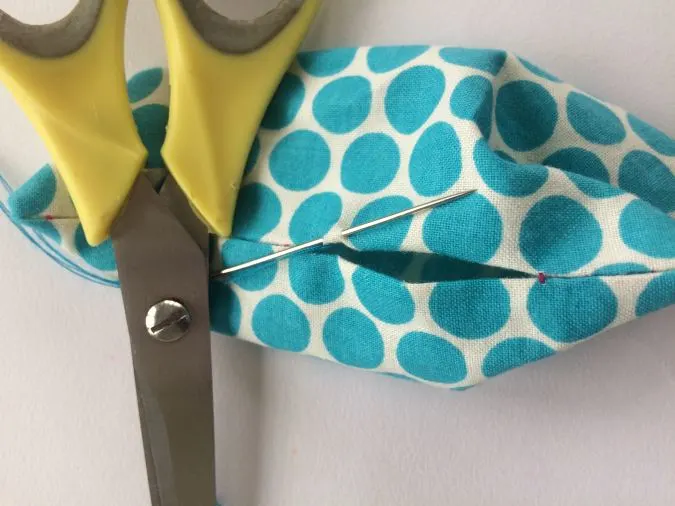
To demonstrate, here I have taken two small pieces of fabric and stitched all around, leaving a small opening to turn the right side out.
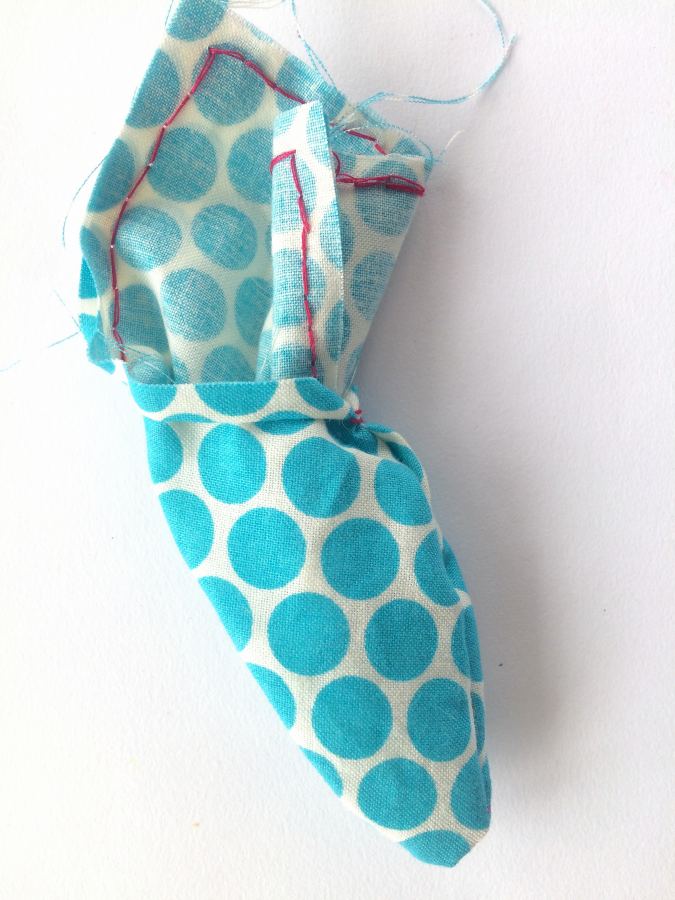

Bring the right side out through the opening.
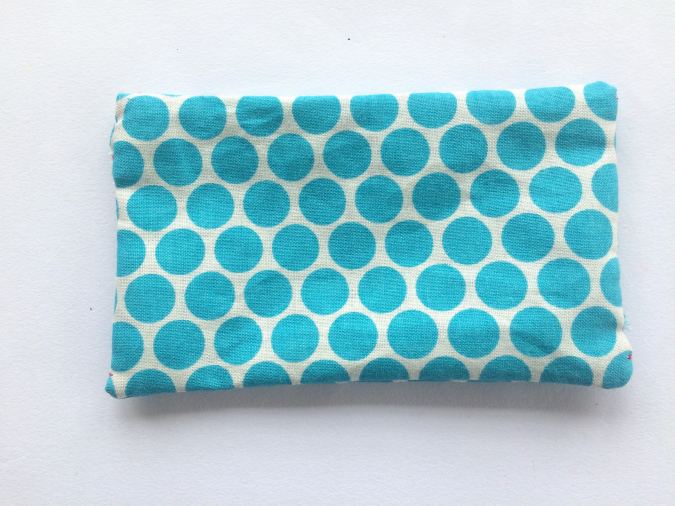
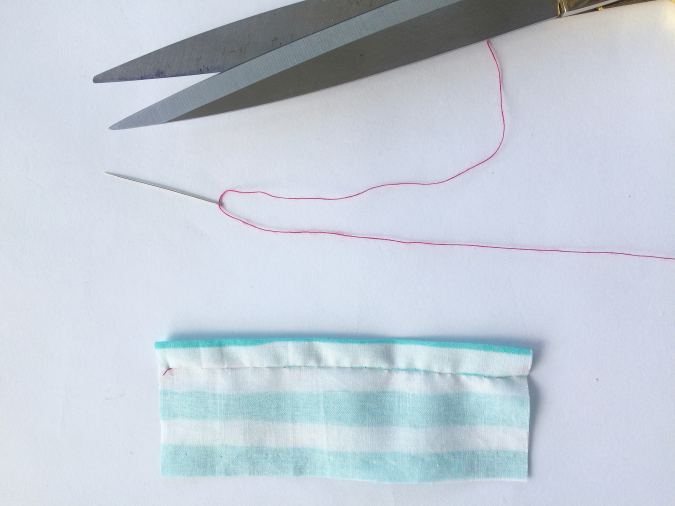
Tuck in the raw edges and press to make it clean and crisp.
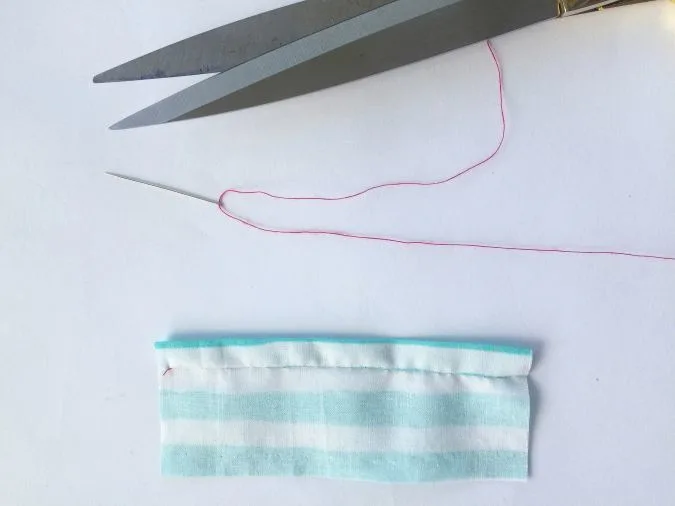
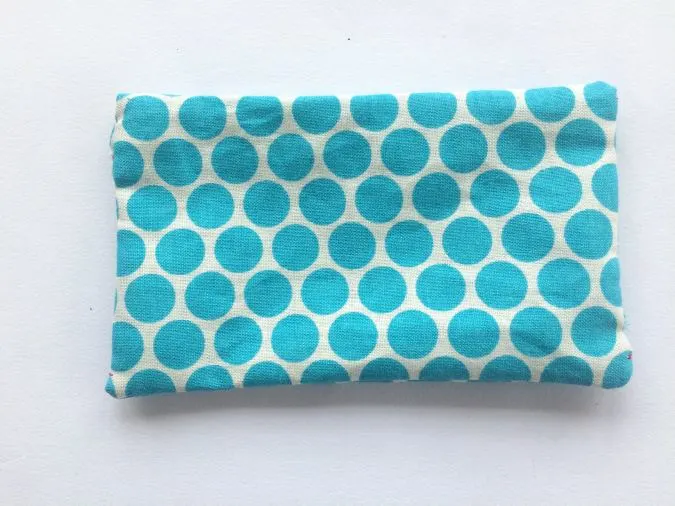
Next, we start sewing the opening closed using slip stitches or ladder stitches.
Thread your needle but tie your knot only on one thread. You would be doing the stitches using one strand only.
Insert the needle from the inside of the opening and bring it out from the fold line.
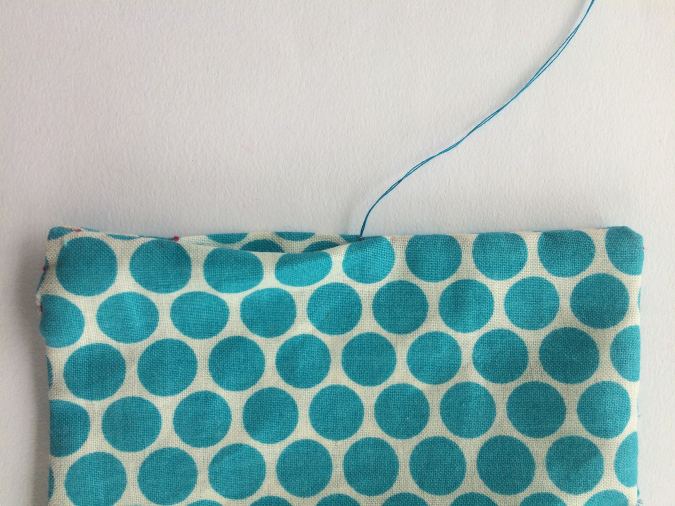
Pull the thread till the knot touches the fabric on the inside. The knot is now hidden inside the opening.
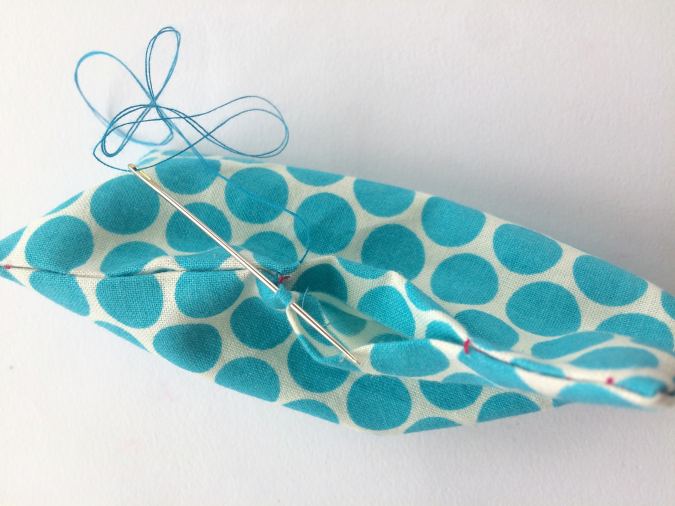
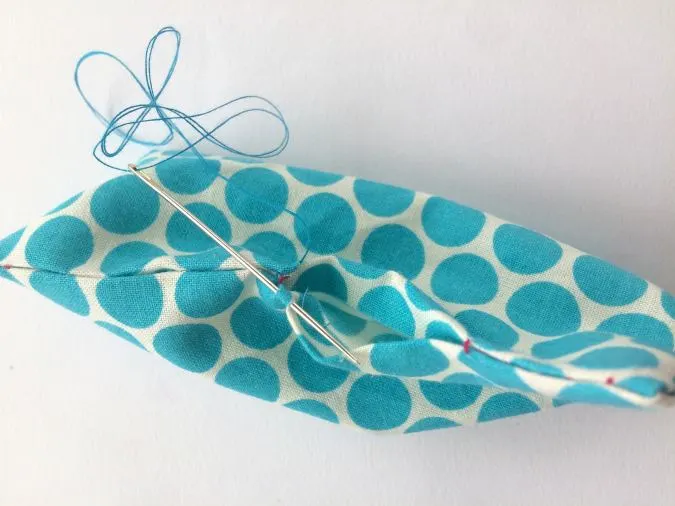
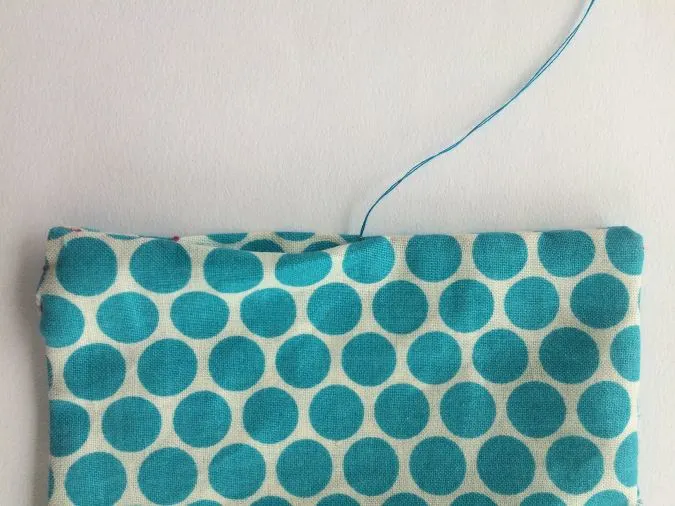
Bring the needle to the opposite side of the opening and scoop up a bit of the fabric along the fold line, from the inside. Pull the thread to form the stitch.

Bring the needle to the opposite side and scoop a bit of fabric along the fold line, from the inside. Pull the thread to start closing the opening.


Keep repeating the stitches till the whole of the opening is sewn closed. Knot the thread and cut it off.
Blanket Stitch
Blanket stitch is used to finish the edges of thick fabrics that do not fray. They can also be used for decorative purposes. Examples are fleece, felt, flannel, etc. These stitches are therefore widely used on blankets, tea towels, felt ornaments and even stuffed toys.
You may use crochet thread, embroidery thread or even yarn. The thicker your material, the thicker the thread should be.
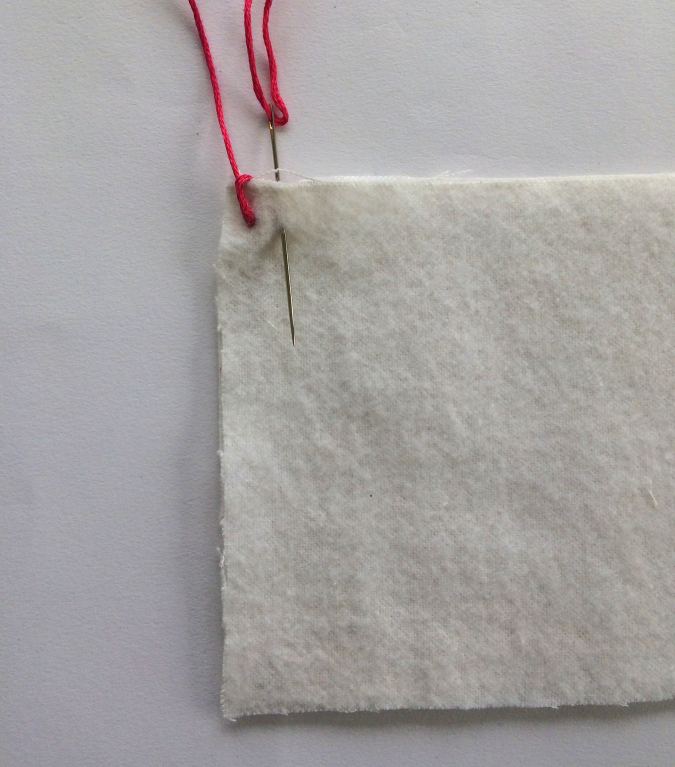
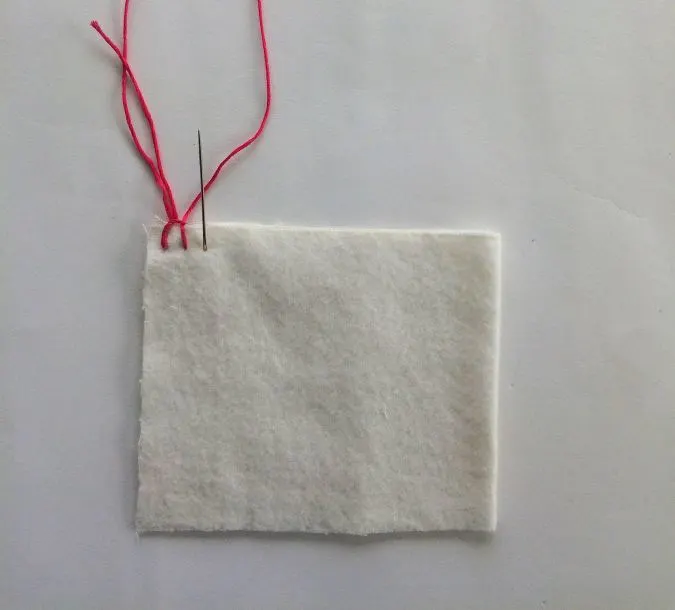
Thread your needle and tie the ends in a knot. Fold the fabric so that you have two layers.
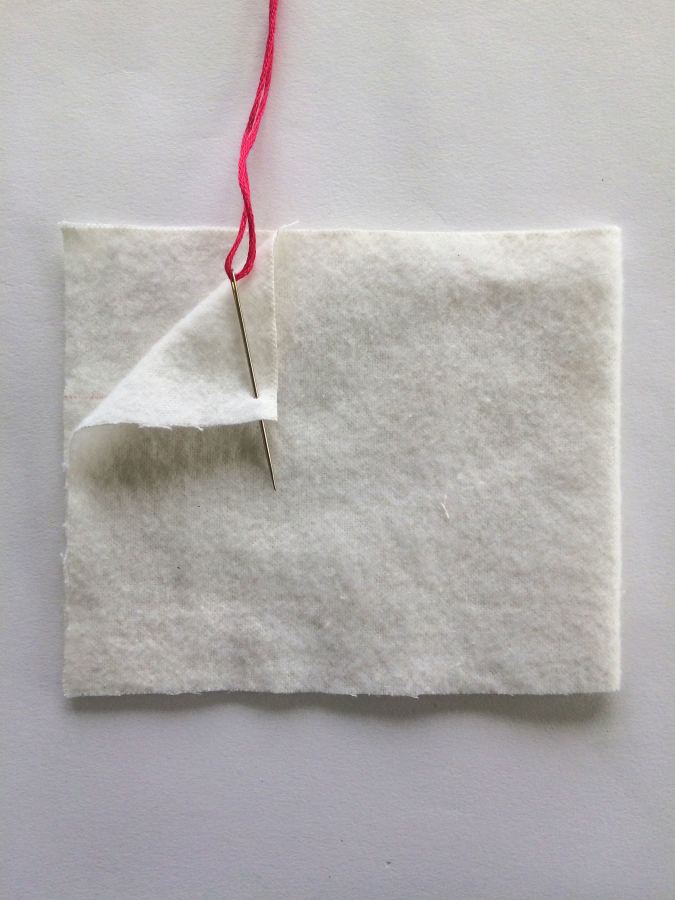
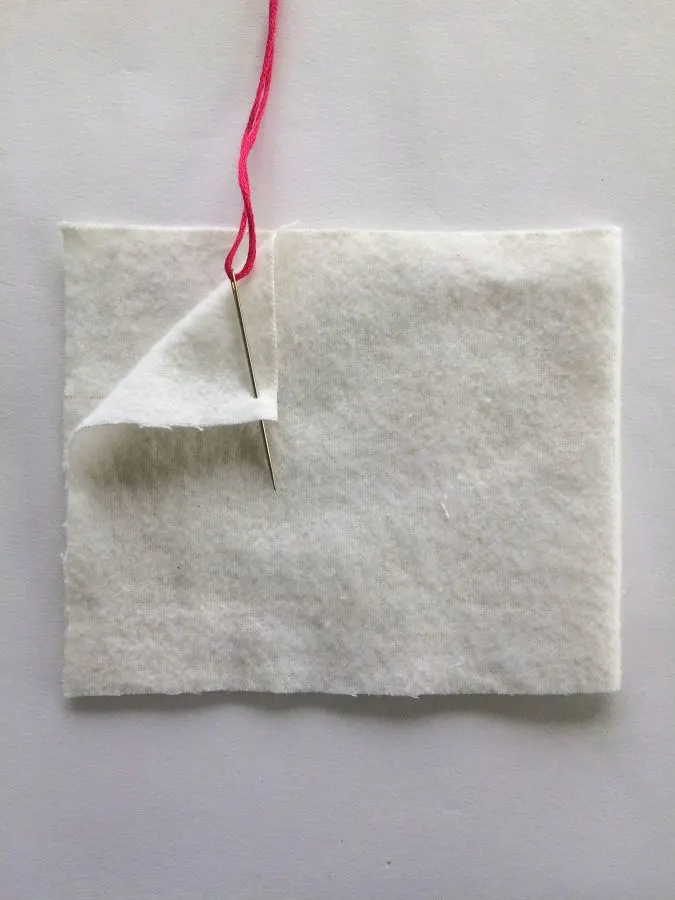
Bring your needle in between the fabric layers. Leaving 1/4- inch from the top, insert the needle through one of the layers and pull the thread. The knot is now hidden in between the layers.


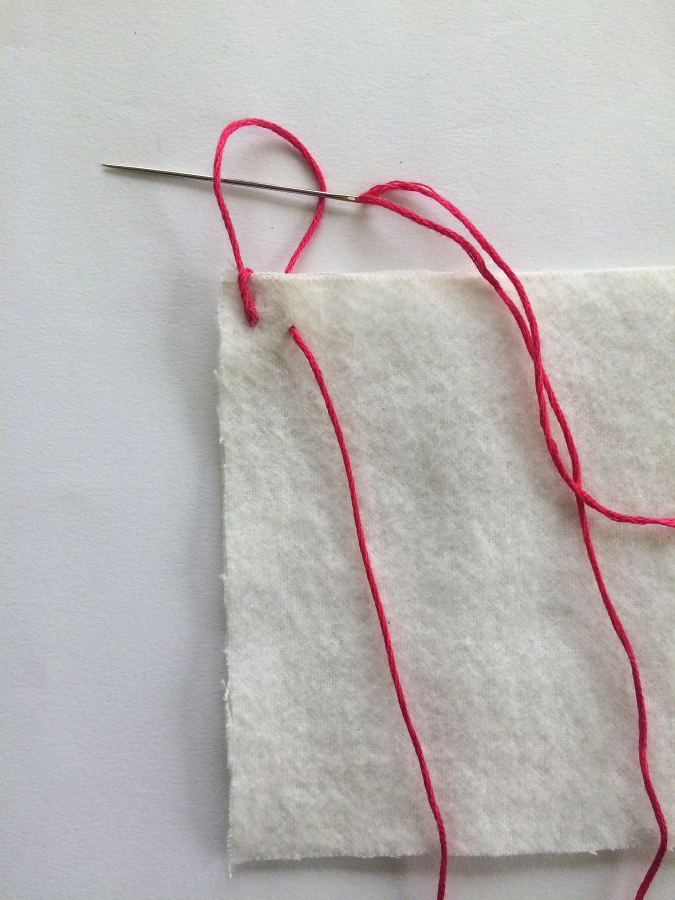
Next, take the needle to the back of the fabric layers, insert it through the layers and bring it out from the same point where you started.
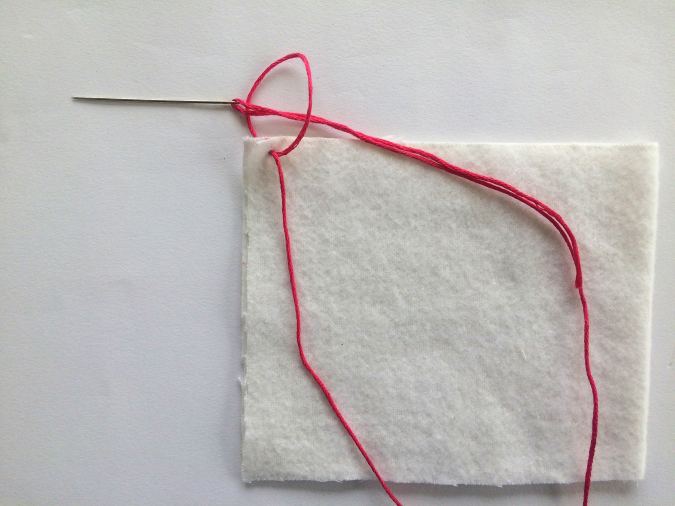

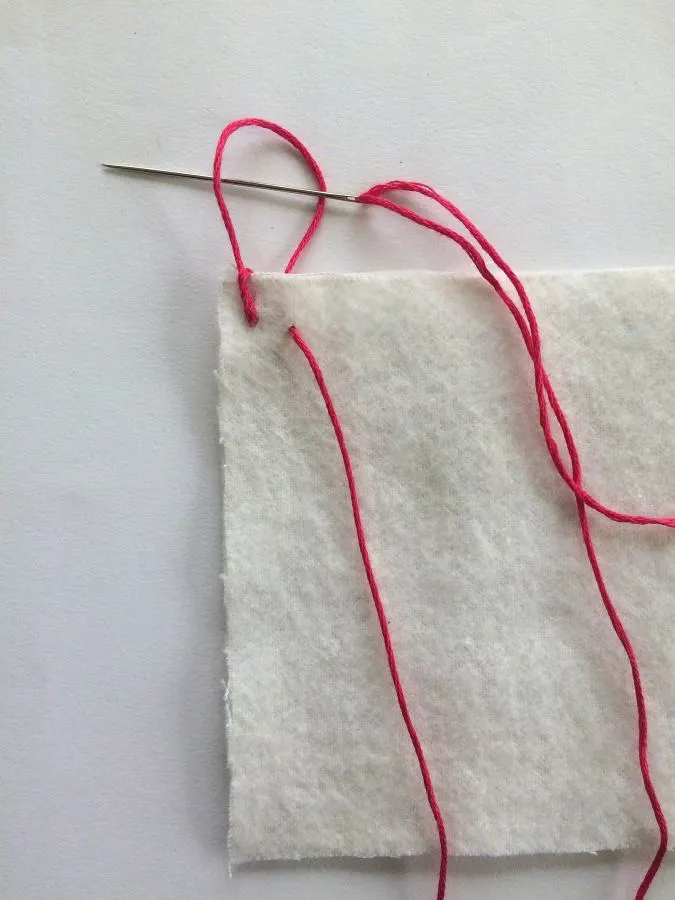
Pull the thread and you will see a loop forming along the edge. Insert your needle into the loop of thread and pull.
Your first stitch is formed.

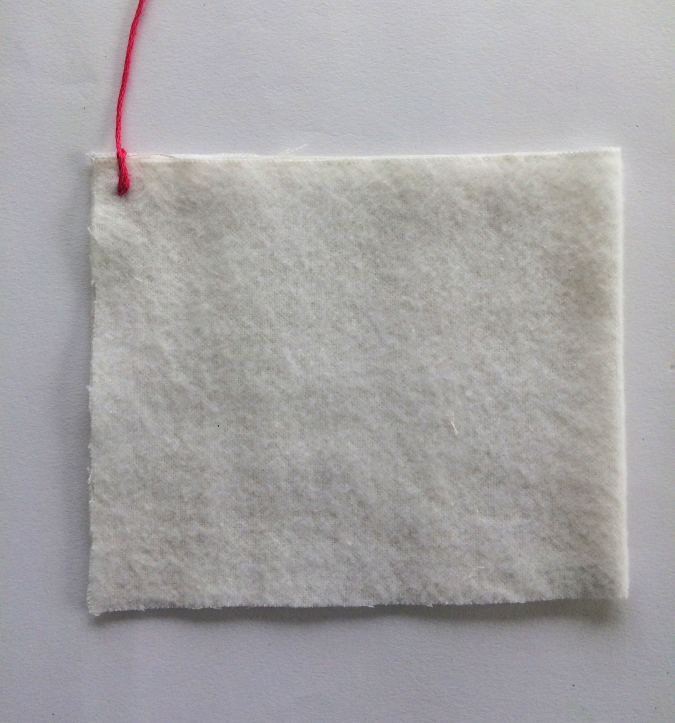
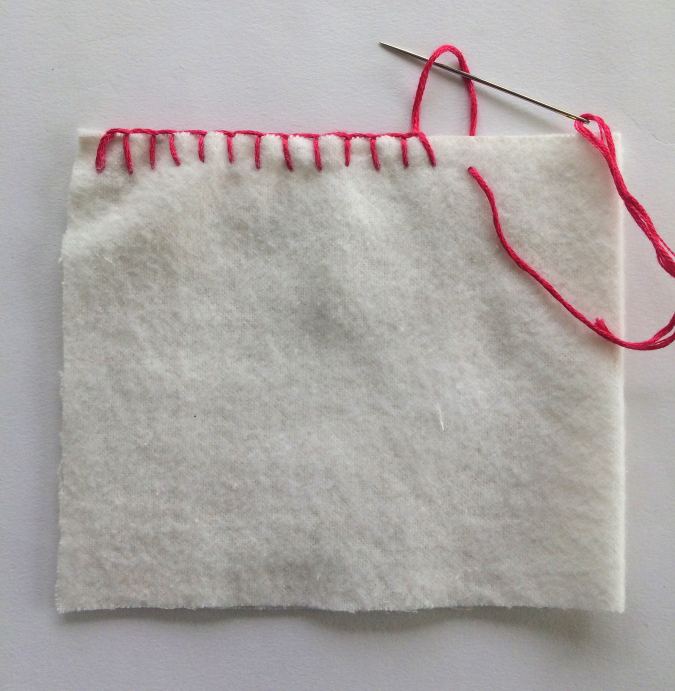
Leave a stitch width and insert the needle through the fabric layers from the back.
Pull the thread and again you can see a loop forming along the edge. Insert your needle through the loop and pull the thread.
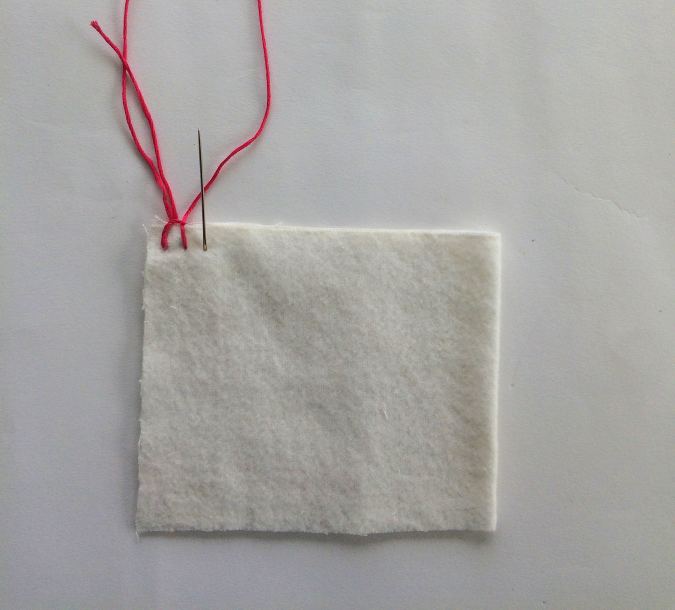
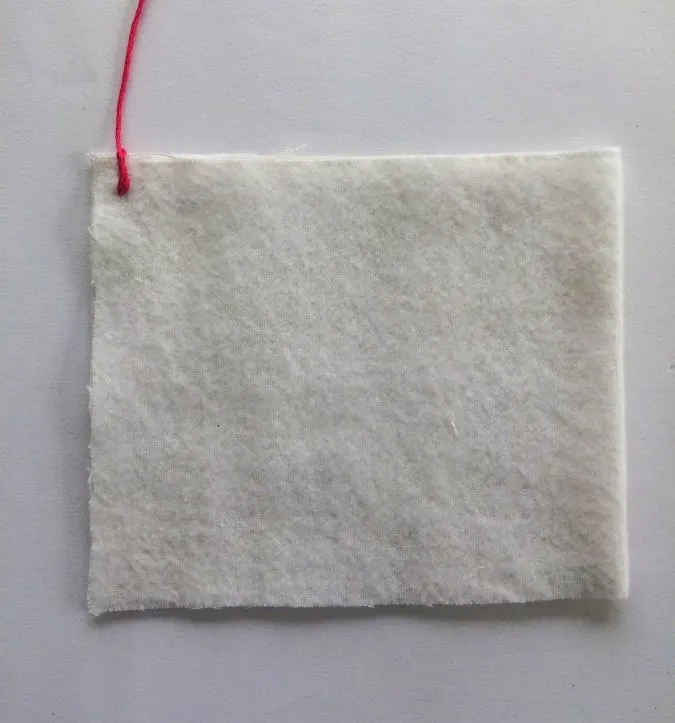
Again insert the needle from the back to the front and insert the needle through the loop formed.
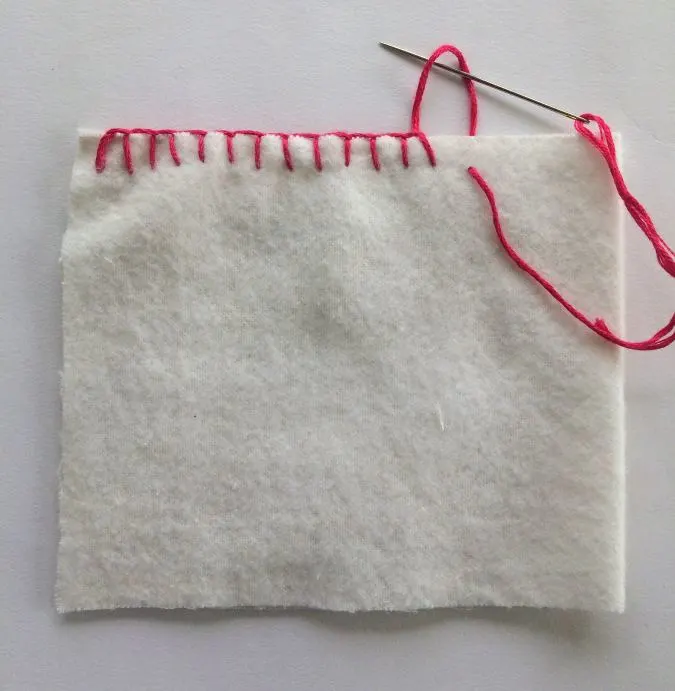
Keep repeating the stitches.
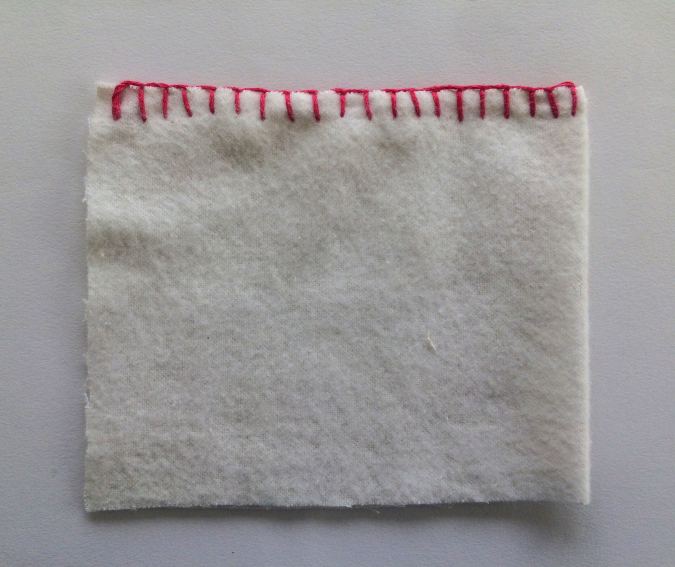
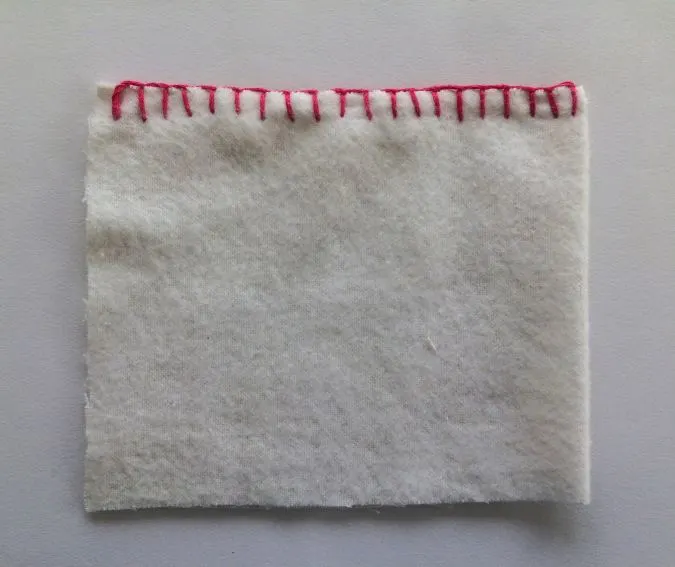
Till the whole of the edge is finished. Tie the thread in a knot and cut the thread off.
Have a look at the video tutorial below:
Find the webstory for the post here, Stitch it Up Yourself: Free Hand Sewing Tutorial
Pin it for later here,

So, I guess you have a got a rough idea about how to sew with your hand and about the basic hand-sewing stitch. So come on, start practicing and become an expert at hand sewing!