Learn how to sew a pillow case in minutes with this easy pillow cover sewing pattern. This pillow case is made from just one piece of fabric and a few straight-line stitches!
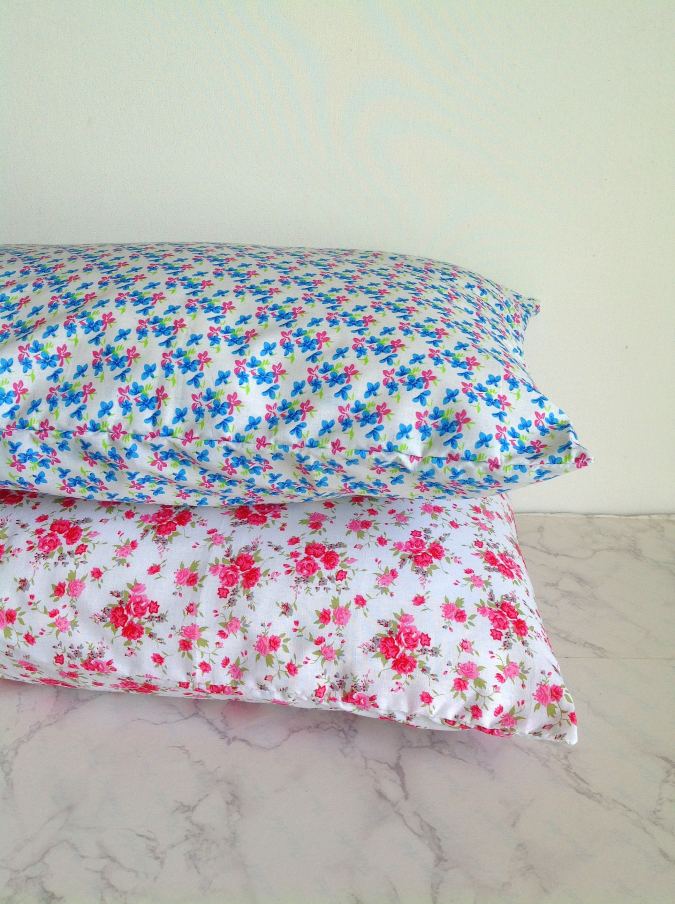
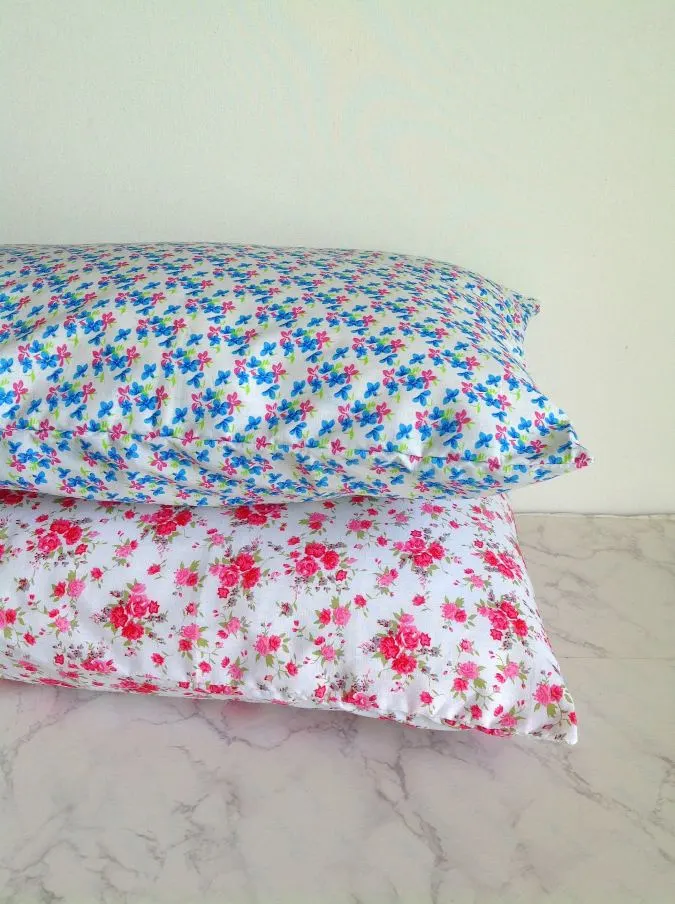
This simple pillow case sewing pattern can cozy up any space and can look absolutely stunning in modern as well as vintage environments. They are ideal for both bed and sofa.
If you want to send some gift for someone on Christmas, Mother’s day, or someone’s birthday, this pillow cover sewing tutorial can be a great choice for you.

These DIY pillowcases are sure to be your new favorite! Since they close with a flap, it is simple to tuck the pillow behind to keep it in.


All you need is a rectangular piece of fabric and your regular sewing notions to sew this pillow cover. just a few folds, a few straight line stitches, and lo your easy and quick pillow cover is ready for use! Now doesn’t that make it a perfect beginner sewing project?
How to Sew a Pillow Case in 10 Minutes
****Skip to the end of the page for the video tutorial *****
Supplies Needed:
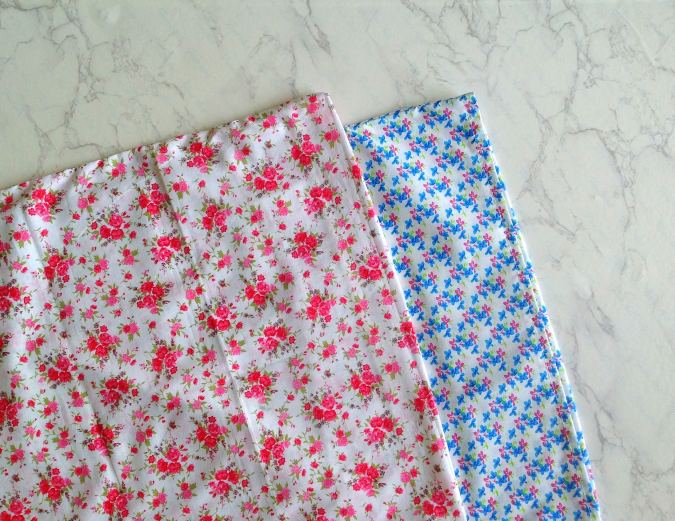
Medium-weight cotton fabric in a desired color and print- 2 yards ( you can make two pillowcases with this much fabric).
Sewing Notions.

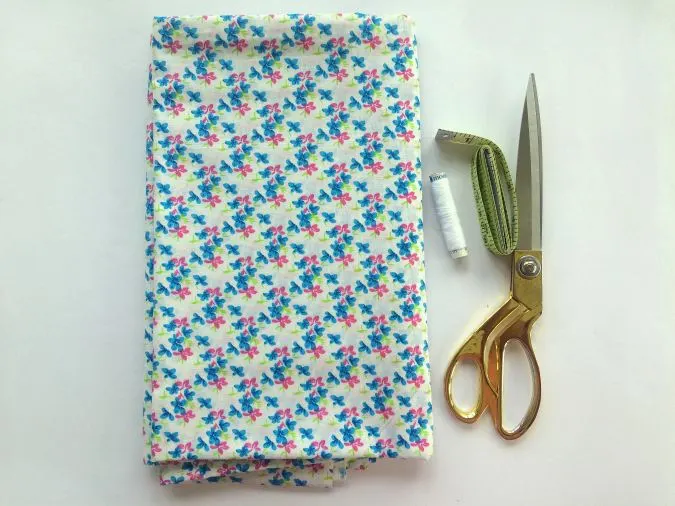
Gather your supplies.

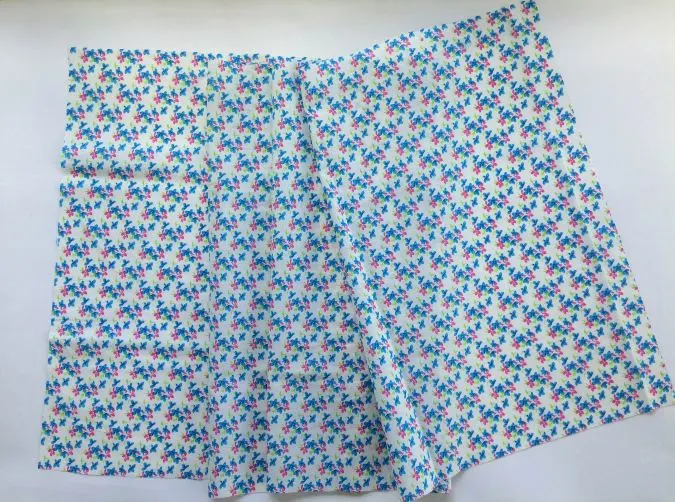
Cut your fabric 64.5” long and 20” wide. You have one long piece of fabric.

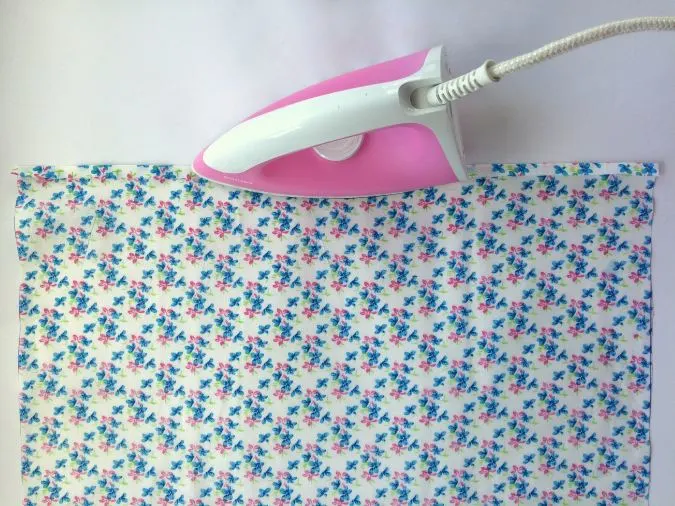
Fold one of the short edges by 1/2- inch twice and press. Let’s call it edge 1.
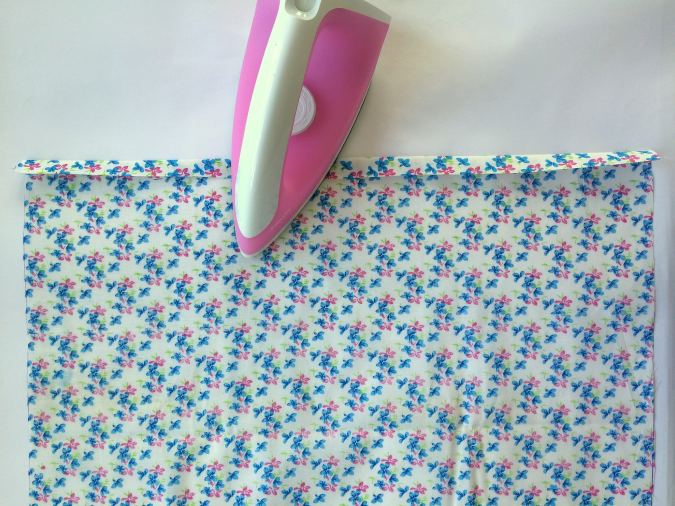
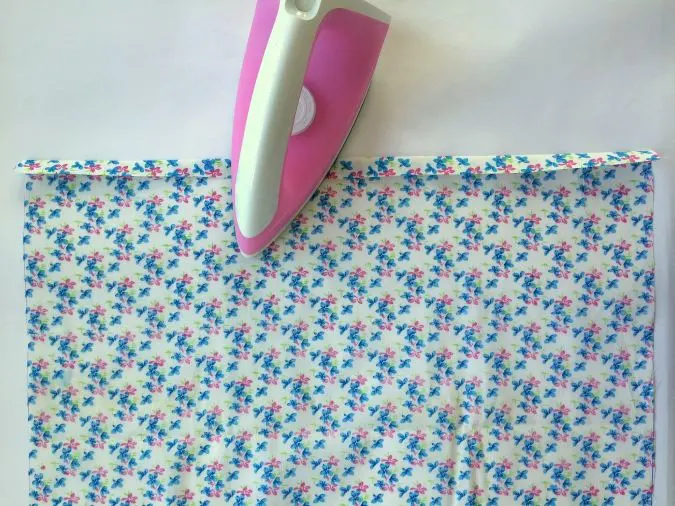
Fold the other short edge by 1/2- inch and press. Fold again by 1- inch and repeat pressing. Let’s call it edge 2.
Sew down the two folds.
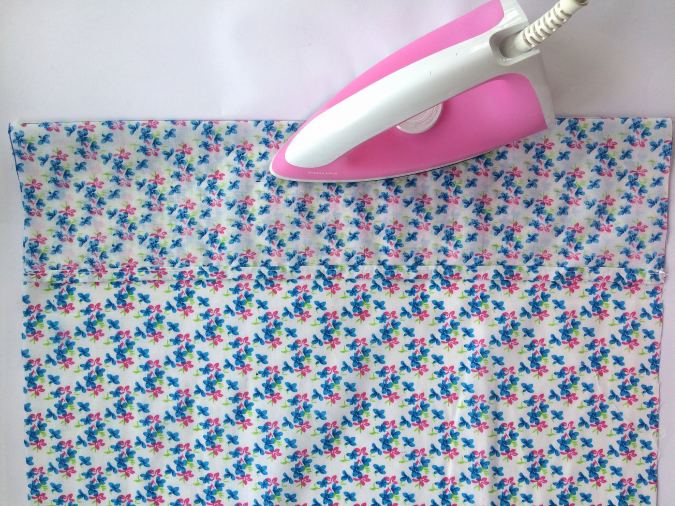

Next, take the edge that is folded by 1/2-inch (edge 1) and with the wrong sides together, fold it again by 5.5- inches and press to form a crease.

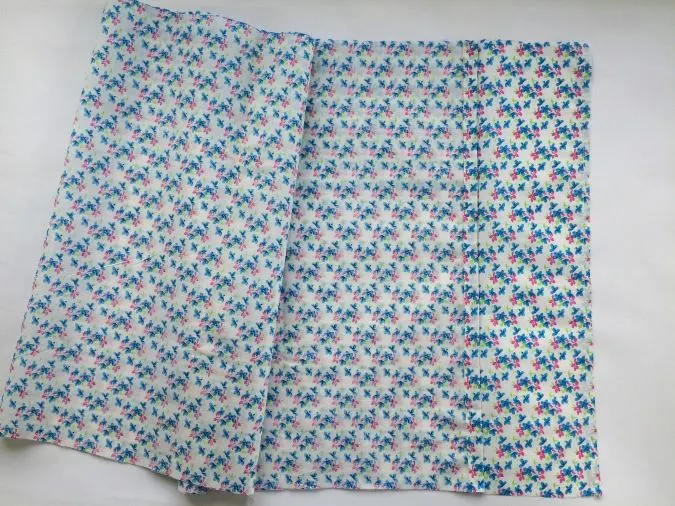
Open the fold and bring the opposite edge (edge 2) to line up with the crease.
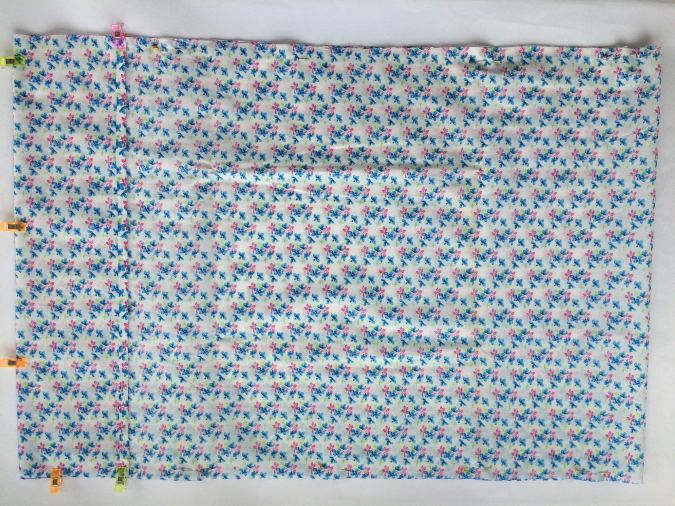
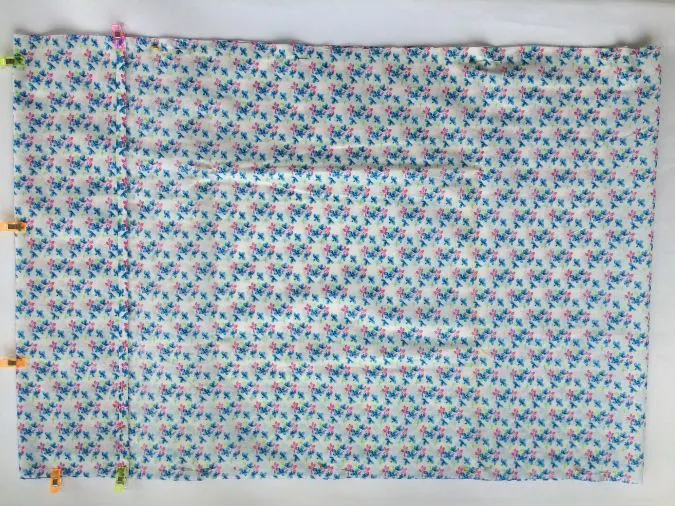
Fold edge- 1 back over edge-2, along the crease, and clip or pin the edges together, all around.
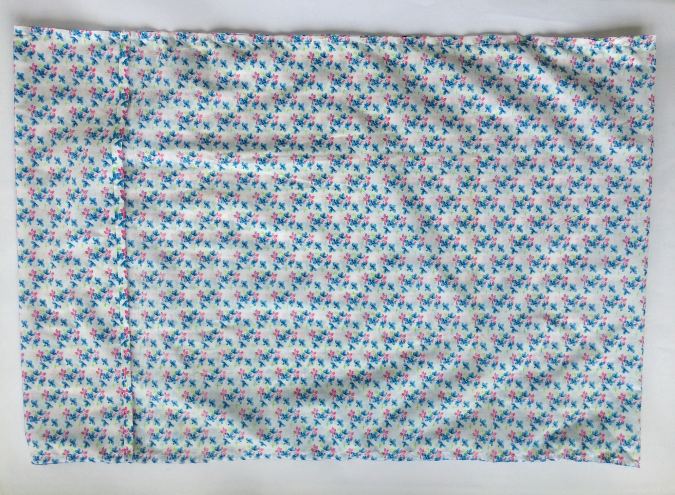

Sew around the edge, leaving a gap of about 4-inches to turn the right side out.
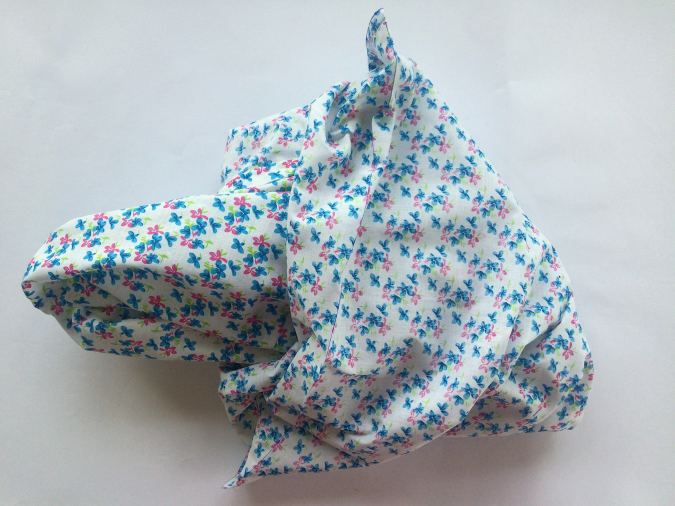
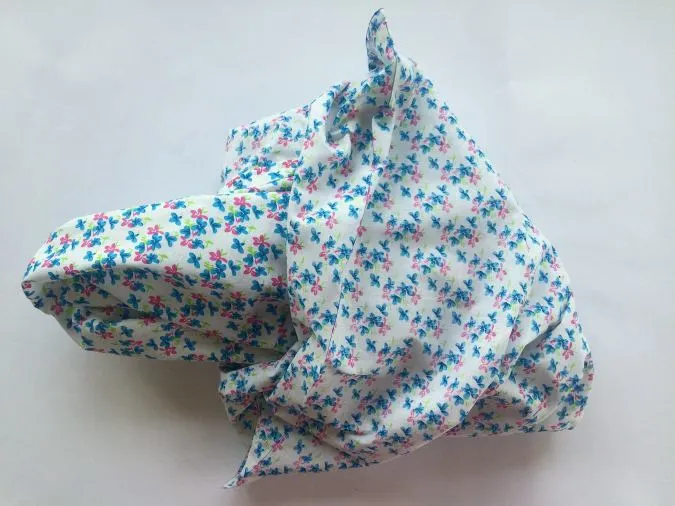
Bring the right side out through the opening.

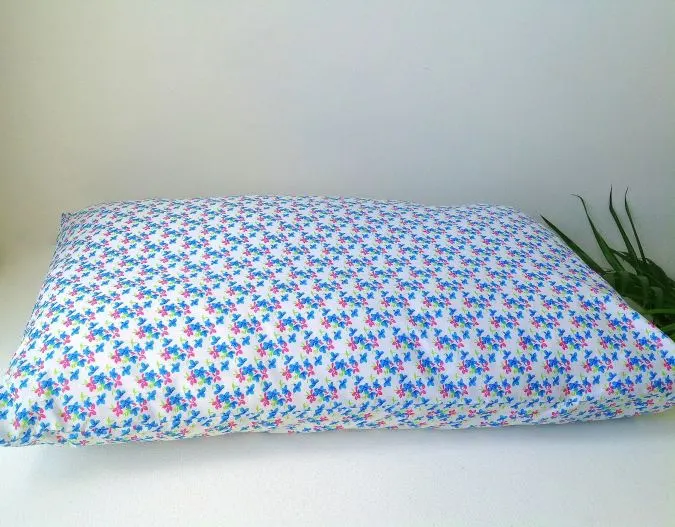
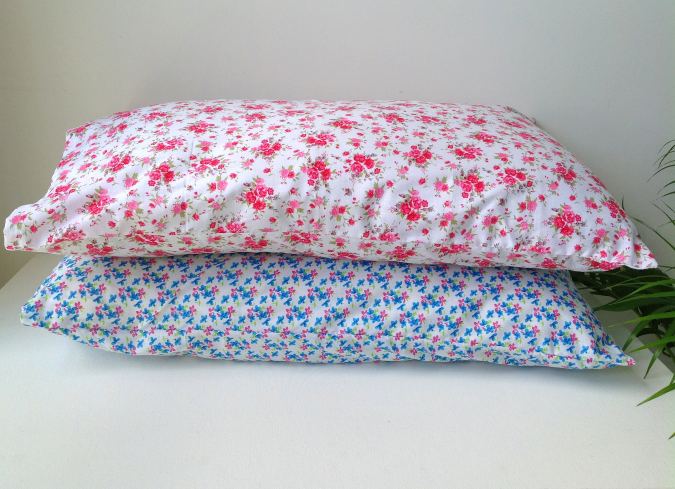
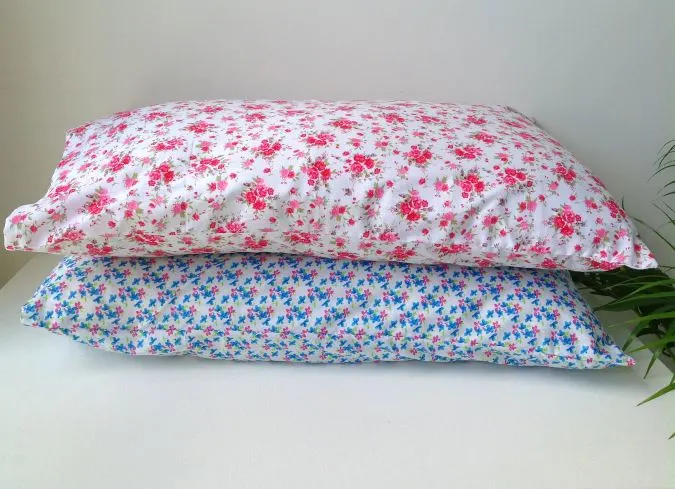
Our pillow cover is ready for use
Check out the video tutorial below:
Find the webstory for the post here, Quick Sew Project: 10-Minute Easy Pillowcase
Pin it for later here,

shirley
Thursday 27th of July 2023
I have a youth group of girls that we would like to teach to sew. I thought this would be a great project.