
Scrunchies are fashion accessories of the 90s, that has made a comeback. Every 90s girl must have had a scrunchie of some sort. I can remember wearing fabric scrunchies and crocheted scrunchies with pearls. I had even tried to make some, if not with the great finish.
Using elastic on your hair can tangle and harm it while you pull it out. A scrunchie, with its fabric covering, is soft on your hair. Hair scrunchies will make your hair look fabulous. You can wear them with any outfit you wear. They can also be worn around the wrist as a fashion accessory.


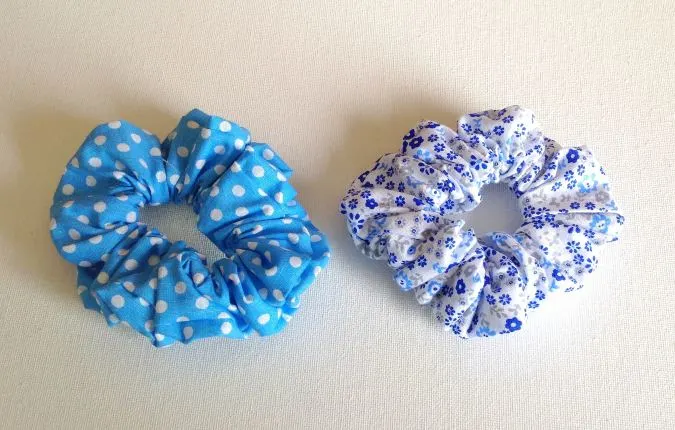
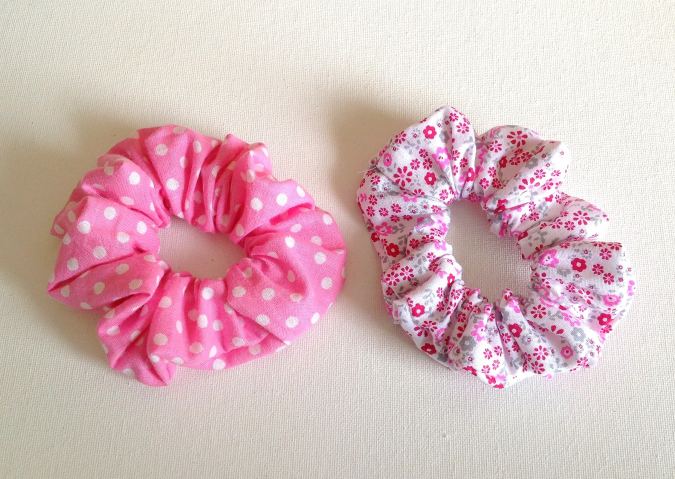
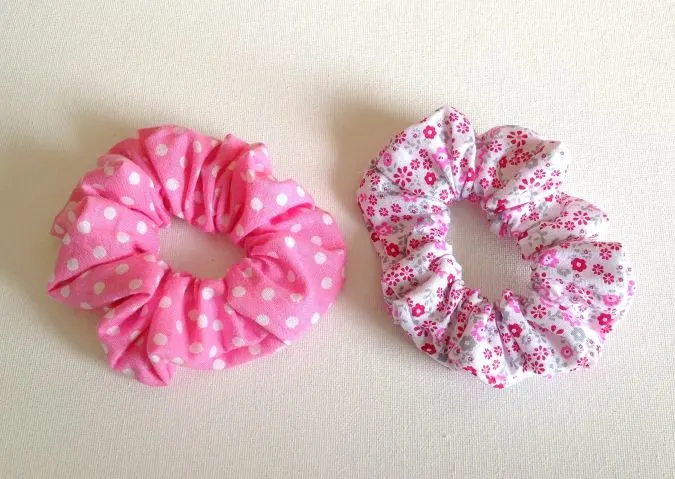
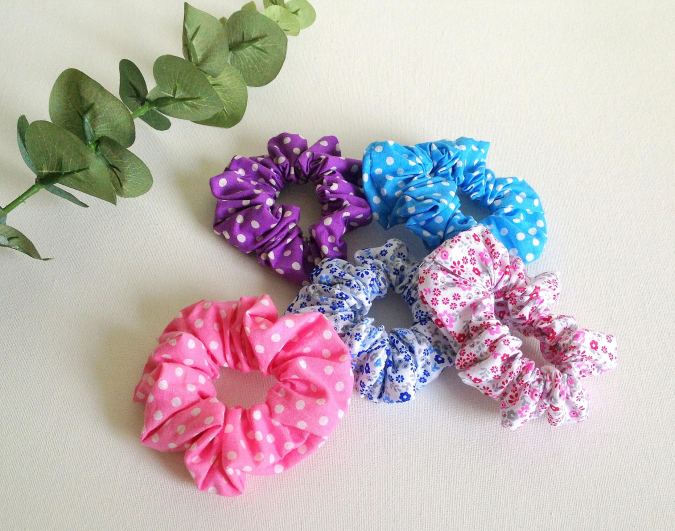
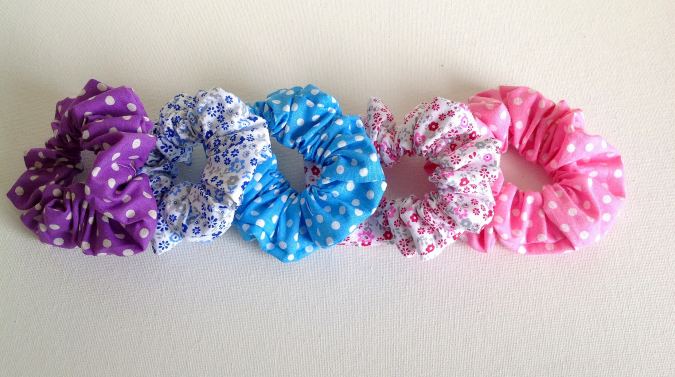
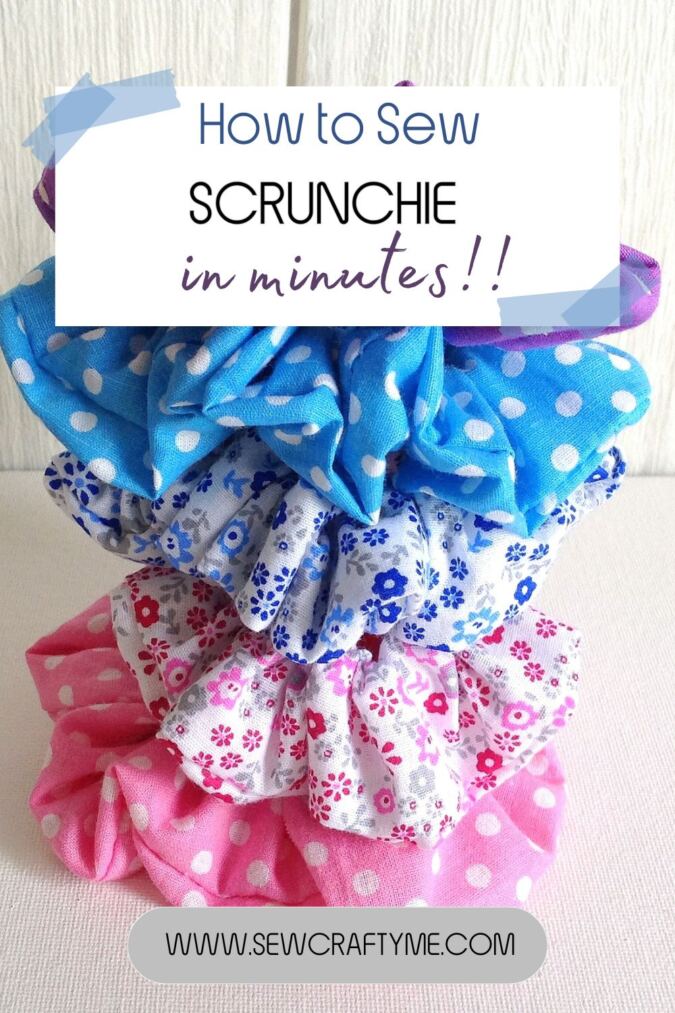
The advantage of making scrunchies for yourself is that you can make them in matching fabrics with your outfit. They can be made in different colors and prints and you can have fun making it. Here you can see scrunchies made with cotton fabric in polka dots and florals. You can sew the scrunchies in satin and velvet for a totally different look and a softer feel.
Here I have shown how to hand-sew a scrunchie in just 15 minutes or so. If you are somebody who likes machine sewing more, you can try that too! This is also a very easy and quick sew project that can be tried by any beginner seamstress.
How to Hand- Sew a Scrunchie in 15 Minutes
- This tutorial will show you how to hand- sew a scrunchie. If you are comfortable sewing on your machine, you may try that too.
You will need:
One long piece of fabric scrap for the scrunchie.
3/8-inch elastic.
Needle and thread.

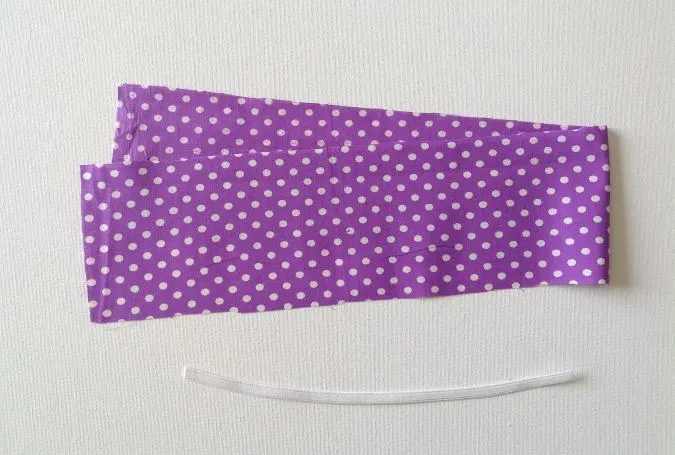
Cut a fabric strip 24-inches long and 3.5-inches wide. Also, cut your elastic 9” long.
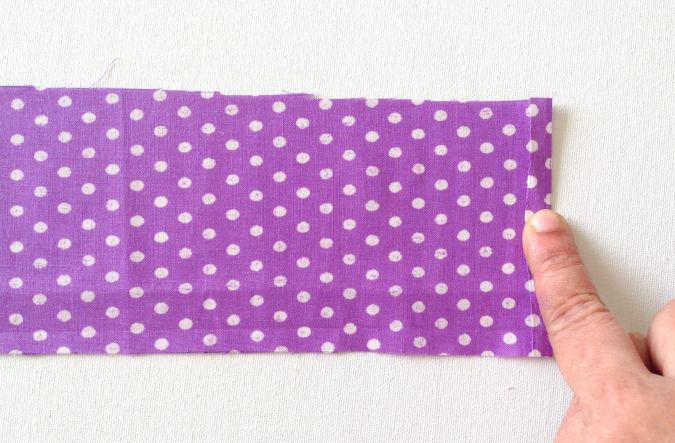

Fold one of the shorter edges of the fabric strip by 3/8- inch towards the wrong side and hand press firmly to make it stay in place.

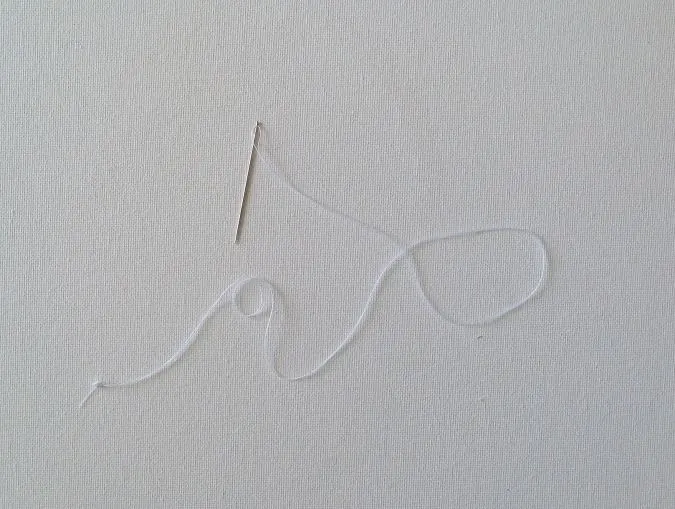
Thread your needle with a matching thread (here I have used a contrasting thread for illustration purposes).
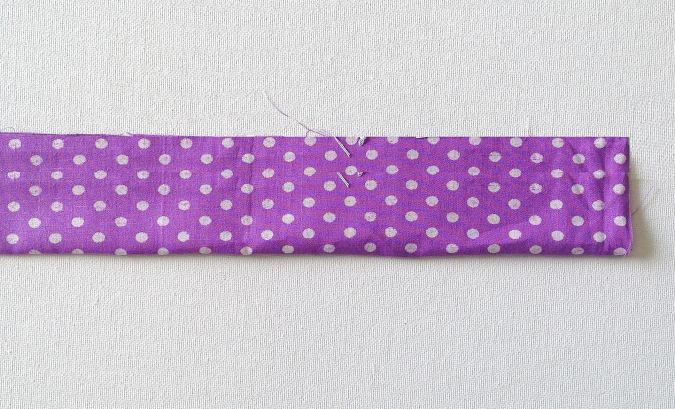
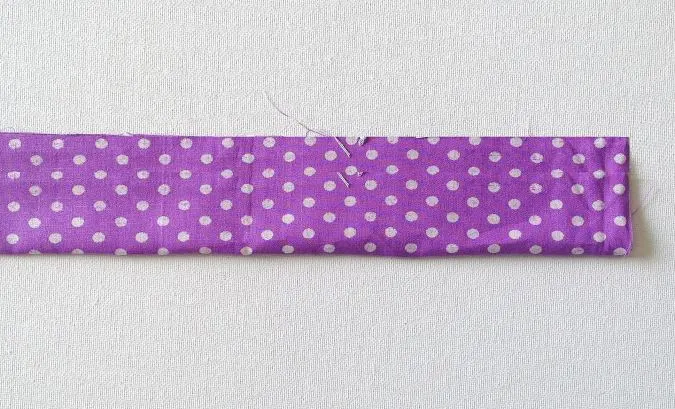
Fold the fabric lengthwise, aligning the edges and with the right sides together. Draw a straight line, 3/8- inch from the edge to mark the seamline (you may skip drawing the line if you can sew on a straight line).

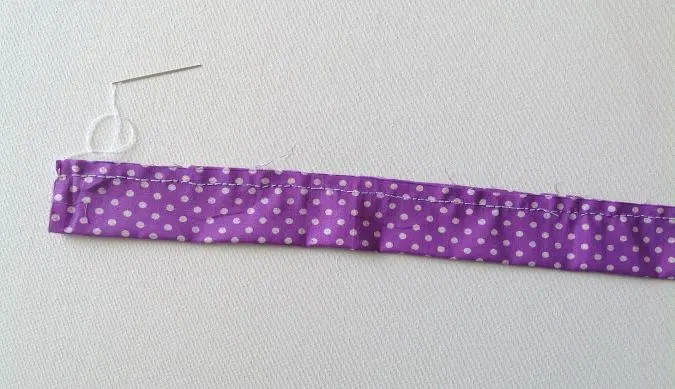
Sew the fabric strip shut, 3/8-inch away from the raw edge, using backstitch. * Refer the end of this tutorial to learn how to backstitch.
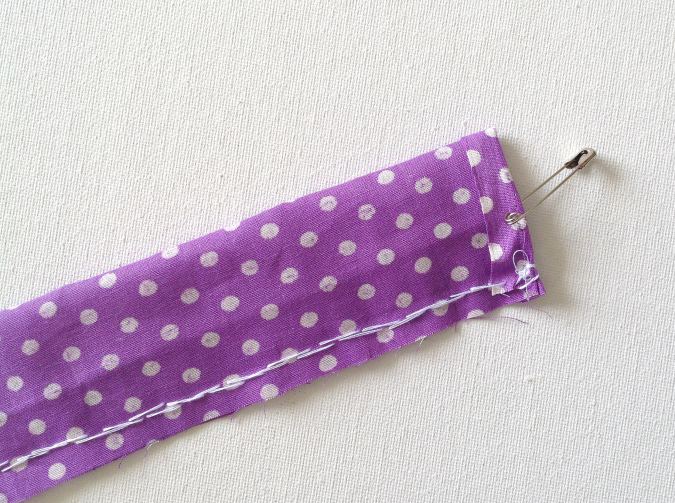

Put a safety pin at the end of the tube and insert the pin into the tube.


Keep inserting the pin into the tube, till the whole of the right side is turned out.
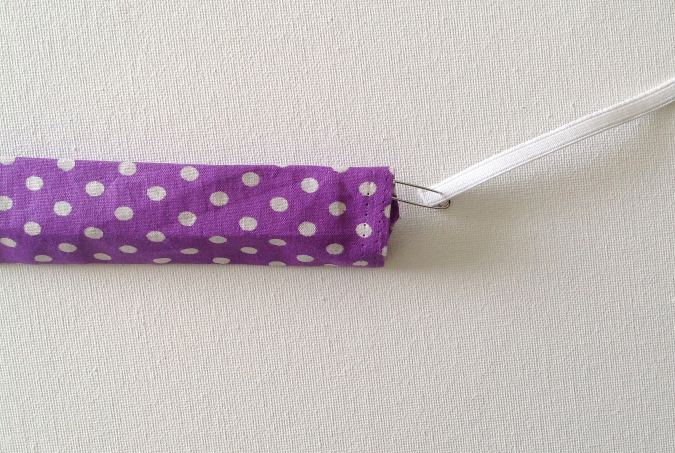
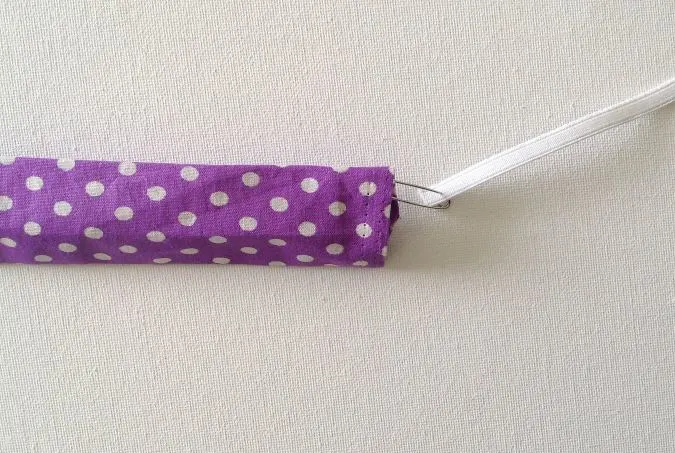
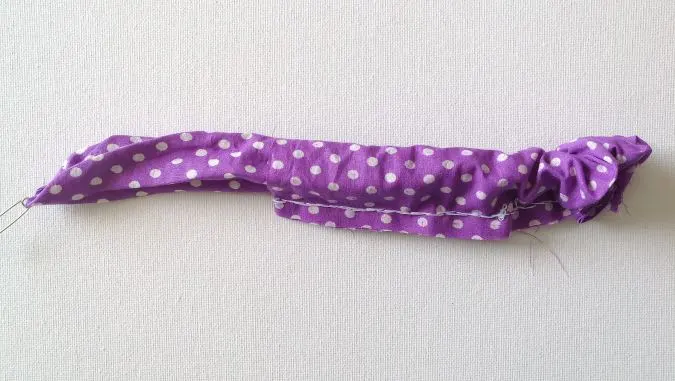
Take the elastic and thread it through the fabric tube, again using a safety pin.
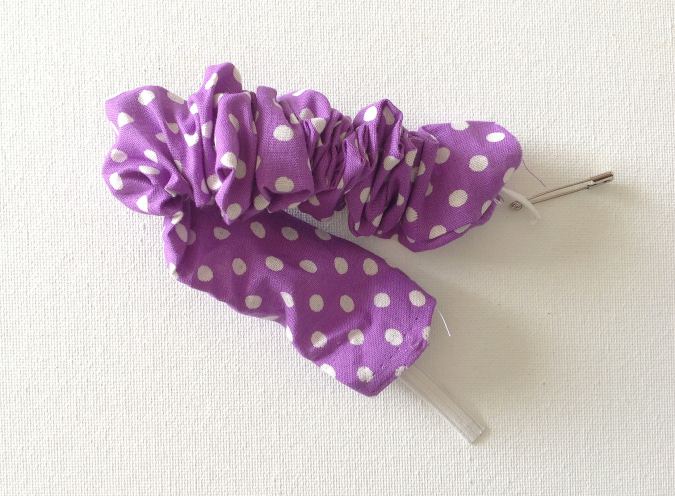
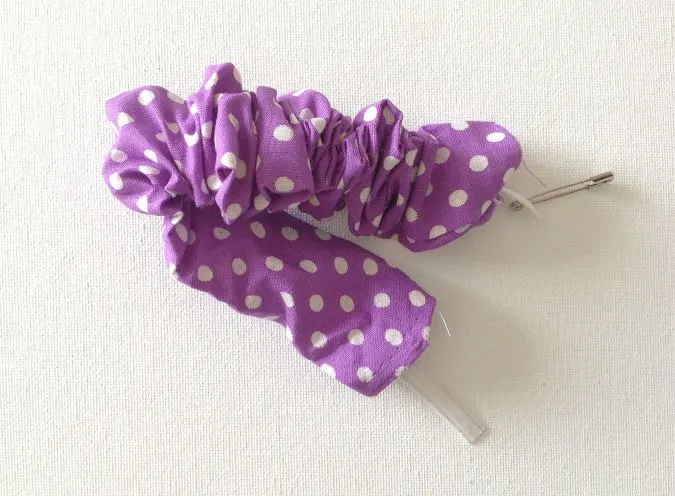
You will be scrunching the fabric tube as you go.
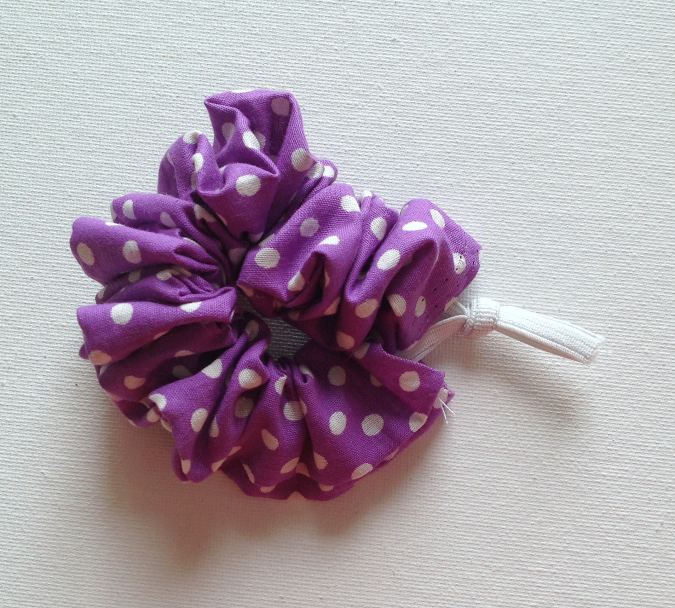
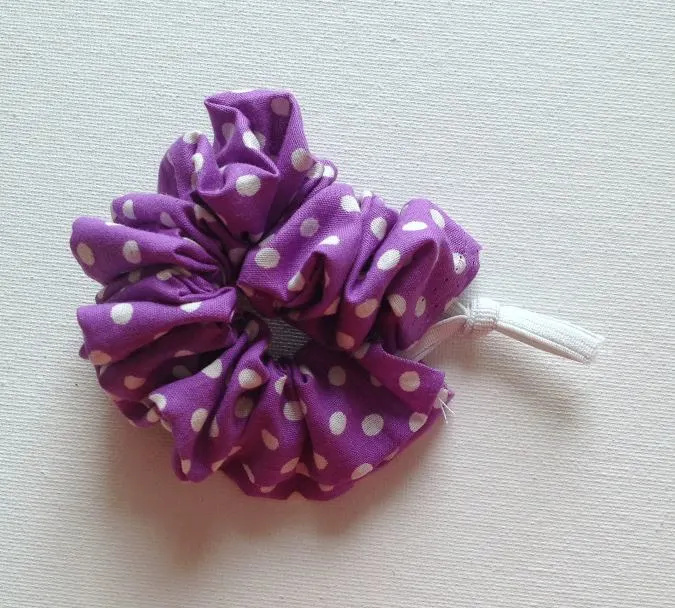
Tie the ends of the elastic together to secure.
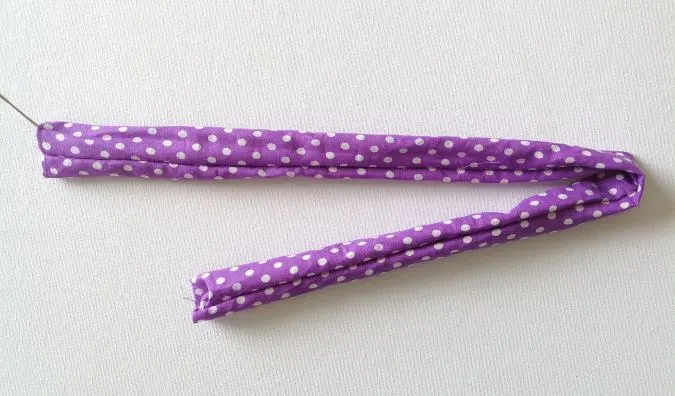
Next, we need to sew the scrunchie closed.
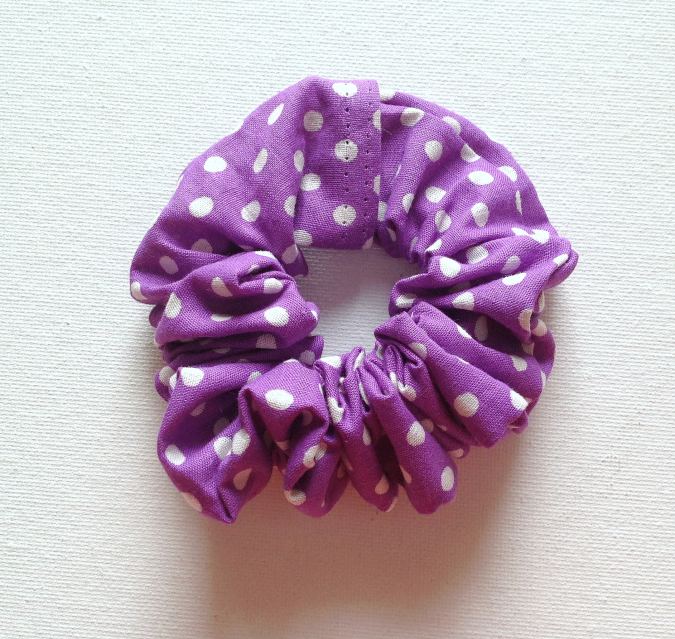

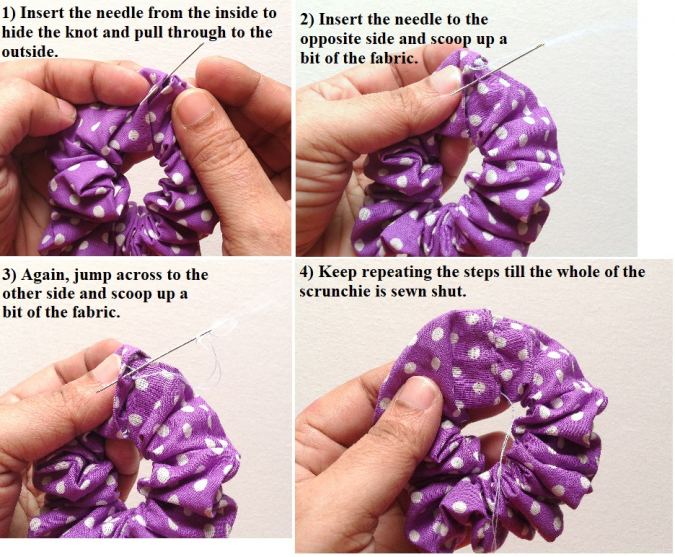
Tuck the raw edge of the scrunchie into the folded edge. You may use a ladder stitch to sew it closed. * Refer the end of the tutorial to learn how to ladder stitch.

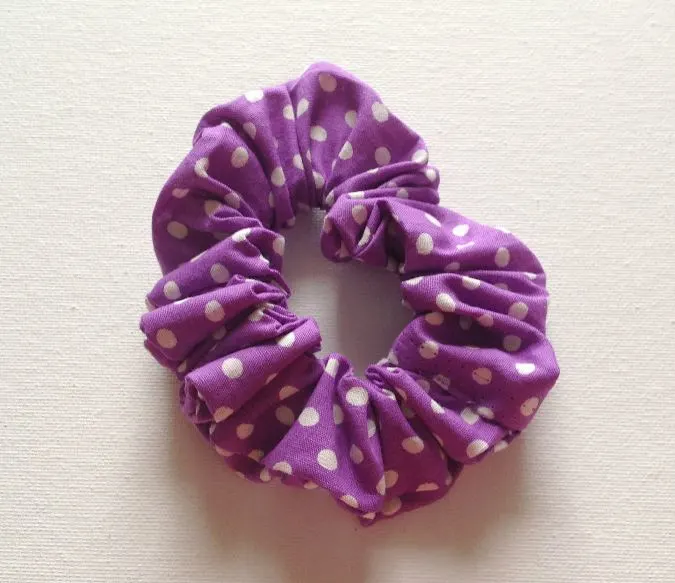
Our scrunchie is done.
Hand- Sewing Stitches

Thread your needle and tie the ends in a knot.
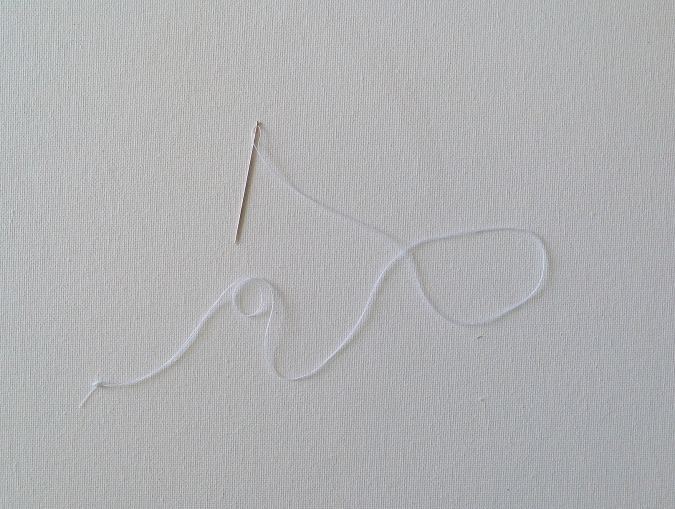
If you would like to learn how to backstitch, refer the picture below.

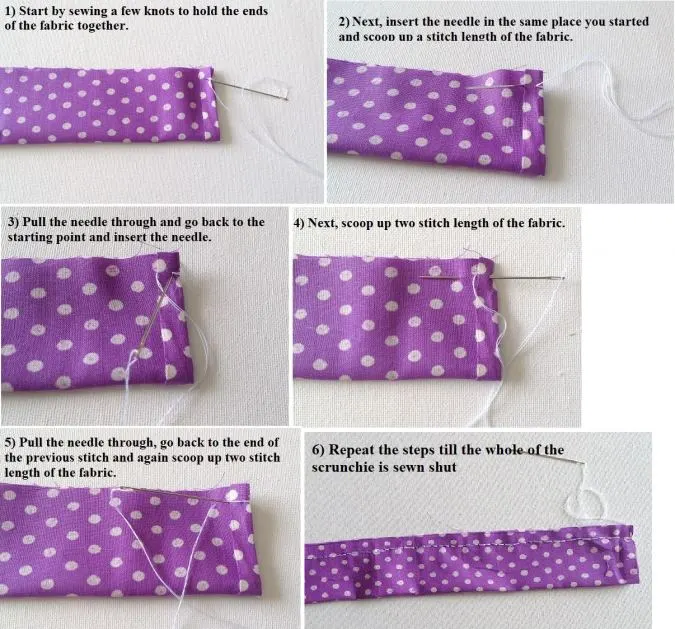
If you would like to learn how to sew a ladder stitch refer the steps below.

Find the webstory on the post here, 15-Minute Scrunchie: Hand-Sew This Quick & Easy Project
Pin it for later here,
Marsha Moskwa
Tuesday 28th of September 2021
Thanks for an easy way to make a scrunchie. I'm going to make a bunch and give them to all my friends and acquaintances to spread a little joy to all
Braeloche
Sunday 1st of August 2021
I just made one as my first sewing project. Thanks for the tutorial!
Marilyn Lokanin
Sunday 17th of January 2021
Can't wait to sew some