Would you like to create a unique tote for storing and carrying your sewing supplies? If so, we have the perfect solution for you: a sewing organizer tote pattern. If you’ve previously used my crayon tote pattern, you’ll find it easy to make this one as well.

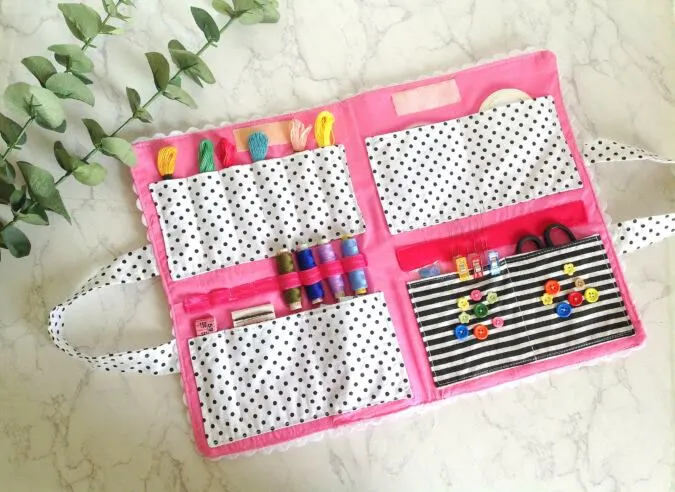

This pattern includes pockets for storing thread spools, scissors, notepads, ribbon rolls, and more. Additionally, there are options for storing needles, all conveniently organized in one compact space!

I thoroughly enjoyed sewing this tote because it’s highly customizable to suit your personal preferences. You can select different colors and fabric prints to create totes that match your style.
Click on the picture for my sewing caddy pattern:

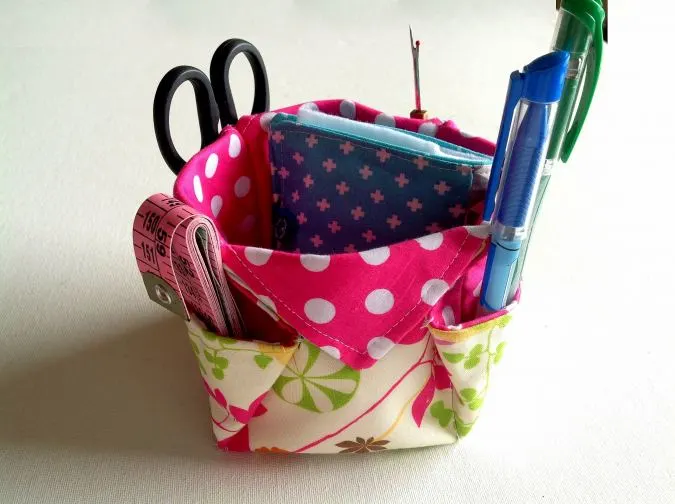
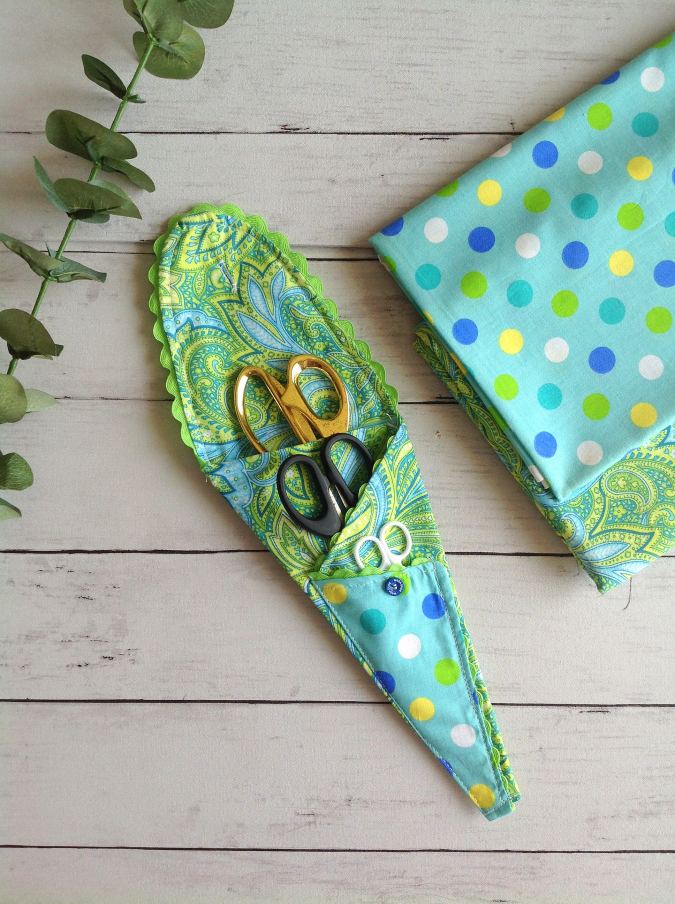
And click on the picture below for my scissor holder sewing pattern:

Sewing Organizer Tote Sewing Pattern
Supplies Needed:
Medium- weight cotton fabric for the tote outer- 1/2- yard
Medium- weight cotton fabric for the tote lining- 1/2 yard.
Medium- weight cotton fabric for the pockets- 1/4 yard ( you may use cordinating leftover scraps for the pockets).
Heavy- weight fusible interfacing- 1/2 yard.
Cotton batting- 2/3 yard.
Felt piece to insert the needles.
Fold over elastic to make loops for thread spools.
Sewing Notions.


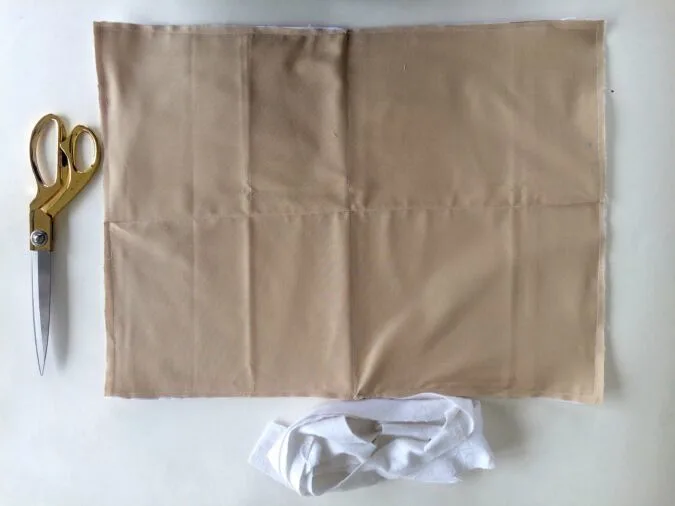
Gather you supplies.


Cut you pieces with the following measurements:
Sewing organizer tote outer- 19.75” x 14.75”
Sewing organizer lining and interfacing- Same measurements as above.
Pocket pieces- 9” x 4.75” (cut 8)
Batting- 23.75” x 18.75”.
Strap-12” x 3.5” (cut 2).
Felt piece- 8.5” x 1.5”
Fold over elastic- 8.5”
We first start making the pockets. ** Pinch to zoom.


1) Take the two pieces for the first pocket.
2) Layer them with the right sides together lining up the edges and clip them together.
3) Sew around the edge, leaving a gap of 2 inches to turn the right side out.
4) Cut the corners to reduce the bulk in the seam.
5) Bring the right side out through the opening.
6) Poke the corners out gently with the help of your scissors.
7) Press to make it neat and crisp.
8) Topstitch all around the edge. Your pocket is ready.

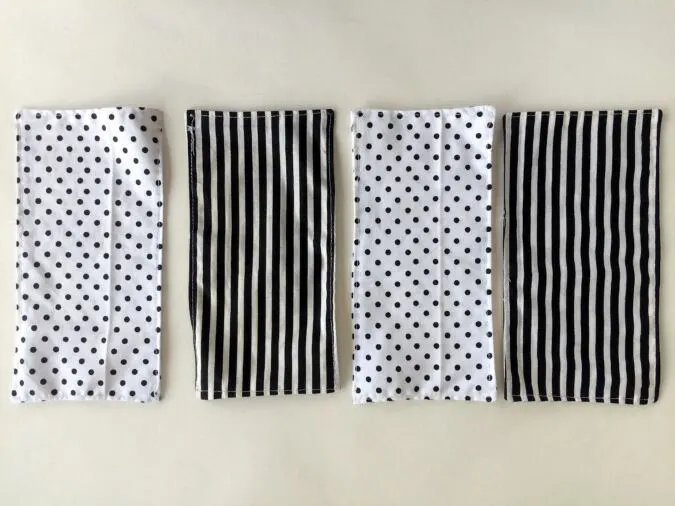
Repeat the steps to get the other three pockets ready.
Next, we sew the pockets to the lining piece.


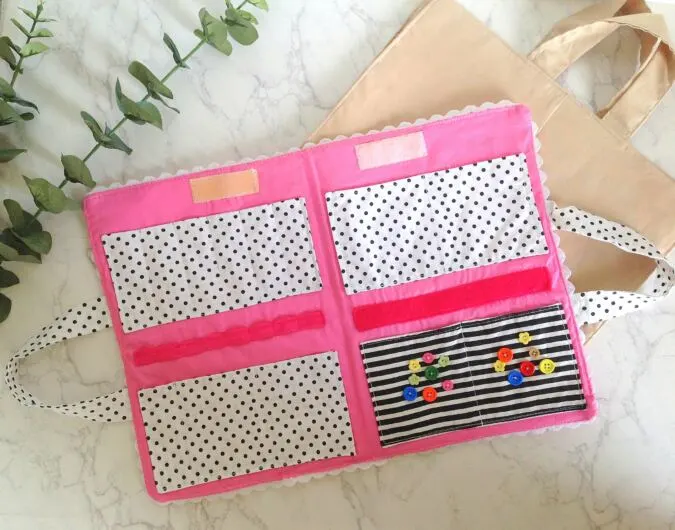
Take the tote lining piece and place the pockets at a distance marked in the picture above and pin all around, leaving the top edge. Pin the felt and the fold- over elastic pieces, in the middle of the gap between the pockets. Sew around the pinned edges to secure the pockets. For the felt piece, you will have to sew around the four edges to secure it. For the fold- over elastic, sew along the two short edges to secure. * Make sure to reinforce at the start and finish.

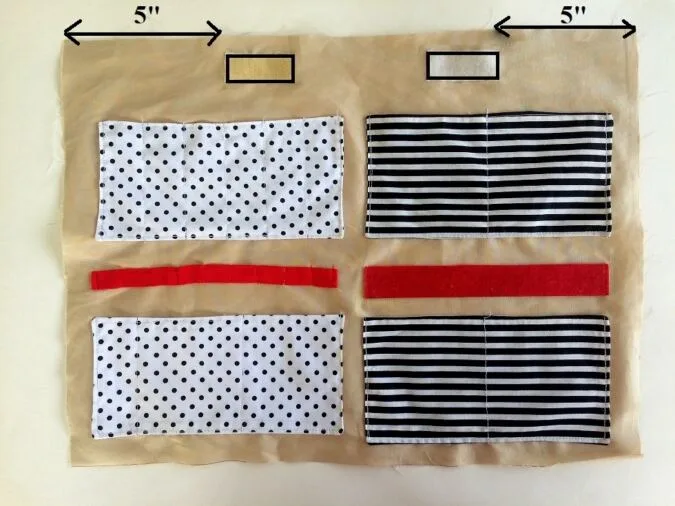
Take the Velcro pieces and pin it at 5” from the edge. Sew around the edge to secure the Velcro to the tote.


Draw lines 1 & 3/8- inch apart on the first pocket and at 1- inch apart on the elastic, to create divisions for the thread spools or embroidery threads. For the other pockets, I marked lines for bigger slots so that I could place the scissors, tapes, ribbon rolls, other trims and so on ( you may choose to make these slots according your requirement). Sew along the lines, reinforcing at the start and finish.
Let’s move on to the tote outer.


Fuse the interfacing to the wrong side of the tote outer, following the manufacturer’s instructions.

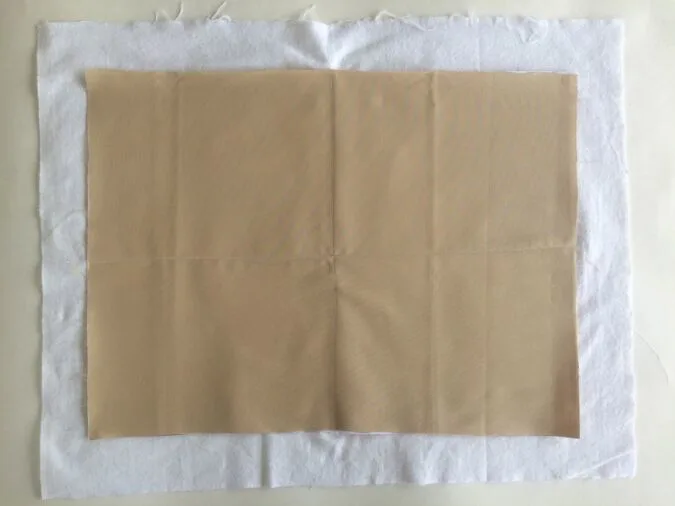
Next, take the batting and place the fused outer piece, above it, leaving equal space all around. Draw two lines perpendicular and passing through the center. Pin the layers together. Sew straight stitches along the lines.


The underside will look like the picture above.

Cut off the extra batting all around.
Next, we sew the handles for the tote.

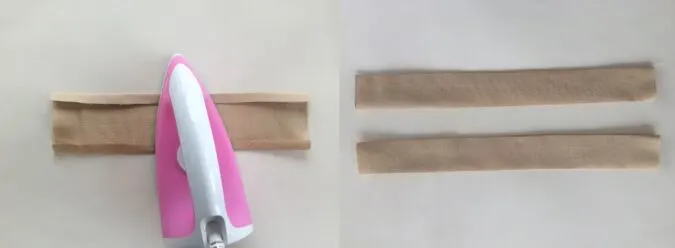
Take the fabric pieces for the handles, fold the two long edges towards the wrong side by 3/8- inch and press. Fold again in half lengthwise and sew shut along the edge of the folds.


Find the center of the tote edge using your tape and mark a point. Mark 1.5” from the center point on either side and pin the short edge of the handle to the tote. Make sure that the edge of the handle extends the tote by 1/2- inch. Sew the handles to the tote on either side.
Let’s join the tote outer and lining pieces together.


Place the outer and lining layered, with the right sides together, lining up the edges and clip them together all around.


Sew around the edges, leaving a gap of 3- inches to turn the right side out.


Clip the corners.


Pull the right side out through the opening. Poke the corners out and press to make it clean and crisp.


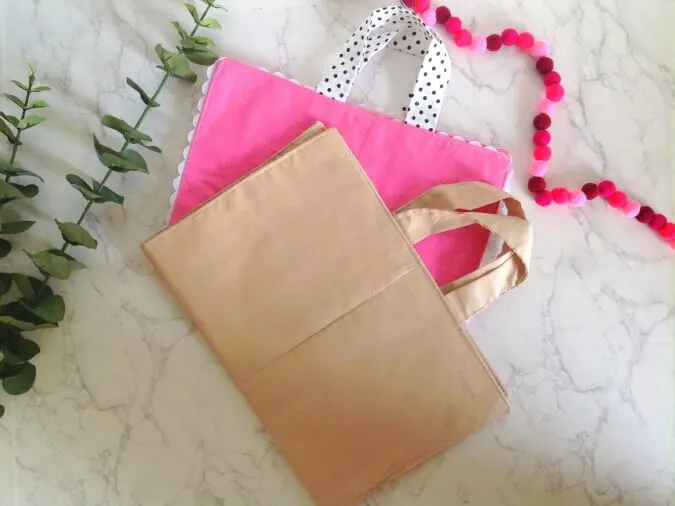
Topstitch around the edge and your DIY sewing organizer tote is ready for use!
Have a look at the webstory for the post here: A Beginner’s Guide to Sewing an Organizer Tote
Pin it for later here:

