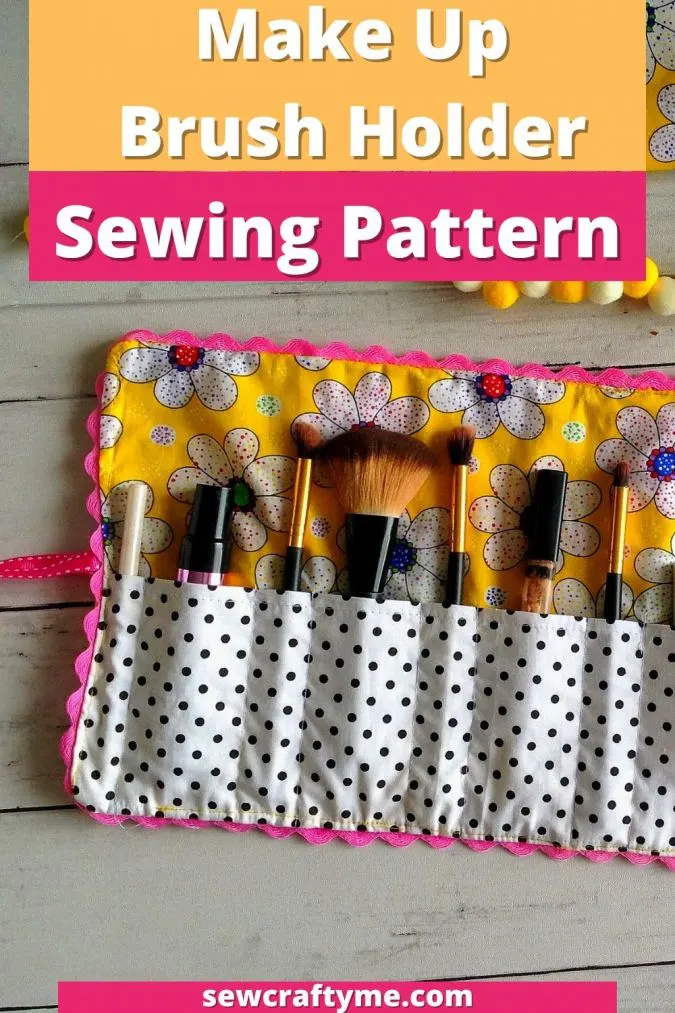
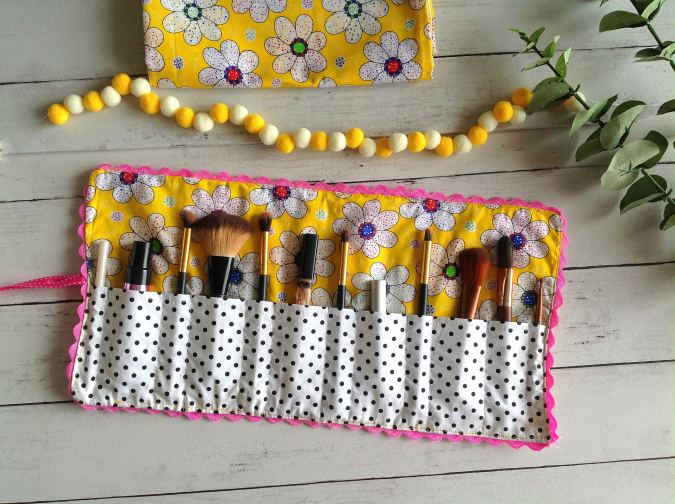
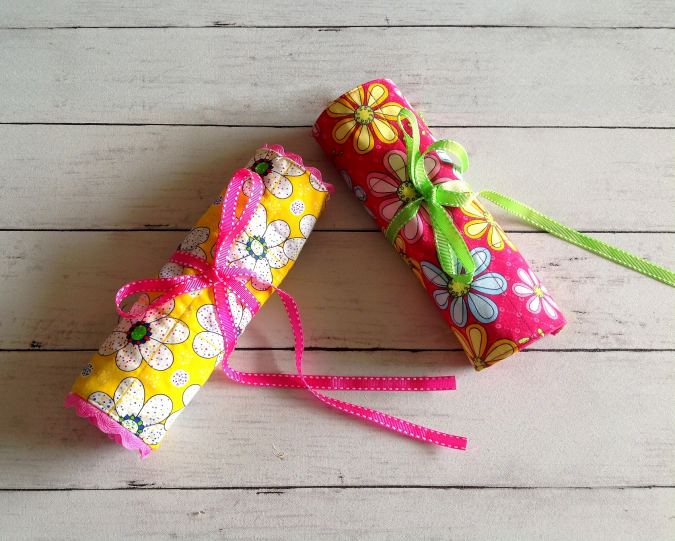
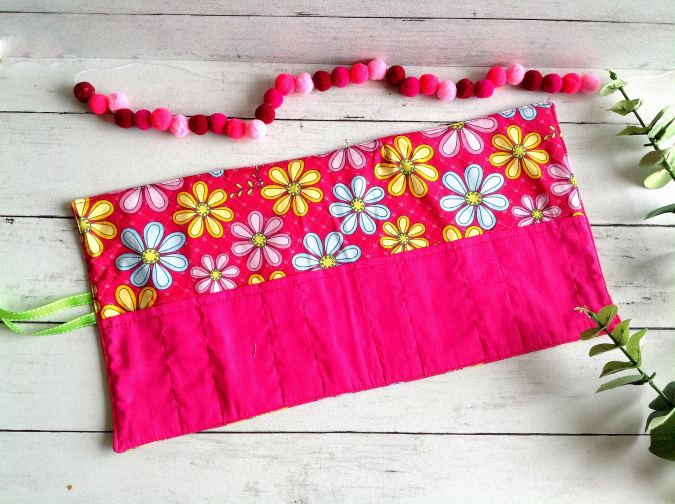
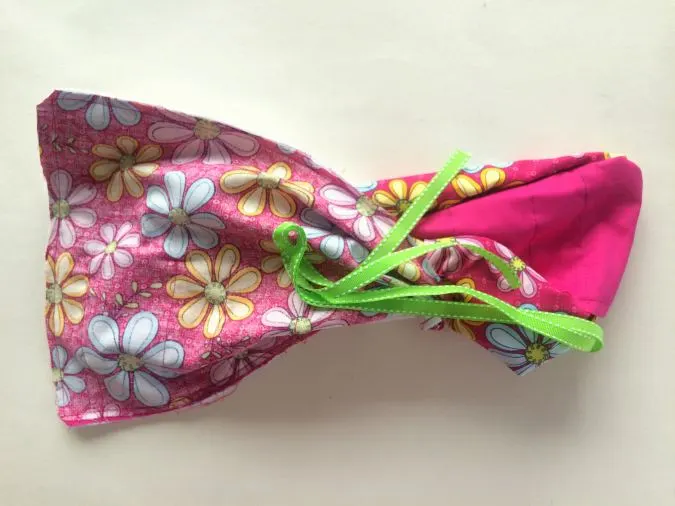
If you love cosmetics, you should learn how to sew this pretty and useful make-up brush holder. This brush holder is so useful, you can just slide your makeup brushes in various sizes, down the pockets to hold them securely in place. Once done, just roll it up and tie the ribbon to make it compact and easy to carry around.


This DIY makeup brush holder is so compact, that it can easily fit in your makeup bag. It is ideal to organize your brushes on your dressing table and also great for travel.

The makeup brush roll has the added advantage of being washable. You can easily wash it in your washing machine and make it ready for use. Now that makes it an eco-friendly sewing project too!

This brush holder is so useful and cute that it can make great handmade gifts. With the holiday season fast approaching, this brush holder can be a perfect gift for your friends and family.
How to Sew a Makeup Brush Holder
Supplies Needed:
Medium-weight cotton fabric for the brush holder outer- 1/2- yard
Medium-weight cotton fabric for the brush holder lining- 1/2 yard.
Medium-weight cotton fabric for the pocket- 1/4 yard.
*You may use fat quarters for all the above.
Heavy-weight fusible interfacing- 1/2 yard.
Cotton batting- 2/3 yard.
1/2- inch gross grain ribbon in a coordinating color- 46- inches.
Sewing Notions.
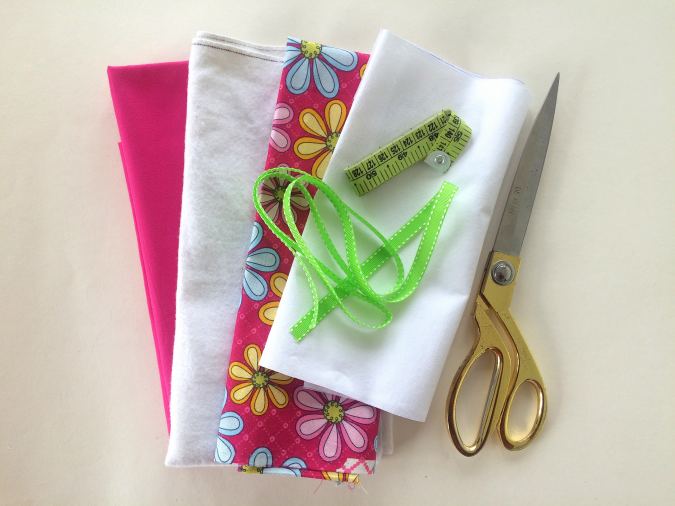
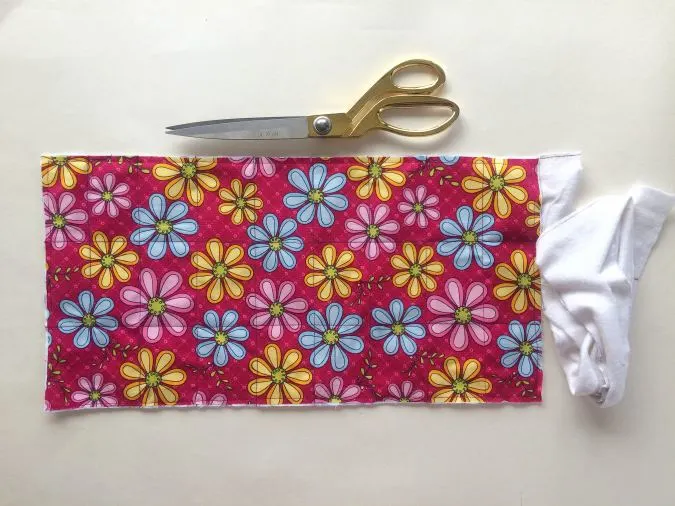
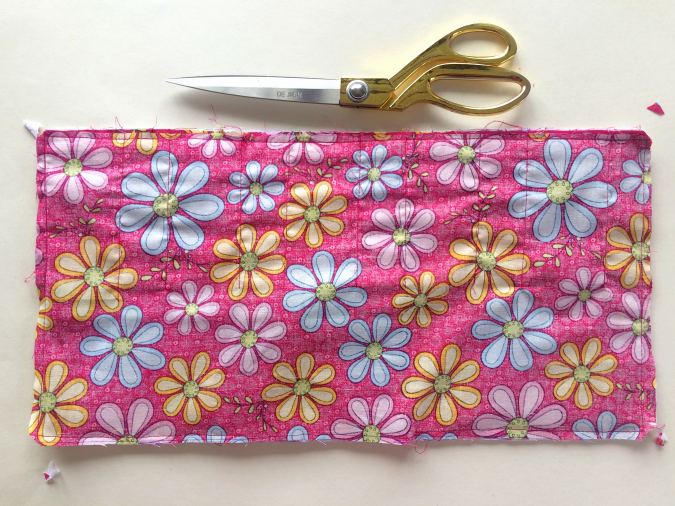
Gather your supplies.
Cut your pieces with the following measurements:
Make-up brush holder outer and lining- 18” x 14”.
Interfacing- Same measurements as above.
Pocket for the brushes- 18” x 16”.
Batting- 22” x 18”.
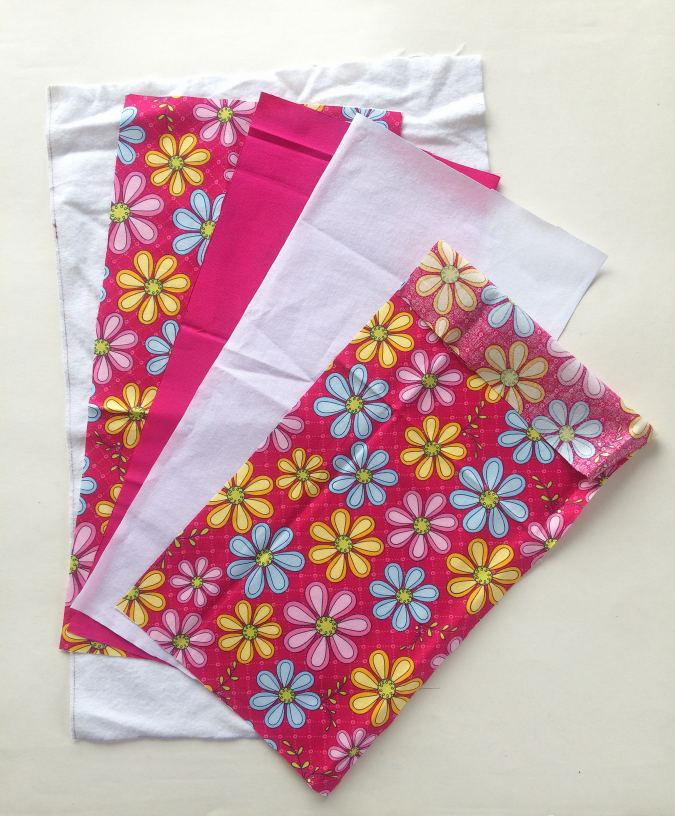

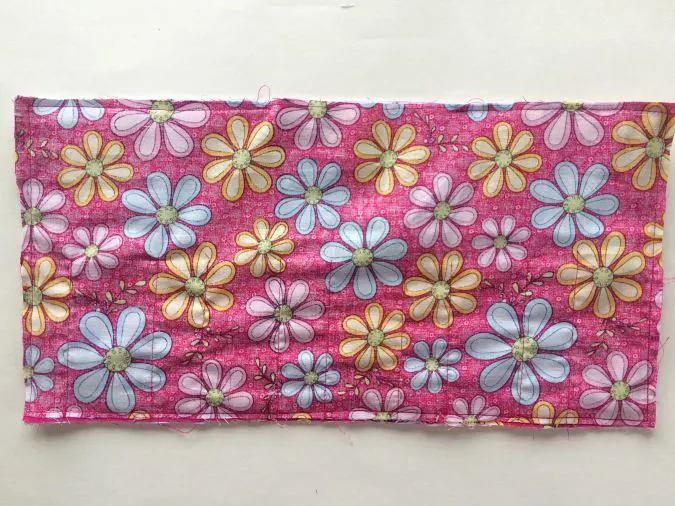
Your pieces will look like this once cut.
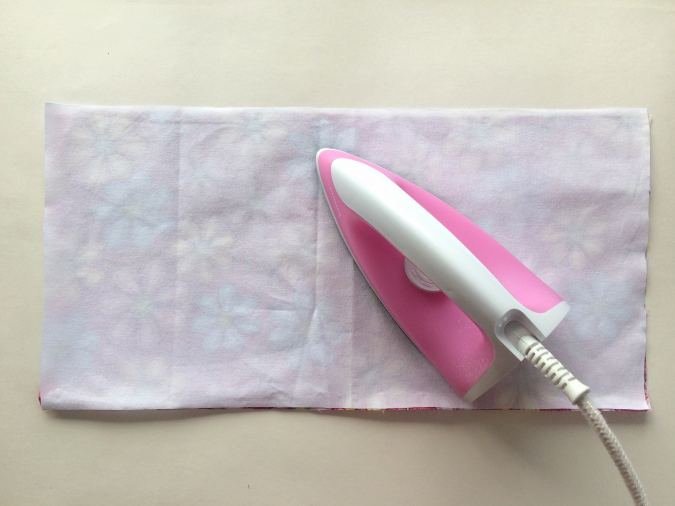
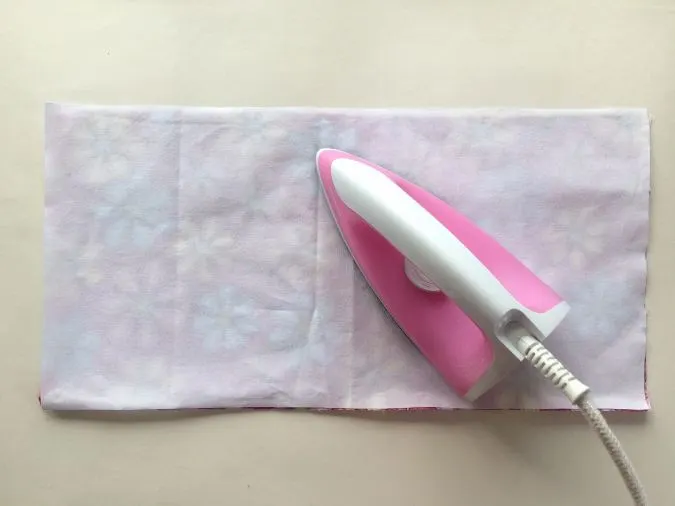
Fuse the interfacing to the wrong side of the brush holder outer, following the manufacturer’s instructions.
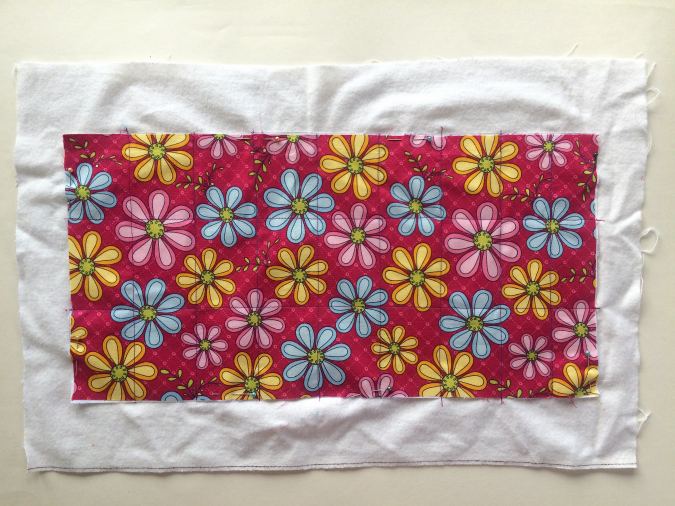
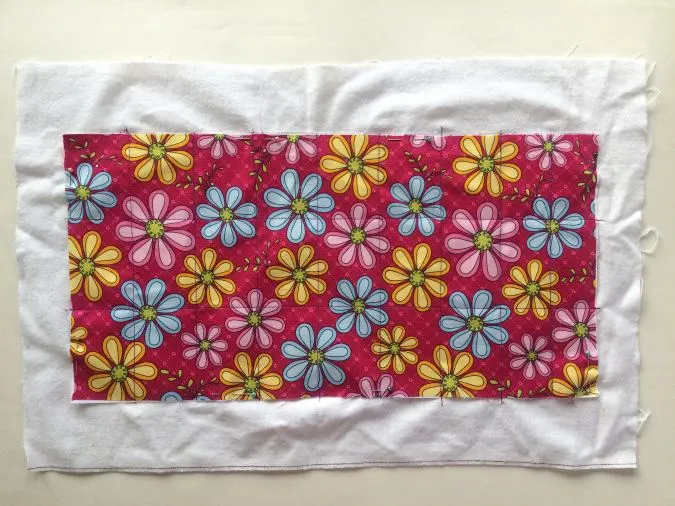
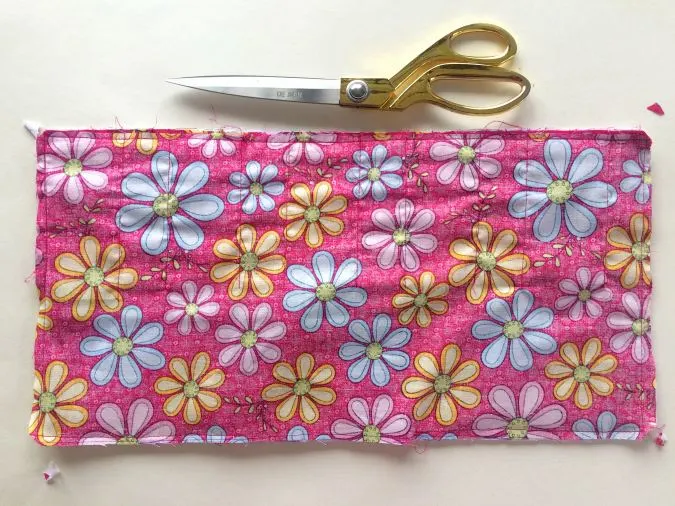
Next, take the batting and place the fused outer piece, above it, leaving equal space all around. Draw two lines perpendicular and passing through the center. Pin the layers together. Sew straight stitches along the lines.

Cut off the extra batting all around.
Sewing
We first sew the pocket.
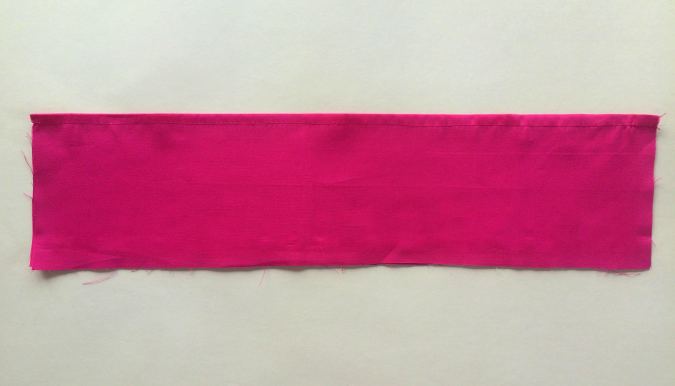
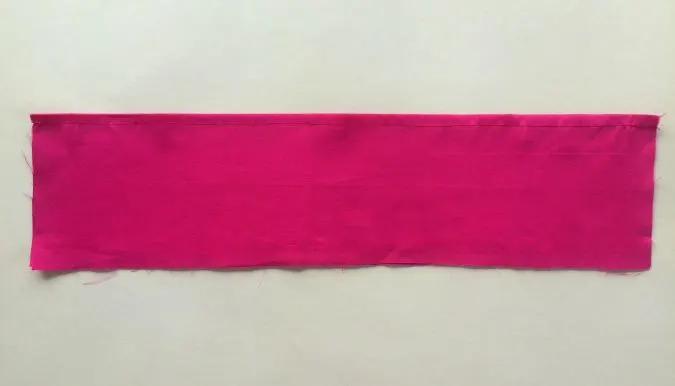
Take the pocket piece, fold it in half lengthwise, and press to set. Topstitch close to the folded edge to make it clean and crisp.
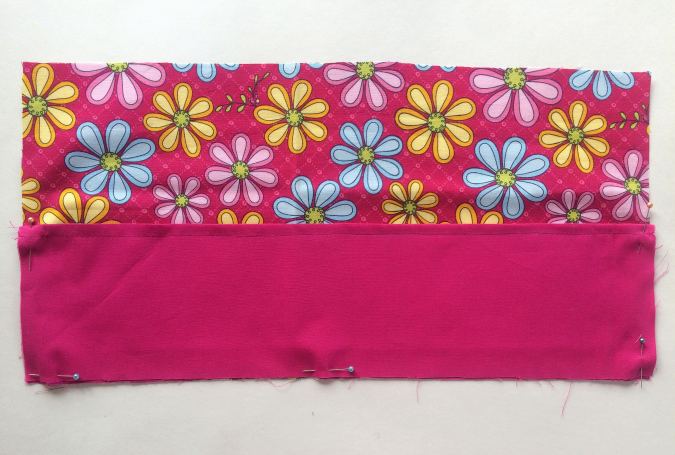

Place the pocket on the inner piece, lining up the raw edges and pin all around, leaving the top edge. Sew around the pinned edges to secure the pockets. * Make sure to reinforce at the start and finish.
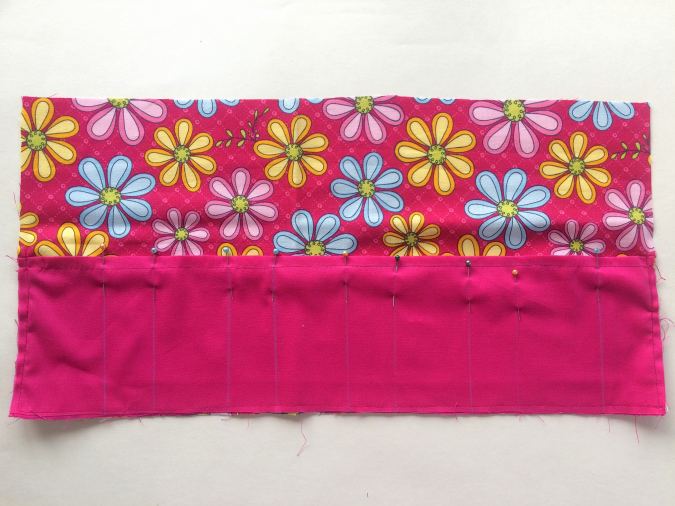
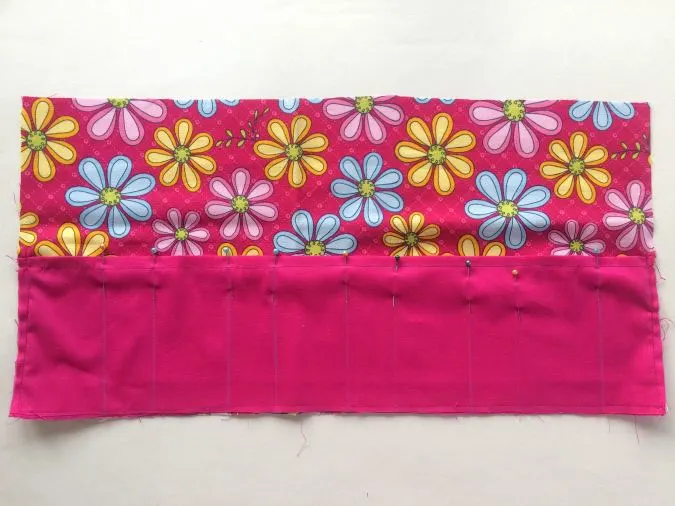
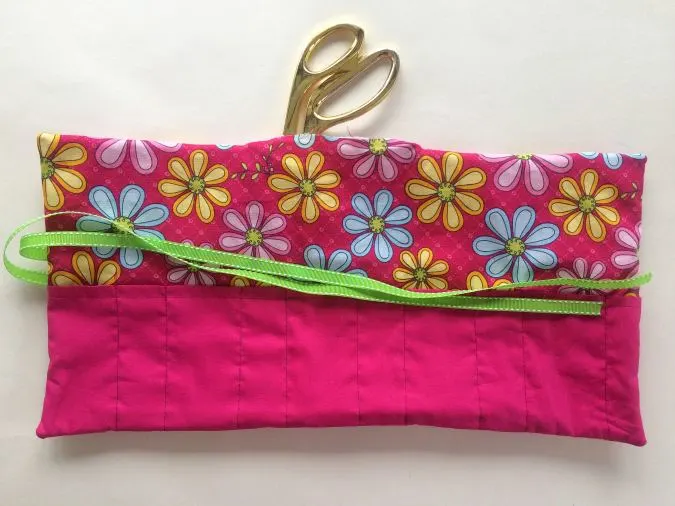
Draw lines 1 & 1/2 – inch apart on the pocket to create divisions for the brushes. You may increase the widths to 2- inches or more for larger brushes. Sew along the line, reinforcing at the start and finish.
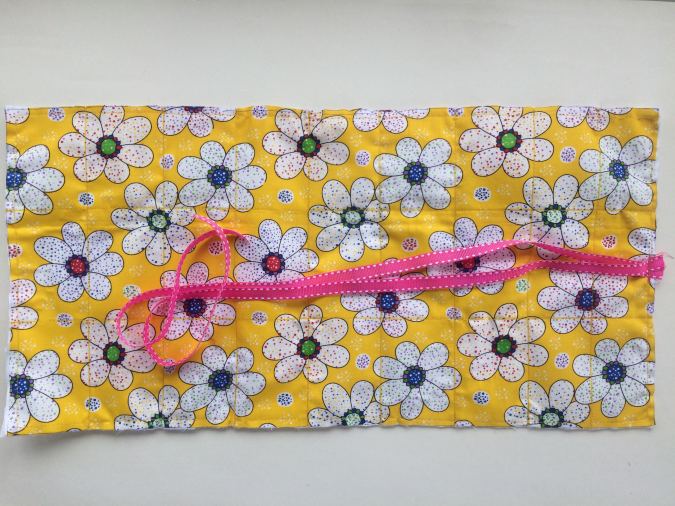

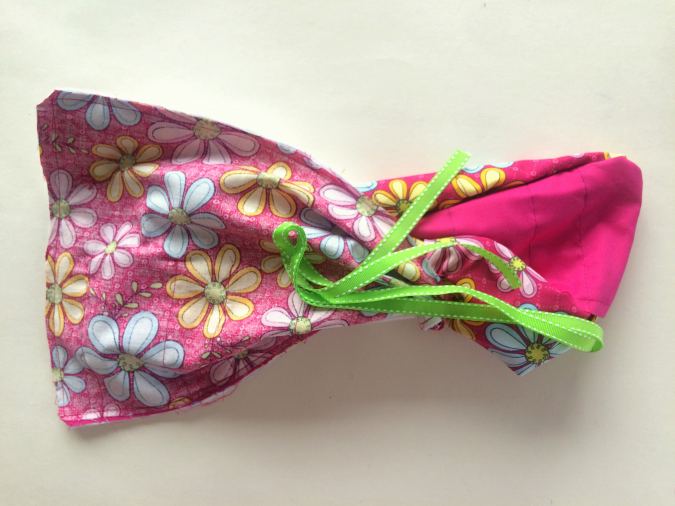
Cut the gross grain ribbon into two equal pieces and pin them at the center of one of the short edges, on the right side of the outer piece (picture for illustration purposes).
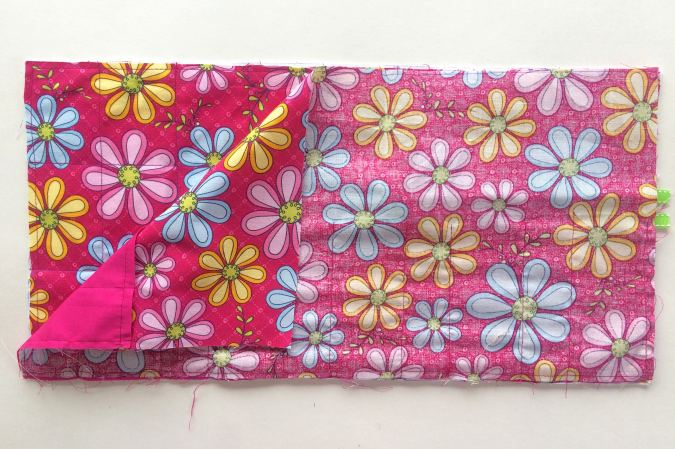

Place the outer and lining layered, with the right sides together, lining up the edges and clip them together all around.

Sew around the edges, leaving a gap of 3- inches to turn the right side out.
Clip the corners.
Pull the right side out through the opening.

Poke the corners out and press to make it clean and crisp.
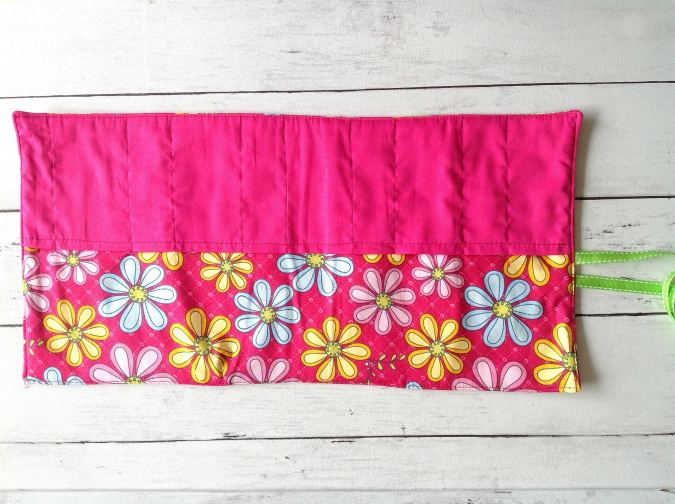
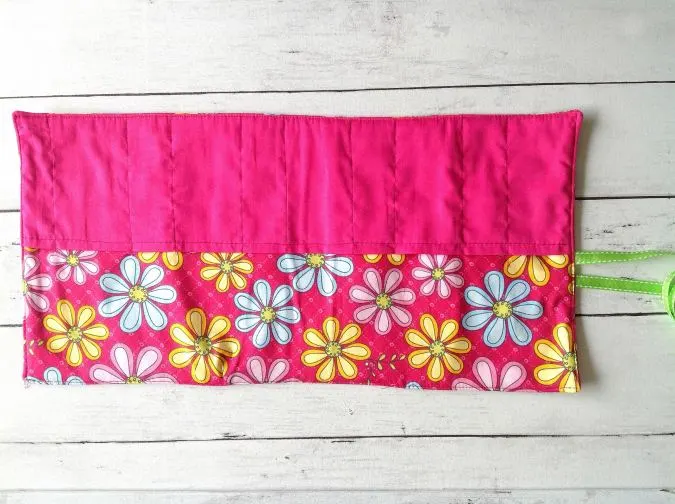
Topstitch around the edge and you have learned how to sew a makeup brush holder!
Look at the web story for the post here: Step-by-Step Guide to Sewing a Cosmetic Brush Holder Pin it for later here,