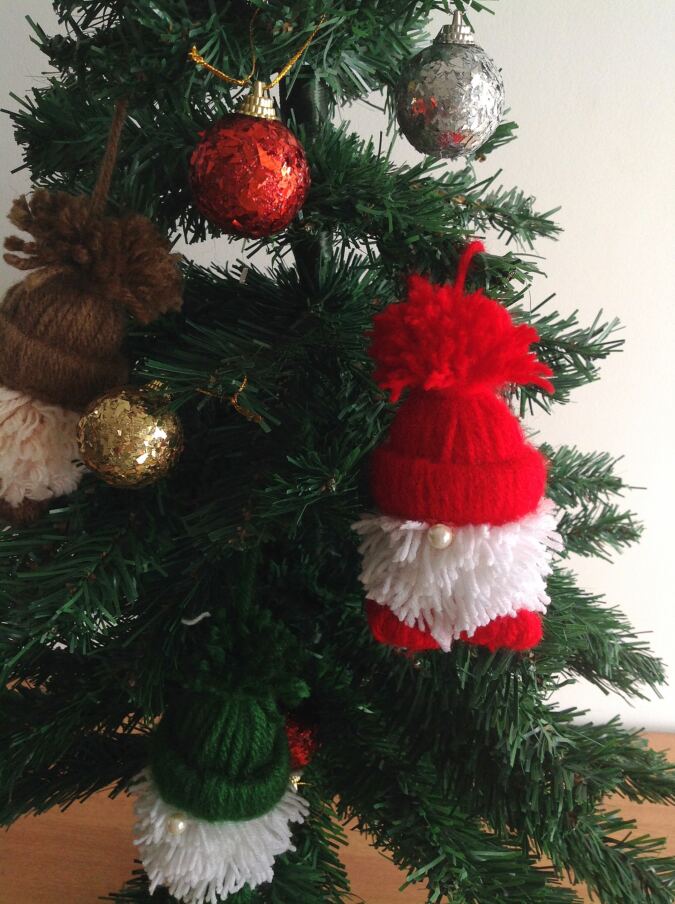
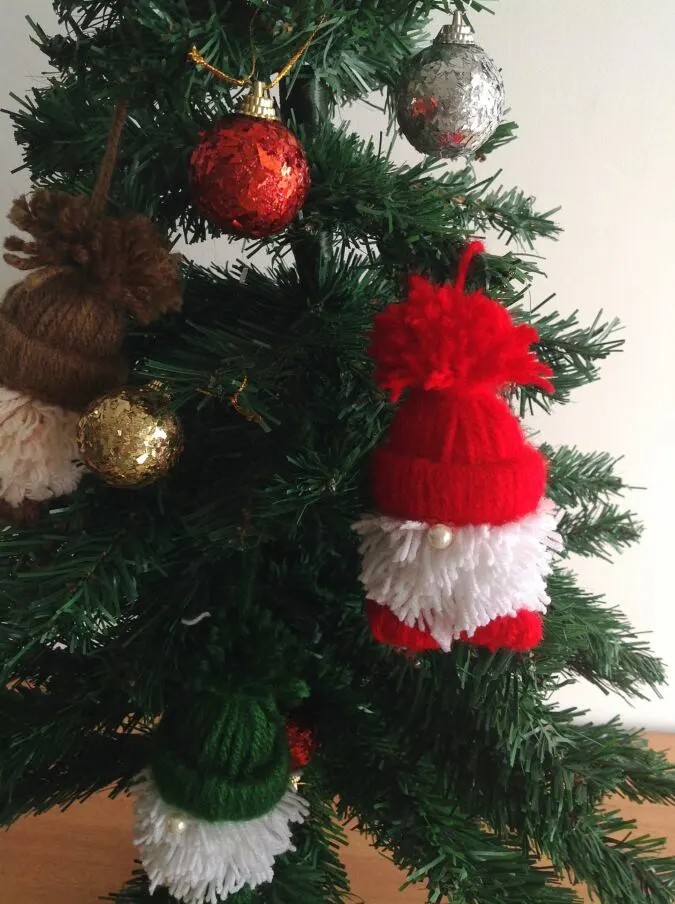
Create adorable DIY yarn gnomes this holiday season and add a whimsical touch to your Christmas tree with these charming Christmas ornaments.
Our free tutorial makes it easy and fun to craft these little gnome friends. With step-by-step instructions and a list of readily available materials, you can quickly bring these cute characters to life. Even if you’re a crafting novice, you’ll find this DIY project accessible and enjoyable.

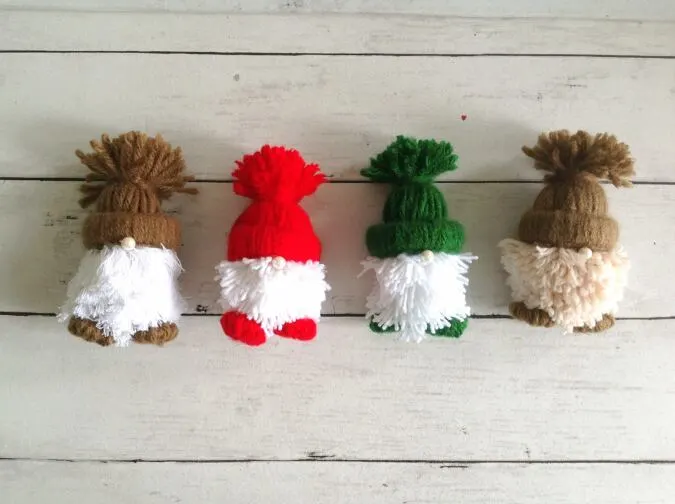
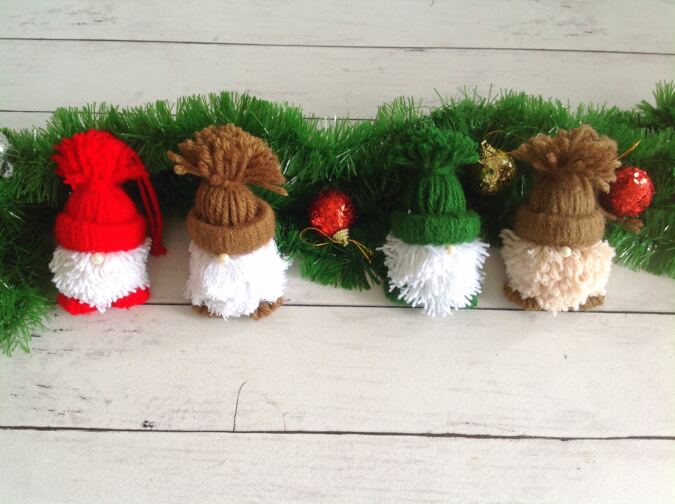
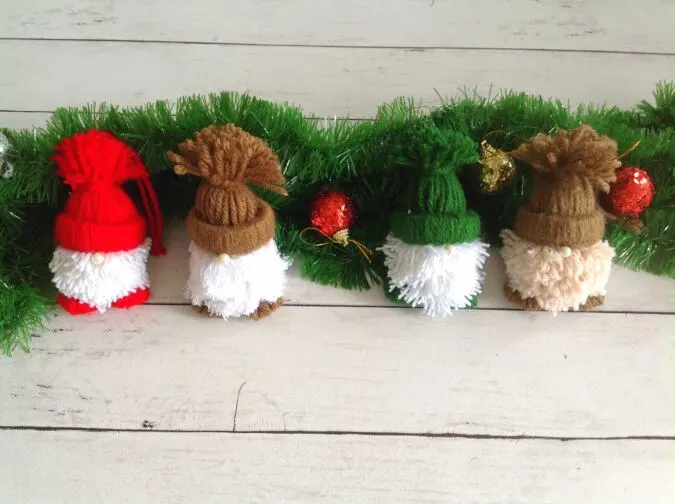
Choose your favorite yarn colors and customize your gnomes to match your holiday decor perfectly. Whether you’re creating them as gifts or decking out your own tree, these DIY yarn gnomes are sure to bring joy and warmth to your holiday celebrations. Dive into the world of crafting and spread the holiday cheer with these delightful Christmas ornaments.
DIY Yarn Gnomes Christmas Ornaments
Supplies Needed:
Two knitting or crocheting yarn balls in your desired colors.
Polyfill fiber.
Glue gun.
Toilet Paper Roll
Fork
Scissors.
Ornamental pearl.


Gather your supplies.

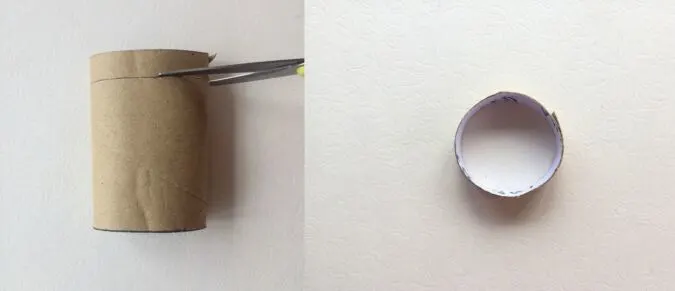
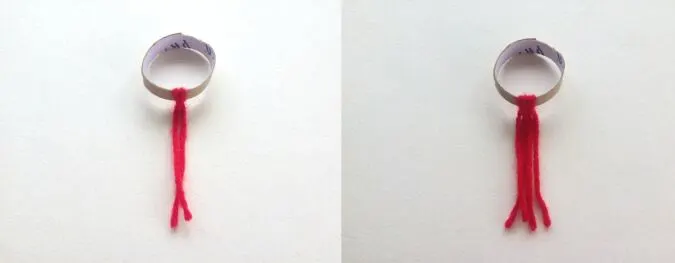
Cut a ½-inch piece from your toilet paper roll.

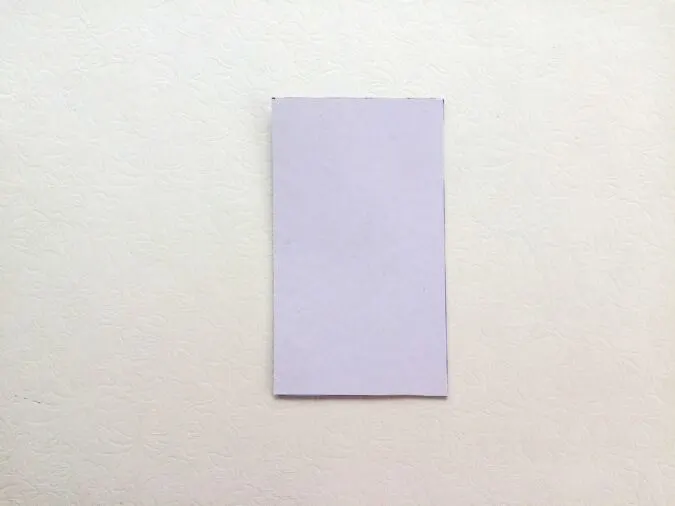
Cut one cardboard piece about 4.75- inches long and 2.75- inches wide.
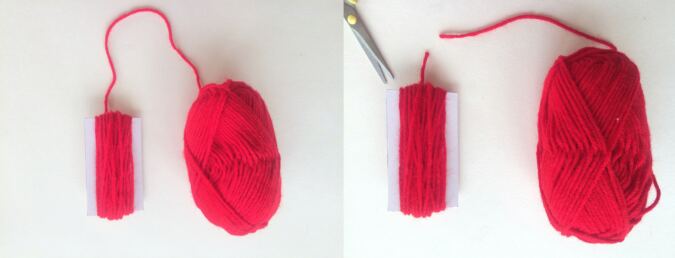

Wrap the yarn around the longer side of the cardboard about 25 to 30 times. Cut off the yarn from where you stop.


Slide your scissors under the yarn loops on one end and cut them open.


Take one piece of yarn from the above bundle and fold it in half to form a loop.

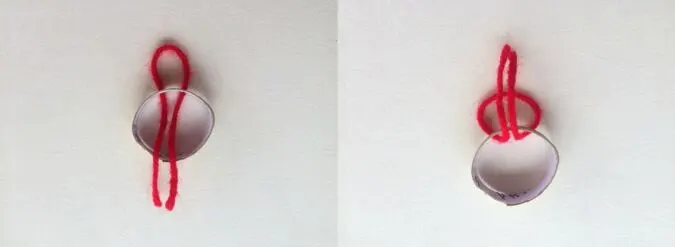
Slide the loop under the ring you cut from the tissue roll. Insert the free ends into the loop.

Pull the yarn to tighten the loop. Take the next yarn pieces and continue tying in a similar manner.


Your ring with all the yarn pieces tied without space in between would now look like this.


Hold the yarn ends together in a bunch, insert it through the ring and bring it to the other side of the ring. Your gnome hat is ready.
Next, we make the gnome body.

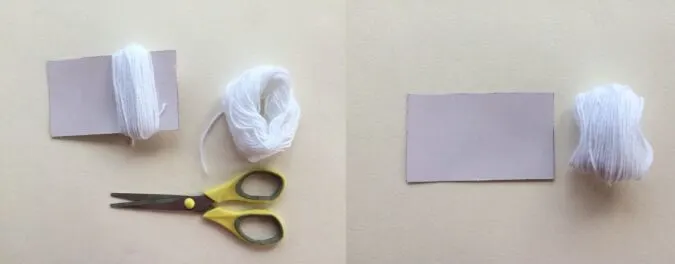
Wrap the white yarn around the width of the cardboard piece, about about 25 to 30 times. Remove the yarn from the cardboard.


Take a yarn piece, 25-inches long and fold it in half. Slide it under the yarn loops and insert the free ends of the yarn through the loop


Pull to tighten. Separate the yarn strands and bring them to either sides. Tie one more knot to secure.


Cut open the yarn loops on both sides and your pompom for the gnome body is ready.
Next, we hotglue the gnome hat and gnome body together.

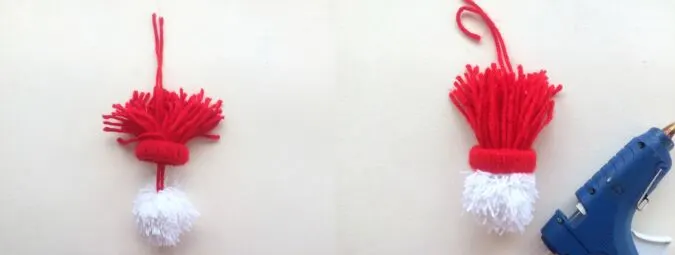
Insert the hanging yarn strands of the pompom through the gnome hat and hot glue the pompom along the edge of the hat.


Grap a ball of polyfill fiber and stuff it into the gnome hat from the top.
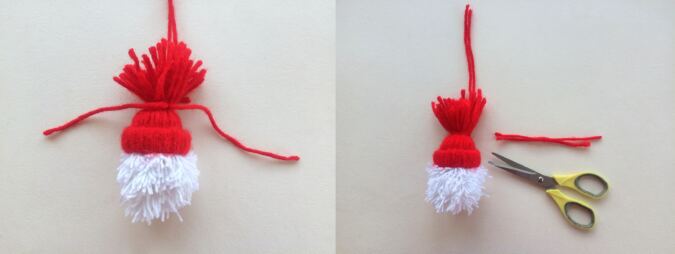

Take a piece of yarn and tie the yarn on the gnome hat in a bunch. Cut off the extra.


Tie a knot on the long string (for hanging).


Trim the yarn in the gnome hat to make it shorter and neater.

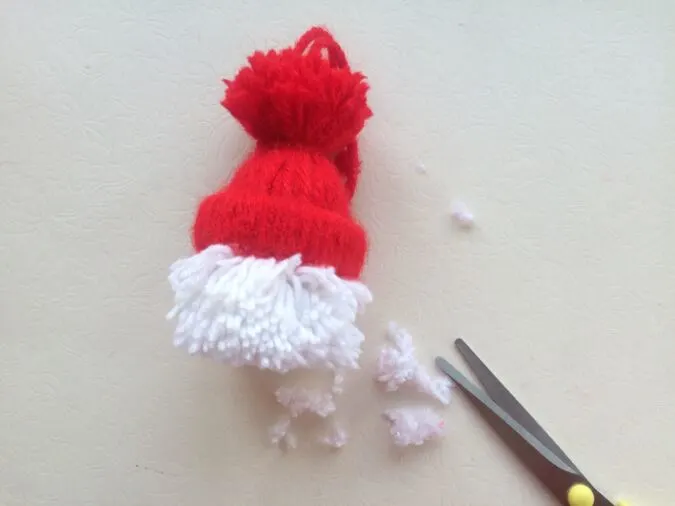
Trim the yarn in the gnome body to make it neater and round.
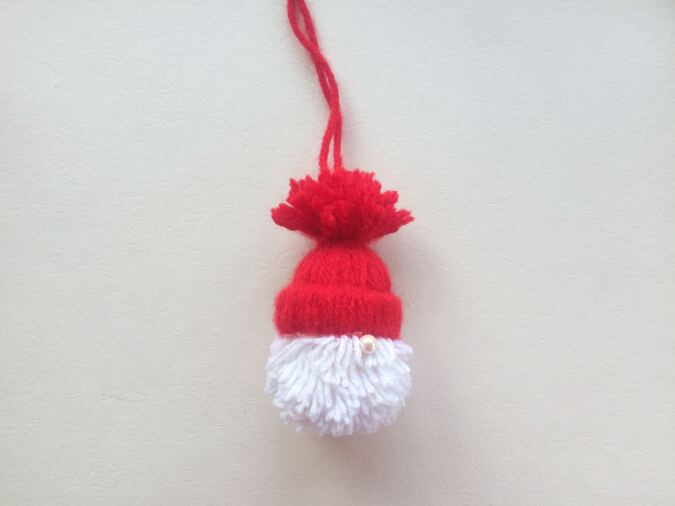

Glue the ornamental pearl just below the gnome hat for the gnome nose.
Next we make the gnome feet.


1) Take one yarn piece, 12- inches long. Fold it in half to form a loop.
2) Insert it through the middle slot in the fork
3) Start winding the yarn around the fork.
4) Keep winding about 20 times and cut off the extra.
5) Bring the yarn loop underneath towards the middle of the bunch. 6)Remove the yarn from the fork and securely tie it.
7) Cut off the extra and your gnome foot is ready
8) Repeat for the other foot.
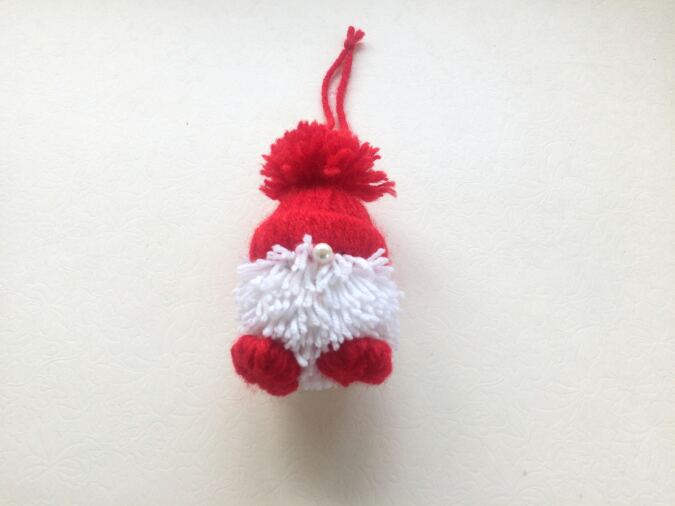

Hot glue the feet along the underside of the gnome body and your yarn Christmas gnome is ready!
Find the webstory for the post here, Handmade Yarn Gnome Christmas Ornaments
Pin it for later here:


Gloria
Saturday 25th of November 2023
So cute! Will be making these with my grandkids