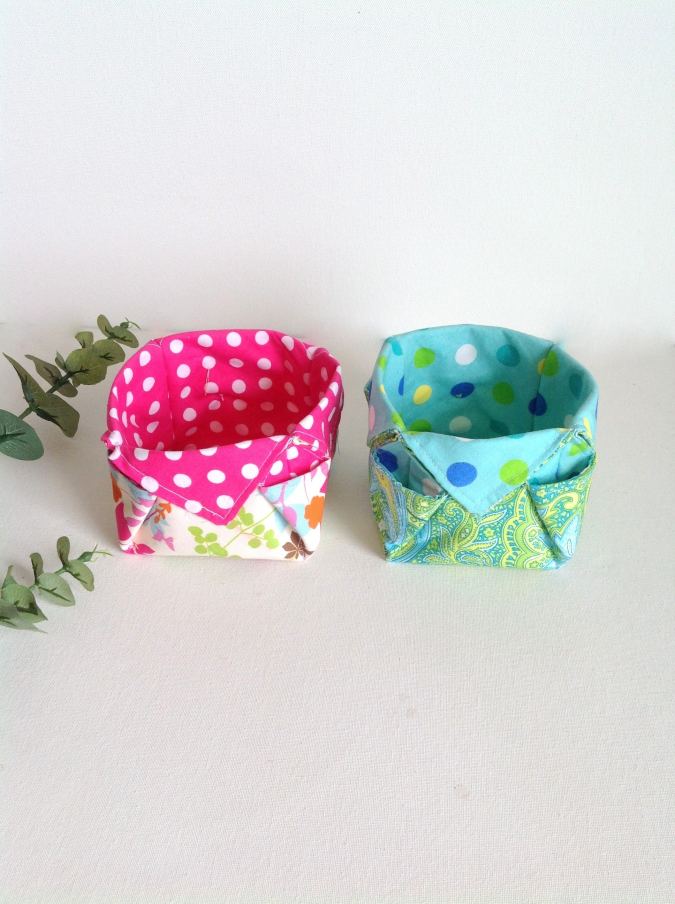
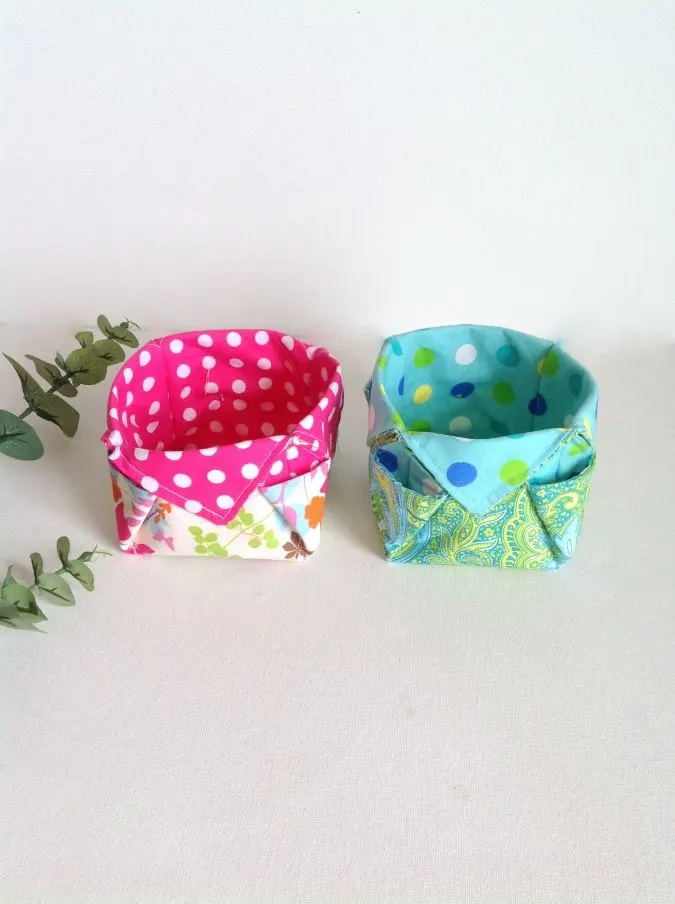
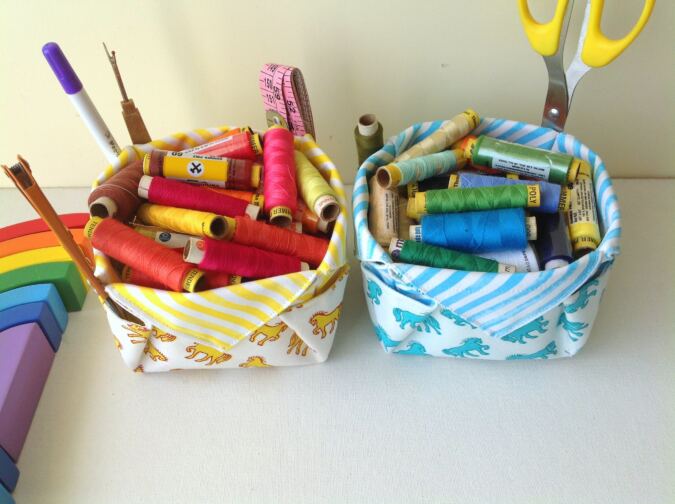

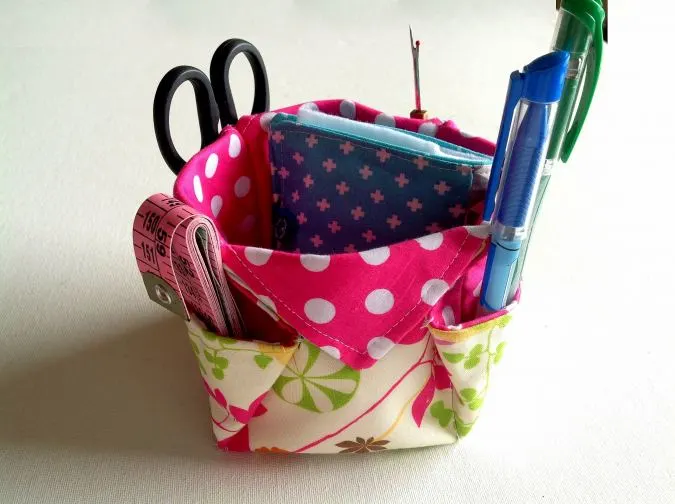
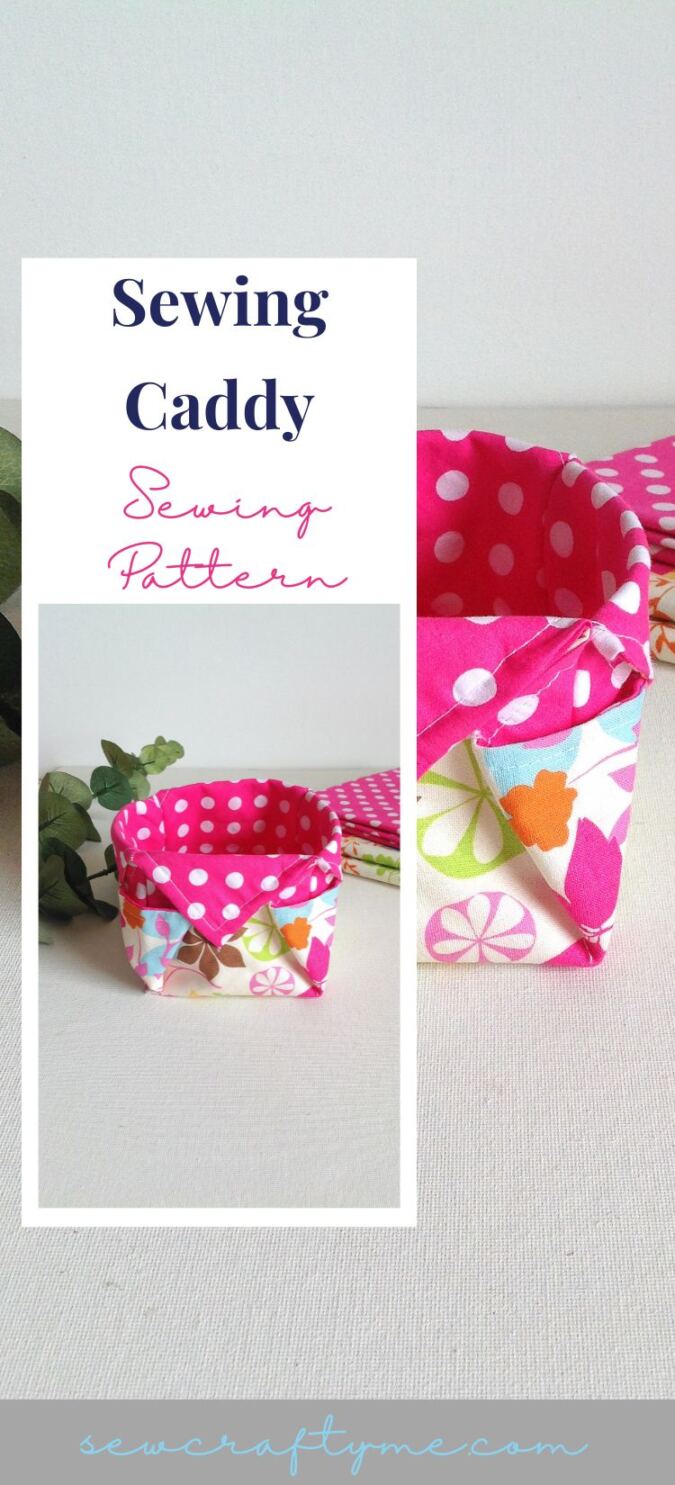
Do you like these sewing organizer baskets with cute side pockets? They are as pretty as they are useful. These sewing caddies can help you organize your sewing table. You can put your threads, tapes, bobbins, and even your scraps in them. And yes, you can use them as a crafts supplies organizer too!


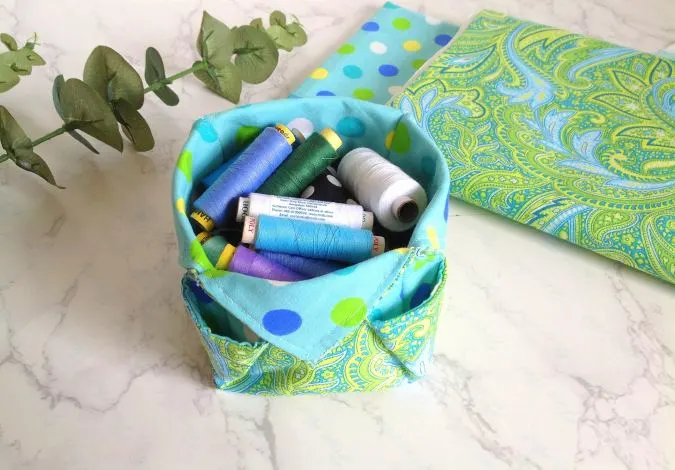


Now don’t be intimidated by the fabric basket design. They are not as tough to sew as they look. Can you believe that I made them from just two fabric squares? In fact, once you master the sewing caddy tutorial, you can finish them in just 30 minutes or so!
Well, let me show you right away!
Supplies Needed:
Medium-weight cotton fabric in two coordinating colors and prints for the basket main and lining- 1/3 yard each.
Medium-weight interfacing- 1/3 yard.
Hand-sewing needle and thread.
Sewing Notions.
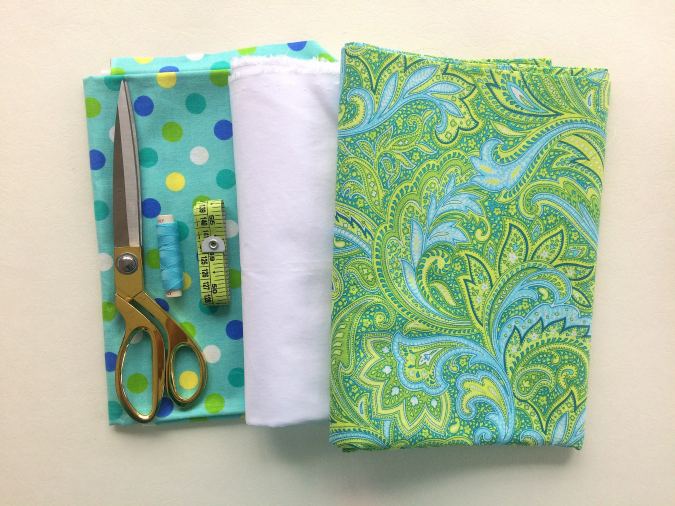

Gather your supplies.
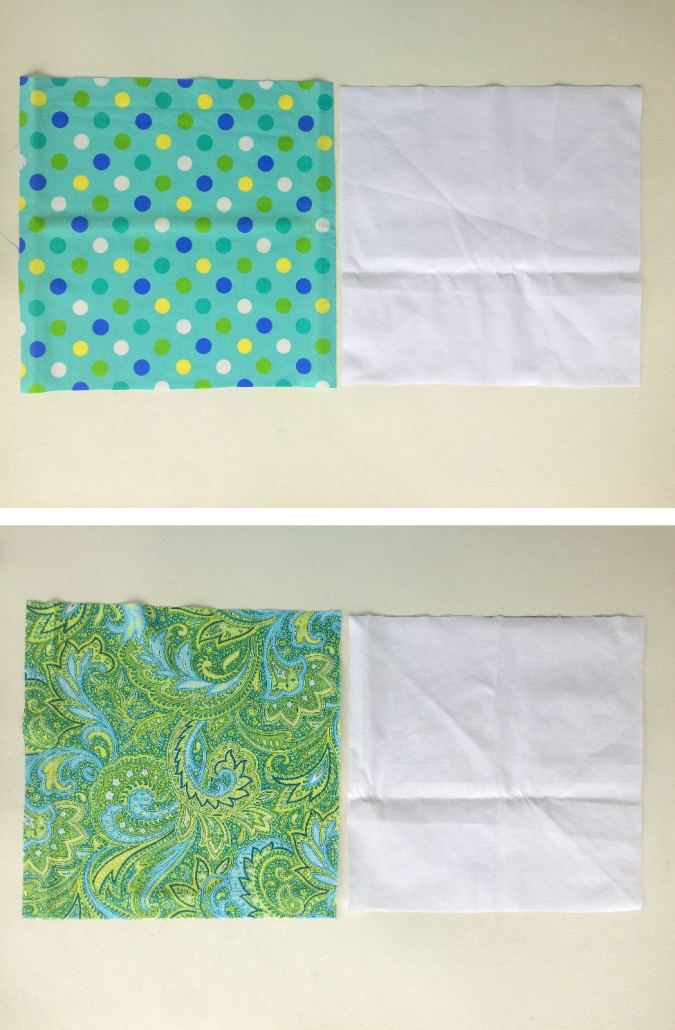

Cut one piece each with 12 x 12-inch dimensions from the main and lining fabrics. Also, cut two pieces with dimensions 11.25″ x 11.25″ from the interfacing.
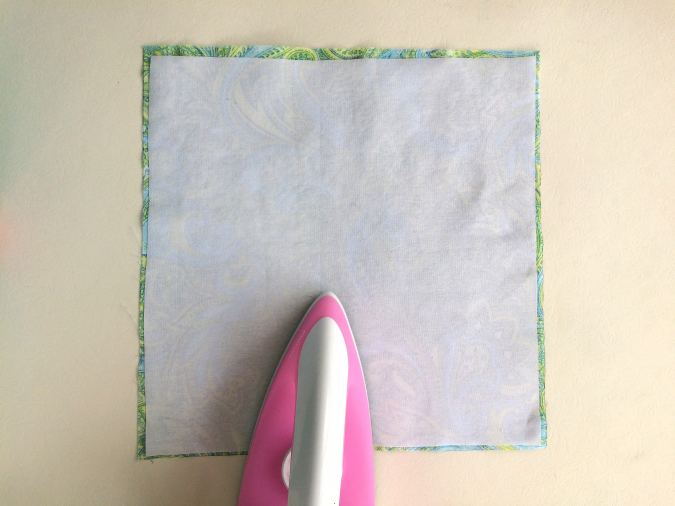

Fuse the interfacing to the wrong side of the basket main and lining pieces, following the manufacturer’s instructions. * Make sure to leave equal space all around while fusing the interfacing.
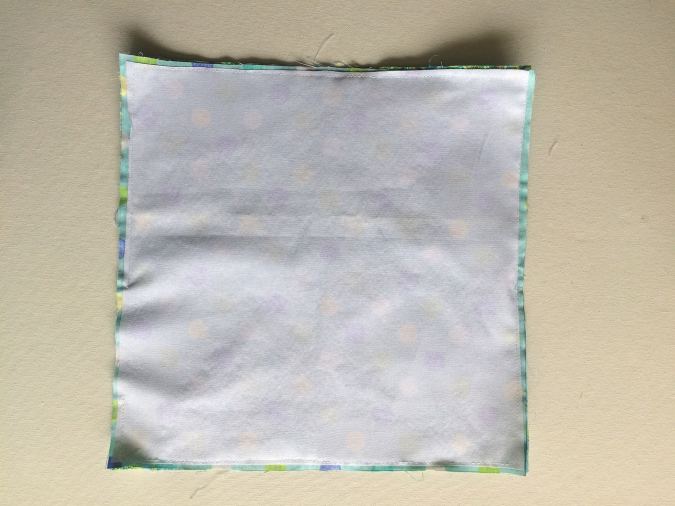
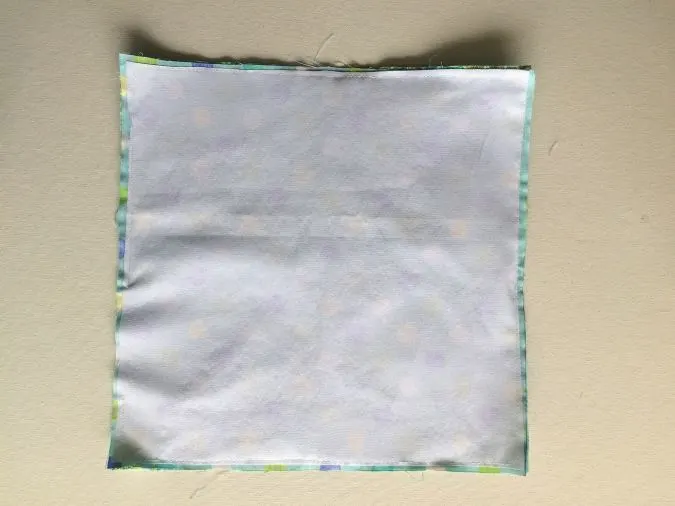
Layer the basket main and lining pieces, with the right sides together and lining up the edges.
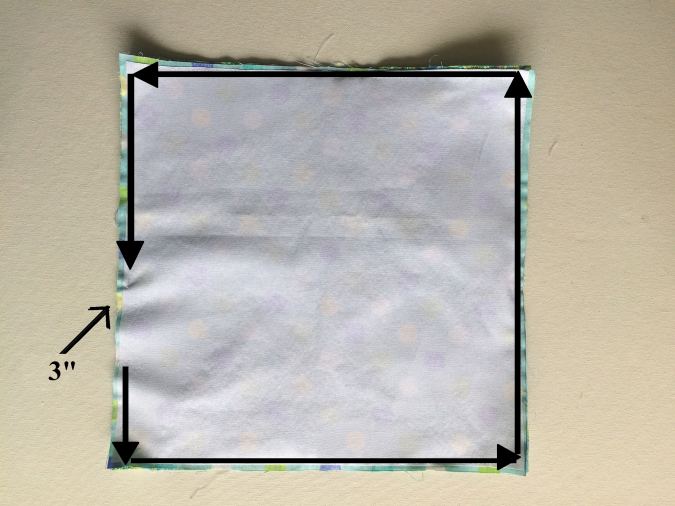
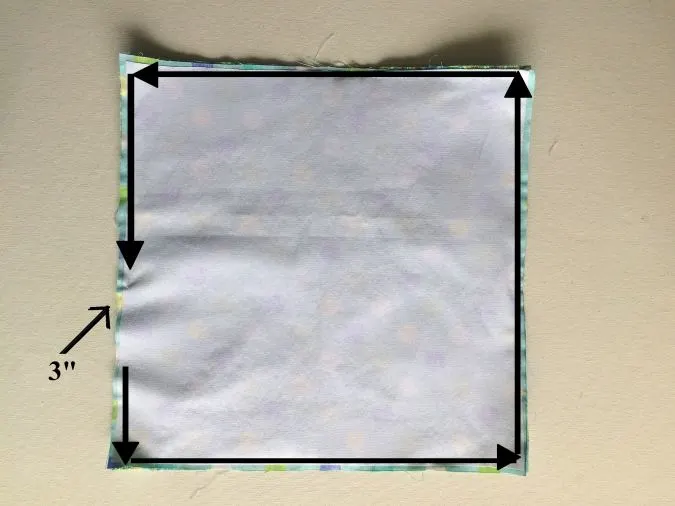
Sew around the edges, leaving a 3- inch gap to turn the right side out. * Use seam allowance as 3/8″.


Cut the corners off to reduce the bulk.

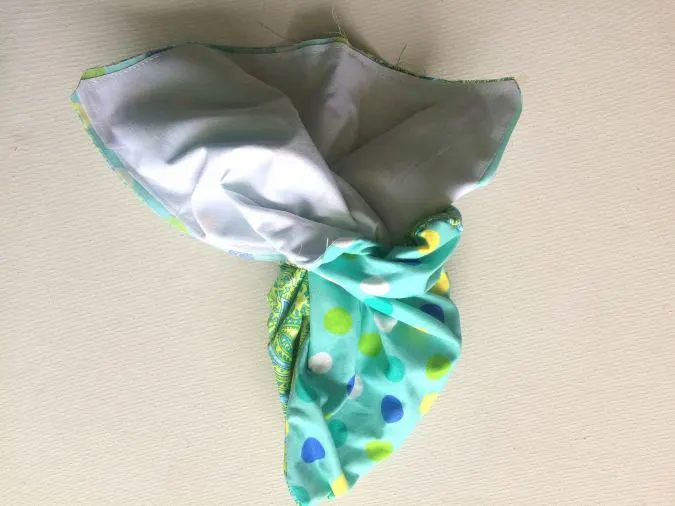
Bring the right side out through the opening.

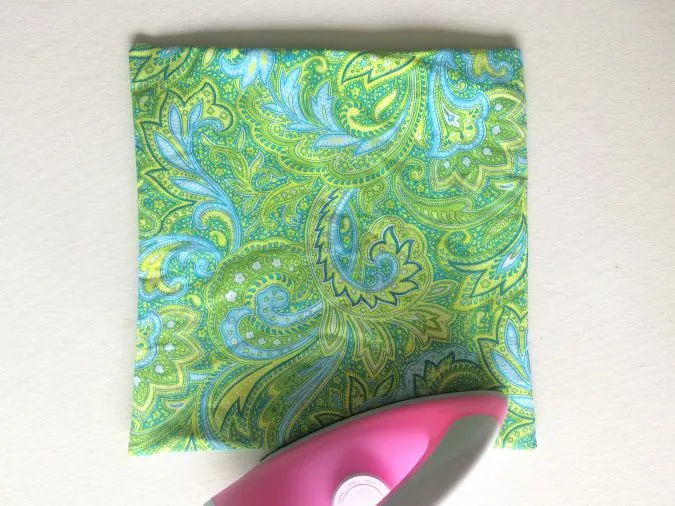
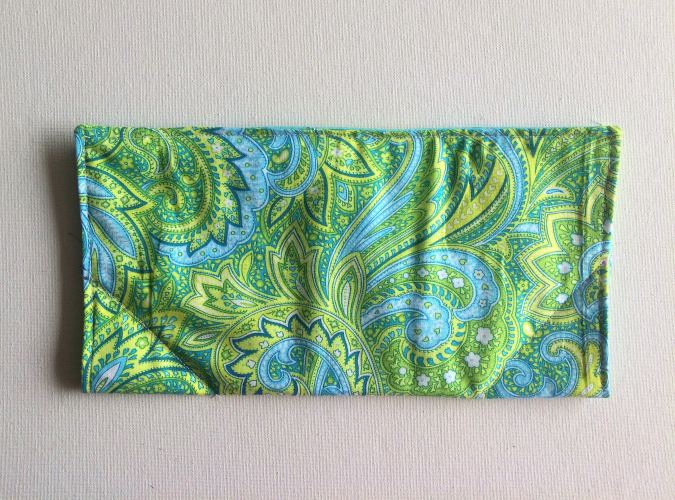
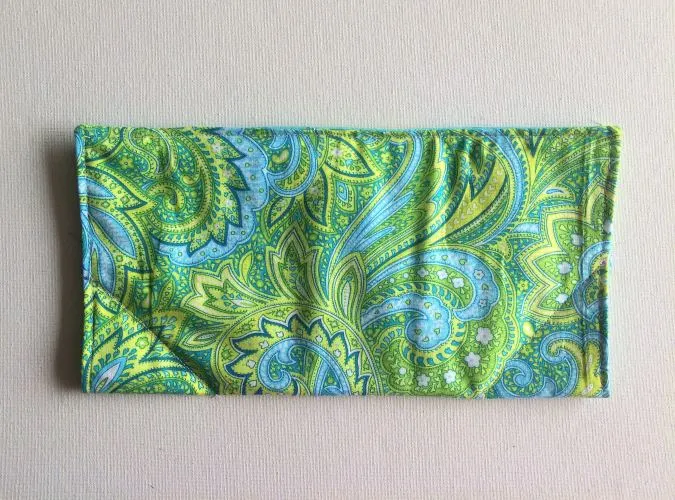
Press to make it clean and crisp, tucking in the raw edges.
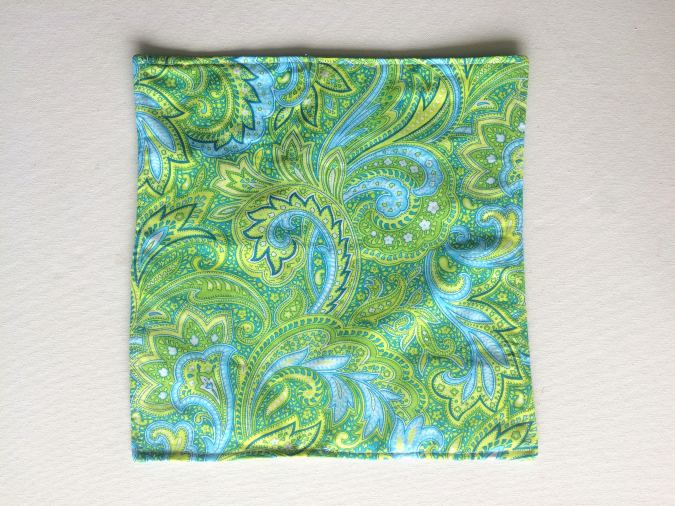

Topstich around the edge.
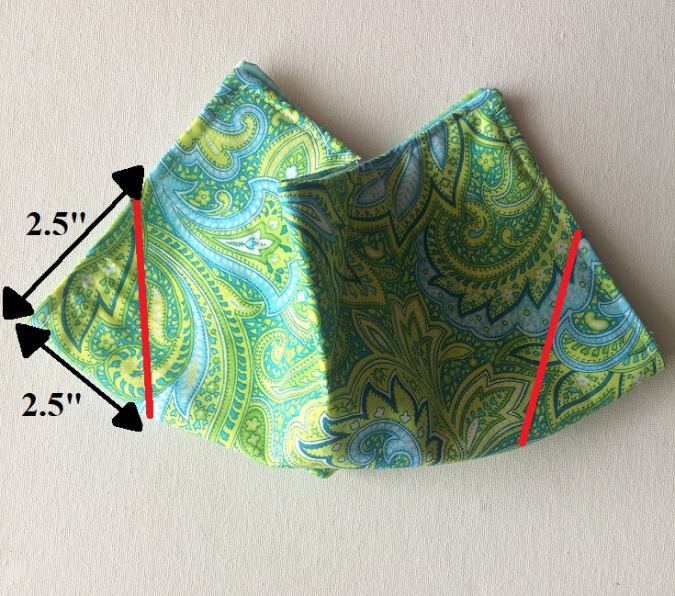
Next, let’s start giving the basket its three- dimensional shape.
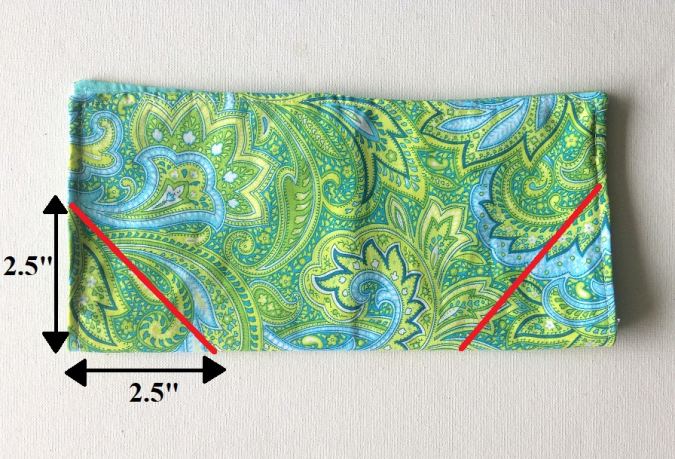

Fold the piece in half, with the right side out and lining up the edges. Mark points 2.5- inch from the corner to either side and draw lines to connect (as shown in the picture above).
Sew a straight stitch along the lines, reinforcing the stitches at the start and finish.
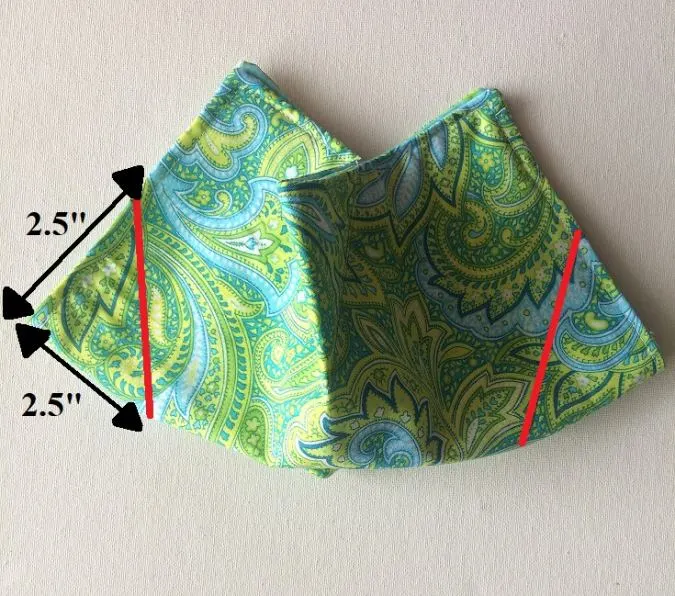
Next realign the piece and fold it in half, the other way round ( the two sewing lines made earlier should line up in the middle). Draw straight lines and sew along the lines, as done earlier.
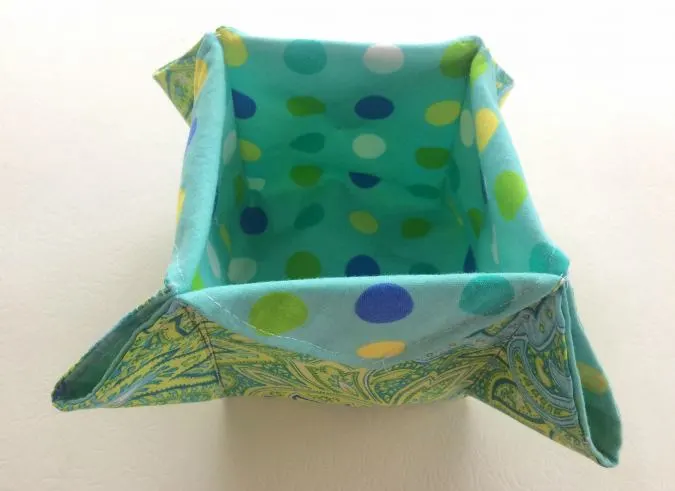
Your basket has almost got its shape but you have to do the finishing touches.

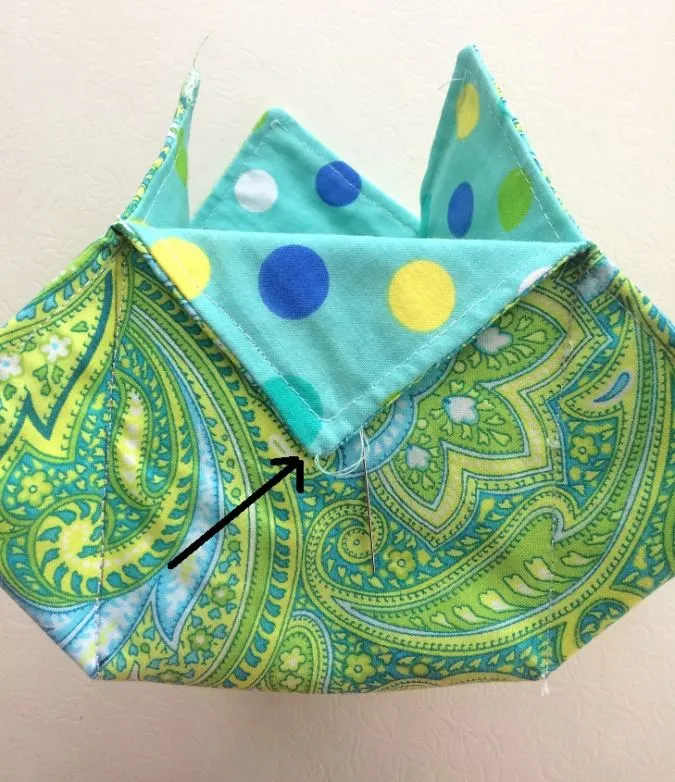
Fold down the upper triangular edge and sew the corner down with a few hand stitches to secure.

Repeat on all the four triangular edges.
Next, we sew the side pockets.
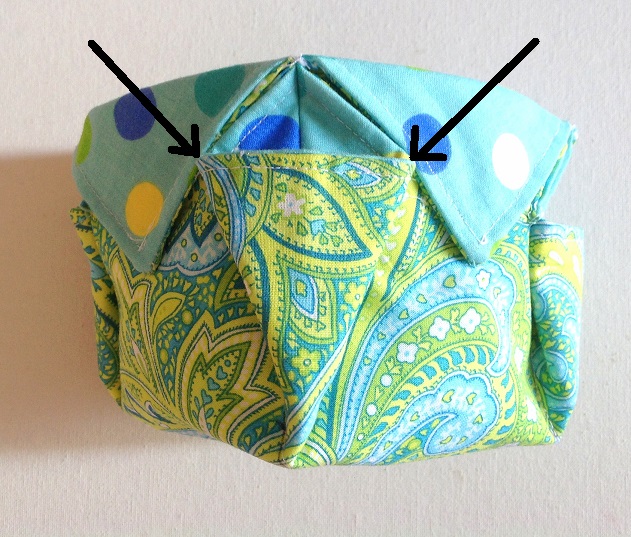

Press the side pockets flat with your fingers and tack the two corners towards the basket main by hand sewing. Repeat on all four side pockets.
Your sewing room organizer basket is ready!
Find the webstory for the post here, DIY Sewing Caddy: Free Pattern & Tutorial to Organize Your Supplies
Pin it for later here,
Tracey
Sunday 23rd of February 2025
This is a great project for using up scraps and creates an adorable little crafts caddy! Thanks1
Roz
Saturday 1st of July 2023
Brilliant, I love it!!
Nievmir
Friday 30th of September 2022
Very cute sewing caddy! Thank you for all your patterns.
Anaseini
Monday 11th of July 2022
Thank you so much for the pattern I will sew dresses for my two girls