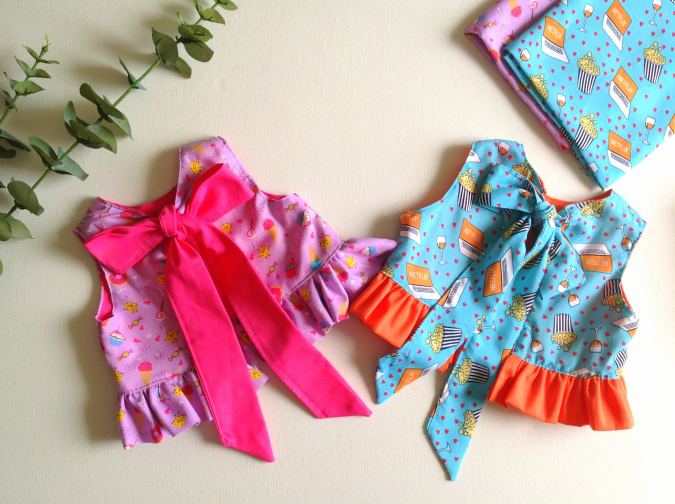
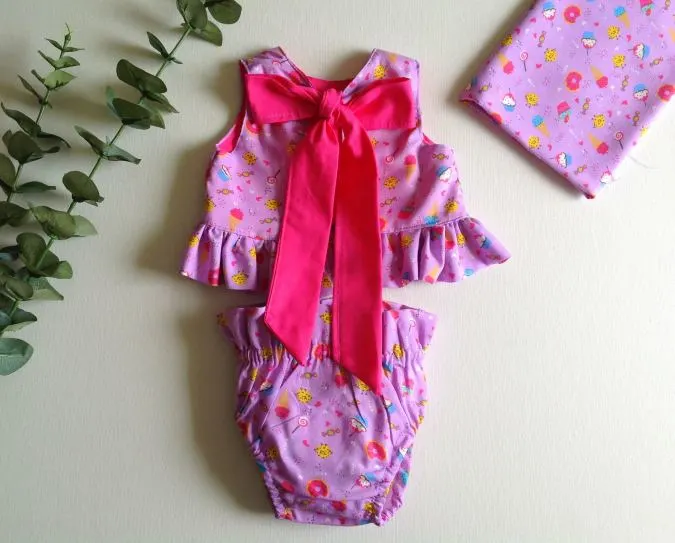
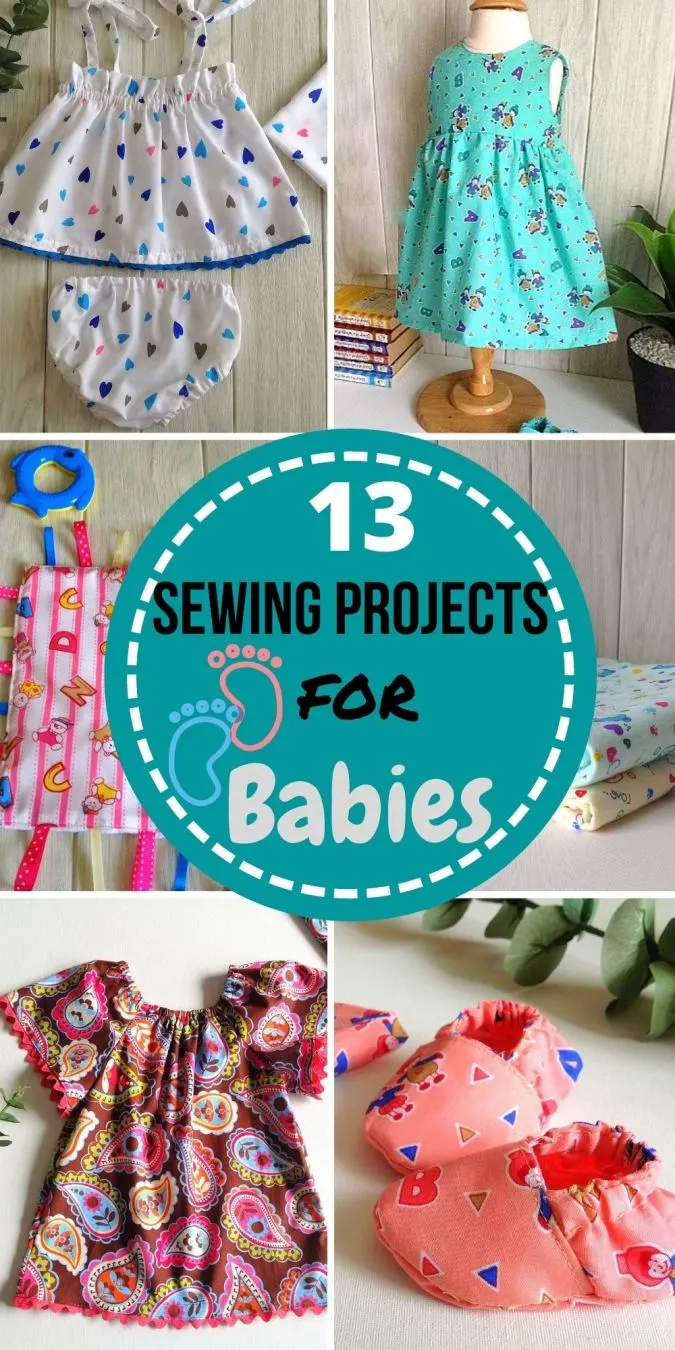
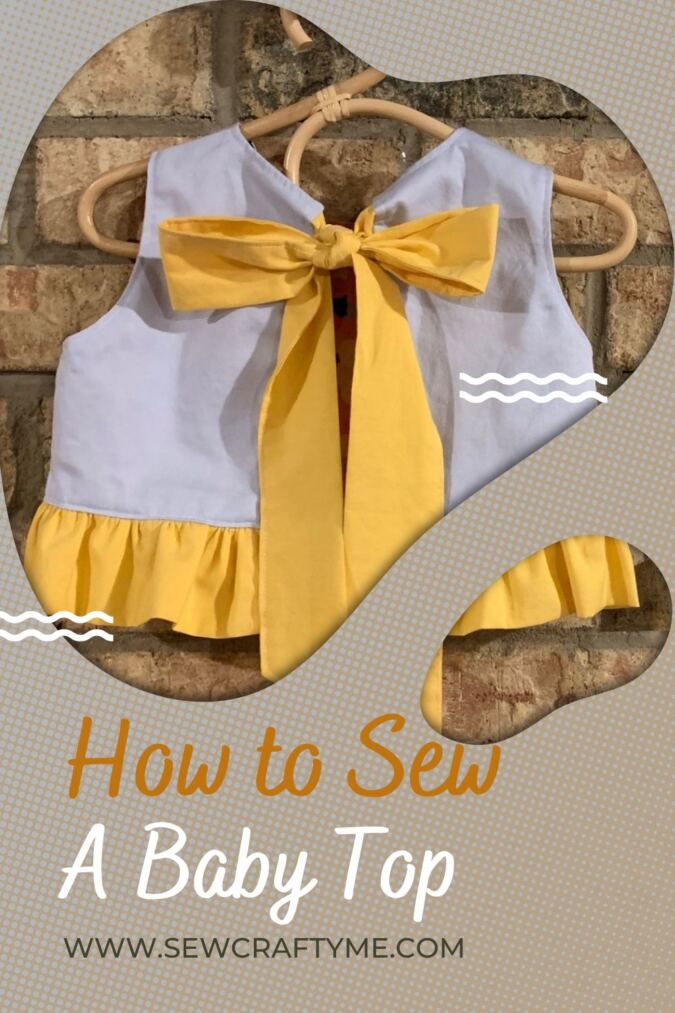
Sewing for your baby is made fun and interesting with this reversible top sewing pattern. This is an adorable pattern with a tie-back closure and ruffles along the hemline. The pattern comes from 3 to 24 months in size and is FREE!


When I released my flutter bloomer pattern earlier this summer, I had promised my readers that I would release a pattern for a matching top to go with it.


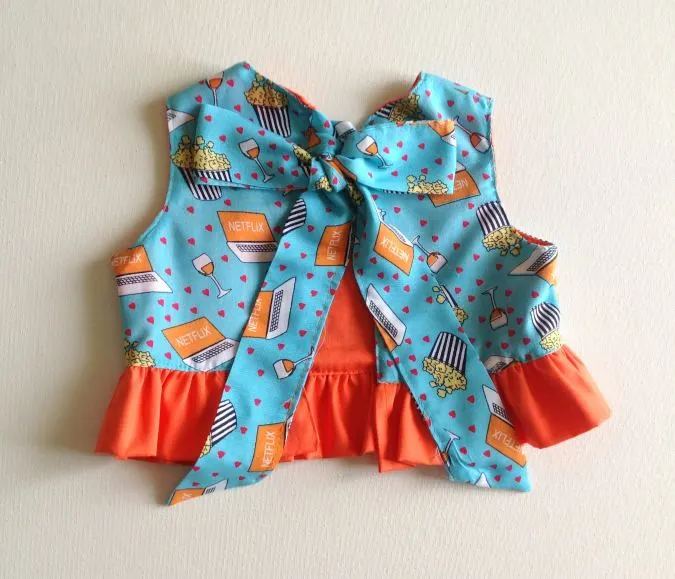
Initially, I had planned for an off-shoulder top or a halter neck top. That’s when I stumbled upon a top with ruffles and a back tie worn by one of my favorite baby influencers and was inspired by it. I made it reversible and lo you have a lovely two-in-one top!
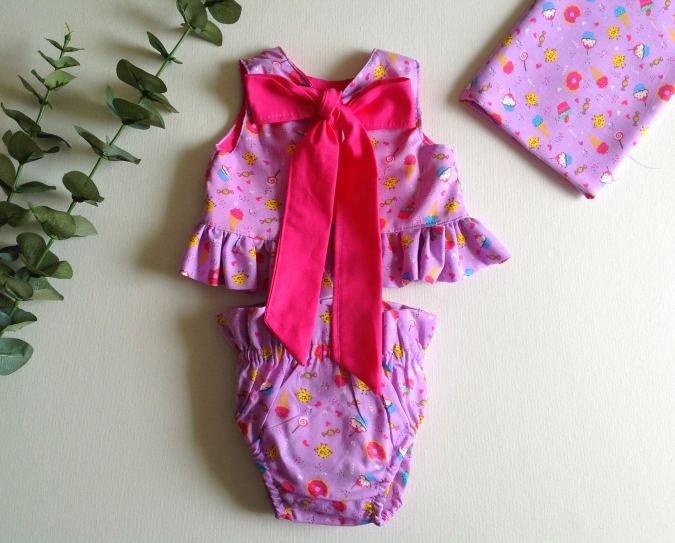
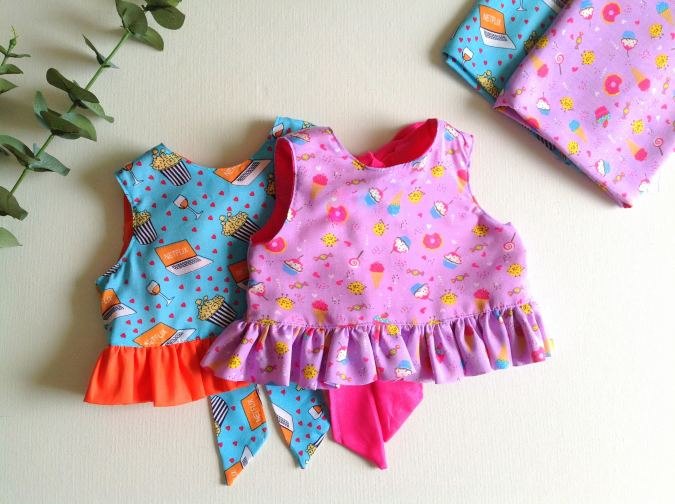
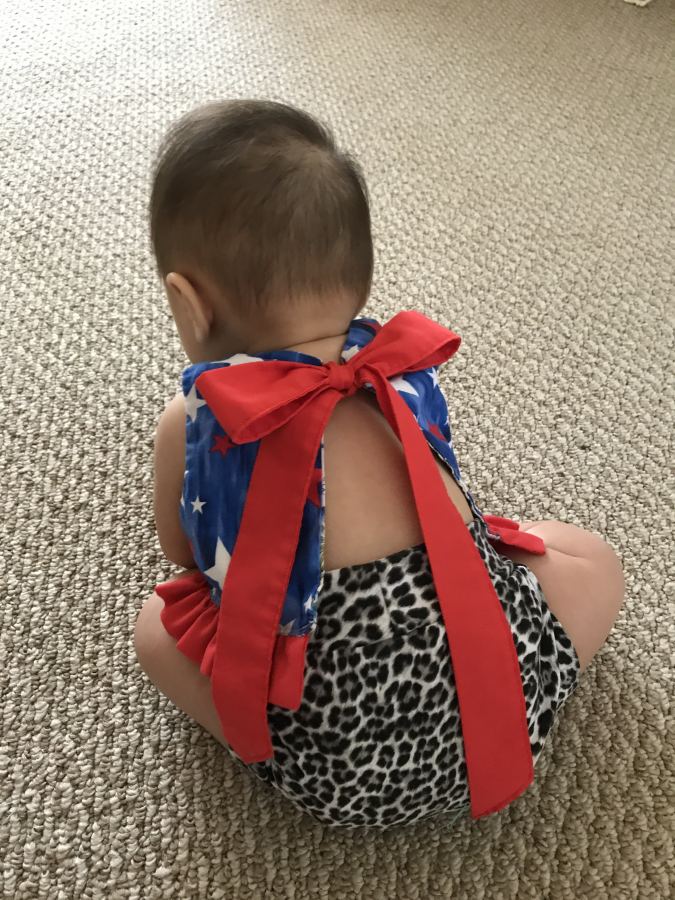
I love reversible sewing patterns, it gives you double the value for the effort and the materials you put in. Moreover, I love to play with fabrics of different prints and colors and this baby top sewing pattern gives me a lot of options to mix and match fabrics.


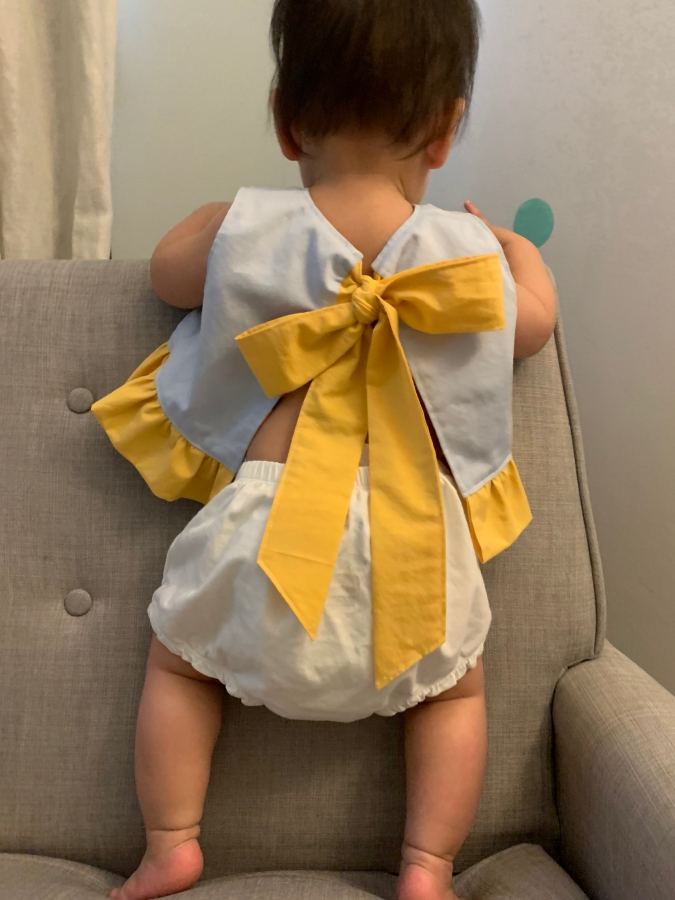


Whenever we sew and dress up our little ones, buttons have always been a hassle and my beginner and even intermediate sewists may find zipper attachment tough for them. The back tie relieves us from the hassles of all these tasks. They make the top pattern comfortable to sew and to wear.
If you would like to see all my baby patterns in one place, click on the picture below:

Here I have made the infant top sewing pattern free for ages 3 months to 2 years. You can follow the written pattern below or purchase an ad-free PDF for just $ 3.99. The PDF includes templates and measurements starting from 3 to 24 months in size. Add to cart here.
Reversible Top Sewing Pattern for Baby
Materials Required
- Medium-weight cotton fabric for the top outer- requirements specified in the table-2 below.
- Medium-weight cotton fabric for the top lining.
- Medium-weight cotton fabric for the ruffles.
- Medium-weight cotton fabric for the ties.
- Sewing Notions.
- Fabric Marking Pen.
- Pattern Template. * Enter your e-mail address and click the subscribe button to start downloading the template automatically.
All the fabrics used here are of 44/ 45 inches width.
The seam allowance is 3/8-inch unless otherwise specified.
I suggest you read the entire pattern once before starting to get a general idea.
All seams are to be finished by zigzag or serger.
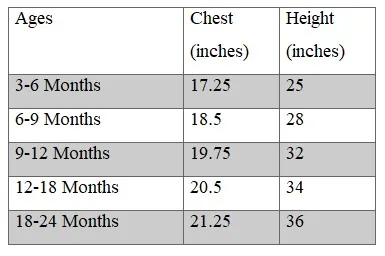
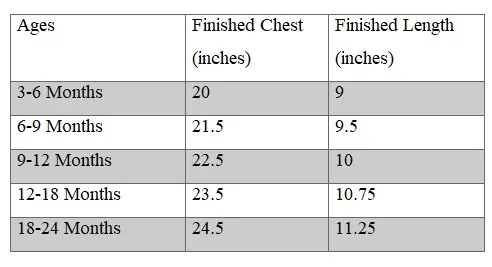
Size Chart
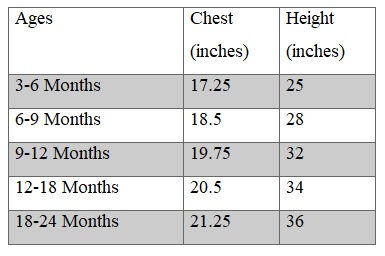
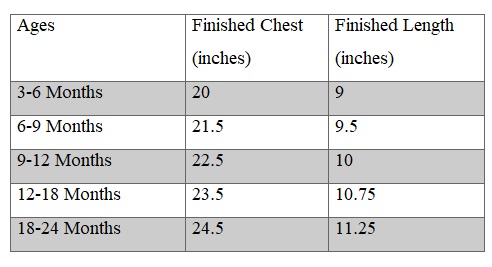
Approximate Finished Measurements.
- Note: The Finished length included the ruffles.
Table-1.
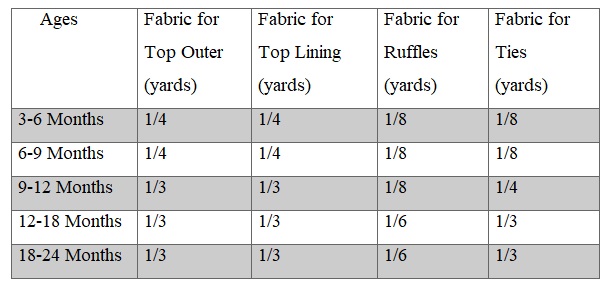
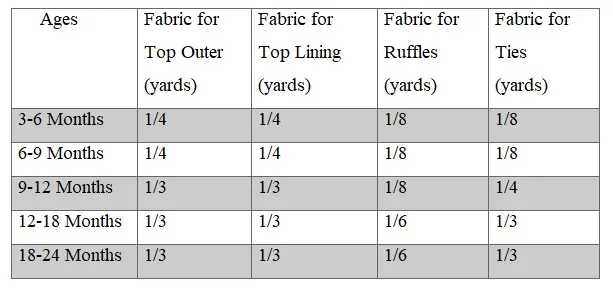
Fabric Requirements.
Table-2
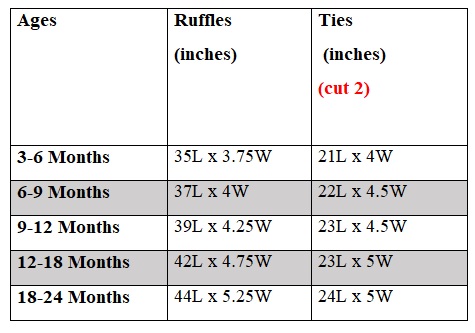
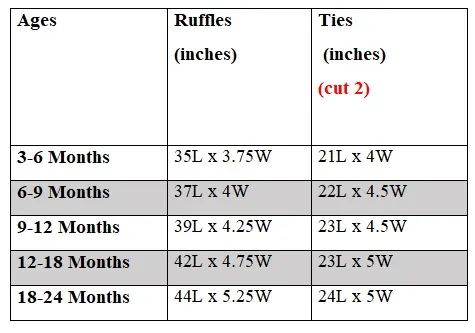
Measurements
In the table below, “L” stands for the length and “W” stands for the width of the fabric piece to be cut.
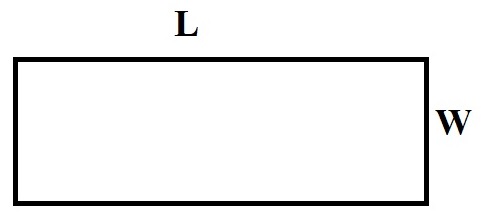
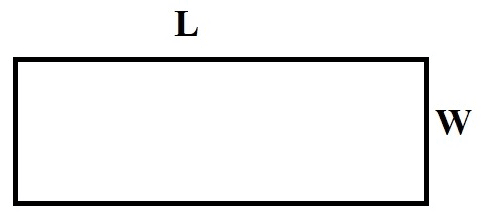
Table-3
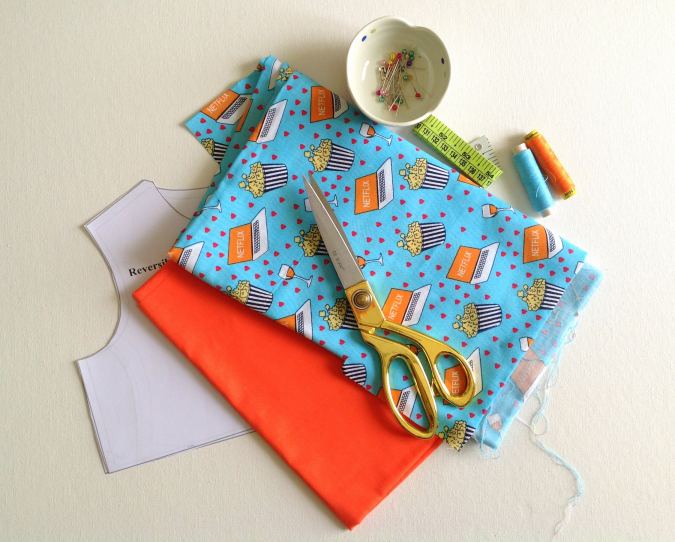

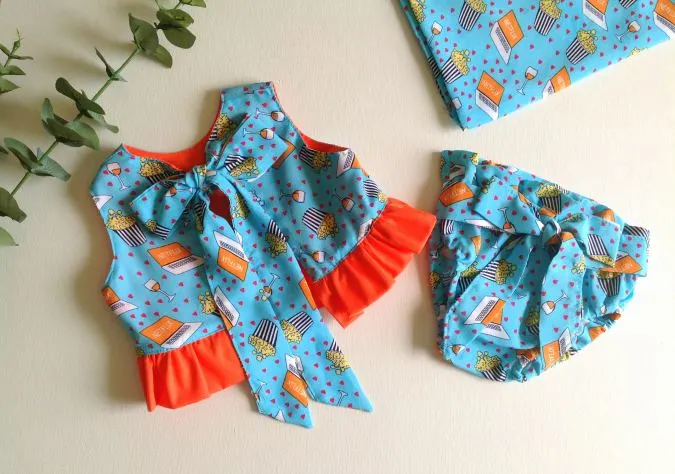
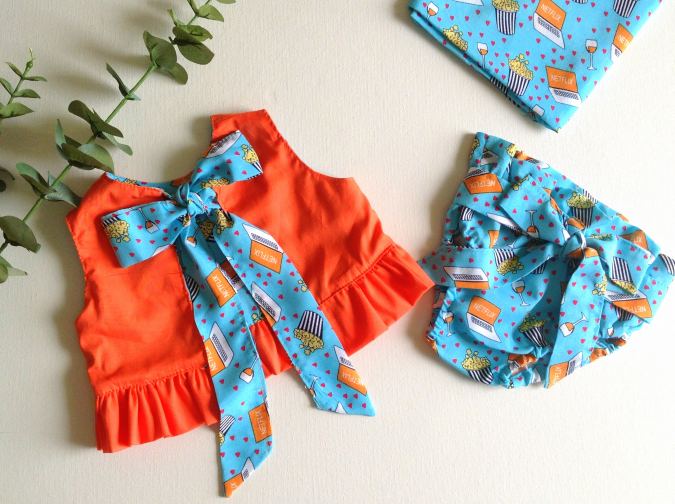
Gather your supplies. Here I have used the blue printed fabric for the top outer and orange fabric for the lining. The same fabrics have been used for the ruffle and ties.
Cut the templates for the top front and top back from the attached PDF.
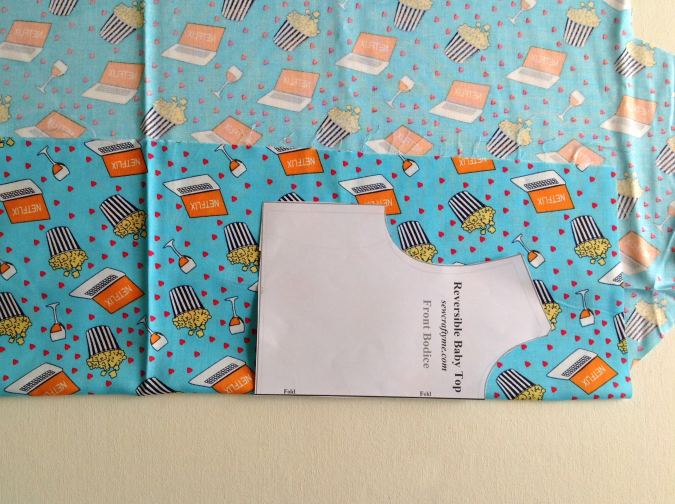
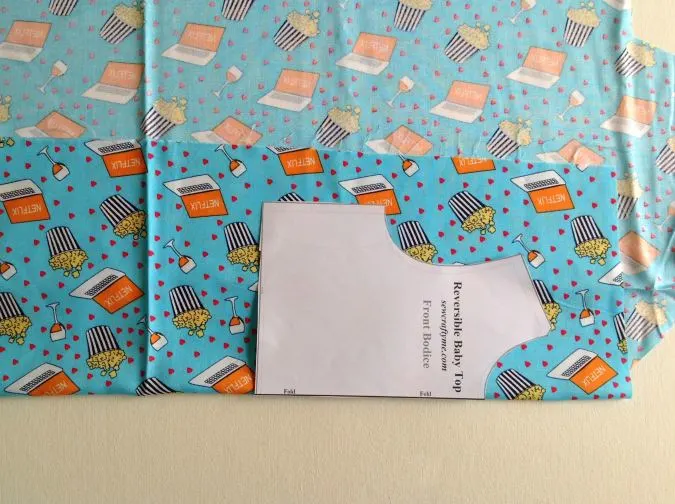
Take the top outer fabric and the template for the top front. Fold the fabric to fit the width of the template and place the template on the fold. Mark around it and cut to get the outer front piece. Repeat the steps on the lining fabric to get the front lining.

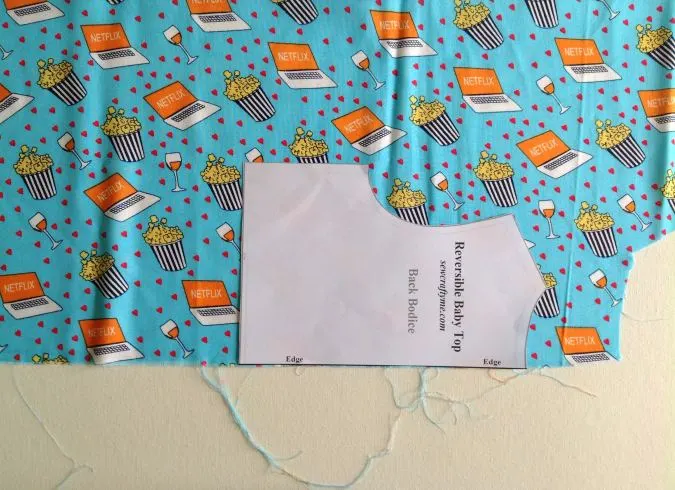
Let’s cut the back pieces. Here again, fold the fabric, but this time, place the template for the back, along the edge of the fabric. Mark around it and cut to get two pieces for the back (the back part of the top is done in two pieces, for opening). Repeat the steps on the lining fabric to get the back lining pieces.
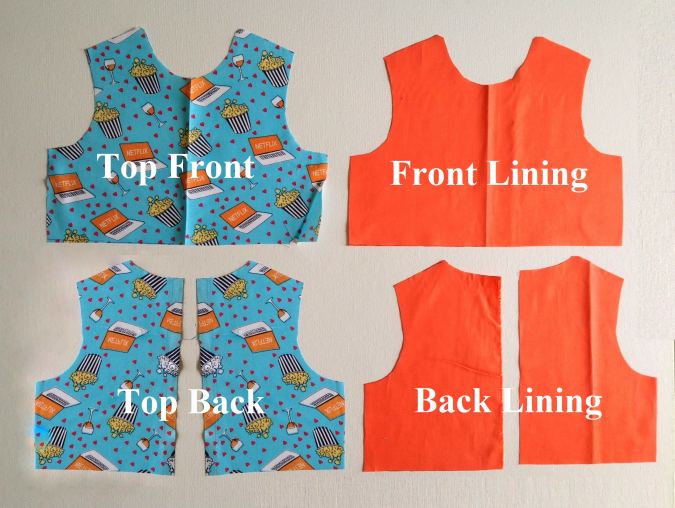

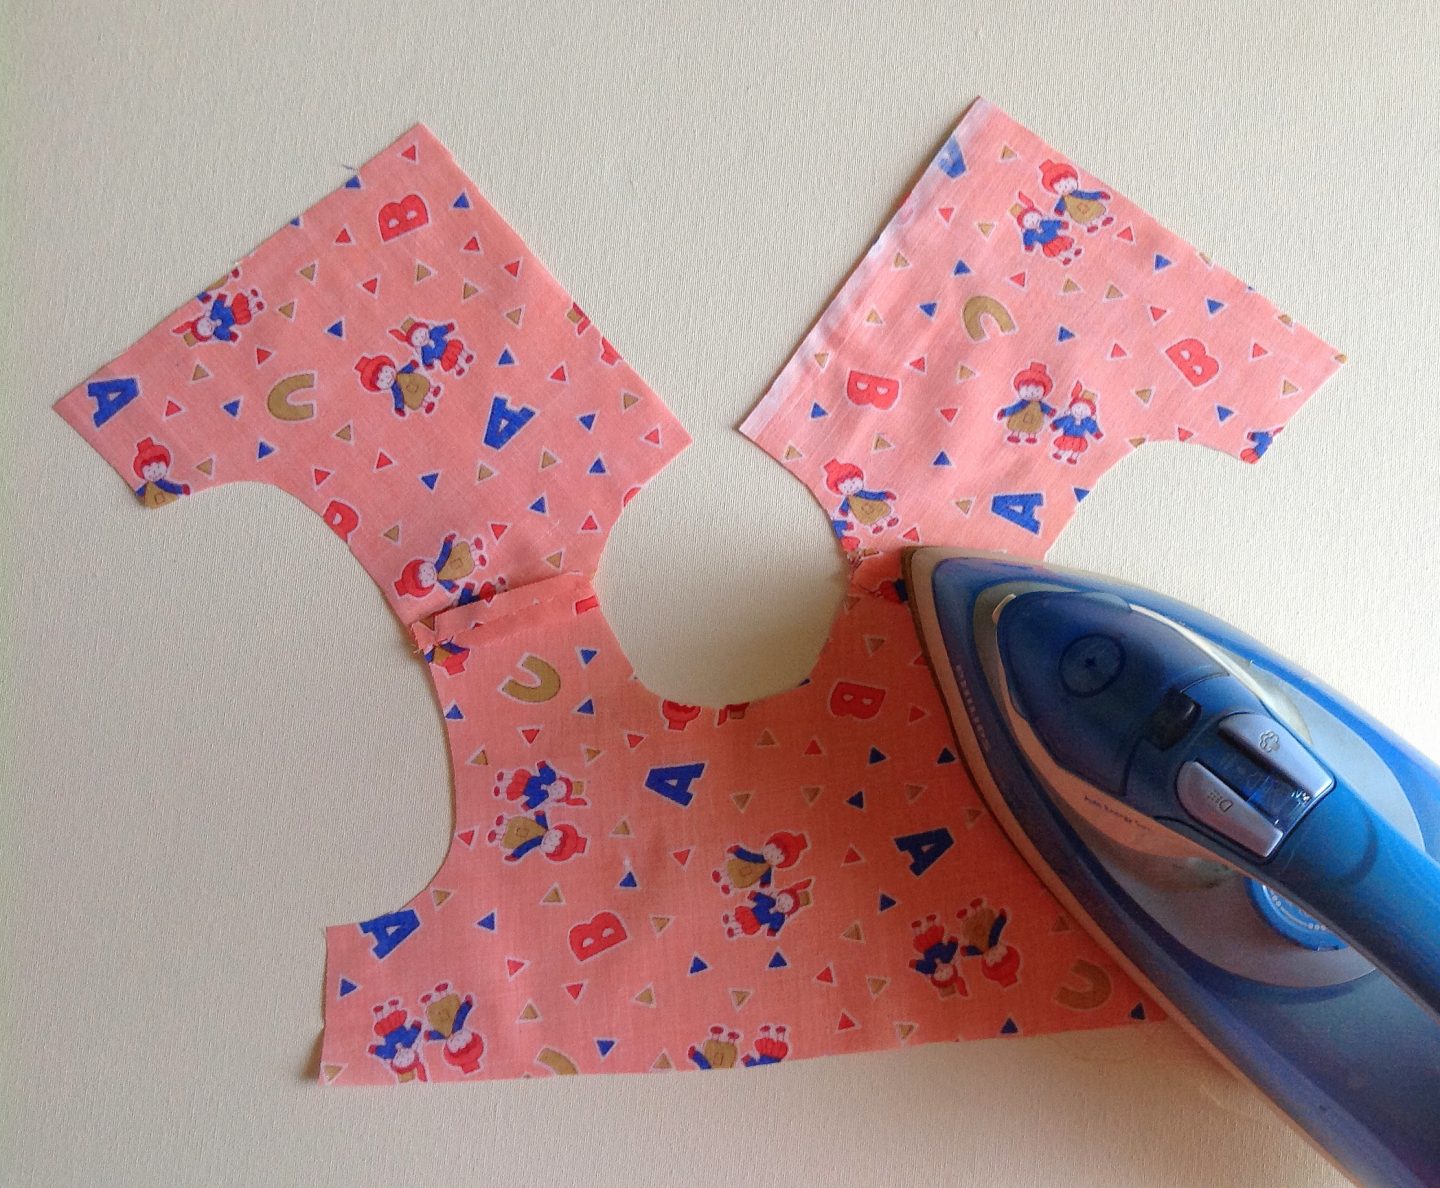
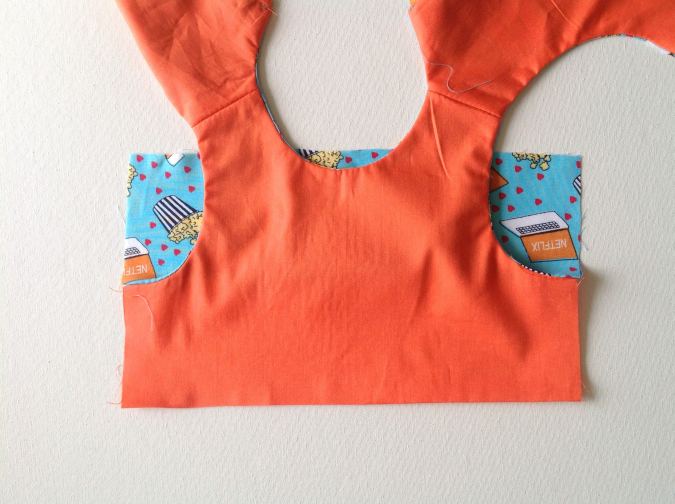
Your top front, top back, and lining pieces will look like the picture above.
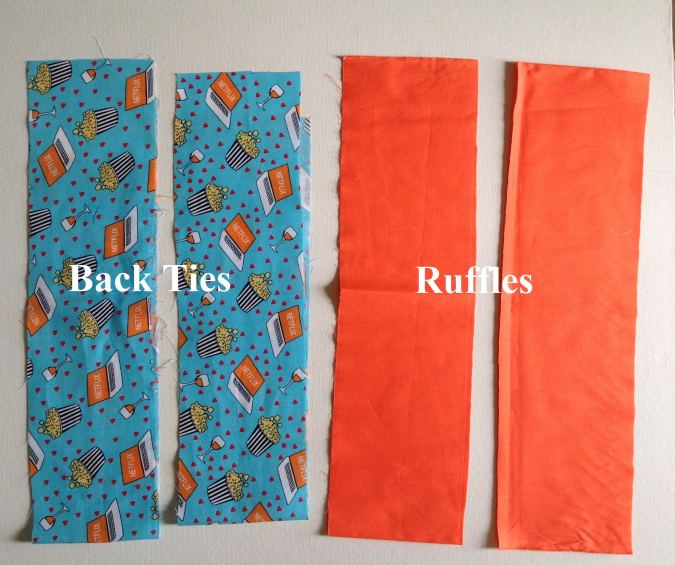
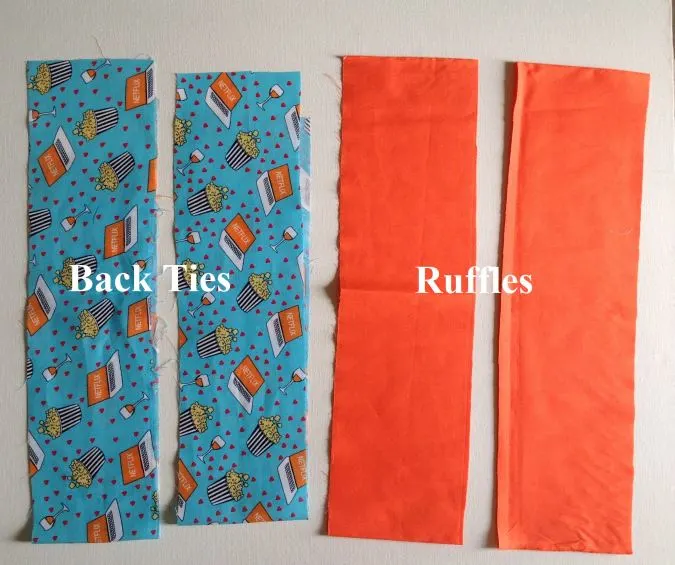
Cut the ruffle and tie pieces, referring to table-3 above.
Sewing

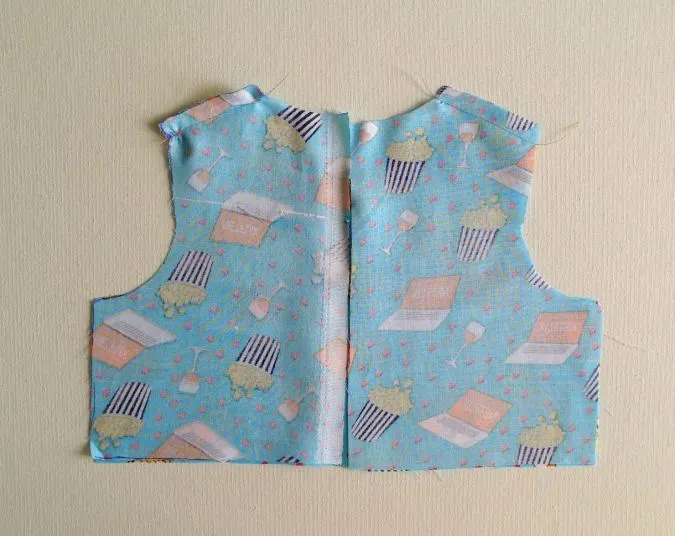
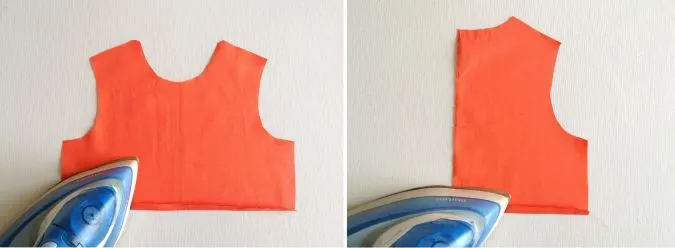
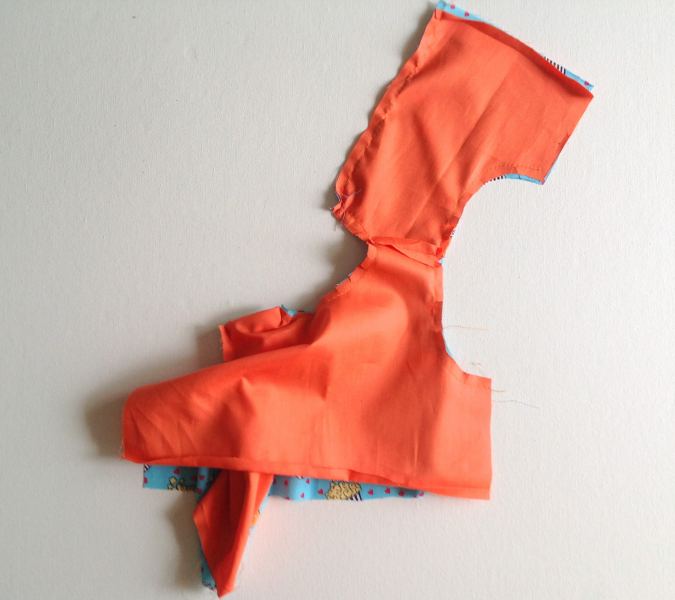
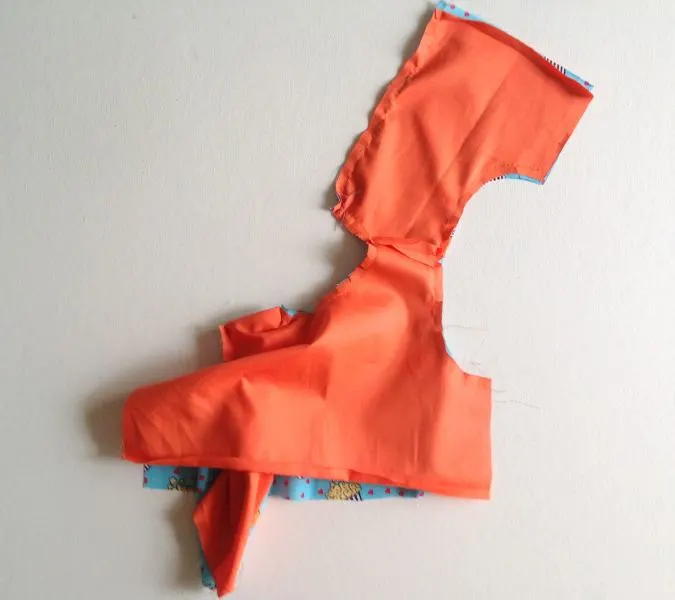
Take the two back pieces of the top outer and place them over the top front piece, with the right sides together, aligning the shoulders and side seams and sew the shoulders shut.

Press the seams flat (picture for illustration purpose).

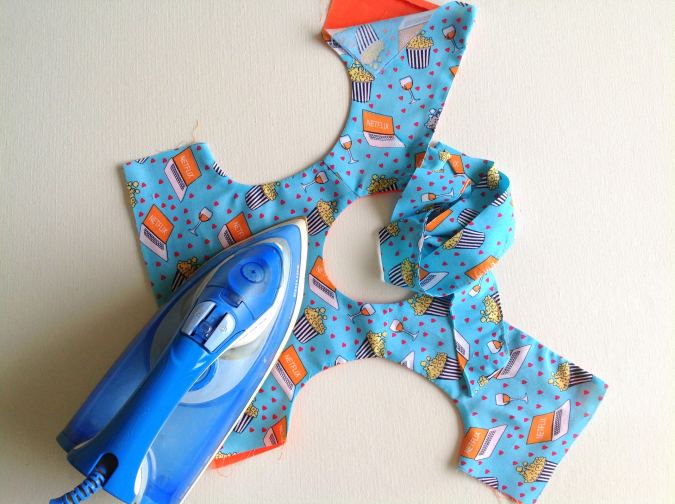
Next, take the lining pieces, fold the lower edges towards the wrong side by 3/8-inch, and press to set.
Sew the front and back lining pieces together, just as the top outer pieces.
We move on to the ties.
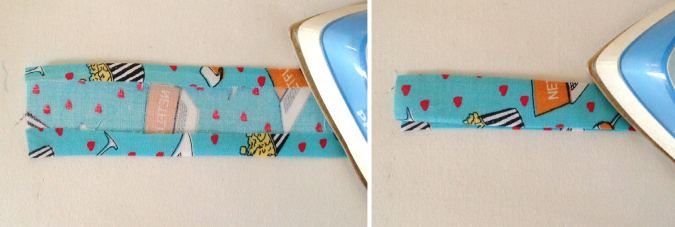
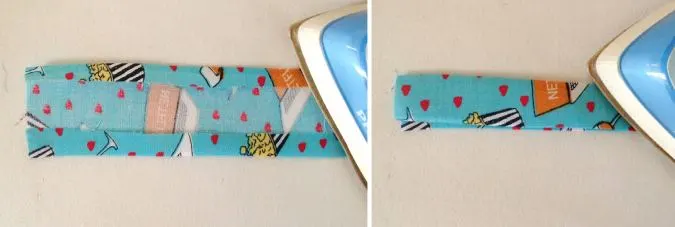
Take one of the fabric pieces required for the ties. Fold the two longer edges towards the wrong side by 3/8-inch and press. Fold it again in half lengthwise, with the wrong sides together, and press.

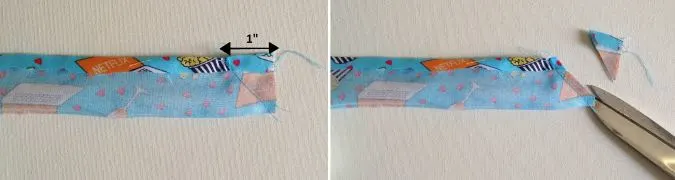
Flip the tie over to the wrong side and sew a straight line, one inch from the end of the open edge to the opposite corner to make the ends of the tie slanting. Clip the corners with the help of your scissors.
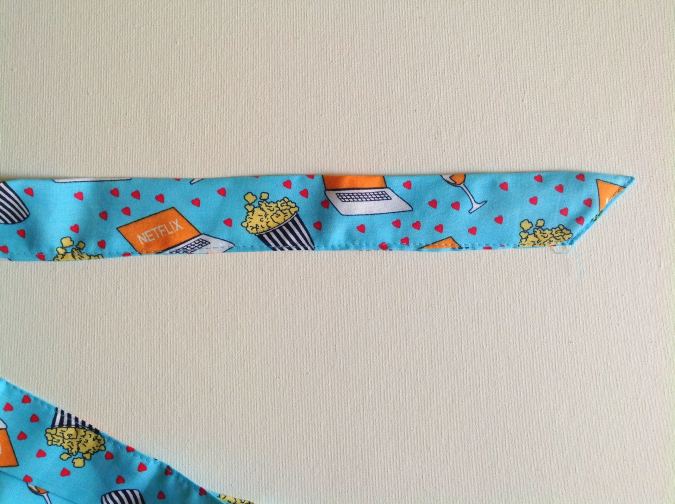

Flip the tie over to the right side, topstitch along the slanting edge and sew the open edge shut. Repeat the steps to get the other tie ready.
Let’s attach the ties to the top.

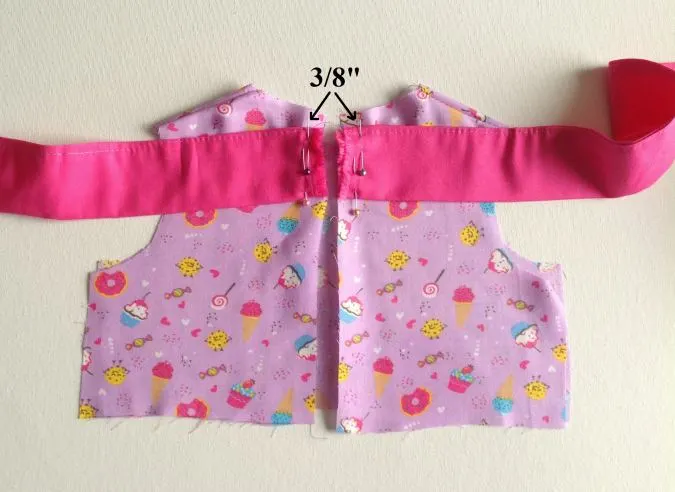
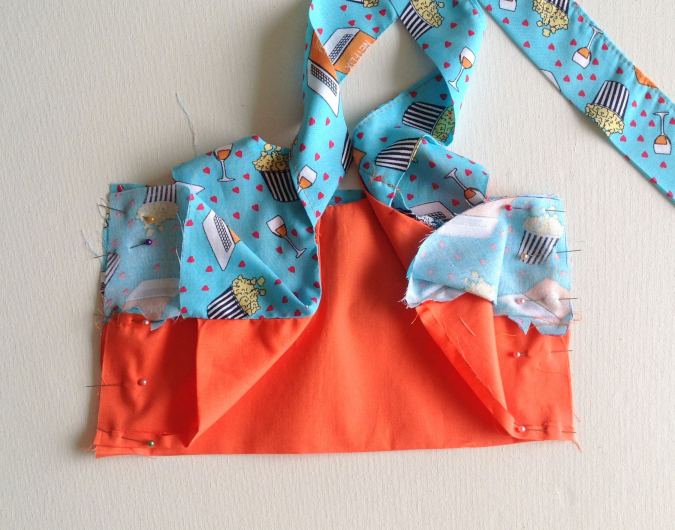
Place the straight edges of the ties along the straight edge of the back, 3/8- inch from the top and pin. Sew the ties to the top (picture for illustration purpose).
Next, we sew the top outer and top lining together.
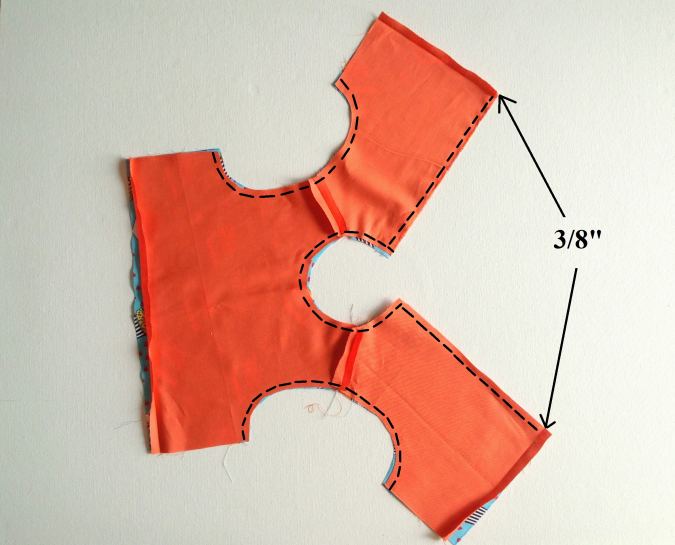

Place the top lining over the top outer. With the right sides together, line up the center back, neck and armholes. Pin and sew along the neck and center back, and also along the two armholes. Take care to keep the ties away and not to sew them into the seams. *Note that you need to leave 3/8-inch along the lower edges of the top for ruffle attachment.
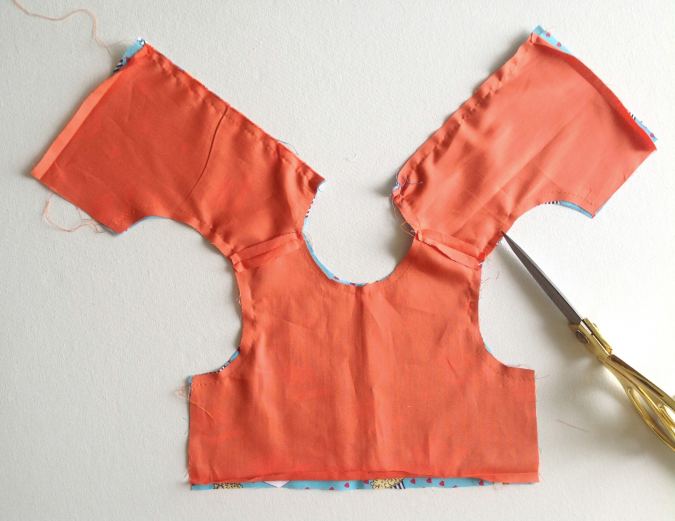

Clip the edges and cut the corners.
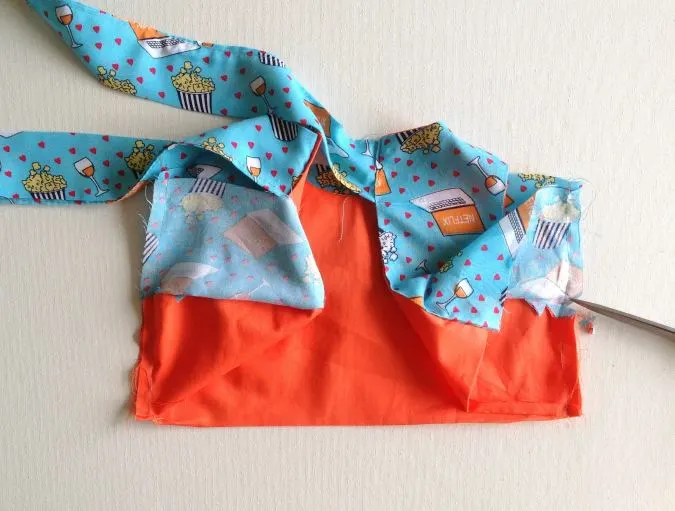
Slide your hand in between the top outer and lining and pull the right side of the top back out, through the shoulders. Keep pulling the top back on either side, till the whole of it is turned inside-out.

Poke the edges sharp, with the help of a wooden dowel and press taut.
Let’s sew the side seams of the top shut.

Pull the front outer and lining apart to open the side seams as shown above. Repeat with the back outer and lining pieces.

Next, align the side seams of the front and back outer together and the side seams of the front and back lining together. The right sides should touch and the folds along the lower edges of the lining kept intact. Pin the aligned edges (side seams) together and sew along the pinned edges.

Clip the bulk at the seam and flip back the front and the back of the top outer to the right side.
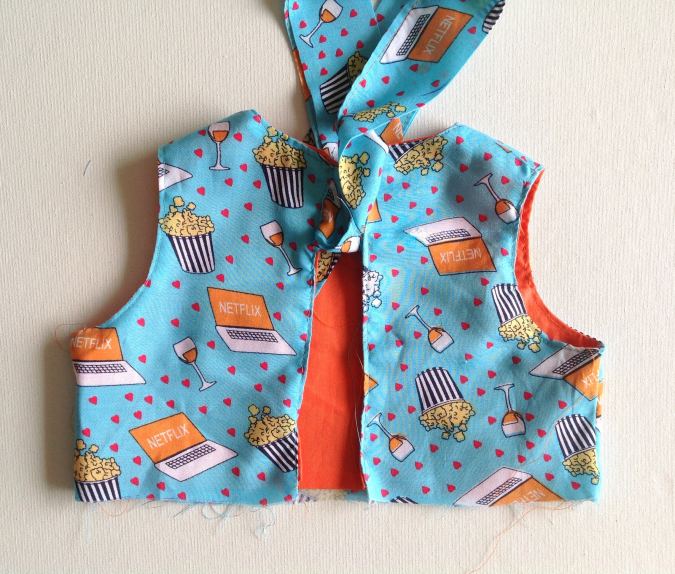
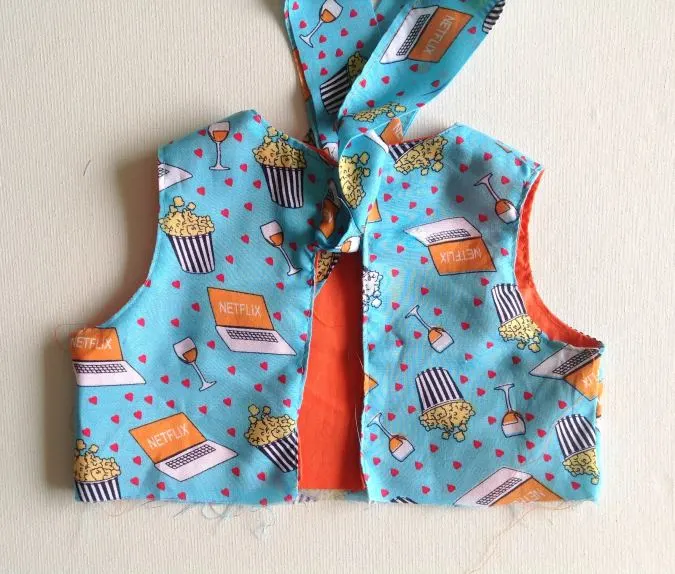
Topstitch along the neck, open edge of the back, and the armholes for a neater finish.
Next, we move on to the ruffle.


Take the ruffle piece, fold it in half lengthwise, and press to set.


Open and fold the two short edges towards the wrong side by ½- inch and press again. Sew down the folds along the short edges to finish.
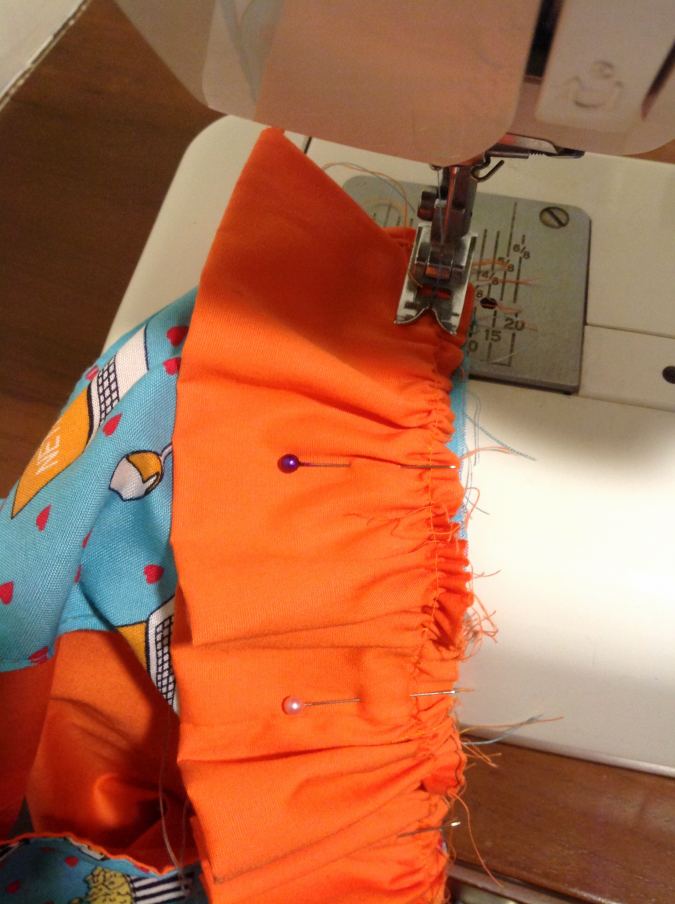
Next, we need to gather the ruffle. Turn the upper thread tension of your machine to zero and stitch length to the longest to get a basting stitch.

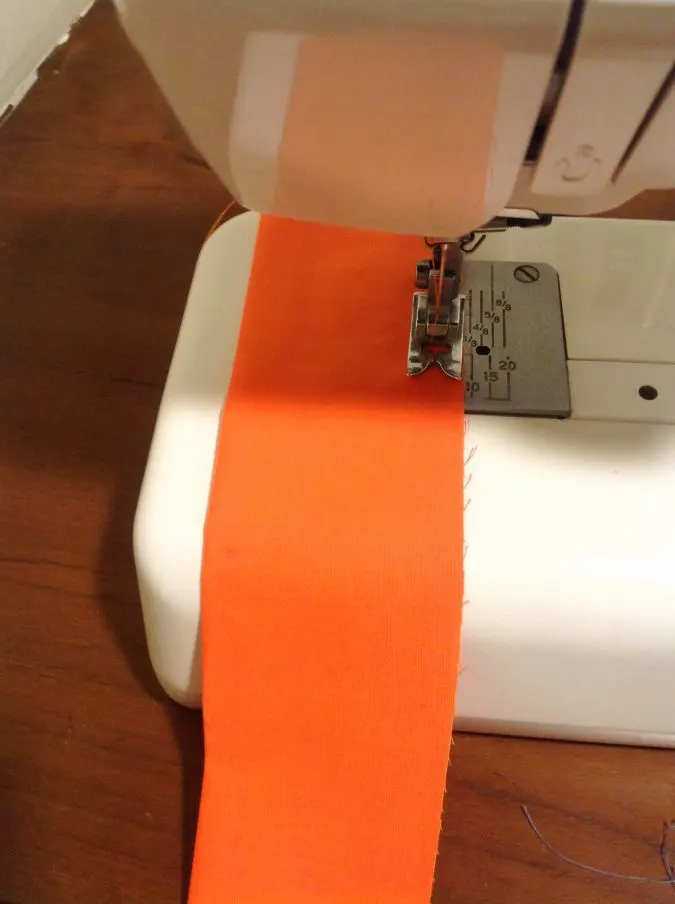
Fold the ruffle back along the center crease. Next, sew a basting stitch along the raw edge of the ruffle, leaving a long tail of thread 5-6- inches long to gather it.
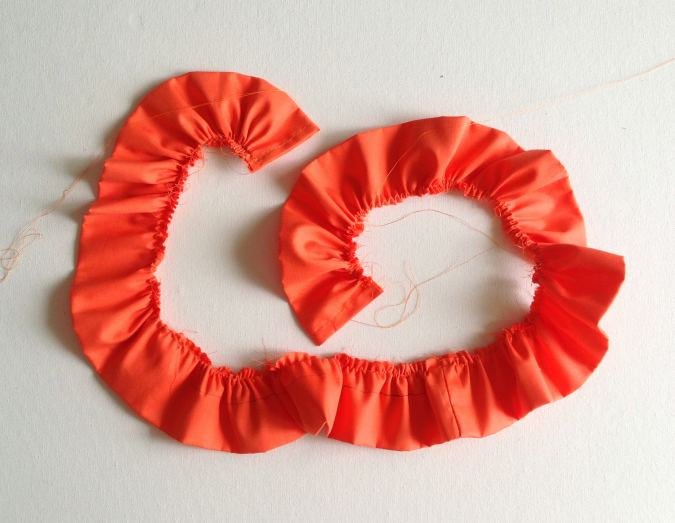

Pull the thread from the bobbin gently and gather the ruffle. Adjust the gathering to make it uniform and to fit the lower edge of the top.
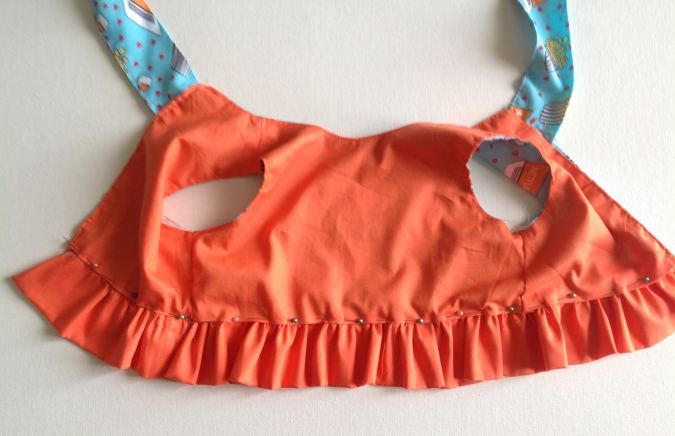
Let’s attach the ruffle to the top.
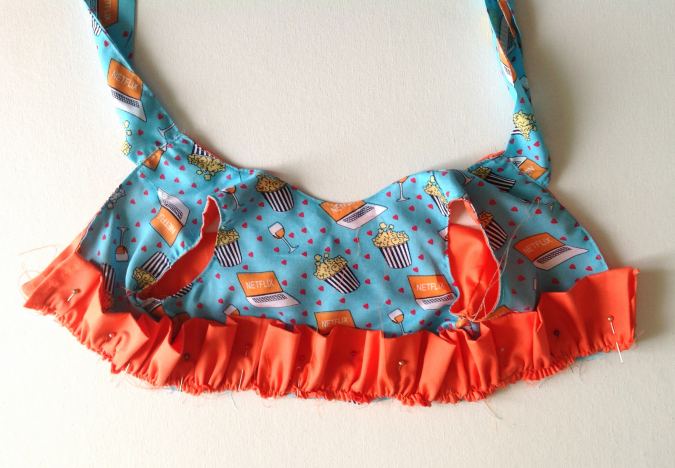

Line up the gathered edge of the ruffle along the lower edge of the top outer, with the right sides together and pin all along. *Note: take care to keep the lining away while pinning.

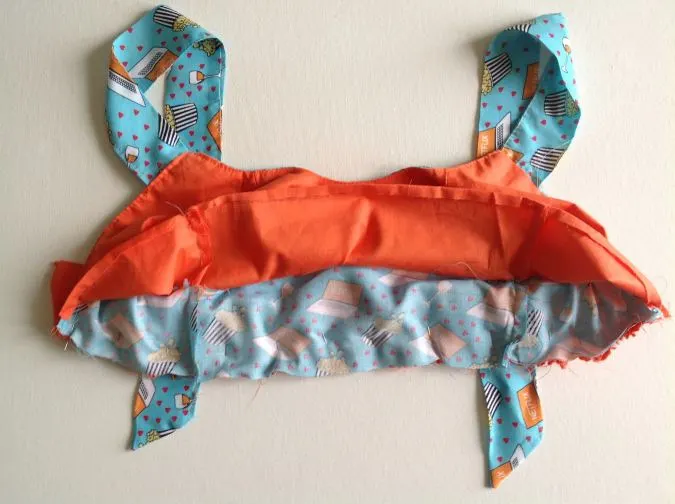
The back should look like this with the lining flipped upwards.
Turn the machine settings back to normal.

Sew the ruffle to the top, removing the pins as you go.

Turn the lower seam up, towards the top, and place the folded edge of the lining over the seam. Pin the lining to the outer, covering the lower seam.
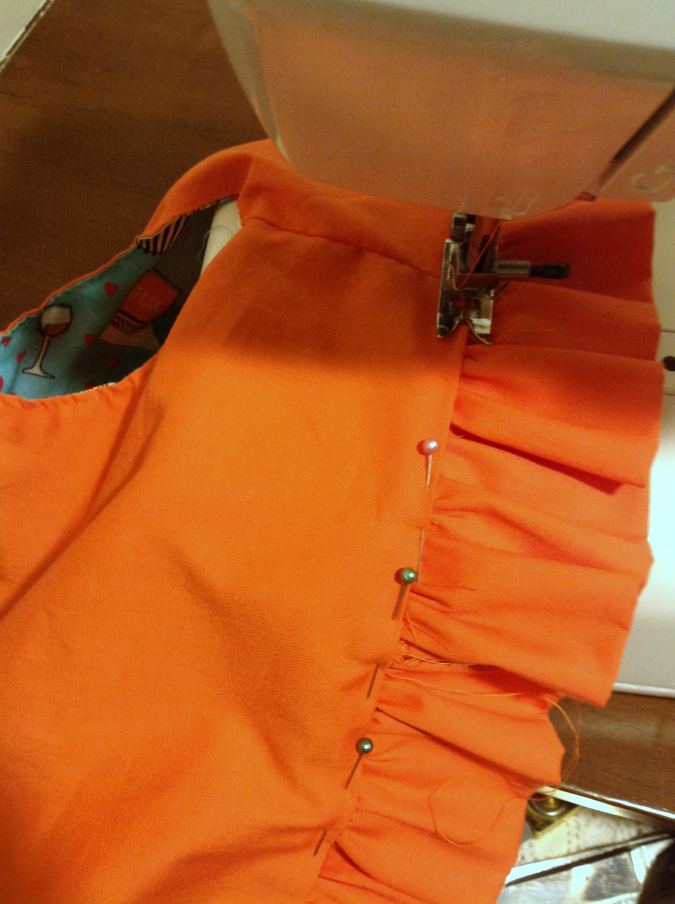

Topstitch along the seam line carefully to sew the lining shut, covering the lower seam.
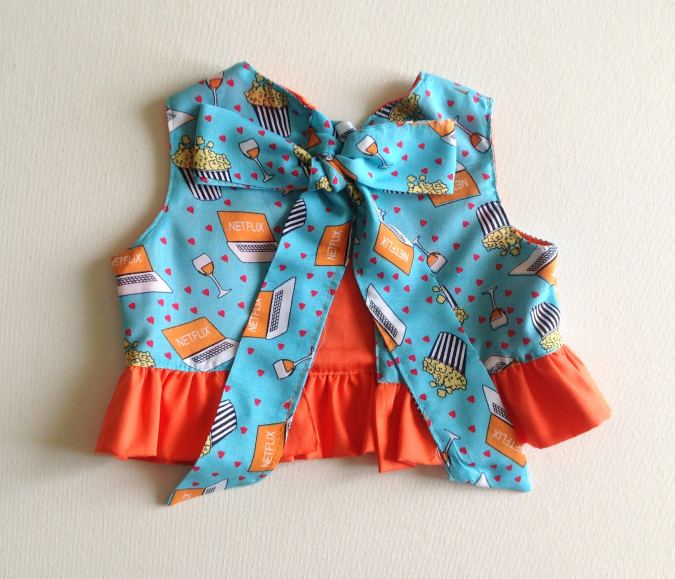
Cut off the hanging thread, tie the ties in a bow and our top is done!
Find the webstory for the post here: Beginner-Friendly Reversible Baby Top: Simple Sewing Project
Pin it for later here,
Hope you enjoyed working on this top sewing pattern for your baby as much as I enjoyed designing it. Let me know in the comment box below!
Darlene Madsen
Friday 17th of May 2024
Is there a pattern for this dress without the ruffle? Would be easier for me. Thanks.
Brenda Hames
Friday 25th of June 2021
Would love the have download for reversible baby top