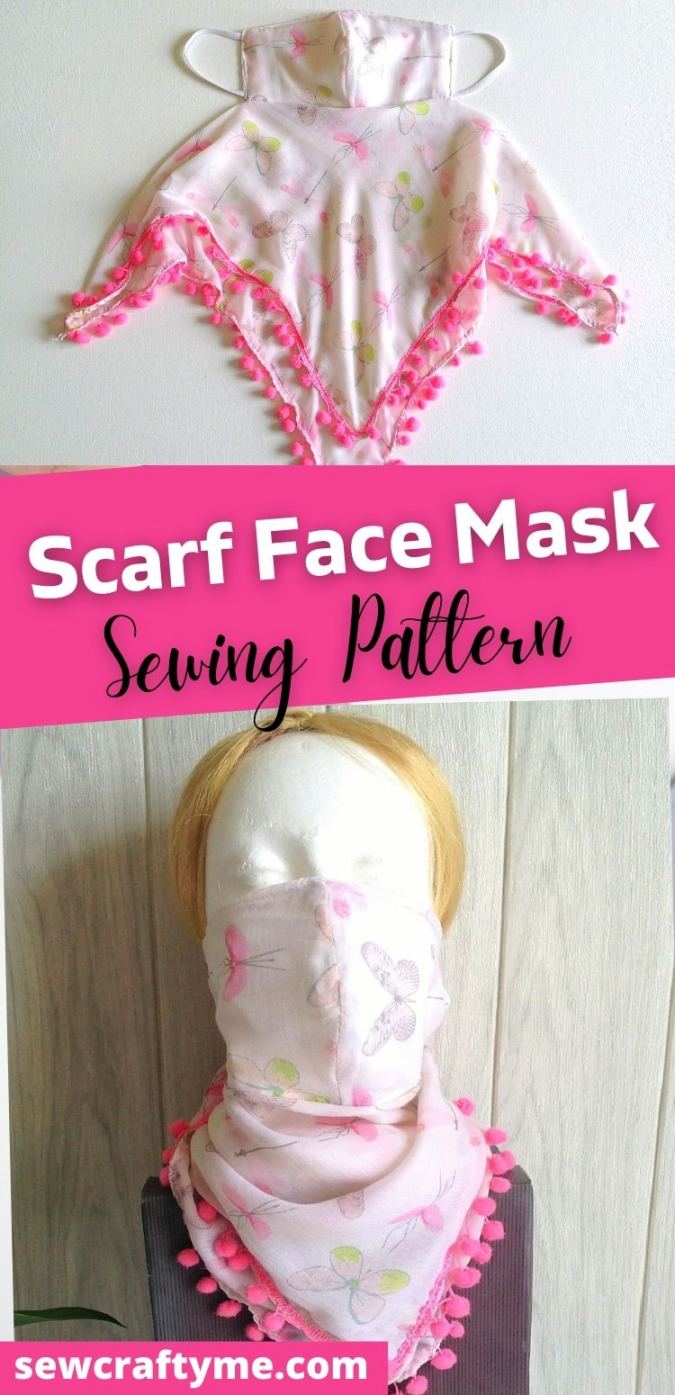
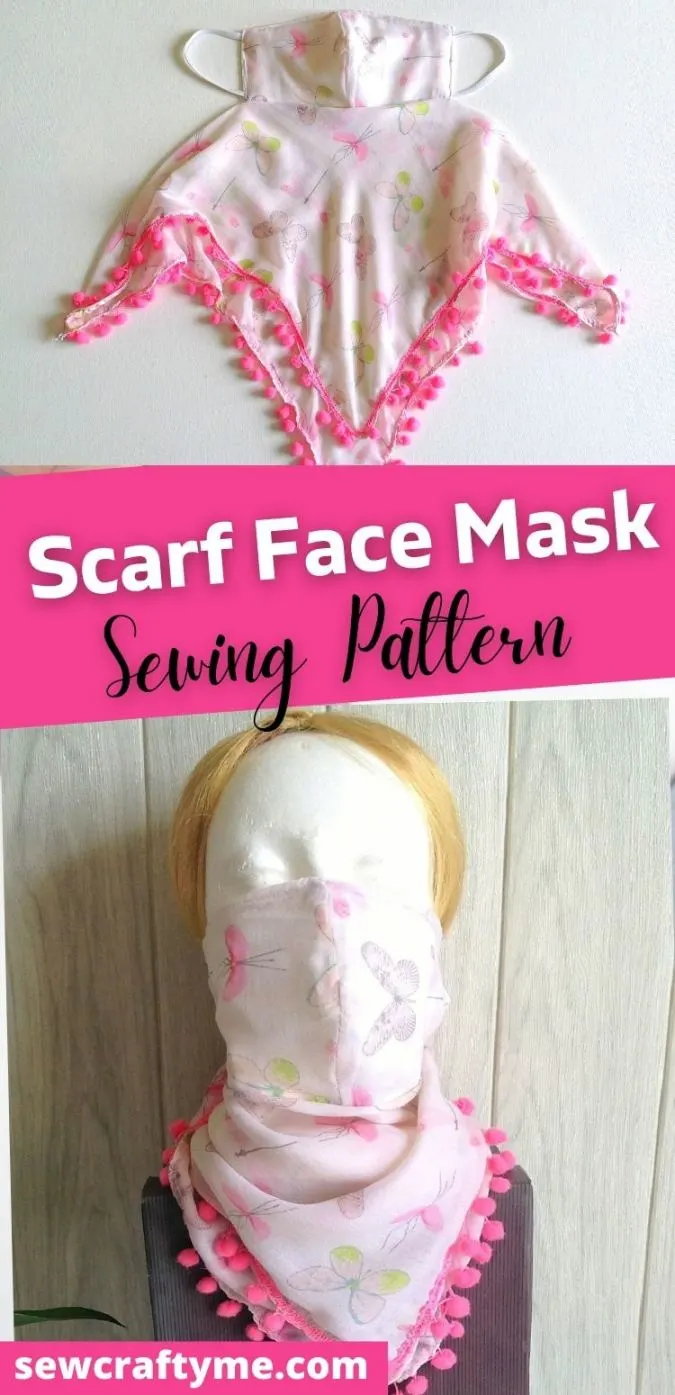
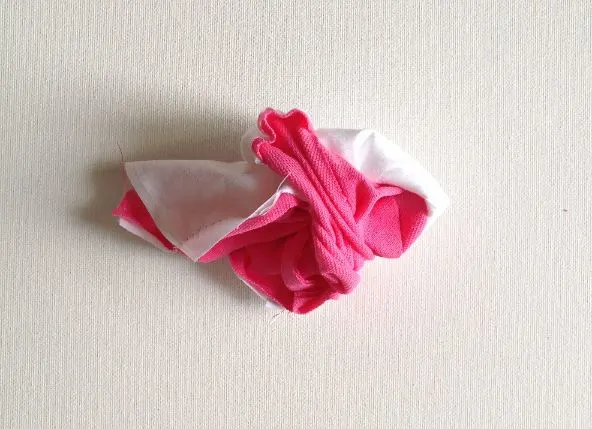
Learn how to sew a scarf face mask with a filter pocket and a removable nose wire. This DIY scarf face mask is a perfect blend of style and usefulness.
The colder months would be here soon and it would be the time for scarves, mufflers, gaiters, neck warmers, and the like. But there is one more thing this time that we cannot do away with, at least for some time, the face mask!
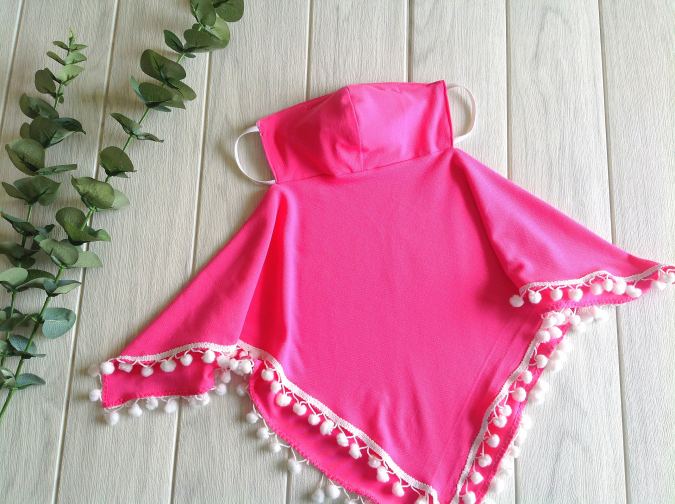
What if I can give you a sewing project that can give the style and warmth of a scarf plus the protection of a face mask? Well, here comes the scarf face mask pattern that is a fusion of a scarf and a face mask.

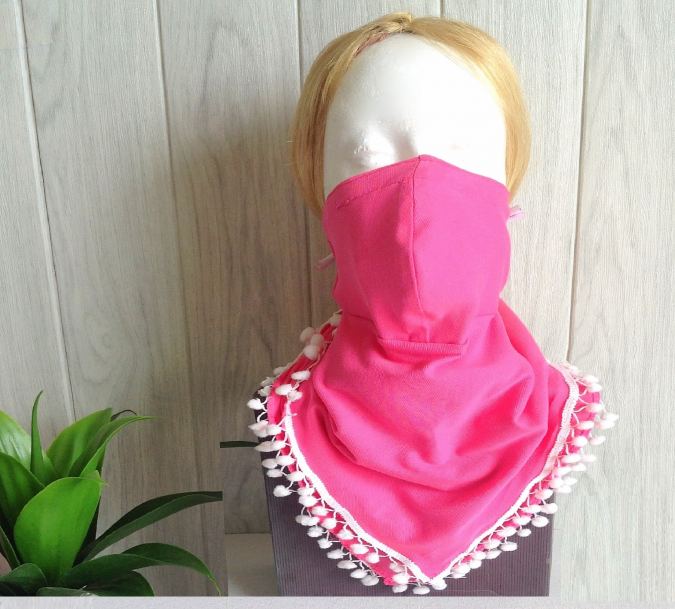
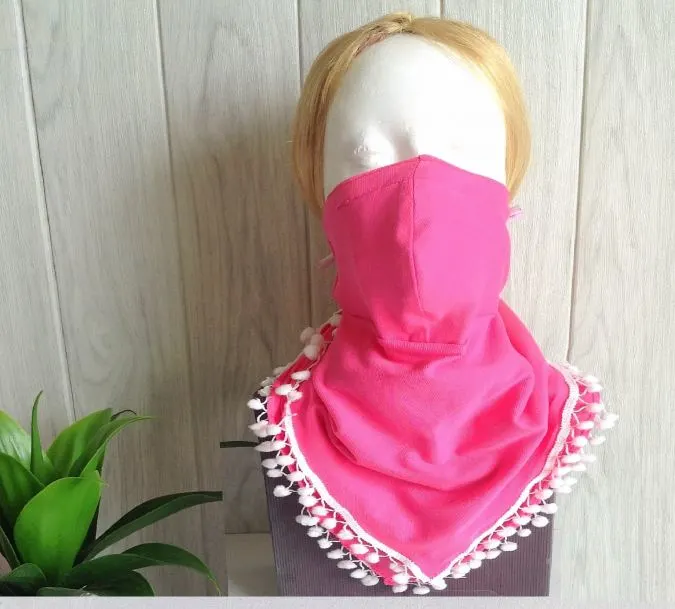
This scarf face mask or a “marf” as some people have named it, is a perfect blend of style, comfort, and usefulness! You can wear the scarf and the mask or tuck the mask inside when you don’t need it!

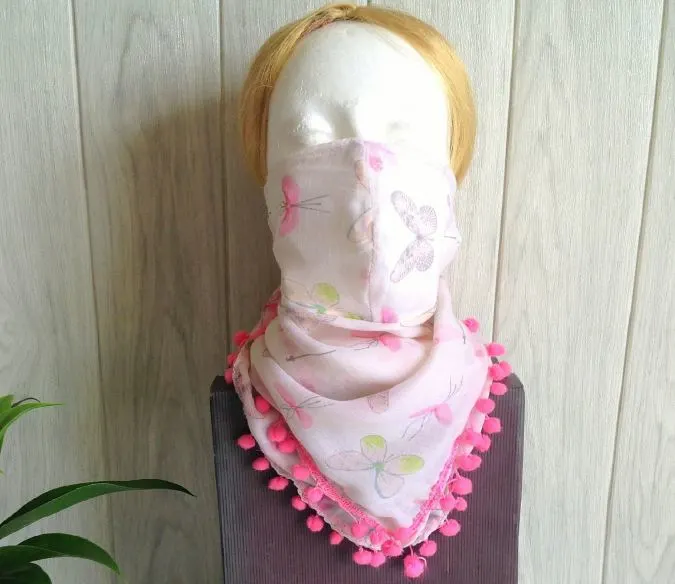
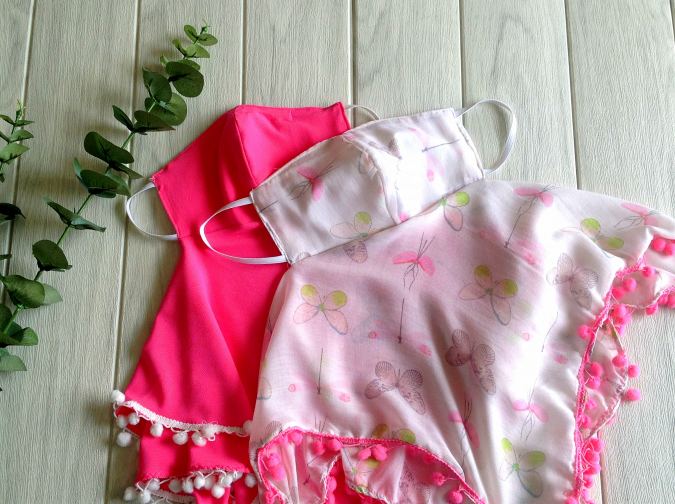
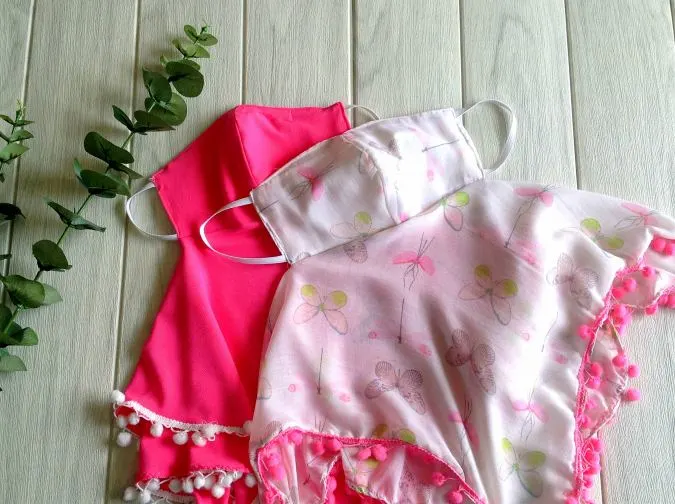
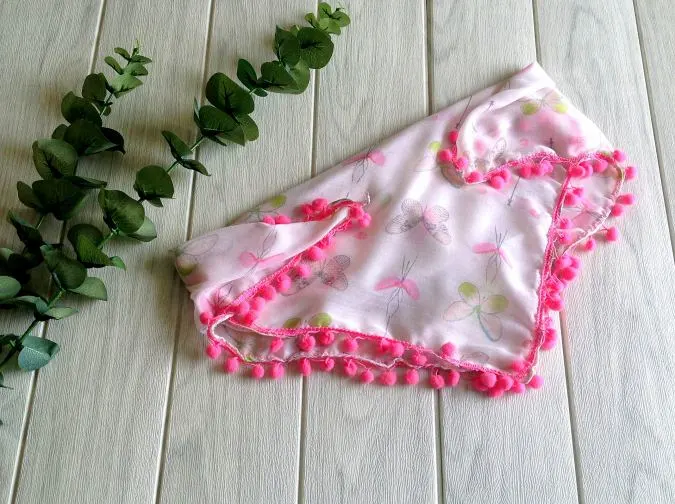
I love wearing scarfs and I have a large collection of them in different fabrics, prints, and colors. One of the scarf face masks you see here has been made from one of my favorite scarfs. It is soft voile with a beautiful butterfly print in the colors I love.
This face mask with scarf sewing pattern comes with a removable filter pocket and a nose wire casing to ensure the maximum protection possible. You can use a piece of dried antibacterial wet wipes or even toilet paper as a filter. A piece of pipe cleaner or floral wire can be used as a nose piece.
If you would like to see my other face mask sewing patterns, click on the pictures below:

Breathable Face Mask
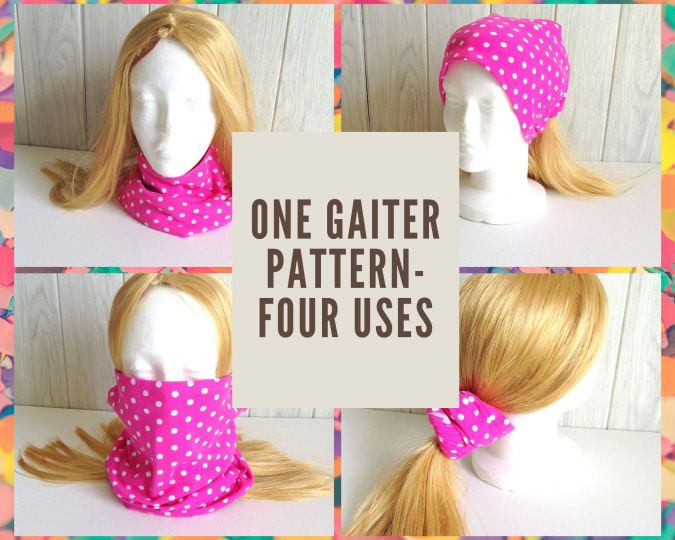
Four- in- one Gaiter Face Mask
How to Sew a Scarf Face Mask
Supplies Needed:
Fabric for the scarf- You may use voile, rayon, cotton interlock knit, chiffon, or even silk. You will need a square of 20″ x 20″ dimensions.
Fabric scraps for the mask outer- scraps from the above fabric.
Tightly woven cotton fabric for the mask lining and filter pocket- a few scraps.
3/8- inch elastic – you will need 2 pieces, 7-inches long for an adult, 6.5- inches long for a teen or 6- inches for a child.
Pipe cleaner or floral wire- 5-inches.
Sewing Notions.
Trims like pompoms, ricrac, or lace (optional)- 2.5 yards.
Enter your e-mail address below to download the template.
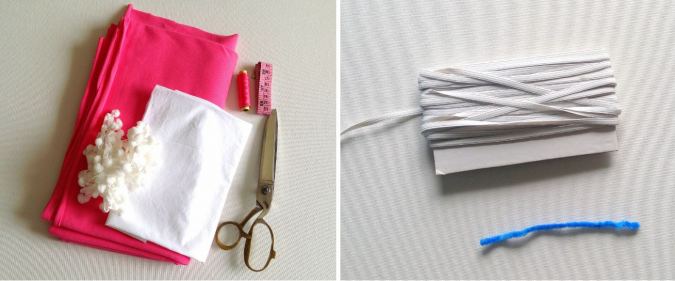

Gather your supplies.
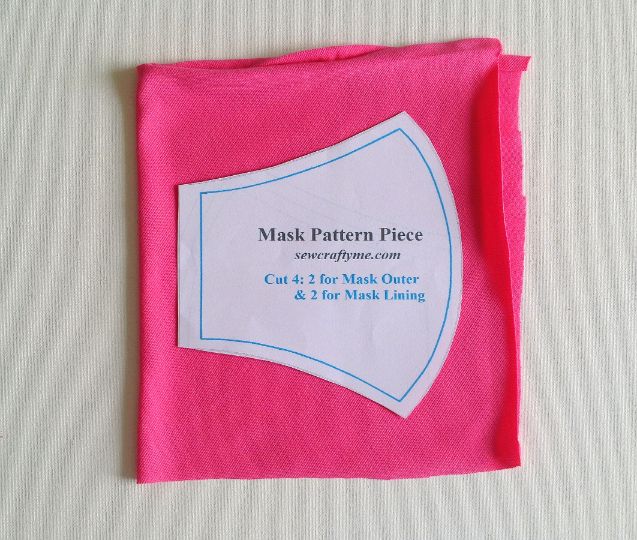
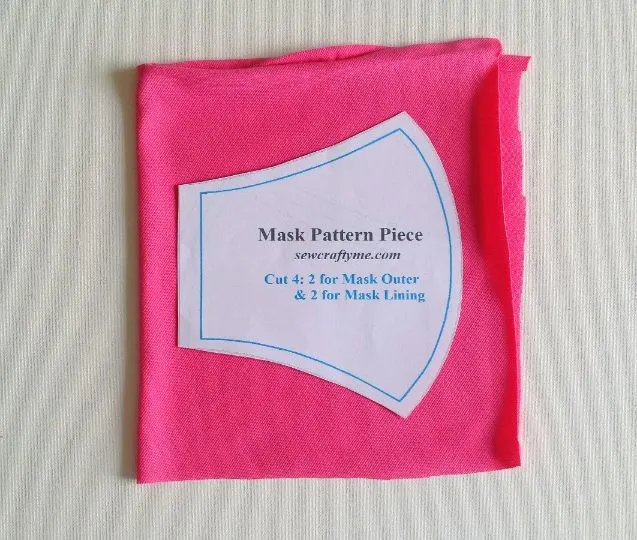
Take the mask (scarf) fabric, fold it to fit the width of the template and place the template above it. Trace around the template and cut to get two pieces for the mask outer.
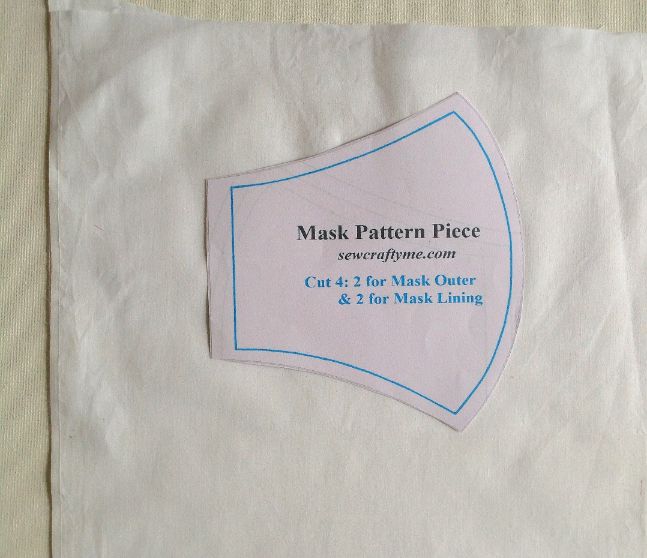
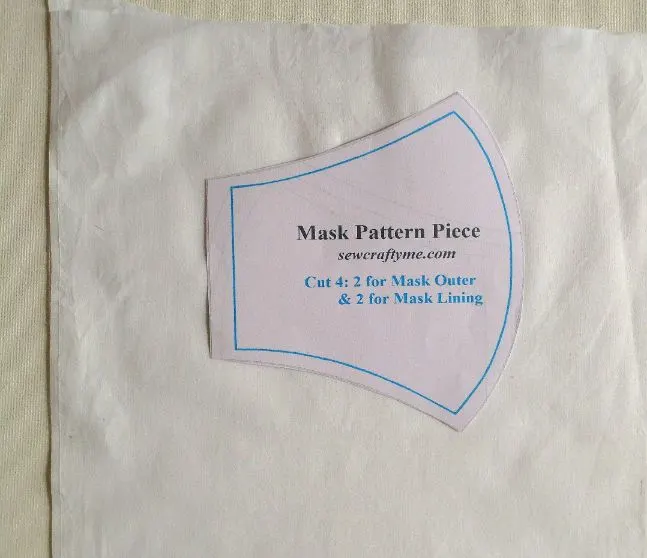
Take the same template, place it above the folded lining fabric, and cut to get two pieces for the lining.
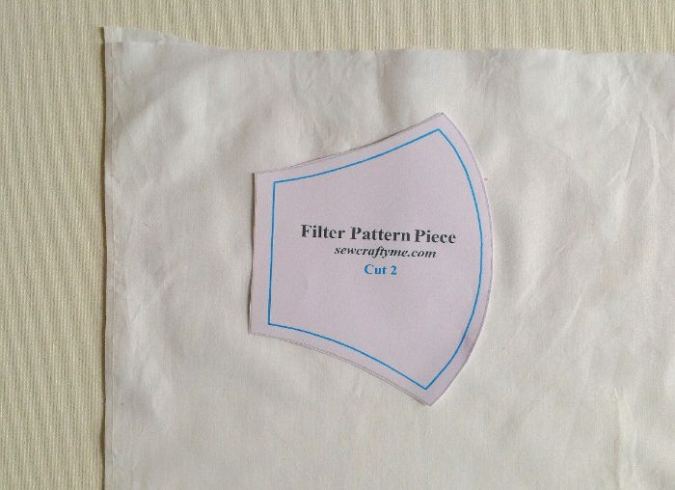

Take the pocket template and cut two pocket pieces in a similar manner.
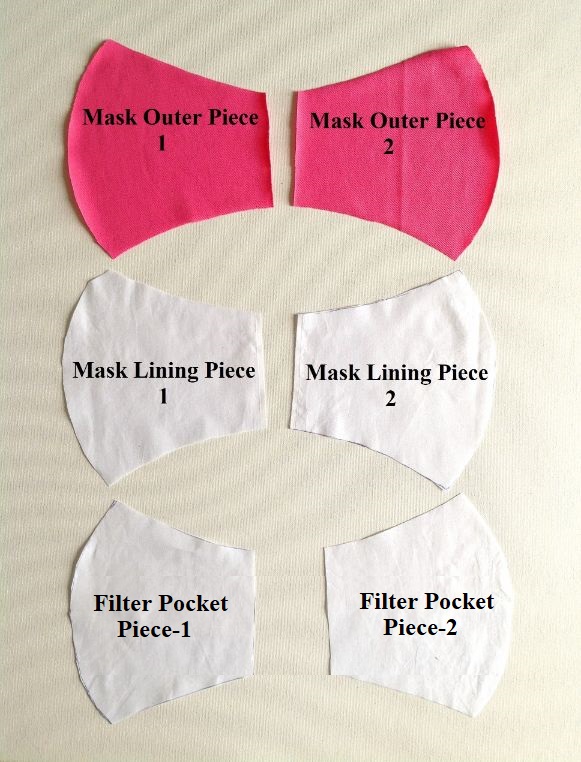
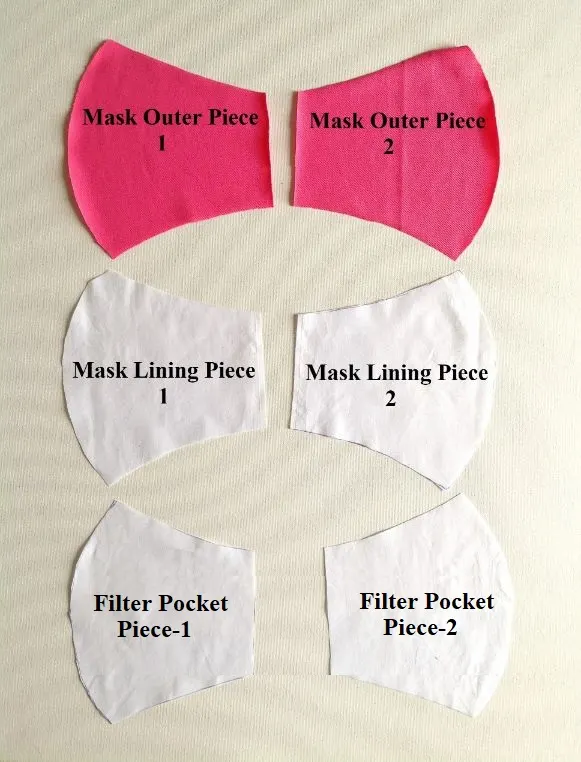
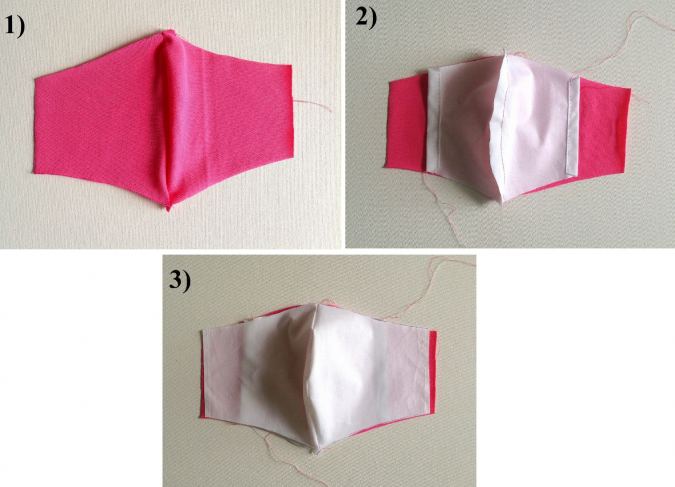
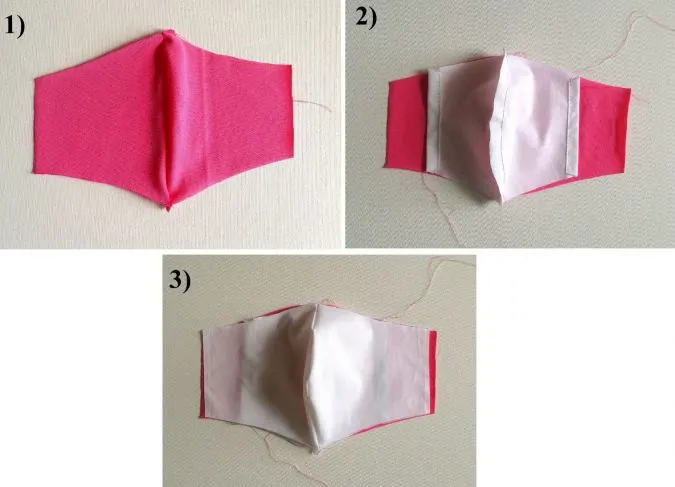
Your mask outer, lining, and filter pocket pieces will look like the picture above.
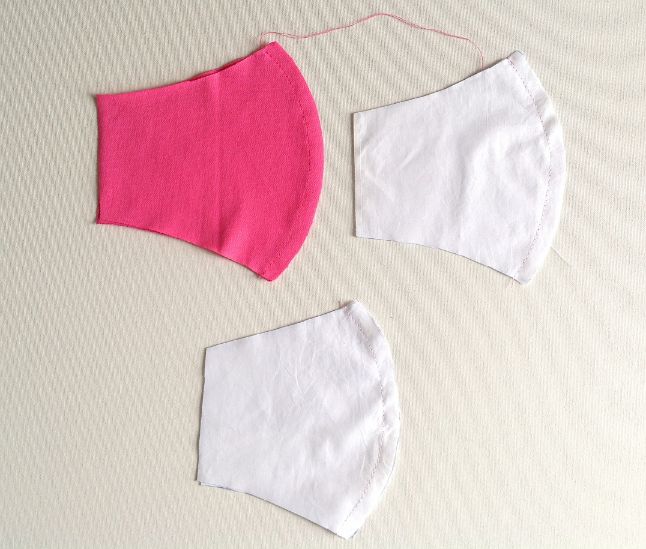
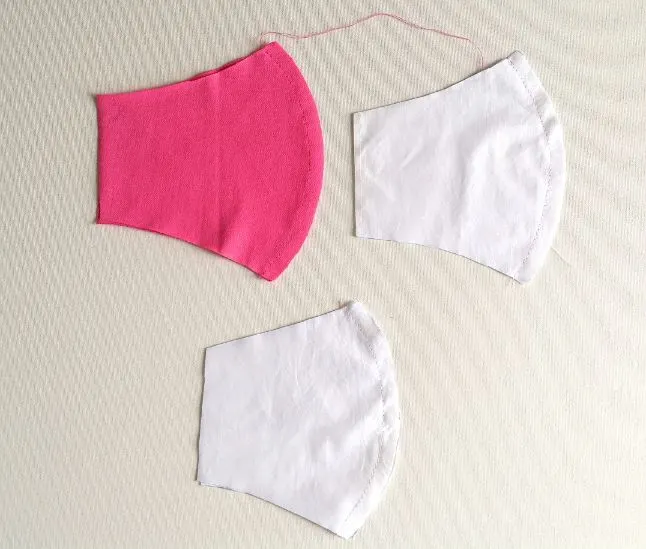
Take the mask pieces, layer them with the right sides together aligning the edges, and sew along the curved edge to join. Repeat with the lining pieces and the pocket pieces.
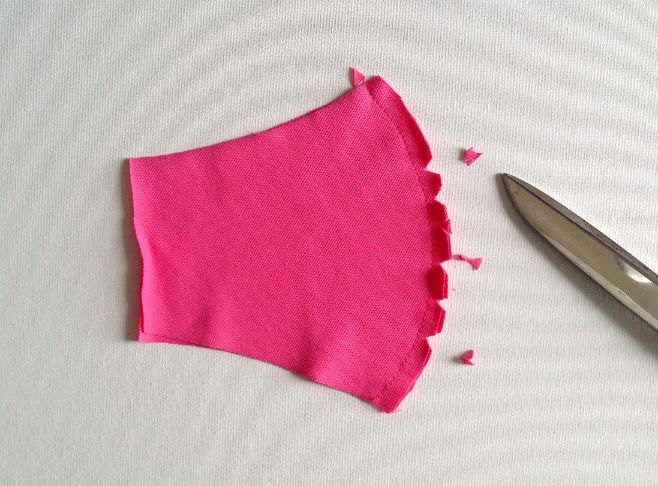
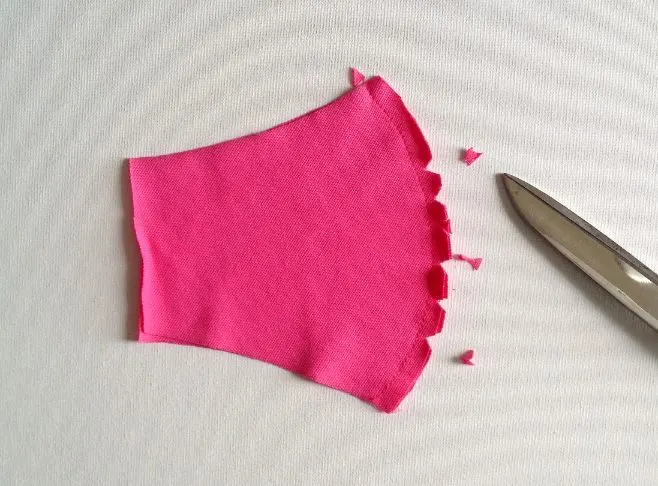
Cut the corners and make small clippings around the curved seam for the mask outer, lining, and filter pocket. This is to reduce the bulk in the seam. * Note: take care not to cut through the seam.
Next, we prepare the filter pocket.
Fold the two straight edges of the pocket by ½- inch twice, towards the wrong side and press. Sew down the folds along the edge on both sides.
Let’s sew the mask outer, lining, and pocket pieces together.
Place the mask outer with the right side facing up. Place the pocket piece above it with the curved edges and the center seam aligning and with the right sides together. Next, place the mask lining above the layer with the right side facing up and the edges aligning.

Pin the three pieces together along the two curved edges. Sew along the two pinned edges to join. Make sure to reinforce the stitches at the start and finish.
Once again make small clippings along the seam to reduce the bulk.
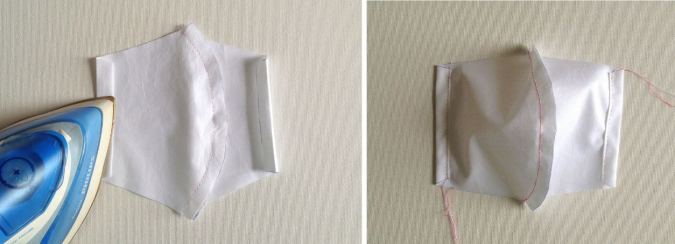
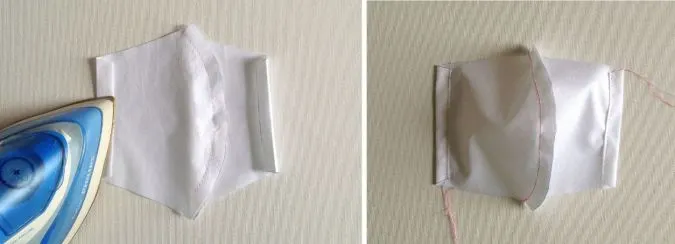
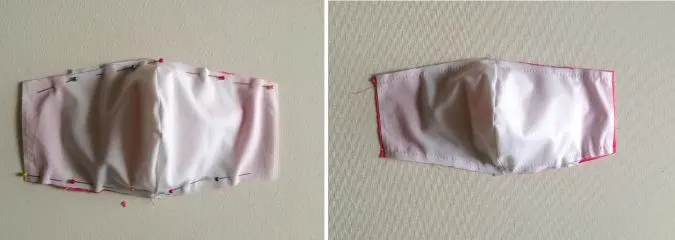
Slide your fingers in between the filter pocket and the mask outer layer and pull the right side out.
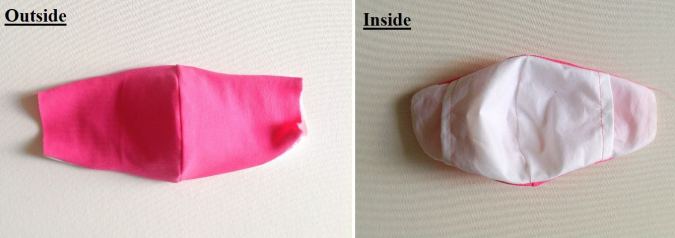
Your mask will look like the first picture on the outside and will look like the second picture on the inside.
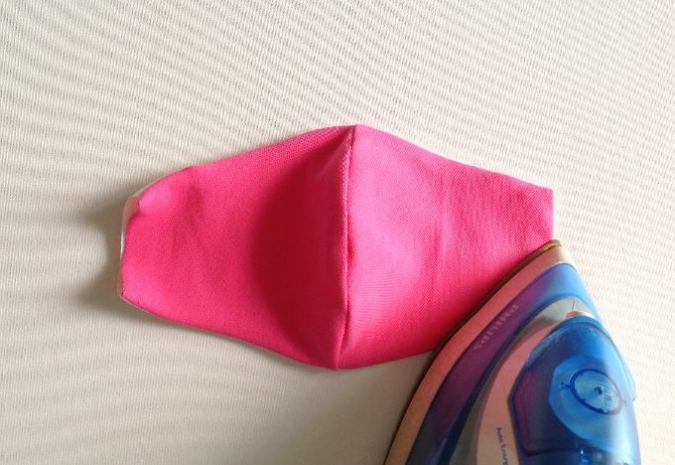

Tuck the raw edges on both sides by ½- inch inside and press.
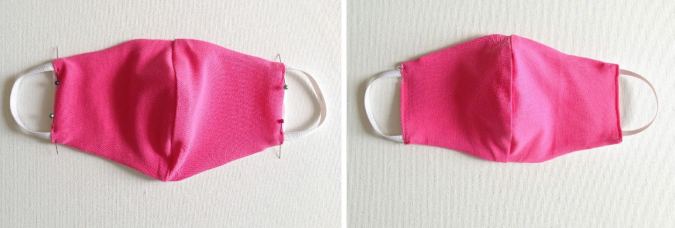
Take the two pieces of elastic, insert it through the opening on the sides, at the top and bottom edges, and pin. Sew the side edges down on both sides, enclosing the elastic edges.
Next, we need to sew the casing for the nose piece.
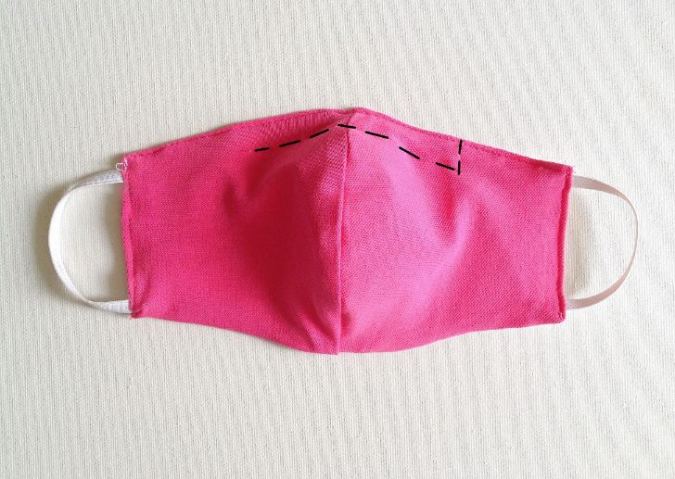

Sew a straight line 5/8- inch from the top edge. Sew one side of the casing shut. Keep the other edge open to make the nose piece removable.
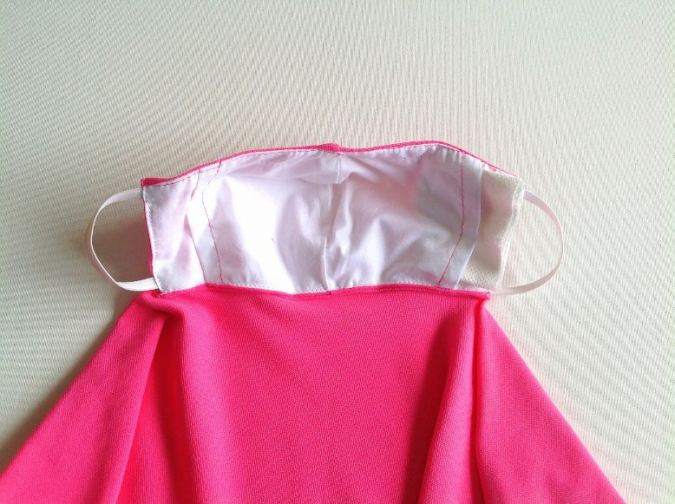
Our mask is done. We move on to the scarf part.
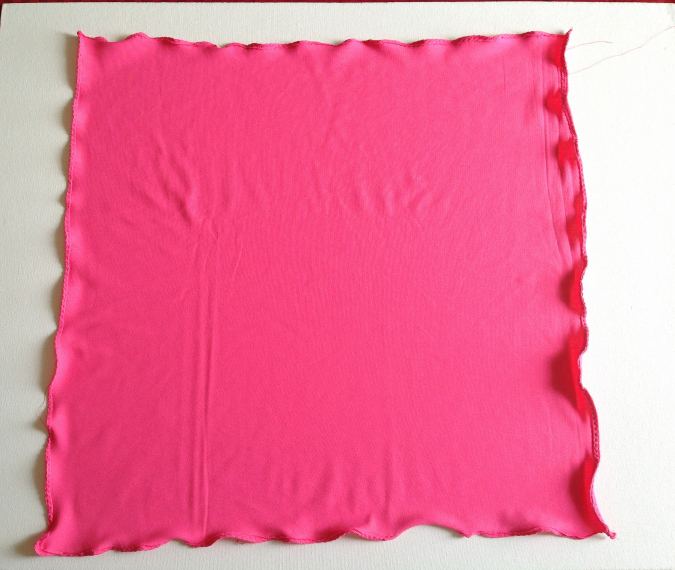

Take the scarf piece, referring to the measurements above. Fold the four edges twice by ¼- inch and press. Sew down the hem. Alternatively, you can roll hem the edges as I did. If your edges look wavy, you don’t need to worry, press using a lot of steam and the edges would even out.
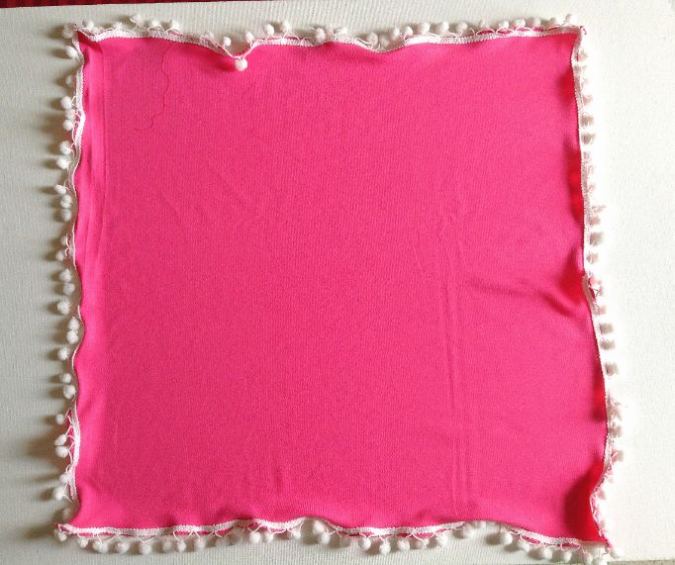

At this point, you may sew the trim on the edges if you wish.
Let’s sew the scarf and the mask together.
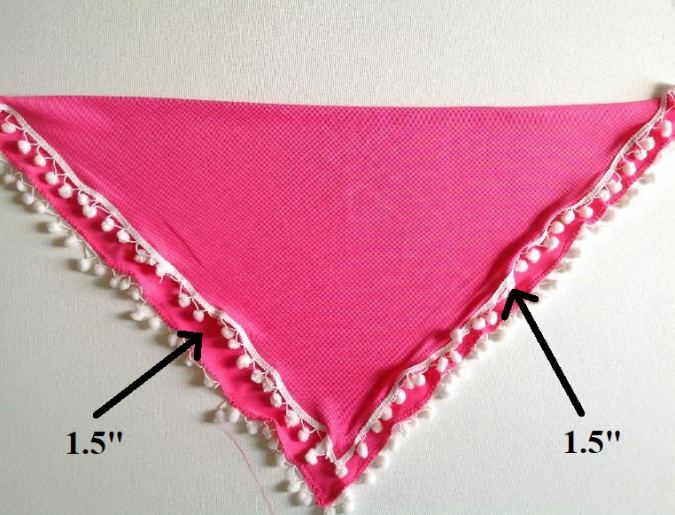
Fold the scarf diagonally with the right side facing out and the outer edge extending the inner by about 1.5- inches.
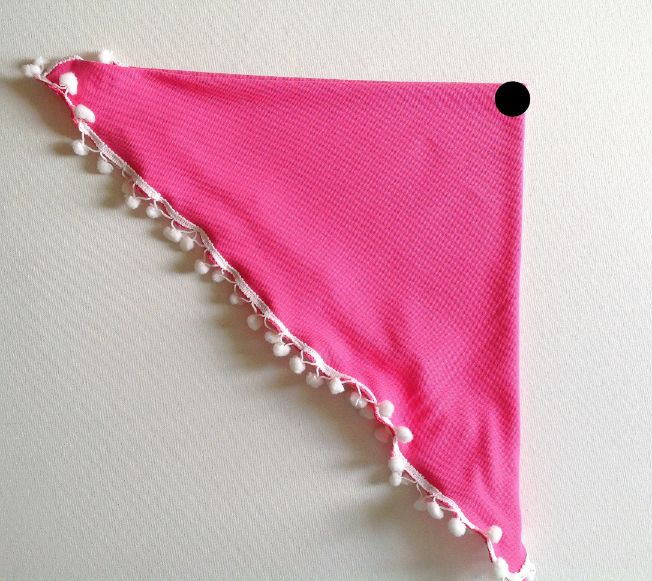
Fold the scarf again in half and mark the top center along the fold.
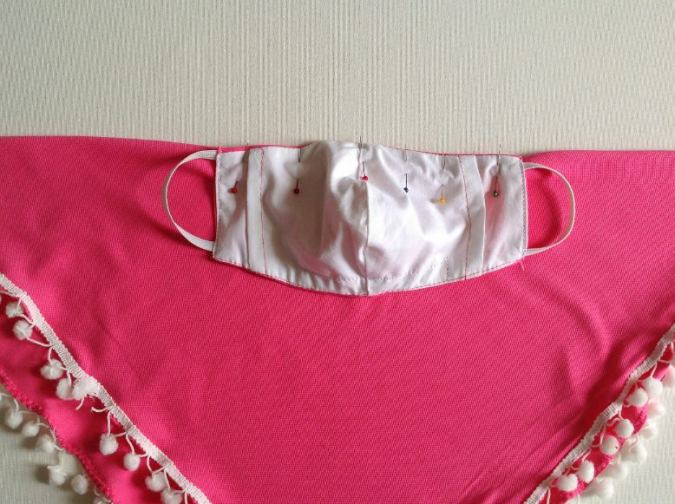
Align the center point of the scarf with the center seam of the mask and pin the lower edge of the mask with the folded edge of the scarf. Note that the inside of the mask is facing up. Sew the mask to the scarf, reinforcing the stitches at the start and finish.
Flip the mask up and insert the filter through the filter pocket.
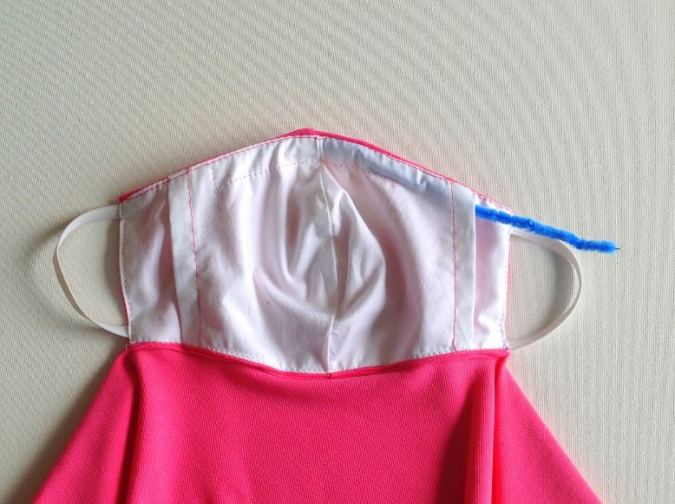
Also, insert your nose piece through the opening in the upper casing.
And your scarf with face mask is done!
For more of my free patterns, click here.
For hundreds of free patterns and DIYs, visit allfreesewing.com.
Have a look at the webstory on DIY Scarf Facemask Sewing Tutorial here.
Pin it for later here,