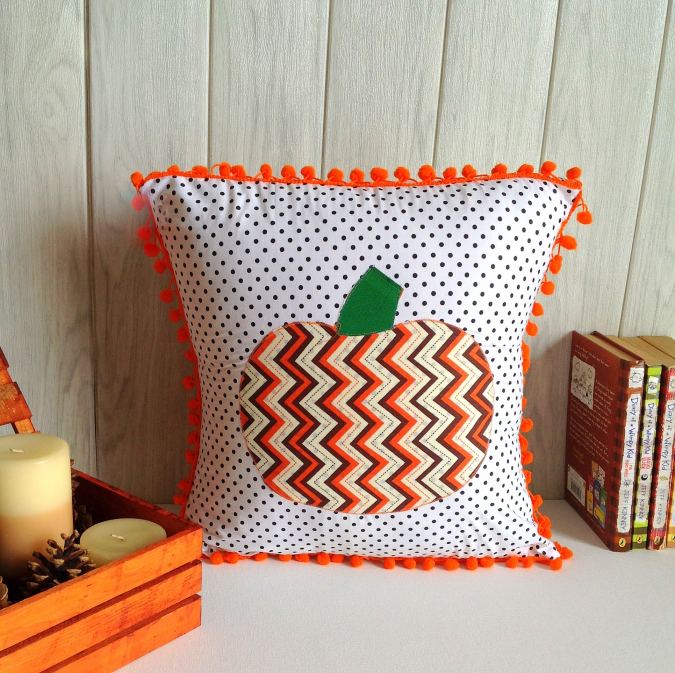
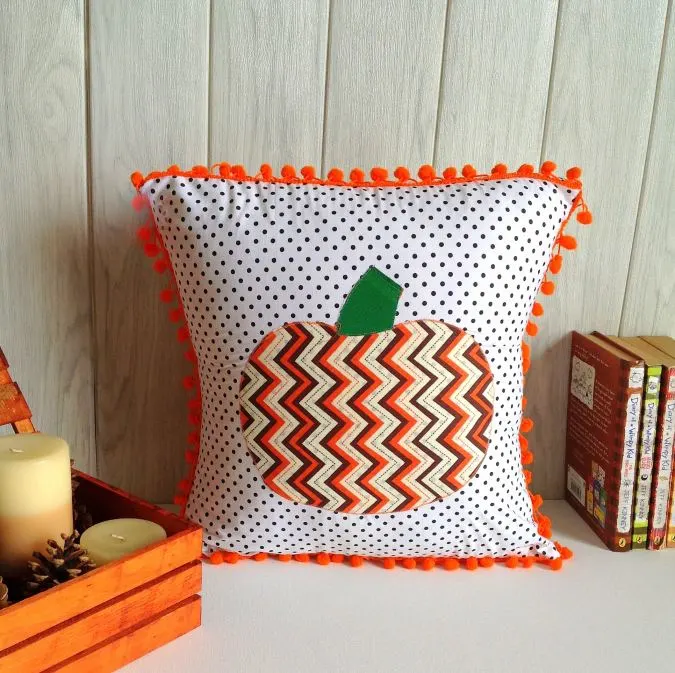
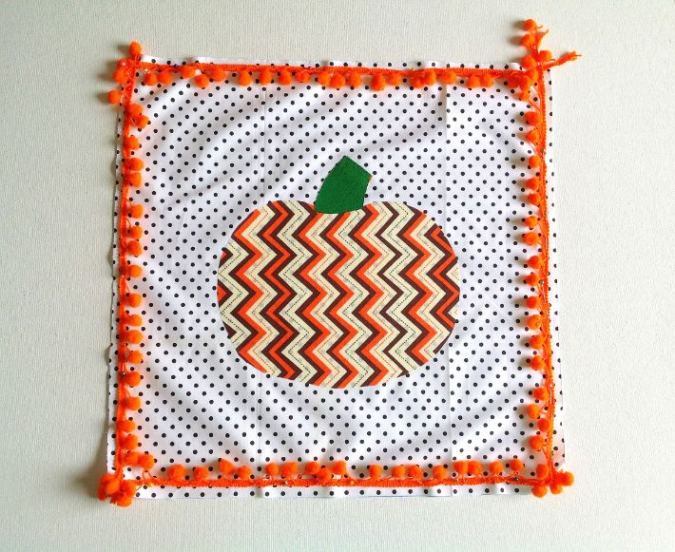
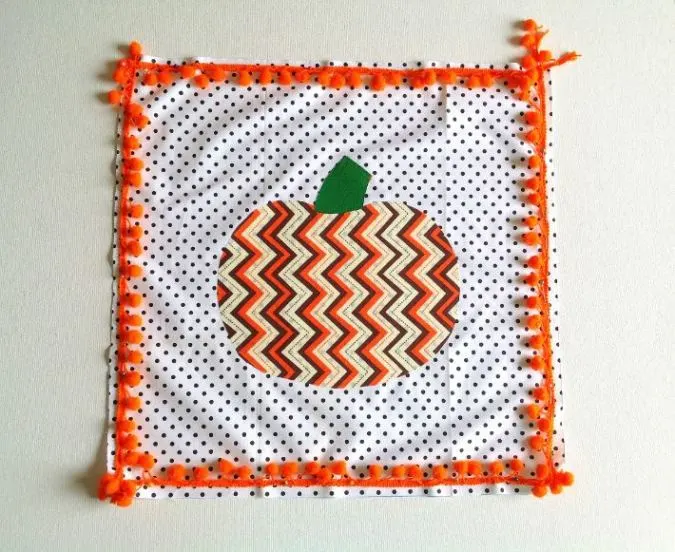
Fall is almost here and it is high time to decorate your homes with fall accessories. If you love to decorate your home with handmade items on a budget, here is something you can try, an easy fall pillow cover with pumpkin applique and pompoms.
Pillow covers are the cheapest alternatives to decorate your homes on a budget. They give your home all the color and classiness it needs. They are replaceable after every season and they are easy to fold and store once the season gets over.

Here I have come up with an envelope style pillow sewing project with a very simple pumpkin applique.
If you need a quick makeover for your home, you may buy cheap pillow covers from stores and do the pumpkin applique. The orange applique would look great on black and white stripes, jute fabric, linen, plain white cotton and it would look just awesome on burlap too.


I love pumpkins for my applique during fall but I love the autumn leaves too. Initially, I had thought of using fall leaves for the pillow applique but I wanted the applique to be simple for my beginner readers and I chose to do the pumpkin applique instead.
I have used heat and bond lite for the applique here and I have used a buttonhole stitch along the edge of the pumpkin. If you are not confident about sewing around the applique and you would like to just fuse the pumpkin to the pillow cover, you may use heat and bond ultra hold for fusing the applique.
If you would like to have a look at other easy things to sew, click on the pictures below:

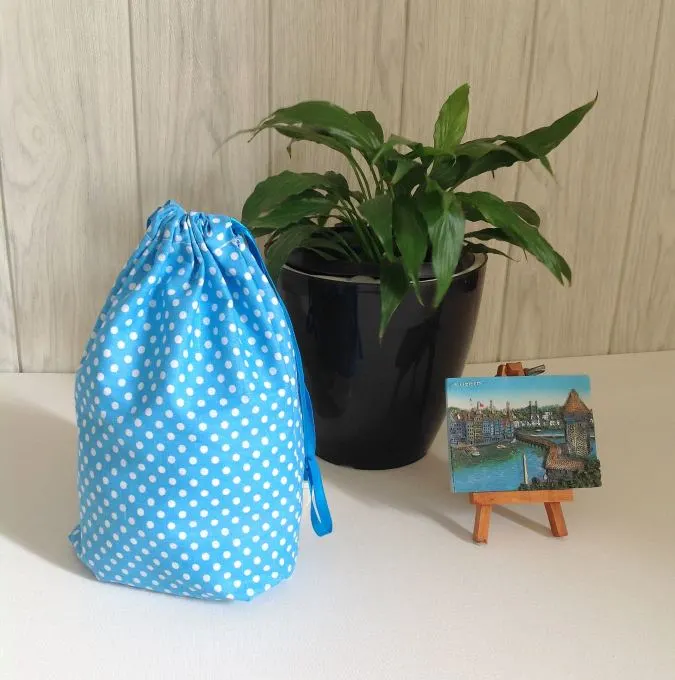
Easy Drawstring Bag

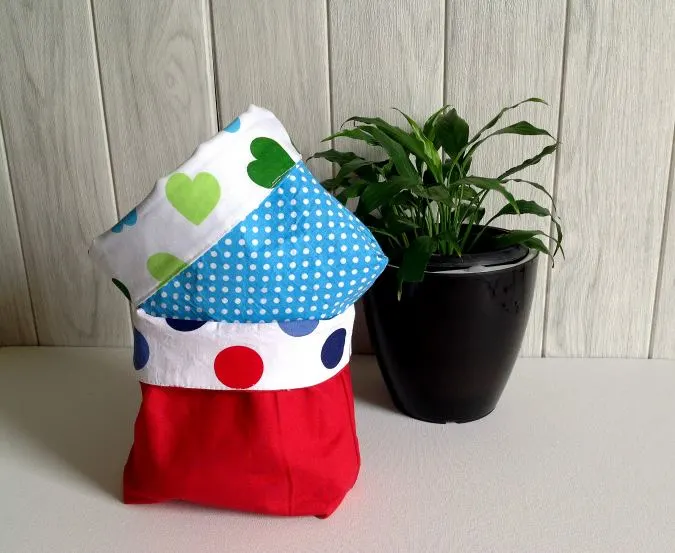
Reversible Basket
Easy Fall Pillow with Pumpkin Applique
Supplies Needed:
Medium to heavy-weight cotton fabric or home décor fabric- 1/2 to 3/4 yard, depending on the size you want to make.
Scraps of medium-weight fabric in orangy or yellowy shades for the pumpkin applique.
A small green fabric scrap for the pumpkin stem ( optional).
Heat and bond iron- on adhesive
Sewing Notions.
Pillow Foam.
Pompoms or other trims of your choice- 2 yards.
Enter your email address in the box below and click on the download button to download the pumpkin template for applique.
Note that the measurements are for a snug fit pillow. You may increase the length and width by 1 inch if you need the cover to be loose.
Cutting Dimensions:
In the table below, “L” stands for the length and “W” stands for the width of the fabric piece to be cut.
| Pillow Size | Front Panel
(inches) |
Back Pieces(cut 2)
(inches) |
| 14 Inch | 15L x 15W | 11L x 15W |
| 16 Inch | 17L x 17W | 12L x 17W |
| 18 Inch | 19L x 19W | 13L x 19W |
| 20 Inch | 21L x 21W | 14L x 21W |
The table above gives the cutting dimensions for four different pillow sizes. If you have a pillow of a different size, you can use the directions below to calculate the dimensions required.
Front piece Length- Length of the pillow + 1- inch.
Front Piece Width- Width of the pillow + 1- inch.
Back Pieces Length- Length of the pillow/ 2 + 4-inches.
Back Pieces Width- Width of the pillow + 1- inch.
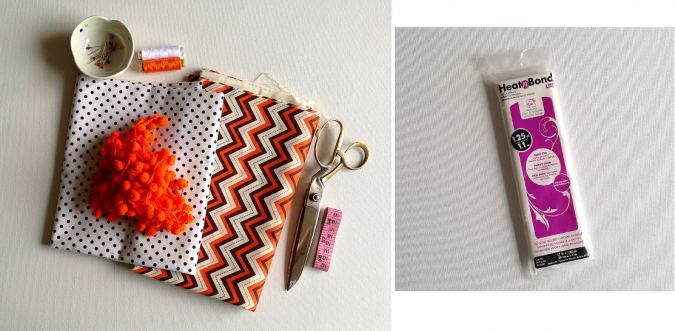
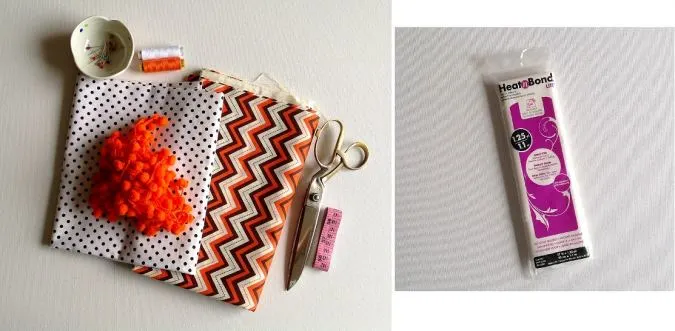
Gather your supplies.
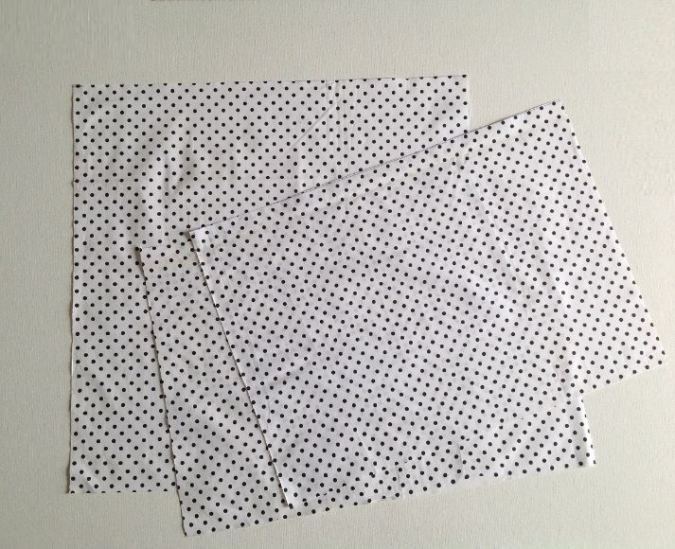
Cut the front piece and the back pieces, referring to the dimensions above.
Once that is done, we need to cut the applique piece.

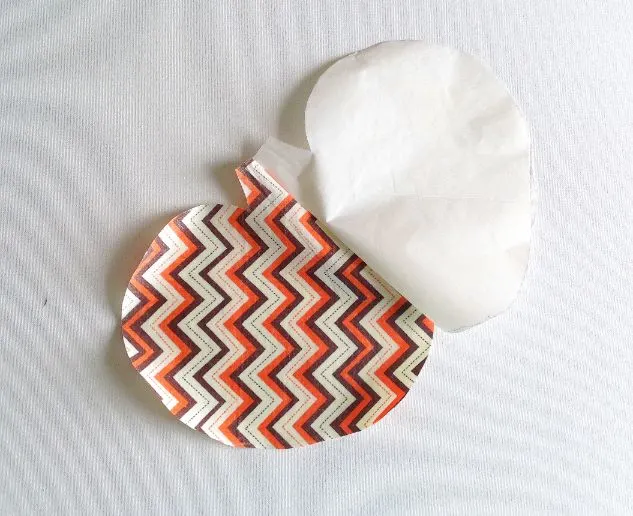
Cut the applique piece a little larger than the pumpkin template, all around.

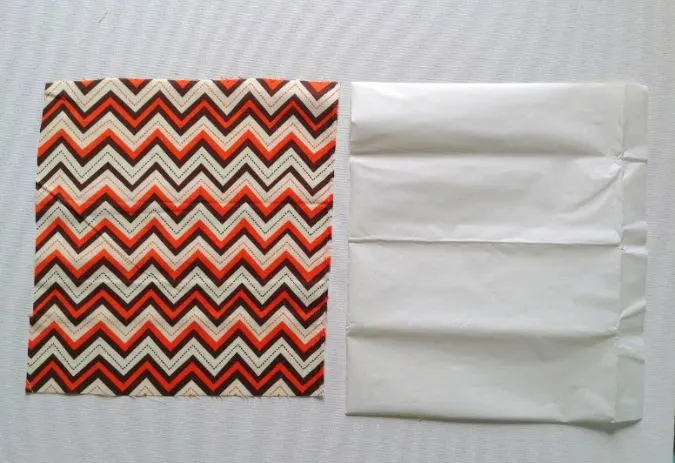
Cut the heat and bond adhesive in the same size.
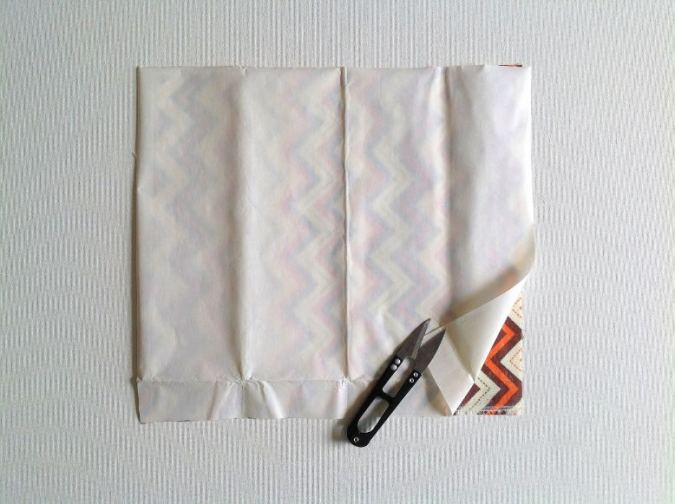
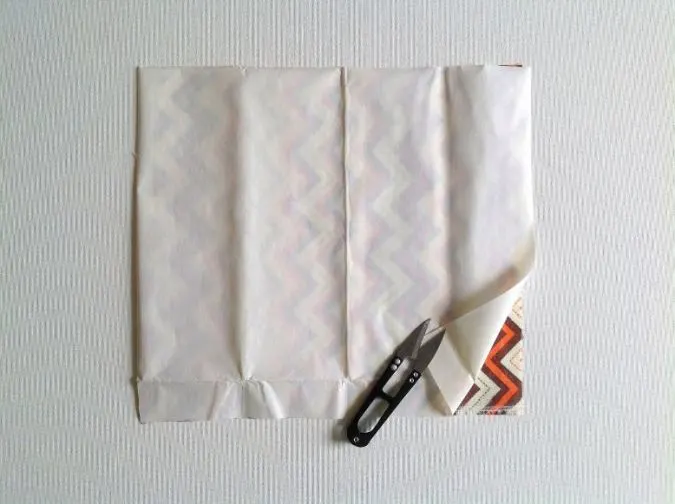
Place the heat and bond on the wrong side of the applique fabric, with the waxed side facing down.

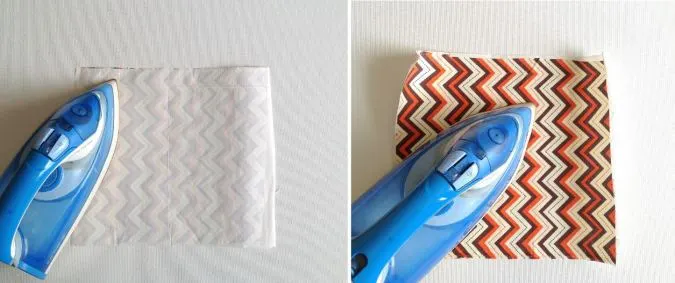
Iron the adhesive on the paper side and also on the fabric side to transfer the wax completely to the fabric.
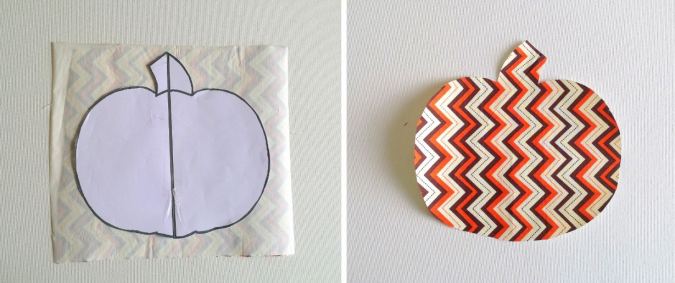

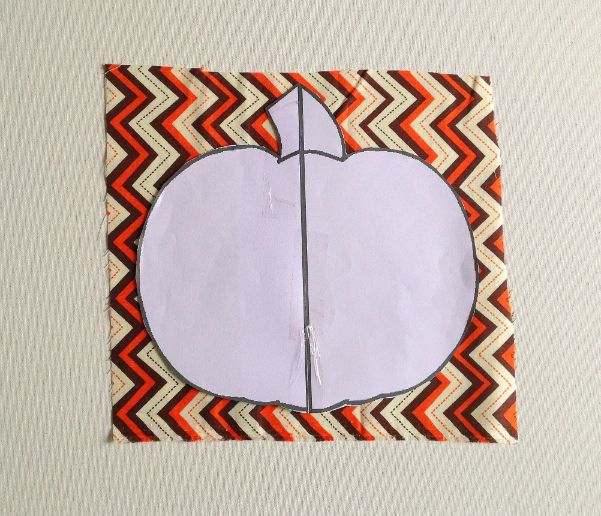
Place the pumpkin template on the paper side of the fused fabric and trace around the template. Cut around the template to get the pumpkin-shaped applique piece.
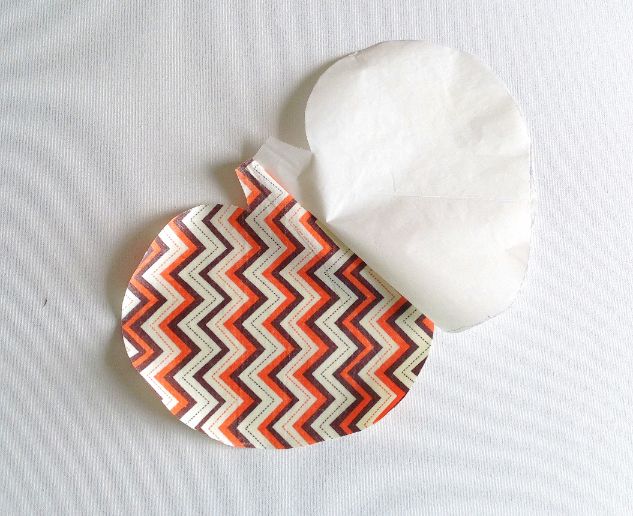
Remove the paper backing and you will see that the wax is transferred to the fabric.
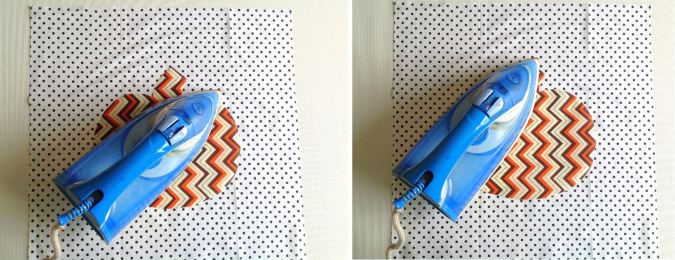
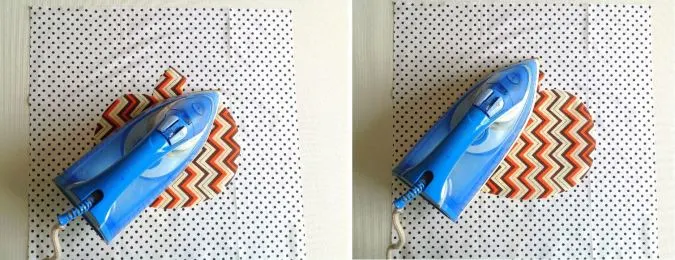
Place the pumpkin piece centered on the right side of the front pillow piece. Start pressing from the center outwards to fuse the applique to the pillow front. * Note that you need to set the iron temperature on moderately high heat to melt the wax completely.
Optionally, you may cut a small green piece for the pumpkin stem and fuse it over the pumpkin applique.
Sew around the applique using a buttonhole stitch on your machine. If you would like to skip sewing the applique, use heat and bond ultra hold instead of lite, as I have mentioned earlier. This will ensure that the applique stays in place after multiple washing.
Next, we sew the pompom trim.
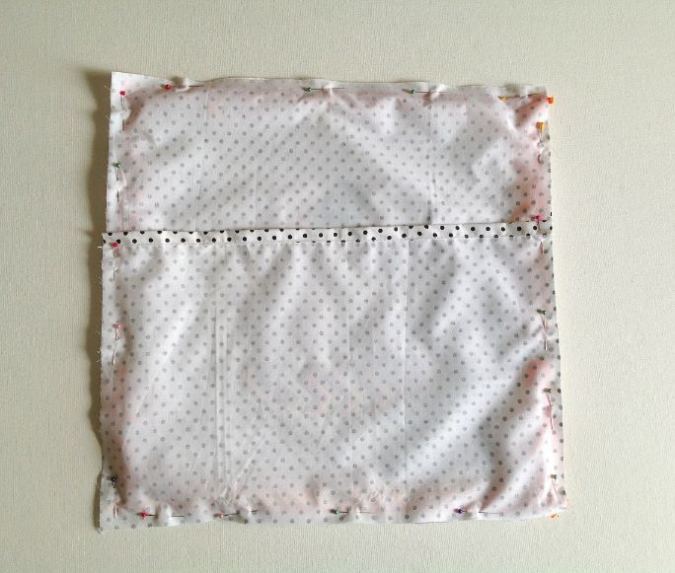
Cut the 4 pompom trims pieces, a little longer than the pillow front edges. Pin the trim along the four edges, ½- inch from the raw edge and the pompoms facing inwards.
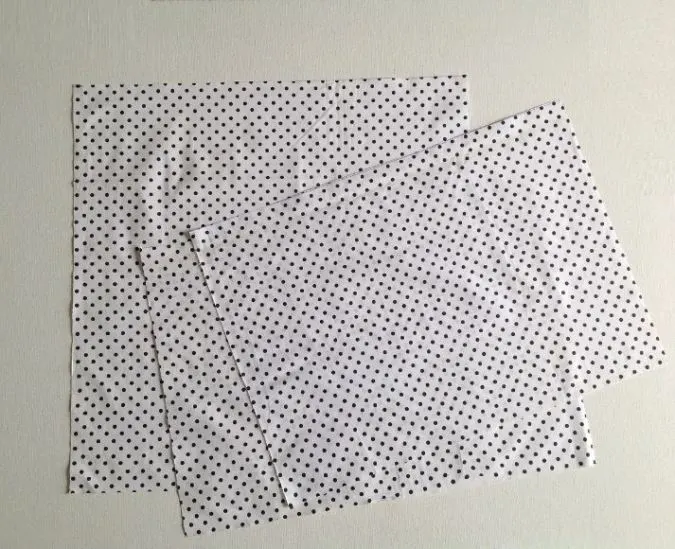
We need to hem one of the edges of the back pieces.
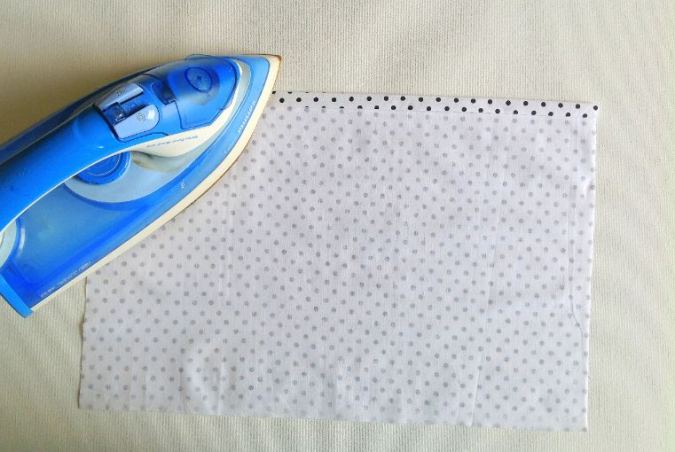

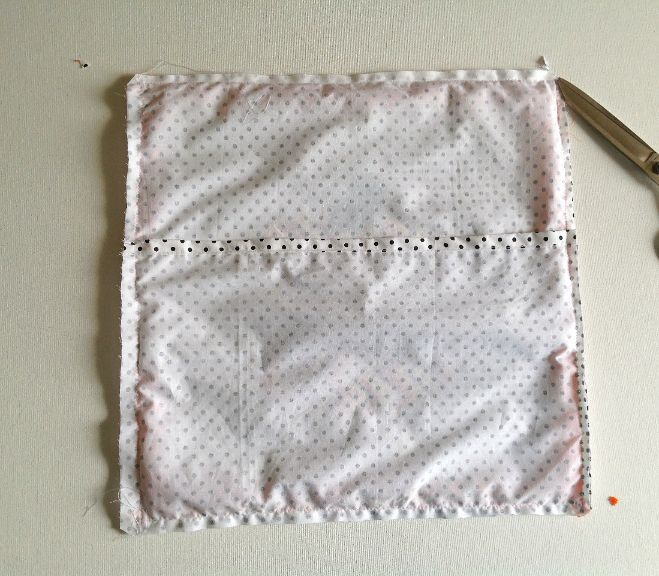
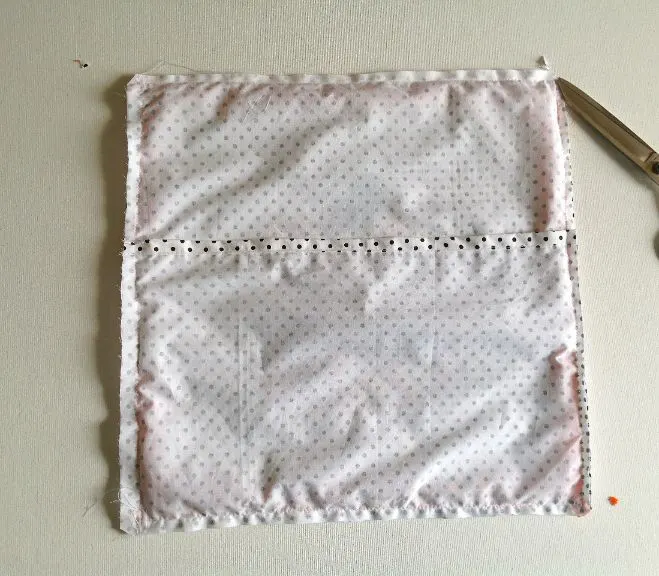
Fold one of the longer edges of the back pieces by ½- inch twice and press.
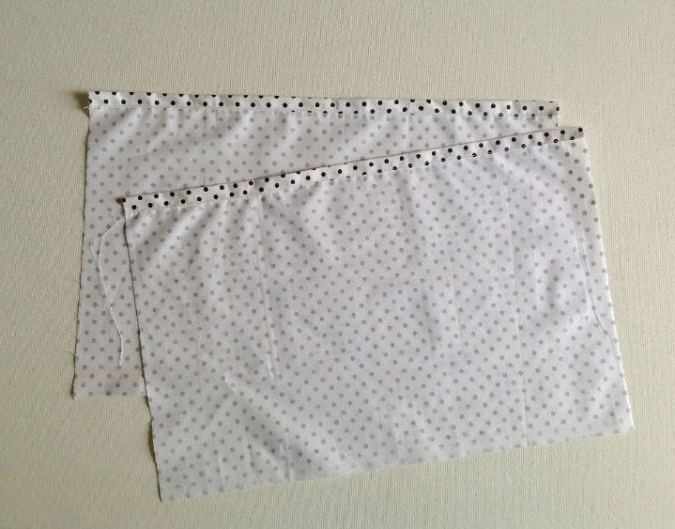
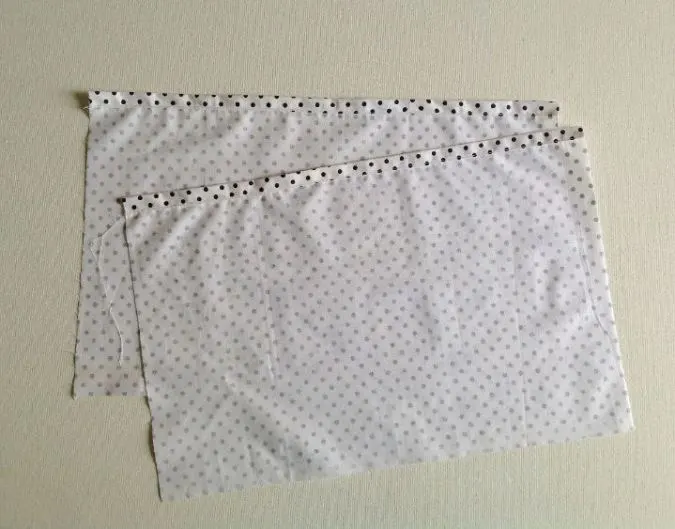
Sew the folds down along the edge. Your back pieces will look like this, with one of the edges hemmed.
Let’s sew the front and back pillow pieces together.

Place the two back pieces over the front piece of the pillow, with the hemmed edge along the center and the raw edges aligning. Sew around the four edges to join.
Cut the four corners and trim the edges to reduce the bulk in the seam.
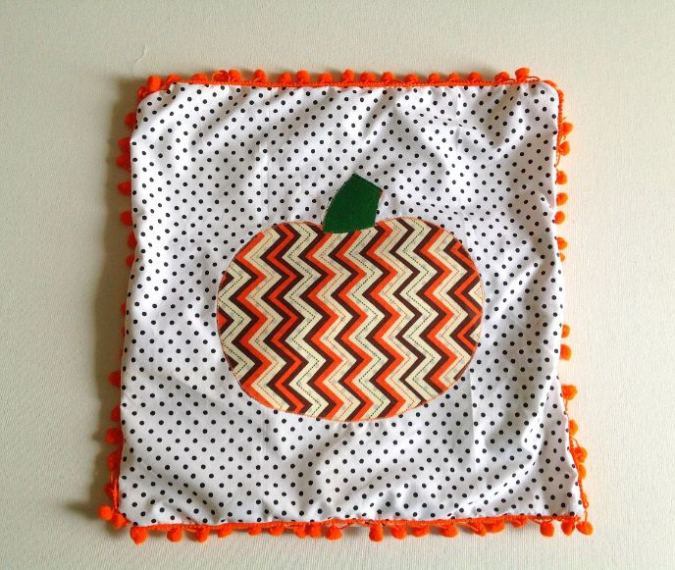

Turn the right side out and press neatly.


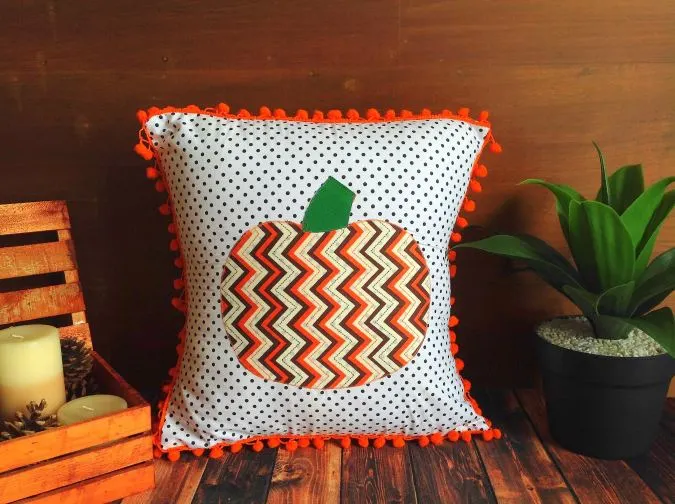
Our fall pillow with pumpkin applique is ready!
For more of my free patterns, click here.
For hundreds of free patterns and DIYs, visit allfreesewing.com.
Find the webstory for the post here, Easy DIY Fall Pillow Project with a Pumpkin
Pin it for later here,

