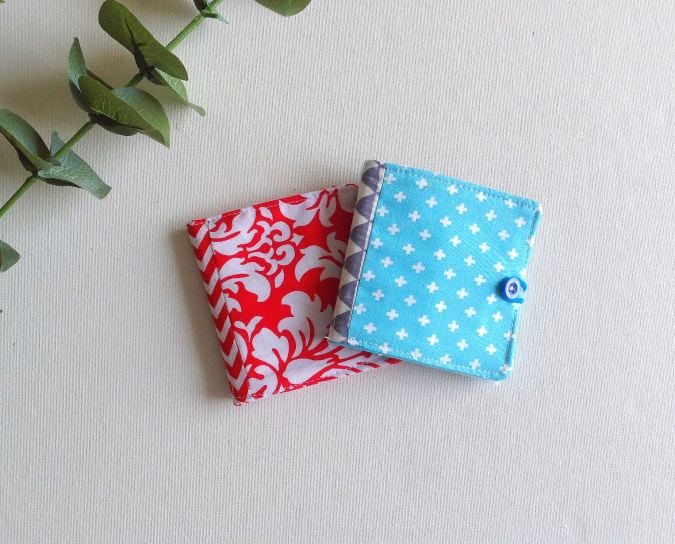

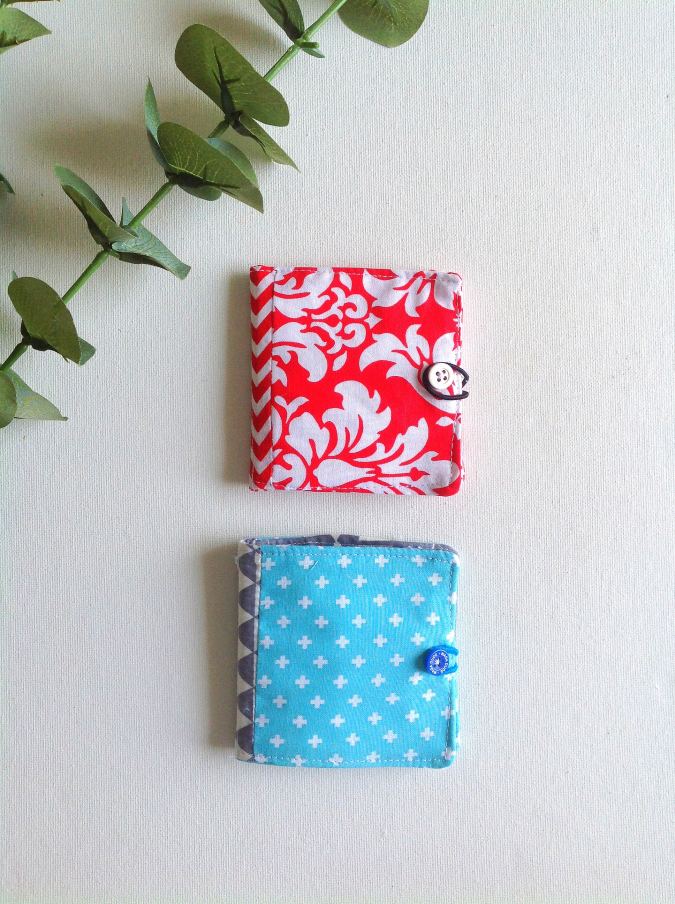
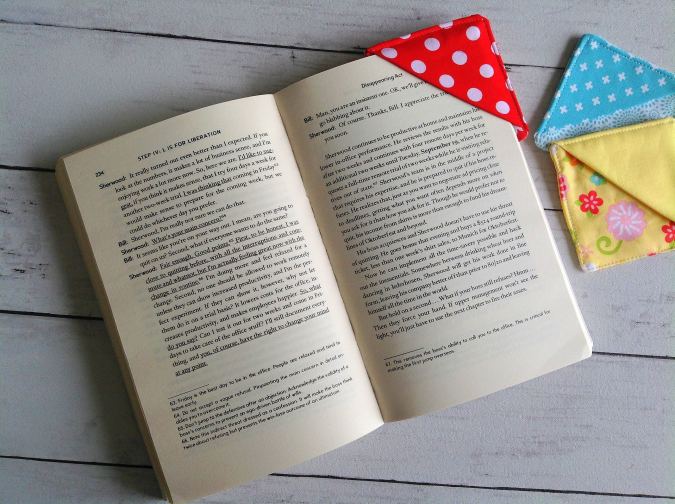
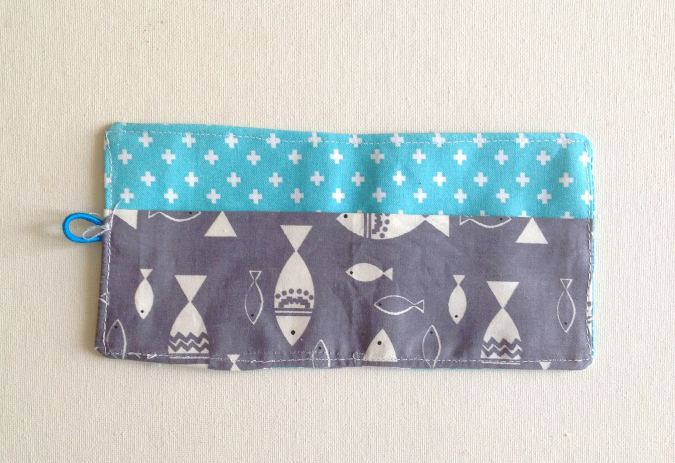
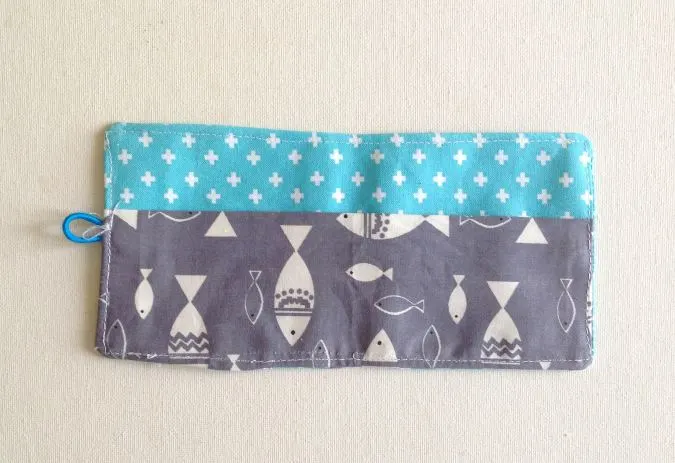
I love to take some kind of sewing project wherever I go. But I always find it difficult carrying the bulky boxes I use to store my sewing supplies. That is when this needlebook came to my rescue.

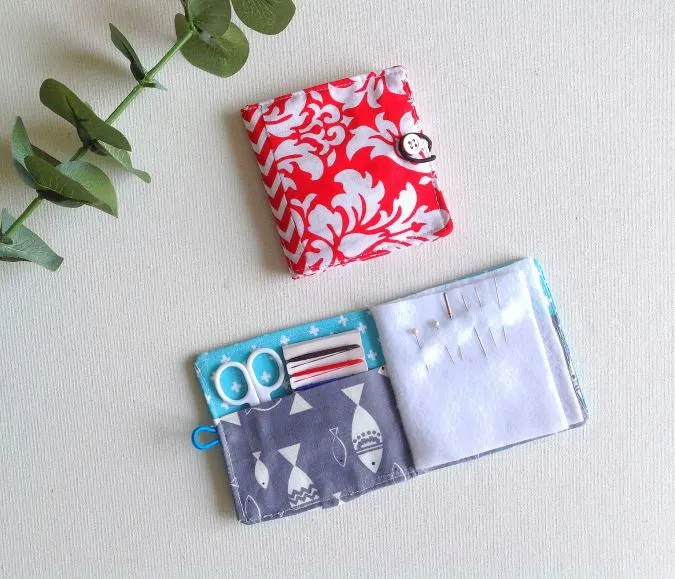
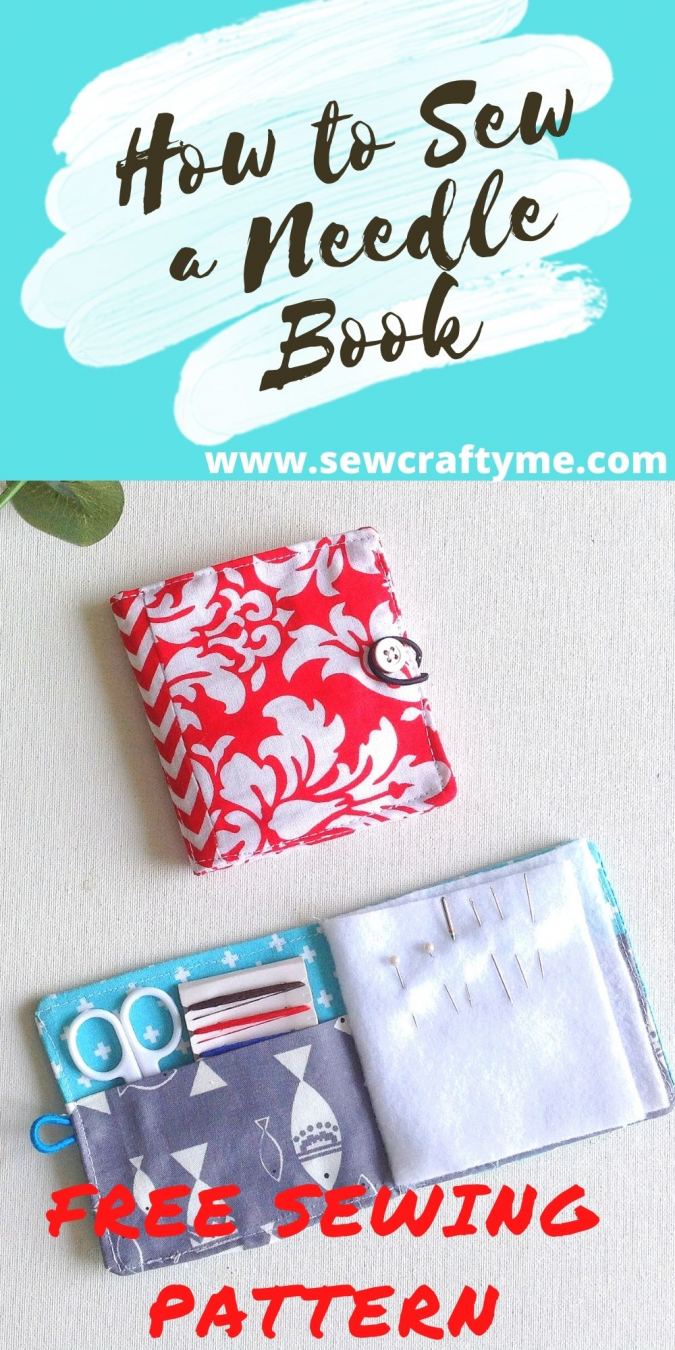
This is a cute little book that can easily hold your needles, thread, pins, buttons, and so on. If you have a thread cutter or small scissors, that would fit in too. I love this little fabric book so much, it was fun to sew a so cute to look at!
Of course, I didn’t take much time to cut and sew it, it was so easy that I am sure my beginner-level readers can easily make it. This is a great way to use up your fabric scraps too!
If you would like to sew a corner bookmark, click on the picture below:

How to Sew a Needle Book
**The seam allowance is 3/8- inch throughout, unless otherwise specified.
Materials Required:
Fabric scraps for the needlebook outer, binding, inner, and pocket
Felt piece for the inside.
Mediumweight, iron-on fusible interfacing.
A hair tie and a button for closure.
Sewing Notions
Cutting Dimensions:
Outer pieces- 4.5” x 4” (cut 2)
Binding Piece- 4.5” x 1.5”
Inner Piece- 4.5” x 8.5”
Pocket Piece- 5.5” x 8.5’
Interfacing- 4” x 8”
Felt- 3.5” x 7.5”

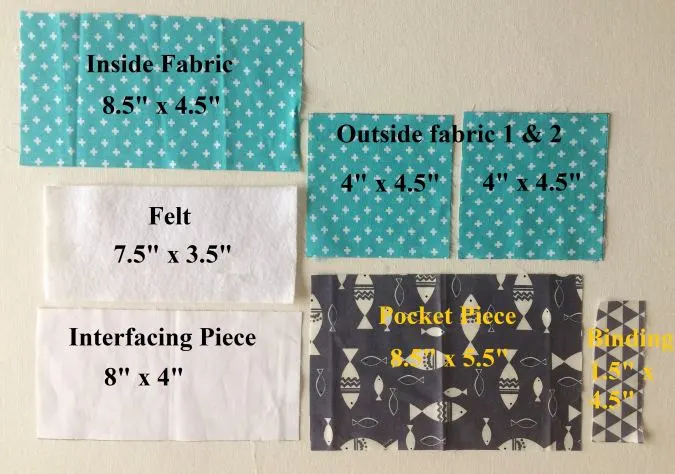
Cut your pieces according to the given measurements.
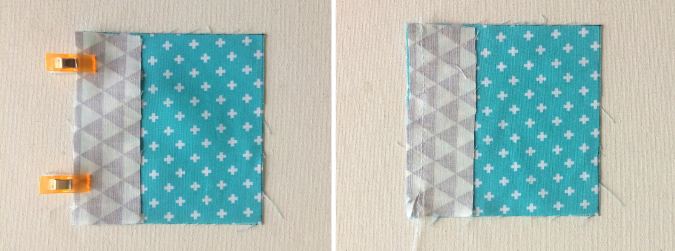
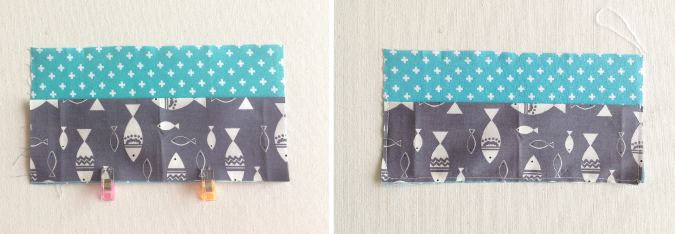
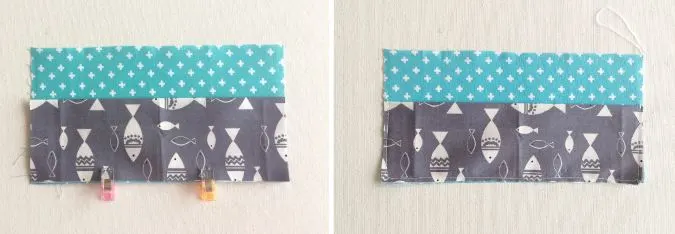
Take one of the outer pieces and the binding piece, line up the long edges, with the right sides facing and clip them together. Sew the two pieces to join.
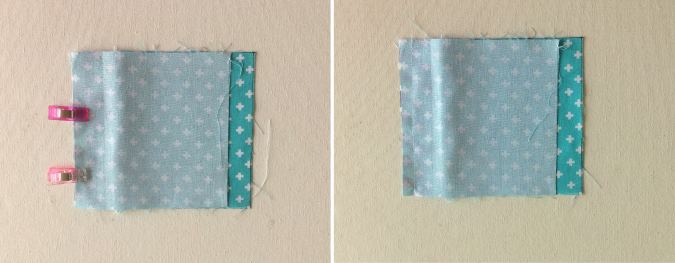
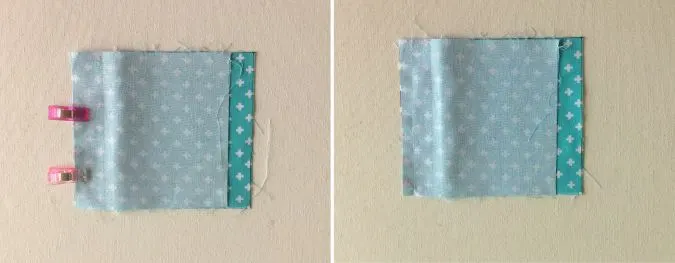
Next, take the remaining outer piece and again line up the long edge with the free edge of the binding (with the right sides together) and sew to join.

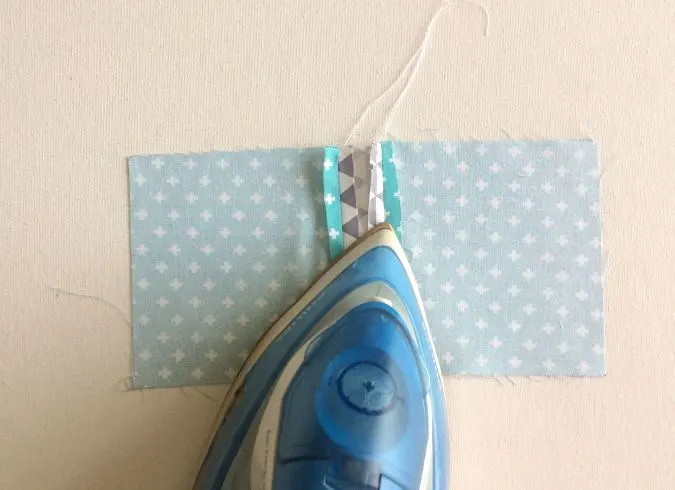
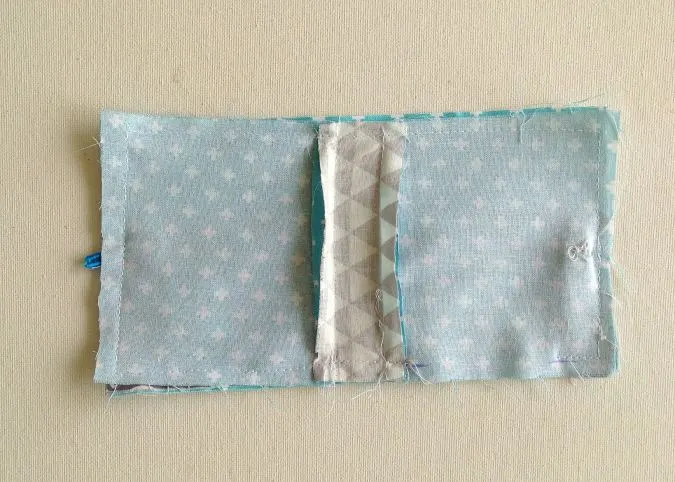
Press the seams open.


Take the inner piece and place the interfacing centered on the wrong side of the fabric. Fuse the interfacing to the fabric, following the manufacturer’s instructions.

Take the pocket piece, fold it in half lengthwise, with the wrong sides together, and press to set.
Let’s sew the pocket to the needlebook.
Place the pocket piece on the right side of the inner piece, lining up the raw edges ( the folded edges should face the inside of the inner piece). Clip the pieces together. Sew the pocket to the inner piece.
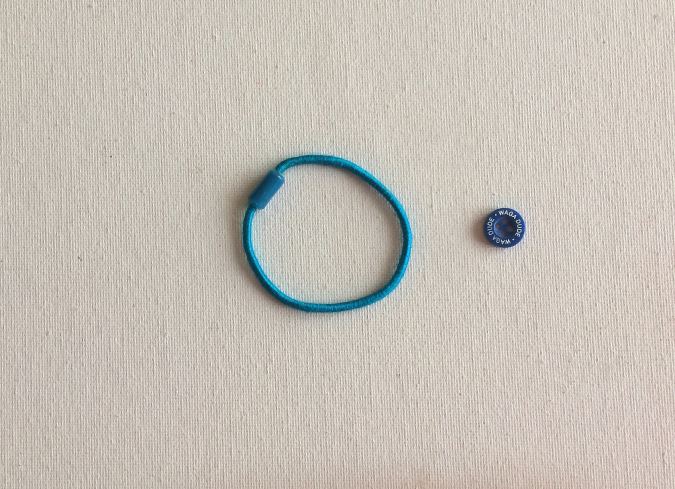
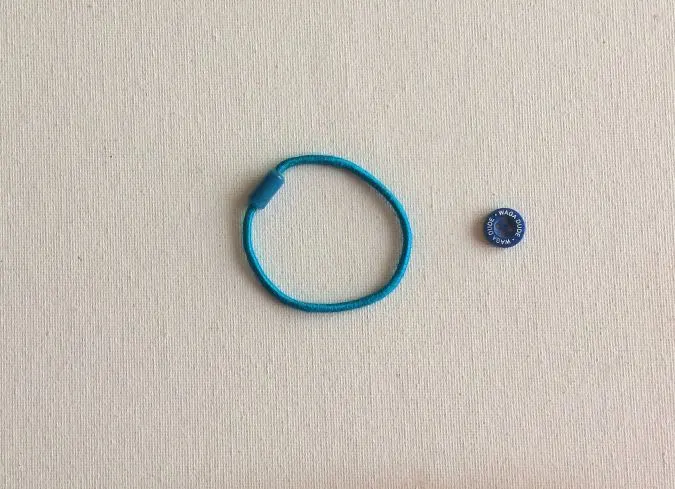
Take the hair tie and the button.
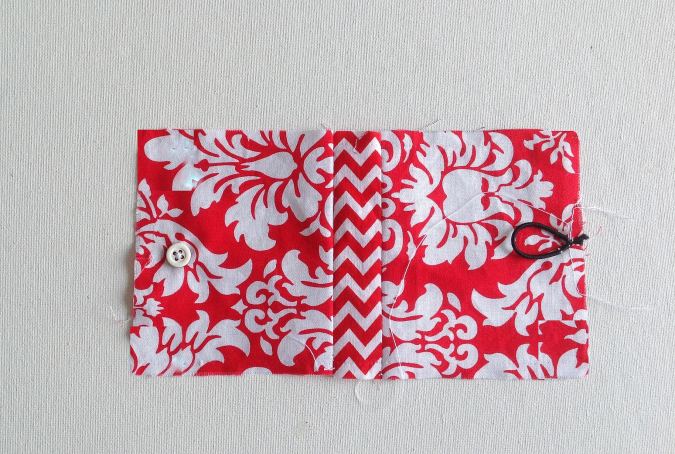
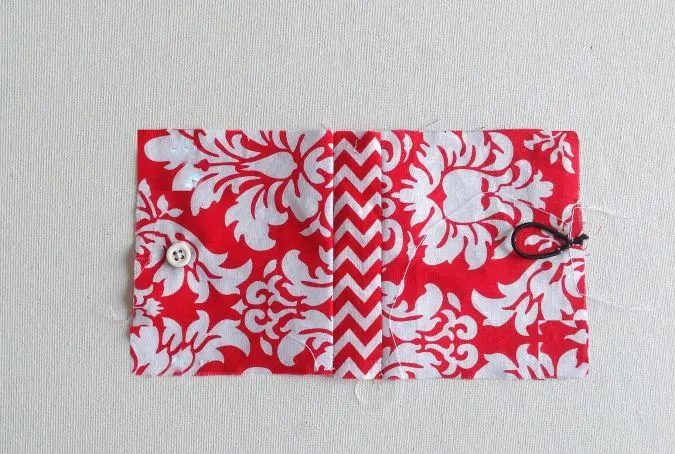
Sew the tie at the center of one of the short sides of the outer piece. The tie should face the inside of the needlebook and the extra should be cut off. Next, sew the button on the opposite side, 1-inch from the edge.

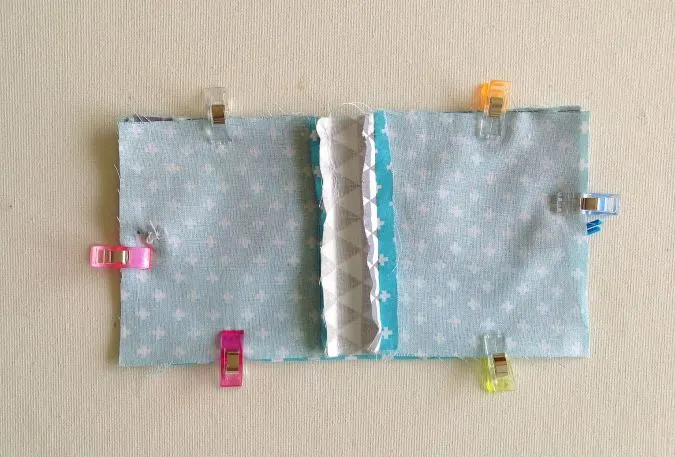
Place the outer piece over the inner piece, with the right sides together, lining up the edges, and clip them together.

Sew the two pieces together, leaving a gap of about 2- inches to turn the right side out.


Clip the corners to reduce the bulk.
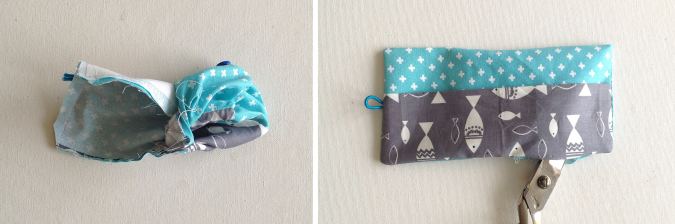
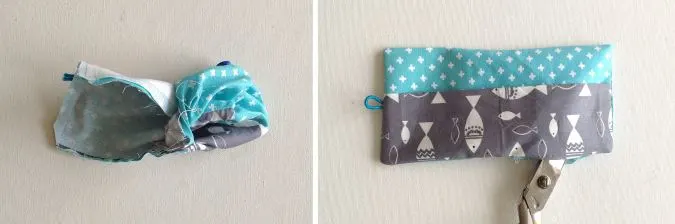
Bring the right side out through the opening. Poke out the corners with the help of your scissors ( without tearing the seam)
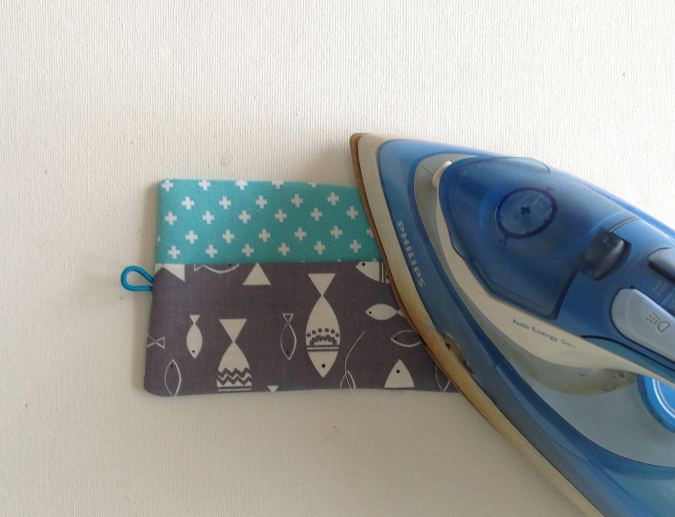
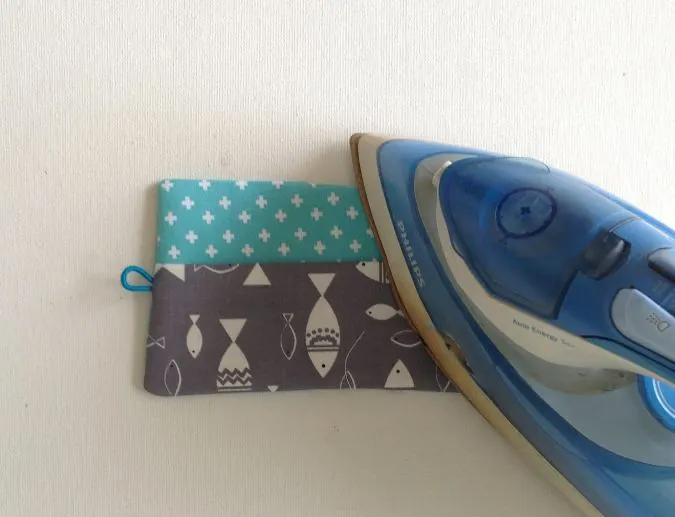
Tuck the raw edges in and press.
Topstitch around the edges to make it clean and crisp.


Next, take the felt piece and the needlebook. Fold them in half widthwise and hand press to form a crease along the center. You may also use your iron box but be careful not to melt the felt.
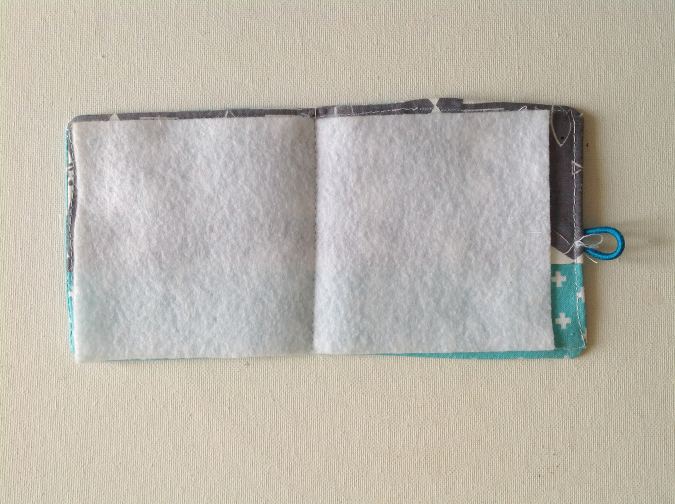
Place the felt on the inside of the needlebook, lining up the center creases. Sew a straight line along the center crease to join.
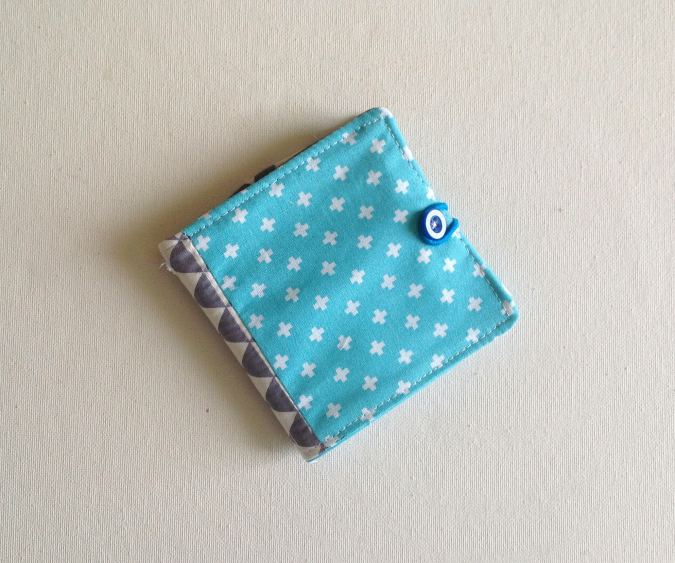
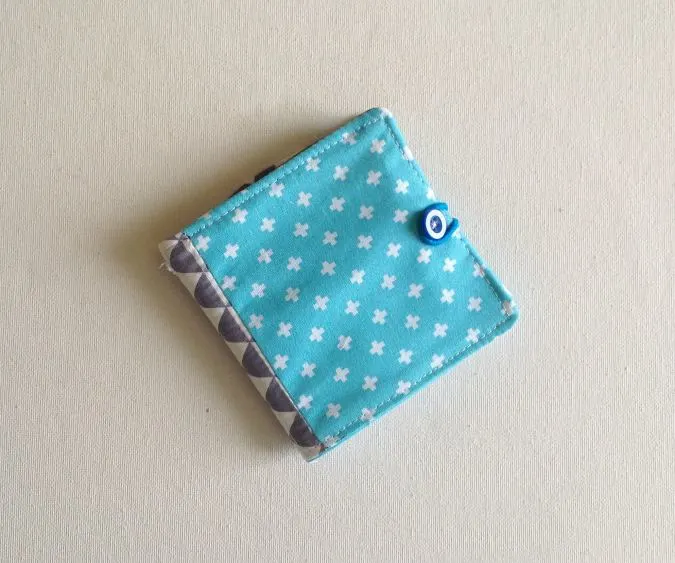
Button up the needlebook and it is ready for use!
Have a look at the webstory for the post here, Sew the Perfect Needle Book: Your Ultimate Organizer
Pin it for later here,

Zed
Tuesday 22nd of July 2025
That is a cute!
Surayya
Tuesday 22nd of July 2025
Thank you!
gramma
Wednesday 7th of August 2024
You don't mention what the seam allowance is. I'm guessing 1/4"? Is this correct? I'm making one with my granddaughter tomorrow....
Surayya
Wednesday 14th of August 2024
The seam allowance is 3/8- inch throughout, unless otherwise specified.
Vanessa
Tuesday 3rd of October 2023
Looks great. I'm a complete beginner is there any where I can download the pattern I find the adverts distracting when I scrool through the instructions thank you
Carol
Tuesday 4th of July 2023
I'm going to make one of these! I'm confident it will turn out well because your instructions are always easy to follow, and so complete. No fear of failure. Thank you so much for this tutorial.
Surayya
Wednesday 12th of July 2023
Thank you! Glad you like it.
Miana
Wednesday 12th of April 2023
Thanks