Looking for easy and fun things to use up your fabric scrap? Then look no further, here is an easy corner bookmark sewing pattern that is not only quick to work up but is a very useful thing for the avid reader in you.
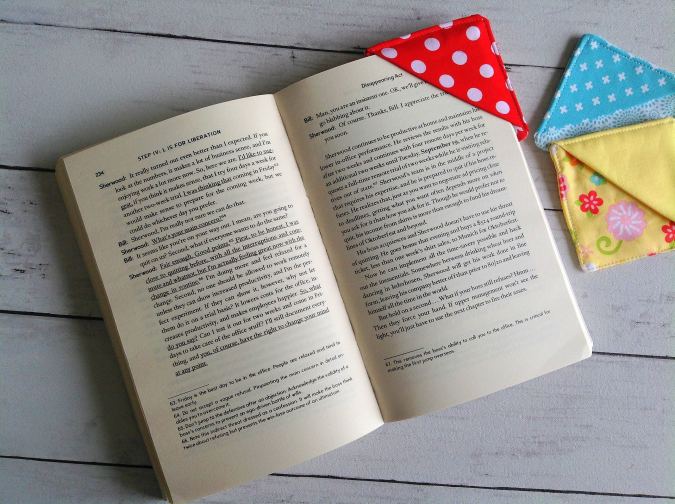
These fabric bookmarks has been designed for my son, who is a voracious reader. He is always into reading and uses random things like his pen, comb or even certain chunkier things to bookmark his pages. But, being an ardent sewist who loves everything neat clean and organized, I decided to sew a cute and neat corner bookmark for him.

These bookmarks are again one of my easy sewing projects that any beginner can try. There are no complicated pieces to be cut or complicated edges to be sewn. These DIY bookmarks can be made by a few square pieces of fabric and interfacing put together. They are so easy that once you get the practice, you can sew them in 10 minutes. So, join me as I walk you through the quick tutorial.
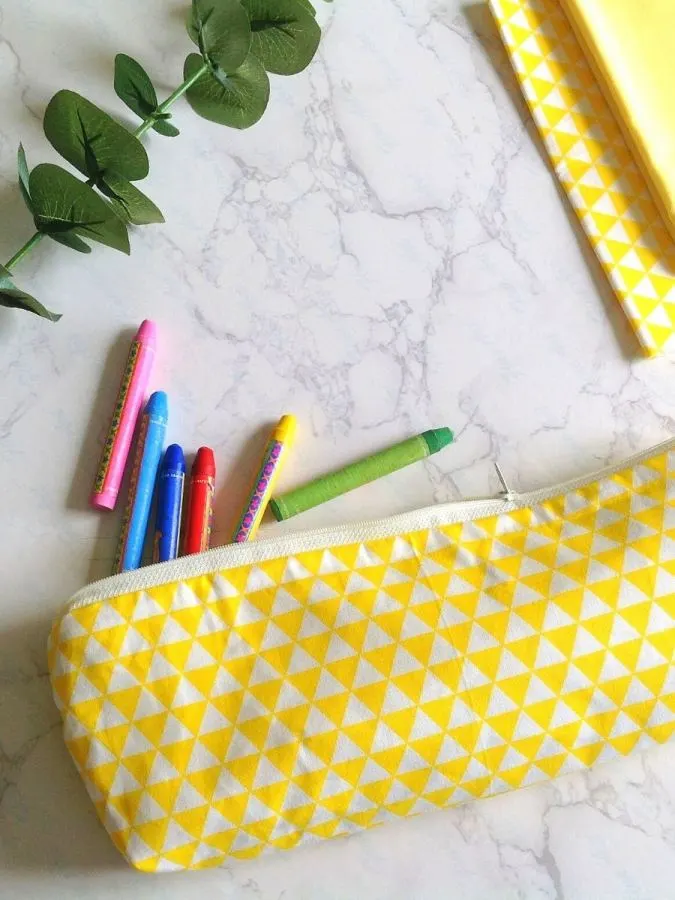
If you would like to sew a slim zipper purse, click on the picture below:

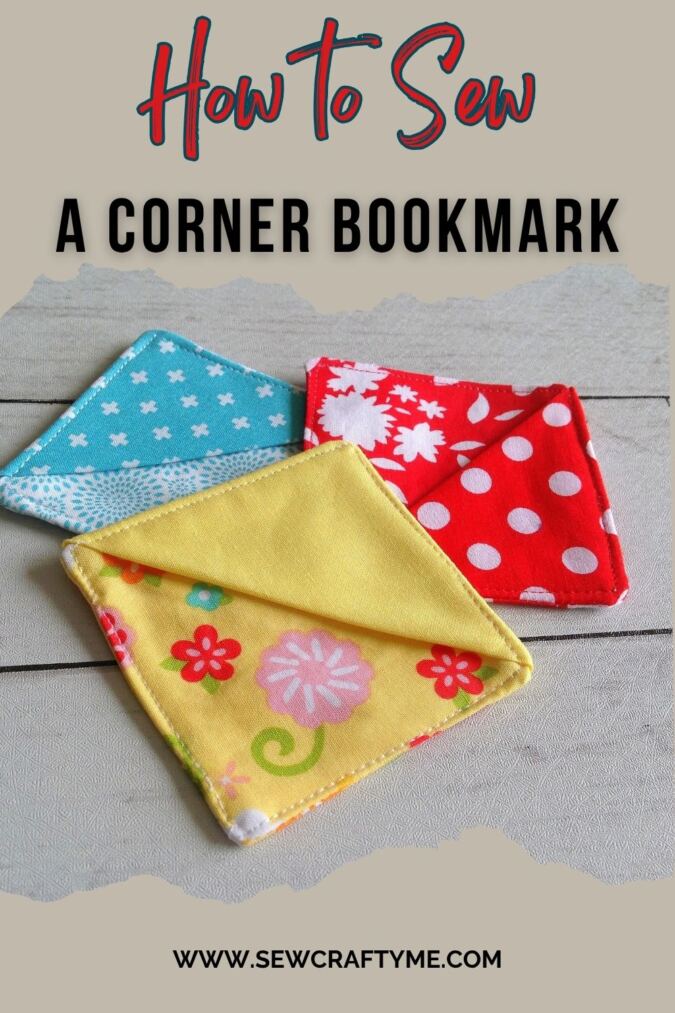
Easy Corner Bookmark Sewing Pattern
Material Required:
- Fabric scrap in a desired color and print for the bookmark front and back.
- Fabric scraps in a coordinating color and print for the bookmark pocket
- Medium-weight fusible interfacing.
- Sewing Notions
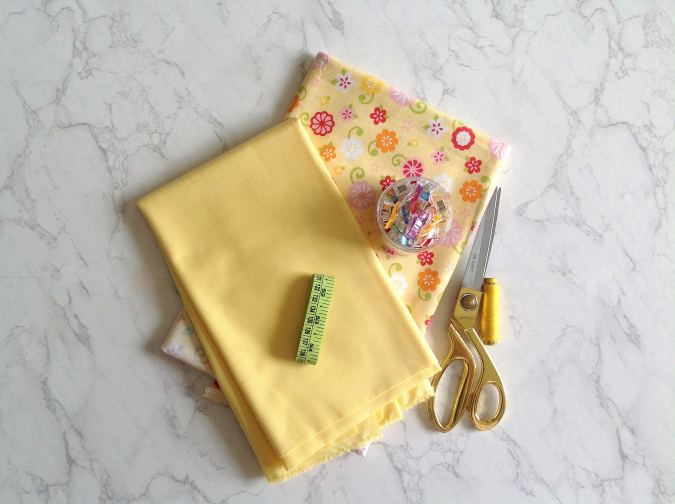

Gather your supplies.
Cutting Dimensions:
Two 4 x 4-inch squares for the bookmark front and back
One 4 x 4 inch square for the bookmark pocket.
Two 4 x 4-inch squares from the interfacing.

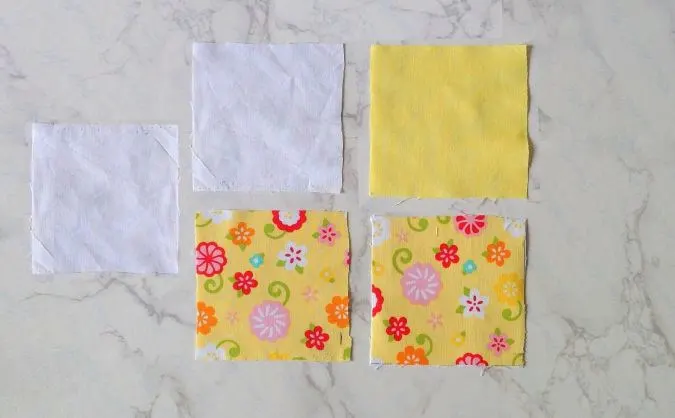
Your pieces will look like this once cut.

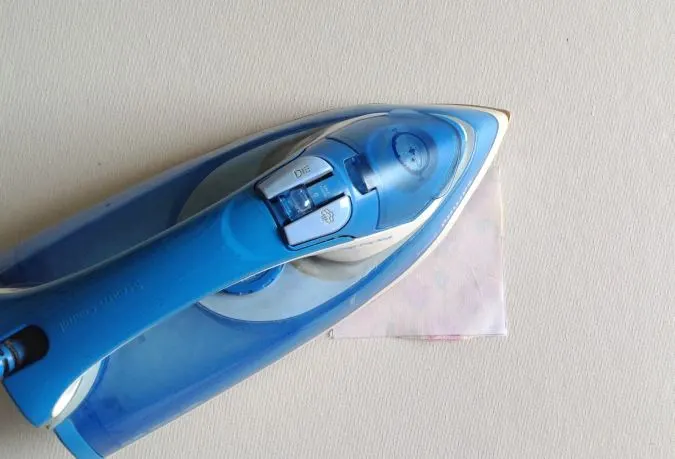
Take the square for the bookmark front and fuse the interfacing to the wrong side of the fabric, following the manufacturer’s instructions.
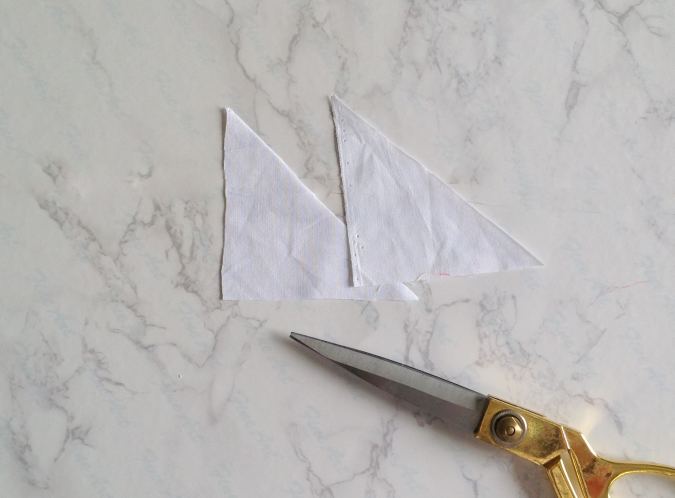

Take the remaining piece of the interfacing, fold it in half along the diagonal and cut it into two along the diagonal. You will get two triangular pieces. One of the pieces would be used to strengthen the bookmark pocket.
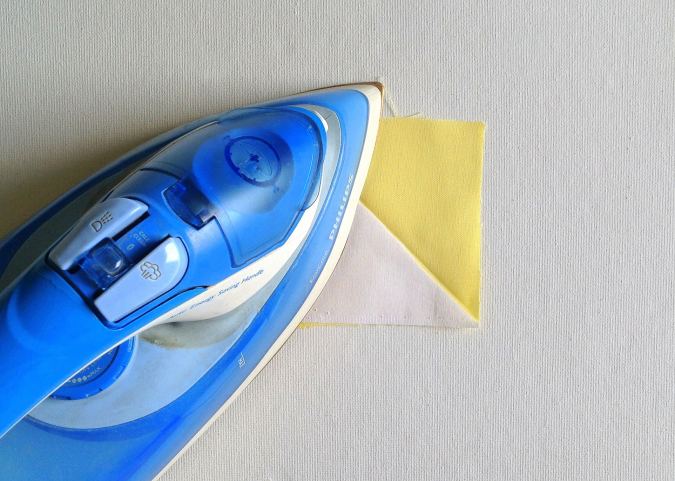
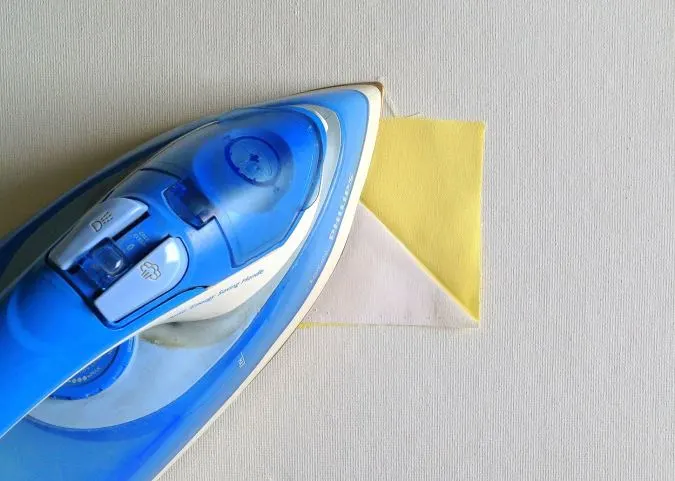
Take the pocket piece, place the interfacing on its wrong side, lining up the edges, and press to fuse.


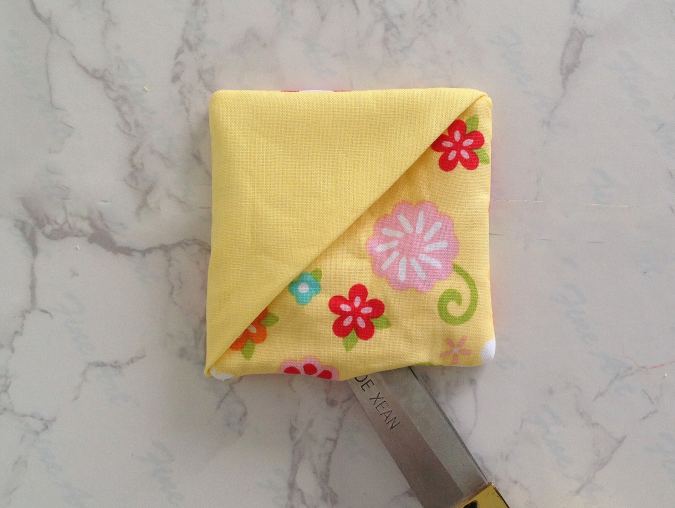
Next, fold the pocket piece in half, along the diagonal and press to make it neat and crisp ( you may topstitch along the slanting edge if needed.
Let’s sew the pocket to the bookmark.
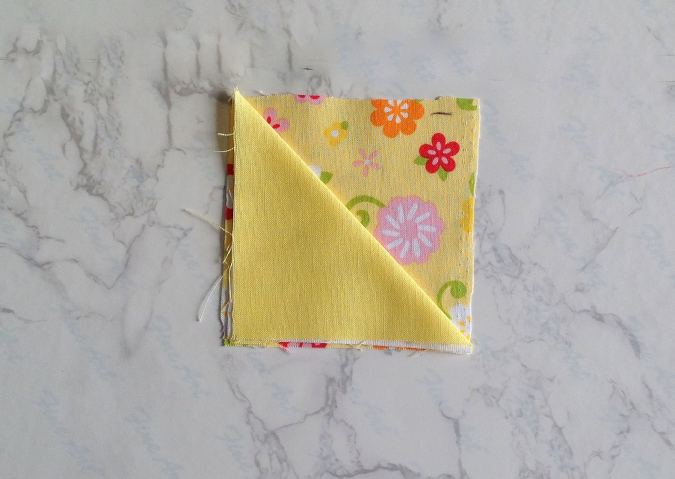
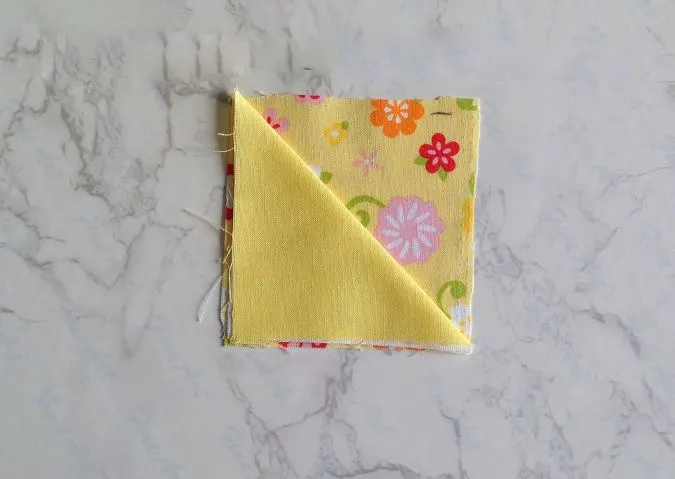
Place the pocket on the right side of the bookmark front, lining up the straight edges.

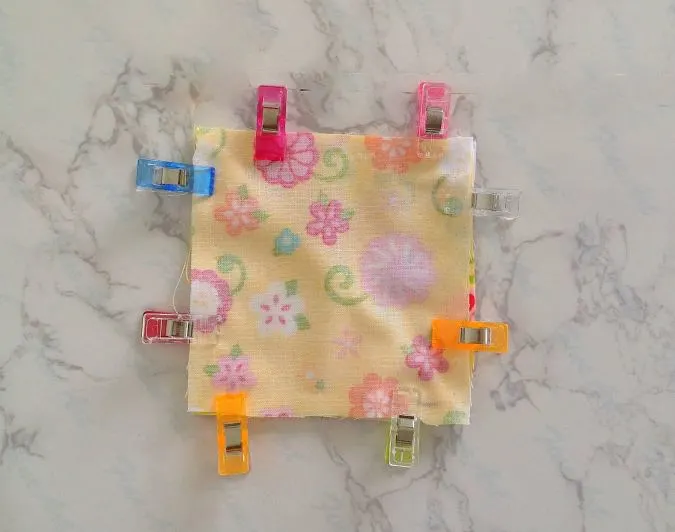
Next place the bookmark back above the pocket, with the right sides together, lining up the edges and pin or clip all around.

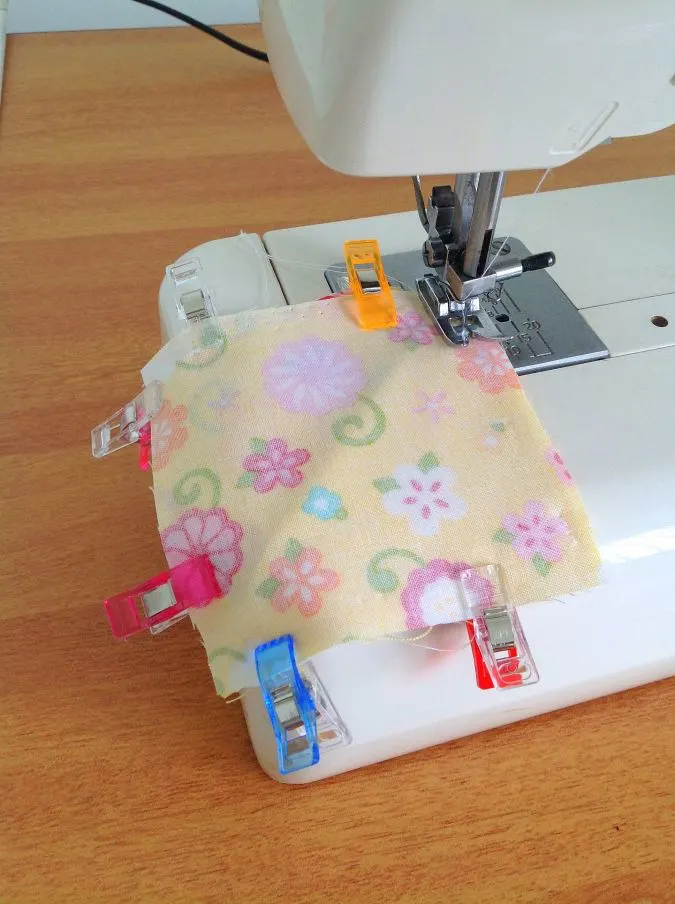
Sew around the edge, leaving 3/8- inch seam allowance and leaving a gap of about 1.5- inches to turn the right side out.
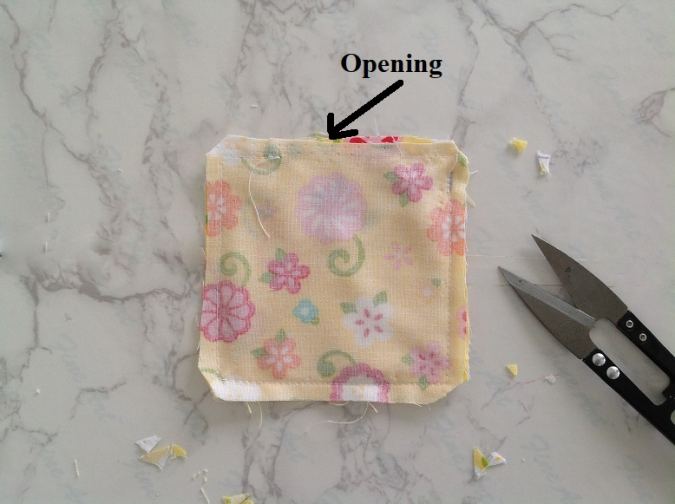
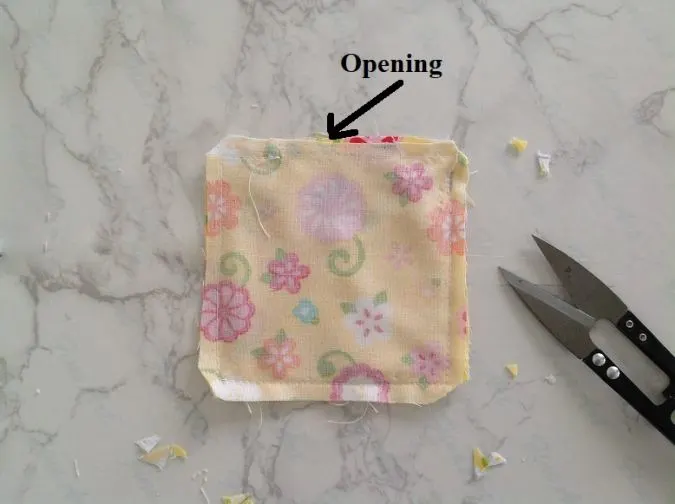
Clip the corners and trim the edges.
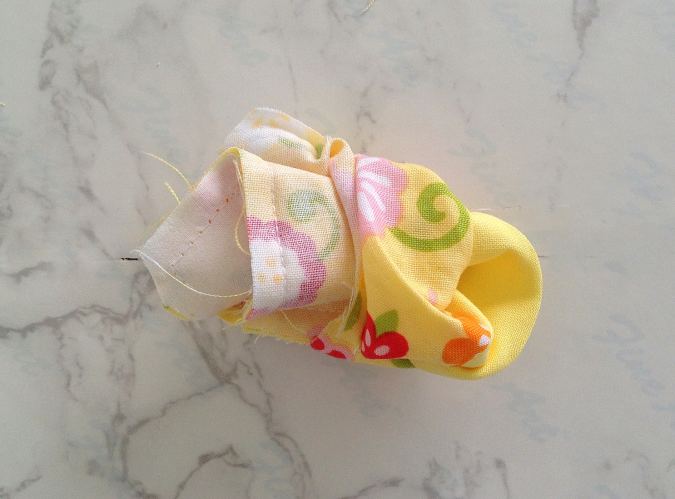
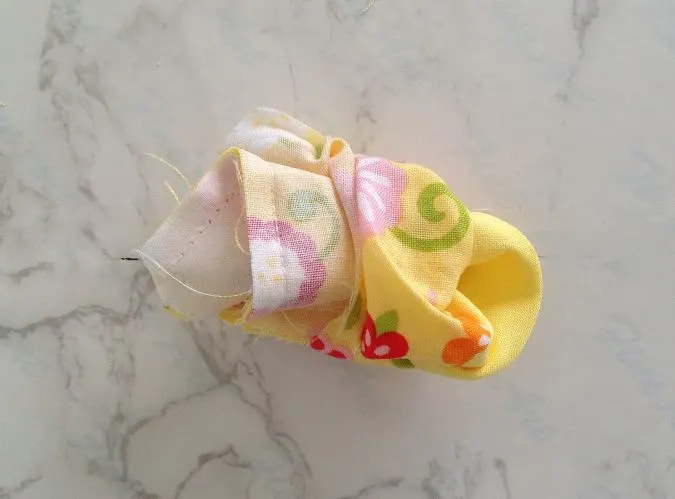
Bring the right side out through the opening.

Push the corners out with the help of your scissors ( be careful not to tear the seam).
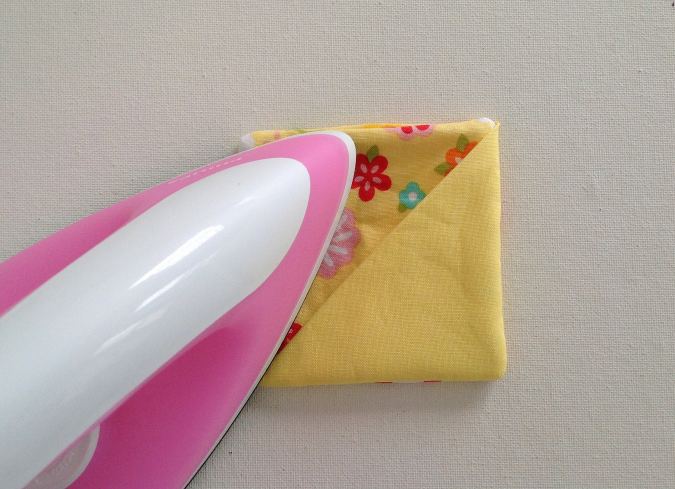

Press to make it crisp and clean.
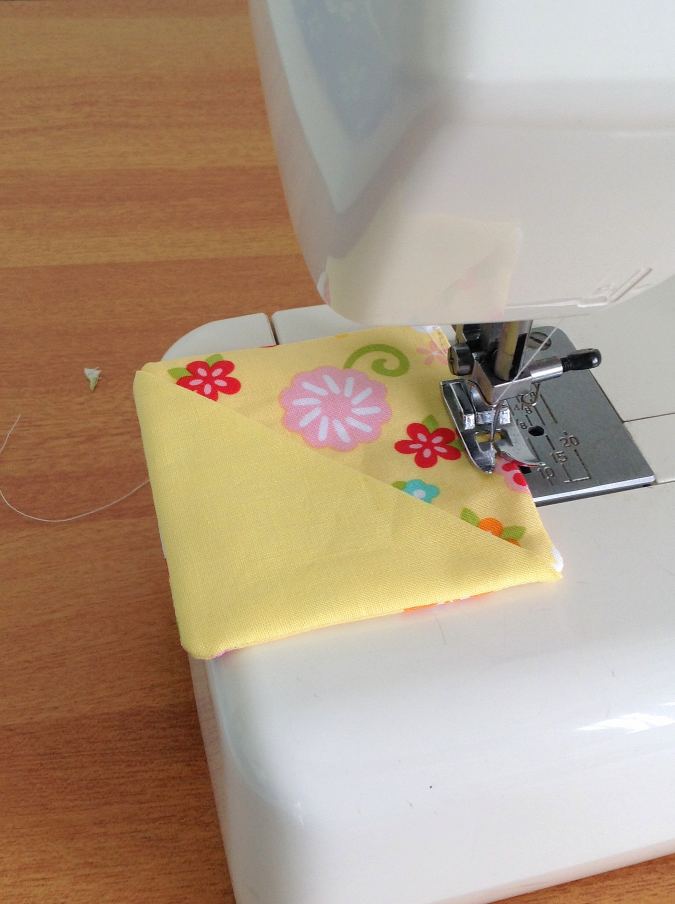
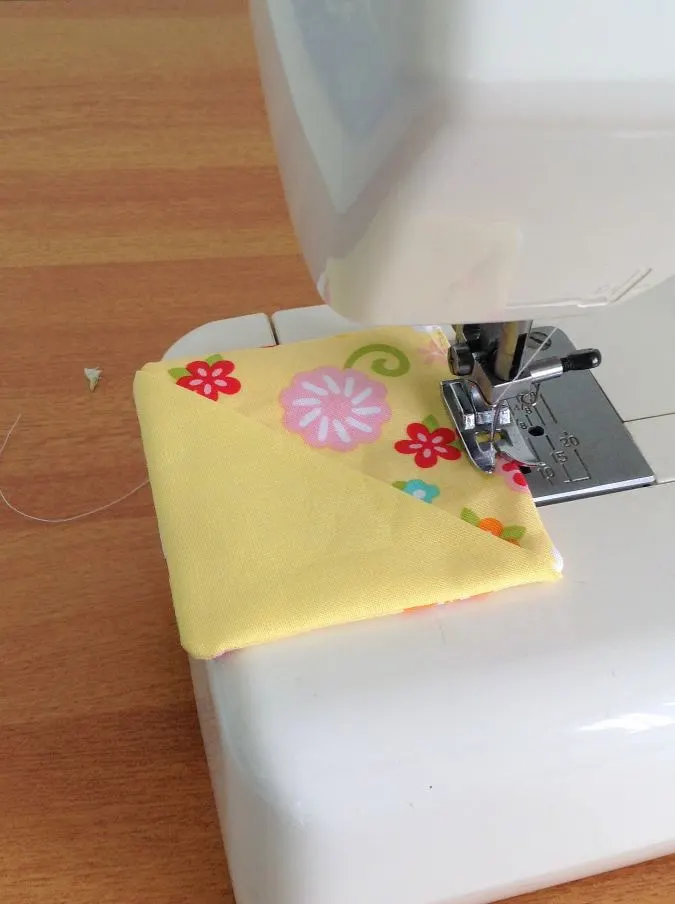
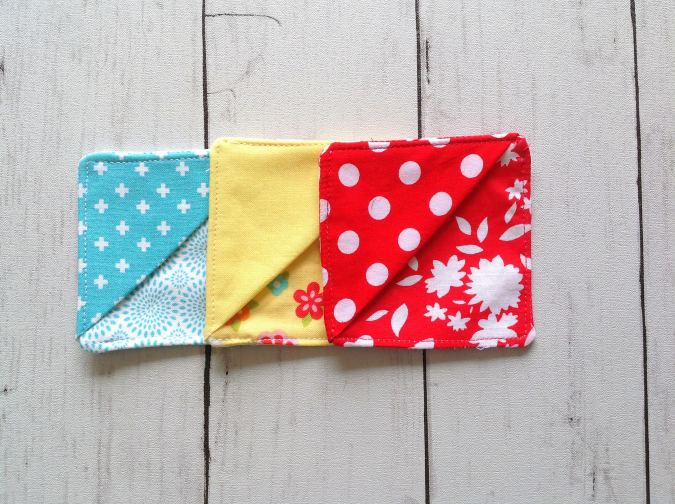
Topstitch around the edge.

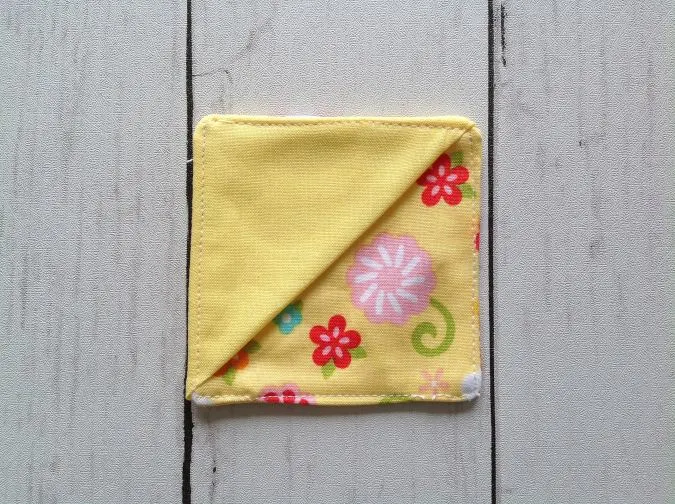
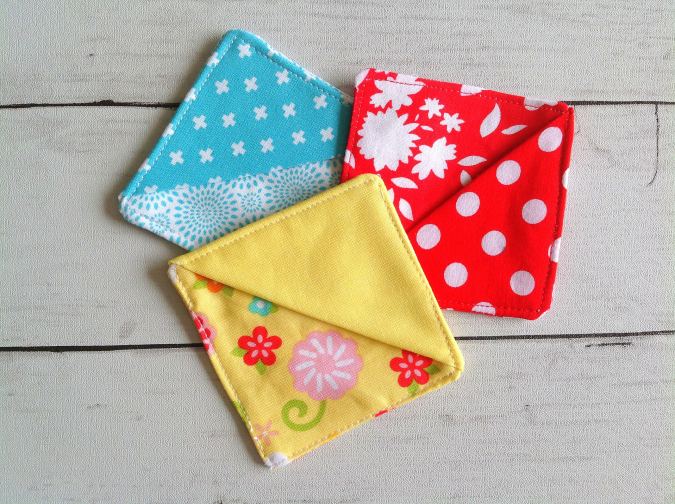
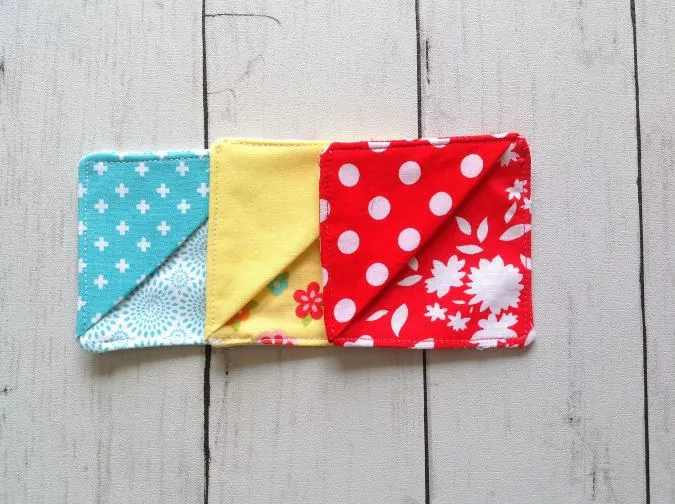
Your corner bookmark is ready.
Click below for the video tutorial:
Have a look at the webstory for here, How to Sew an Easy Fabric Corner Bookmark
Pin it for later here,
Alma Montenegro
Saturday 8th of January 2022
so pretty, I will make them to give to my children in Valentines. Thank you for sharing.
Carol G
Saturday 8th of January 2022
I just love fun little projects, and it is practical too. Thank you.
Evelyn l. Walker
Saturday 8th of January 2022
I like this my granddaughter is a devoted reader . I will try this for her. Thank you
Caroline
Friday 7th of January 2022
Lovely idea!! I had some paper ones that looked almost identical but they either tore or fell off too easy - I love it and the fact your son actually reads “old-fashioned” paper books!! It’s good to hold a book in your hands!
emmalouise richardson
Friday 7th of January 2022
Looks great going to try this with the youth group