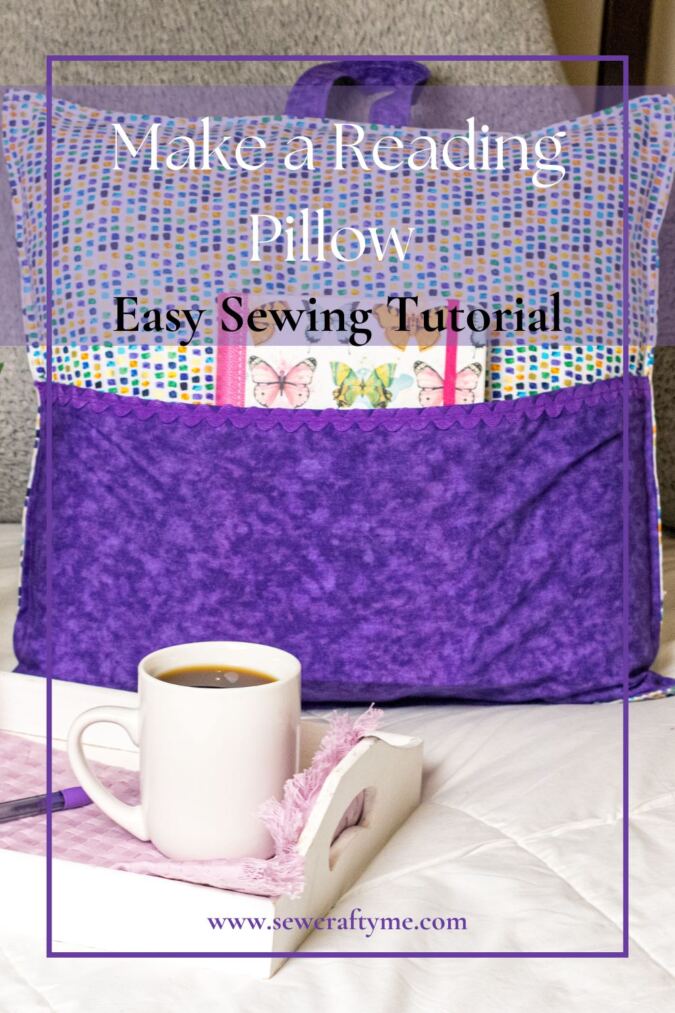
If you are looking for some inspiration to sew a handmade gift, here is something awesome you can sew, a reading pillow cover or a book pillow. It can be a useful item to sew for yourself or for your friends and family as gifts.
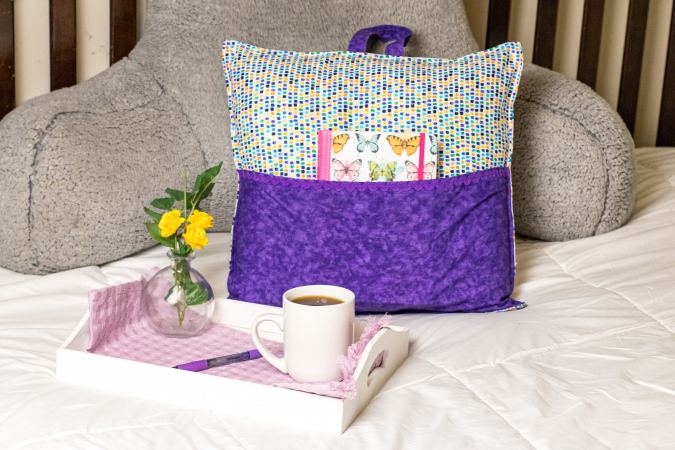

So, put your creativity to work and whip up this cool and practical DIY reading pillow that will be fun to work on and can be of great use once done. It is great to store or carry your books and maybe you can also tuck in your remote controls and I pads while laying on your couch or bed!


This is a pattern that is again beginner-friendly. You can sew plain pillow covers with pockets or add trims like lace, rick rack, or bias binding to make it even more stylish.


If you would like to sew a simple and quick pillow cover, click on the picture below:


Easy DIY Reading Pillow Tutorial
Easy DIY Reading Pillow Tutorial
Supplies:
- 1/2 yard of cotton fabric in one pattern for the pillow ($5. 99 per yard at JoAnn)
- 1/2 yard of cotton fabric in one pattern for the pocket and handle ($5. 99 per yard at JoAnn)
- 1 16”x16” pillow form ($4.97 at Walmart)
- 1 pack of rick rack ($1.79 JoAnn)
- Sewing Machine
- Matching thread
- Sewing pins or clips
- Scissors
- Fabric Marker
- Cutting mat and ruler, measuring tape or ruler
- Skill Level: Beginner+
- Approximate time to complete: 30-45 minutes
- Approximate cost to make: $13.00
Instructions for Cutting The Pieces:


17”x17” piece for the front of the pillow from the main fabric.
13”x17” (cut 2) pieces for the envelope back from the main fabric.
11”x17” piece for the pocket from the secondary fabric.
10”x 4” piece for the handle from the secondary fabric.
17 ½” piece of the rick rack.
Instructions for Ironing The Pieces:

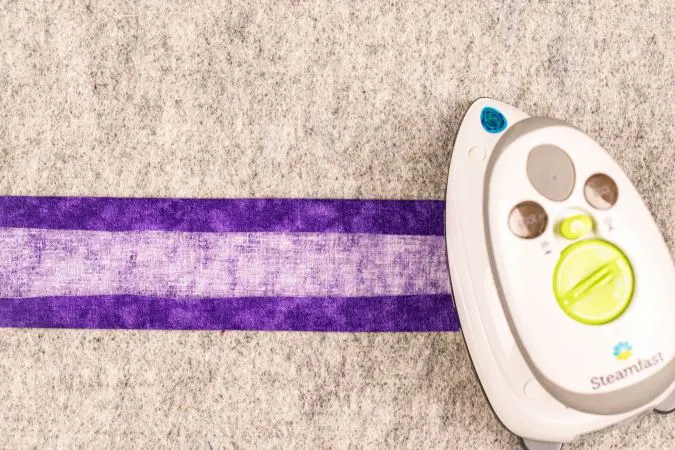
Take the piece for the handle, fold the two long edges by 1/2- inch towards the wrong side and press with a warm iron.

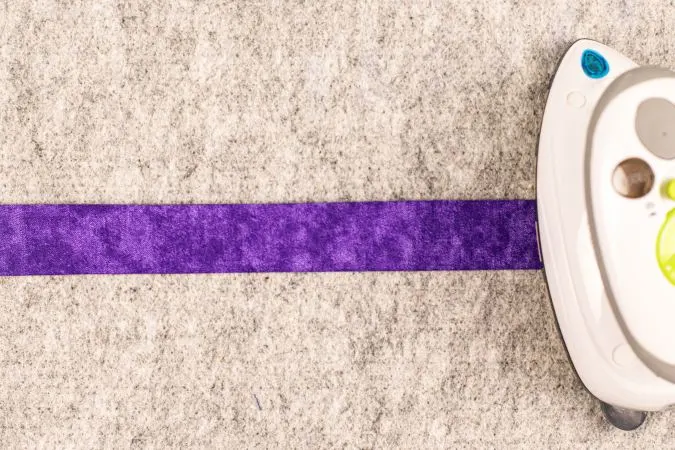
Next, fold the piece in half lengthwise, with the wrong sides together. Press with a warm iron.
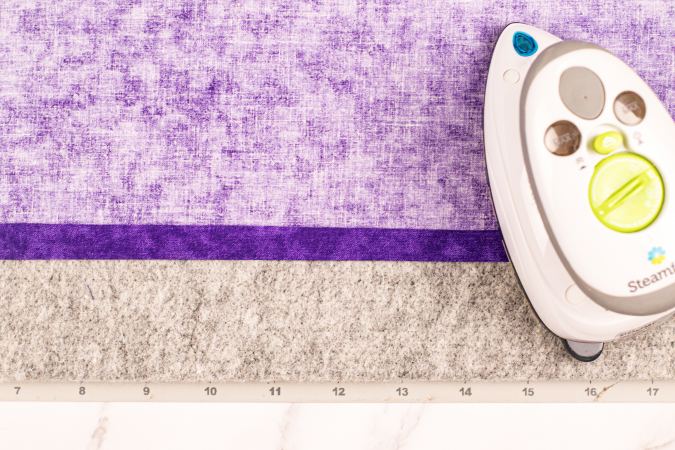

Take the piece for the pocket and with the wrong side facing up, fold it over twice by 1/2” on one of the longer ends and press with a warm iron.
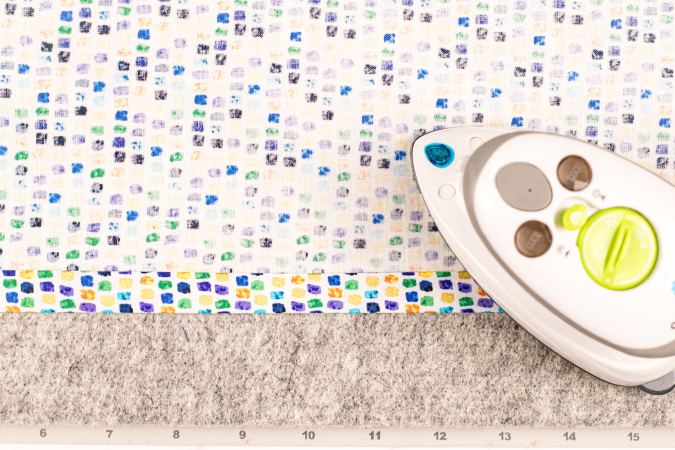

Take one of the pieces for the envelope back and fold it over 1/2” twice on one of the longer ends and press with a warm iron. Repeat for the other piece.
Instructions for Sewing The Ironed Pieces:
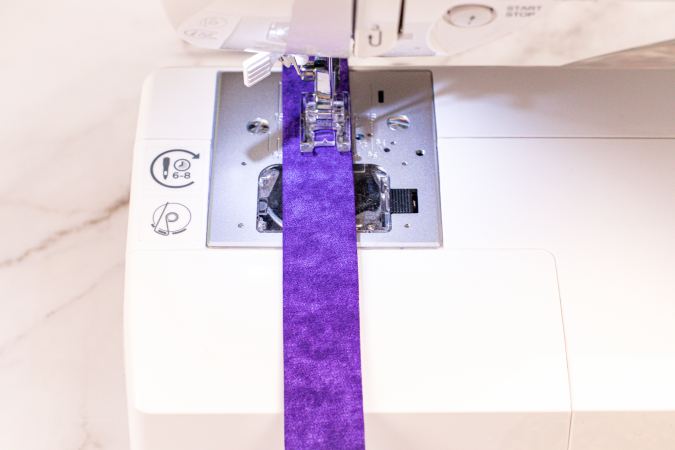
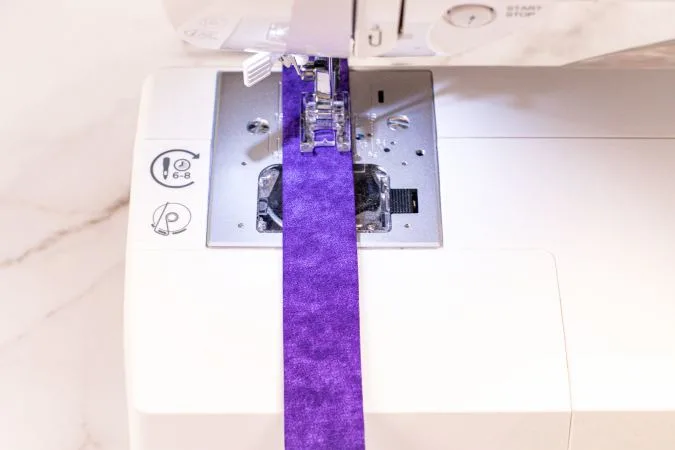
Take the piece for the handle and using a 1/4 “seam allowance, sew along all 4 sides.
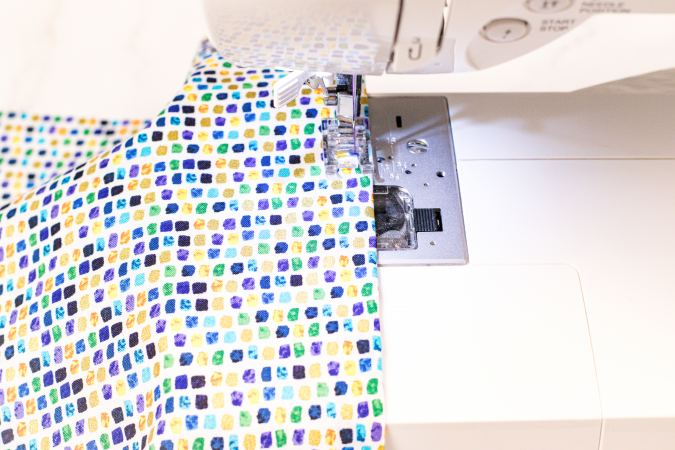
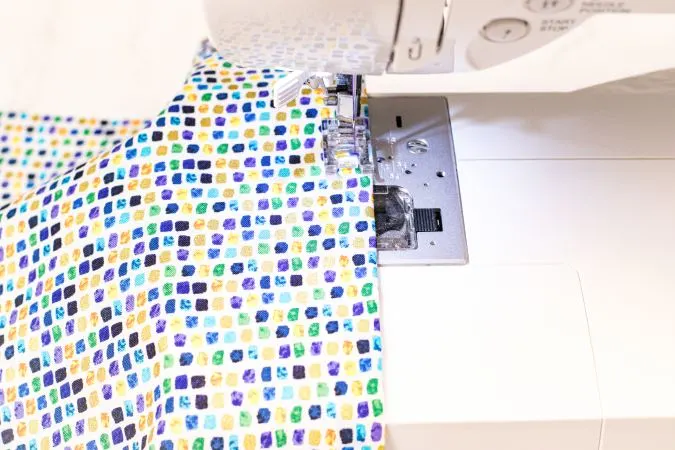
Take one of the back pieces and using a 1/4 “seam allowance, sew down the folded side. Repeat on the other piece.
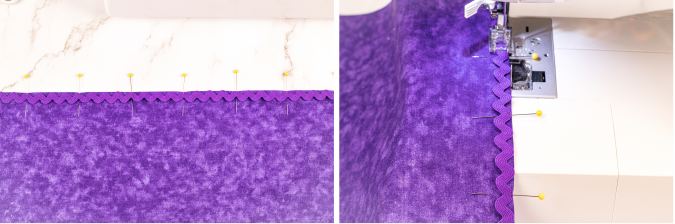
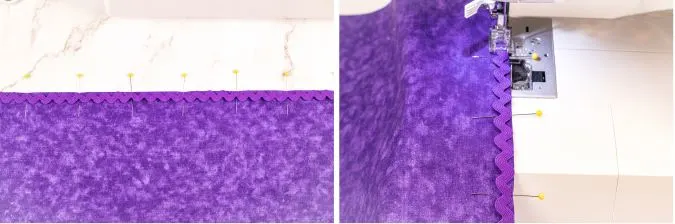
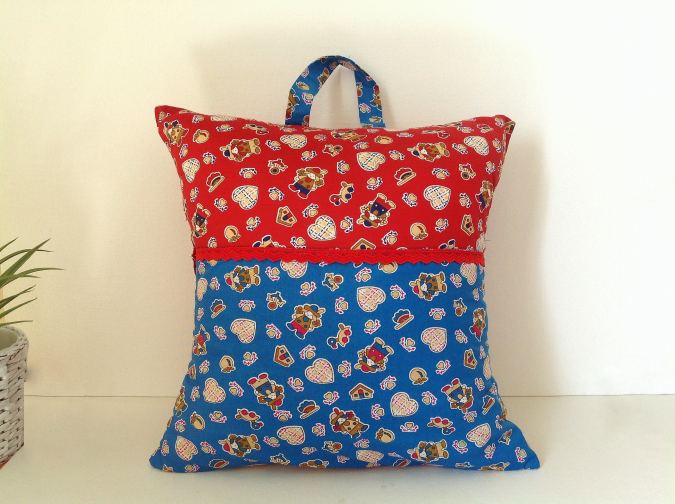
Line up the rick rack with the finished edge of the pocket piece. Pin or clip in place and using a 1/4 “seam allowance, attach the rick rack to the pocket.
Instructions for Assembling the Pillow:
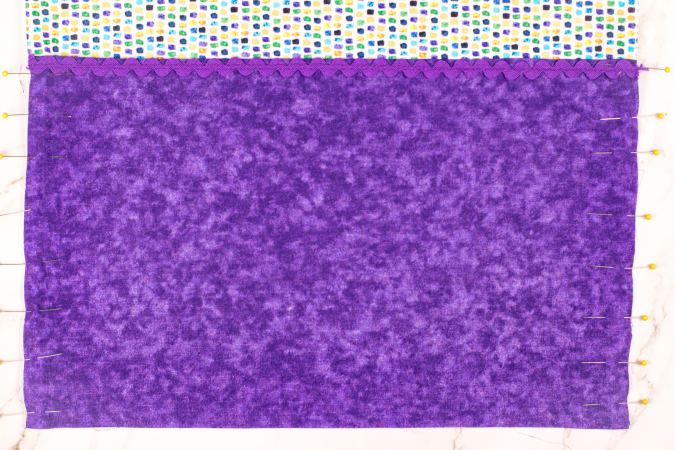

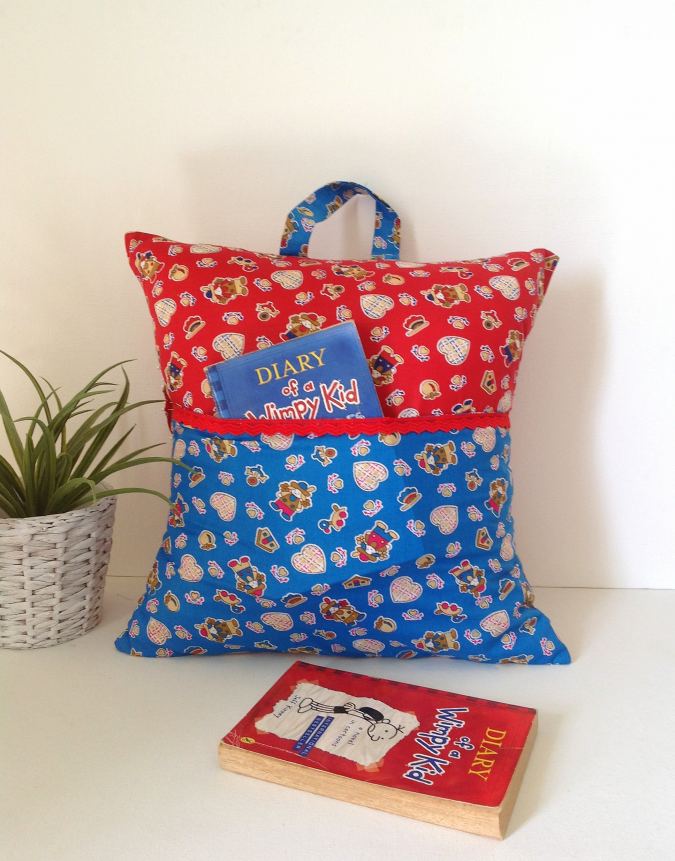
Place the 17”x17” front pillow piece on a flat surface, right side facing up. Place the pocket, with the right side facing up on top of the front pillow piece. Align the raw edges of the pocket with the sides and bottom of the front pillow piece. Pin in place.

Using a ½” seam allowance, attach the pocket to the front pillow piece with a basting stitch.


Take the front pillow piece and find the middle point of the top. Mark with a pin or fabric marker. Place the raw edges of the handle and line them up with the raw edge of the pillow piece, about 1” on either side of the middle point (as shown in the photo). Clip or pin in place.

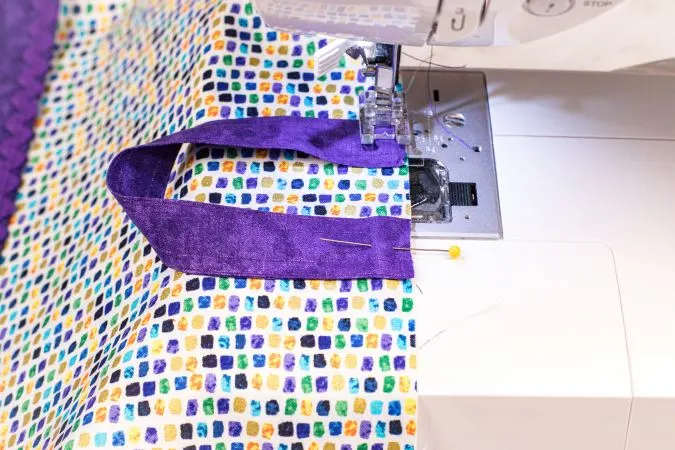
Using a ¼” seam allowance, attach the handle to the front pillow piece.


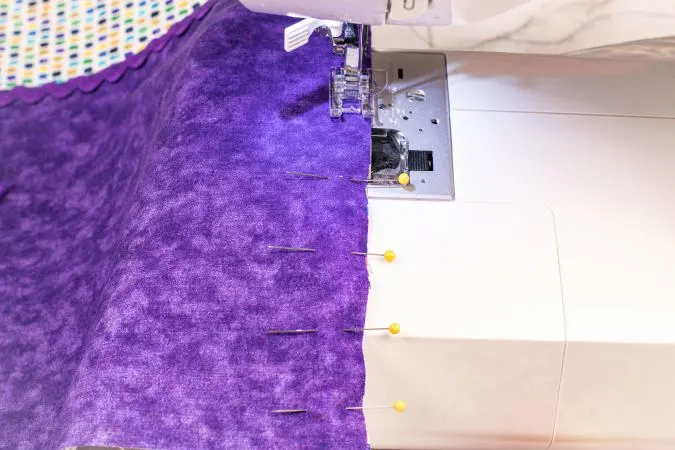
Take the front pillow piece and place it on a flat surface, right side facing up. Take one of the back pieces and lay it on the front pillow piece, right side facing down and raw edges touching (so the finished edge is in the middle). Take the other back piece and lay it right side facing down, with the left side raw edges touching, (so the finished edge is in the middle.) Pin or clip all the raw edges of the sides, top and bottom together.

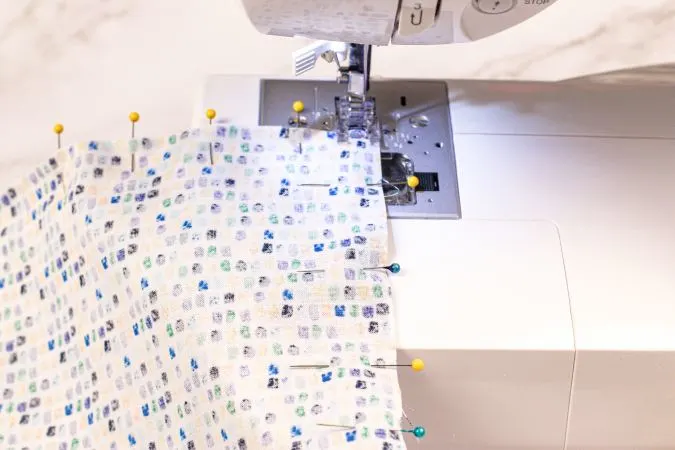
Using a 1/2” seam allowance, attach the back pieces to the front pillow piece. Clip the corners.
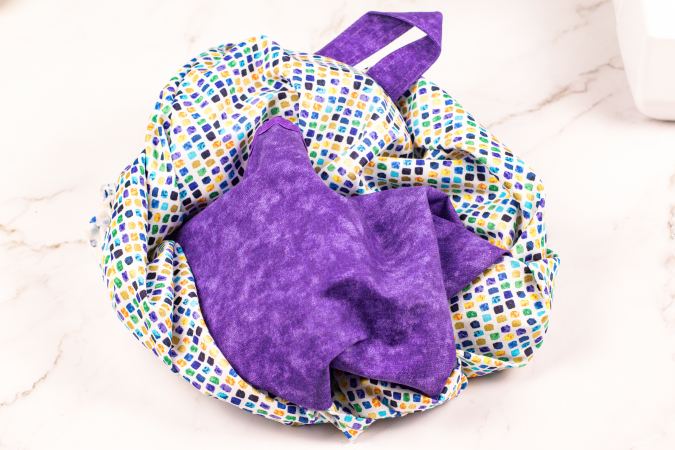

Turn the pillow right side out and using a turning tool, push the corners out.
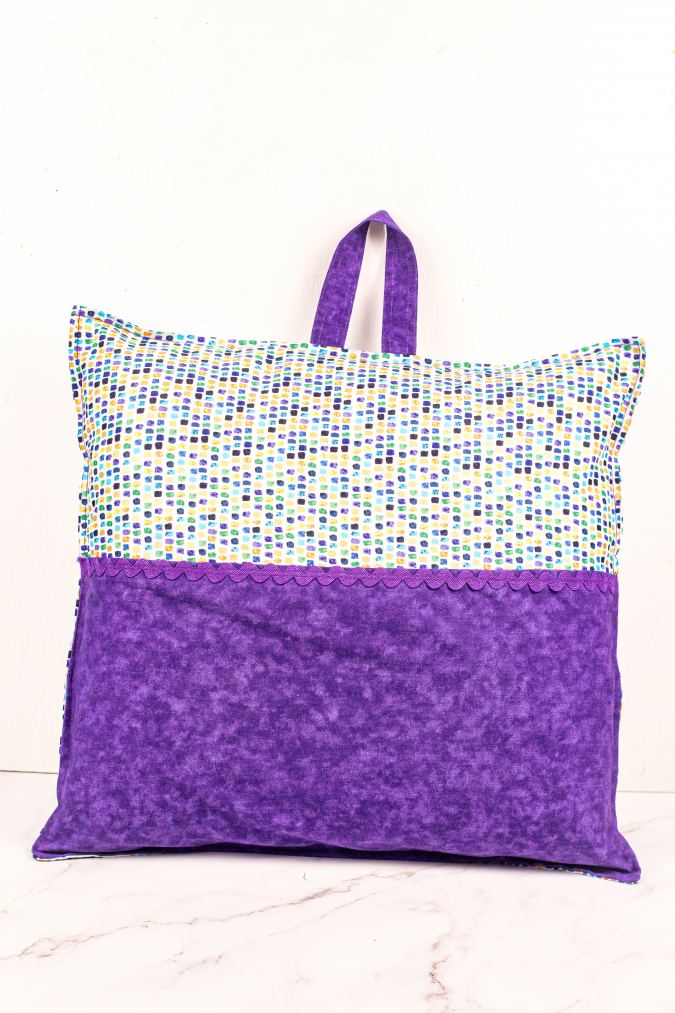

Insert pillow form and enjoy!
Find the webstory for the post here, Make a Pocket Pillow for Reading: Simple Sewing Project
Pin it for later here,