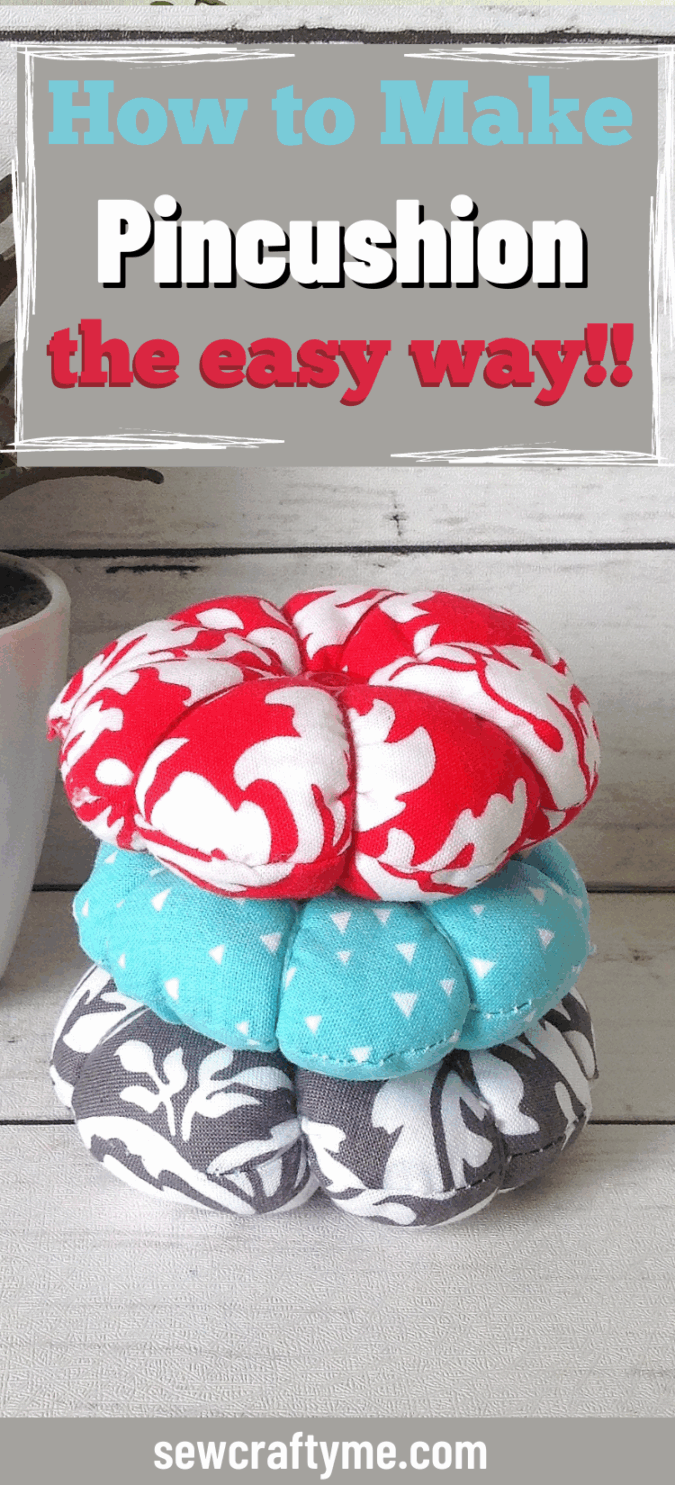
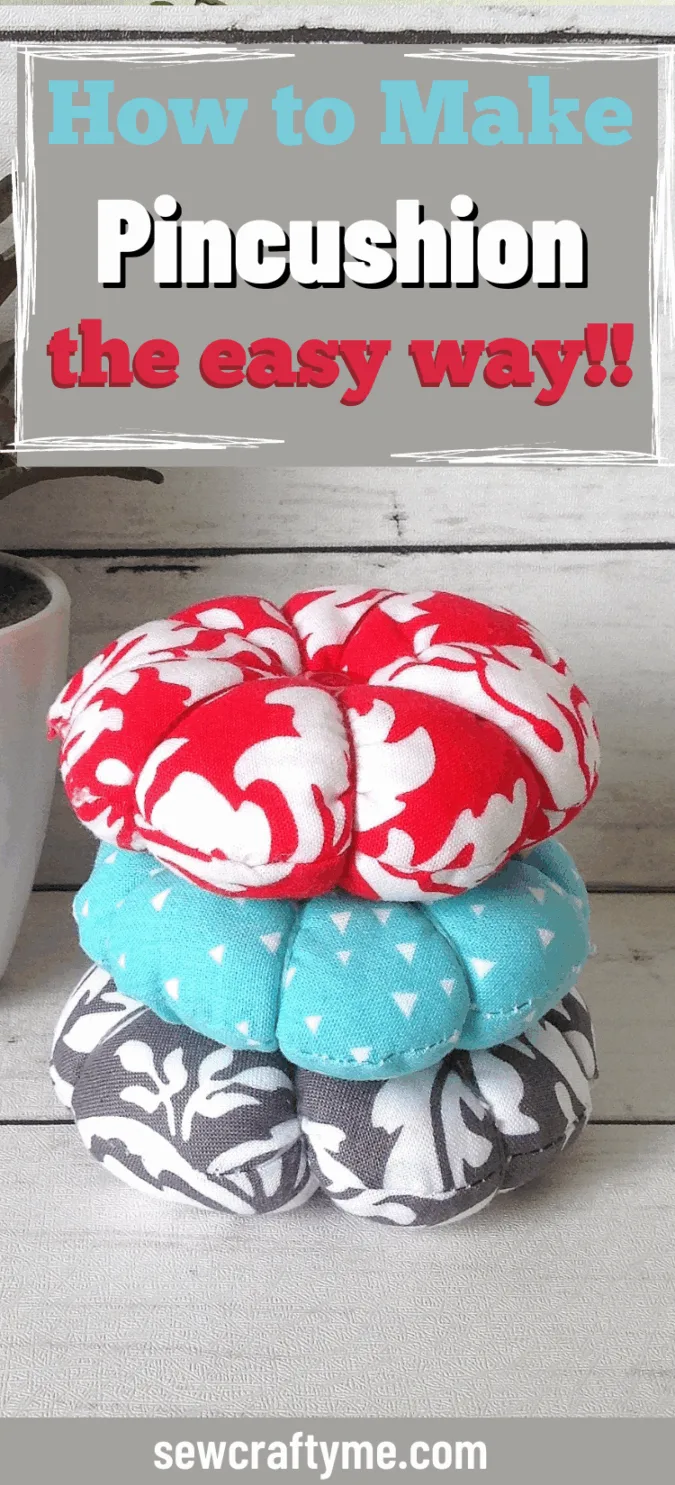
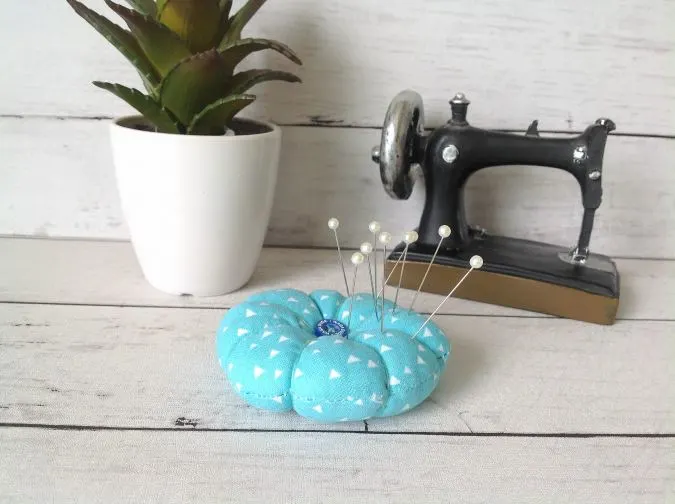
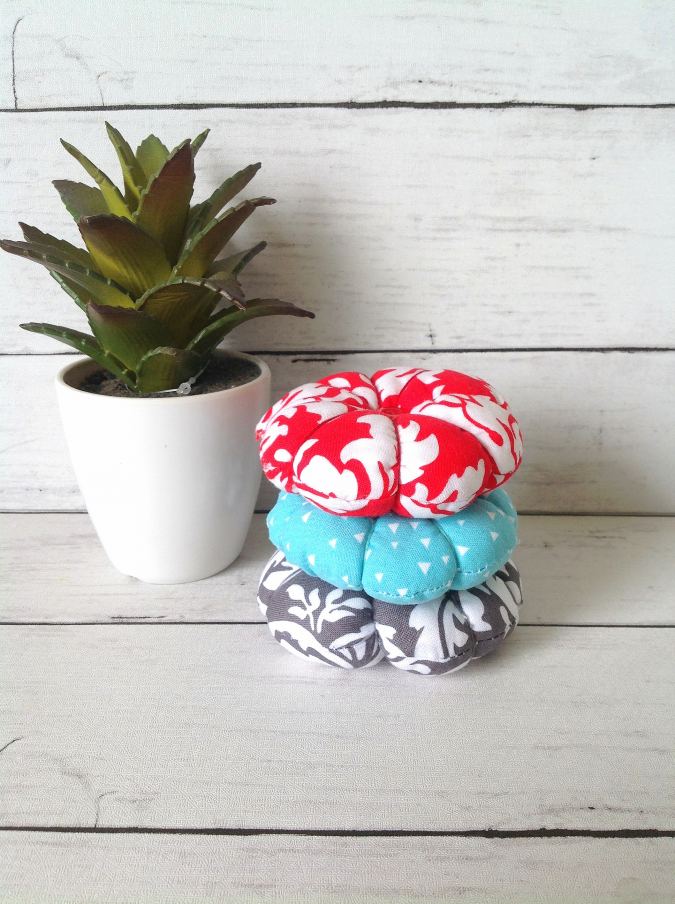
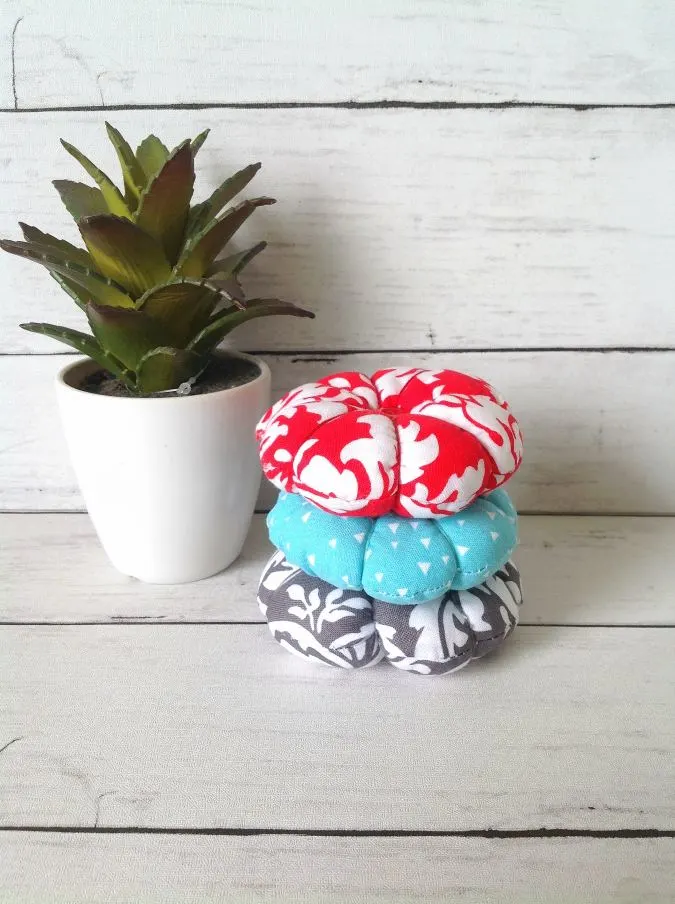
Learn how to make a pumpkin pincushion with this easy sewing tutorial. These are great for putting away your pins and needles and serve as a sewing room décor too!

This weekend, if you are not in the mood to try a large project, try this simple pincushion pattern. You will enjoy making it and it is essential for your sewing room as well!

Let me be frank, I didn’t have a pincushion till I made these. I used to store the pins in a small round bowl. Me being a designer and a seamstress, the bowl looked very unprofessional in my sewing room.
I had plans to sew a pincushion for aeons but I always had the habit of putting away easier projects to try more complicated and interesting ones.
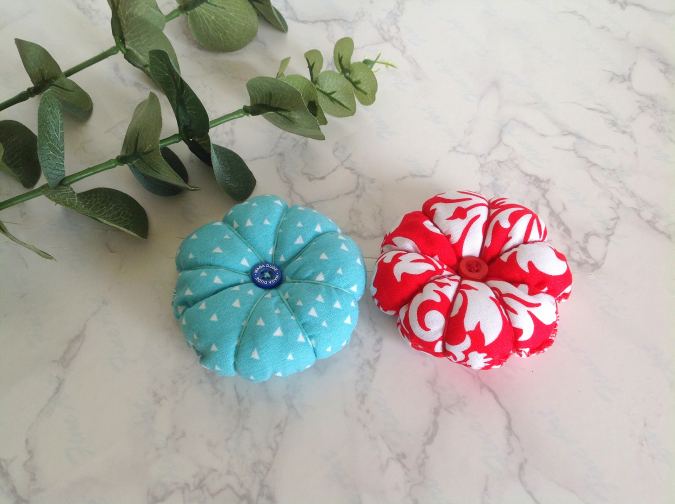

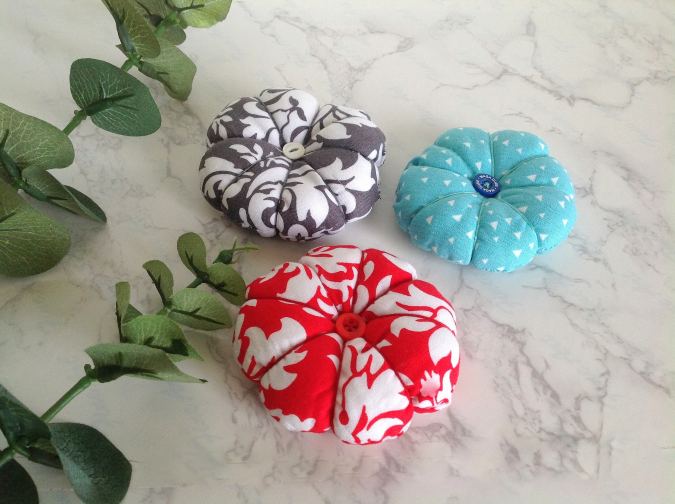
This tutorial on how to make a pumpkin pincushion is designed in the shape of a pumpkin. You can easily make it by cutting two circles, sewing, and stuffing it with a little polyfill fiber. Of course, the embroidery thread and the button make it look like a pumpkin and help you decorate your sewing room too.
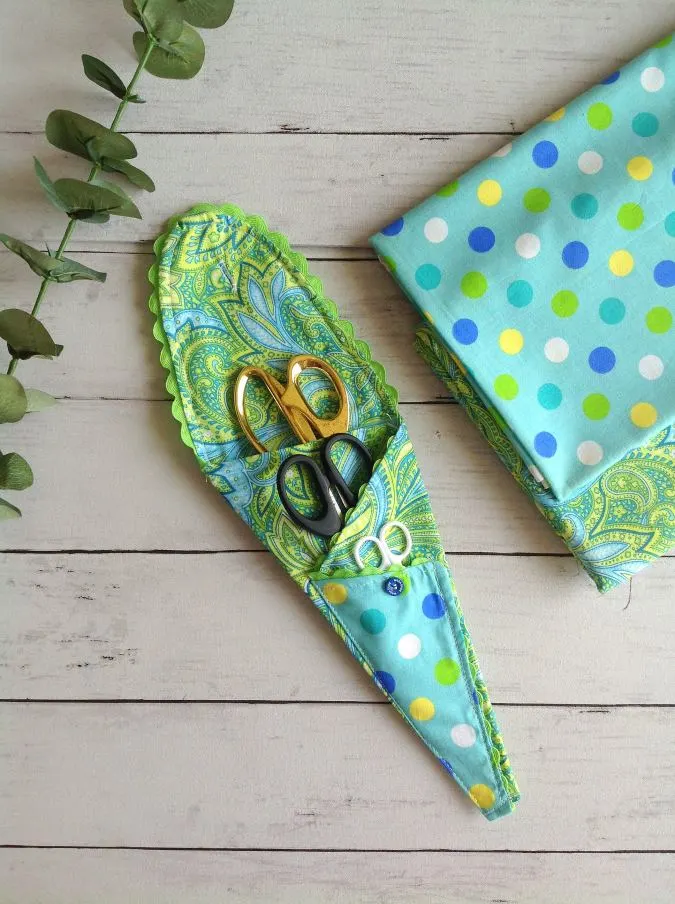
If you would like to see a 3- pocket scissor case pattern, click on the picture below:

How to Make a Pincushion
Supplies Needed:
Scraps of fabric for the pincushion body.
Hand- embroidery thread in matching color to make the pumpkin segments.
Polyfill fiber for stuffing.
Regular sewing notions.

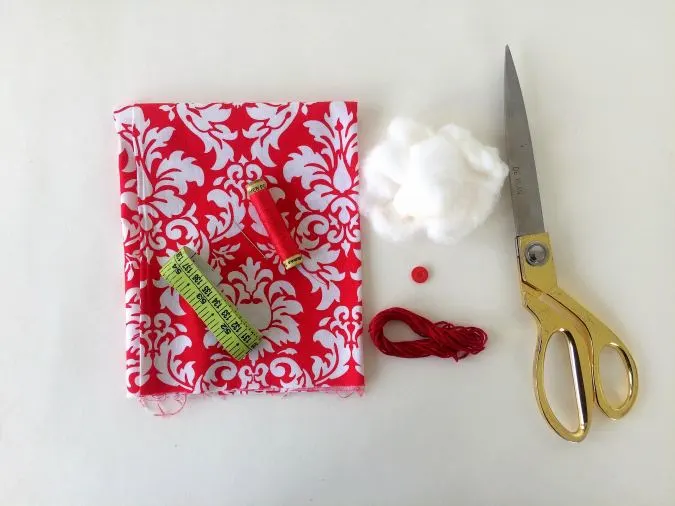
Gather your supplies.

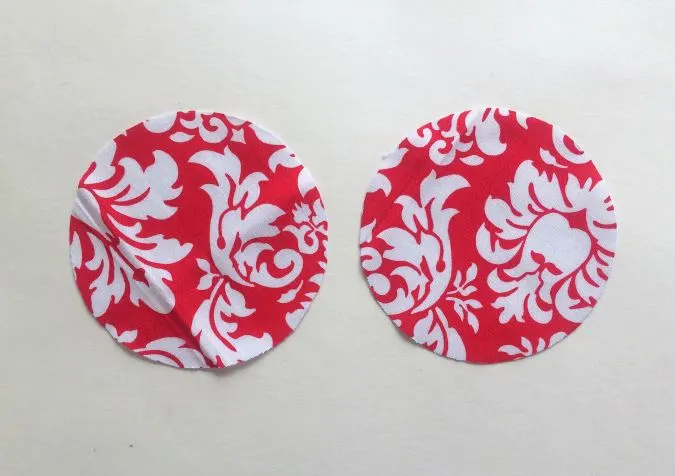
Cut two circles using a circular lid or a bowl. You may use any circular object with diameter more or less than 4”.
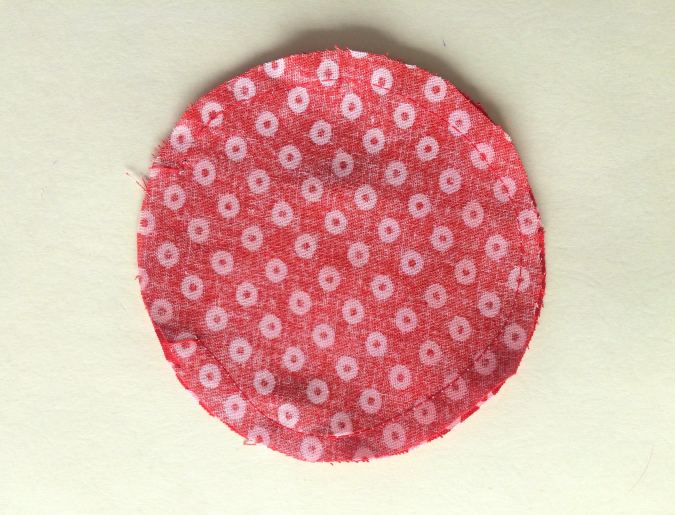
Keep the two circles layered, with the right sides together, lining up the edges. Sew around the edges, leaving a gap of 1.5- inches to turn the right side out (picture for illustration purpose).

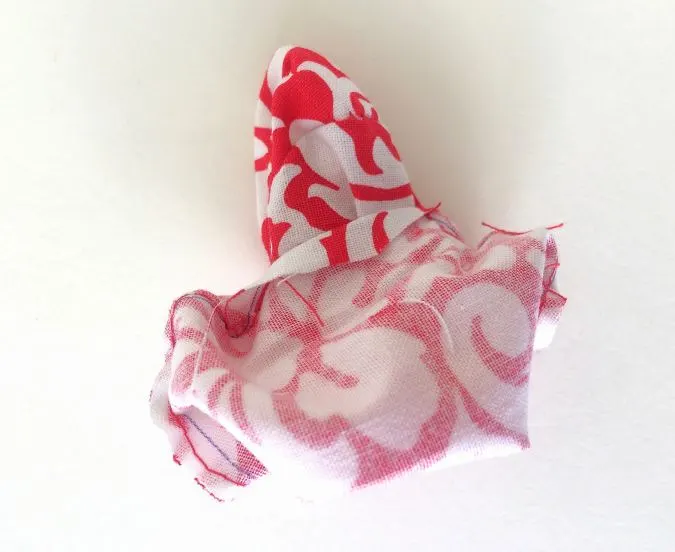
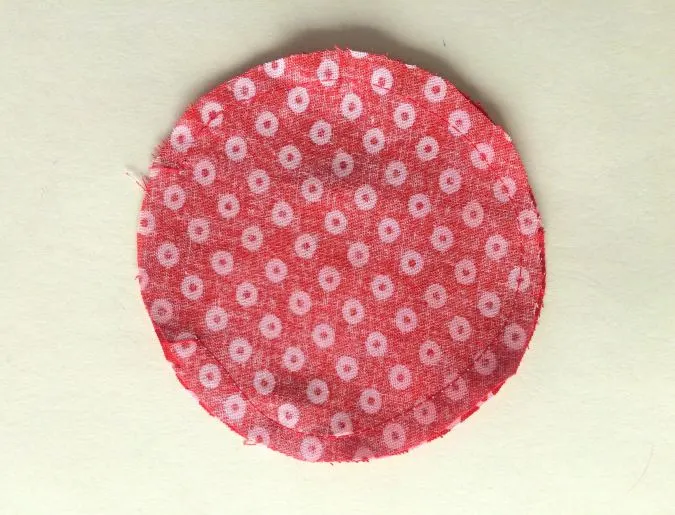
Pull the right side out through the opening.


Push the edges out with the help of a wooden dowel or the ends of your scissors, taking care not to tear the seam.
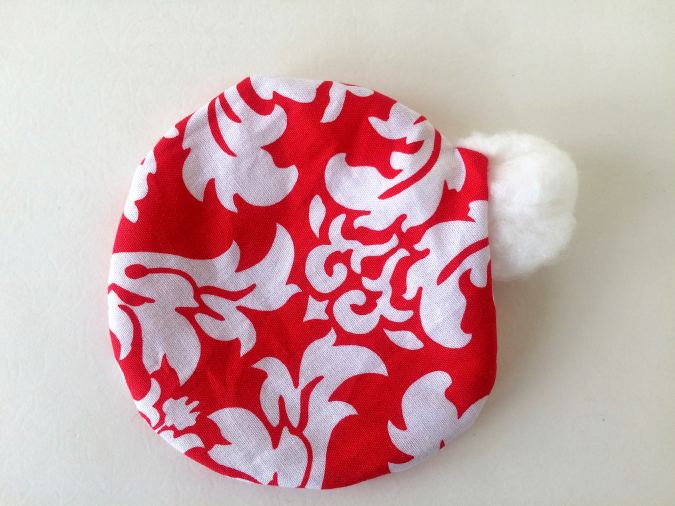
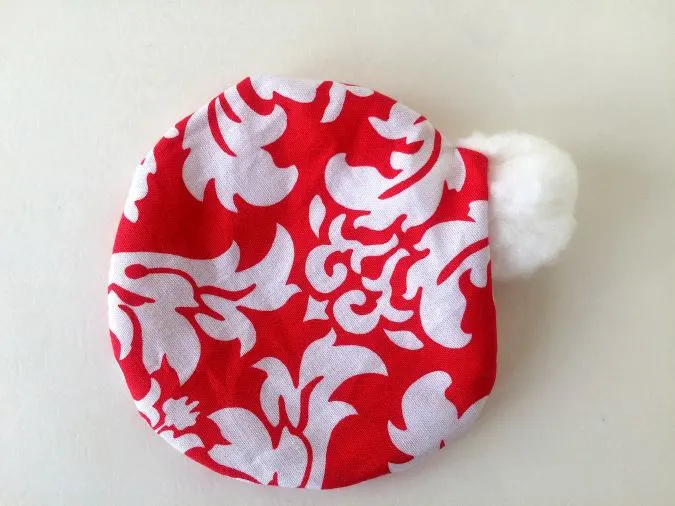
Stuff the inside with polyfill fiber.
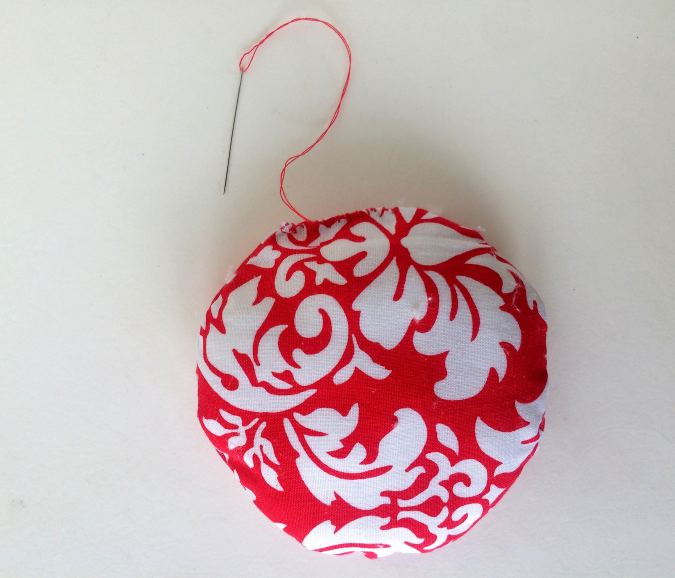

Thread your hand- sewing needle and sew the opening shut using an invisible stitch or a ladder stitch.
Next we make the pumpkin segments.
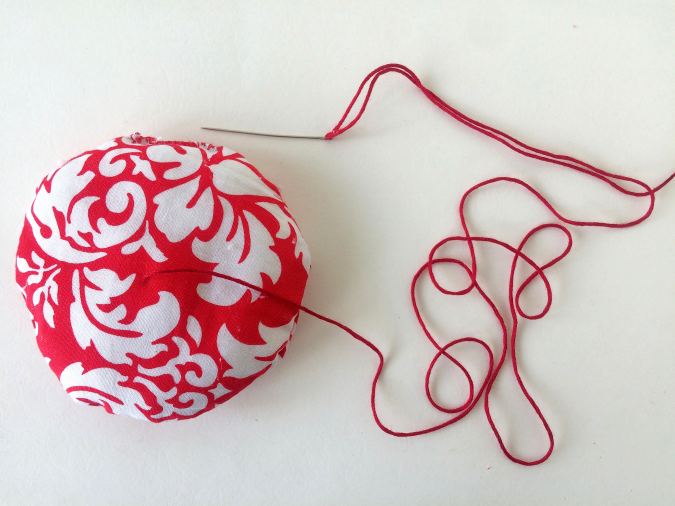
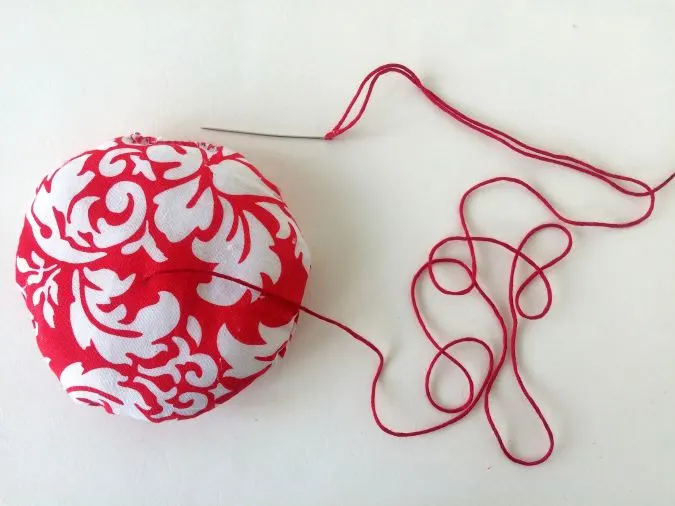
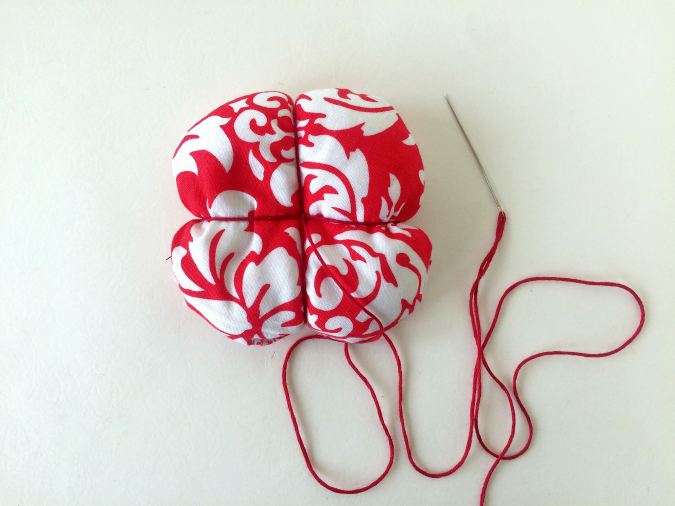
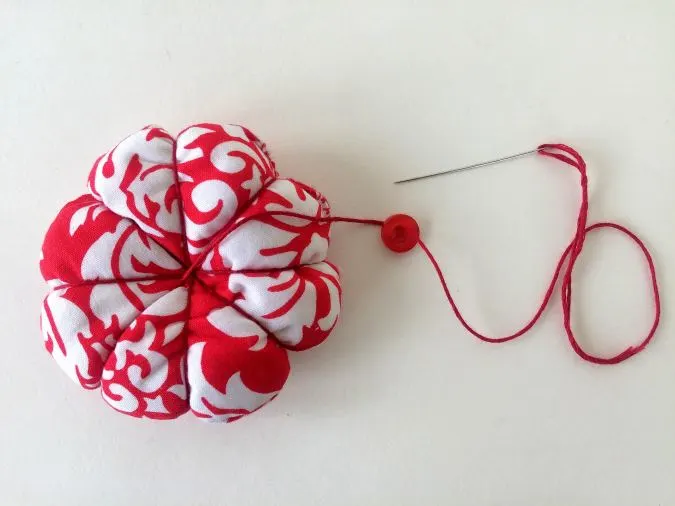
Take about 4 strands of the embroidery thread and thread your needle. Push it through the center of the pumpkin, from the underside and bring it out from the top.
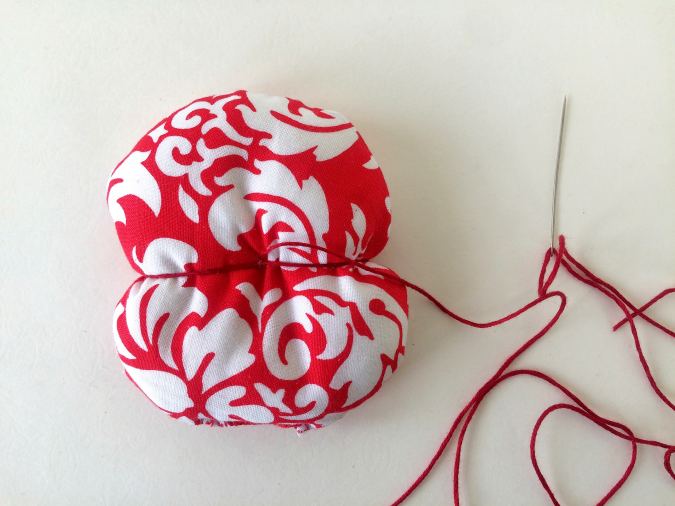
Pull the thread tightly to form a dip in the center at the top and wind it once around the pumpkin, passing through the center.
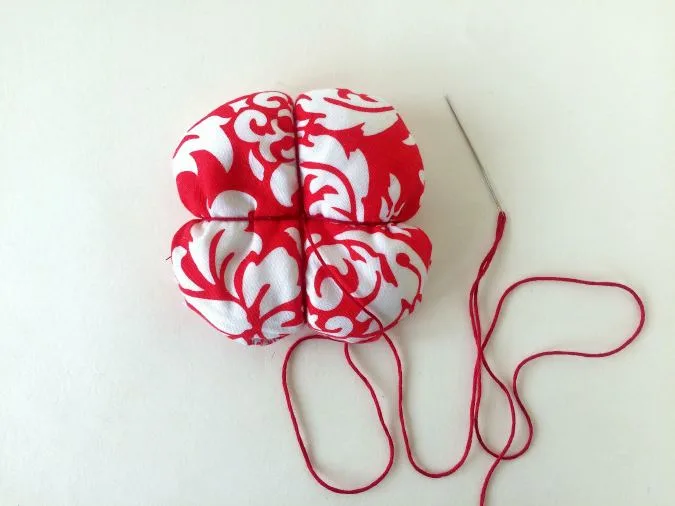
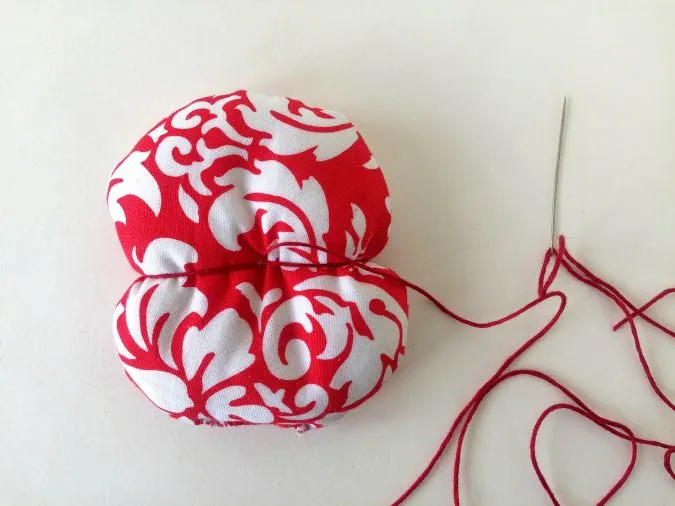
Next, wind the thread again at right angles to the first.
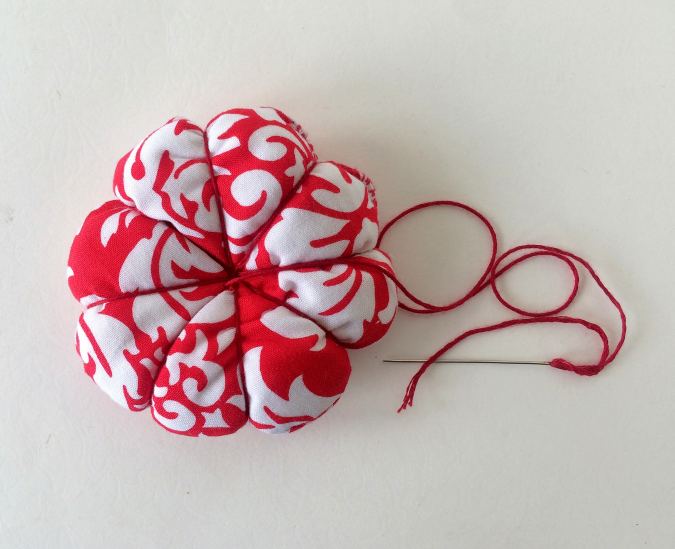
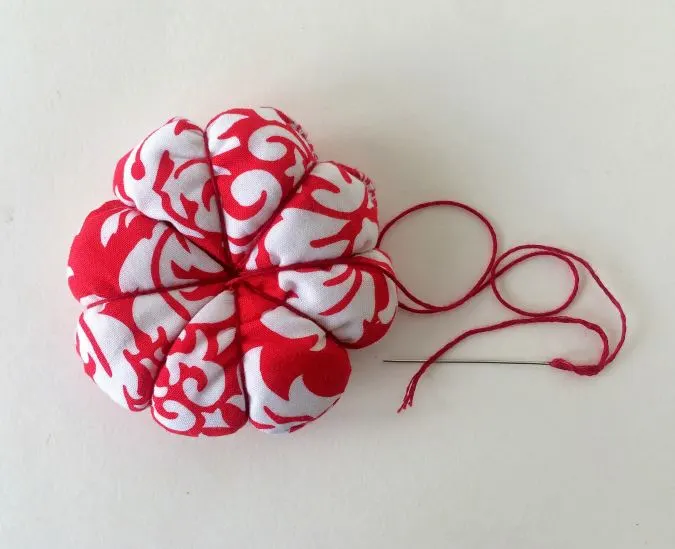
Wind the twine two more times along the center of the first two to get 8 segments for the pumpkin. Tie it in a few knots along the center to secure. Here we don’t cut the thread off, we use it to sew the button.

Take the button and insert your needle through one of it’s holes.
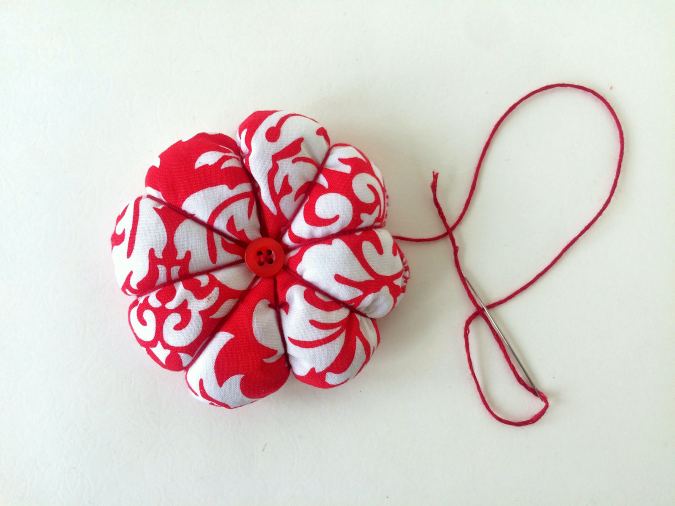
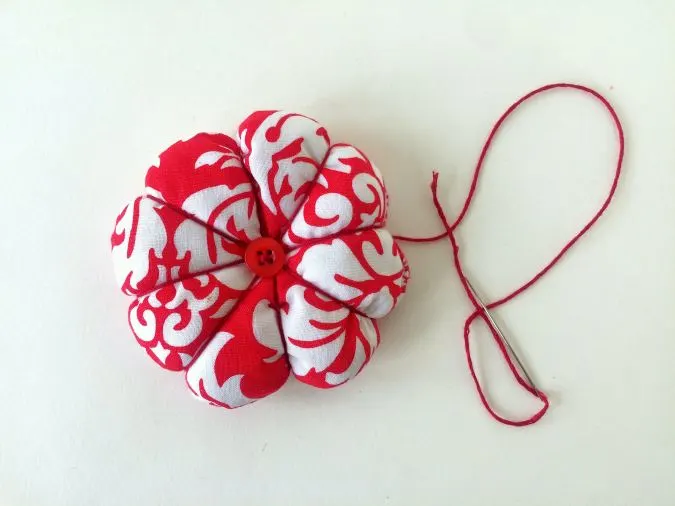
Push the button down and sew it tightly to the center of the pumpkin.
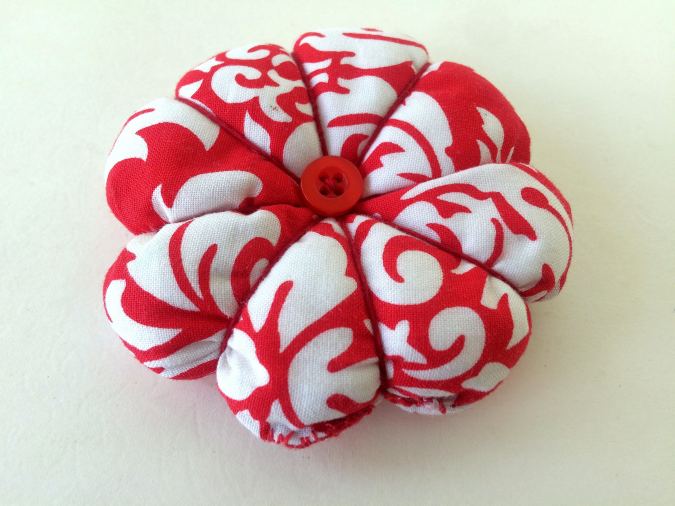
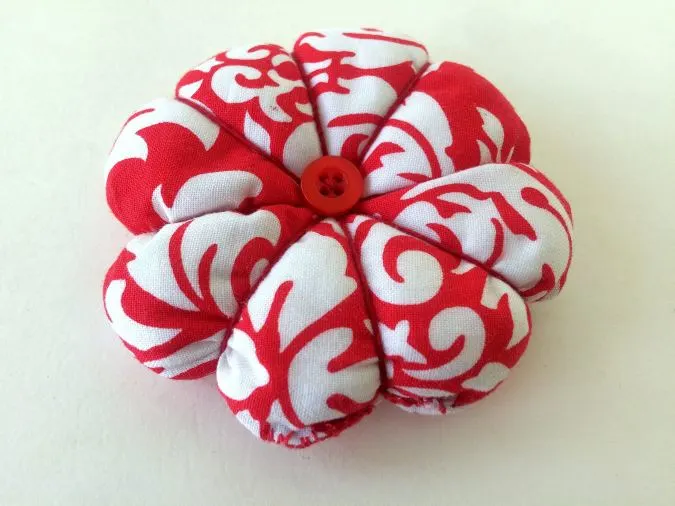
Our pumpkin pincushion is ready for use!
Have a look at the webstory for the post here, How to Sew the Perfect, Sturdy Pincushion