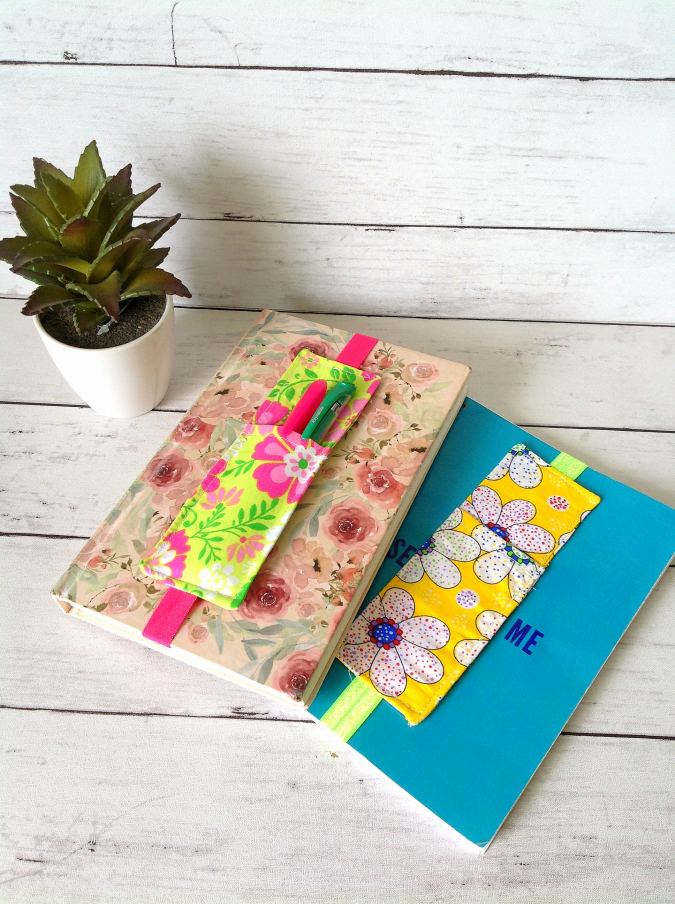
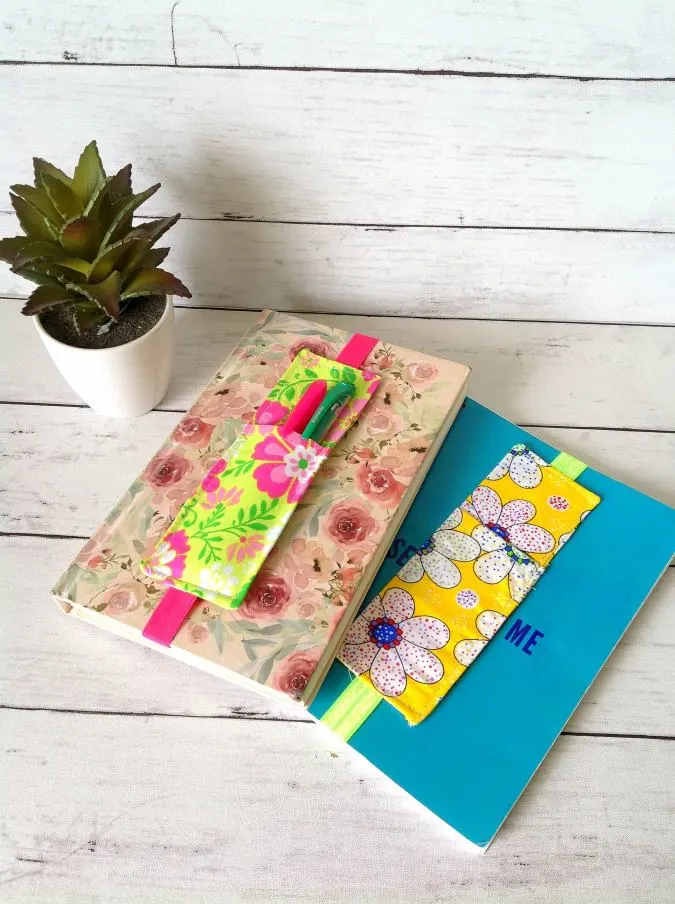
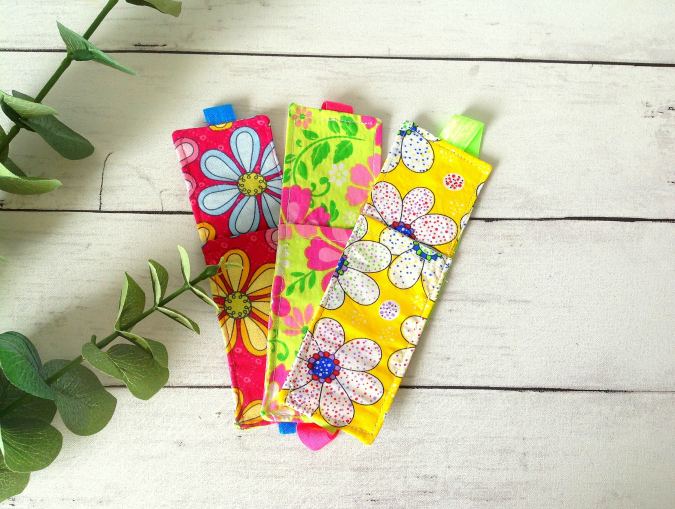
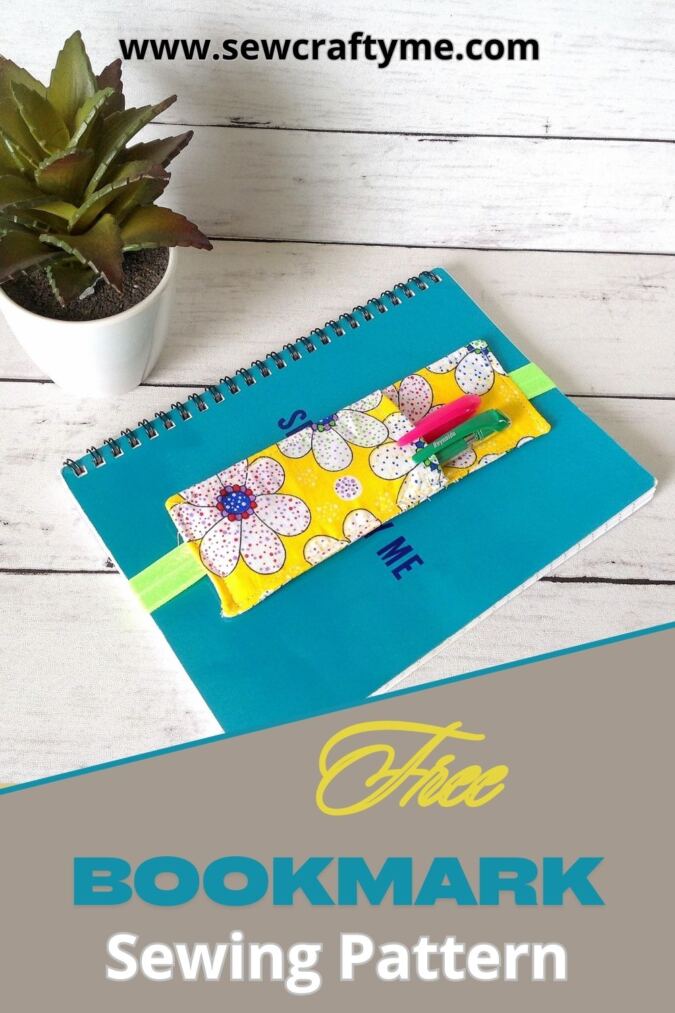
Learn how to make a fabric bookmark with this easy sewing pattern. This pattern comes with a pen pocket and elastic, which makes it more valuable.
Bookmarks can be found everywhere. You can find them made with paper, felt, fabric, and more. The ones we usually see are the simple fabric ones with a ribbon tail that makes it easy to pull out.

But sometimes, these bookmarks have the disadvantage of falling off while you carry the books around your house.
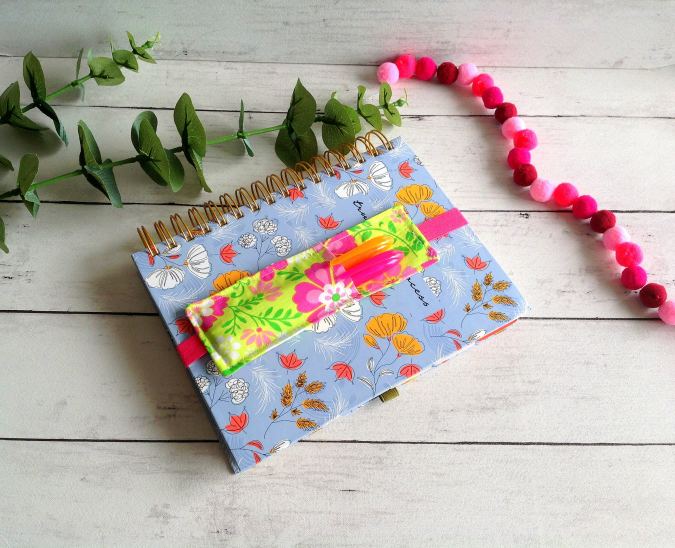
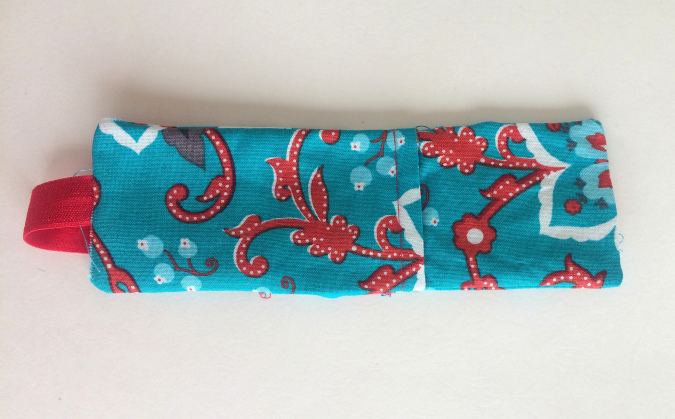
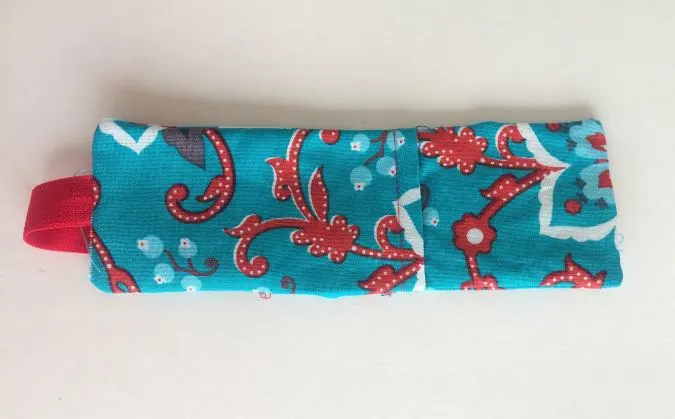
Solution- make a bookmark with elastic! This bookmark has an elastic attached to it so you can put it around the pages you would like to mark. You can easily carry the book around, without the fear of the bookmark falling off.
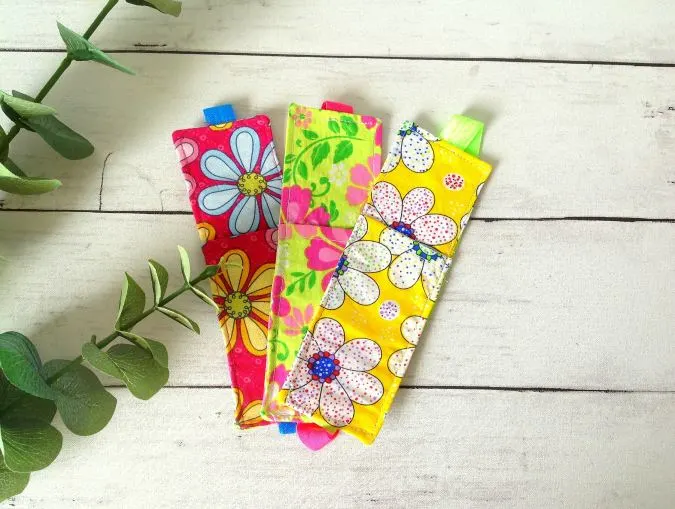
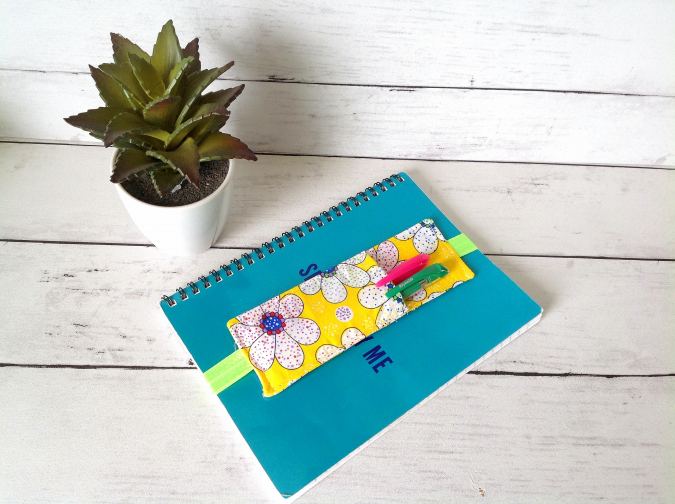
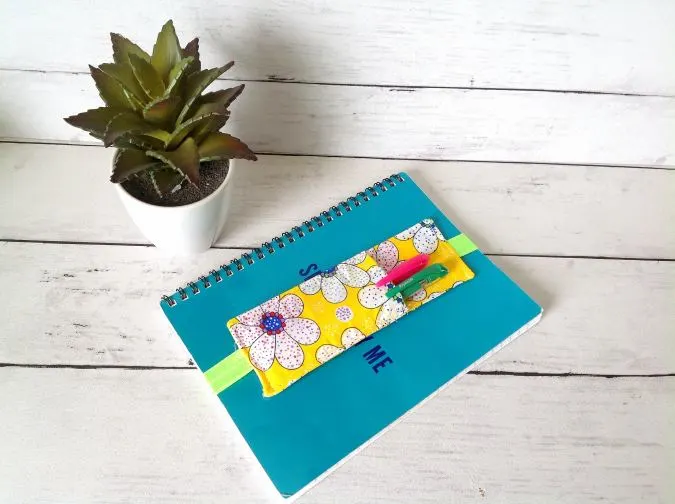
The sewing pattern comes with a pen pocket to store your pens and markers as well.
But don’t worry, it is not hard to make and takes only a few minutes. This tutorial will make sewing a bookmark easy for you. So, let’s get started!
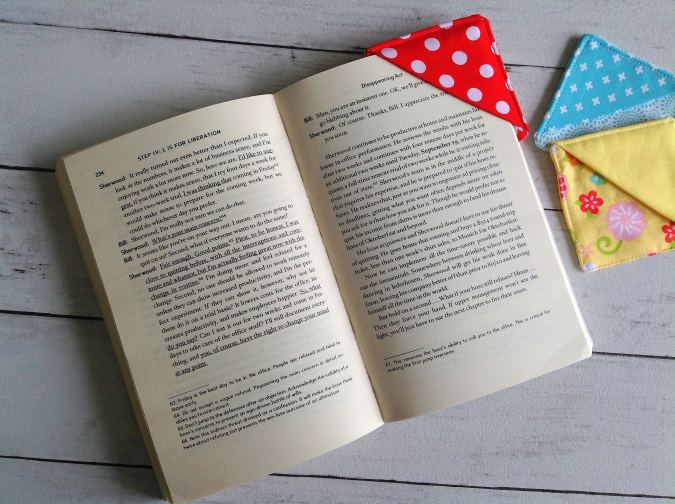
If you would like to make a corner bookmark to mark the pages of your book, click on the picture below:

How to Make a Fabric Bookmark
Supplies Needed:
Scraps of fabric medium- weight cotton fabric for the bookmark body.
Scraps of medium-weight cotton fabric for the bookmark pocket.
Scraps of medium-weight fusible interfacing.
Fold- over- elastic- 10.5- inches ( can be more or less, depending on the size of your book. Mine was 8.5” long)
Sewing notions.

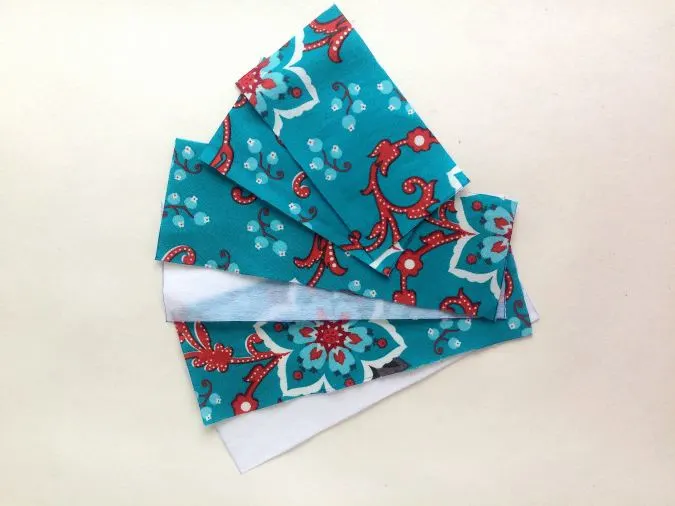
Cut your pieces with the following measurements:
Front piece and back piece of the bookmark- 2.5” x 7”
Pocket pieces- 2.5” x 4.5” (cut 2).
Interfacing pieces- 2.5’ x 7” (cut 2)
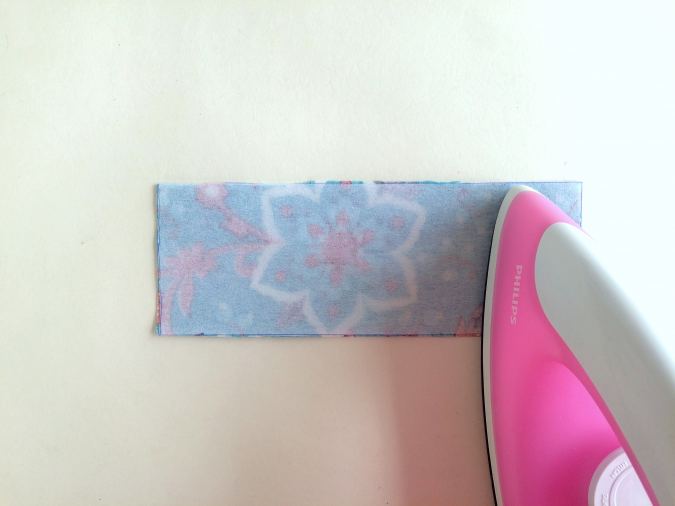

Fuse the interfacing to the wrong side of the front piece, following the manufacturer’s instructions.
Let’s make the pockets.
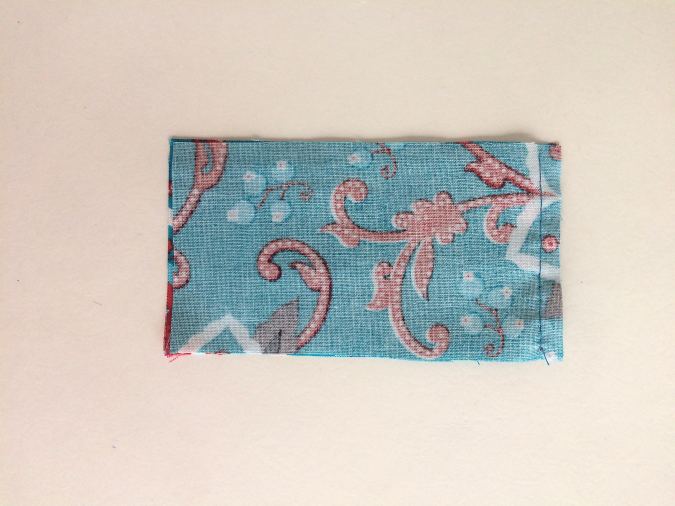

Layer the two pocket pieces, with the right sides together, lining up the edges. Sew along one of the short edges to join.

Fold the pocket piece over to the right side. Press and topstitch along the short edge to make it neat and crisp.
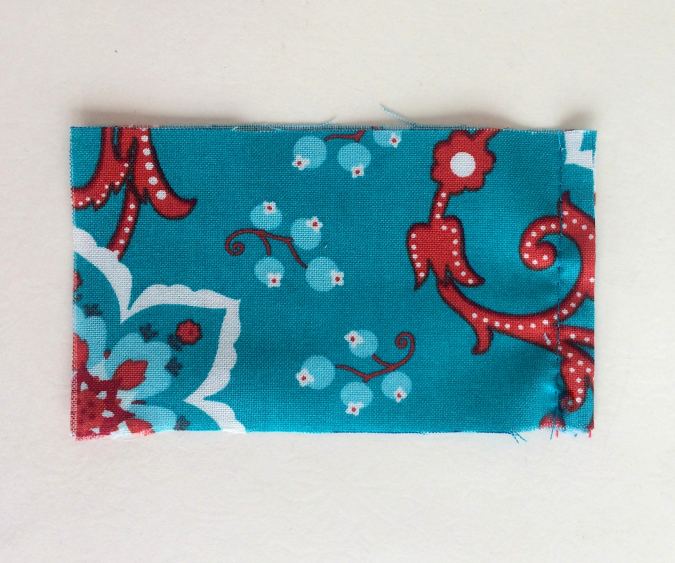
Place the pocket on the right side of the front piece, lining up the raw edges (the finished edge comes along the center).
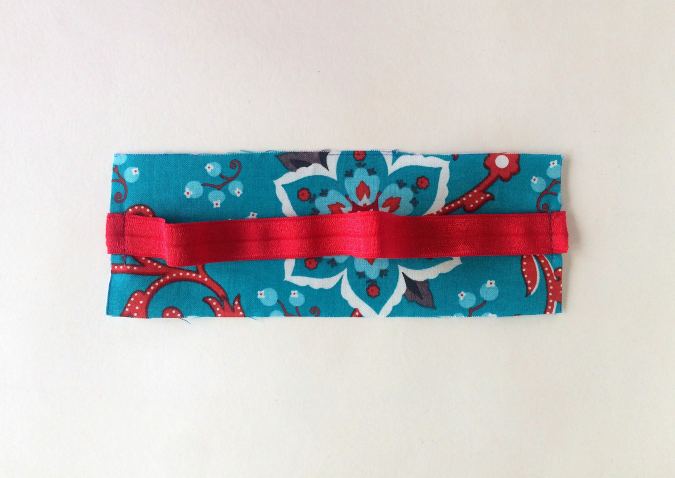
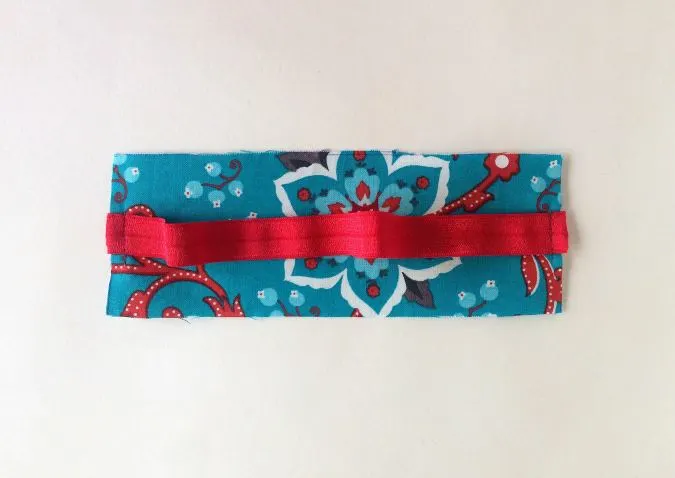
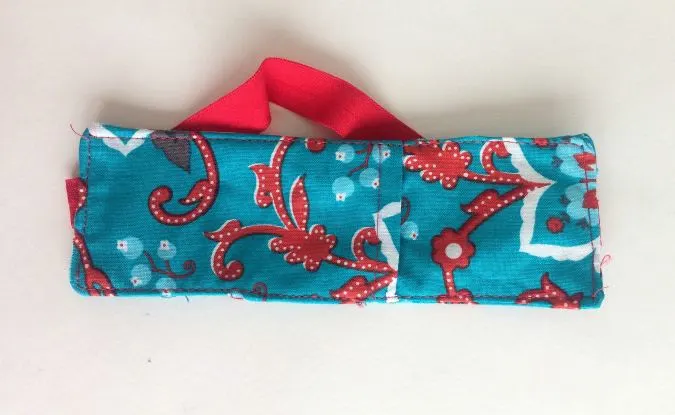
Pin the short ends of the elastic along the center of the short edges of the back piece. Sew the elastic to join.


Layer the front and back pieces, with the right sides together and lining up the edges. Pin all around. *The pocket is now sandwiched between the bookmark front and back.
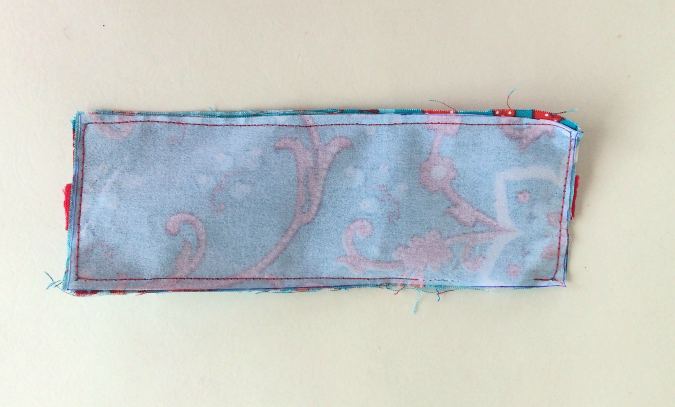

Sew around the pinned edges, leaving a gap of about 1.5” to turn the right side out.
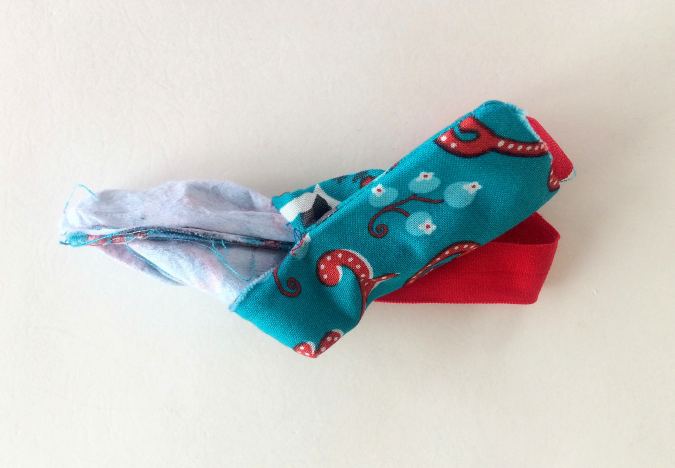

Pull the right side out through the opening.
Poke the corners out with the help of a wooden dowel and press to make it clean and crisp.

Topstitch all around and your bookmark is ready for use!
Find the webstory for the post here, Fabric Bookmark Pattern with Elastic Band and Pocket
Pin it for later here,
Rhea
Tuesday 7th of January 2025
How long is the elastic
Surayya
Saturday 11th of January 2025
The length of the elastic is mentioned in the sewing tutorial.
Ronda
Saturday 1st of July 2023
If you add a ribbon hanging from the top, maybe you can mark your page with the ribbon and hold your book closed with the elastic???
Linda
Wednesday 17th of May 2023
Why use fold over elastic
Teresa Jones
Thursday 8th of December 2022
Do you have to use fold over elastic or is any elastic okay?
Surayya
Saturday 10th of December 2022
You can use any elastic that is at least 0.75- inches thick.
Mona
Saturday 24th of September 2022
where can I find the fold over elastic that you use?
Surayya
Sunday 25th of September 2022
You can get it from Amazon.