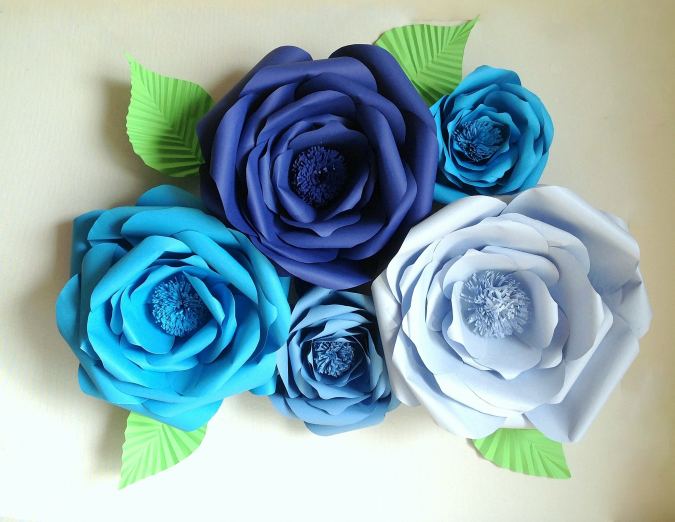
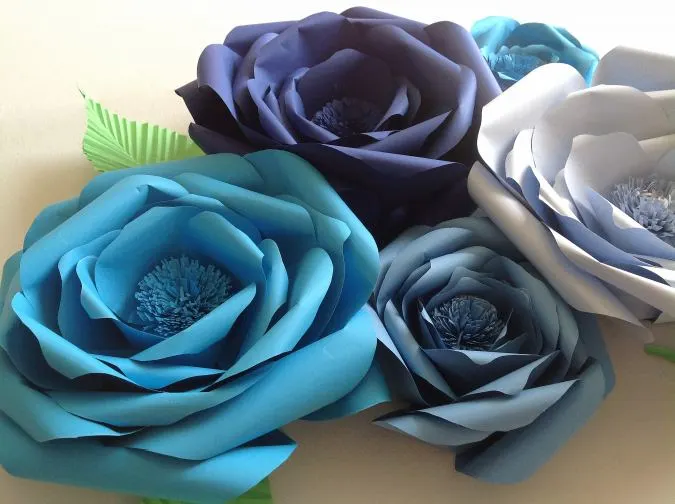
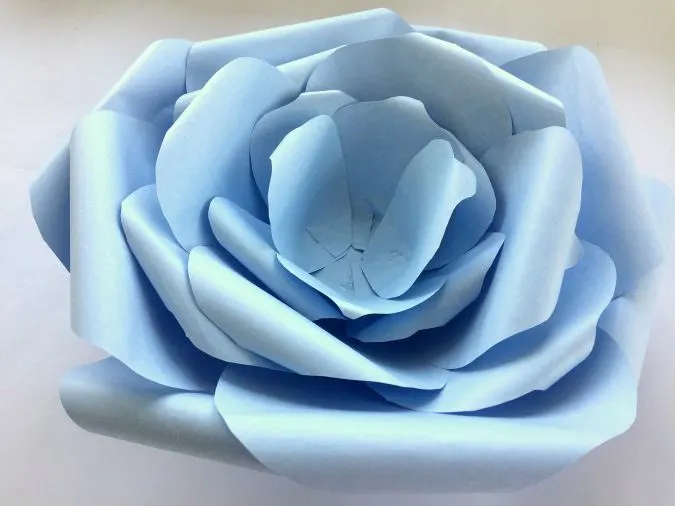
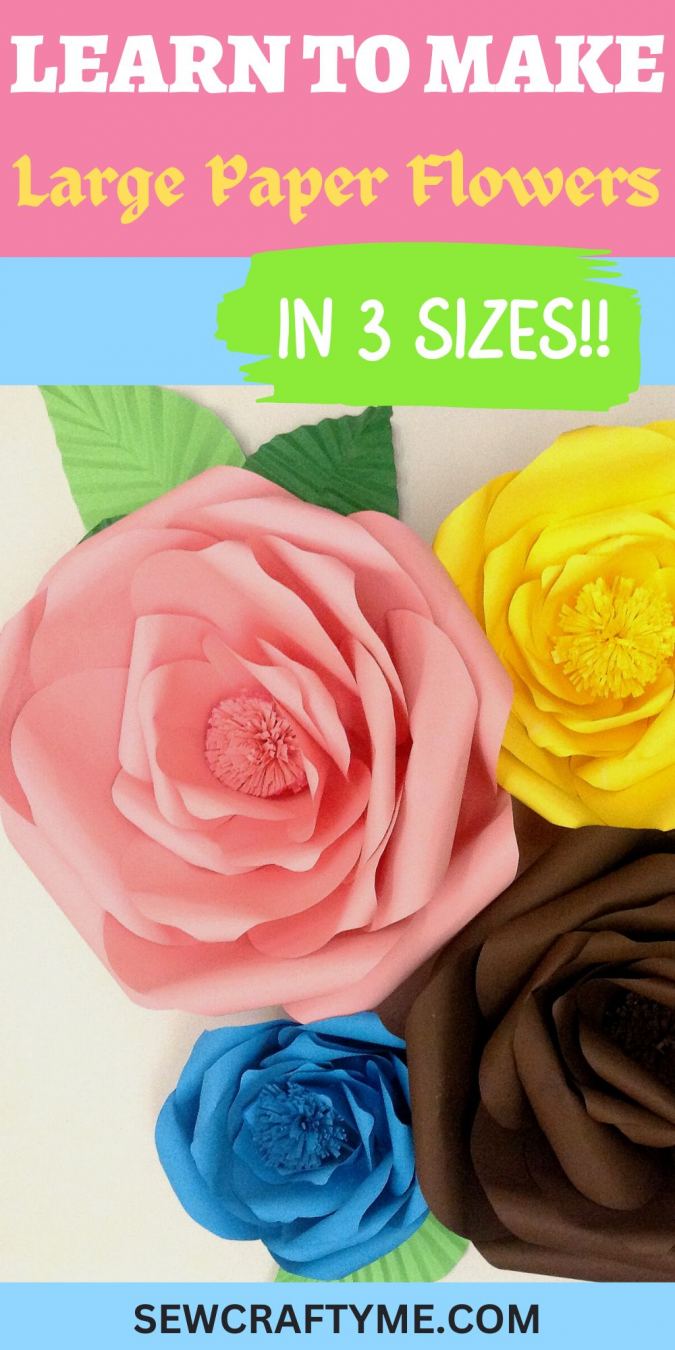
Ready to create a stunning background for a baby shower or birthday party? Learn to make vibrant DIY paper flowers with this tutorial. Includes step-by-step instructions and templates to make flowers in three sizes.


I have always had a passion for creating paper flowers. As a DIY enthusiast, I love to add personal touches to my home decor, particularly for small gatherings. My favorite decoration is paper flowers, as they not only liven up blank spaces but also bring a pop of color. Additionally, making my own decorations saves me money.
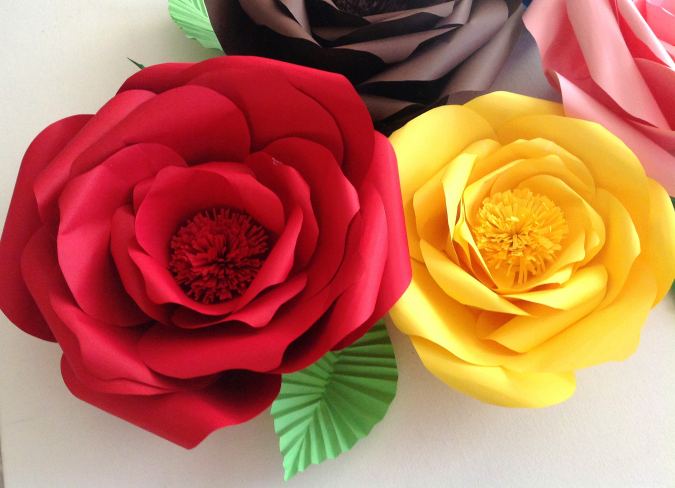
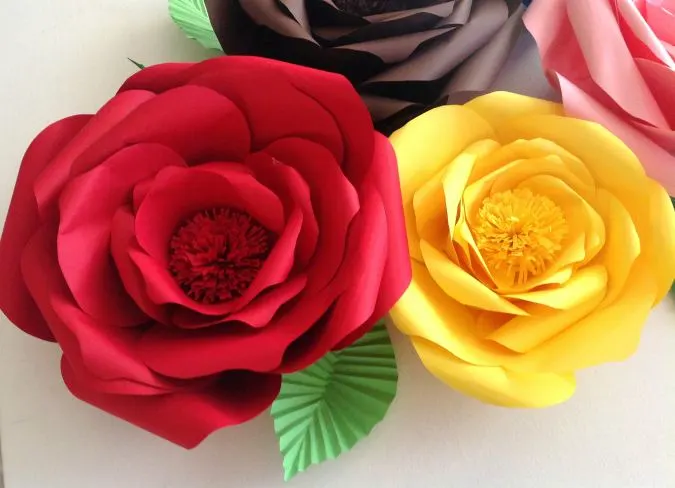
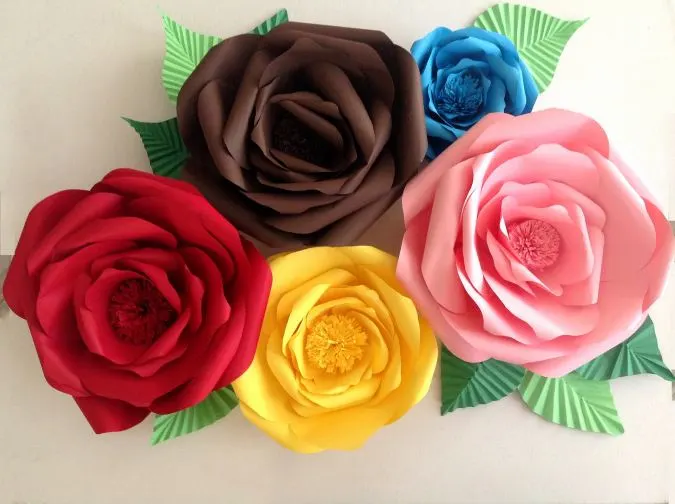
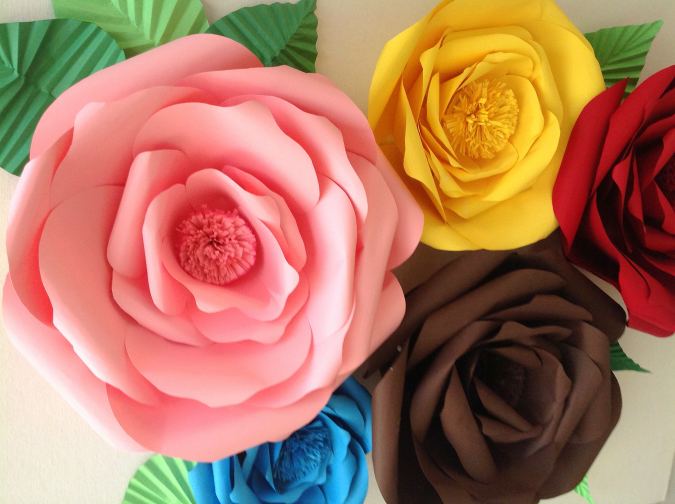
There are many different types of DIY paper flowers you could make, depending on your occasion and taste. I always loved to make my flowers in different shades of the same color. You can make them in multiple colors for your weddings, birthdays, baby showers, or any other party at home.

These paper flowers are so easy and fun to make that the whole family can join in and make them together while watching TV or relaxing on the couch.

You don’t need a cutting machine to make these DIY flowers with paper. All you need is to download the petal templates and cut them by hand. You can layer the papers and cut multiple petals at once to save you time.
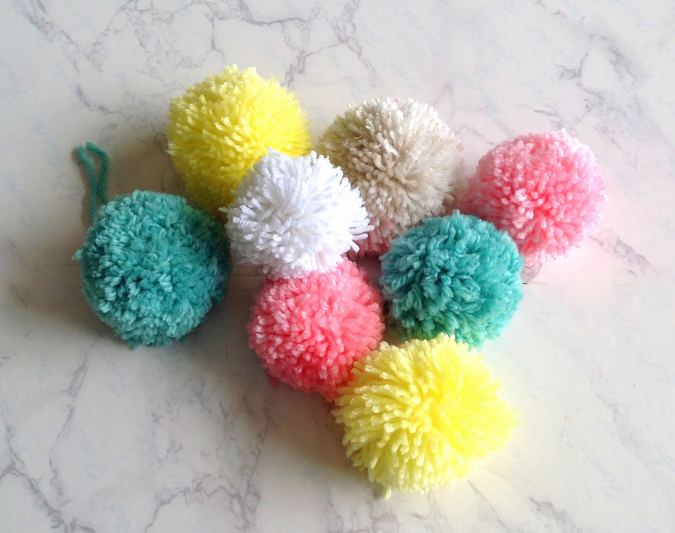
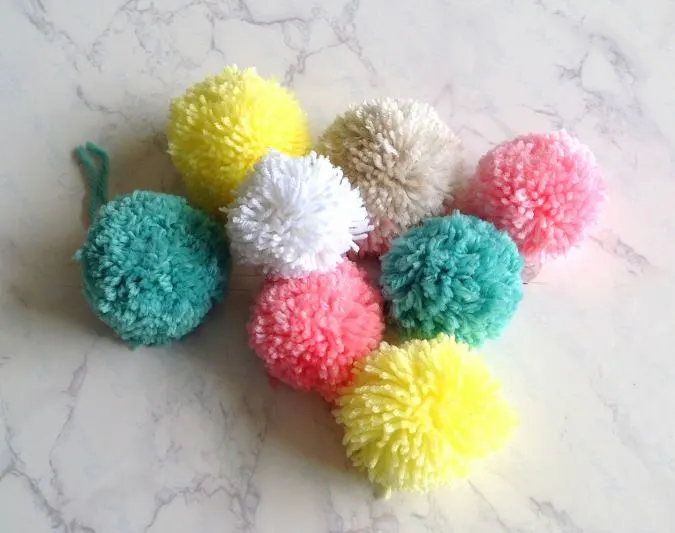
If you would like to learn how to make yarn pom poms, click on the picture below:
How to Make Flowers with Paper
****Find the video tutorial at the end of the page***
What Type of Paper is Used to Make Paper Flowers?
Before we start the tutorial on how to make paper flowers, it is important to learn about the right kind of paper that is to be used. The paper should neither be too thick nor too thin.
You should be able to curl and glue the petals easily but the petals need to stand strong and sturdy as well. Here I have used 65lb cardstock paper. Generally, I recommend 60- 80lb cardstock paper for the flowers.
Approximate Finished Sizes of the Flowers:
Large Flower:
11- inches wide
Medium Flower:
8- inches wide.
Small Flower:
6- inches wide.
Supplies Needed:
Cardstock paper in a desired color for the flower. The requirements for various sizes are given below:
Large Flower
6 -7 Pieces of 12″ x 12″ Cardstock.
Medium Flower
4-5 Pieces of 12″ x 12″ Cardstock.
Small Flower
2-3 Pieces of 12″ x 12″ Cardstock
Hot glue gun.
Green Cardstock paper for the leaf- one piece of 12” x 12” cardstock.
Wooden dowel.
Scissors.
Templates for the petals and circular base of the flower. *Enter your e-mail address and click the subscribe button below to download the templates automatically.

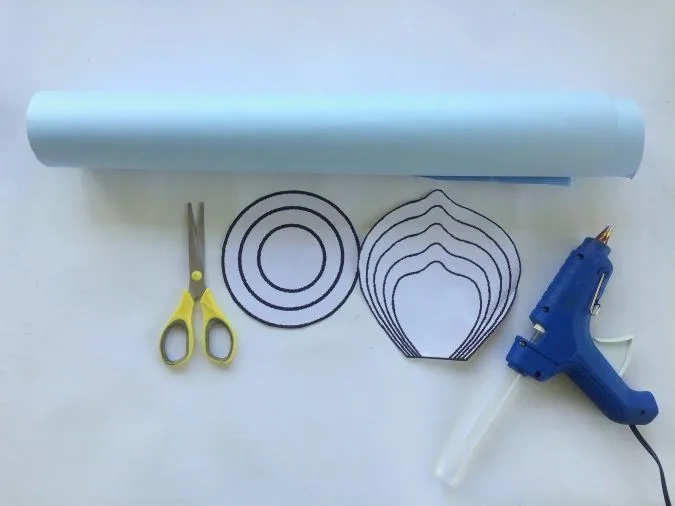
Gather your supplies.
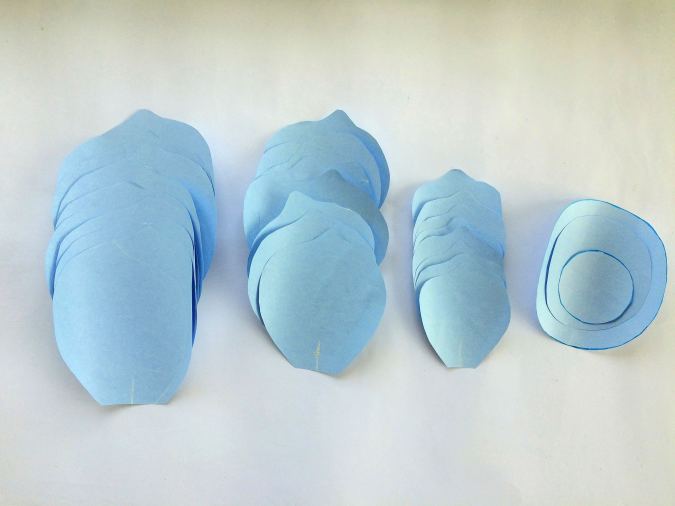
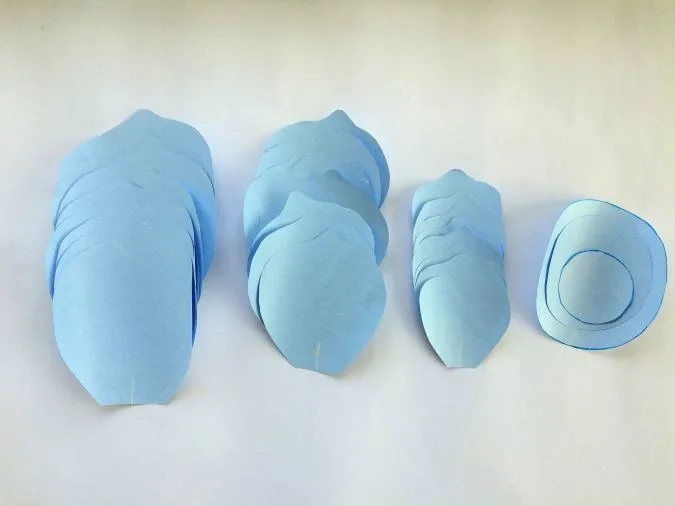
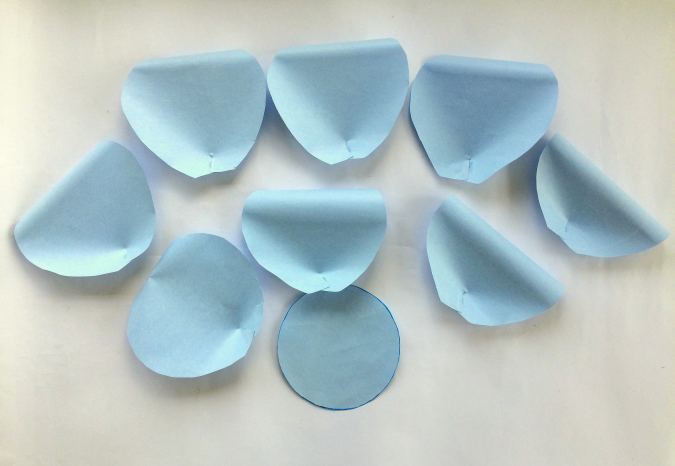
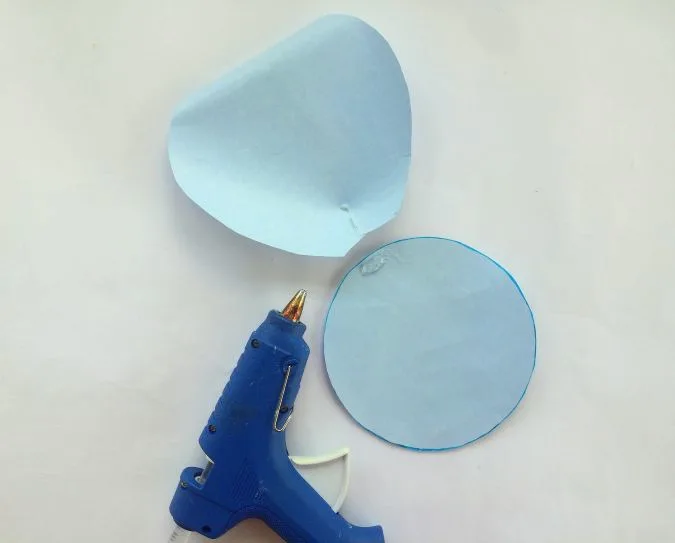
To start, cut out the patterns from the printed template. Sort the petals according to their sizes. Draw a short line, about 1.5 inches long in the bottom center of the petals. Set aside the set of circles – This will be needed as we go along with the creation of our flowers.
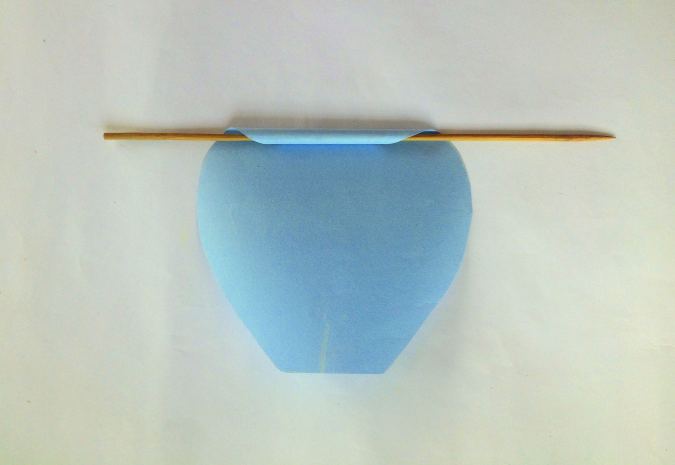
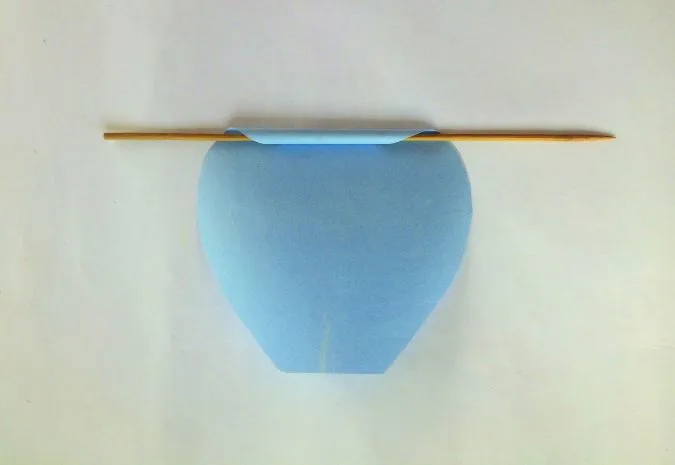
Roll the upper edge of each petal with the use of a wooden dowel. Make sure to roll them inwards to create 3D petals.
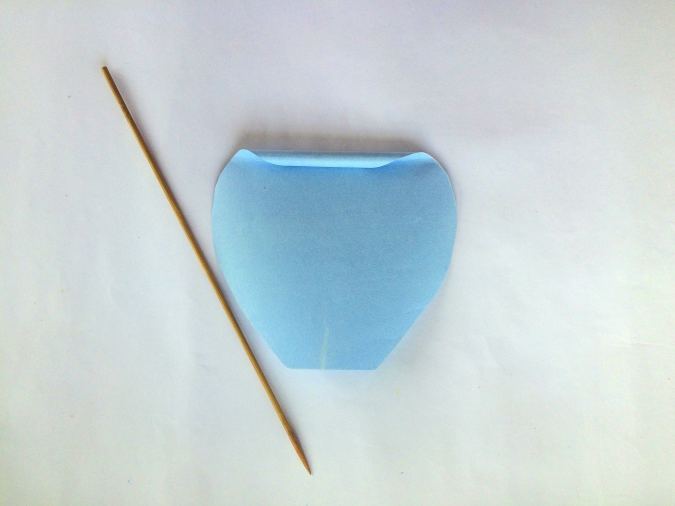
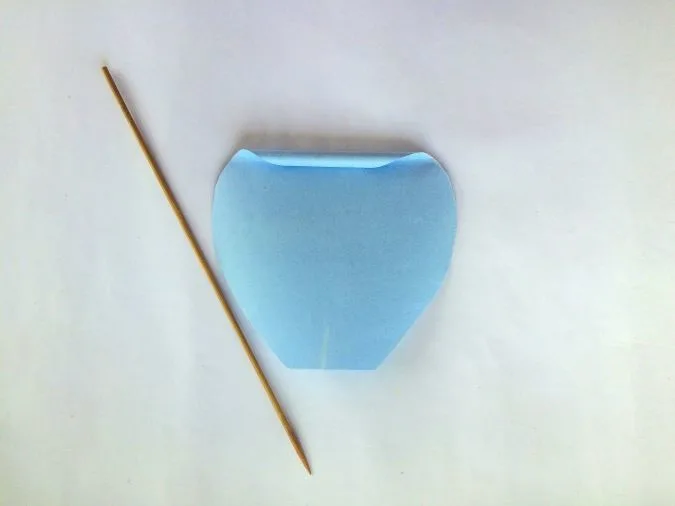
It should look like this.
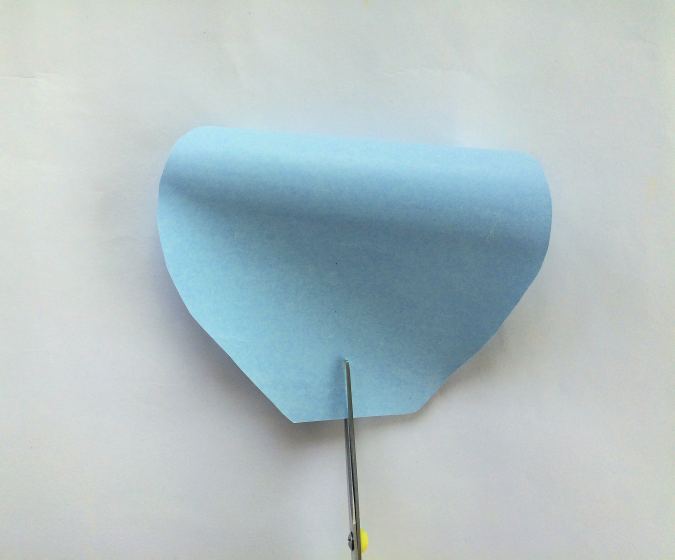
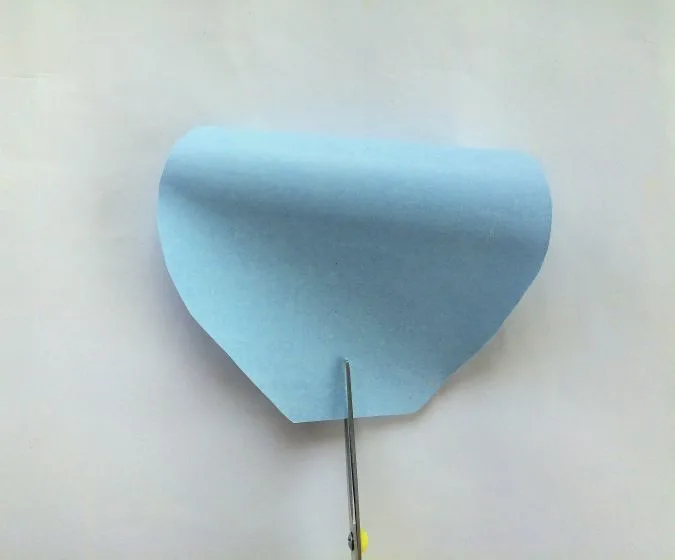
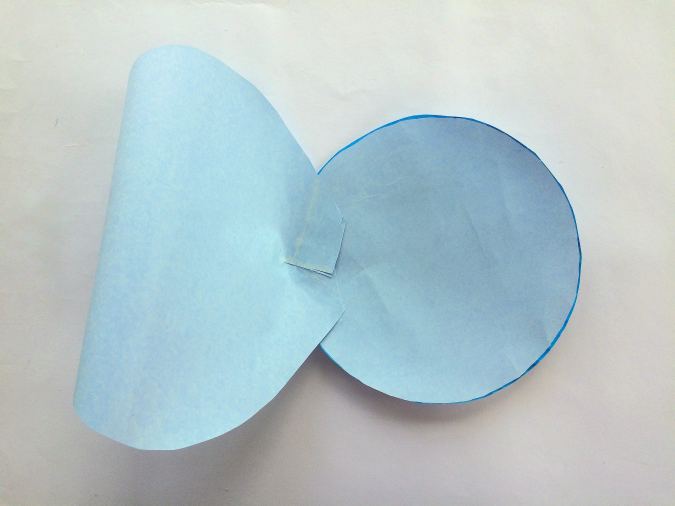
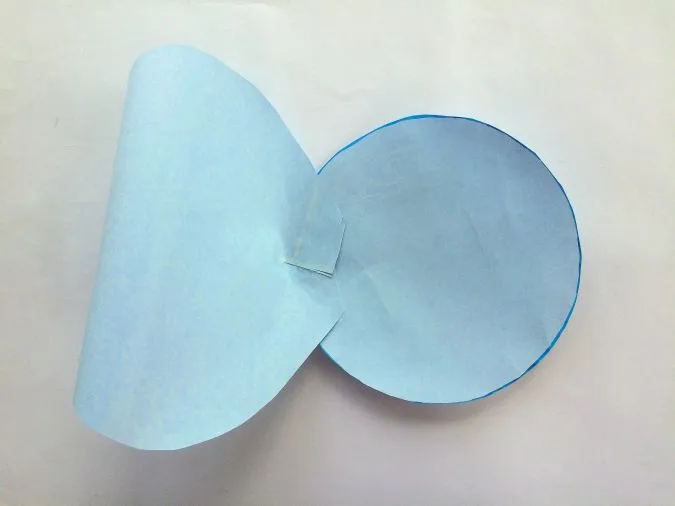
Turn the petal backward. Using your scissors, cut the middle part on the bottom edge of the petal by following the line you drew.

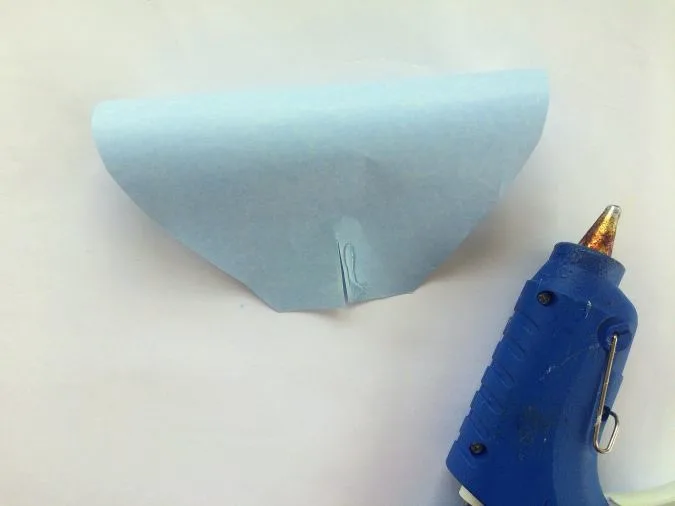
Apply hot glue along the edge of the slit.
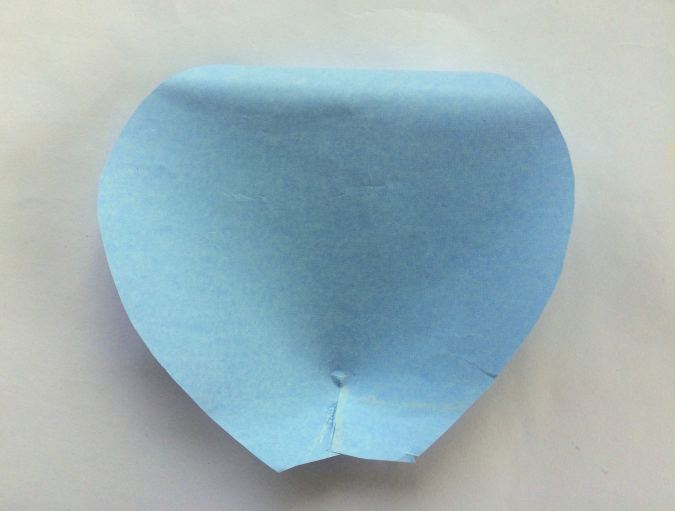

With your hot glue, attach the right part of the slit to the left part to make the petal curve inwards. Repeat this on to other petals. Your petals have now got a 3D shape. *Note: You may hold the glued edge for a few seconds with your hand or use wonder clips for the edges to hold till the hot glue dries up.

Next, we will use the circular base. Gather the large petals with the large circular base.

Take the largest circular base and dab a little hot glue along the edge.
Place the petal on the glue to secure.
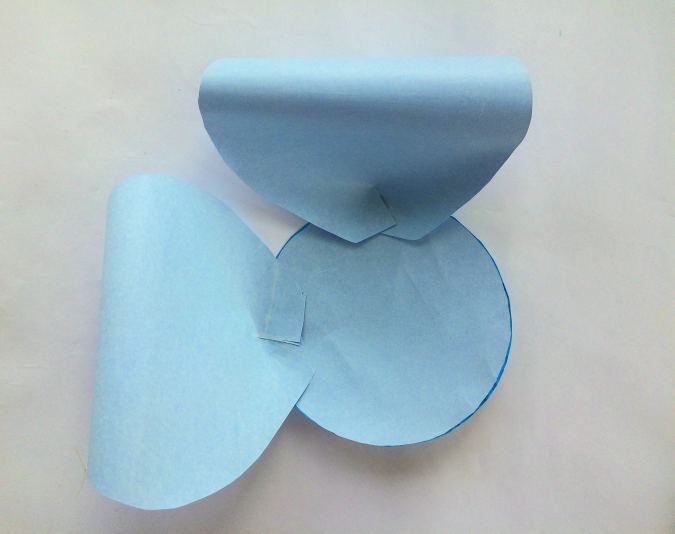

Glue the next petal at right angles to the first.

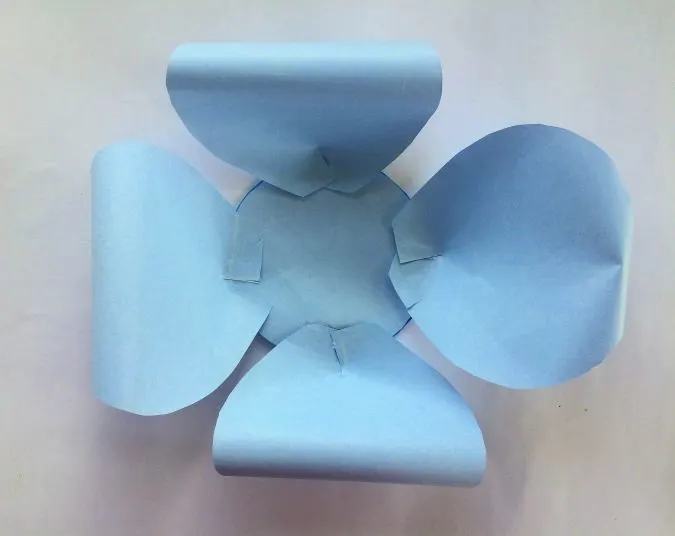
Glue two more petals in a similar manner.
This flower should be bountiful. To do so, we will gradually add layers of petals.

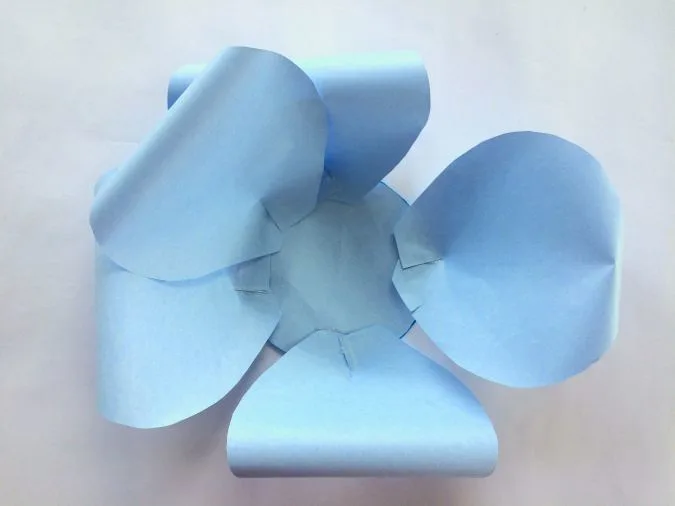
Glue one more row of petals along the middle of the attached petals by following an alternate positioning or window block style. Make sure not to overlap the petals. Repeat this step with the medium and small sets of petals.
You should come up with three sets like this.
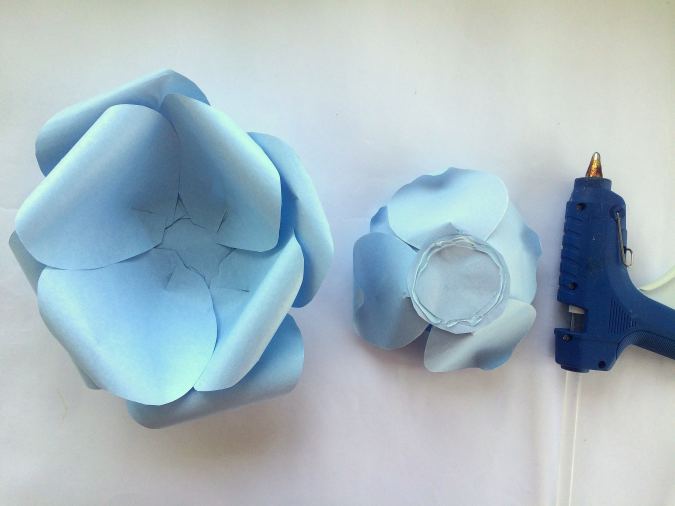
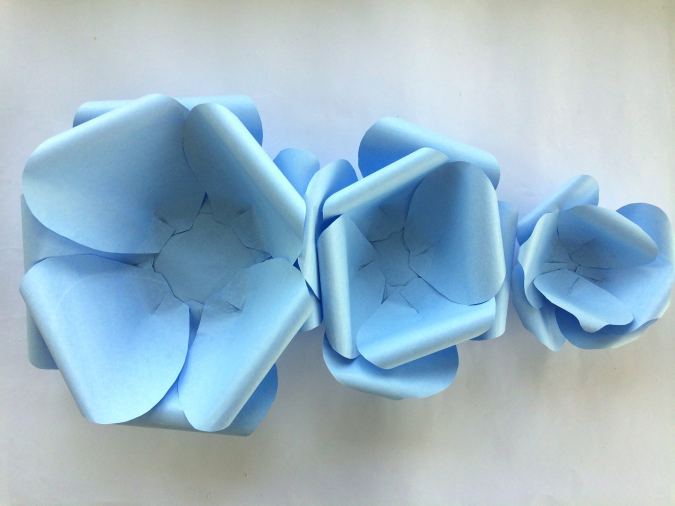
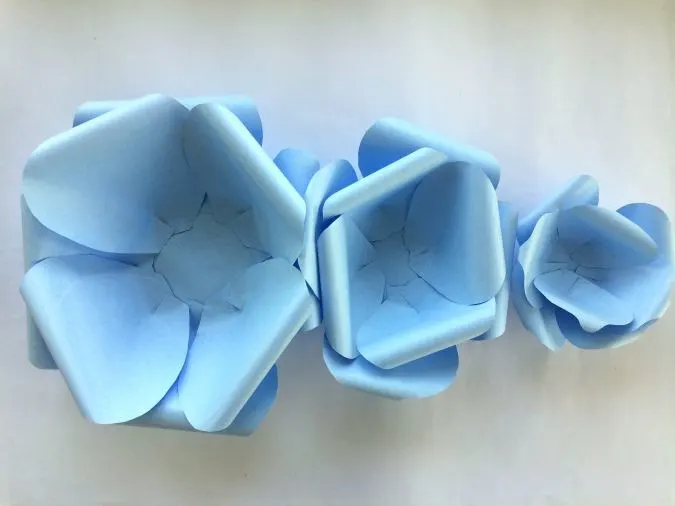
Apply hot glue along the bottom of the small flower.

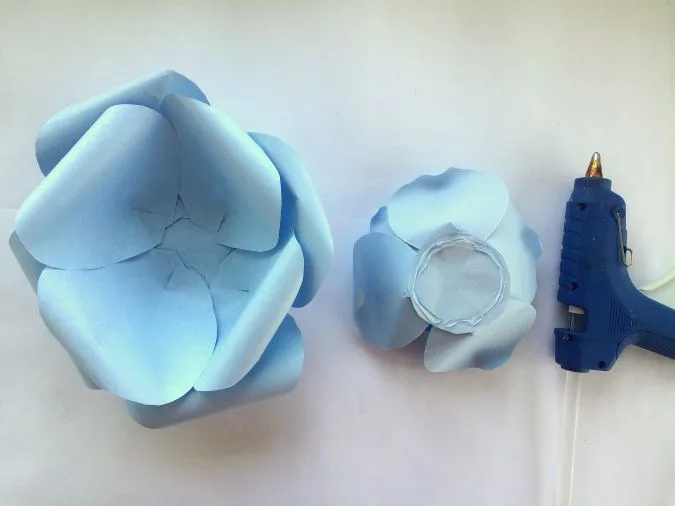
Secure the small flower to the center of the medium flower. Use a small bowl to press along the center of the flower till the hot glue dries up.
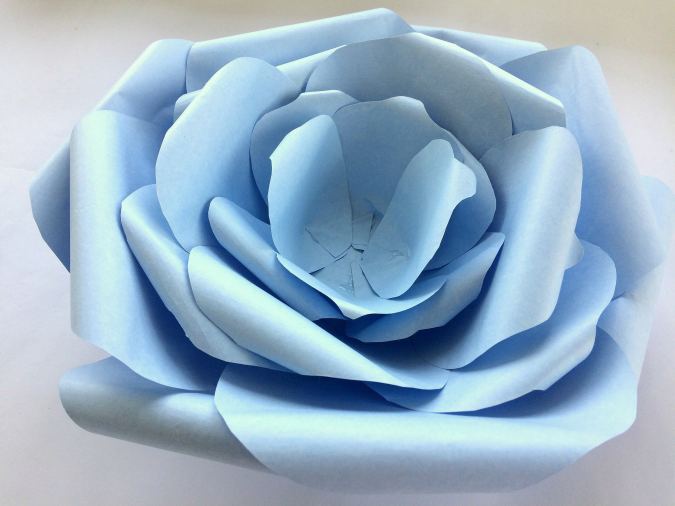
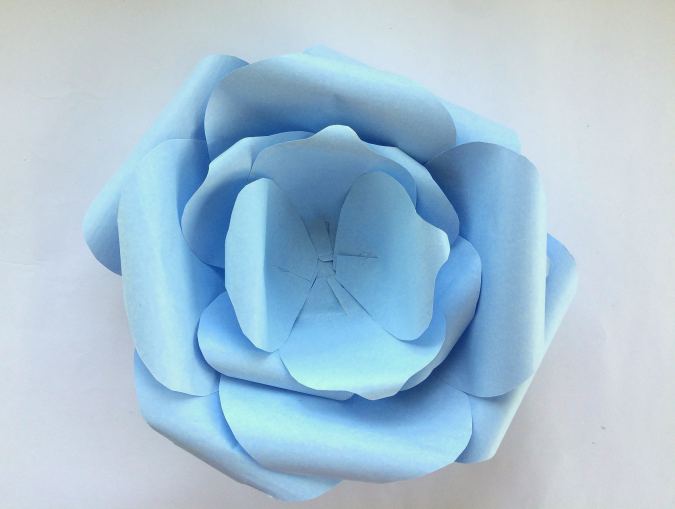
Next, attach the middle flower to the center of the large flower with the use of hot glue. You should get something like this.
Let’s make the stamen of the flower.
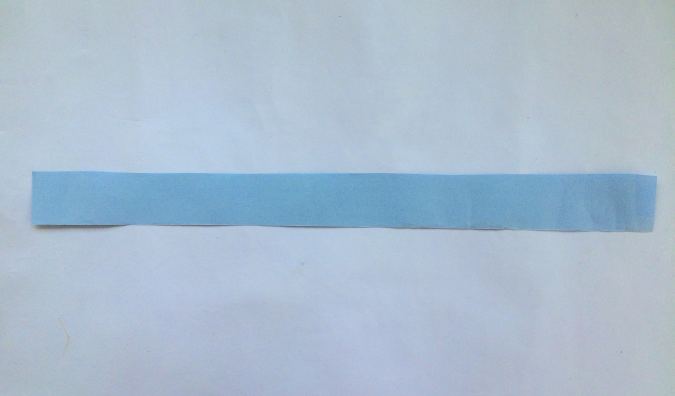
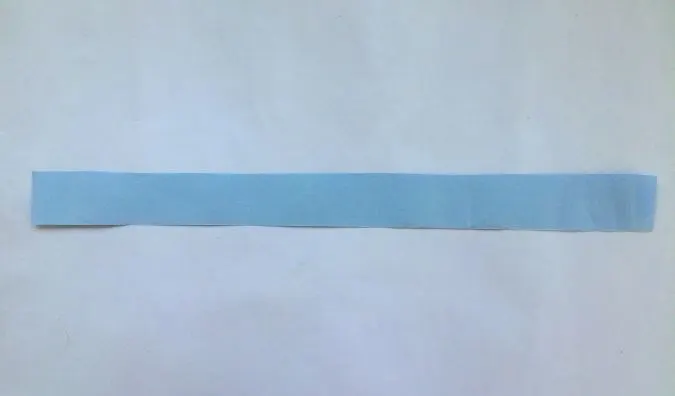
To make the flower stamen, cut a rectangular piece, 23- inches long and 1.5- inches wide from the cardstock.
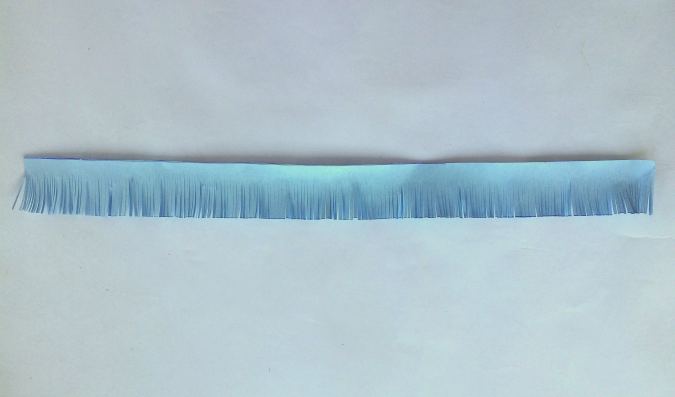
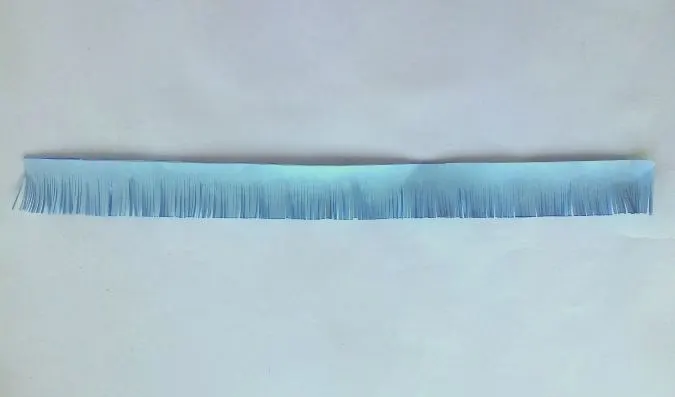
Leaving 1/2- inch from the edge cut fringes along the opposite edge of the rectangle with your scissors.
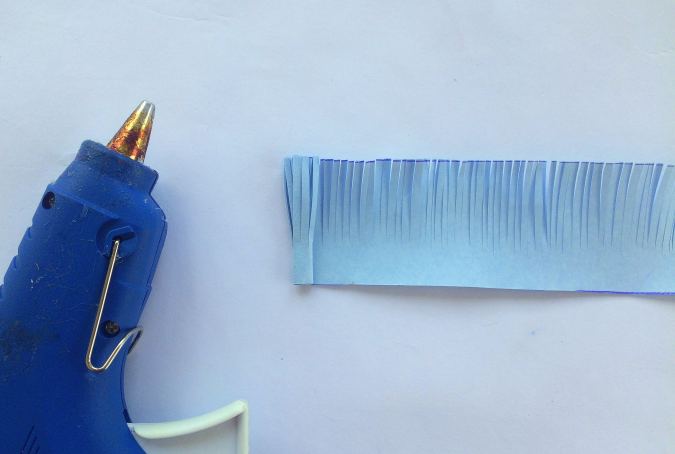

Put hot glue on the side edge then roll the uncut edge of the rectangle. * Note that for the large flower, you need to cut two such pieces, layer, and roll them together to get a larger stamen.
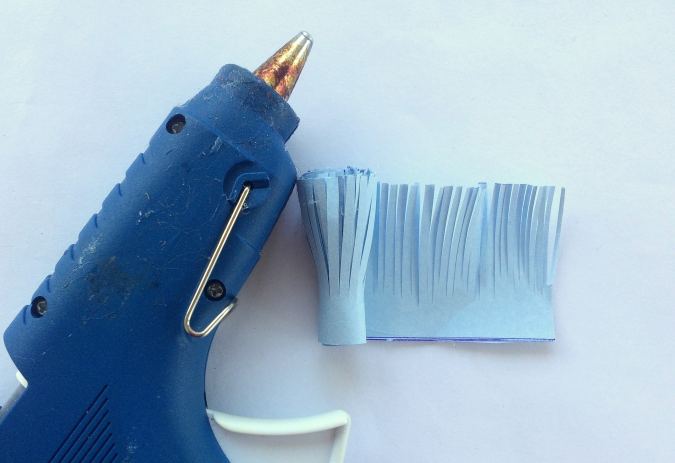

Seal the stamen with the hot glue on the edge of the roll.
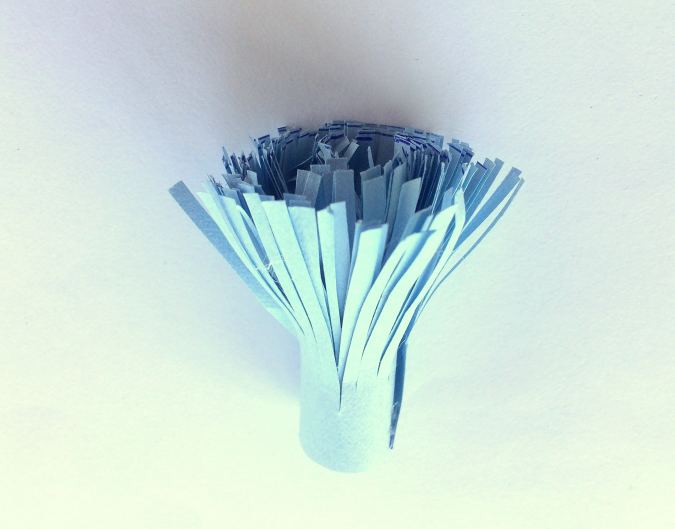
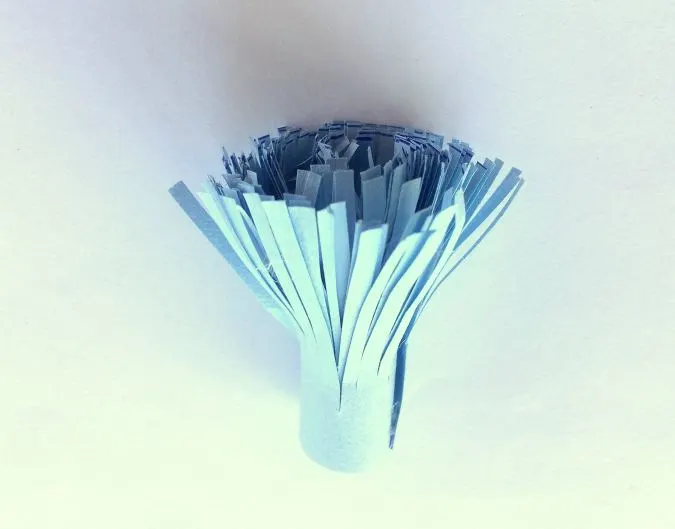
The flower stamen should look like this.

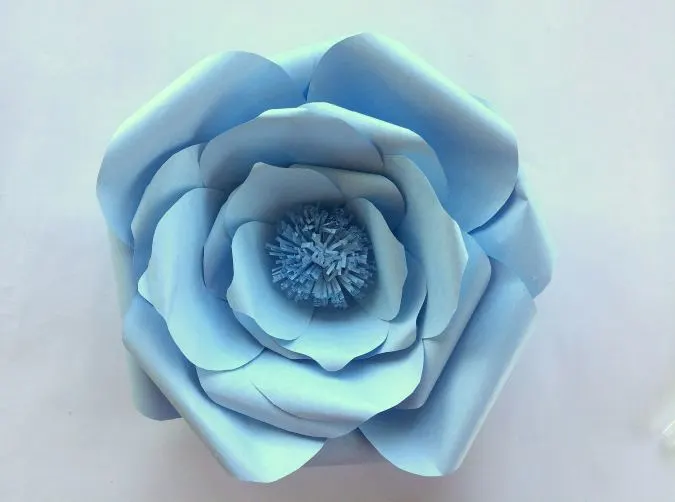
Put hot glue at the bottom of the stamen then attach it to the middle of the flower. Voila! Now you have a bountiful flower that is perfect for decoration or as a crafty gift this valentine’s day!
If you would like to learn how to make simple paper leaves, read on,
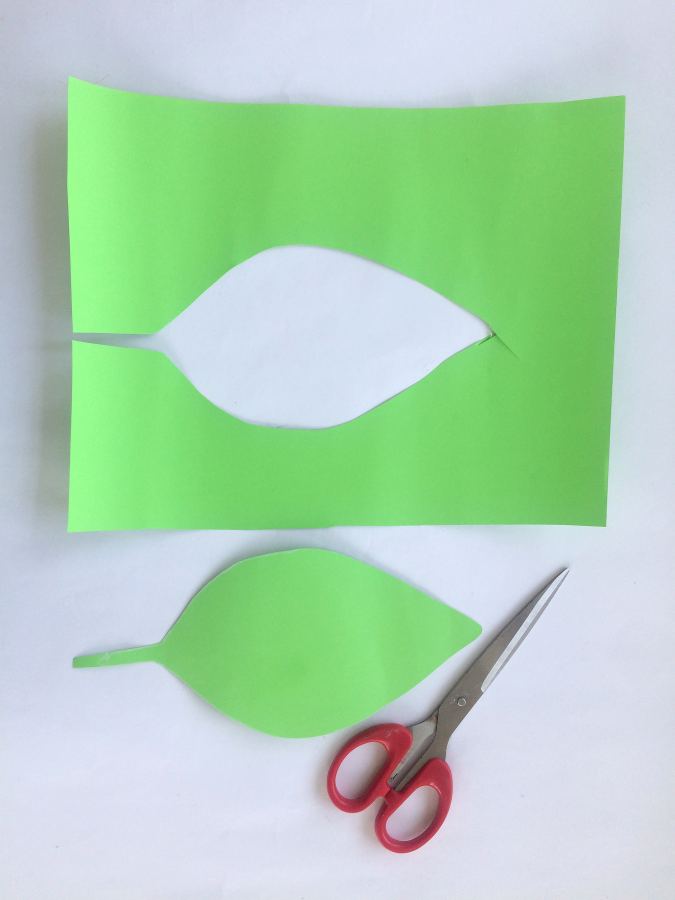

Cut the leaves using the template given in the PDF.
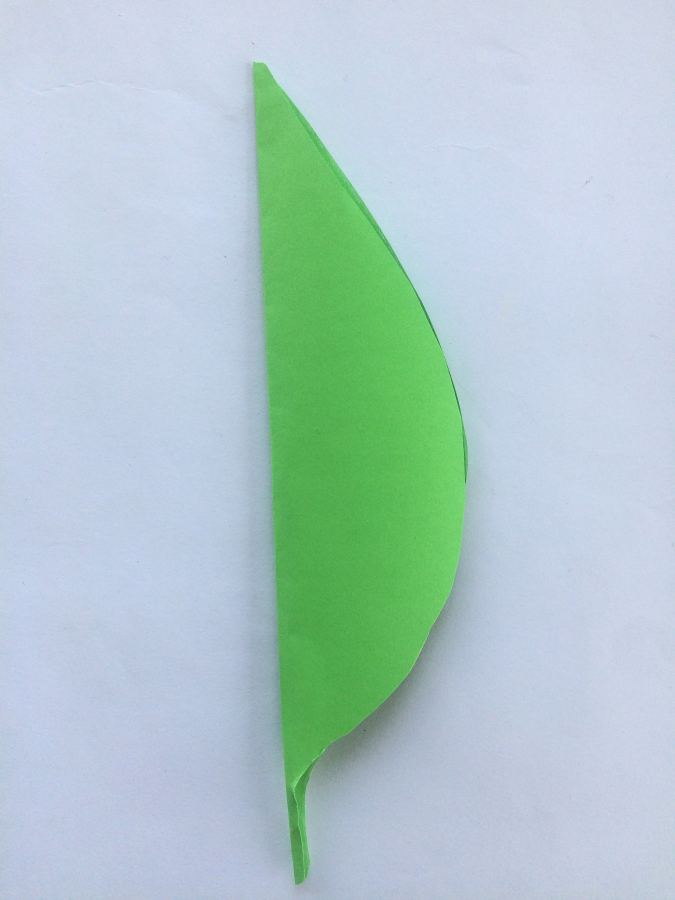

Fold it in half lengthwise and hand press to make a crease along the center.

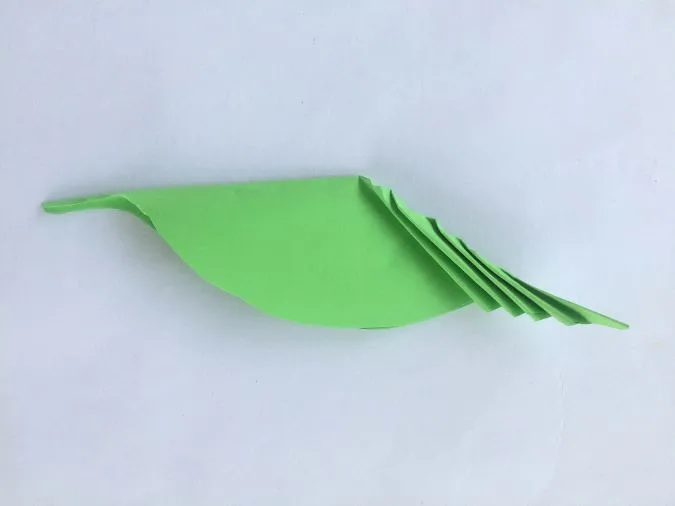
Make multiple slanting folds along the leaf to get the veins.
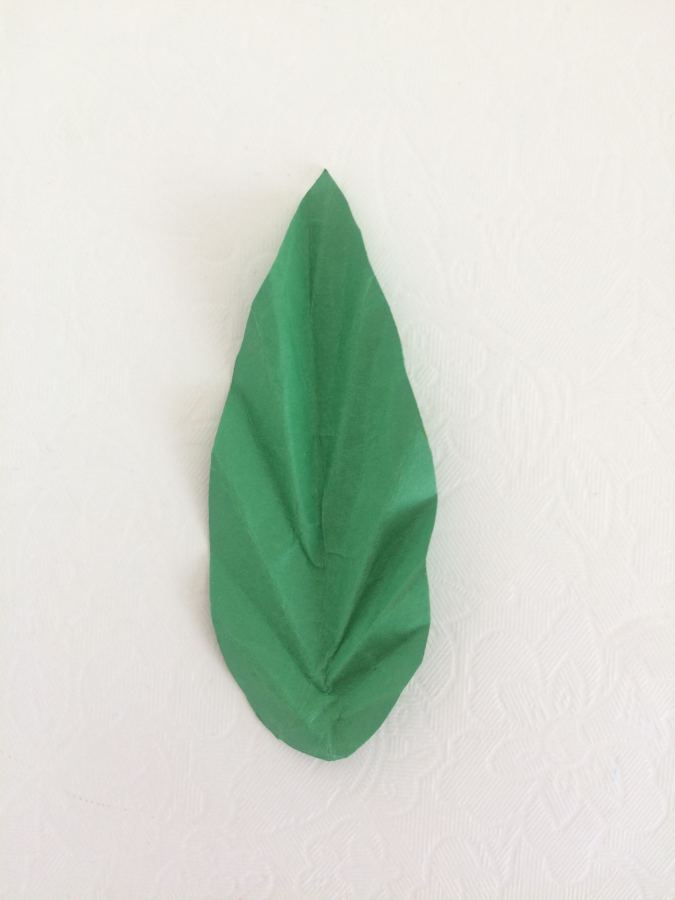
Your leaf would look like this once opened (picture for illustration purposes).
Some Tips for The Flowers:
- If you would like your flower base to be more strong and sturdy, you may use a piece of cardboard for the circular base. That way, it would be easier to mount them on the wall too.
- Here I have used double-sided tape. You may use sticky tac to mount the flowers on the wall.
- Make a mixture of sizes and colors for an awesome arrangement.
Find the video tutorial below:
Find the web story for the post here, DIY Large Paper Flowers: Full Step-by-Step Guide and Template
Pin it for later here,

For thousands of other craft projects, visit FaveCrafts.com