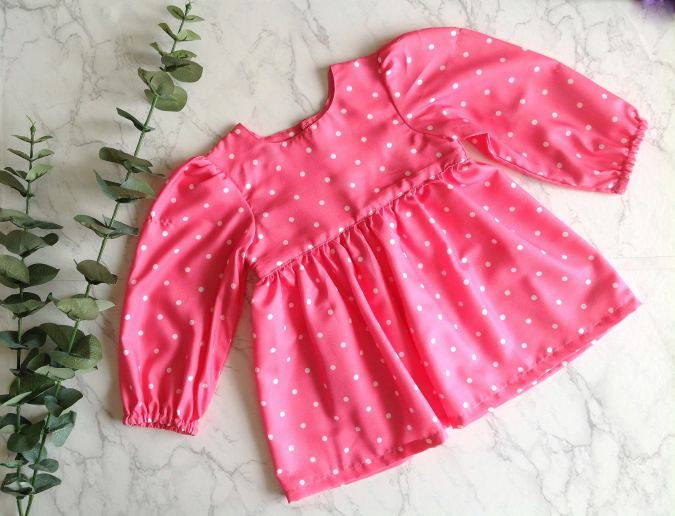
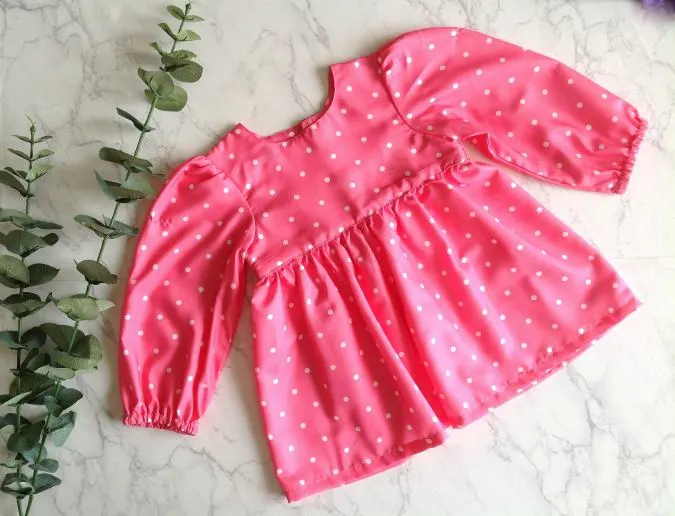
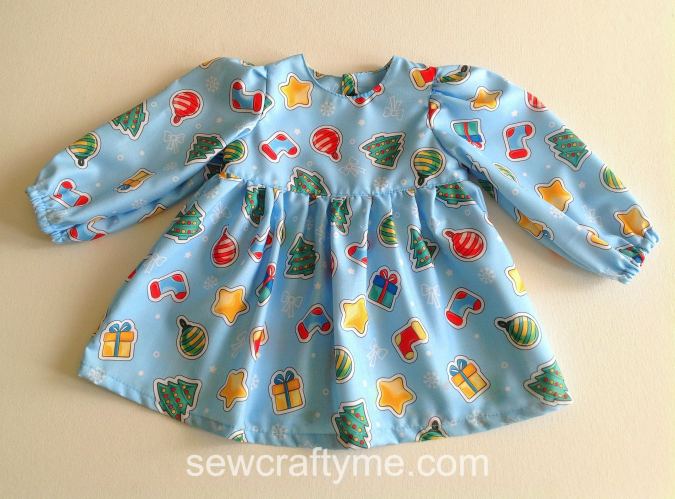
This easy step by step tutorial will teach you how to make a baby dress with sleeves. The baby dress project comes with a downloadable template for sizes newborn to 12 months and is incredibly easy to sew!

For all my readers who love to sew for their baby, this is something you have been waiting for, a classic style dress with two sleeve options.

Months before, I had designed an easy baby dress with a yoke and it became an instant hit among my readers. But the dress pattern has a sleeveless design and I got many requests for a dress with sleeves.
So, I have come up with a baby dress sewing project with two sleeve options. The pattern features a lined yoke, puff sleeves, and a fully or partially open-back.
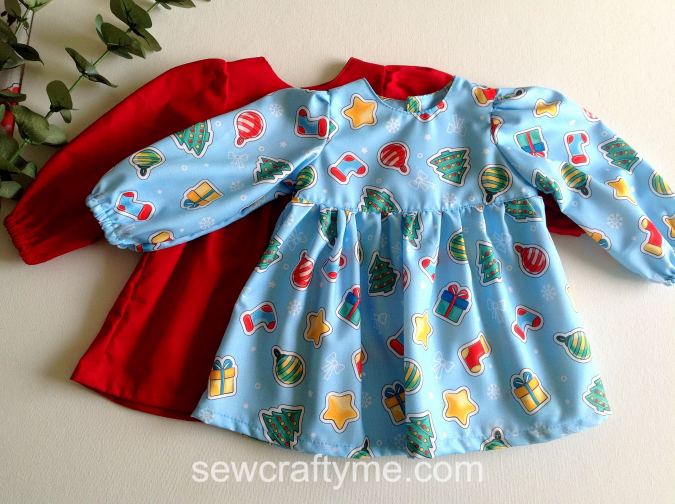
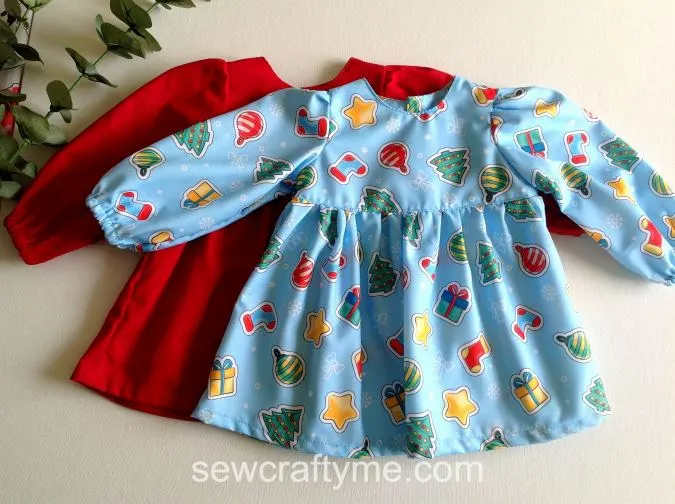
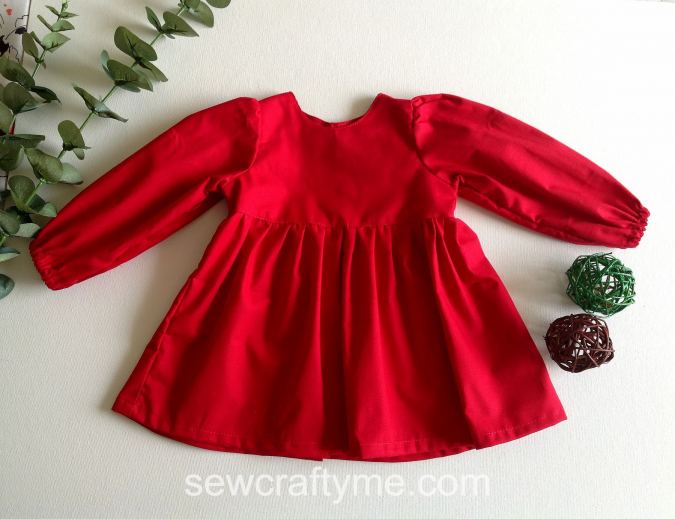
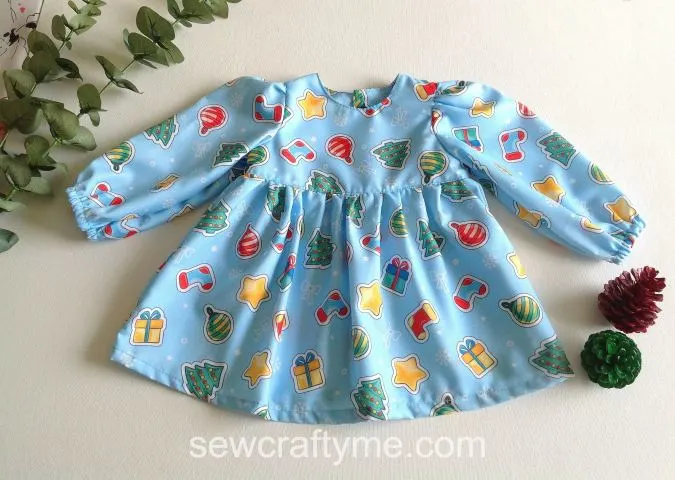
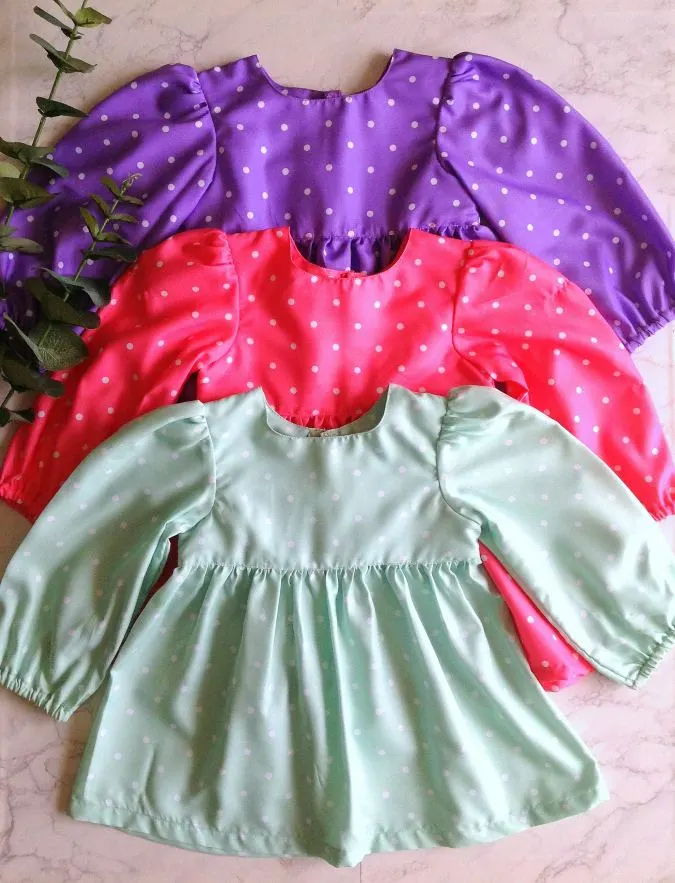
Here I have made the pattern in Christmassy colors and prints since it is going to be Christmas soon. You may choose to make the dress in any print you like and I am sure your little one would look adorable in it.

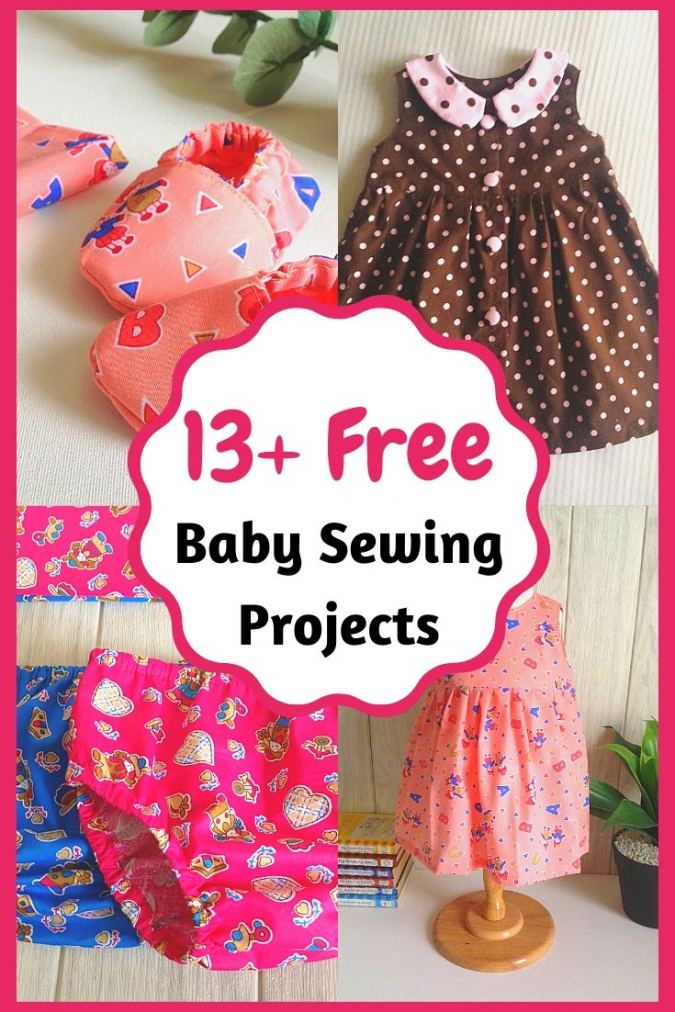
And yes, you can always make a matching diaper cover, baby booties, a headband, and much more using my free baby patterns, to pair with the dress.
If you would like to see all my baby patterns in one place, click on the picture below:

How to Make a Baby Dress with Sleeves
Materials Required
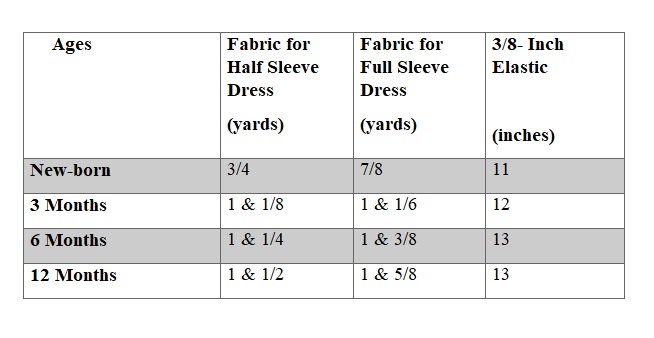
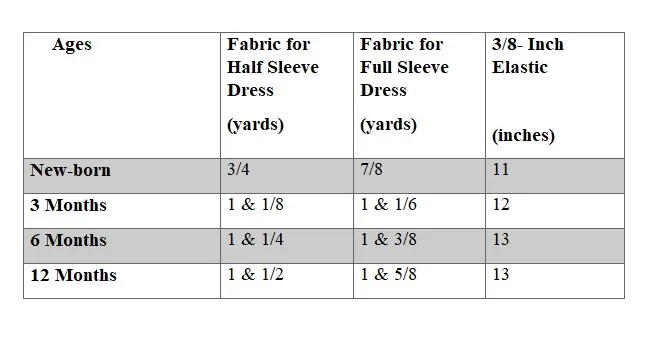
- Medium- weight cotton fabric for the dress- requirements specified in the table-2 below.
- 3/8- inch elastic- requirements specified in table- 2 below.
- Sewing Notions.
- Fabric Marking Pen.
- Buttons or Velcro.
- Download the pattern pieces free when you subscribe to our newsletter.
All the fabrics used here are 44/ 45 inches wide.
The seam allowance is 3/8-inch unless otherwise specified.
I suggest you read the entire pattern once before starting to get a general idea.
All seams are to be finished by zigzag or serger.
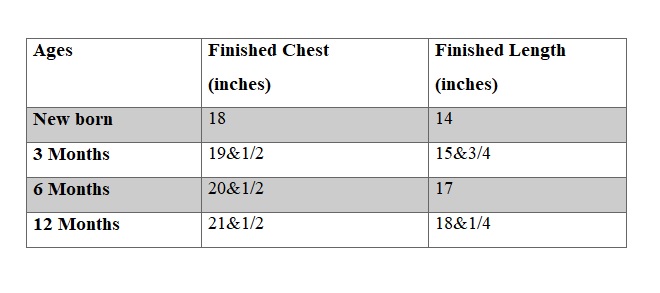
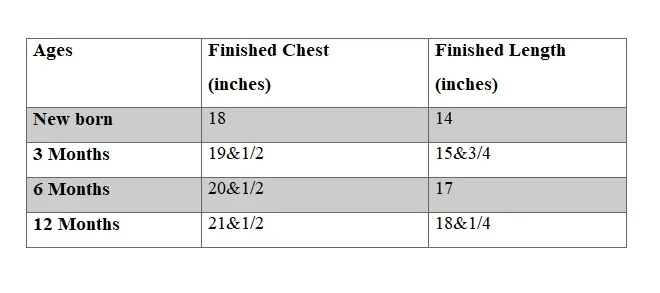
Approximate Finished Measurements.
Table-1.
- Pinch to zoom for mobile users.
Material Requirements.
Table-2
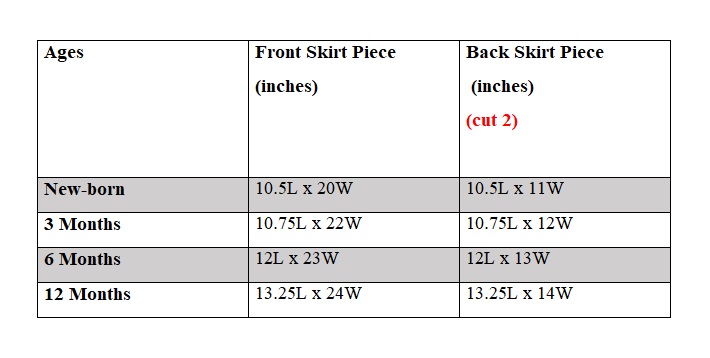
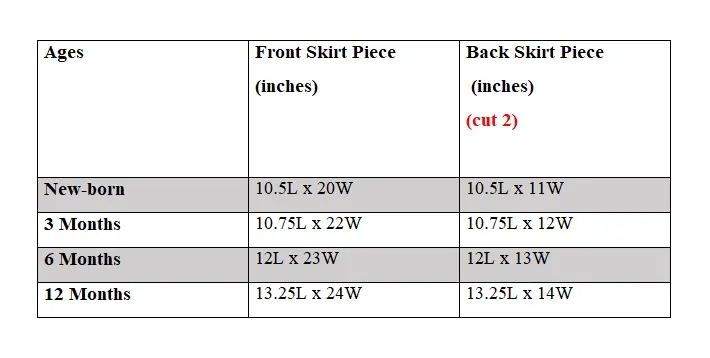
Measurements
In the table below, “L” stands for the length and “W” stands for the width of the fabric piece to be cut.
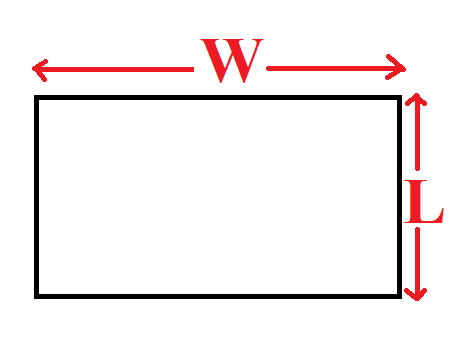

Table-3
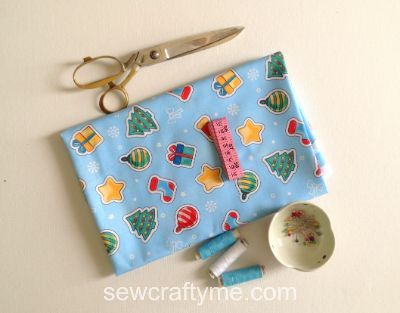

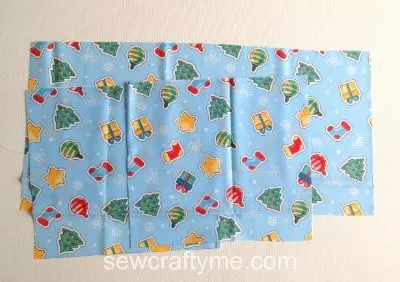
Gather your supplies.
Cut the templates for the bodice front and bodice back from the attached PDF.
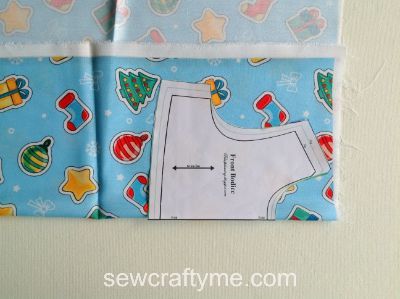

Take the dress fabric and the template for the front bodice. Fold the fabric to fit the width of the template and place the template on the fold. Mark around it and cut to get the front bodice piece. Repeat the steps to get the front lining.
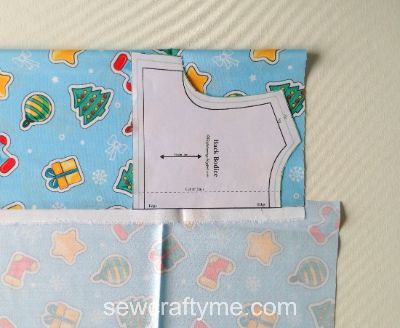

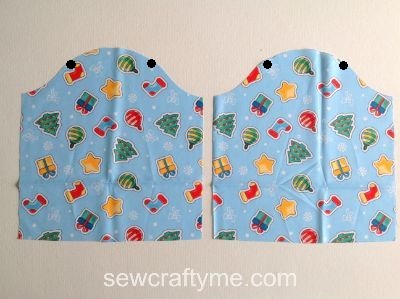
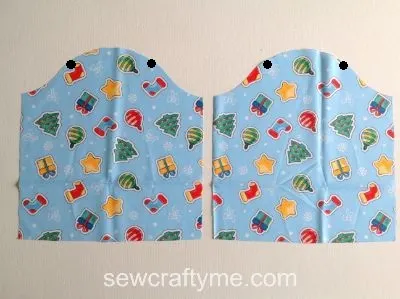
Let’s cut the back bodice. Here again, fold the fabric, but this time, place the template for the back bodice, along the edge of the fabric. Mark around it and cut to get two pieces for the back bodice (the back part of the dress is done in two pieces, for button opening). Repeat the steps to get the back lining pieces.
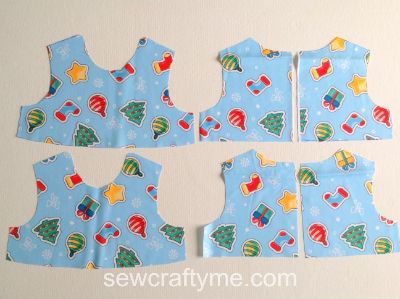

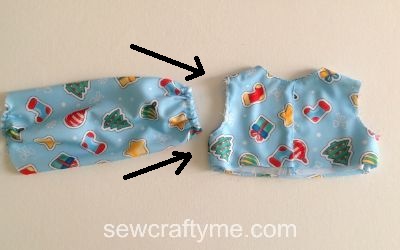
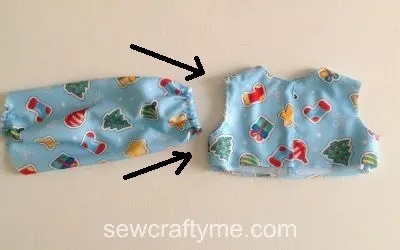
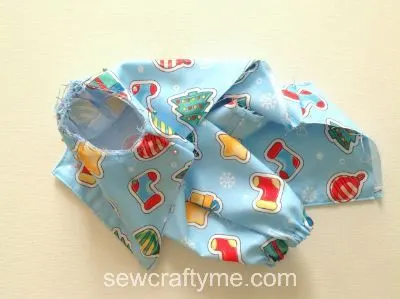
Your bodice-front, bodice–back and lining pieces will look like the picture above.

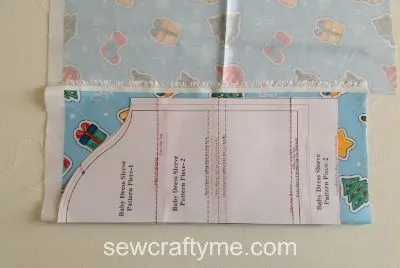
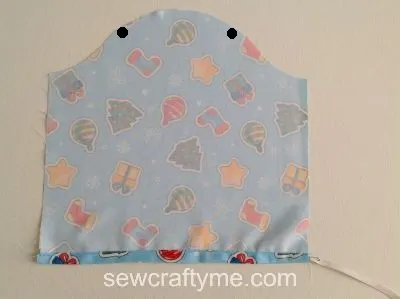
Cut two sleeve pieces also on the fold. You will see dots along the top edge of the sleeve template. Those are markings for gathering the sleeve. Transfer the markings for the gathers to the sleeve pieces.
Your sleeve pieces will look like this.

Cut the skirt front and back pieces referring to the table-3 above.
Sewing
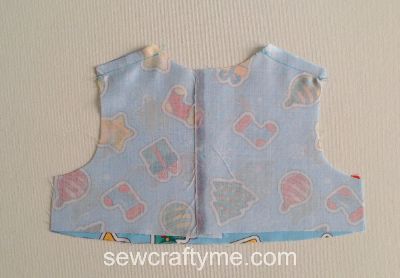

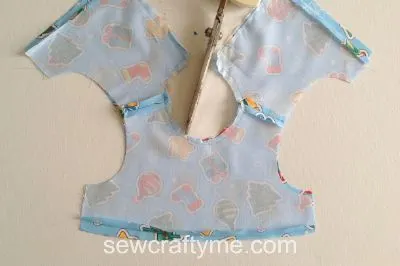
Take the two back bodice pieces and place them over the front bodice piece, with the right sides together, aligning the shoulders and side seams and sew the shoulders shut.

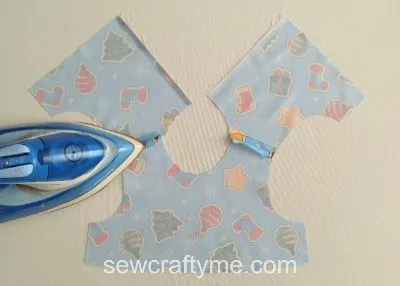
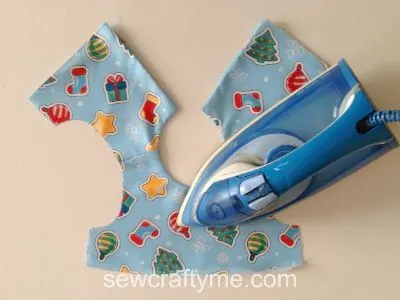
Press the seams flat.


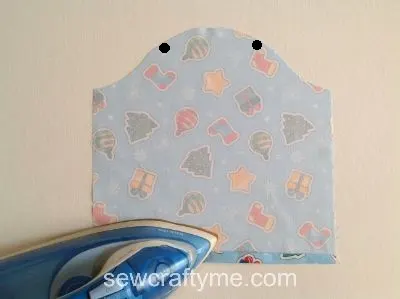
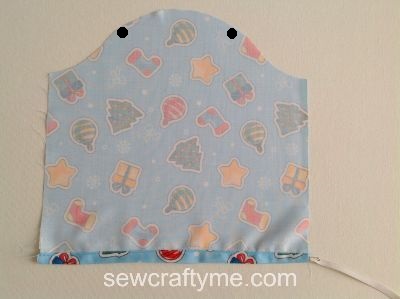
Next, take the lining pieces, fold the lower edges towards the wrong side by 3/8-inch, and press to set.
Sew the front and back lining pieces together, just as the bodice pieces.
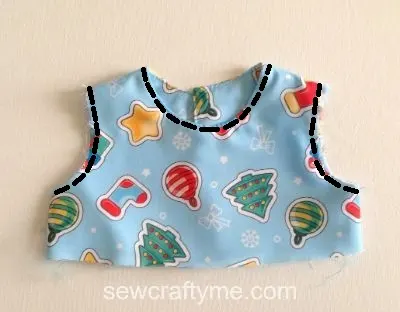
Next, we sew the bodice and lining together.
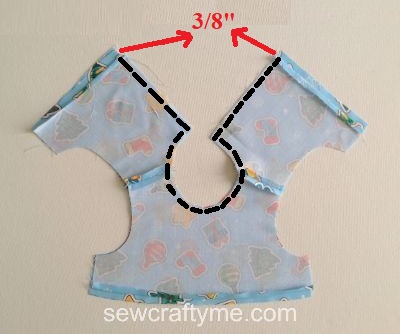
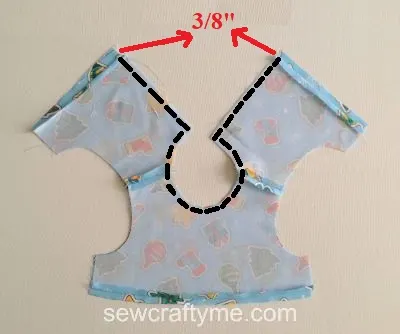
Place the bodice lining over the main bodice, with the right sides together, aligning the center back, neck and armholes. Pin and sew along the neck and center back. *Note that you need to leave 3/8-inch along the lower edges of the bodice for skirt attachment.
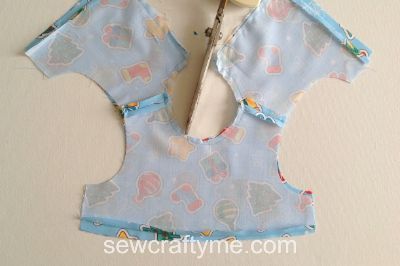
Clip the edges and cut the corners.

Turn over to the right side. Poke the edges sharp, with the help of your scissors and press taut.
Let’s sew the side seams of the bodice shut.
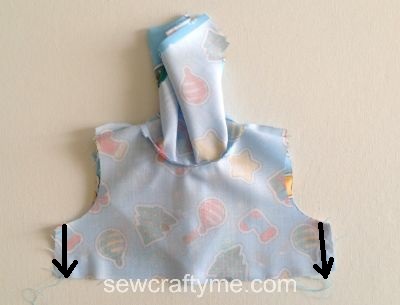

Flip the lining upwards (both the front and the back). With the right sides together, line up the side seams of the back and front bodices. Pin the aligned edges (side seams) together and sew along the pinned edges.
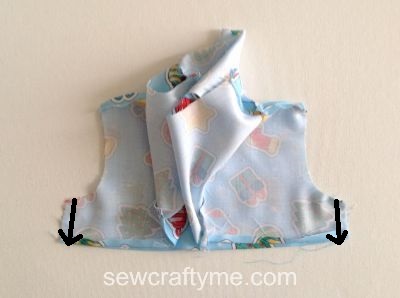
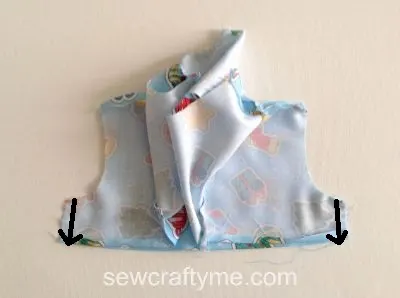
Next, flip the bodice upward and line up the side seams of the lining. The right sides should be together and the folds along the lower edge kept intact. Sew the side seams shut.

Turn over to the right side and topstitch along the neck and center back. Baste the lining and the bodice pieces together along the armhole. This is to prevent the lining from slipping away while attaching the sleeve.
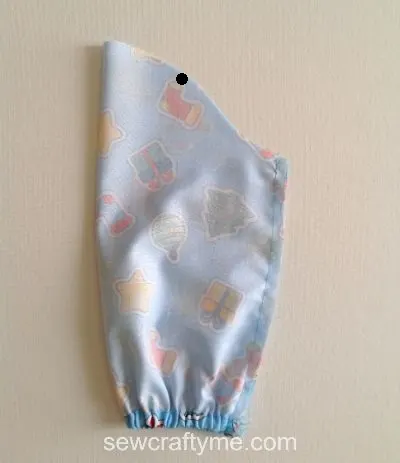
Let’s prepare the sleeves. The lower hem would form the elastic casing for the sleeve.

Fold the lower edge of the sleeve by 3/8-inch and press. Fold again by ½- inch and repeat pressing. Sew down the hem.
Take the required length of the elastic referring to table-2 above and cut it into two equal pieces. Take one elastic piece and insert it through the hem, using a safety pin. Thread the elastic through and secure the ends by sewing back and forth a few times.
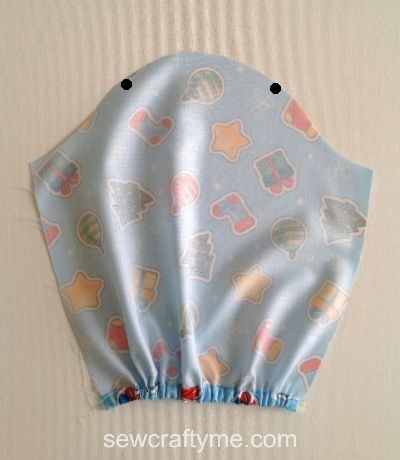
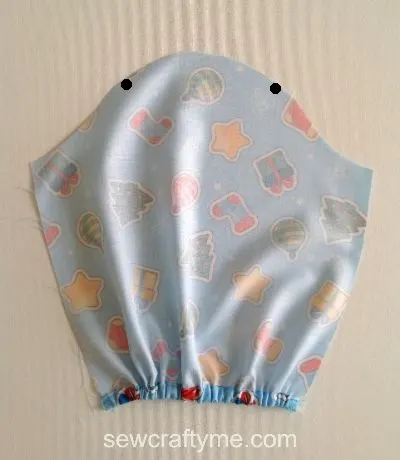
Your sleeve will look like this.
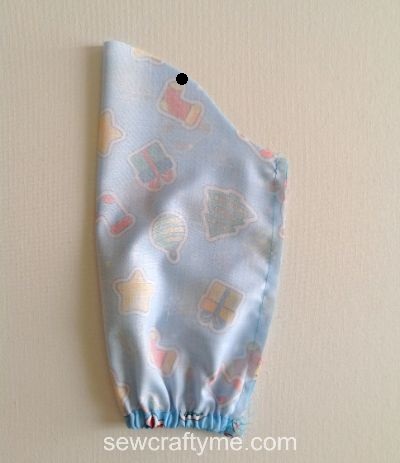
Fold the sleeve over, with the right sides together and the edges aligning. Sew it shut along the short edge.
Let’s gather the sleeve. For that, turn the tension of the upper thread of your machine to zero and the stitch length to the longest. You will get a basting stitch.

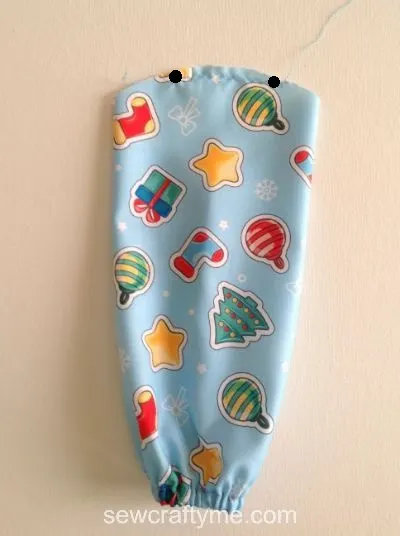
Turn the sleeve over to the right side and sew a basting stitch between the points marked earlier. Pull the thread from the bobbin gently to gather. Repeat with the other sleeve.
Let’s attach the sleeves to the bodice.
Place the sleeve on its right side and the bodice with the lining facing out. Keep the lower edge of the sleeve facing the armhole and slide the sleeve into the armhole.

Start lining up the edge of the sleeve with the armhole. Adjust the gathering in the sleeve such that it fits the armhole and the gathers are uniform on either side of the shoulder. Pin the sleeve along the armhole. Bring the machine settings back to normal and sew them together, removing the pins as you go.
Repeat the steps on the other armhole with the other sleeve.
Our bodice is done. We move on to the skirt.

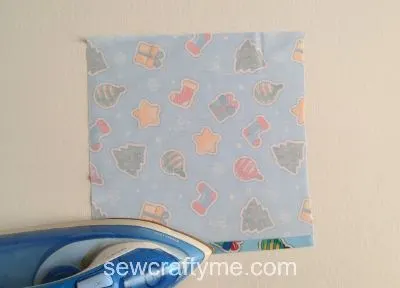
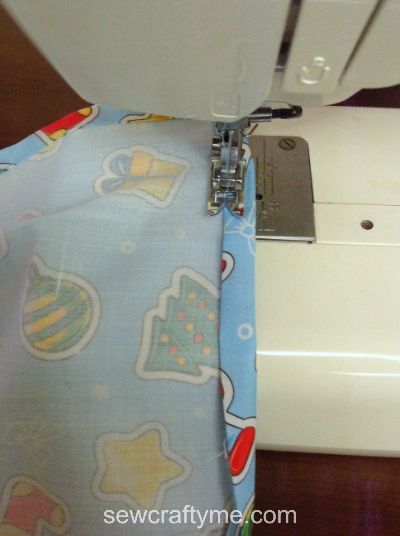
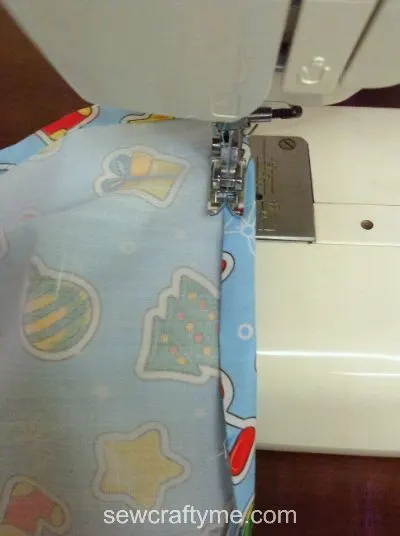
Fold the straight edge, (center back) of one of the back skirt pieces by 3/8-inch towards the wrong side and press. Fold again by ¾ -inch and press once more.

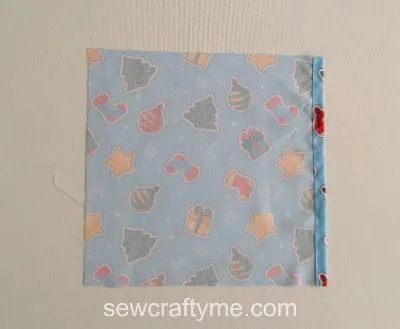
Sew the fold down along the edge. Repeat the steps with the other back skirt piece.
Next, we join the front and back skirt pieces together.
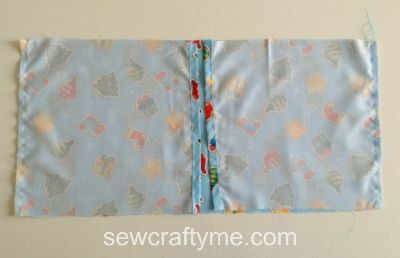

Keep the two back pieces over the front piece, with the right sides together and the edges aligning. Sew the side seams on both sides. * Note that the folded edges come along the center.
Next, we need to gather the skirt.
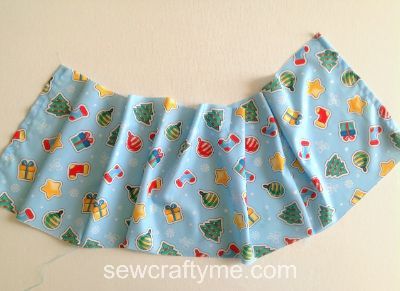
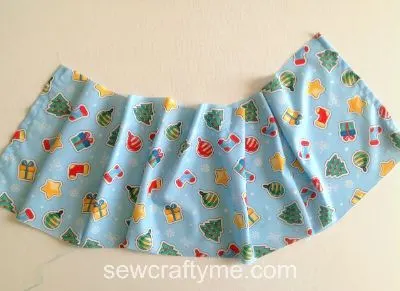
Sew a basting stitch along the upper edge of the skirt and gather it. Adjust the gathering to make it uniform and to fit the lower edge of the bodice.
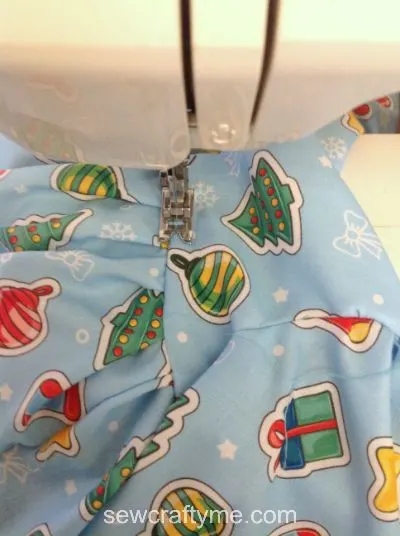
Let’s attach the skirt to the bodice.


Align the ruffled edge of the skirt along the lower edge of the bodice, with the right sides together and pin all along. *Note: take care to keep the lining away while pinning.
Turn the machine settings back to normal.

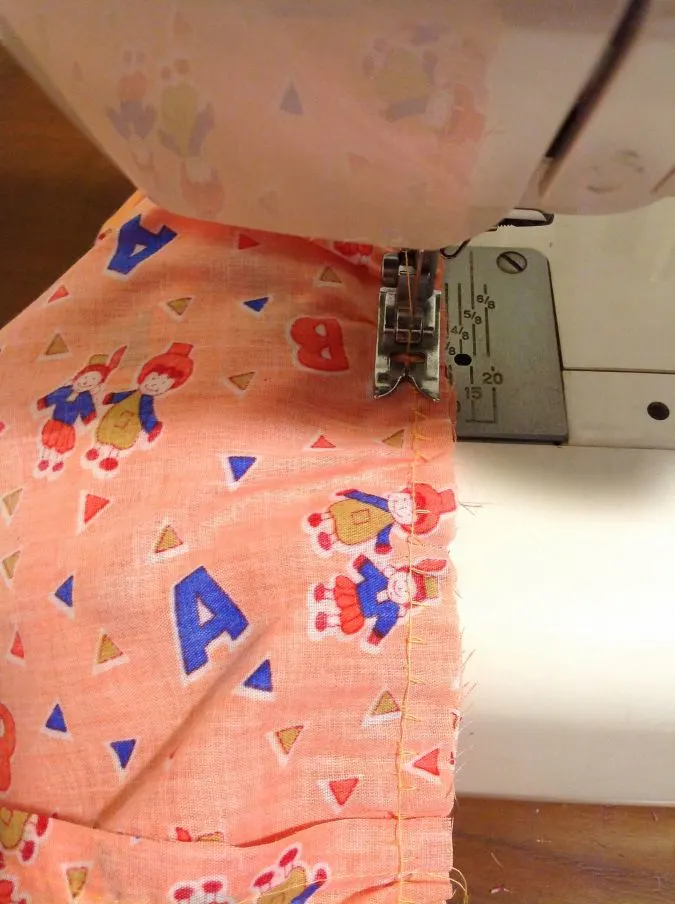
Sew the skirt to the bodice, removing the pins as you go (picture for illustration purpose).

Turn the waist seam up, towards the bodice and place the folded edge of the lining over the seam. Turn over to the right side and topstitch along the seam line carefully to sew the lining shut, covering the waist seam. You may optionally hand-sew the folded edge of the lining to the waist seam.


Your dress will look like this on the wrong side.
We need to hem the lower edge of the dress.


Fold the lower edge of the dress twice by 1/2-inch towards the wrong side and press.
Sew down the hem along the edge of the fold.
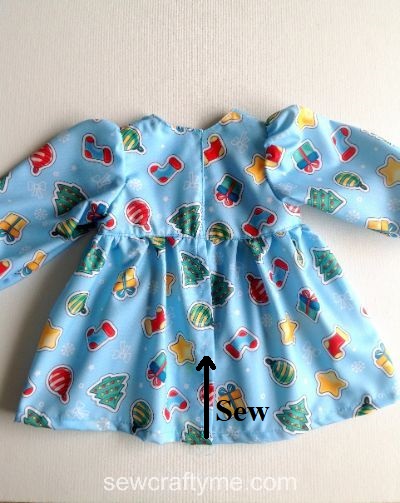
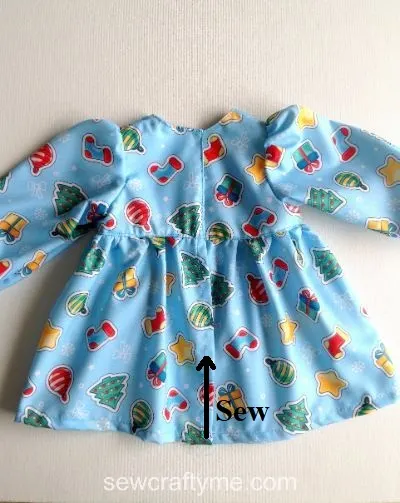
*For higher ages, you can sew the back opening shut by a few inches, starting from the hem. However, I prefer to keep the back open completely for easy on and off.
Let’s attach the Velcro or the buttons.

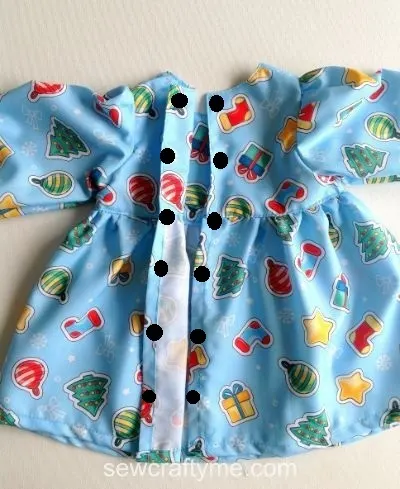
Starting from the top edge, make markings at a 2-inches gap from each other, on the right side of one of the back pieces, and sew the Velcro or the buttons. Make markings with a 2-inch gap on the wrong side of the other back piece also and sew the complimentary Velcro or the buttonhole.
Cut off the hanging thread and your dress is done!
Find the webstory for the post here, DIY Baby Dress Pattern and Tutorial: Sleeved Style
Pin it for later here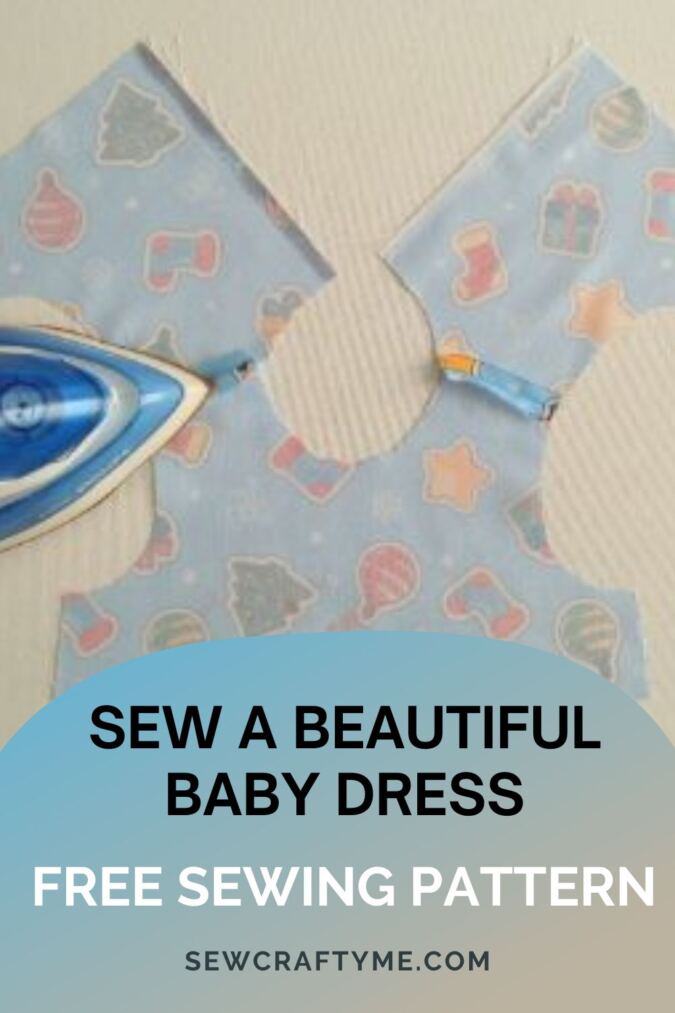
Once you have learned how to make this baby dress with sleeves, you can easily customize them by adding embroidery, monogram, applique, or trims.
Jena
Sunday 2nd of February 2025
Hello :) I like the idea of a back that can open but I am wondering if I can just cut out two front skirt pieces, sew them and attach them to the bodice, so the skirt doesn't need Velcro or buttons. I know I would need to pin the back of the bodice to have enough room for buttons before sewing the skirt on for that. Am I thinking of this in the right way? I guess I'm hesitant because the front and the back pieces are not the same measurements... Or would it be better to follow the pattern and just sew the skirt up? Like you gave as a suggestion? Thanks so much!
Surayya
Sunday 2nd of February 2025
Yes, you can do that—just keep the back skirt piece measurements the same as the front. Follow the below link and refer to the classic dress tutorial for directions on how to attach the skirt to the bodice, https://sewcraftyme.com/free-classic-style-dress-pattern-for-girls.html
Jennifer
Sunday 12th of January 2025
Is this pattern available in 18 months ? We need a little more room in the chest area .
Logan
Wednesday 29th of May 2024
Hello! I can’t find how to download the pattern:( if you could please email it to me! I would very much appreciate it! Thank you!
Ashley
Wednesday 6th of April 2022
Hi there! I am thinking of using this pattern to make a baptism gown for my daughter. Traditionally, baptism gowns are much longer and go well past the infants ankles. Which measurement from table 3 would I need to make longer to increase the length of the dress? Also, do you recommend using the same fabric for the lining or can I use a true lining fabric? Thanks!
Surayya
Wednesday 6th of April 2022
Hello, In order to increase the length of the dress, you will need to increase the dimension "L" which is the length of the skirt piece. As for the lining, it is best to use lighter fabric. Heavier fabrics would weigh down the skirt and make it hang. Hope it helps :)