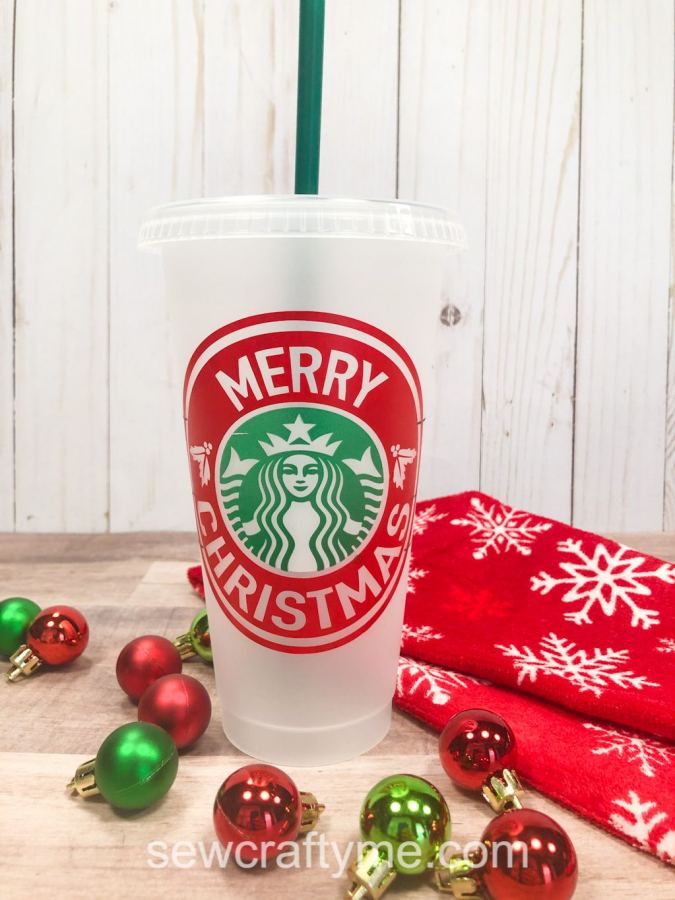
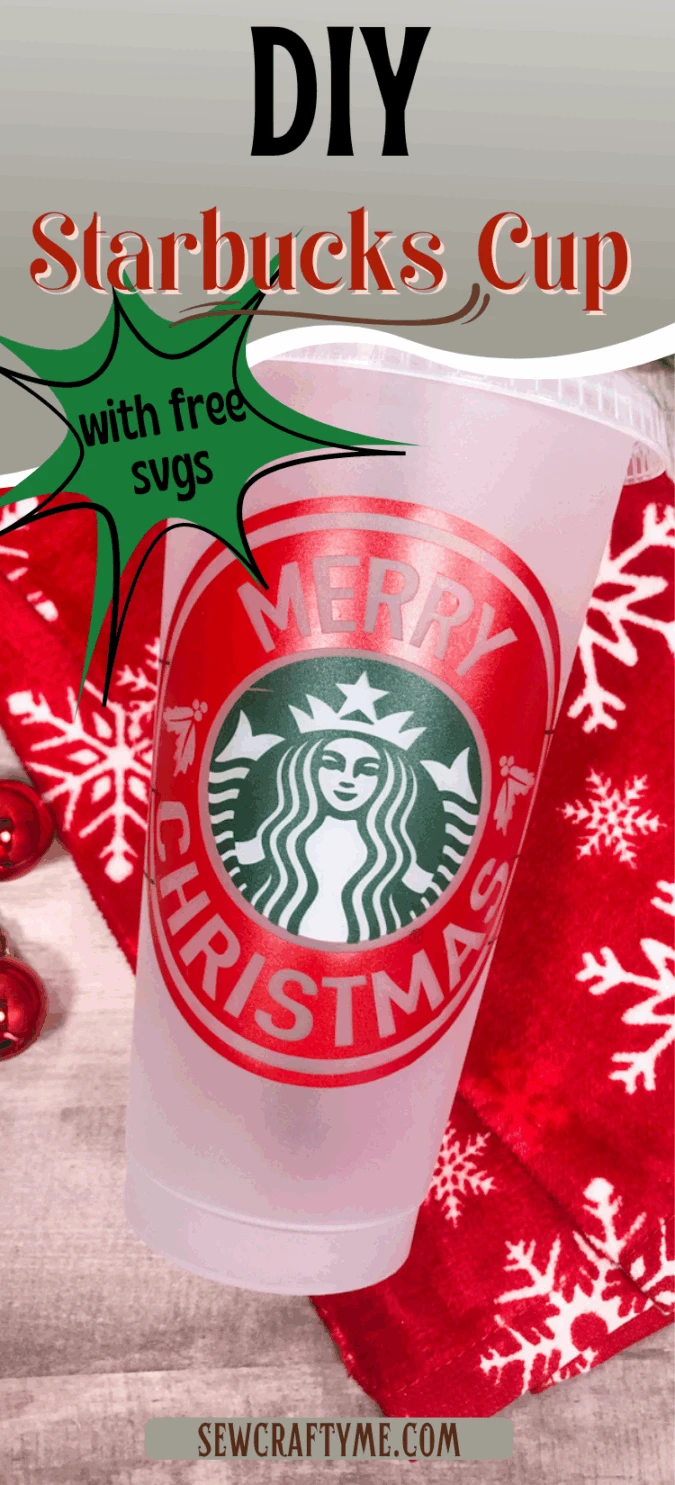
Learn how to make personalized Starbucks Christmas cups with this easy and fun Cricut tutorial. Here you will find step by step instructions and free Starbucks SVG files to make it in minutes!

Customized Starbucks cups have been around for a while now, but it seems like they are getting even more popular this year. If you have a Cricut cutting machine and want to make your own, I have a couple of free Starbucks SVGs for Christmas this year, just for you!

In this DIY tutorial, I will help you add two types of Christmas inspired borders to your Starbucks cup logo. That includes tips and tricks to transfer two-colored borders.
This is an easy project that’s great for beginner Cricut users. It’s pretty much “cut the vinyl, stick it on the cup!” But in case you are new to Cricut crafts, don’t worry. Stick around and I’ll show you exactly how to get it done!
If you would like to make a personalized Christmas potholder with your sewing and Cricut machines, click on the picture below:


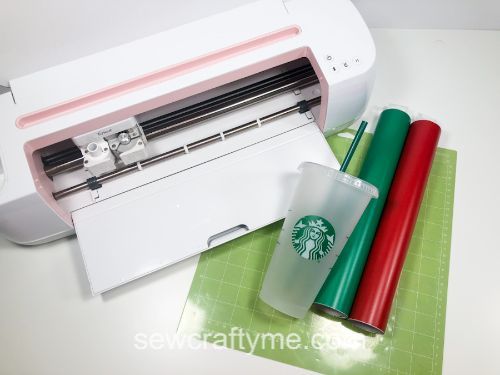
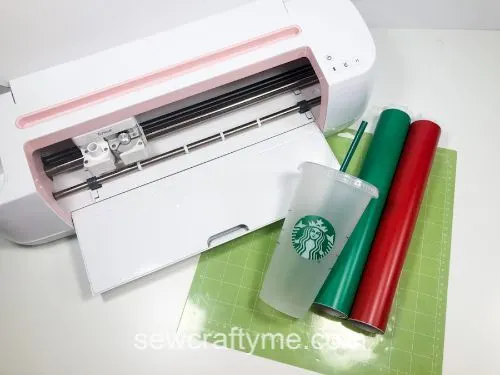
Supplies for DIY Starbucks Christmas Cup
Starbucks cold cup
Permanent vinyl in red and green
Transfer tape
Cricut cutting machine
Weeding tool
Download the SVG file free when you subscribe to our newsletter below:
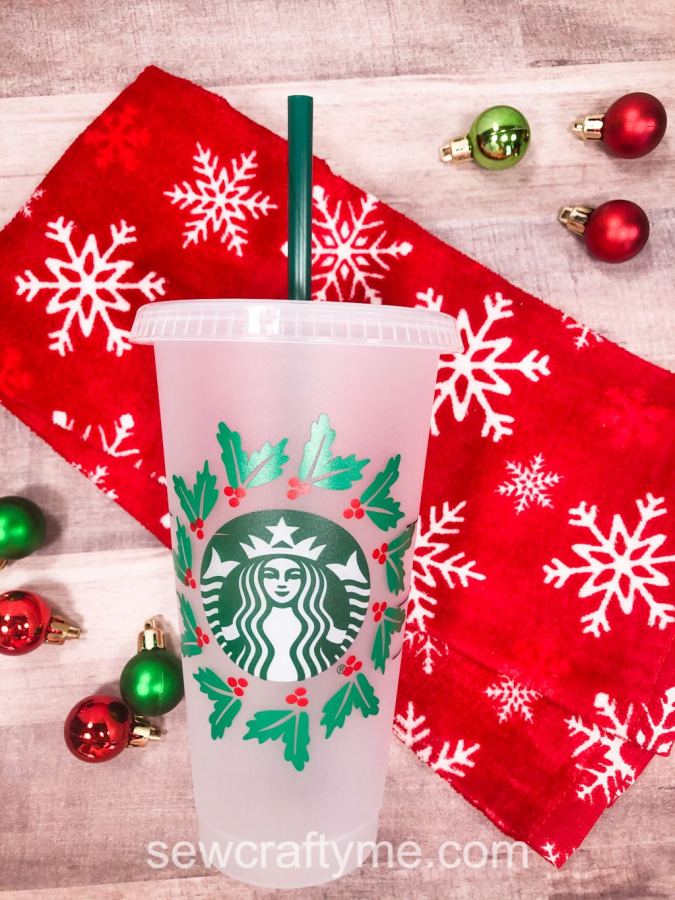
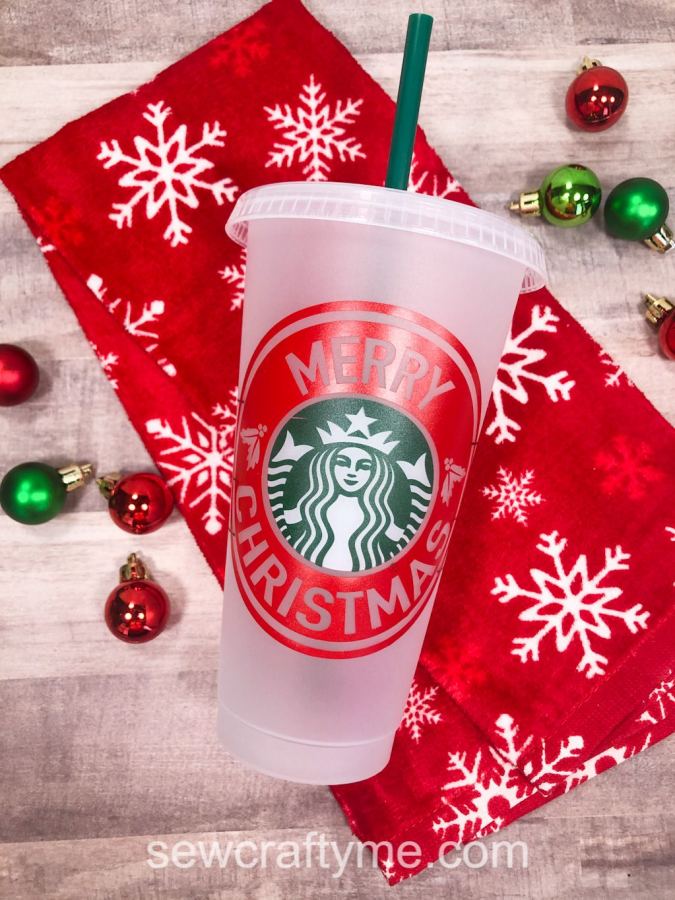
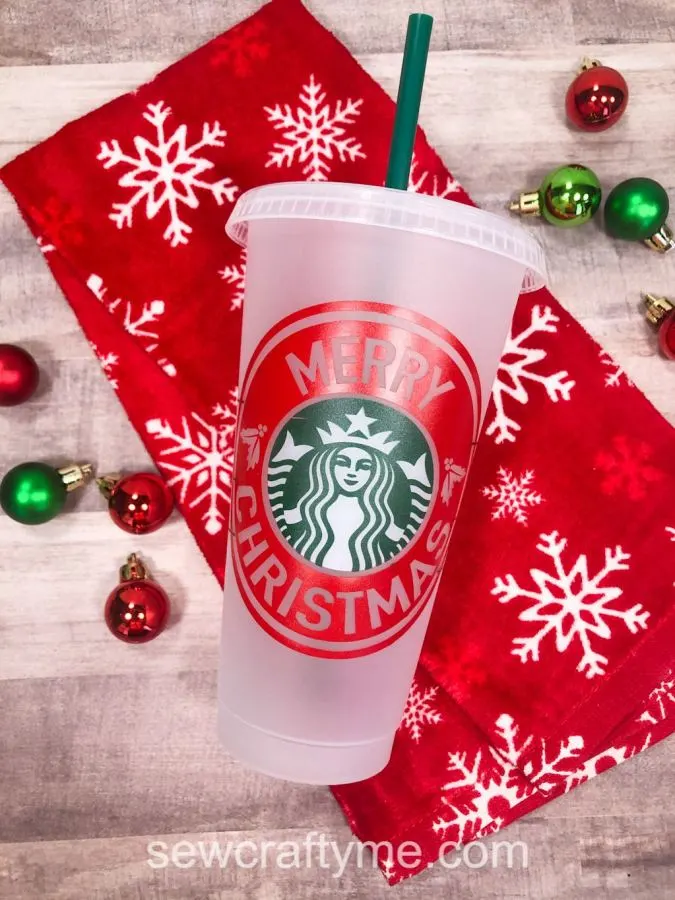
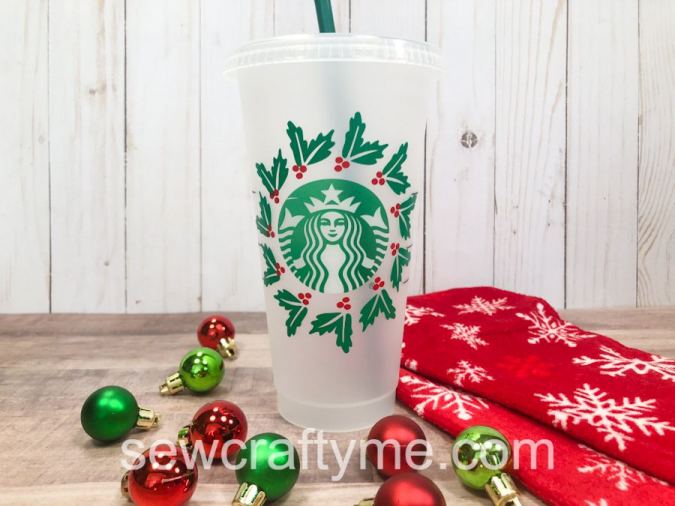
Note, the decals are sized in this project for a 24 oz Starbucks cold cup. The size of the logo may be different on other cups. You’ll have to measure and adjust accordingly.
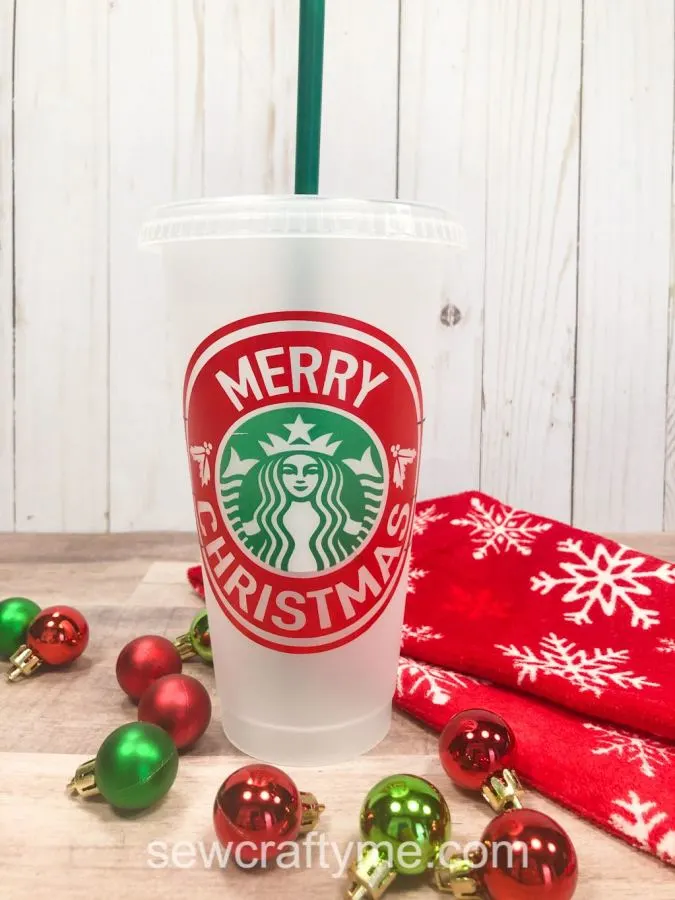
Personalized DIY Starbucks Christmas Cup
Of course, the very first thing you’ll need to do is gather your supplies. That includes downloading the free Starbucks SVG from this post.
Clean your cup with rubbing alcohol and keep it aside to let dry.

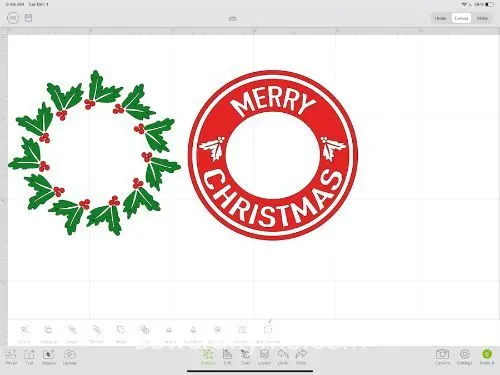
Open Cricut Design Space and click the upload button in the bottom left corner. Locate the file in your downloads and insert that into your project. Select your decal and use the measurements at the top (bottom if you’re on mobile) to resize the file to fit your cup. For the wreath SVG, you’ll want a width of 4.25”. For the “Merry Christmas” decal, a width of 4.15”.
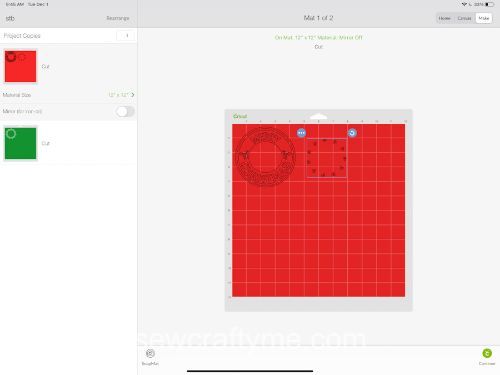
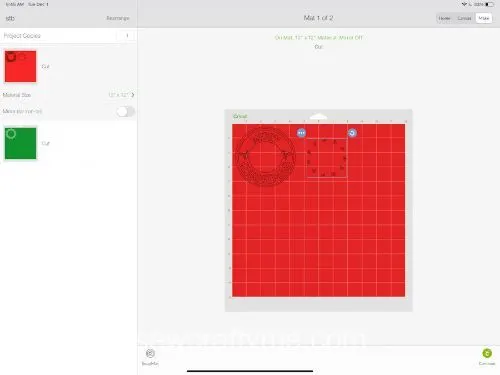
Double-check to make sure the layers are attached correctly, (in the layers panel, you should see one group for each color in each decal) and click “Make it!”
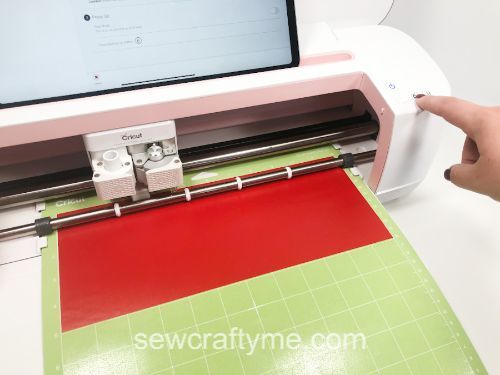

Follow the directions on your screen that are specific to the machine you’re using. Cut out each color on permanent vinyl using the vinyl settings.

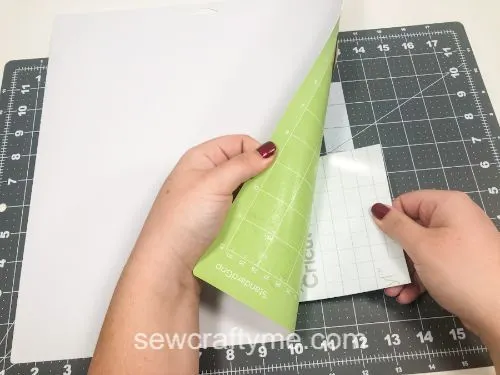
Next, remove the vinyl from the mat by flipping it over and curling the mat gently away from the table as you hold the vinyl down. This method is much better than pulling the vinyl straight off the mat.

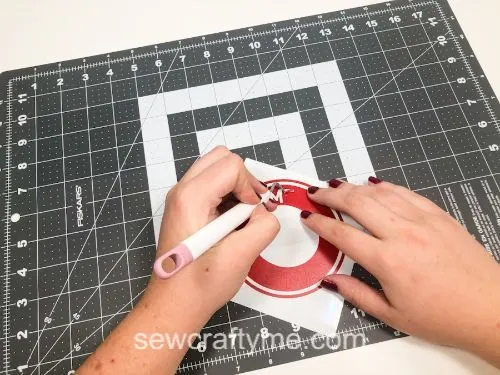
Now weed out any unused pieces of vinyl with your Cricut weeding tool. Go slowly so you don’t lose any of the little pieces.

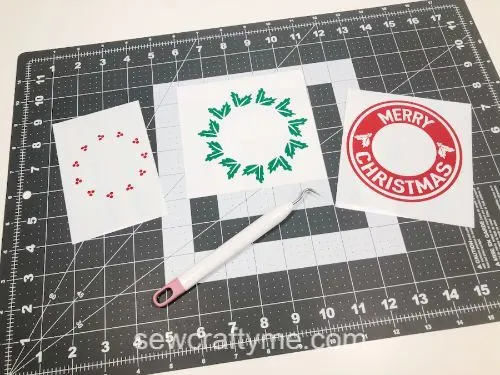
Your vinyl decals are ready to be transferred to the cup.

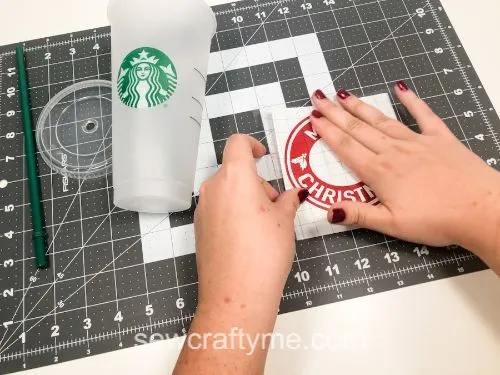
Cover the weeded decal in Cricut Transfer Tape.

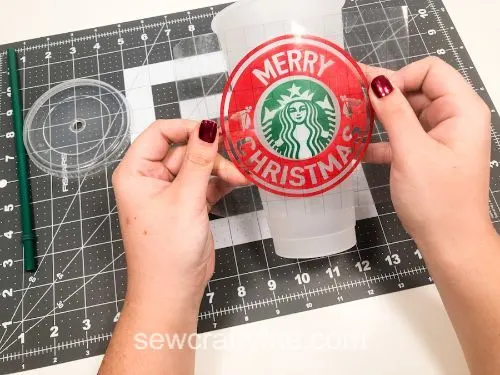
For the Merry Christmas template, since there is only one color, you can just press the transfer tape onto the vinyl and then transfer it to the cup. Place the decal on the cup, making sure to leave equal space all around the logo. Start by pressing down from the center moving outwards in all directions.
For the wreath, there are two colors, and that can be hard to line up correctly, especially on a curved surface. So here’s an easier way to get the pieces aligned correctly. * For the Merry Christmas decal, skip the four steps below and continue reading.

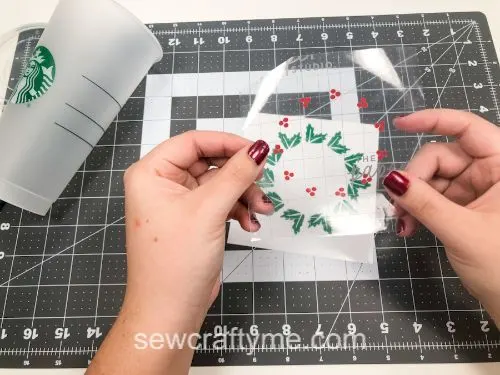
Start by pressing your transfer tape onto the red berries, and peeling off the backing. You may need to use your Cricut scraper tool to help the small pieces stick to the transfer tape.
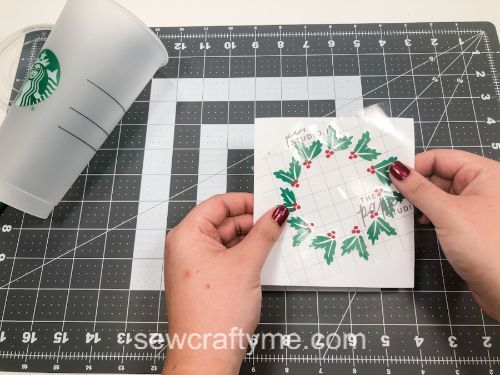
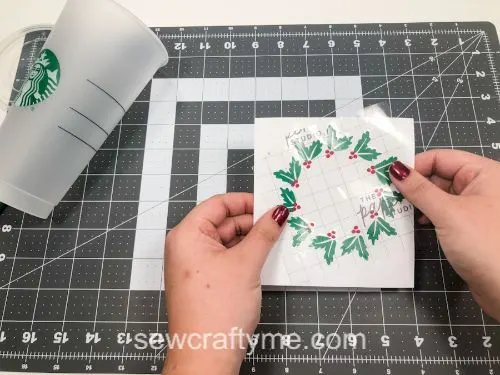
Then with the same piece of transfer tape (berries still attached), press down on the green leaves. It’s much easier to line up the vinyl when you’re putting it on the transfer tape than when you’re placing it on the cup. Just line up the berries from straight above the leaves, and press straight down.

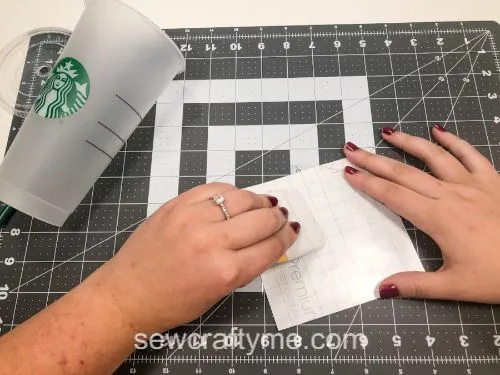
Use your scraping tool to adhere the vinyl to the transfer tape completely.

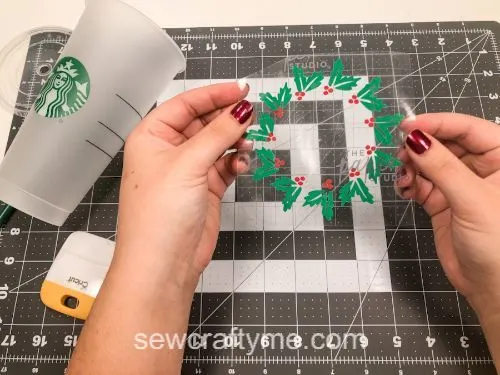
Peel off the backing and you have your vinyl decal ready to be transferred to the cup.

Place the decal on the cup, making sure to leave equal space all around the logo. Here again, start by pressing down from the center, moving outwards in all directions.
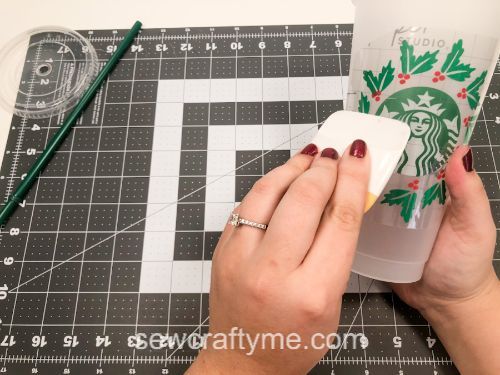
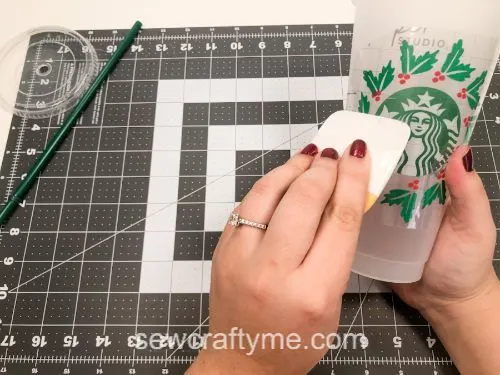
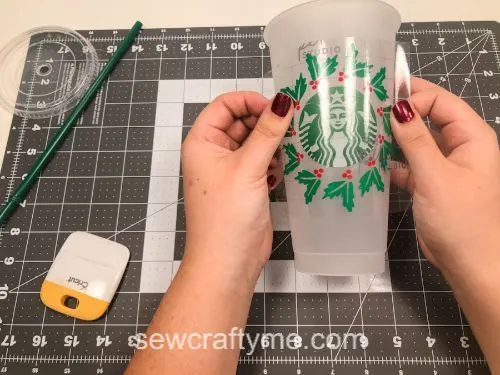
Use your scraper tool to transfer the vinyl to the cup completely and to eliminate any creases or bubbles.

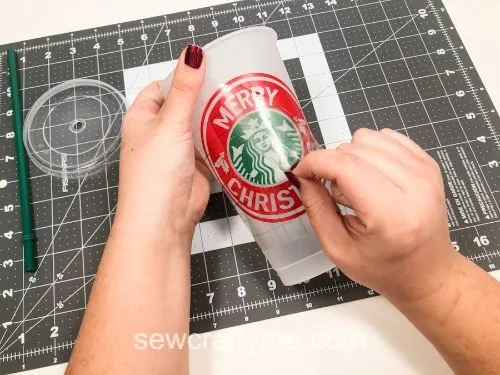
Transfer the design to the cup, peeling the transfer tape away at as low of an angle as you can so the vinyl pieces come off the transfer tape and stay on the cup where they belong.

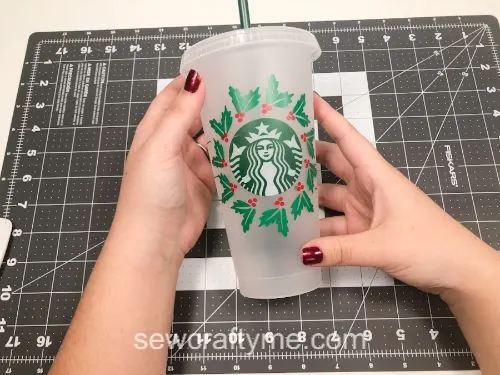
And there you go! A super easy Cricut project to brighten up your holiday beverages this year.
Care instructions:
Cups with vinyl are NOT dishwasher safe. Wash gently in warm soapy water, rinse and let dry.
Liked this Project? Save it For Later!

For more of my DIYs and crafts, click here.
For hundreds of DIYs and crafts, visit DIY & Crafts.com
Find the webstory for the post here, Festive Froth: DIY Starbucks Cup Crafts
Now you are ready to make adorable Starbucks Christmas cups for yourself and your loved ones. So, grab your supplies, download my free Starbucks SVG files, and get started!
Kathy
Sunday 13th of November 2022
looks great!
Surayya
Sunday 13th of November 2022
Thank you!