DIY Christmas Potholders make a great gift for the bakers in your life! Read through this step by step tutorial to learn how to sew a potholder with a pocket, and how to customize it with your Cricut machine!

Alright, guys, maybe Buddy the Elf disagrees with me, but I’m pretty sure that the best way to spread Christmas Cheer is by baking Christmas goodies. (I suppose singing loudly and sometimes off-key is to be encouraged during this activity though!)


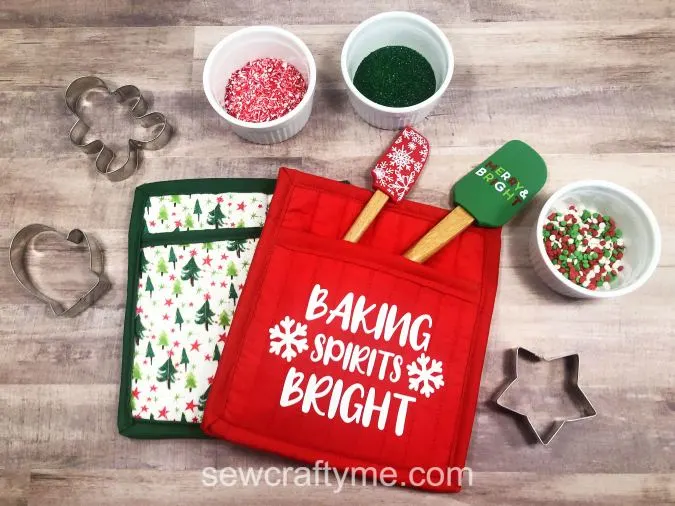
But sometimes you just want to take Christmas cheer up a notch, am I right? So let’s get into the craft room and make some Christmas themed potholders to make your Christmas baking day even more festive!
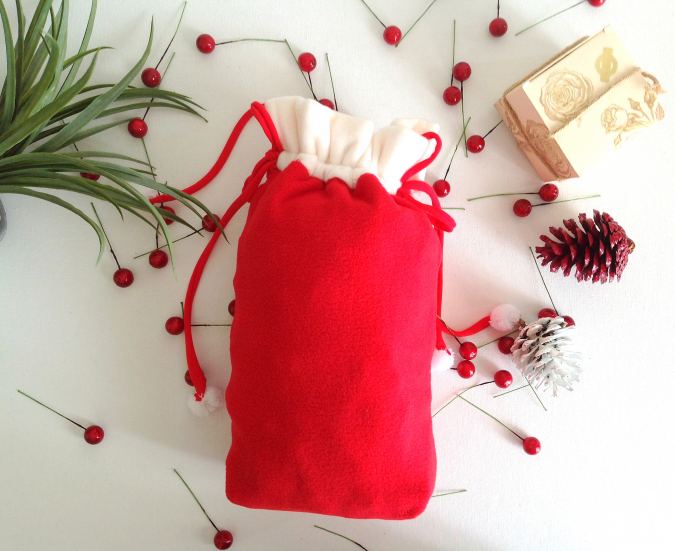
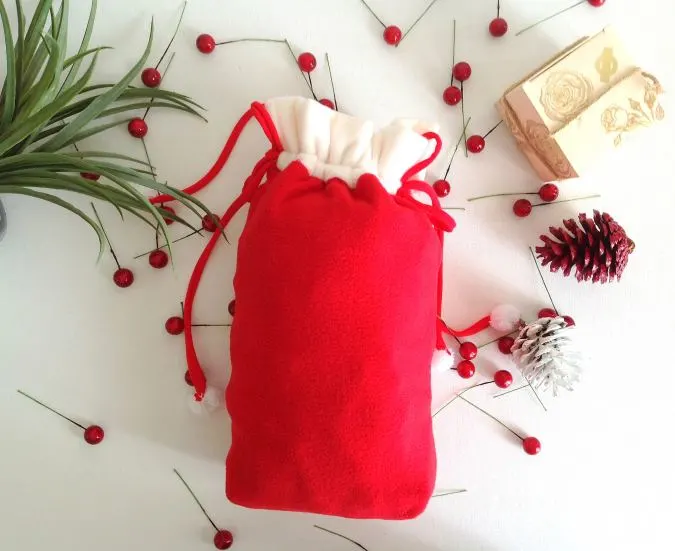
If you would like to sew my Santa sack pattern, click on the picture below:
How to Make a Christmas Potholder
Potholder Supplies:
- Quilting cotton (about ⅓ yard)
- 100% cotton batting or insulated batting
- Coordinating thread
- Self-healing cutting mat
- Rotary Cutter
- Acrylic Ruler
- Pins or Sewing clips (optional)
- Sewing Machine
- Cricut or Silhouette cutting machine
- Iron-on (HTV) vinyl
- Cricut Weeding Tool
- Iron or Cricut Easy Press
- Ironing Board or Easy Press Mat
- Pressing cloth
- Download the SVG file free when you subscribe to our newsletter below:
This project naturally splits into two parts: sewing the potholder, and using the Cricut to customize it. If you want to just sew a potholder, you can stop there.
If you don’t have a sewing machine or you just want to do the Cricut part of the project, you can always buy a premade potholder and put the decal on that instead. I’ll walk you through both parts, so feel free to skip to the section that is relevant to you!
How to Sew a Potholder
The first thing you’ll need to do, as usual, is prewash your fabric.
If you’re going to be adding the vinyl decal with your Cricut, you’ll need to, at the very least, go over the fabric with an iron before you sew. If not, you might cause the fabric to shrink while you are pressing the vinyl on, and that will make your vinyl decal all wrinkly and might even distort it.
Then cut a three-inch strip of cotton that measures at least 50” long. You may need to cut two strips and sew them together.
Next, cut four rectangles out of your quilting cotton. Don’t worry too much about the size at this point. Just know that however big you want your potholder, you need to add a couple of inches in both directions.
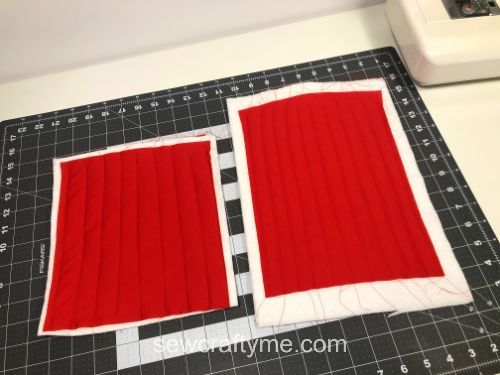
You’ll be dividing these rectangles into sets of two. Both sets will need to end up the same width, but one should be a couple of inches shorter than the other. The taller set is for the main part of the potholder and the shorter set is for the pocket.
For each set, cut two pieces of batting about the same size.

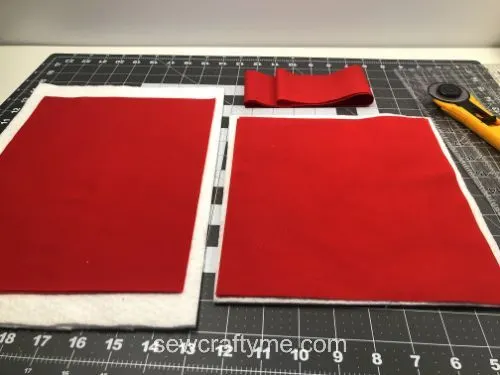
Your fabric and batting pieces will look like this once cut.
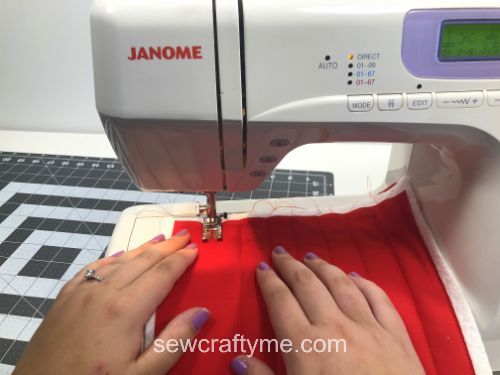
Now you can start quilting.
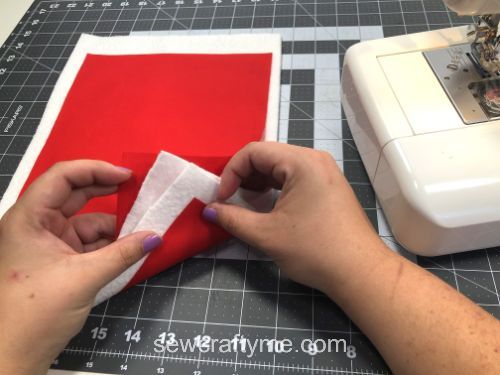
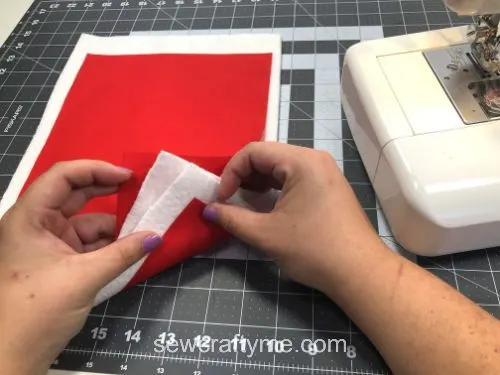
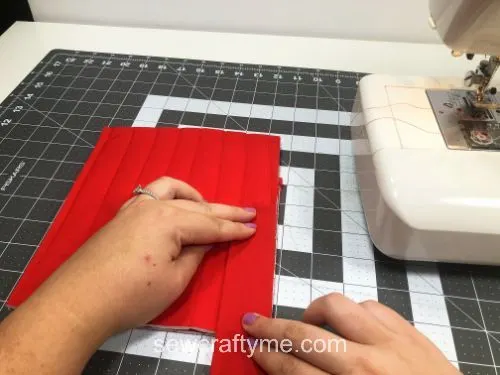
Layer each set of cotton and batting so that the two layers of batting are in the middle, and the layers of quilting cotton are on the outside with the right sides facing out.


Take it to the sewing machine and sew in a straight line right down the middle. Go slowly. There are a lot of layers for your machine to move and to sew through.
There’s also no need to backstitch at the beginning or end riding this step.

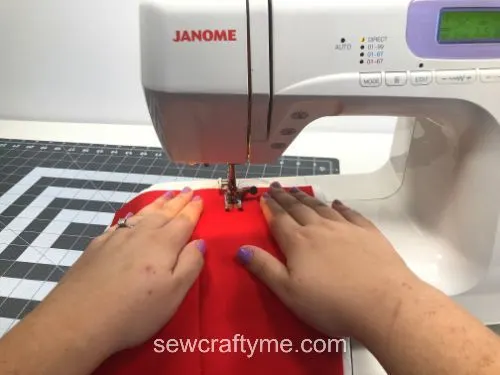
Cut your thread and continue sewing straight lines about an inch apart until the whole piece is quilted.

It’s best to start in the middle and work your way to one side, then go back to the middle and work your way to the other side. This is most effective at preventing the layers from shifting around too much while you sew.
Now repeat this process on the other set of rectangles.

Once the quilting is all done, you’ll need to go back to the cutting mat and square off the edges. There was likely a decent amount of shifting as you quilted. That’s why we left extra fabric on our original cuts.
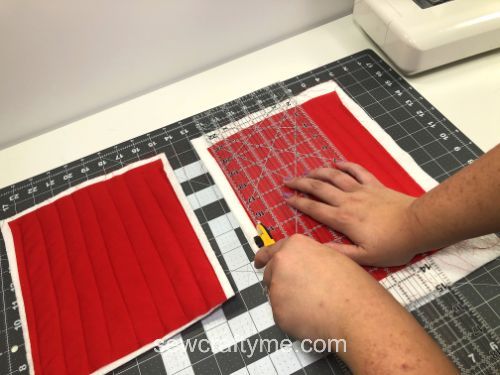

Lay the two pieces together and determine how wide the potholder will be. Cut both pieces to the same width. Then square off the top and bottom to your desired height.


Make sure both pieces are the same width and that one is a couple of inches taller than the other before you move onto the next step!
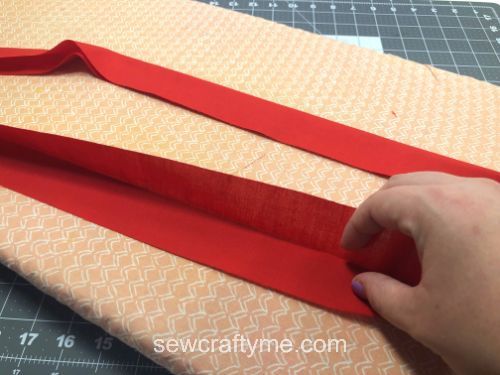

Now, if you need to, sew together your binding strips. Fold the long strip in half and iron it into a 1-½” inch wide strip.

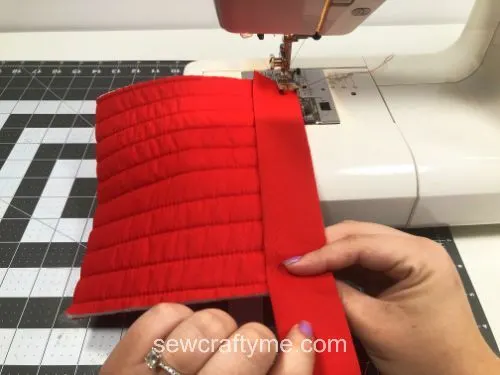
Align the raw edges of the folded binding along the top edge of the pocket and sew to join.

Fold the binding over to the right side of the pocket and sew it shut along its folded edge.

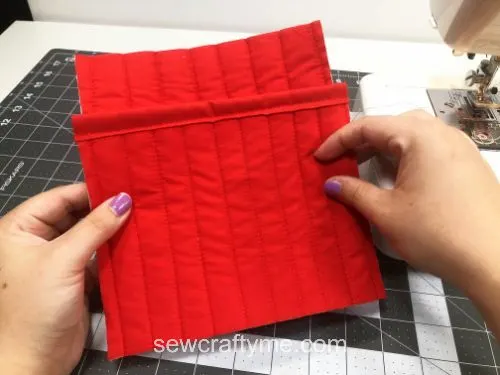
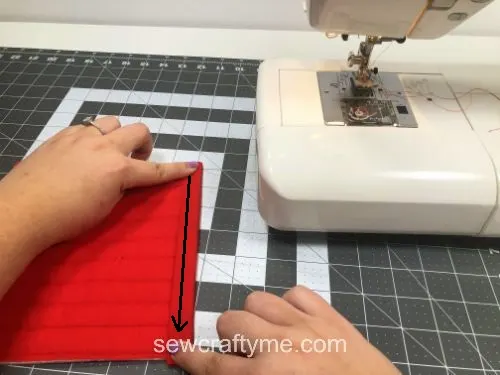
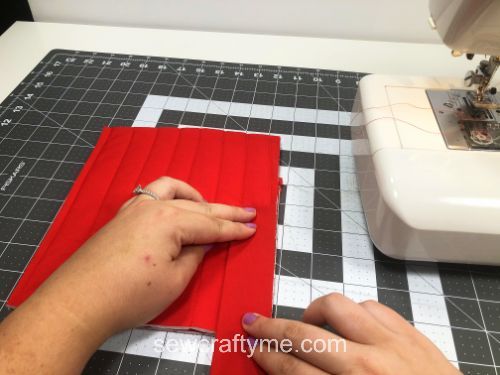
Next, place the pocket and the potholder pieces together so that the bottom edges line up. Sew the pocket around the outside edges.
Let’s attach the binding to the potholder.
Start pinning the raw edges of the binding along the edge, on the wrong side of the potholder, starting from the middle of one of the edges.
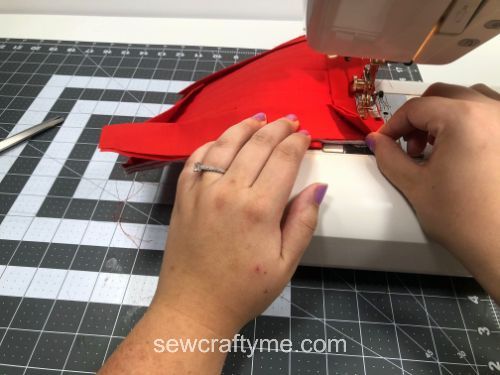

Keep pinning the raw edge of the binding around the raw edge of the potholder, till you reach where you started. Keep the ends of the binding slightly overlapped. Next, sew the binding to the potholder along the pinned edges.
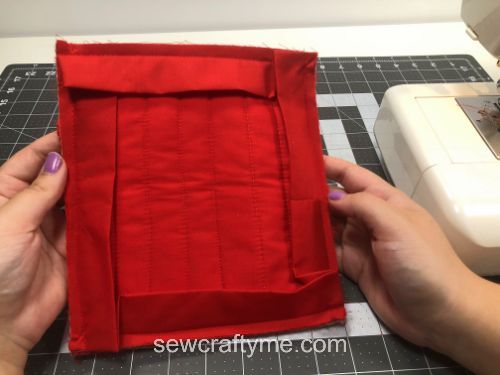

This is how it would look like, once done.
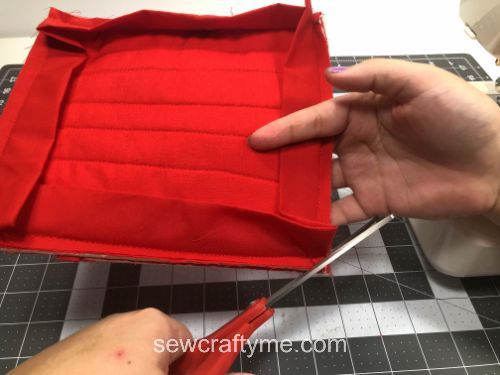

Cut the corners to reduce the bulk in the seam.

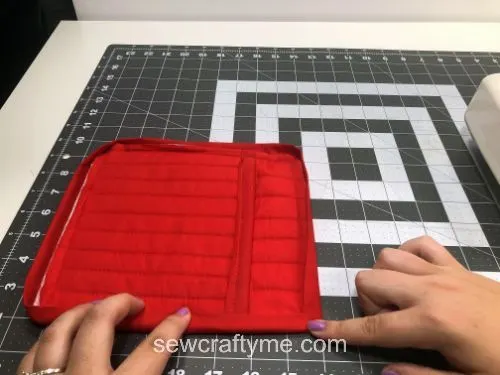
Fold the binding over to the right side of the potholder and pin along the folded edge of the binding all around. Sew along the pinned edges to secure.
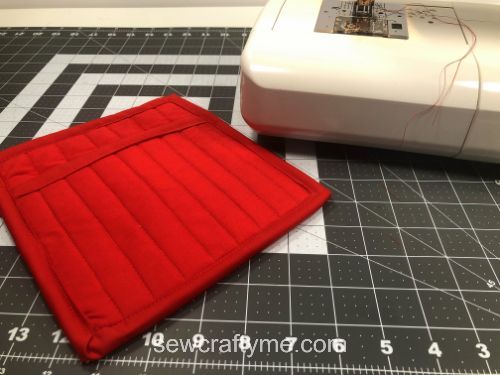

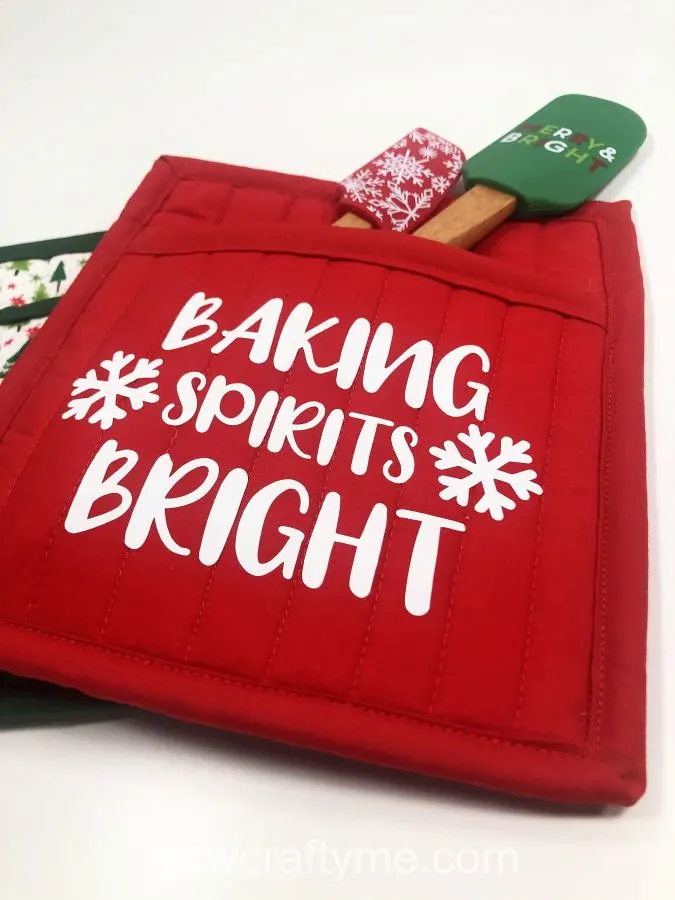
Now you should have a simple square potholder with a pocket in the front!
How to Customize a Christmas Potholder with your Cricut


Now that your potholder is completely put together, it’s time to get out the Cricut!
- You can use my free SVG file or use free images from Cricut Design Space. Use the search bar to search for the image you like.
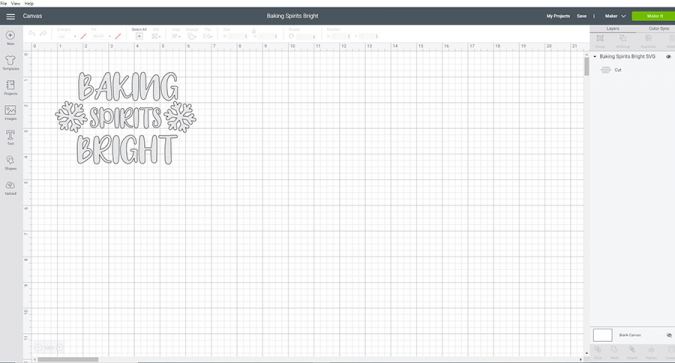

First, upload the SVG cut file to Cricut Design Space. Then resize the design if necessary. You want to make it as big as possible while still fitting on the front part of the potholder.
Then click Make It!
Before you do anything else it’s very important you make sure your mat is set to cut on mirror mode. HTV vinyl works differently than the self-adhesive kind. If you forget to mirror the image, it’s going to come out backward.
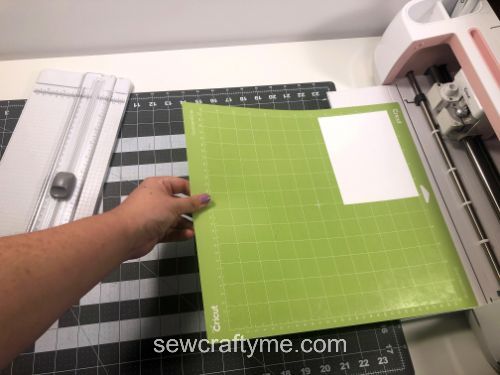

Cut out a piece of vinyl that’s just a little bit bigger than your cut will be and place that onto the mat shiny side down.
Make sure your machine is on the vinyl setting and you’re good to go. Send it through the machine to cut. In the meantime, get your iron heating up.

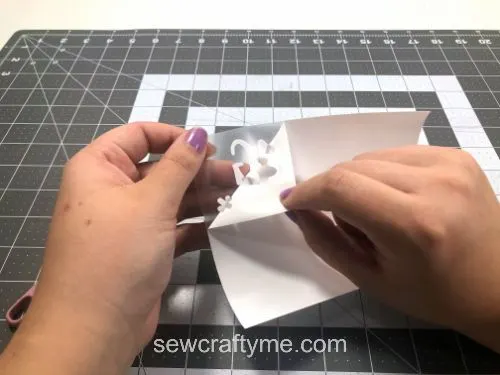
Once the machine is done cutting, peel the extra vinyl off from the plastic sheet, starting from one corner.
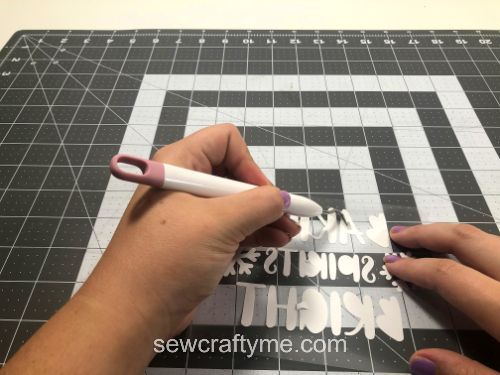

Grab your weeding tool and pull off all the excess vinyl that isn’t getting ironed on your potholder.
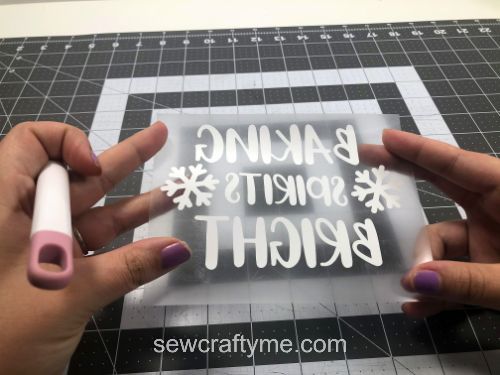
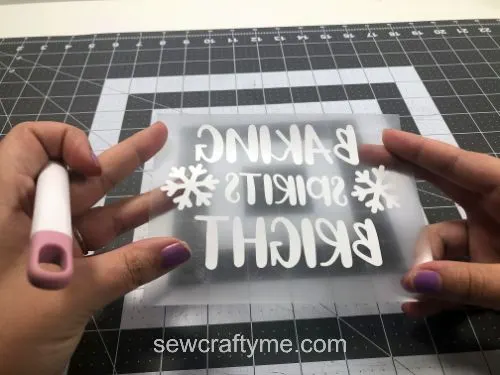
It’s important that you get it all off before you take it to the iron, so make sure to flip it over and double-check that everything looks right.

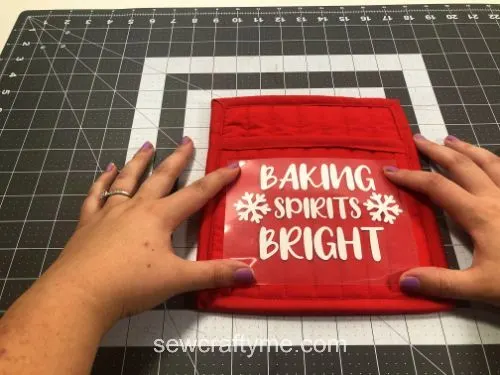
Once it’s all weeded, place the vinyl onto the potholder so that the decal is facing the correct way now. Make sure it’s centered, then place a layer of fabric or a pressing cloth over it.
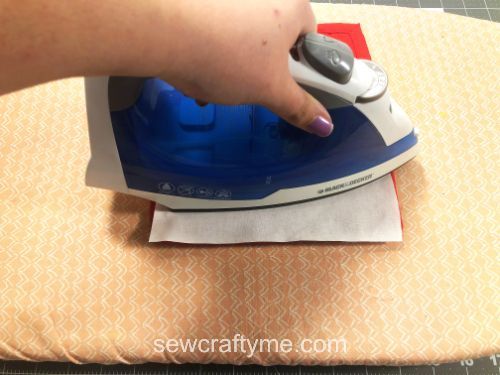

Iron according to the directions on your vinyl. Make sure to press straight down. Never rub the iron around. That will cause the decal to get distorted.
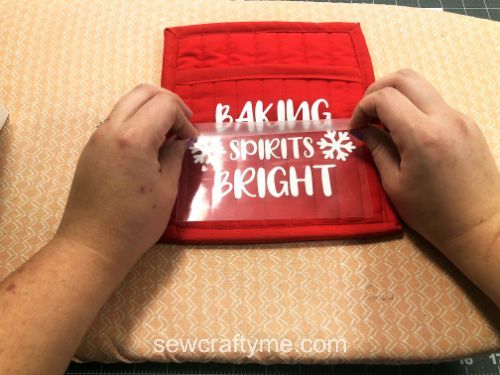

Once you have pressed long enough, pull back the plastic slowly. If the vinyl isn’t sticking all the way, you can lay everything back down and press it again in 10-15 second intervals until it stays in place. Peel back the plastic and give the vinyl one last quick press.

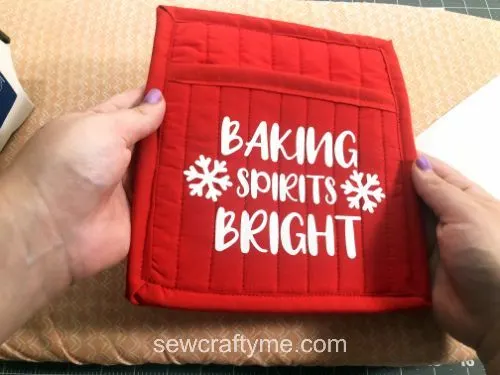
And that’s all there is to it. Now it’s time to get baking!
Find the webstory for the post here, Potholder Perfection: Free Sewing Patterns
For more of my free patterns, click here.
For hundreds of free patterns and DIYs, visit allfreesewing.com.
Pin it for laer here,


I hope this tutorial inspired you to make your own DIY potholders for Christmas this year!
Karen
Wednesday 3rd of December 2025
Love it! Very festive!
Beryl Haygood
Saturday 2nd of September 2023
Do we need the circuit machine? How do we make it with no circuit machine? I don't have circuit machine?