Learn how to make a slim zipper purse with this easy sewing project. This tutorial comes with step-by-step instructions and a downloadable template to make the zipper purse in two sizes.
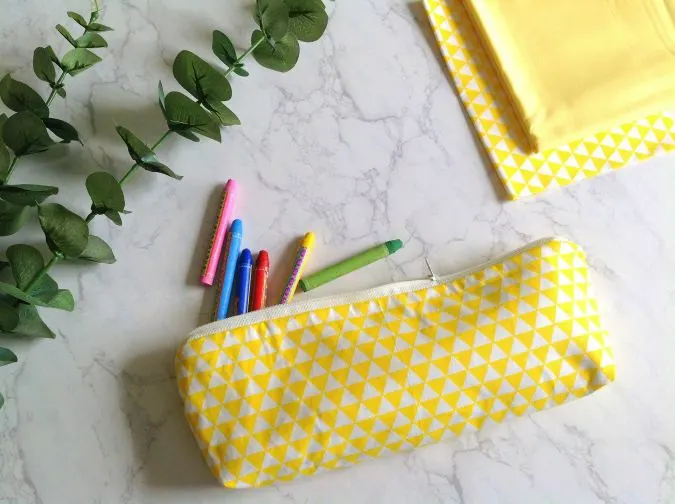
This tutorial on how to sew a zipper pouch has been inspired by one of my daughters who uses zippered purses to store almost all the little things she has. She has them in beautiful colors and shapes.
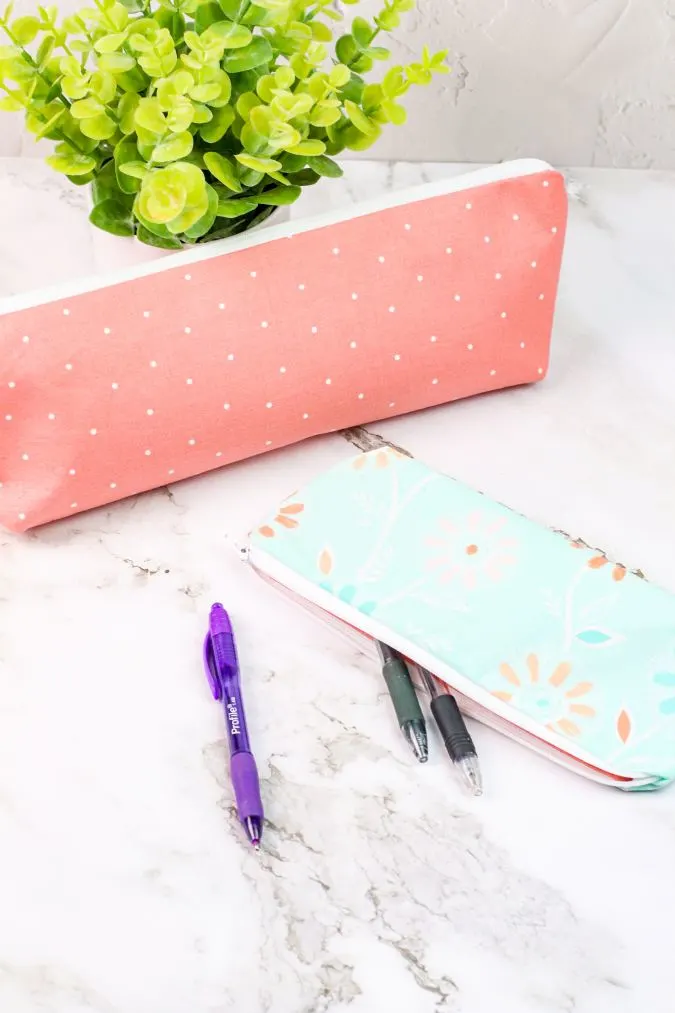
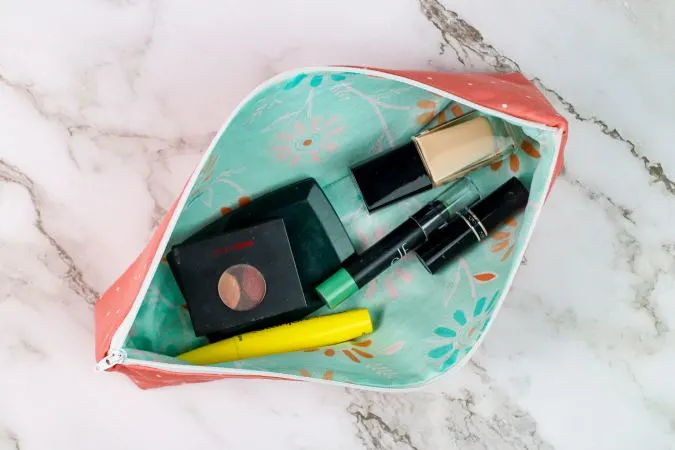
I see them all over her room and find it extremely handy when I try to tidy up her mess. She had asked for a long zippered pouch that is different from what we see commonly so that she can keep her make-up things as well as her combs and hairbrushes.
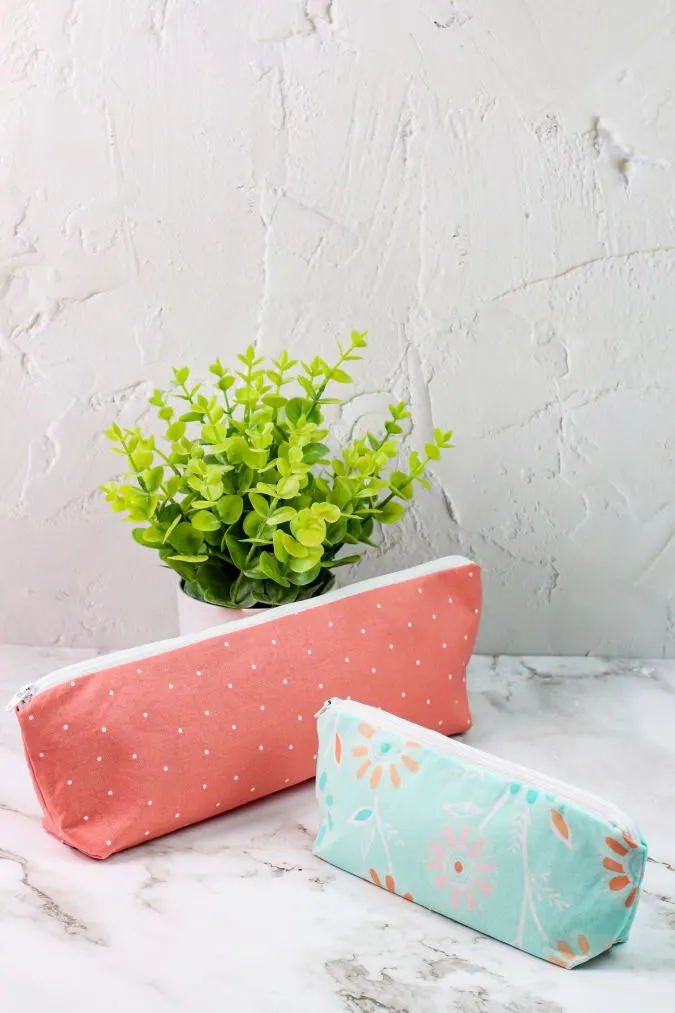
This tutorial on how to make a zippered purse is for a long pouch that can be used to store or carry your small essentials. Kids can also use it as a DIY pencil case.
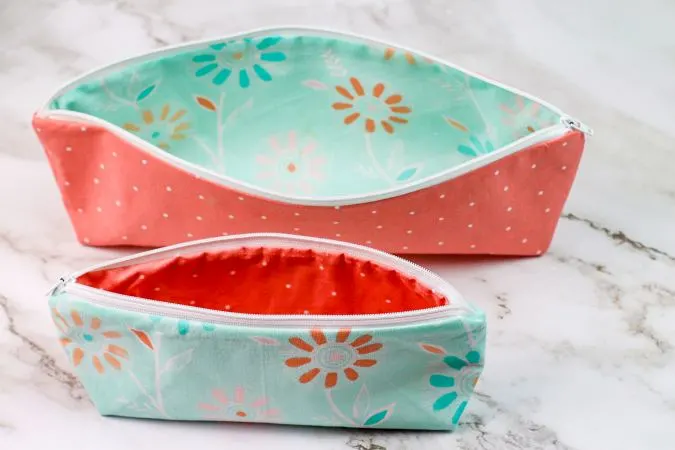
This is a lined zipper pouch pattern that is easy to whip up. If you don’t have the practice of attaching zippers, this tutorial will teach you how to sew a zipper easily!
If you would like to see the tutorial on how to sew a drawstring pouch, click on the picture below:
How to Sew a Slim Zipper Purse
Materials
- Medium weight cotton fabric for purse outer- 1/3 yard
- Medium weight cotton fabric for the purse lining- 1/3 yard
- Light or medium weight fusible interfacing- 1/3 yard
- 2- 14” all-purpose zippers
- Matching thread
- Sewing pins or clips
- Fabric marker or chalk
- Scissors
- Cutting mat and ruler, measuring tape or ruler
- Iron and ironing board or iron mat
- Zipper Purse template. * Enter your e-mail address and click on the subscribe button below to download the template.
- Skill Level: Skilled Beginner/Intermediate
- Template: 1 pdf
- Approximate time to complete: 30-45 minutes
- Approximate cost to make: $3.50-$4.50 each (depending on the cost of fabric and zipper.)
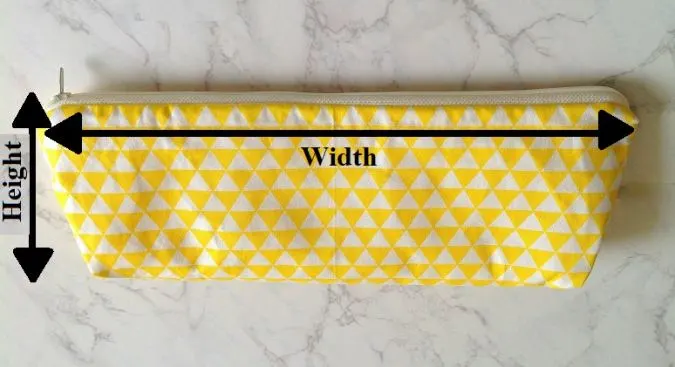
Finished Size:
Small
Width- 8.75”
Height- 3”
Large
Width- 12.75”
Height- 4.75”
Let’s cut the pieces.
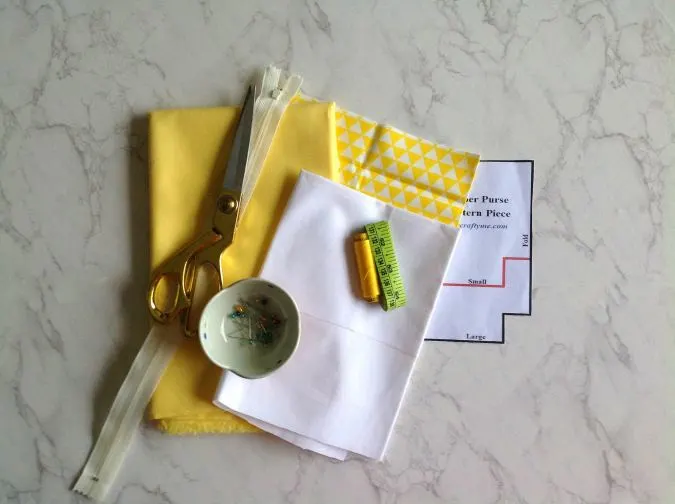
Gather your supplies. Here I have used the printed fabric for the purse outer and the solid yellow fabric for the purse lining.
Instructions for the Pattern Pieces:
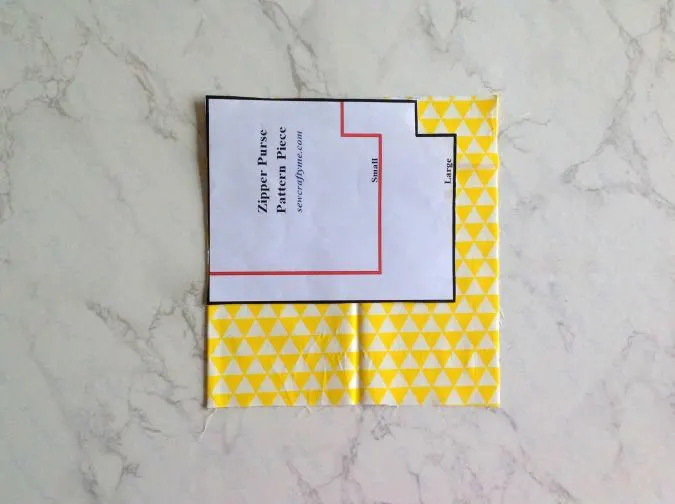
Cut your template and fold your fabric right sides together. Place the template on the fold and cut out the pattern. You will need two such pieces for the purse outer.
Cut two pieces of the lining and also two pieces of the interfacing using the same template.
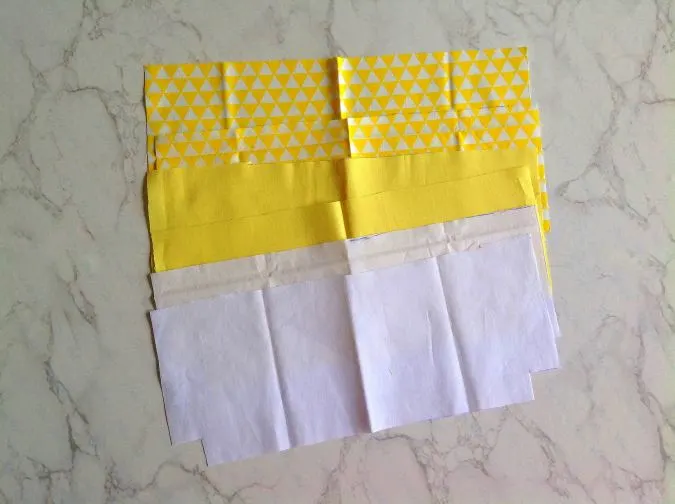
Your purse outer, lining, and interfacing pieces will look like the picture above.
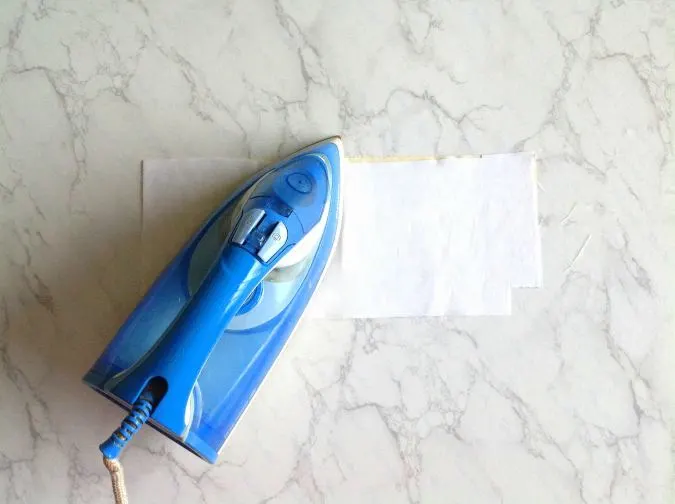
Using a warm iron, adhere the interfacing to the WRONG side of the purse outer pieces.
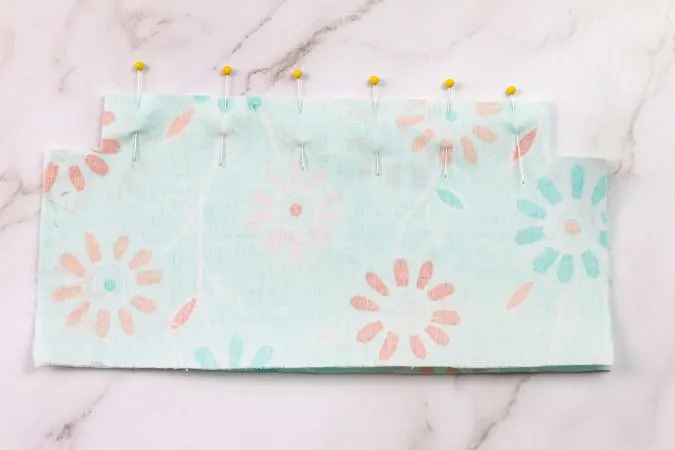
Layer the two outer pieces with the right sides together and lining up the edges. Pin the bottom edges together (picture for illustration purpose).
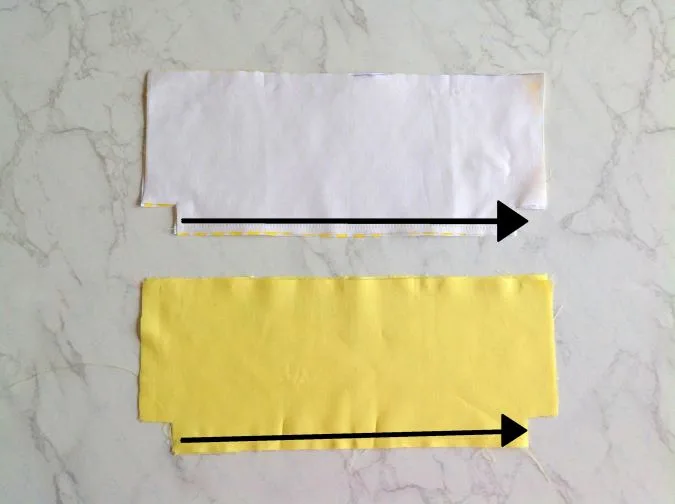
Using a 3/8” seam allowance, sew along the bottom while leaving the corners open. Do this also for the lining pieces.
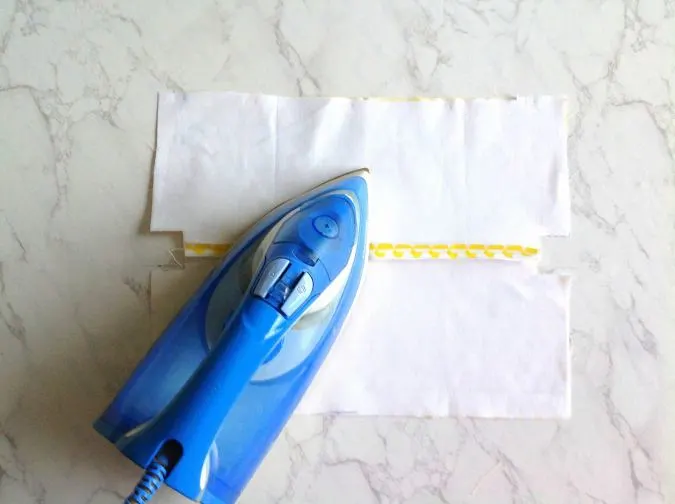
Open each piece and using a warm iron, press open the seam.
Instructions for Attaching the Zipper:
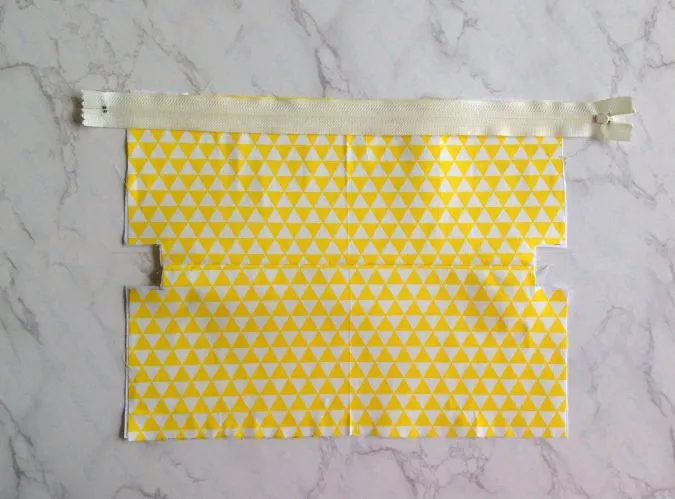
Lay the outer fabric so the right side is facing up. Lay your zipper face down, zipper pull on the right.
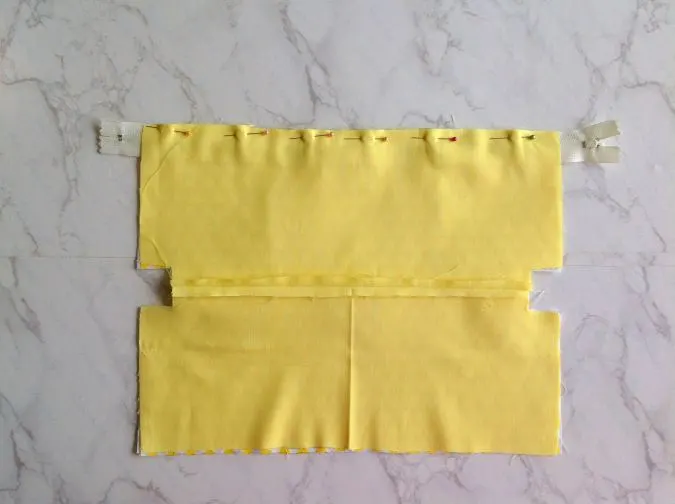
Place your lining fabric, right side facing down, on top of the outer piece and align the top edge of the zipper with the raw edge of the top of the fabrics (the zipper is now sandwiched between the outer and lining pieces). Pin the three pieces along the aligned edges.
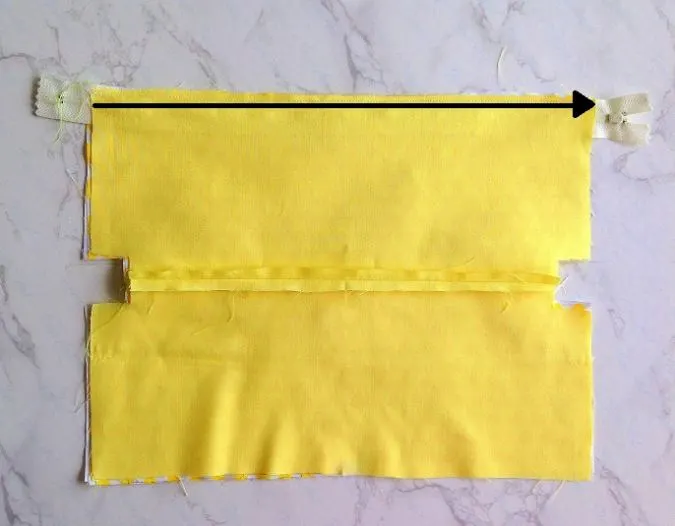
Using a straight stitch, sew the zipper/pieces in place.
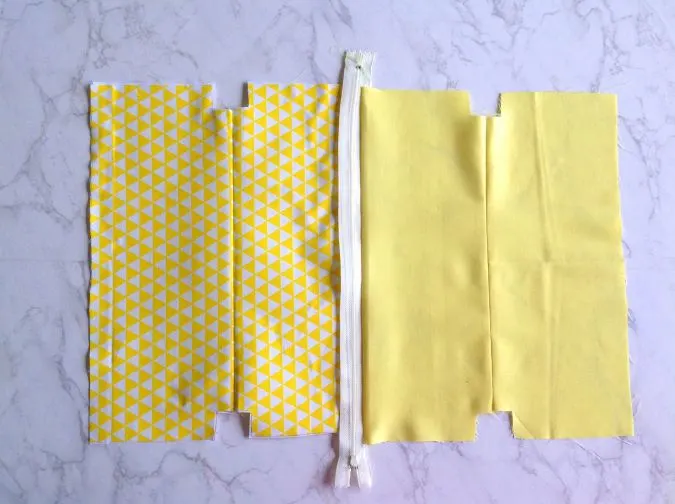
Open and flip the fabric so the right side of the pieces and the zipper are facing up (zipper should be in the middle).
Next, we sew the other edge of the zipper with the pieces.
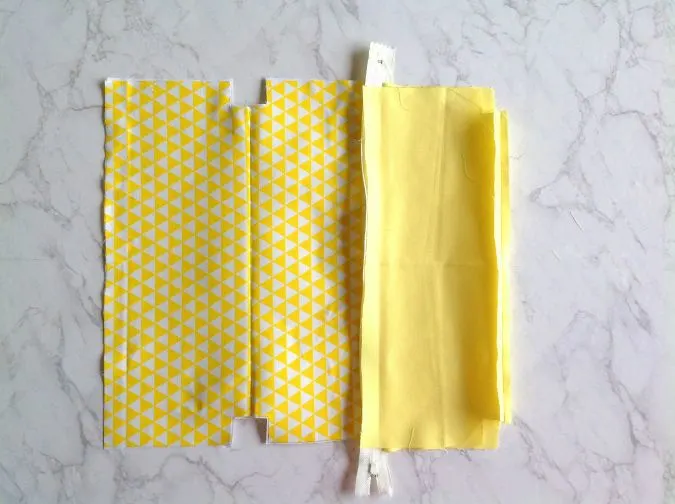
Fold the lining over and line up the raw edge of the lining with the free edge of the zipper.
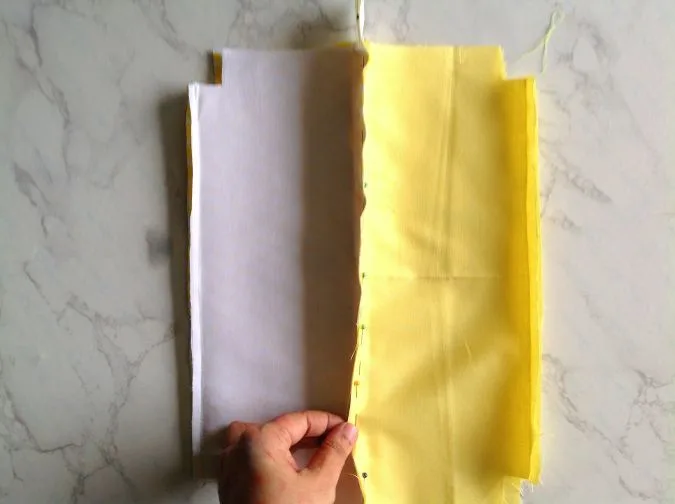
Next, fold the outer piece and line up the raw edge, again with the free edge of the zipper. Now the other edge of the zipper is sandwiched between the lining and outer fabrics. Pin the three pieces along the aligned edges.
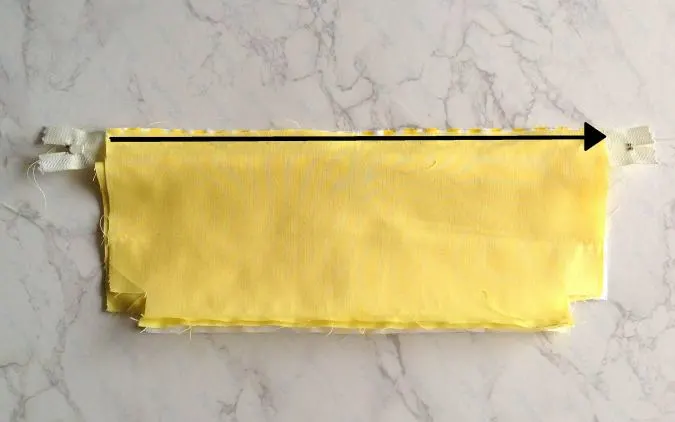
Using a straight stitch, sew the zipper/pieces in place.
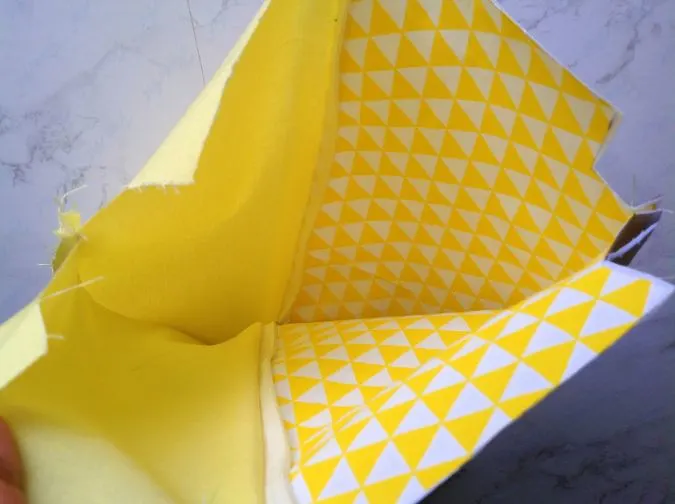
Unzip the zipper about halfway.
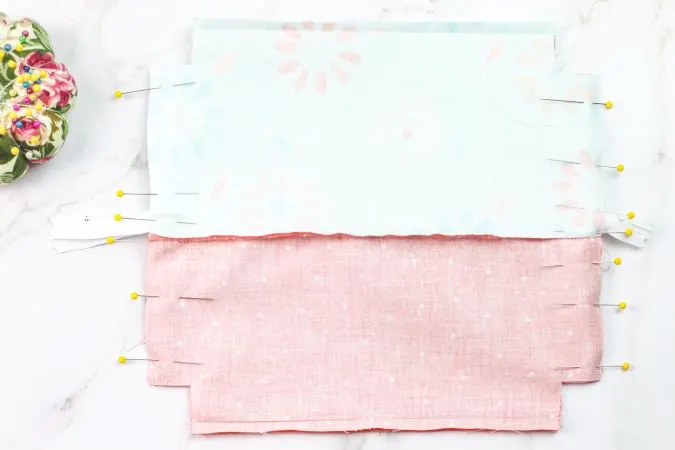
With right sides facing together, pin or clip the open sides together (picture for illustration purpose).
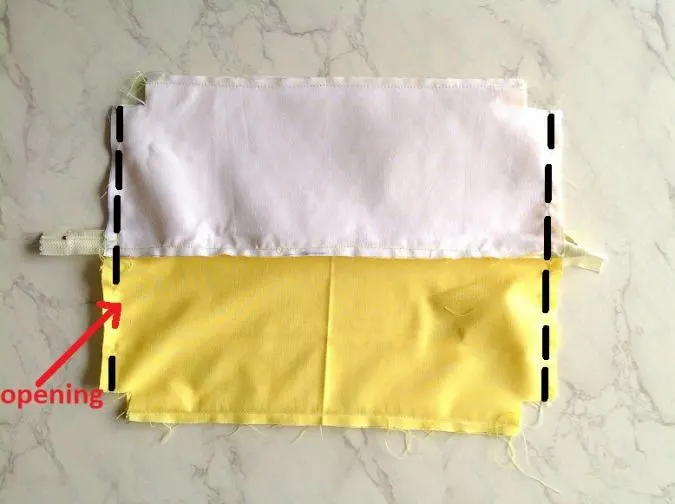
Using a 3/8” seam allowance, sew along the sides, making sure to reinforce on either side at the top. Leave a small opening, about 3 to 4- inches along the side to bring the right side out.
Instructions for Making Boxed Corners:
Next you are going to make a boxed corner. This allows your bag to “stand up”.
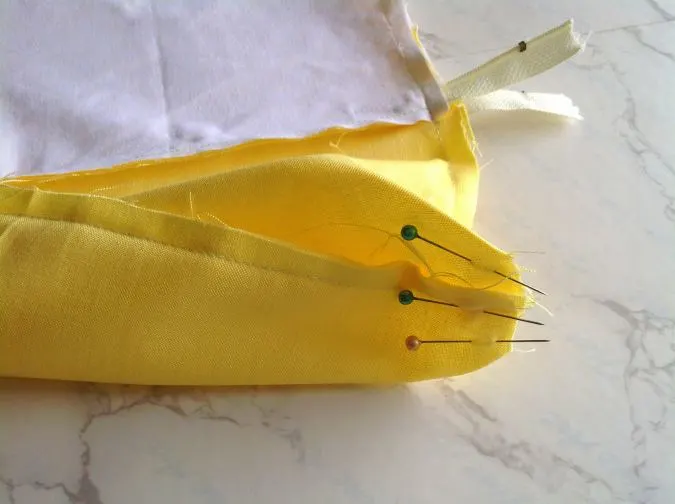
Pinch the opening of each of four corners, lining up the side and bottom seams, and press. Pin the corner along the aligned edges.
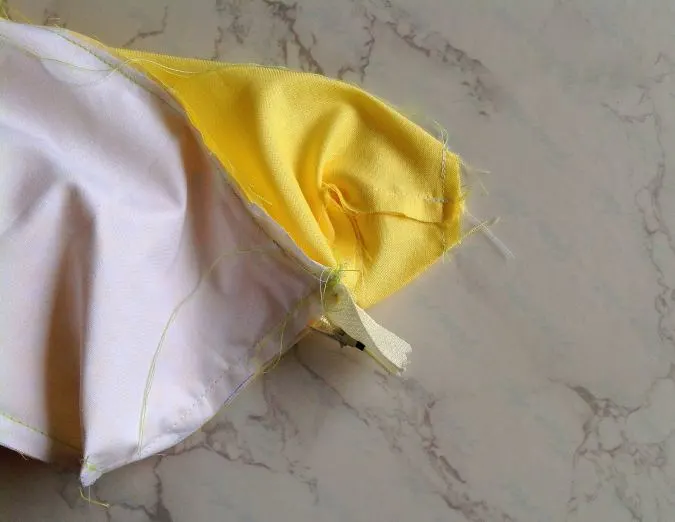
Using a 3/8” seam allowance, sew the opening closed.
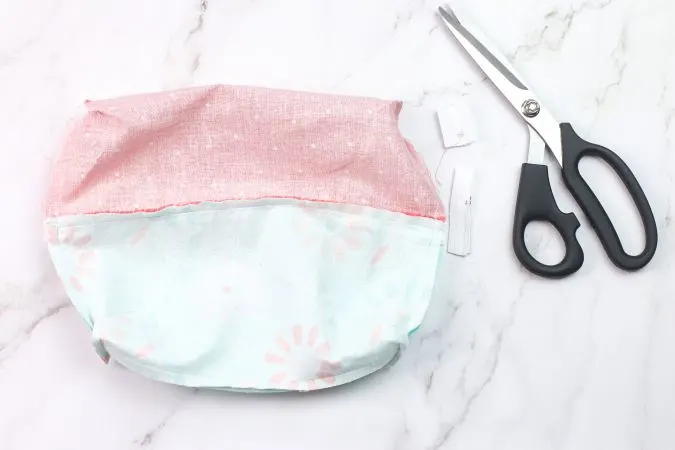
Trim off any excess zipper (picture for illustration purpose).

Going through the opening, pull the right side out.
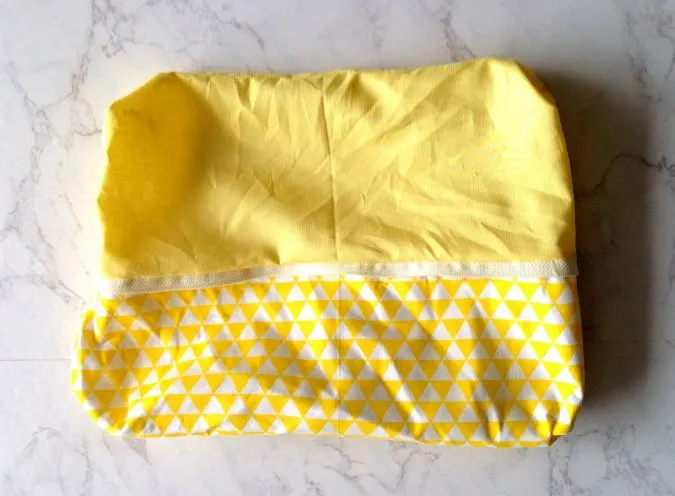
Your zipper purse will look wrinkled once the right side is pull out. But don’t worry, the next few steps will show you how to finish it professional style 😊
Instructions for Finishing the Pouch:
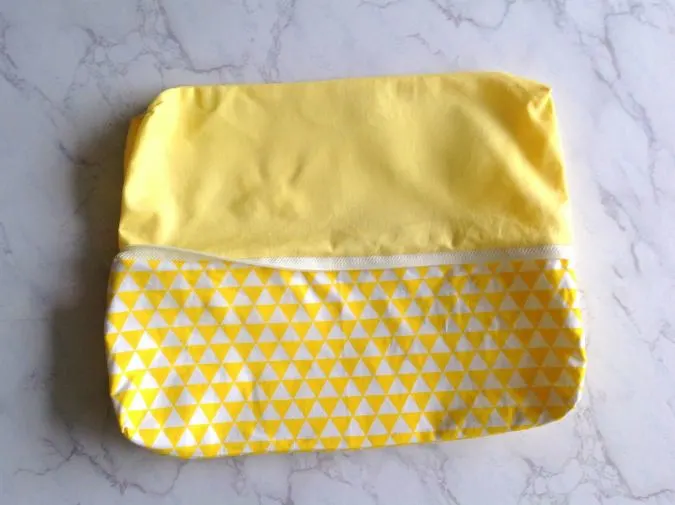
Steam- press the lining and the purse outer. Next, hand- sew the opening on the side using slip stitch.
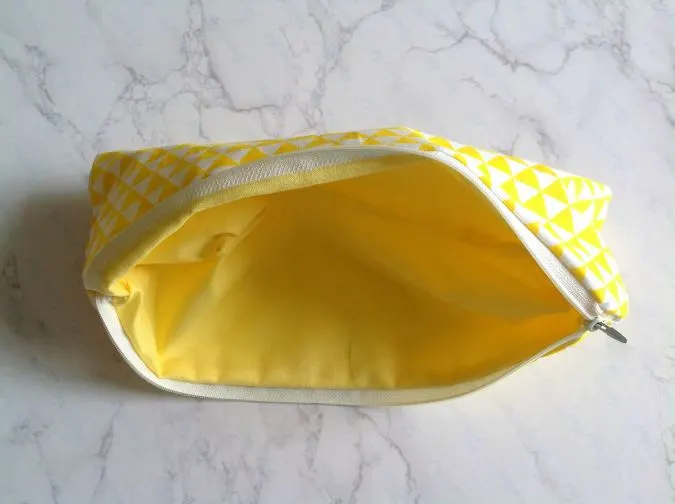
Push the lining into the pouch.
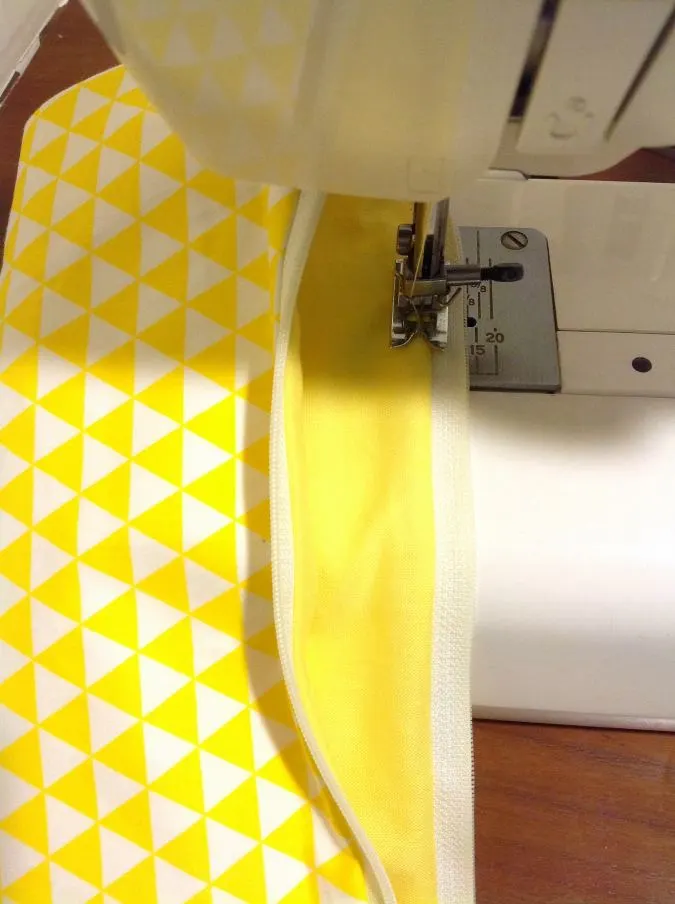
Topstitch next to the zipper all around to prevent the lining from getting stuck in the zipper. This can also give the bag a neater finish.
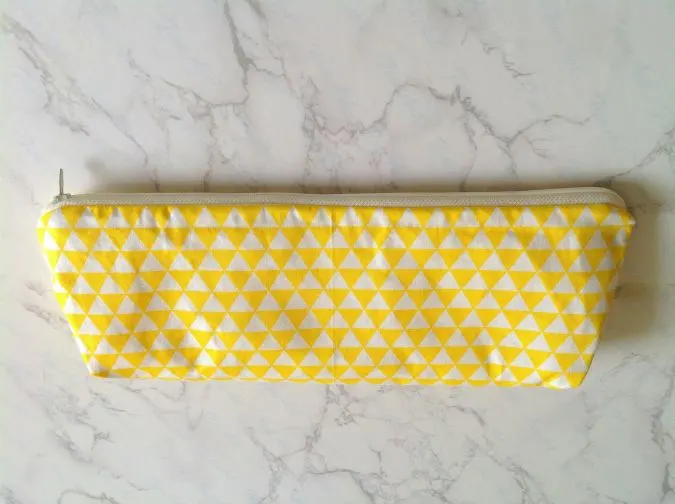
Your DIY zippered pouch is ready for use!
Have a look at the webstory for the post here, DIY Chic: Beginner’s Slim Zipper Purse
Pin it for later here,

So, I have completed my tutorial on how to sew a long and slim zipper purse. Hope it inspires you to sew a number of them in beautiful colors and prints!

Michelle James
Tuesday 9th of November 2021
I paid the $2.99 on 11/8/2021and did not receive the tutorial or an email telling me how to download it. What do I need to do to get it?
Surayya
Thursday 11th of November 2021
The pattern has been e-mailed. Please check your inbox.