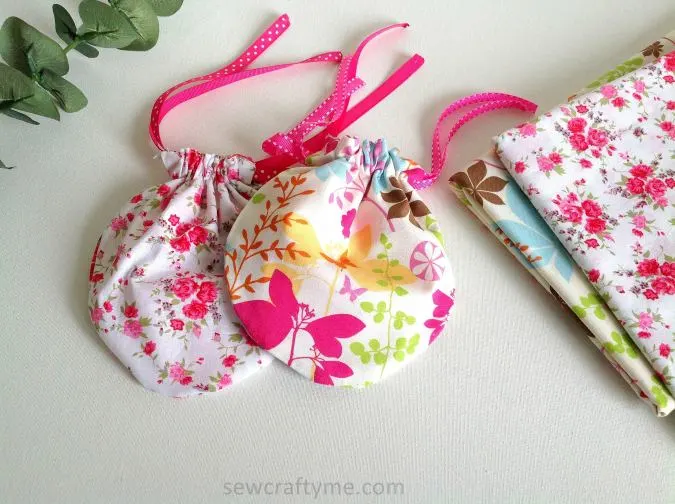
Learn how to make a DIY drawstring pouch with this easy sewing tutorial! This is a cute little reversible drawstring pouch pattern, that can be used to store your little things.

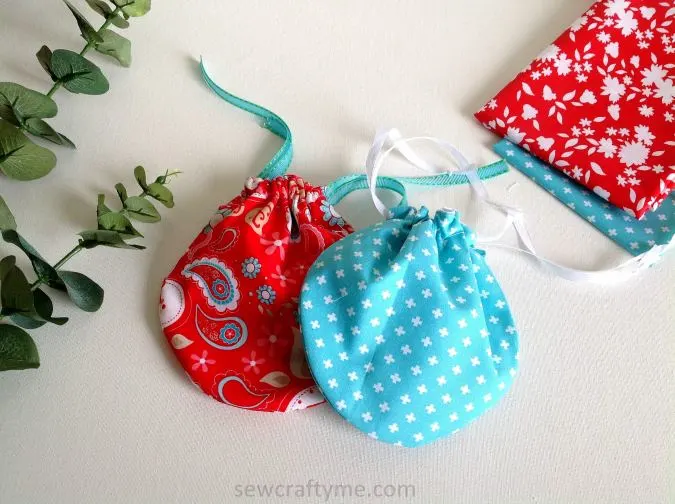
Small pouches are the best to keep your teeny tiny things neat and organized. They are the best to carry these things when you go outside your home or travel.
I often find myself searching hard for my chapsticks, lipsticks, or even my sanitizer inside my bag. With this drawstring pouch, I don’t have to turn my bag upside down, searching for them. I can keep them in these little sacks, just ready to use.

This DIY drawstring pouch can be opened and closed quickly by just pulling the drawstring and as such, they are very useful and handy even for storing coins.


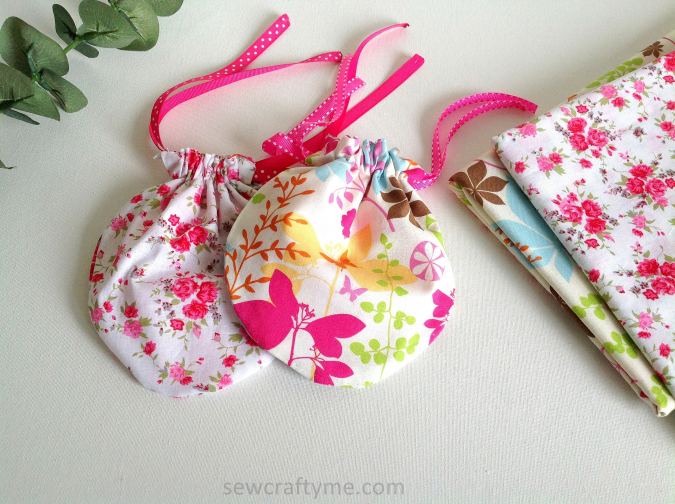
Here I have done a DIY tutorial for a reversible drawstring pouch. You can make a tiny two-in-one bag by using different fabric for the inside and outside. These tiny little pouches need just fabric scraps and so they are definitely a stash buster.
If you would like to see more easy sewing projects, click on the picture below:

DIY Drawstring Pouch ( Easy Sewing Project)
Supplies Needed:
Scraps of fabric for the pouch outer
Scraps of fabric for the pouch lining.
Satin ribbon pieces- 20 – inches (cut 2).
Sewing Notions.
Pouch template.
- This template will give you a finished drawstring pouch with an approximate diameter of 6.5 – inches.


Take the fabric for the pouch outer, fold it to fit the width of the template and place the template on the fold. Mark around it and cut to get one of the pieces for the pouch outer. Repeat to get the next pouch outer piece. Cut two pouch lining pieces from the lining fabric in a similar way.


You will get your drawstring pouch outer, lining, and ribbon pieces like this.


Take one outer piece and lining, layer them with the right sides together, and aligning the edges. Sew along the straight edge to join.


Press the seam flat. Repeat with the remaining pouch outer and lining pieces.


Next, take the joined pieces and layer them with the right sides together, and aligning the edges. * Note that you have to keep the outer pieces facing each other and the lining pieces facing each other.


Mark points about 1.5- inches from the center seam on both sides. Sew around the edges, leaving the space between the marked points.


Clip the straight edges and notch the curved edges to reduce the bulk in the seam. Take care to not rip the seam.


Pull the right side of the pouch out through the opening.


Tuck in the raw edges and press to make it crisp and clean.


Push the lining into the bag outer. Make sure to push the edges out with your fingers to make the edges rounded and defined.


Press to make it crisp and clean.


Topstitch along the top edges.


Sew another straight line 1-inch from the top edge (on both sides) to make a casing for the drawstring.


Take one of the gross grain ribbon pieces and heat seal the ends. Start inserting it through one end of the casing, using a safety pin.


Continue inserting the ribbon into the casing on the other side.


Your pouch will look like this with both the ends of the ribbon on the same side.


Next, take the other ribbon piece and start inserting it through the casing from the opposite side. Continue as before.


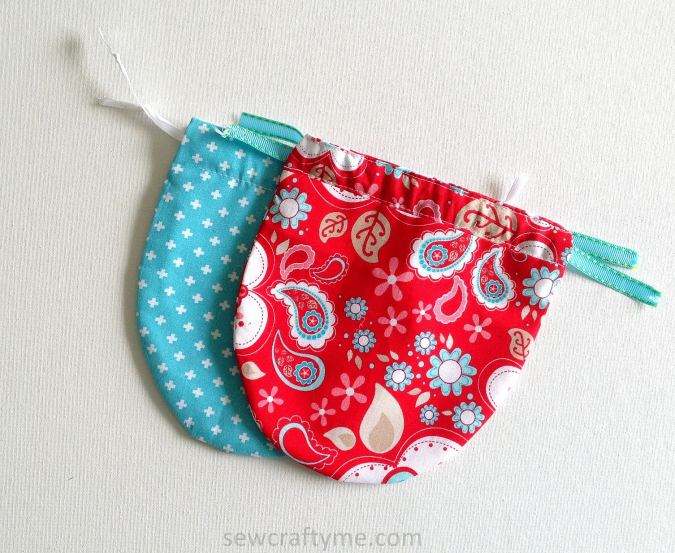
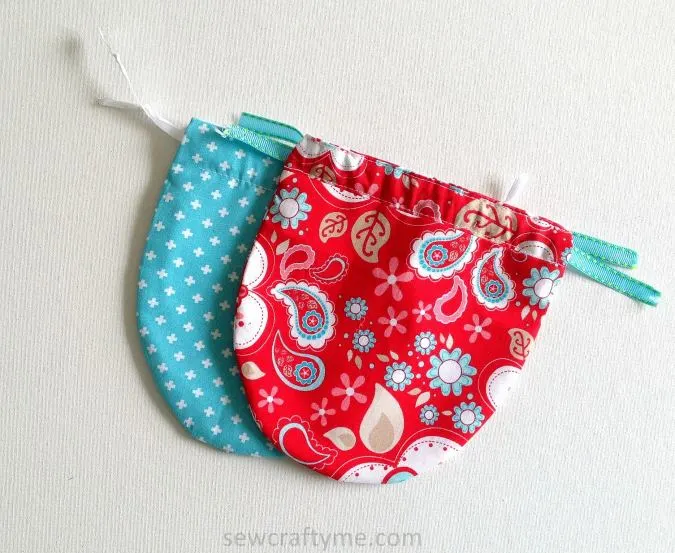
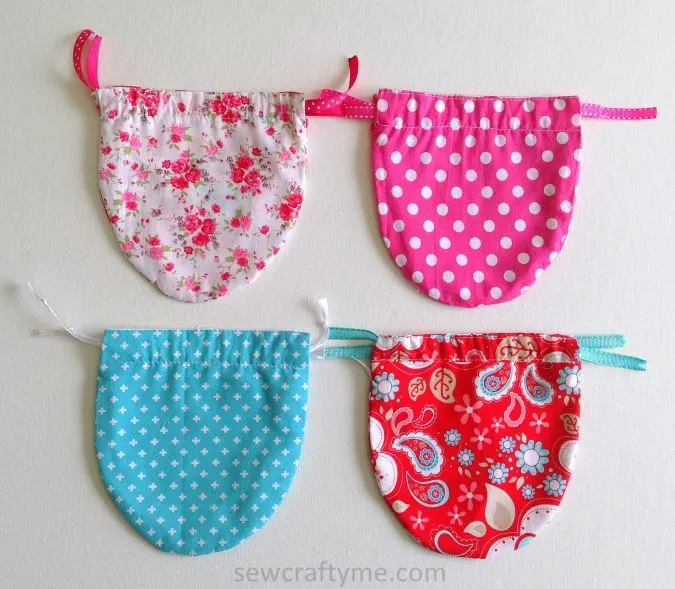
Your pouch will look like this once done.


Tie the ends of the ribbon in a knot and pull the ends to close the bag. Our DIY drawstring pouch is done!
Find the webstory for the post here, Easy Sew: Quick DIY Drawstring Pouch Tutorial
Pin it for later here,

For more of my free patterns, click here.
For hundreds of free patterns and DIYs, visit allfreesewing.com.
Now you have learned how to make cute little sacks with this DIY drawstring pouch tutorial. These little pouches are very useful to store and carry your little things and are great as handmade gifts too!
Susan
Wednesday 29th of June 2022
I love this little pouch; it's a great project for scraps. Sew easy to whip up and friends love them....trying different sizes now. :)
Reyna
Wednesday 12th of June 2024
is it okay to sell pouches made with your pattern as long as we give you the credit and direct customers to your website?
Sondra wassmann
Friday 28th of January 2022
I made 6 different sizes of these very easy I am going to use as drawstring back Packs, pencil pouches and marble and jack bags