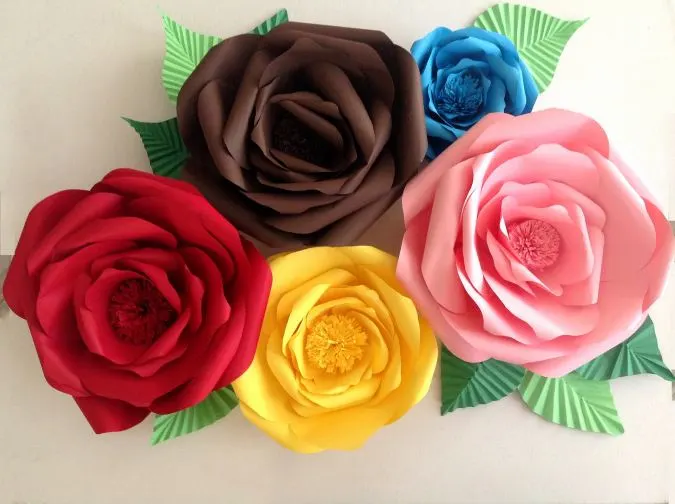
Have you ever been fascinated by the paper roses that you see at a wedding or a party? Have you wondered how to make a rose with paper? Come let me teach you how to make them in minutes and with very few supplies!


During my school craft lessons, I learned a simple technique for crafting paper roses, a skill that has stayed with me throughout the years. Of course, my expertise has evolved as I’ve experimented with various techniques and materials to enhance the beauty of these flowers.
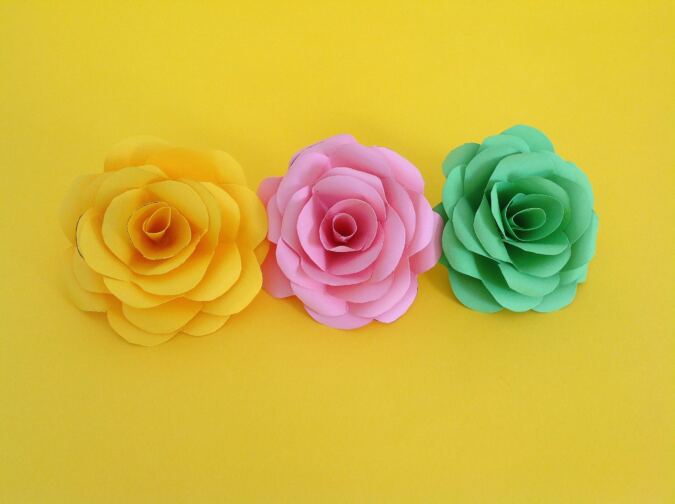


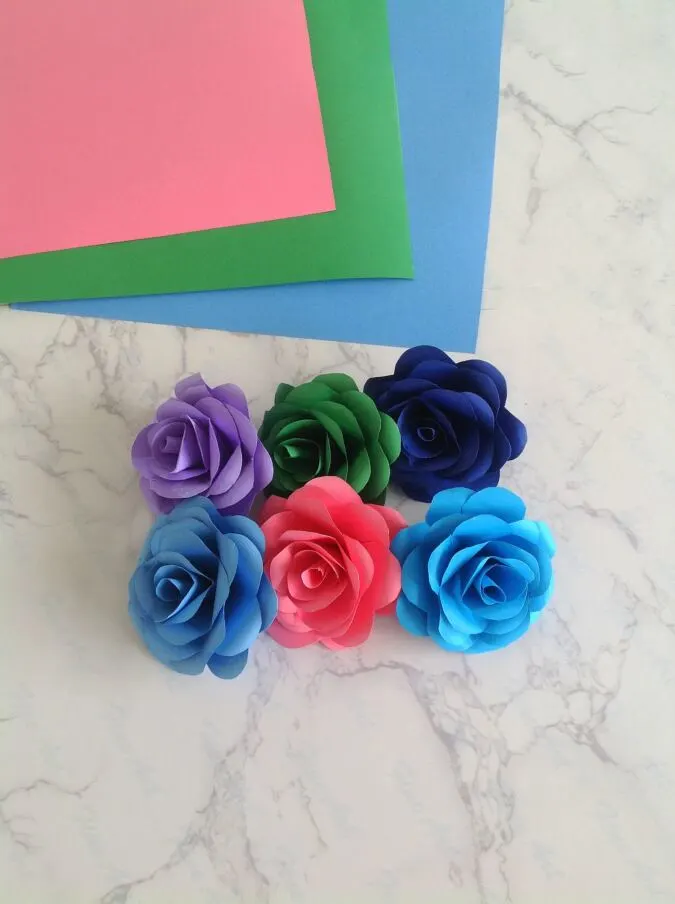
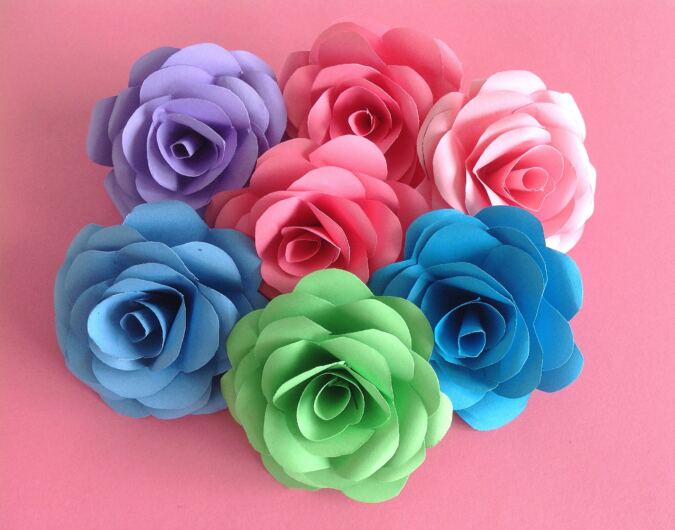
Once you learn how to make a paper rose, you get endless possibilities to make them in different colors and sizes. By adjusting the dimensions of the square, you can create roses of any desired size. For a captivating twist, you can even utilize newspapers to fashion stunning roses with a unique flair.
If you would like to learn how to make large flowers for home or party decorations, get the instructions and downloadable templates by clicking on the picture below:

How to Make a Rose with Paper
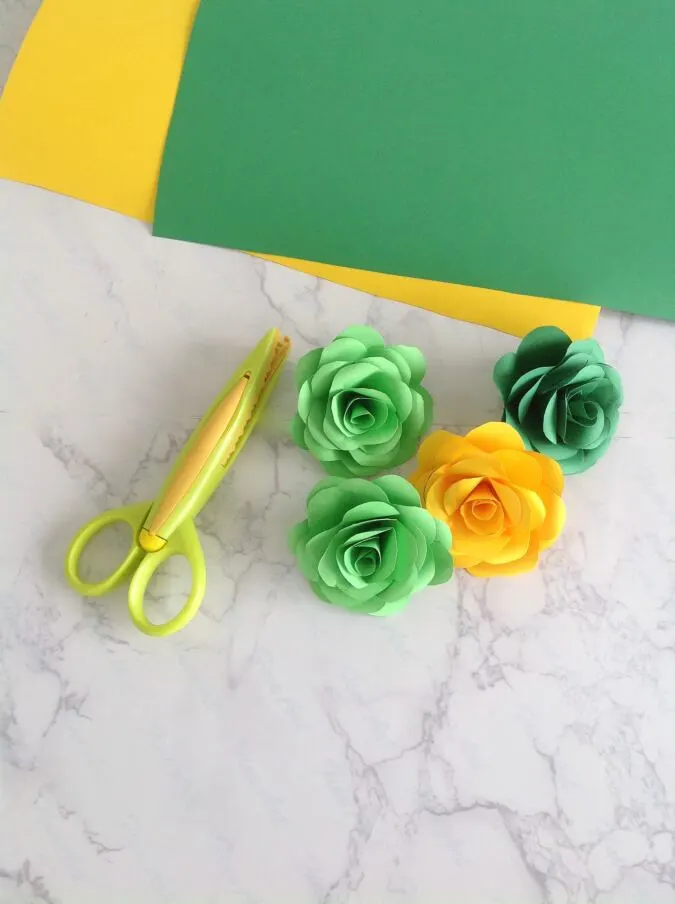
Supplies Needed:
Cardstock paper in any color of your choice.
Scissors.
Glue gun.
Wooden dowel.
Gather the supplies.

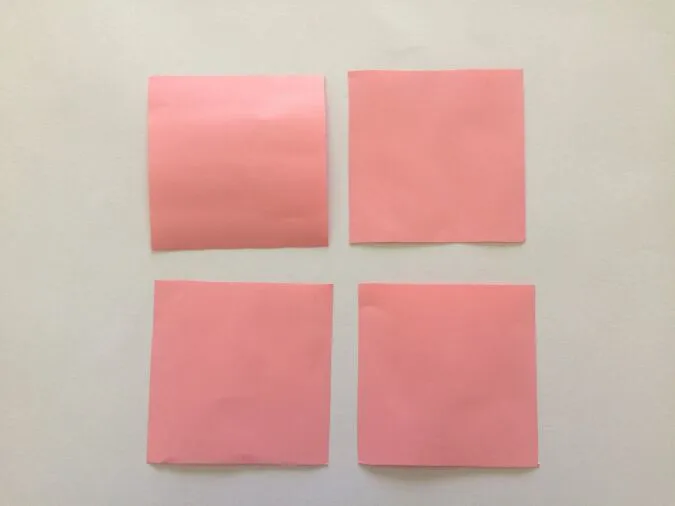
Cut four square pieces with 4 x 4- inches dimensions, from the cardstock paper.

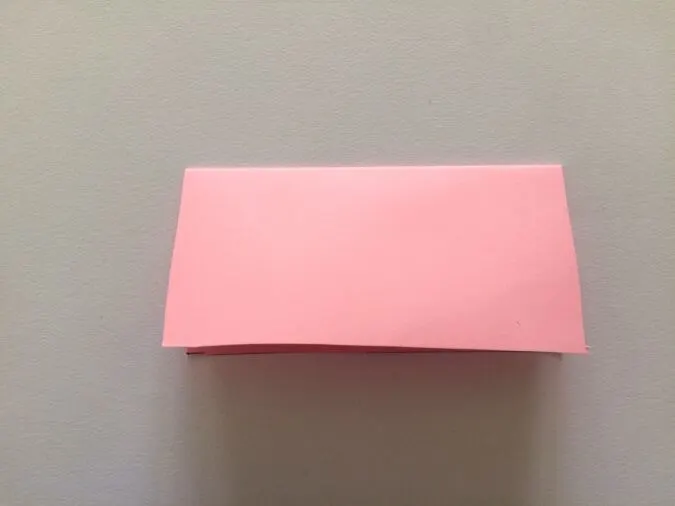
Take one piece and fold it in half.


Fold it again in quarters and draw a heart shape, from fold to fold, as shown above. Cut along the heart.

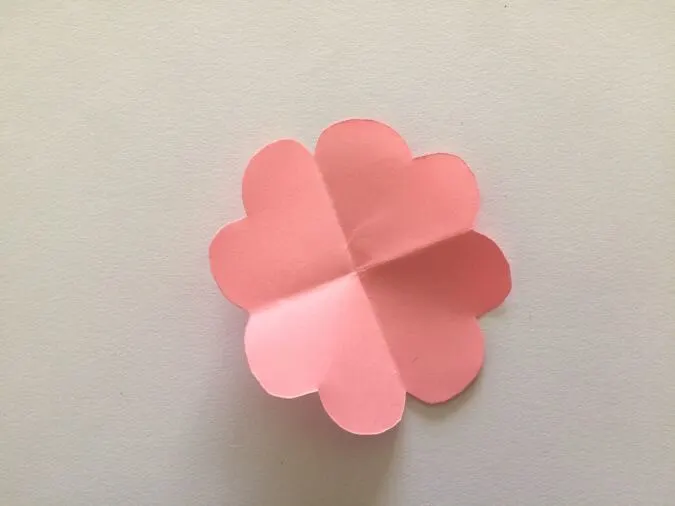
Open and you will get your petal ready.

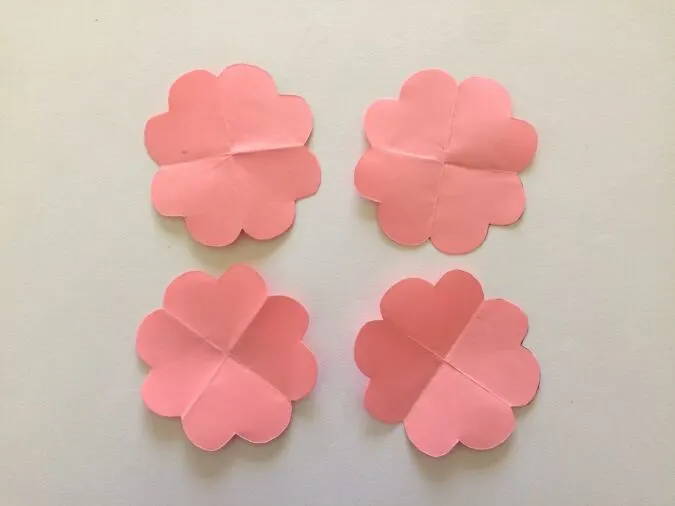
Repeat the same on the remaining square pieces.


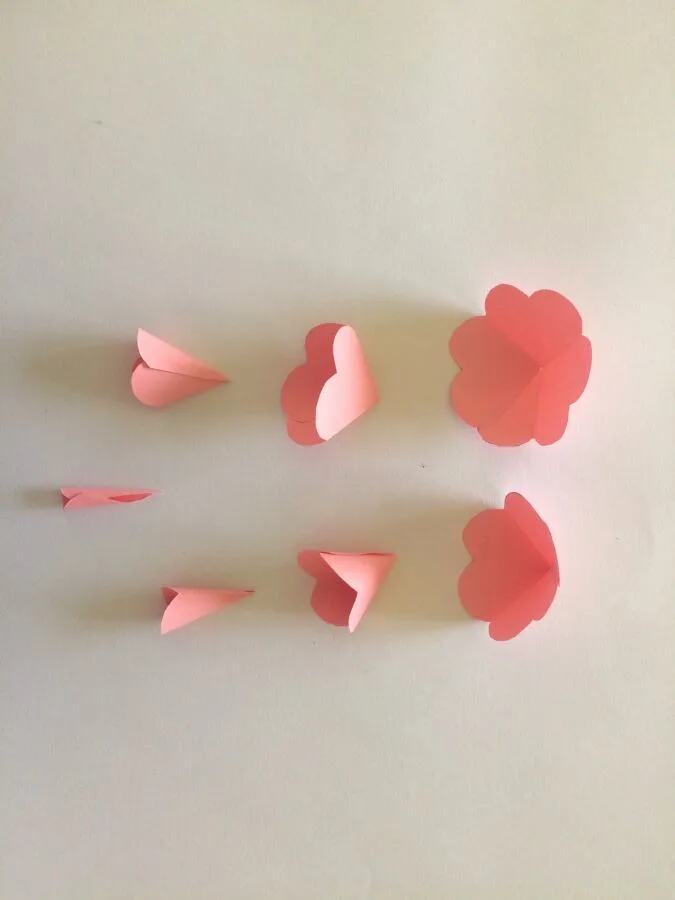
1) Take one flower piece and cut out one petal along the fold lines.
2) Take the next flower piece and cut out 2 petals along the fold.
3) Cut out 3.
4) And then cut out 4.


You will get a set like this ( the parts cut out are also included to make the flower). Arrange them in descending order.
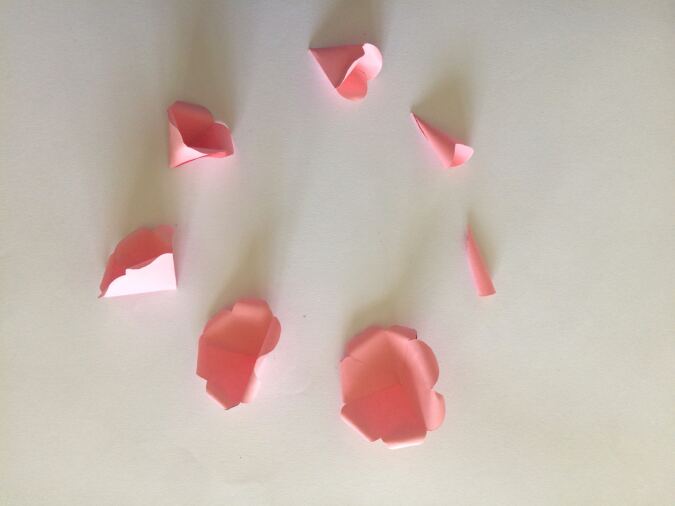
Next, we give the petals a three-dimensional shape.
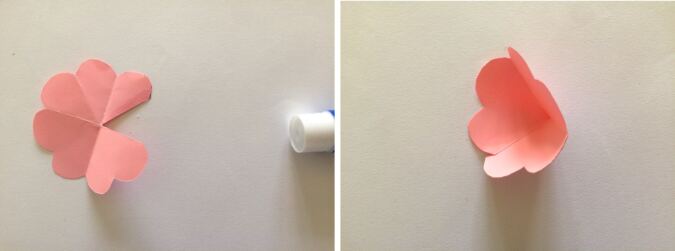
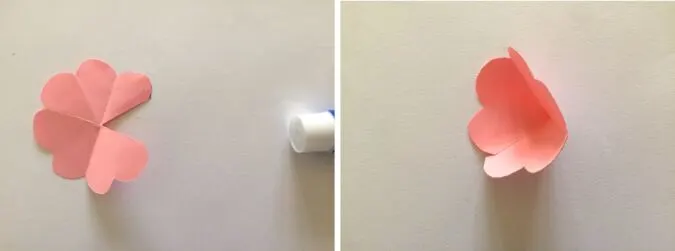
Apply glue along the edge of the petal and glue the other edge on top of it. Your petal has got its 3D shape.

Repeat on all the remaining and you will get 7 layers of petals ready for the rose.


Take the wooden dowel and curl the petals outwards.

Repeat the same with all the petal layers.
Next, let’s glue the layers together.
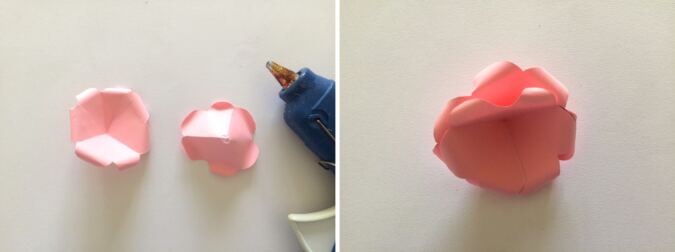

Take the largest flower layer and the larger one following it. Apply glue along the center of the largest and press the second flower to the center.


Apply glue along the center of the second largest and press the third largest to the center.
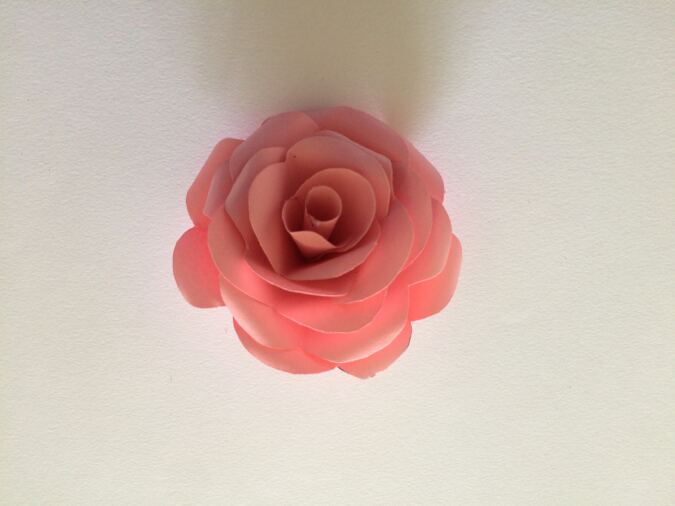
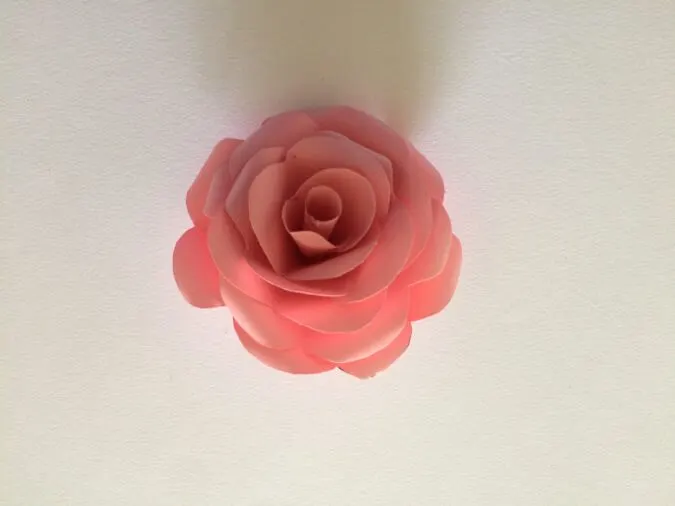
Repeat the process till you complete all 7 layers. Your rose is ready!
Find the webstory for the post here, DIY Paper Rose: How to Make a Beautiful Paper Flower
Pin it for later here,
Toni
Sunday 29th of December 2024
I have tried egg cartons, thick paper, thin paper. In my humble opinion option, this is the easiest and realistic pattern.
Surayya
Saturday 11th of January 2025
Thank you so much! Glad you liked it!
Glory
Tuesday 29th of October 2024
Nice
lila
Sunday 5th of May 2024
at first when I was reading the instructions I was like how is this going to work. Once I tried it worked great! I am not good at paper crafts ,but this came out amazing. Thank you for the step by step ,and the pictures really helped.
Christina
Tuesday 2nd of January 2024
I love it