Have you thought of sewing leggings for your baby or toddler at home? Here is a step by step tutorial with a downloadable template to help you make easy baby leggings in just 5 steps!

Leggings are a must-have for babies, aren’t they? What if you can sew it yourself for your baby or toddler? You can easily make it the way you like or with prints and the colors you choose right?
I have been away from the baby pattern world after summer and I wanted to come up with something my readers would love to sew for all seasons. That is how I designed this easy baby legging in just 5 steps.

If you are looking for baby leggings patterns that are simple and quick to sew, you are at the right place. This is a knit sewing pattern that you will love for your little munchkin. If you are not confident about sewing with knits, here I have given all the instructions to make sewing with knits a breeze.

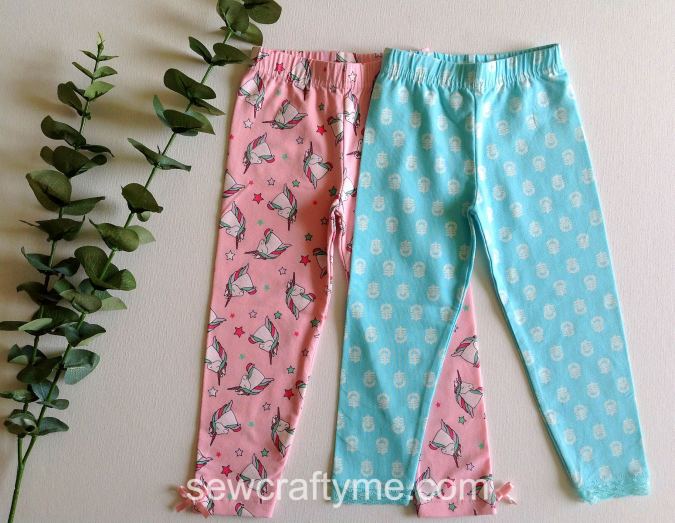
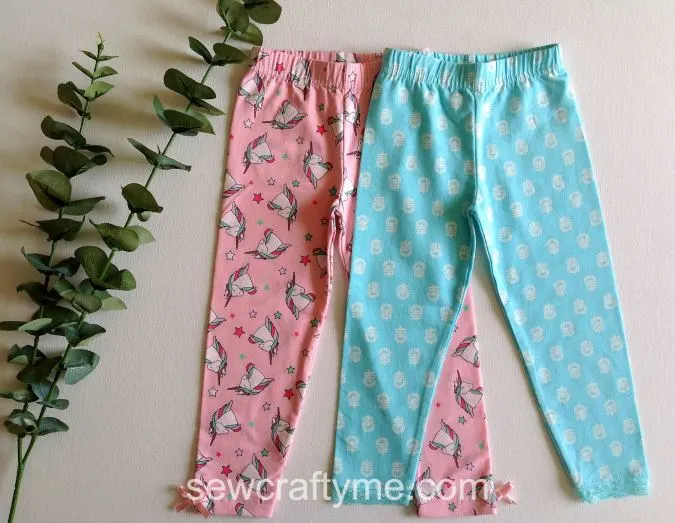
The baby pants pattern comes from newborn to 24 months in size. You can make it more stylish by adding the trims you like. Pompoms are my favorite but you may add rickrack or lace, the choice is yours!
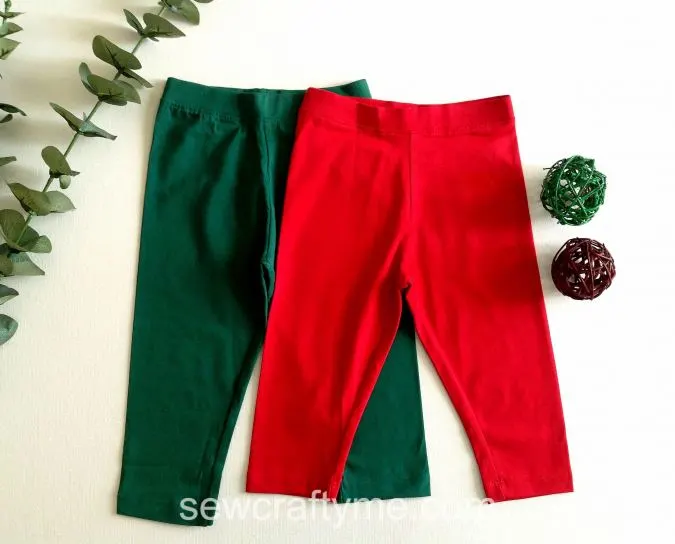
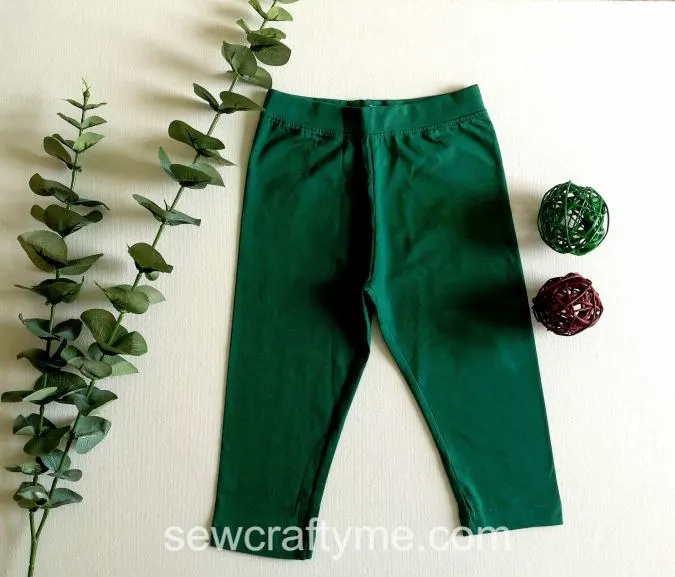
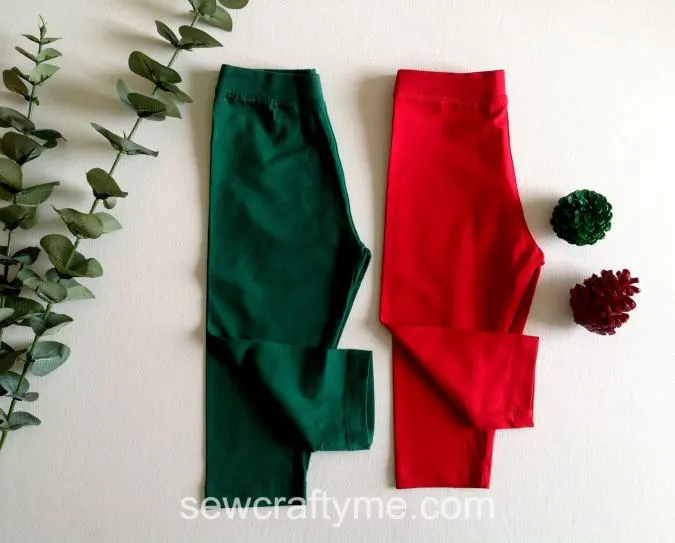
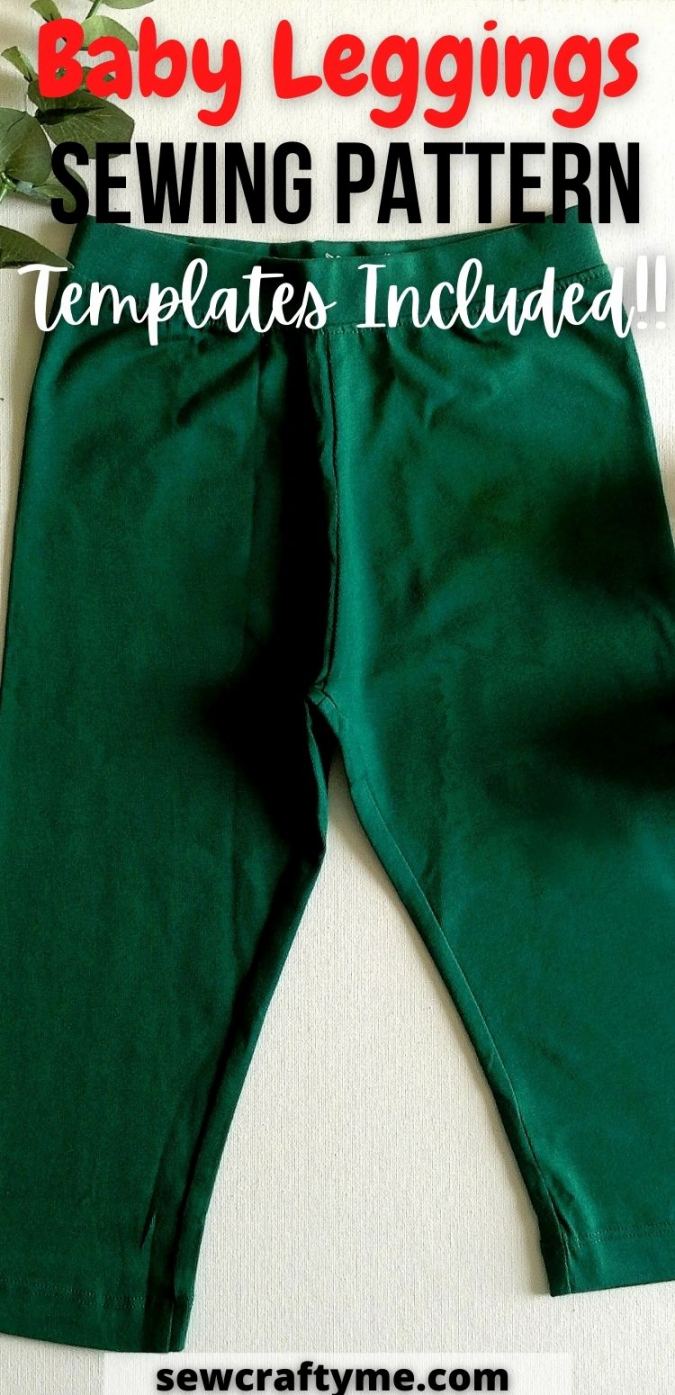
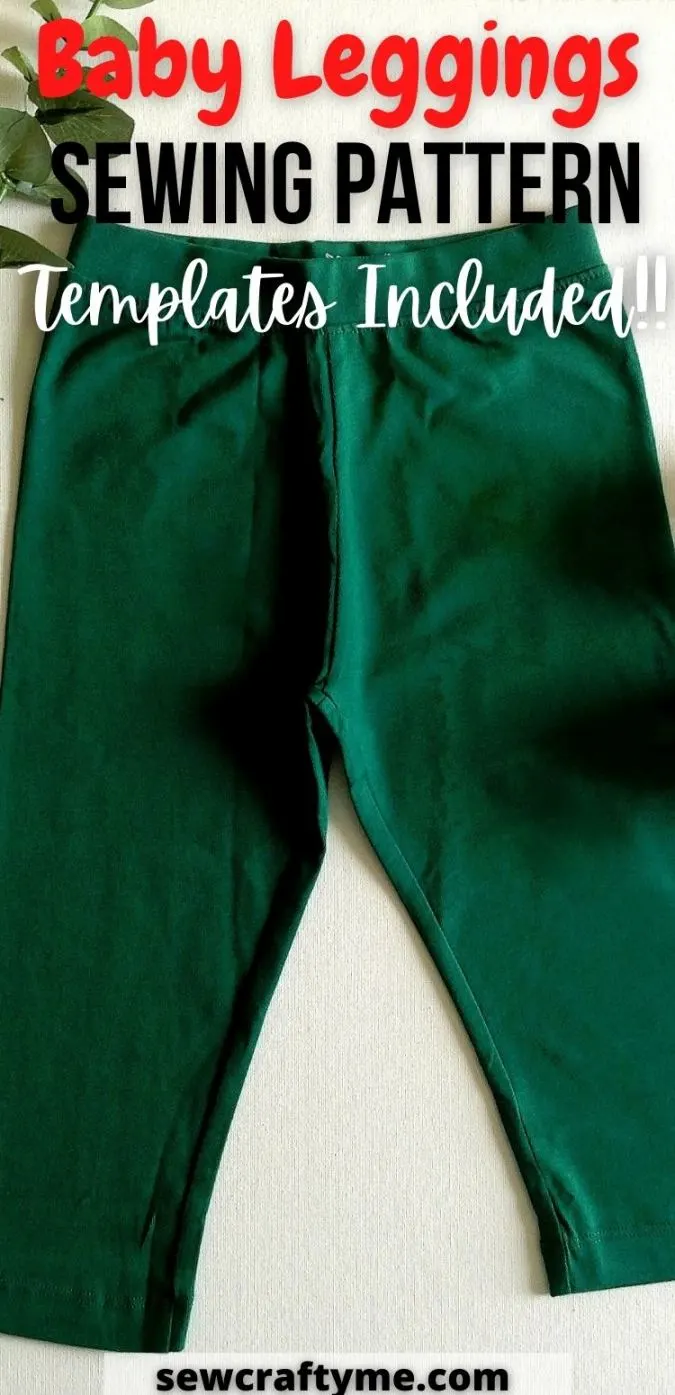
Since it is the holiday season, I have made the leggings in Christmassy colors. Don’t they look cute? Now grab your notions and your fabric and sew baby leggings for all your little ones and even the kids of your friends and family!
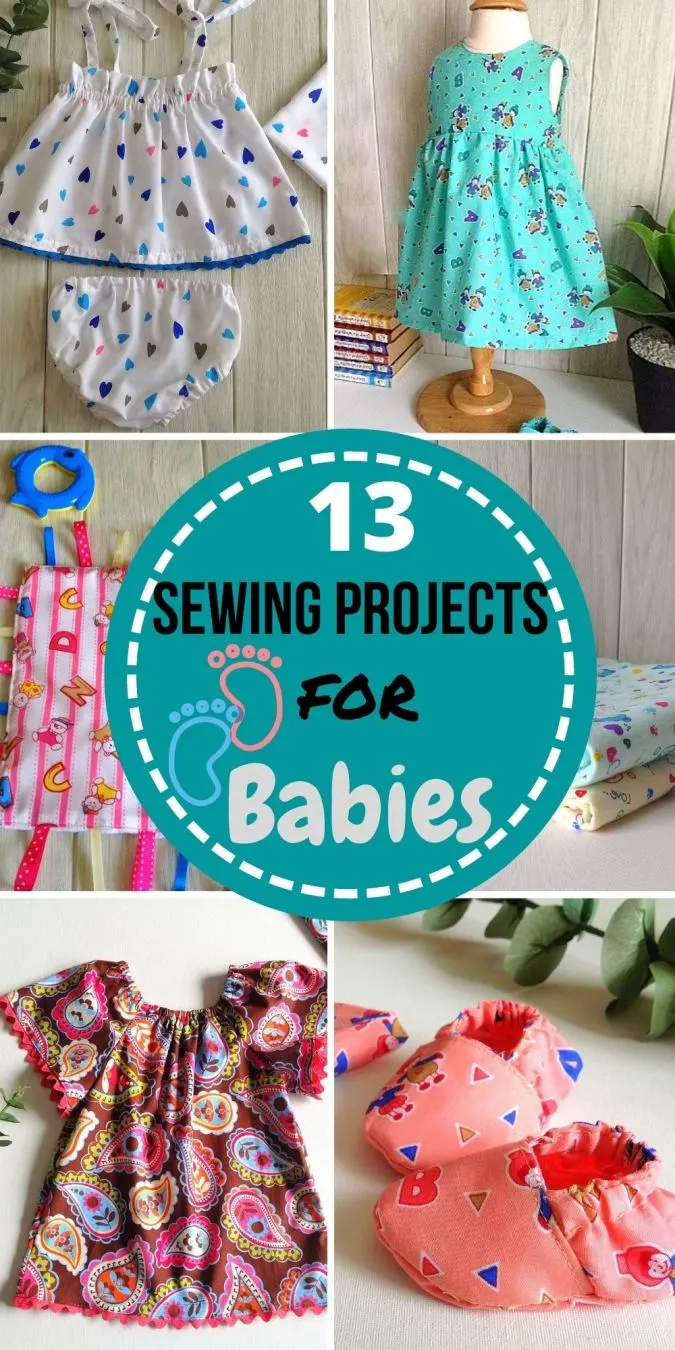
If you would like to see all my baby patterns in one place, click on the picture below:

Easy Baby Leggings in 5 Steps ( Sewing Project)
Supplies Needed
- Interlock knit, jersey knit or cotton knit for the leggings body and ruffles- requirement specified in the table-1 below.
- ¾ -inch elastic for the waist- requirement specified in the table-1 below.
- Sewing Notions.
- Enter your e-mail address and click the subscribe button to download the free template.
Guidelines for Sewing with Knits.
- Spread out your knit fabric on a large flat surface for cutting. This prevents it from getting stretched and distorted.
- Secure the pattern pieces by using ballpoint pins or pattern weights. This would keep the knit fabric underneath from moving and would keep it in place.
- Use polyester thread or a cotton-polyester thread to allow for stretch.
- A ball-point needle is a must for sewing with knits.
- Use a straight stitch for the side seams. Try stitching on a double layer of scrap before sewing on your actual fabric.
- Take care not to stretch the fabric while sewing. Hold the fabric up to keep it flat near the machine. If you have an option in your machine to reduce the pressure of the presser foot, that would be great too.
- Since knit fabrics do not ravel, you don’t need a serger. But if you need a professional finish and you have just an ordinary machine, you may go ahead and use the zigzag stitch for the finish.
*All the fabrics used here are 60- inches wide.
*The fabrics shown here are only for illustration purposes and as such may vary from the original.
*The seam allowance is 3/8-inch unless otherwise specified.
*I suggest you read the entire pattern once before starting to get a general idea.
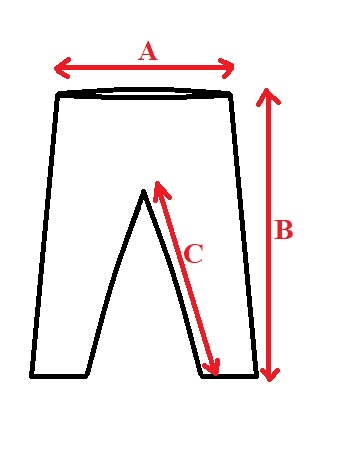
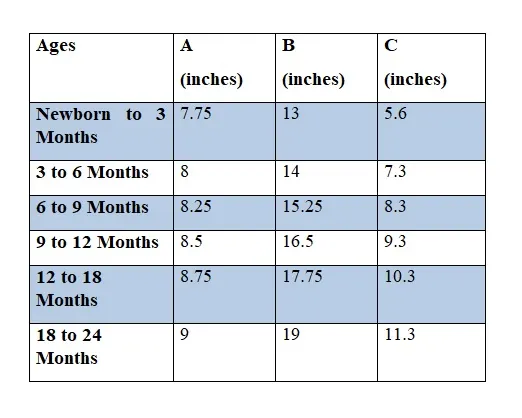
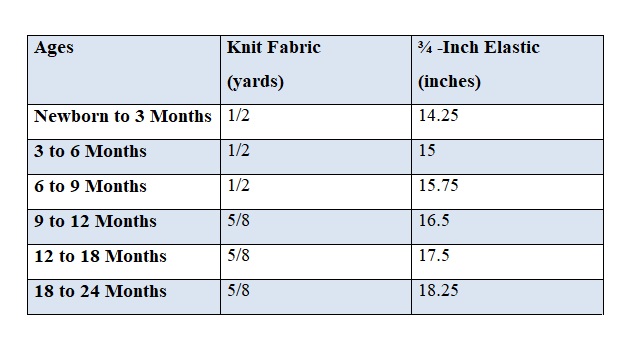
Approximate Finished Measurements
Table-1

- Pinch to zoom for mobile users.

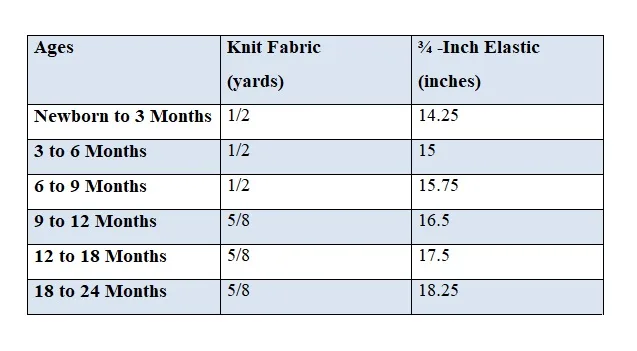
Fabric Requirements
Table-2
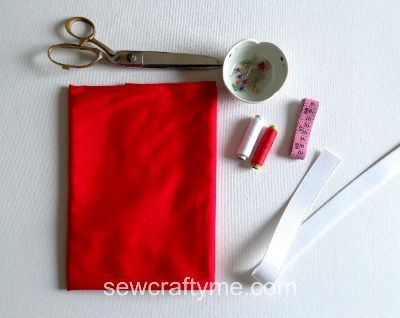

Gather your supplies.
Step-1: Cutting The Pieces
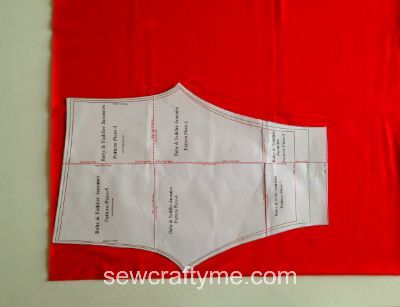
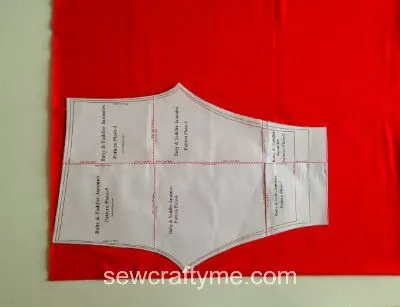
Take the fabric and the template. Fold the fabric to fit the width of the template and place the template over it. Mark around it and cut to get the leggings pieces.
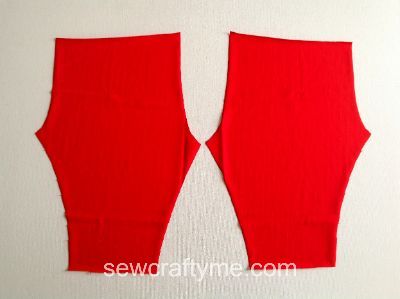

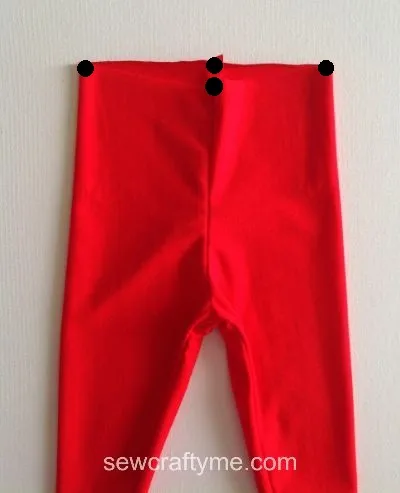
Your leggings pieces will look like this. Note that the crotch for the back is higher than the crotch for the front.
Step-2: Sewing The Crotch Seams
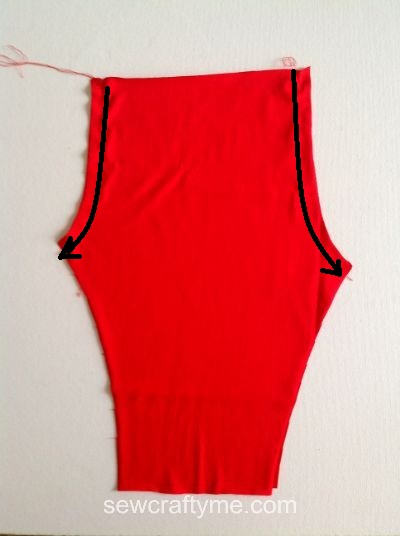
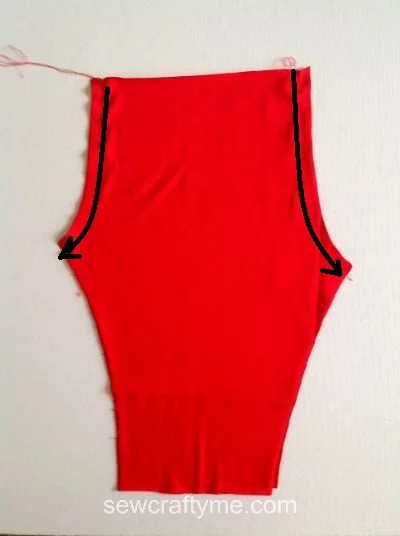
Take the two leggings pieces and keep them layered with the right sides together and aligning the edges. Sew along the two crotches as marked above.
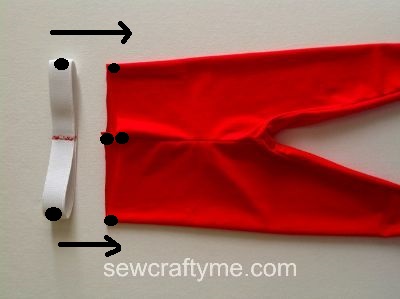
Step-3: Sewing the Inseam
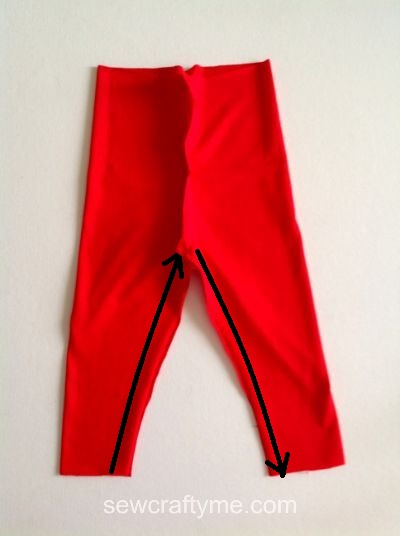
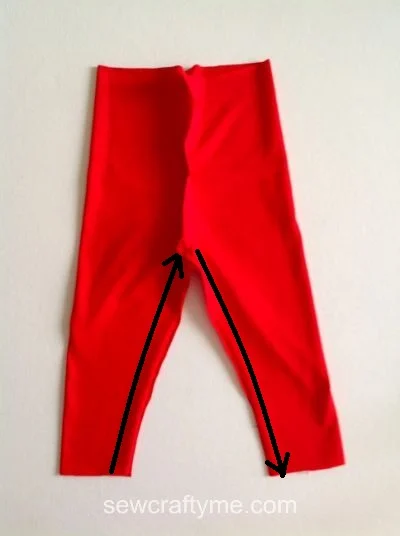
Open up the leggings and rearrange it such that the two crotch seams match up. Also, align the inseam and lower edges of the legs. Sew the inseam starting from the lower edge of one leg to the lower edge of the other.
Step-4: Attaching the Waist Elastic:
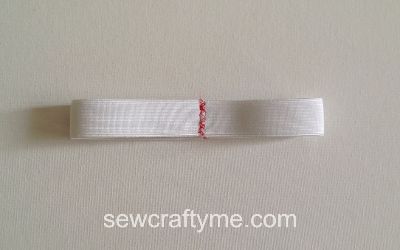

Take the required length of the elastic, referring to the table-2 above, and join it along the shorter sides to form a closed elastic ring.
Next, we quarter mark the elastic.
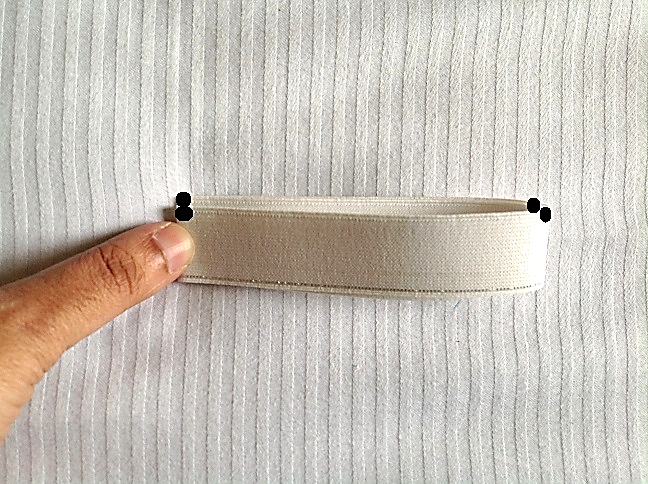

Fold the elastic ring in half and quarter- mark the elastic.
Let’s attach the elastic to the leggings.

Quarter mark the top edge of the leggings; two along the two sides and the other two along the crotch seam.

Keep the leggings with the right side out and slide the elastic into the leggings.

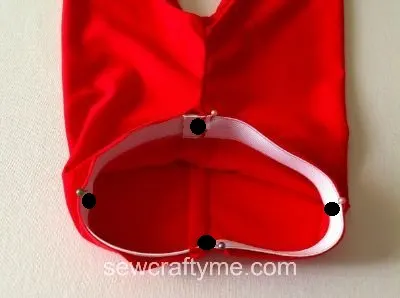
Rearrange the elastic to match the quarter marks and pin the upper edges of the elastic and leggings together.
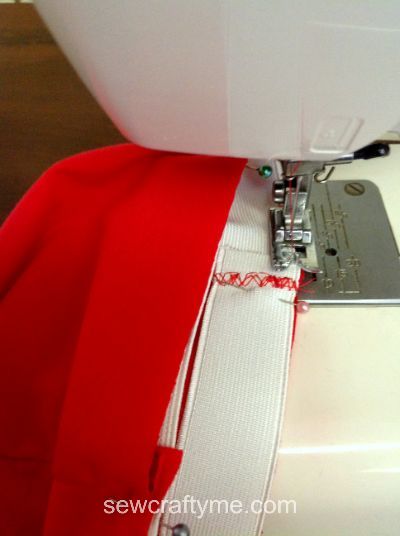

Sew the elastic to the waistband, keeping it stretched to match the quarter marks. Take care to pull only the elastic and not the fabric.

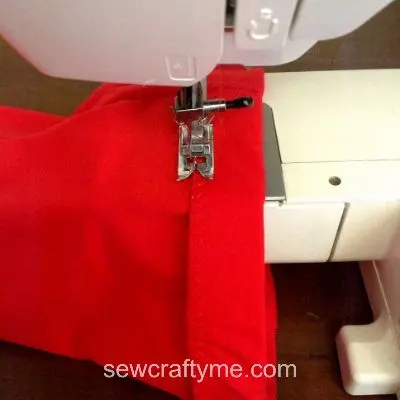
Fold the elastic over to the wrong side. You can see that now the elastic is covered on both sides by the fabric. Sew down the elastic along the lower edge of the fold, keeping the elastic slightly stretched all the time. This would prevent wrinkles forming in the fabric. Take care to use a zig-zag stitch or a stretch stitch since you need the waistband to stretch while wearing.
Step-5: Finishing the Lower Hem:
- The two pictures below are for illustration purposes and as such may vary from the original.

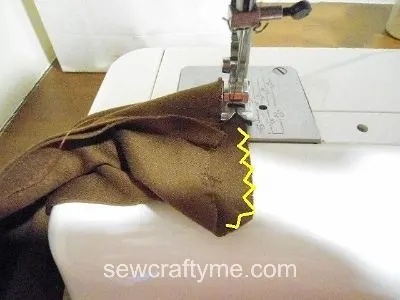
Zig zag the lower edge of the two legs.


Fold the lower edge of the two legs towards the wrong side by ¾ -inch and press. Sew down the hem using a narrow zigzag stitch, a stretch stitch, or by using a double needle.
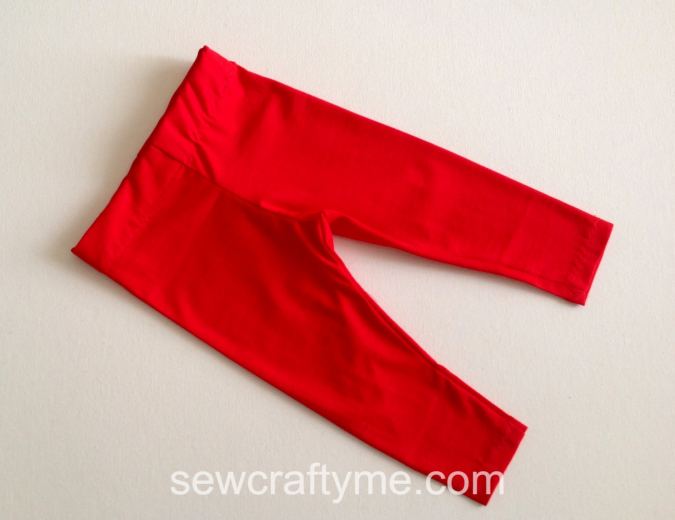
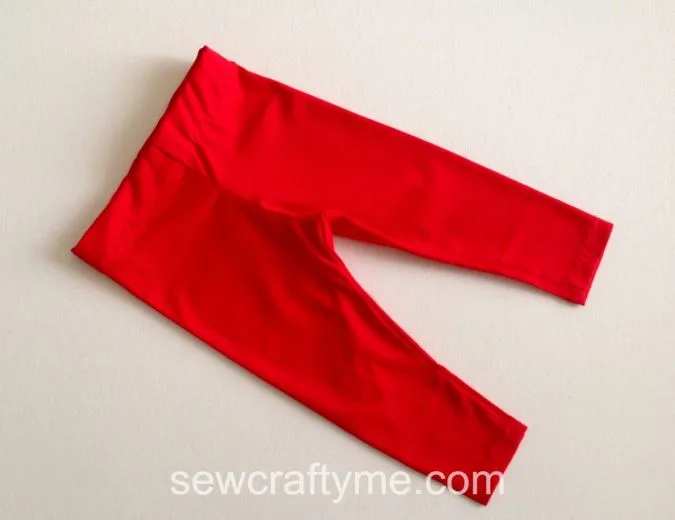
Cut off your hanging threads and your leggings are done!
Find the webstory for the post here, Snug & Sweet: Sew Your Own Baby Leggings
Now you have learned to make cute baby leggings in 5 easy steps. They are great for your baby and can make wonderful handmade gifts for a baby shower!
Glory
Tuesday 29th of October 2024
Beautiful
Jody
Sunday 27th of August 2023
Hello, I have been sewing since I was about 7-years-old, mostly self-taught, and the machine I learned on was a treadle! Actually it was a great machine for a kid because the speed was really controllable - with your feet.
Since then I have graduated to a Pfaff, which I have had for 50 years! I love your patterns for babies, I think I have made everything at least once.
I sew for preemie babies who leave the hospital with nothing to wear since they are a surprise and parents are rarely ready. I also sew preemie clothes for my grandchildren and grandnieces who have Reborn dolls. I have been converting your patterns to preemie size with mostly success.
If you could add preemie sizing to your patterns sometimes, it would surely help old ladies like me!
Thank you for your considerable expertise and support for all we "sewists" out there. I truly appreciate your generosity.
Carolyn
Saturday 26th of August 2023
I finally found the Easy Baby Leggings template by subscribing to your website (which I guess I hadn't already done) BUT when I printed the download, the pattern pieces are labeled "Baby & Toddler Jammies". Please help as I have a new granddaughter I wish to sew for.
Surayya
Saturday 26th of August 2023
The template is used for sewing leggings and jammies as well.
Carolyn
Saturday 26th of August 2023
Your directions sound great, but I cannot find the template for the easy leggings. A search only brings up a dress pattern. Please help.
Surayya
Saturday 26th of August 2023
Kindly enter your email address and click the subscribe button to download the template.
Lynn
Thursday 19th of May 2022
Hi I purchased the baby leggings pattern but forgot to put my e mail could you forward the pdf
Surayya
Thursday 19th of May 2022
The pattern has been e-mailed to your Paypal id. Please check your inbox.