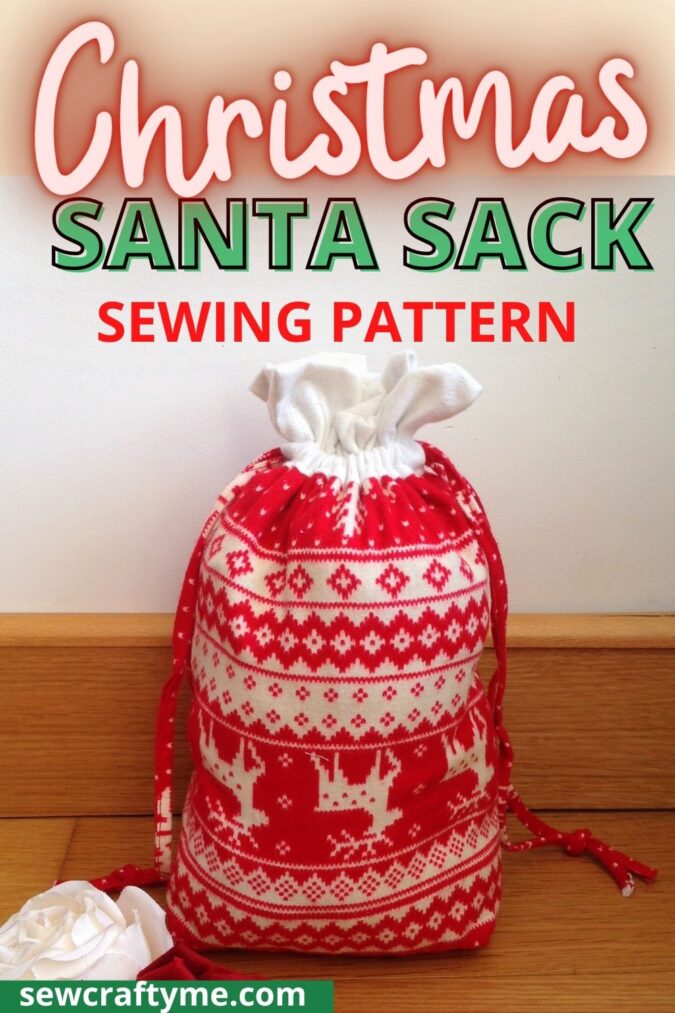
Learn how to make Santa sacks with this fun and easy Santa sack sewing pattern. Make it in small, medium, or large size to welcome Santa home!

Wouldn’t you love an awesome handmade Santa sack to welcome him this Christmas? Well here is something to quench your thirst for making all things handmade for Christmas, the easy Santa sack.


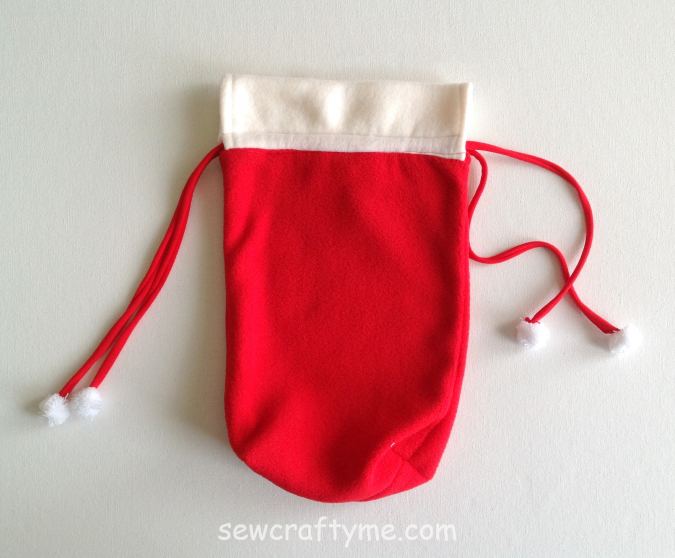

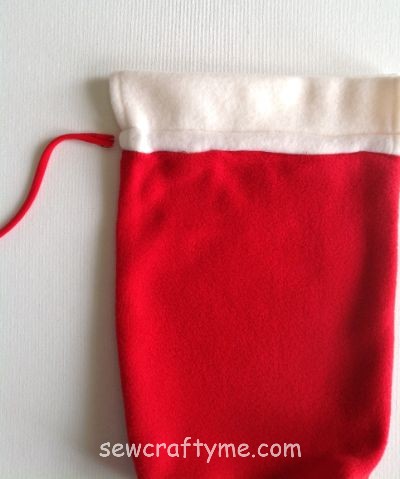
This is a drawstring style bag, that is made with fleece. You can make the bag in any fabric you like. Just make sure to choose Christmassy fabrics to bring in the spirit of the season. I have used rolled up fleece strips for the drawstring, replace it with burlap strings if you would love it that way!
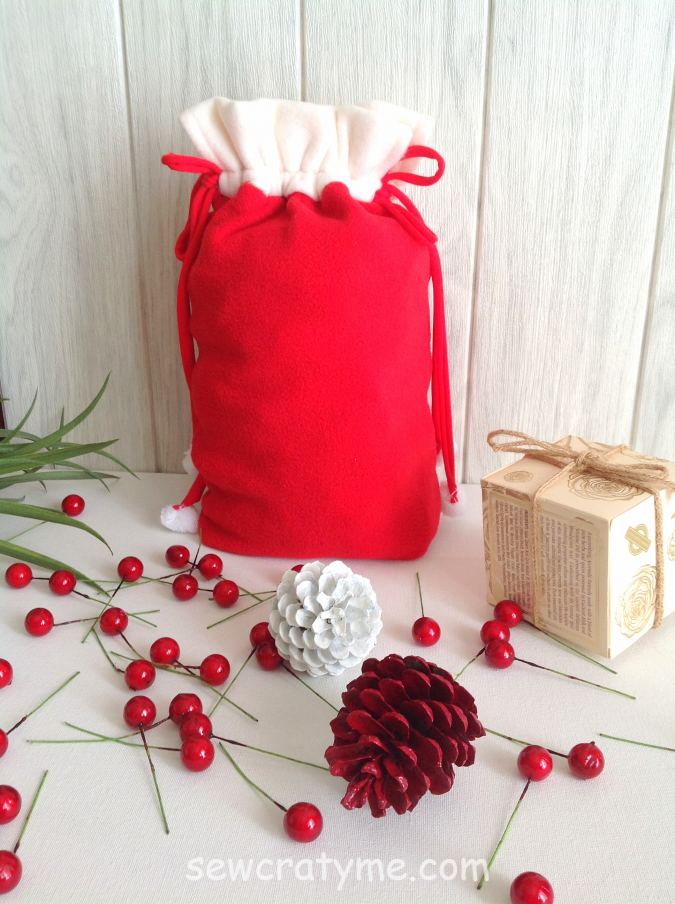

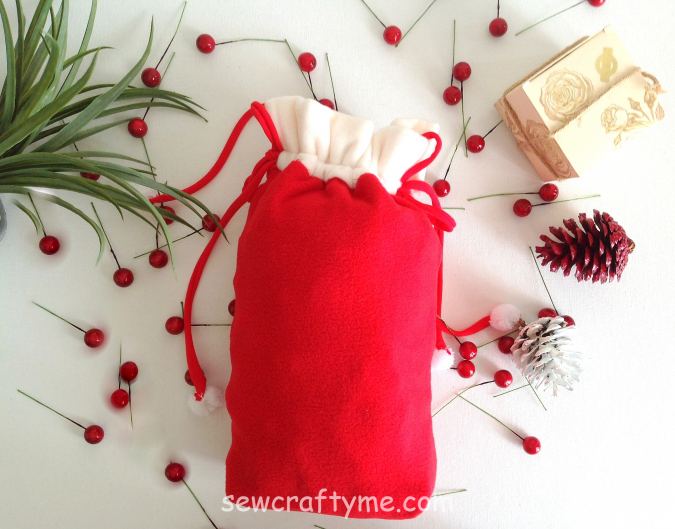
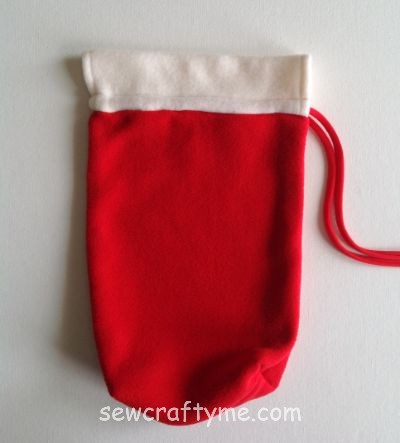
This easy Santa sack has a red body and a white cuff to mimic the outfit of Santa Claus. It is so simple, that you can’t just stop at one. You can make a number of them in an hour to gift your loved ones.
These Santa sacks are great for display under your Christmas tree. They are reusable and can be folded and put away once the holiday season gets over, to be used year after year.
Last year I had seen these kinds of bags in stores but it was already Christmas and I was too late to make a sewing tutorial on how to make a Santa bag. This year, I have come up with this easy sewing project early so that you can all sew a Santa sack way before Christmas to welcome Santa home!
Here in this tutorial, I have given the measurements to make the Santa bag in three different sizes. You may change the measurements to make the bag in any size you like.
If you would love to see more of my Christmas patterns, click on the pictures below:


Easy Santa Sack Sewing Pattern
Finished Measurements:
Small:
8” Width x 10” Height.
Medium:
12” Width x 15” Height.
Large:
20” Width x 25” Height.
Supplies Needed:
Red fleece fabric- 1/3 yard for small size, ½ yard for medium, and 2/3 yard for Large.
White fleece fabric- 1/6 yard for small size, ¼ yard for medium, and 1/3 for large.
Four white felt pompoms.
Burlap strings for the drawstring (optional)- 1&1/2 to 2- yards.
Sewing Notions.
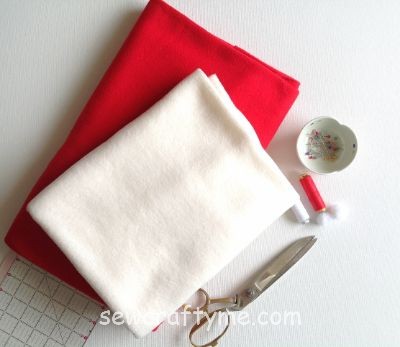
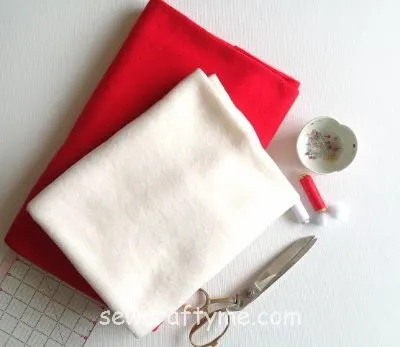
Gather your supplies.
Cutting dimensions for Different Sizes:
Small:
Bag front and bag back pieces 9- inches wide and 11-inches high.
Cuff pieces; 9-wide and 5-inches high.
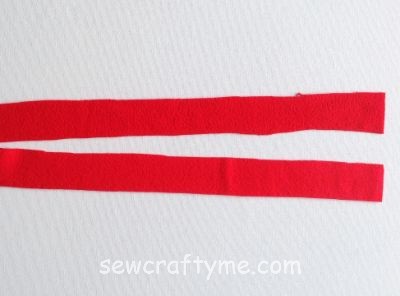
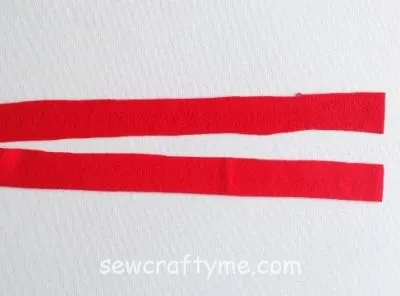
2 thin strips for the drawstring; 32- inches long and ½ -inch wide.
Medium:
Bag front and bag back pieces 13- inches wide and 15-inches high.
Cuff pieces; 13-wide and 7-inches high.
2 thin strips for the drawstring; 34- inches long and ½ -inch wide.
Large:
Bag front and bag back pieces 21- inches wide and 23-inches high.
Cuff pieces; 21- inches wide and 11-inches high.
2 thin strips for the drawstring; 36- inches long and ½ -inch wide.
- The seam allowance is 1/2- inch unless otherwise specified.
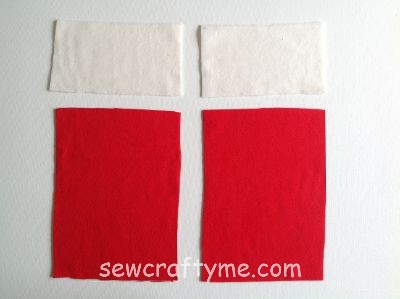
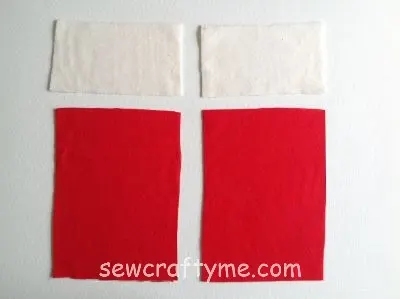
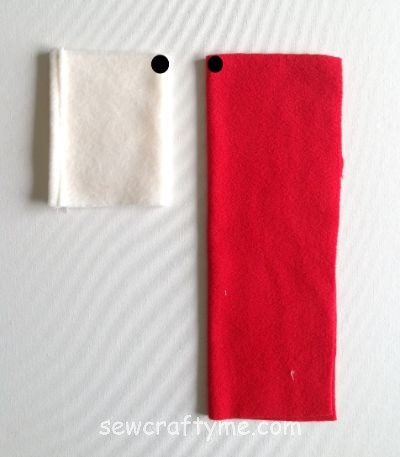
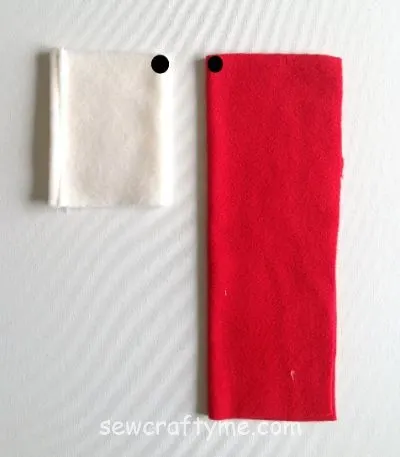
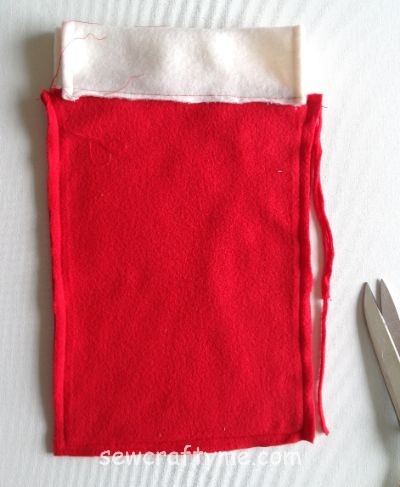
Cut your fabric pieces according to the dimensions given above. You will have 2 pieces for the bag body; let’s call it bag front and bag back. You will also have two cuff pieces and two strips for the drawstring as shown below.
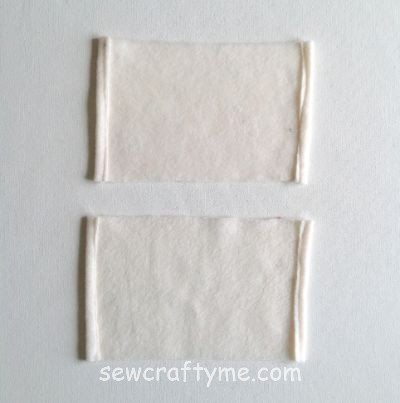
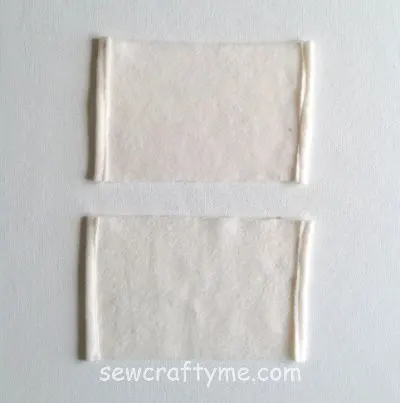
Take the cuff pieces, fold the two short edges towards the wrong side by ½-inch and sew them down.
Fold the bag and cuff pieces in half lengthwise and mark the top center.
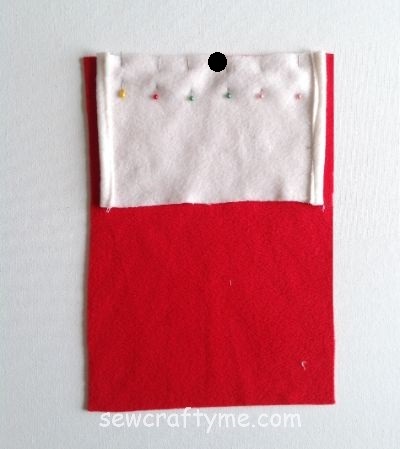

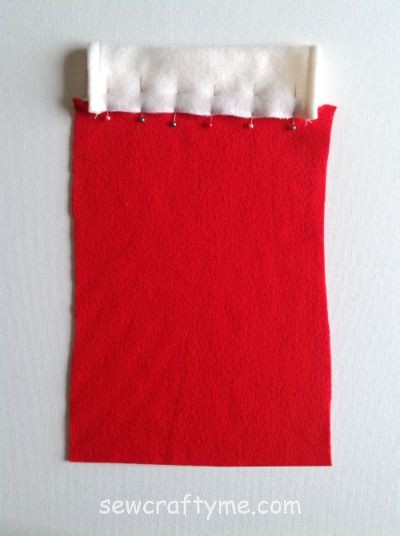
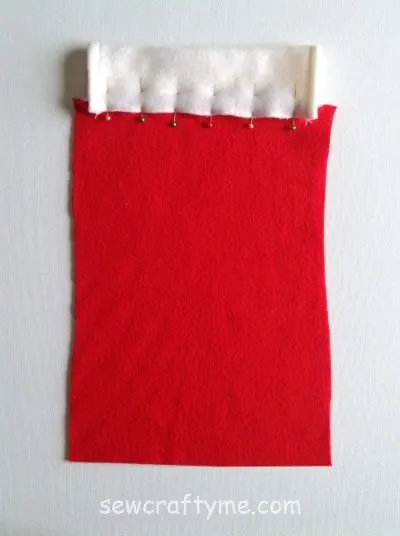
Line up the short edge of the bag front piece with a cuff piece, with the right sides together and the center marks aligning. Pin the two pieces together along the aligned edges.
Sew the cuff to the bag piece, removing the pins as you go.
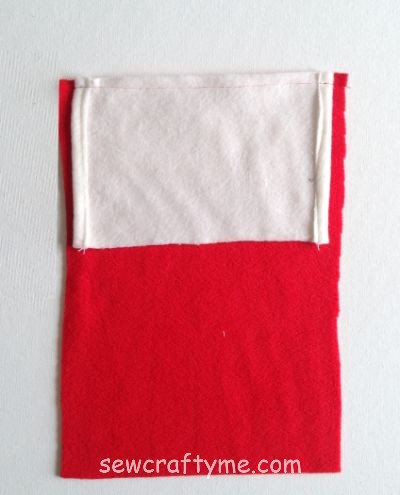
Fold the cuff over to the wrong side of the bag piece. Pin the raw edge of the cuff to the bag piece, covering the earlier seam.

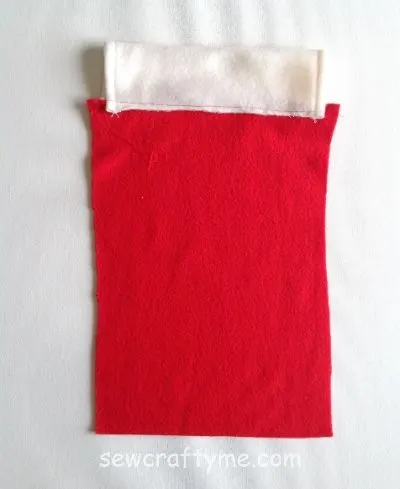
Sew the cuff closed along the pinned edge. Repeat the steps with the bag back and cuff pieces.
Next, we sew the bag front and back pieces together.

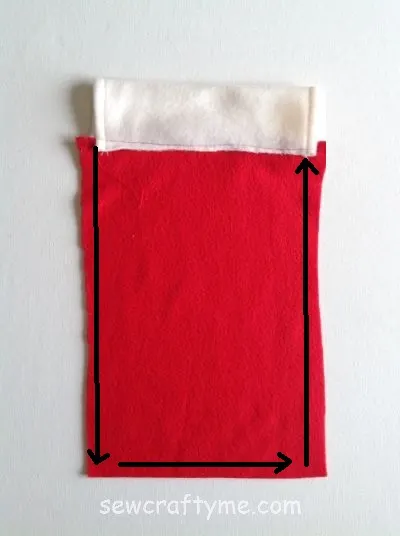
Layer the two bag pieces with the right sides together and aligning the edges. Leave the cuff and sew the bag shut along the two long edges and the short bottom edge.

Trim off the extra from the seam allowance.
Next, we box the bottom of the bag.
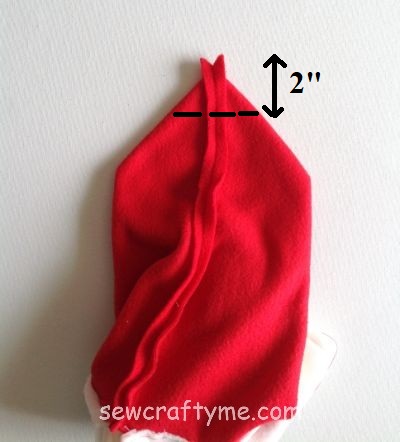

Align the side seam with the bottom seam of the bag and sew a line 2” across the corner as shown above. Make sure to reinforce the stitches at the start and finish.
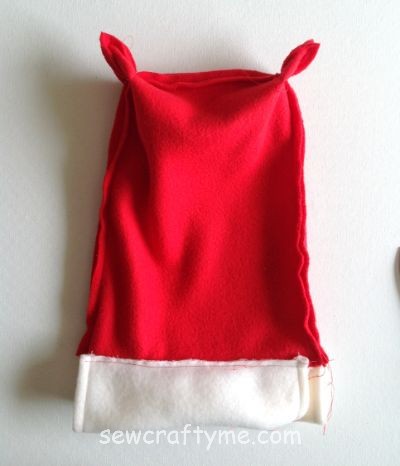

Repeat the steps on the other corner. The wrong side of your bag would look like this.
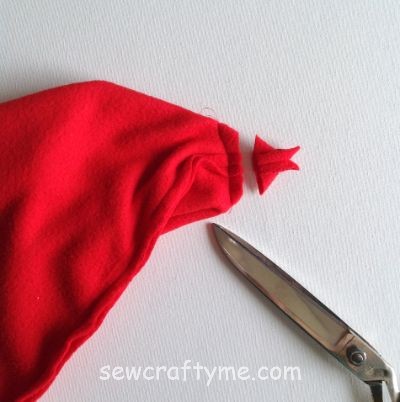

Trim the seam at the corner to 3/8- inch.
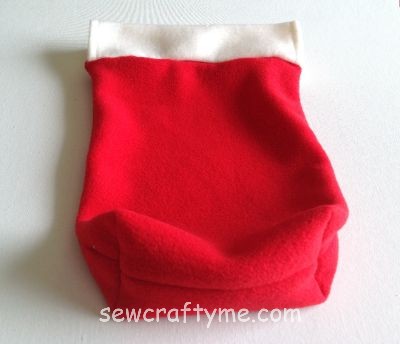

Turn over to the right side and the bottom of the bag will now look boxed like this.

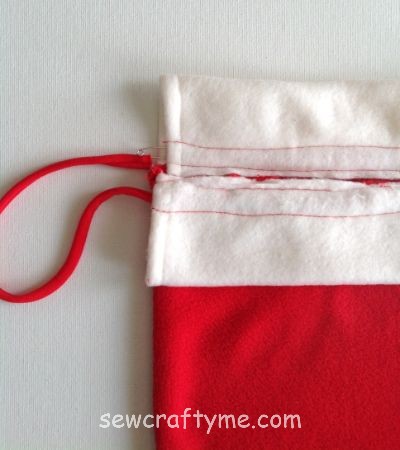
Sew another straight line, on the cuff, ½- inch from the seamline of the bag and cuff to create a casing for the drawstring. Repeat on the other side of the cuff.
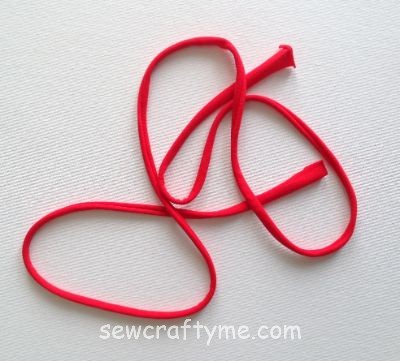

Pull the fleece strips for the drawstring tight with your both hands to roll them up.

Start inserting the string through one end of the casing, using a safety pin.

Continue inserting the string, into the casing on the other side.

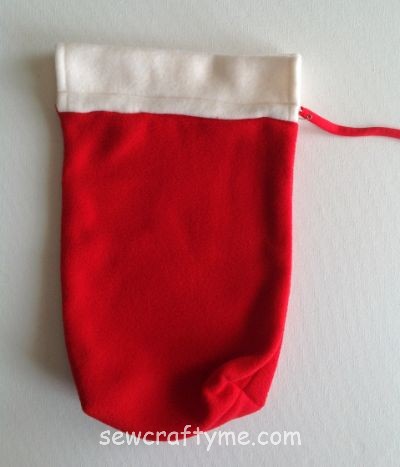
It will look like this.

Next, take the other string piece and start inserting it through the casing from the opposite side. Continue as before.


Hand sew the pompoms to the ends of the strings and our Santa bag is done!
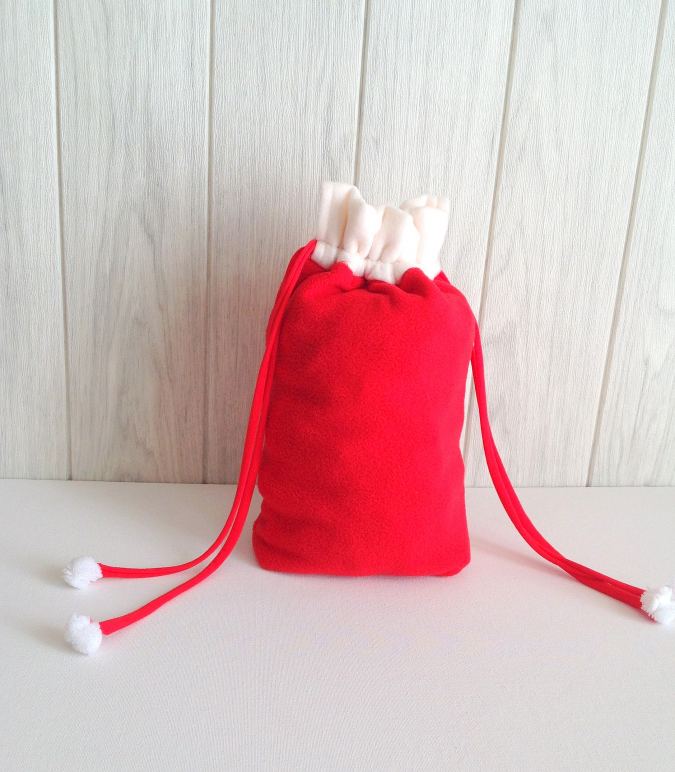

You can pull the strings on both sides to close it.
For more of my free patterns, click here.
Find the webstory for the post here, Sew a Simple Santa Sack for Christmas
For hundreds of free patterns and DIYs, visit allfreesewing.com.
Pin it for later here,

That is all about my easy Santa sack sewing pattern. I love the bag for Christmas, hope you love it too!
Maria
Monday 9th of December 2024
Such a neat idea!! I love this