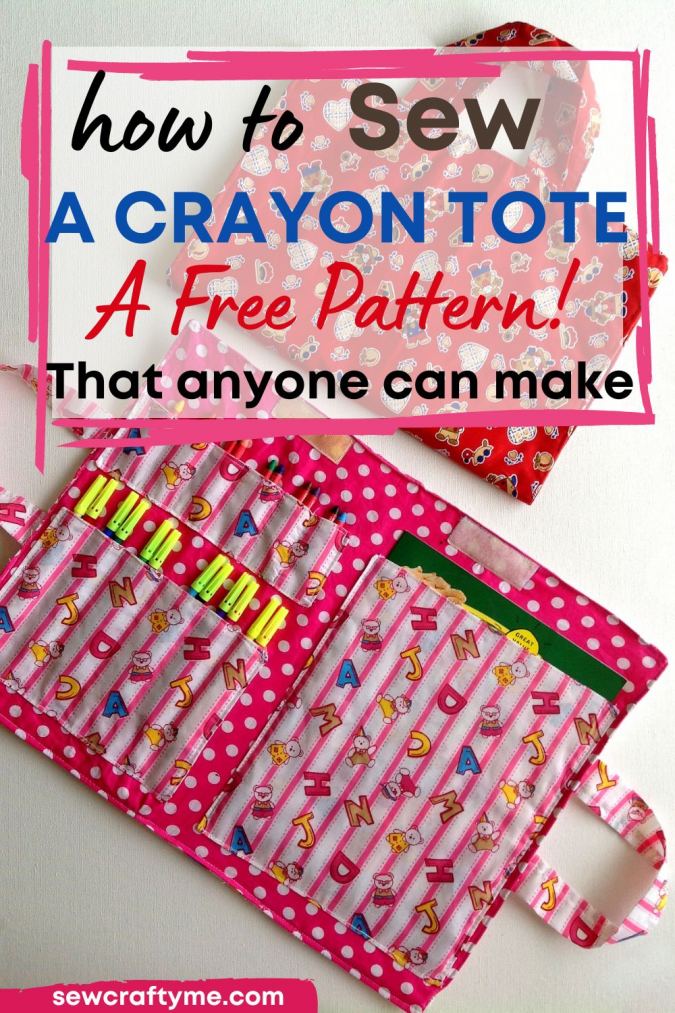
Learn how to sew a craft supplies organizer tote for your little one so that he or she can neatly organize her wax crayons, color markers and coloring books. Your child can easily tuck in and pull out her coloring supplies from this bag. Once done, she can easily fold it over and carry it wherever she goes.

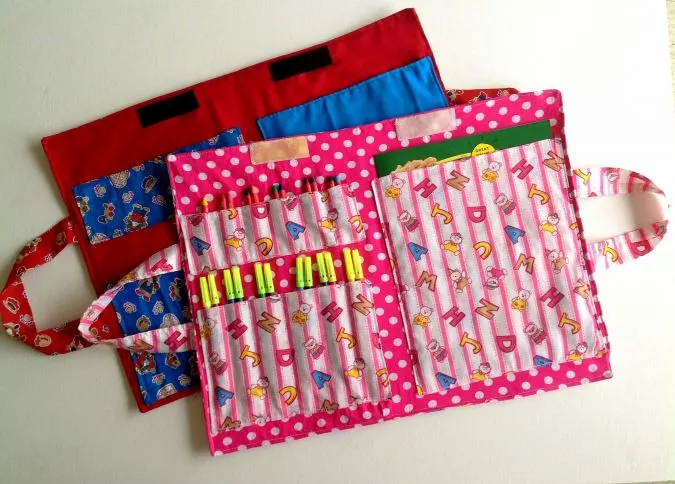
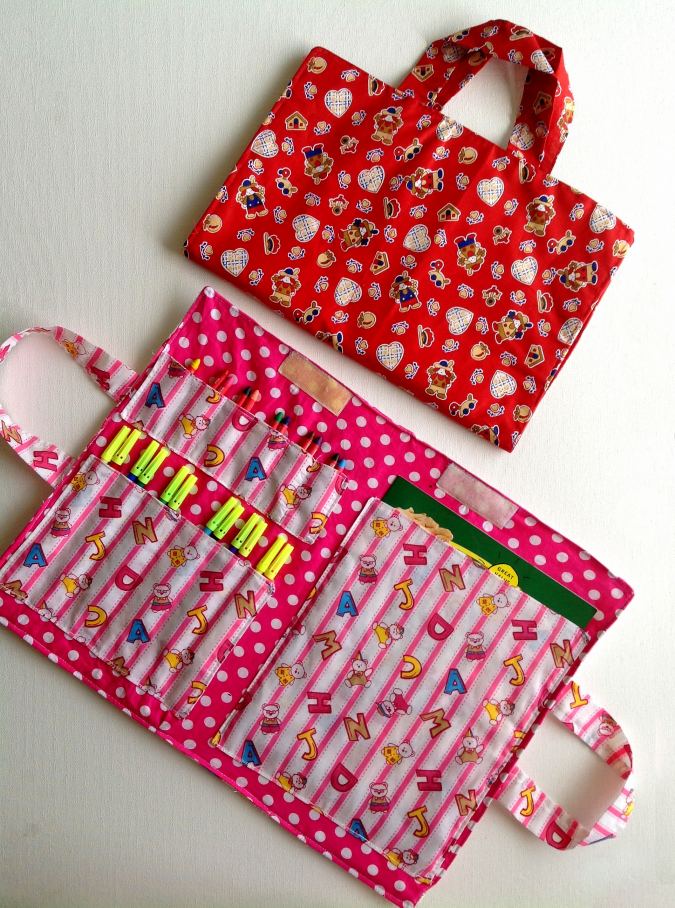

The tote has a Velcro for closure to hold the craft supplies safely inside. If you have a child who loves to color and take her supplies wherever she goes, this crafting tote bag is just perfect for her.


This DIY craft supplies tote is not tough to sew. It is made from a few rectangular pieces of fabric and you can make one easily. With the schools re-opening shortly, you can make as many as you want for your little one or as a gift for someone you love.
If you would like to sew a slim zipper purse to use as a pencil pouch, click on the picture below:
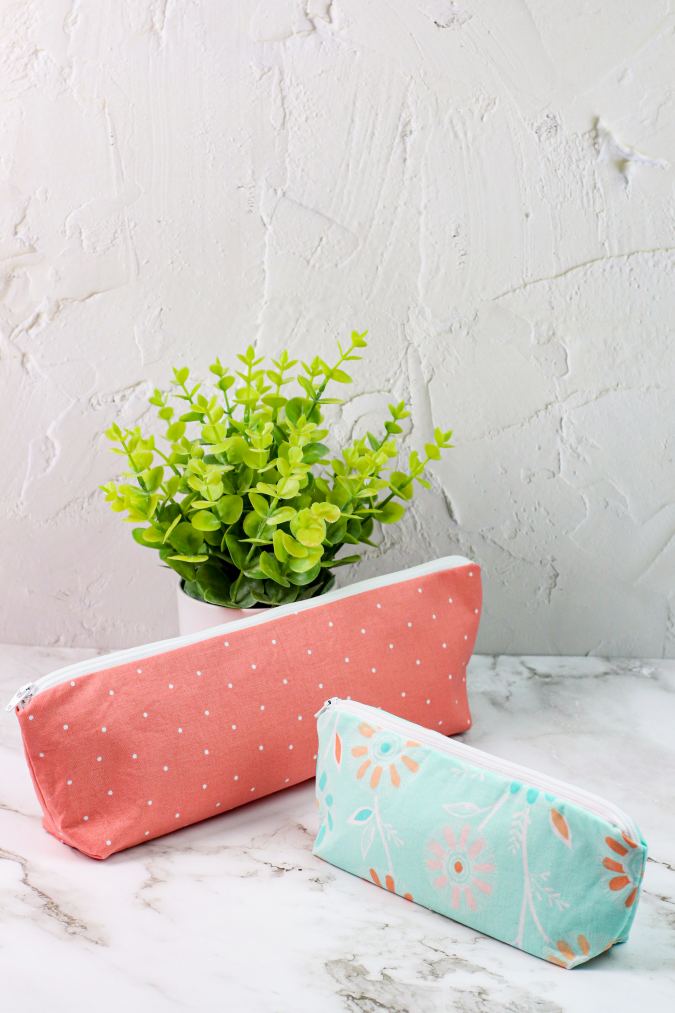

Craft Supplies Organizer Tote Sewing Pattern
Supplies Needed:
Medium- weight cotton fabric for the crayon tote outer- 1/2- yard
Medium- weight cotton fabric for the tote lining- 1/2 yard.
Medium- weight cotton fabric for the pockets- 1/4 yard ( you may use cordinating leftover scraps for the pockets).
Heavy- weight fusible interfacing- 1/2 yard.
Cotton batting- 2/3 yard.
Sewing Notions.
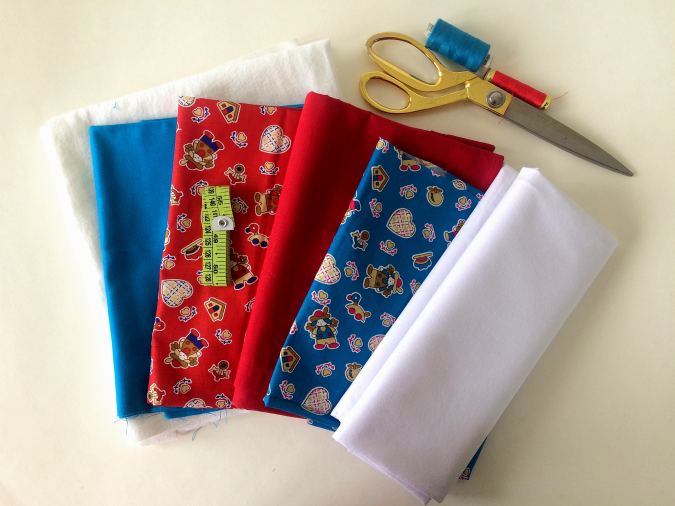

Gather you supplies.
Cut your pieces with the following measurements:
Crayon tote outer- 19.75” x 14.75”
Crayon tote lining and interfacing- Same measurements as above.
Pocket-1 for the wax crayons- 9” x 3.5”(cut 2)
Pocket-2 for the color markers- 9” x 6.25” (cut 2)
Pocket-3 for the coloring book- 9.75” x 11.25” (cut 2)
Strap-12” x 3.5” (cut 2)
Batting- 23.75” x 18.75” .
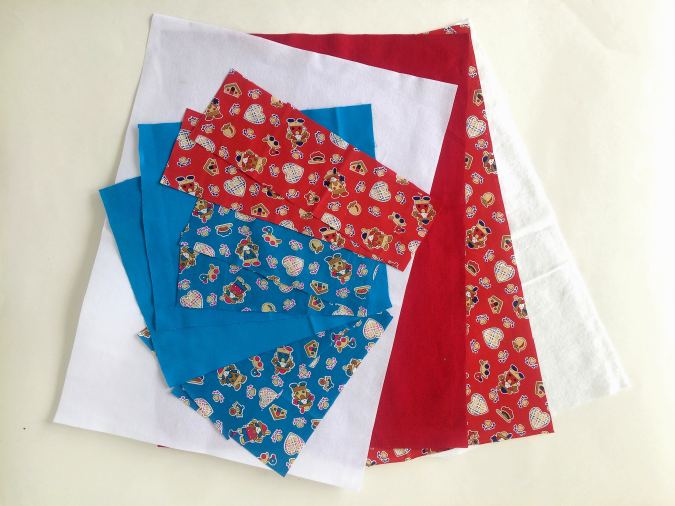

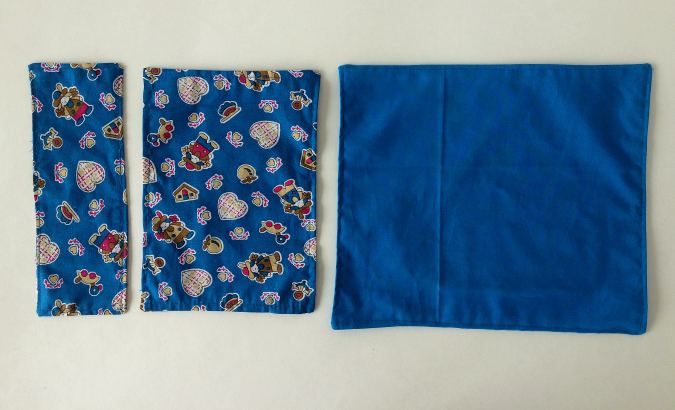
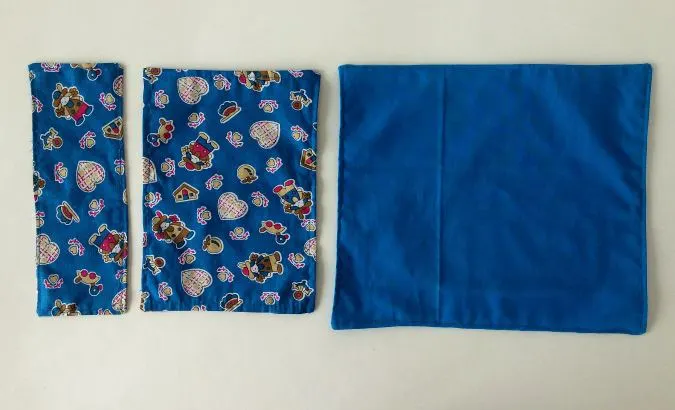
You will get your pieces like this.
We first start making the pockets.
-
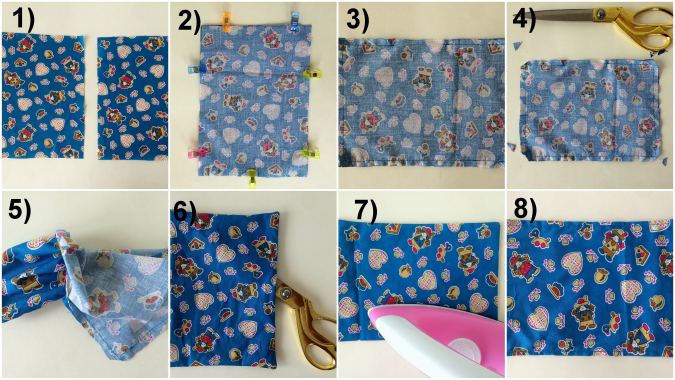
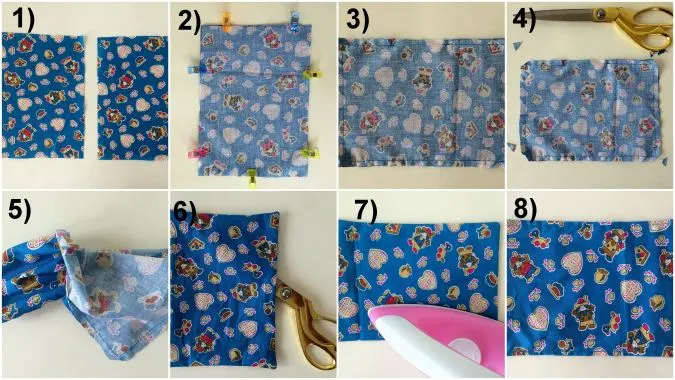
1) Take the two pieces for the first pocket.
2) Layer them with the right sides together lining up the edges and clip them together.
Sew around the edge, leaving a gap of 2 inches to turn the right side out.
Cut the corners to reduce the bulk in the seam.
Bring the right side out through the opening.
Poke the corners out gently with the help of your scissors.
Press to make it neat and crisp.
Topstitch all around the edge. Your pocket is ready.
Repeat the steps to get the other two pockets ready.
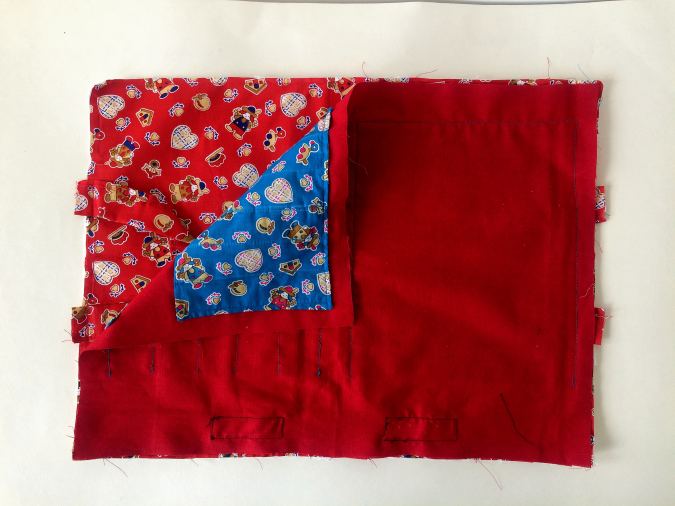
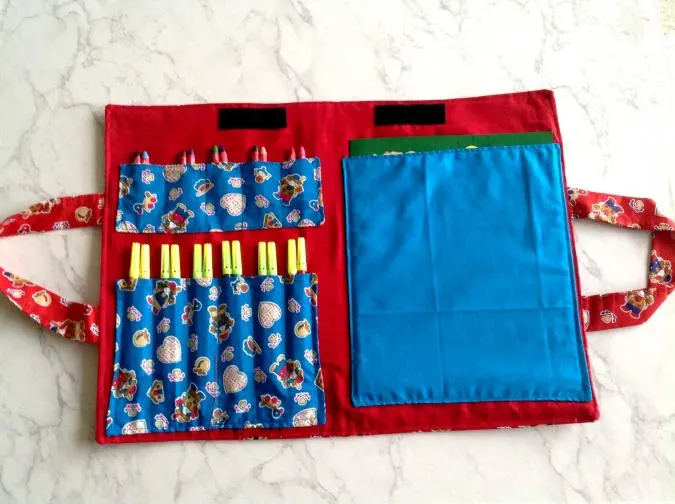
Next, we sew the pockets to the lining piece.

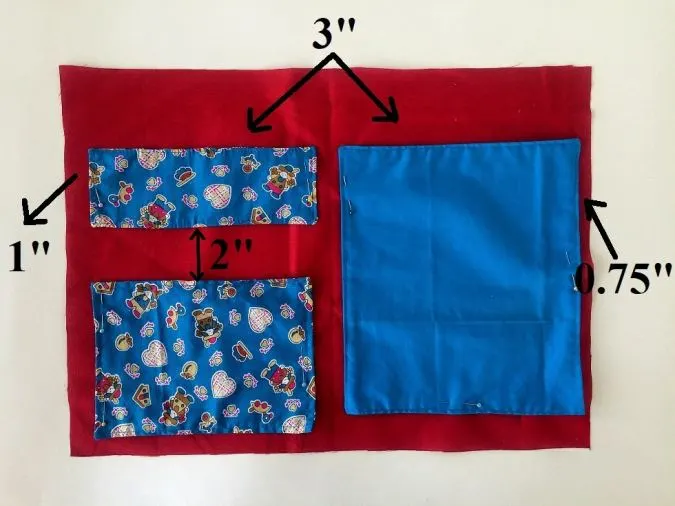
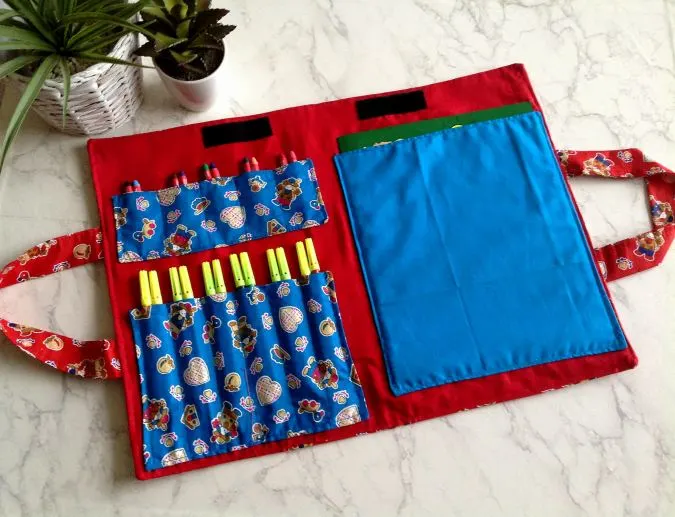
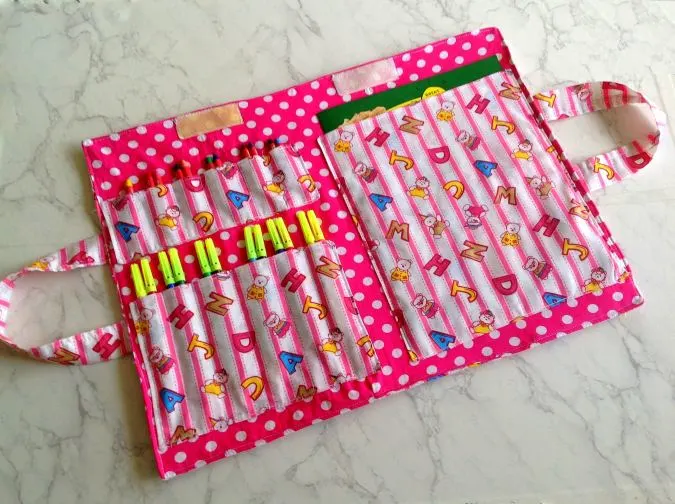
Place the pockets at a distance marked in the picture above and pin all around, leaving the top edge. Sew around the pinned edges to secure the pockets. * Make sure to reinforce at the start and finish.
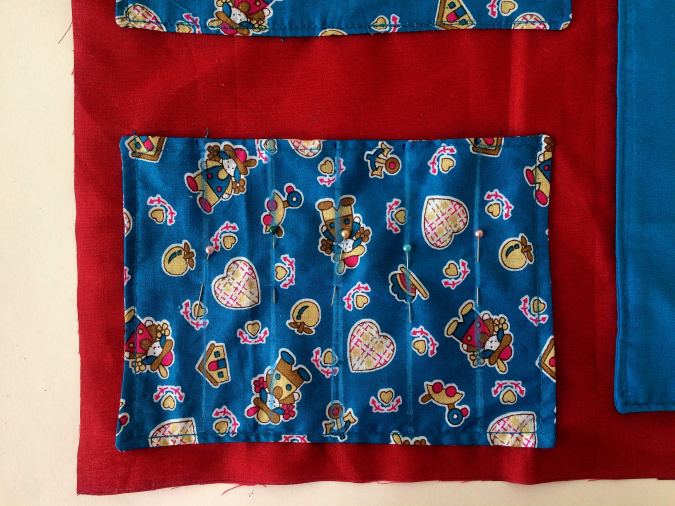

Draw lines 1 & 3/8- inch apart on the small pockets to create divisions for the wax crayon and markers. Sew along the line, reinforcing at the start and finish.
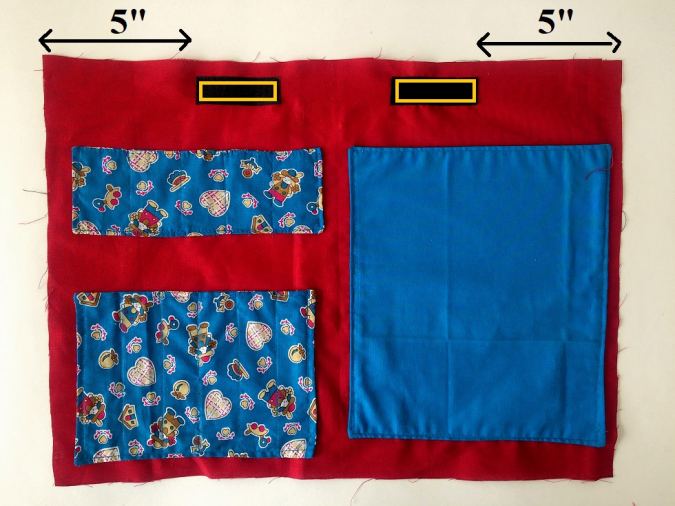

Take the Velcro pieces and pin them at 5” from the edge. Sew around the edges to secure the Velcro to the tote.
Let’s move on to the tote outer.

Fuse the interfacing to the wrong side of the tote outer, following the manufacturer’s instructions.
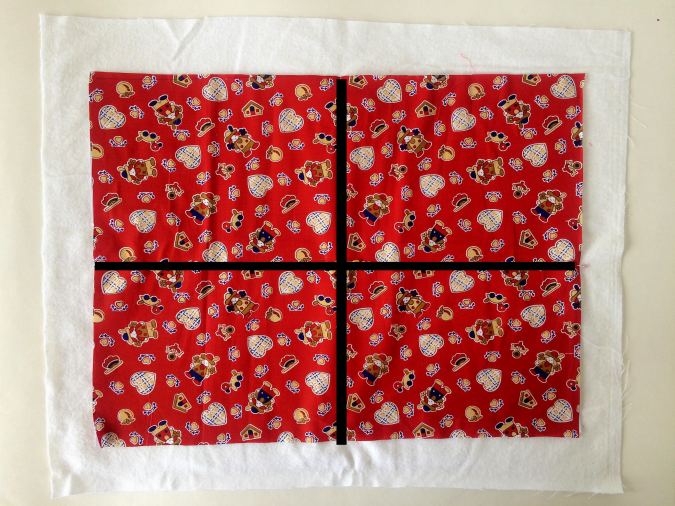
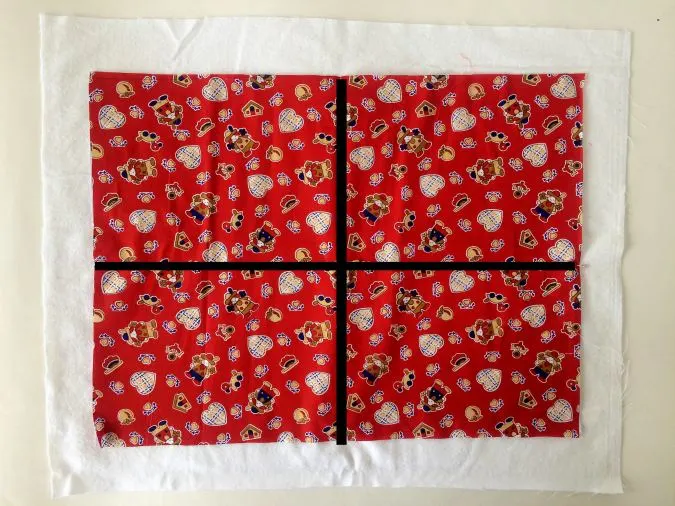
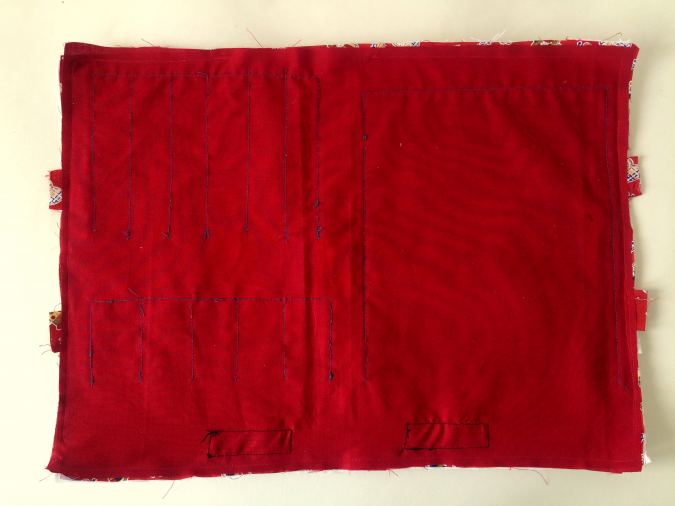
Next, take the batting and place the fused outer piece, above it, leaving equal space all around. Draw two lines perpendicular and passing through the center. Pin the layers together. Sew straight stitches along the lines.
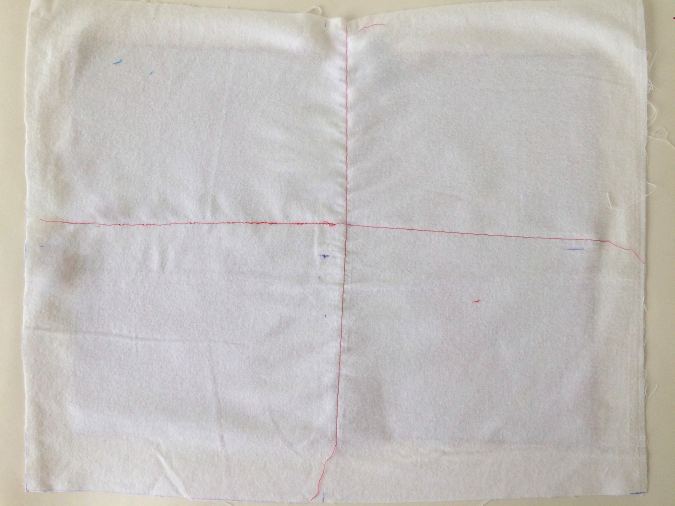
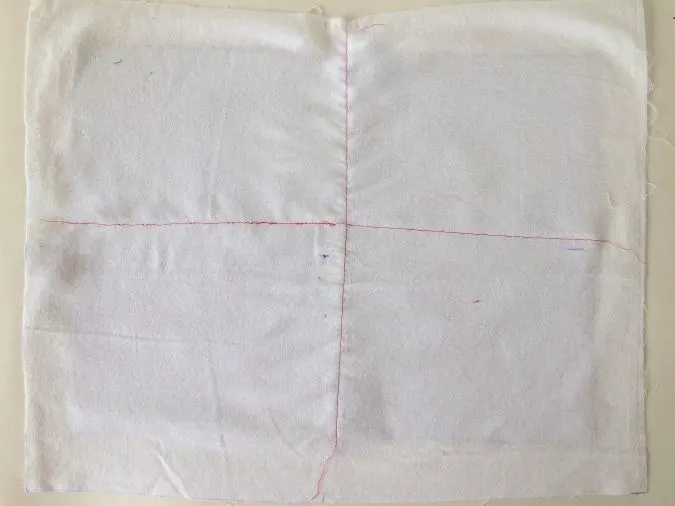
The underside will look like the picture above.
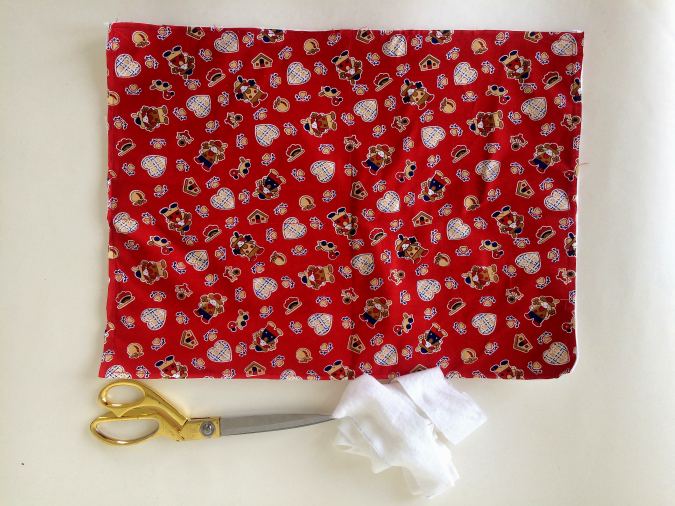

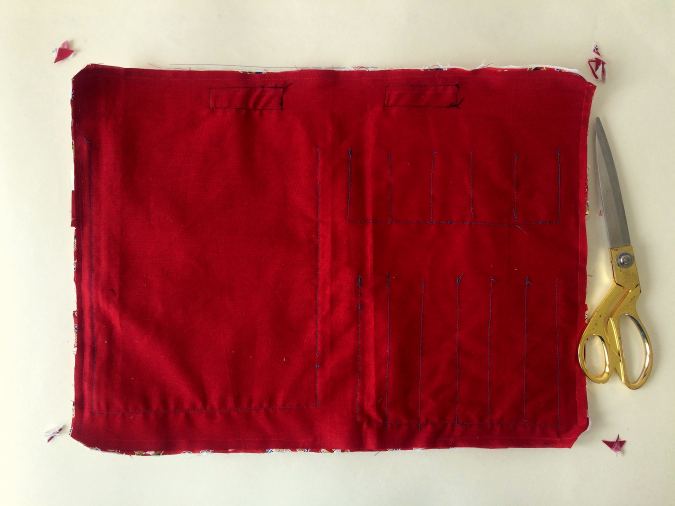
Cut off the extra batting all around.
Next, we sew the handles for the tote.

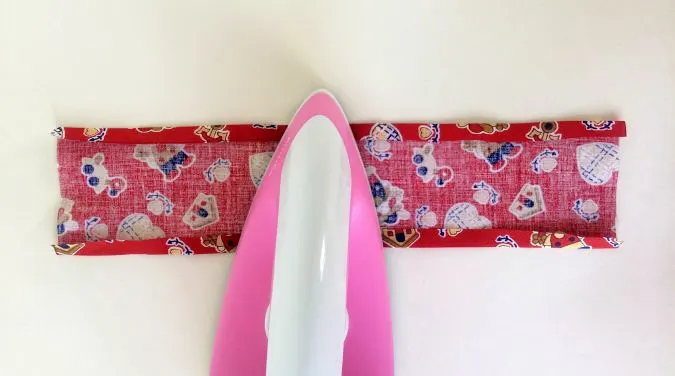
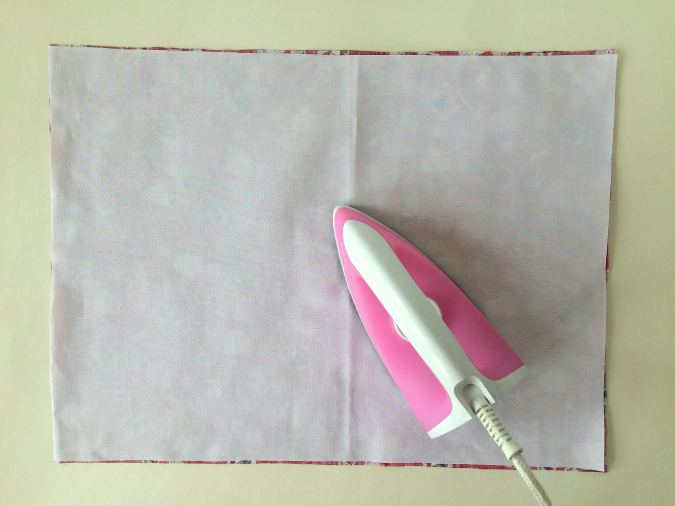
Take the fabric pieces for the handles, fold the two long edges towards the wrong side by 3/8- inch, and press.
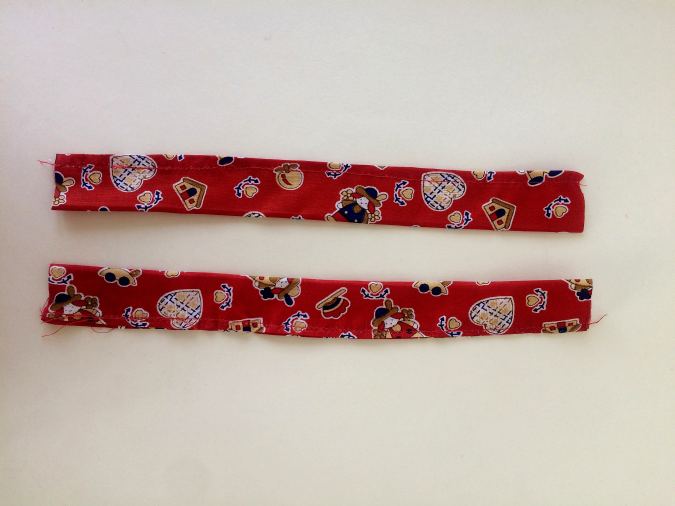
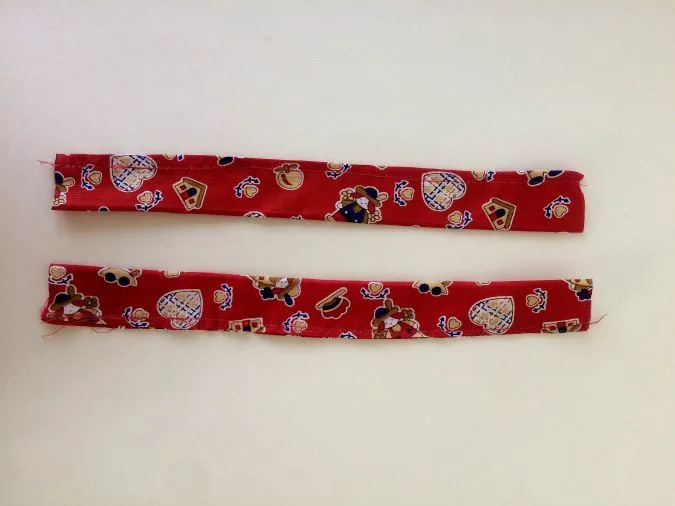
Fold again in half lengthwise and sew shut along the edge of the folds.
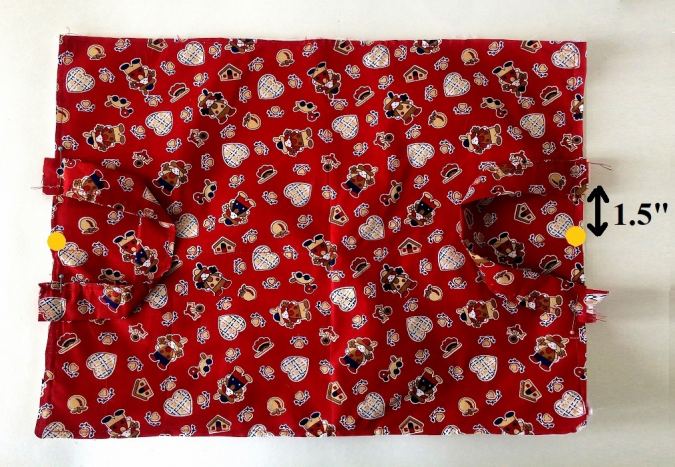

Find the center of the tote edge using your tape and mark a point. Mark 1.5” from the center point on either side and pin the short edge of the handle to the tote. Make sure that the edge of the handle extends the tote by 1/2- inch. Sew the handles to the tote on either side.
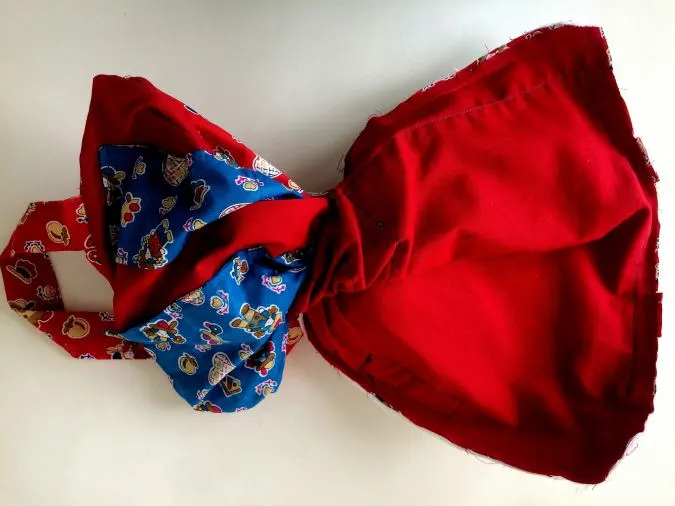
Let’s join the tote outer and lining pieces together.

Place the outer and lining layered, with the right sides together, lining up the edges and clip them together all around.

Sew around the edges, leaving a gap of 3- inches to turn the right side out.

Clip the corners.
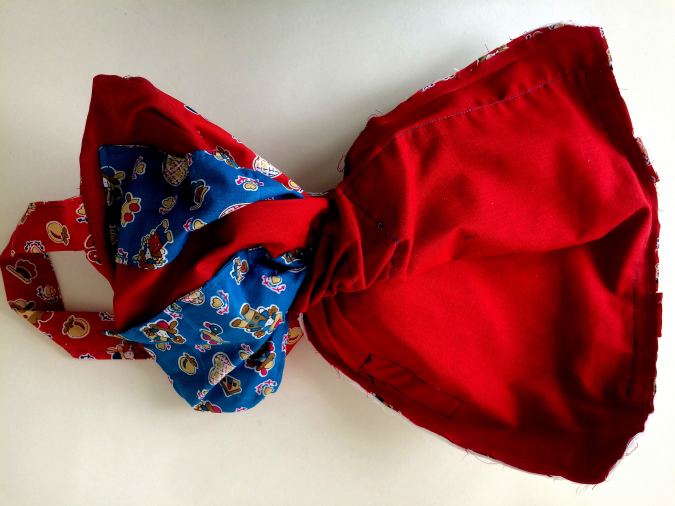
Pull the right side out through the opening. Poke the corners out and press to make it clean and crisp.

Topstitch around the edge and your DIY crayon tote is ready for use!
Have a look at the webstory for the post here, DIY Portable Crayon Holder Pin it for later here,

Marti
Saturday 19th of July 2025
What are your seam allowances?
Surayya
Tuesday 22nd of July 2025
The seam allowance is 3/8- inch unless otherwise specified.
Karen
Saturday 30th of September 2023
Never found the printable pattern for the tote bag. Is there one? Can you send it to me?
Surayya
Sunday 19th of November 2023
There is no printable pattern. You can find all the measurements and instructions in the tutorial.