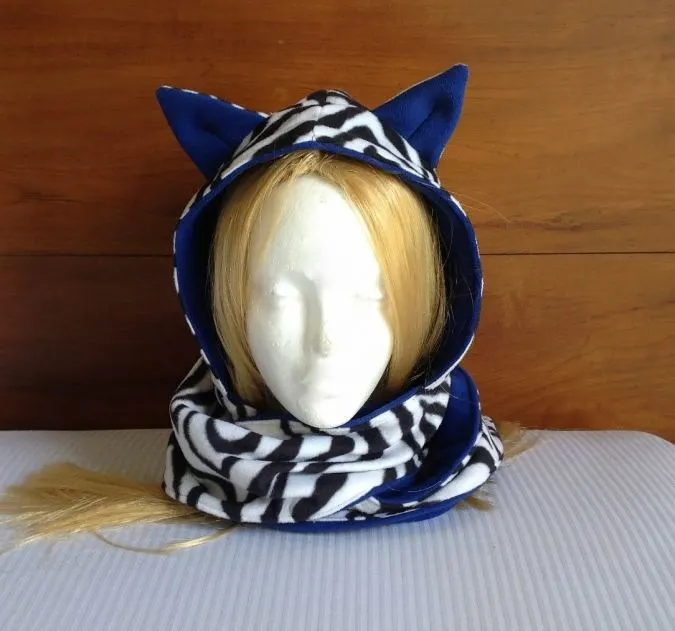
If you would like to sew a really warm hooded scarf for yourself or your little one, here is a free animal scoodie sewing pattern just for you! This tutorial comes with step-by-step instructions and free templates for sizes ranging from a 1-year-old child to an adult!


This is a lovely hooded scarf sewing pattern that can be wrapped around your neck to keep it warm. The lined hood helps to protect your head and ears from the intense winter cold.


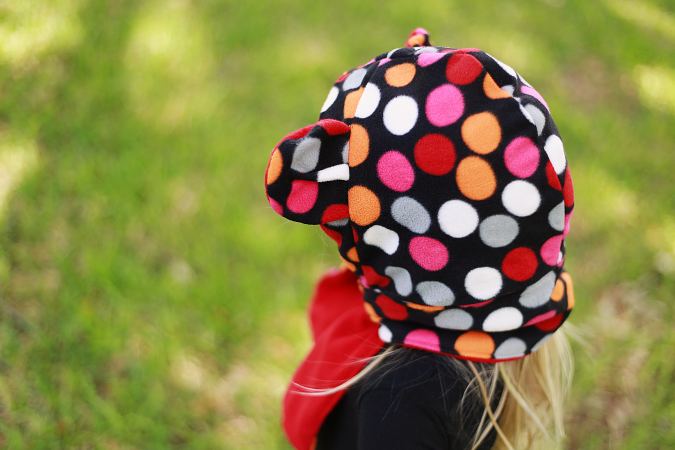
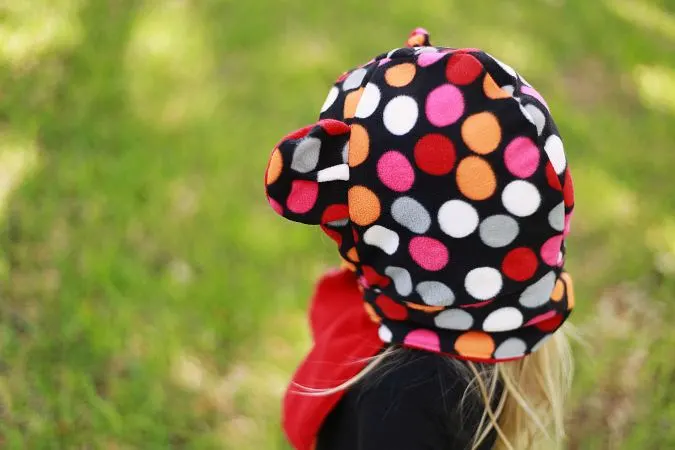
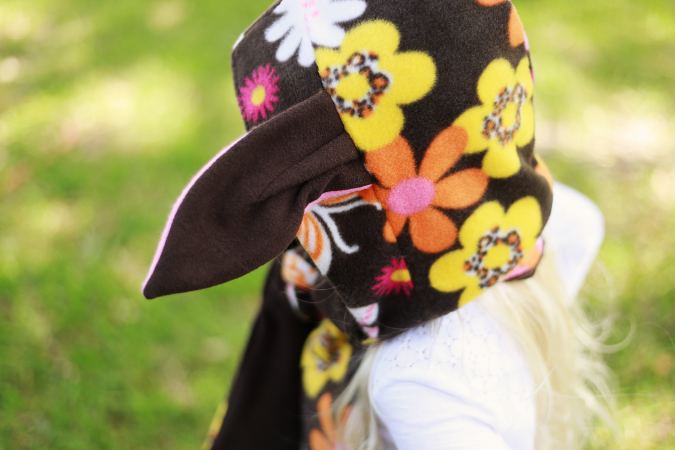
And, if you love animals there are options to add bear, cat, wolf, deer, or rabbit ears to the scarf to make a scoodie with animal ears. This hooded scarf sewing pattern would look lovely when paired with your coat

This animal hoodie pattern can be made in different combinations of fabrics. You may use faux fur for the outside and fleece or flannel for the lining if you want it extra cozy. You can even stick on to fleece on both sides for the same effect. If you want it extra light, you can mix and match corduroy, flannel, and heavy-weight cotton.
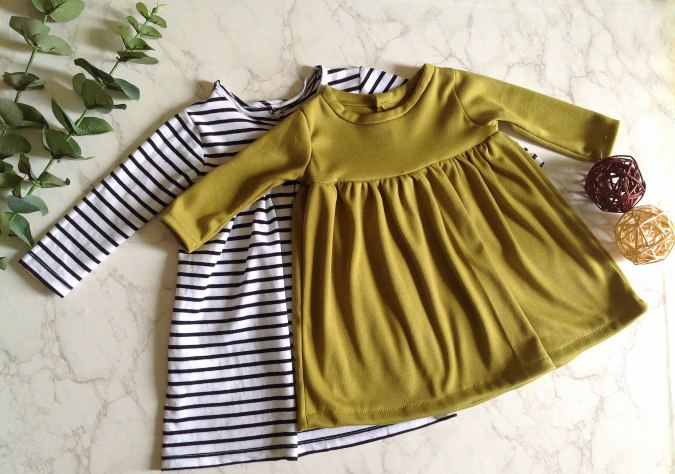
If you would like to sew a knit dress for your little one, click on the picture below:

You can follow the written pattern below or purchase an ad-free PDF for just $3.99. Add to cart here. The pattern will be emailed to you within 24 hours of payment.
Hooded Scarf Sewing Pattern
Materials Required:
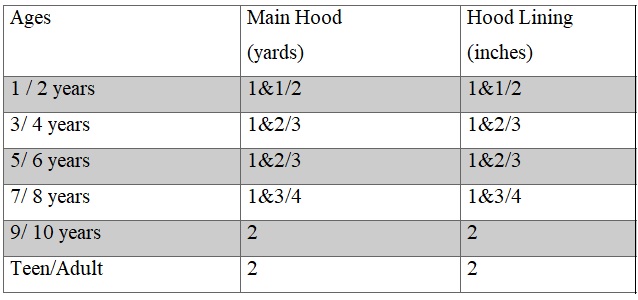
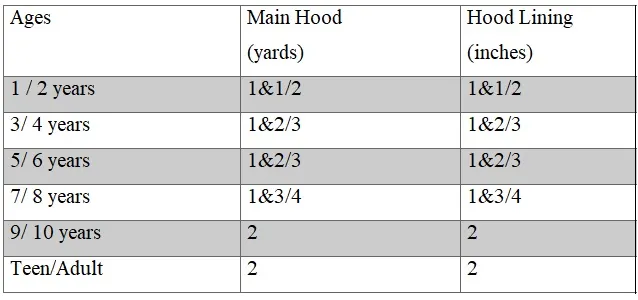
- Fleece, flannel, faux fur, or corduroy for the main hood and outer scarf- requirement specified in the table-1 below
- Fleece, flannel, corduroy, or heavy-weight cotton fabric for the hood lining and inner scarf- requirement specified in table-1 below.
- Sewing Notions
- Erasable Fabric Marking Pen.
- Pattern pieces. * Enter your e-mail address and click the subscribe button in the blue box below to start downloading the template.
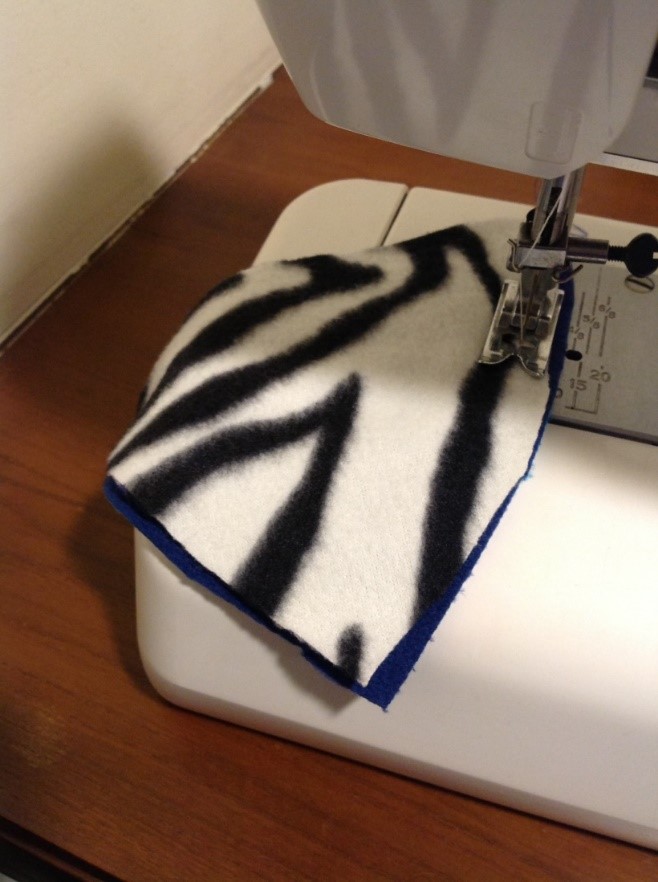
Instructions for sewing with fleece:
- Use a straight stitch or a narrow zigzag stitch.
- The longest stitch length works the best with fleece.
- Stitch slowly and carefully without stretching the fleece.
- You may use a regular sewing machine needle.
- Seam allowance is 3/8 -inch throughout unless otherwise specified.
- The fabrics shown here are only for illustration purposes and as such may vary from the original.
Fabric Requirements
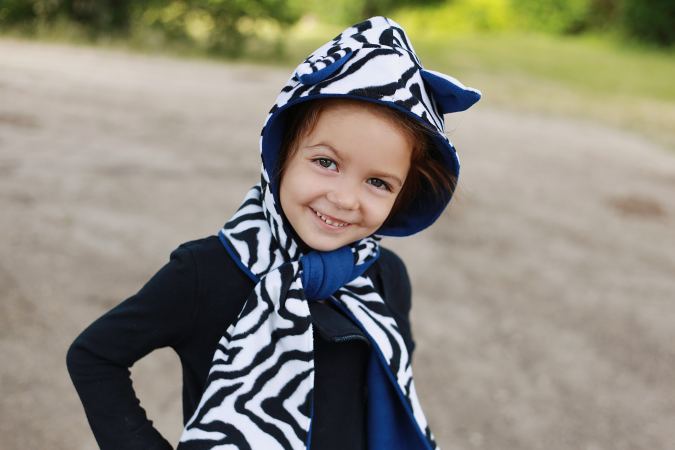
- I have used a zebra print fleece for the main hood and the main scarf and a dark blue solid fleece for the lining.
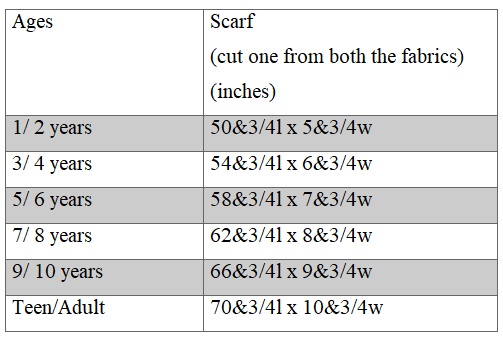
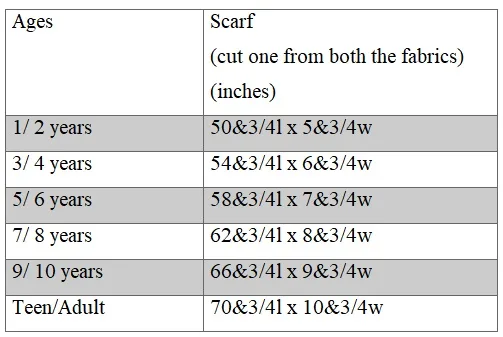
Table-1
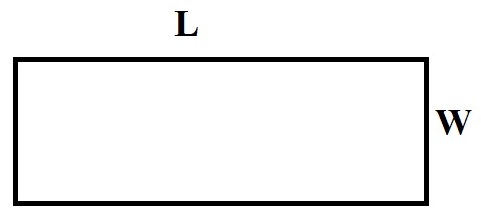
Measurements:
Table-2
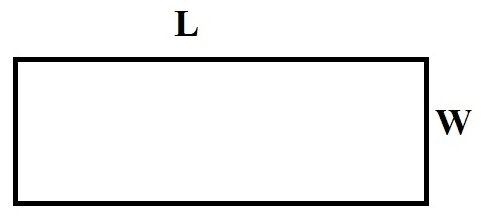
Note that in the table below, “L” stands for the length and “W” stands for the width of the fabric piece to be cut.
Sewing
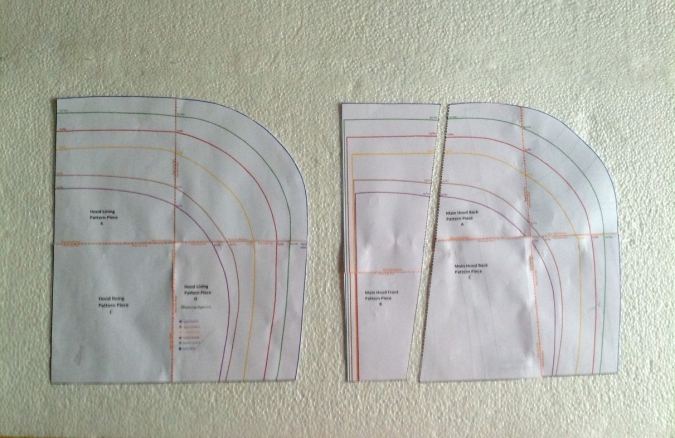

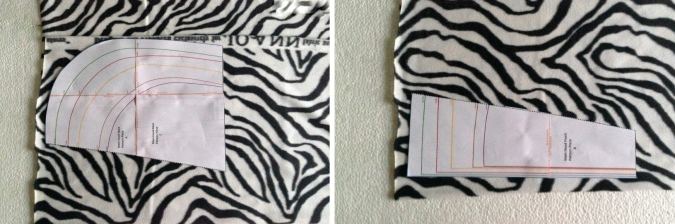
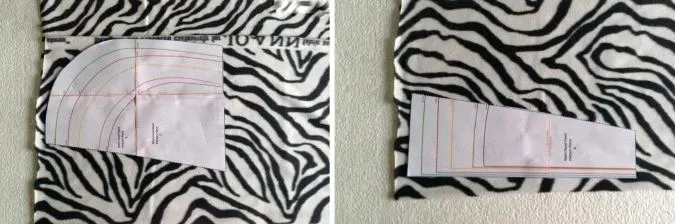
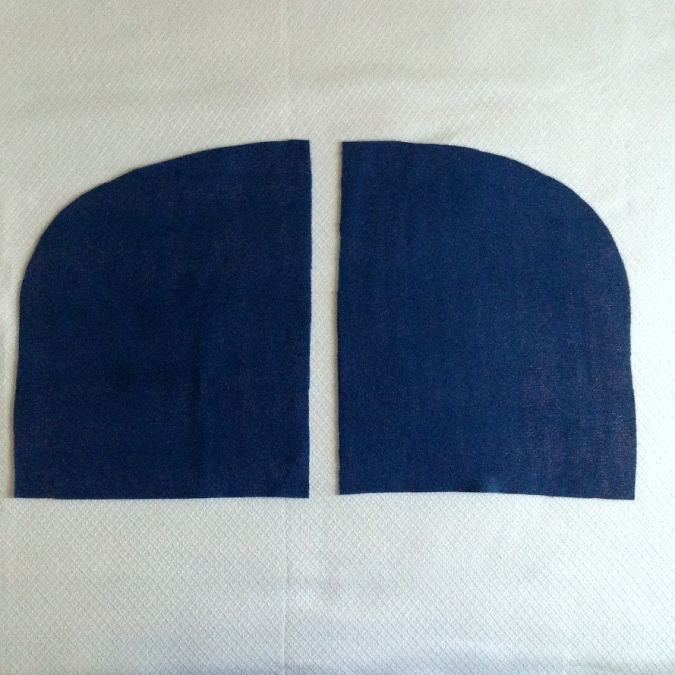
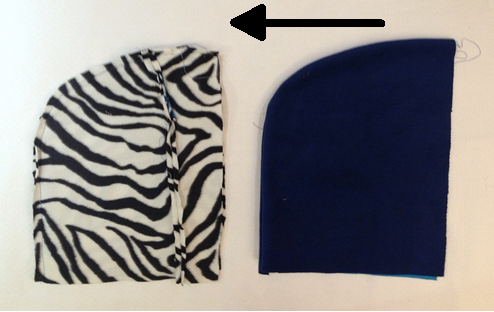
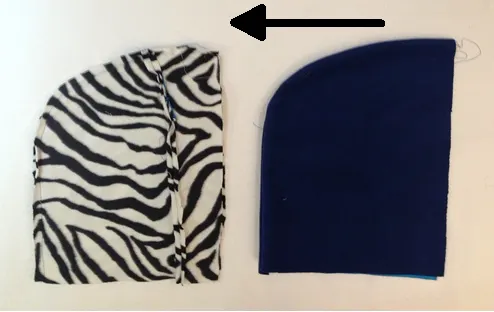
Cut the pattern template at the end of this PDF and glue the pieces together, following the instructions above the templates. Once done, your templates will look like the above picture.*Note that for the main hood, there are two pattern pieces; one big back piece and a small front piece.
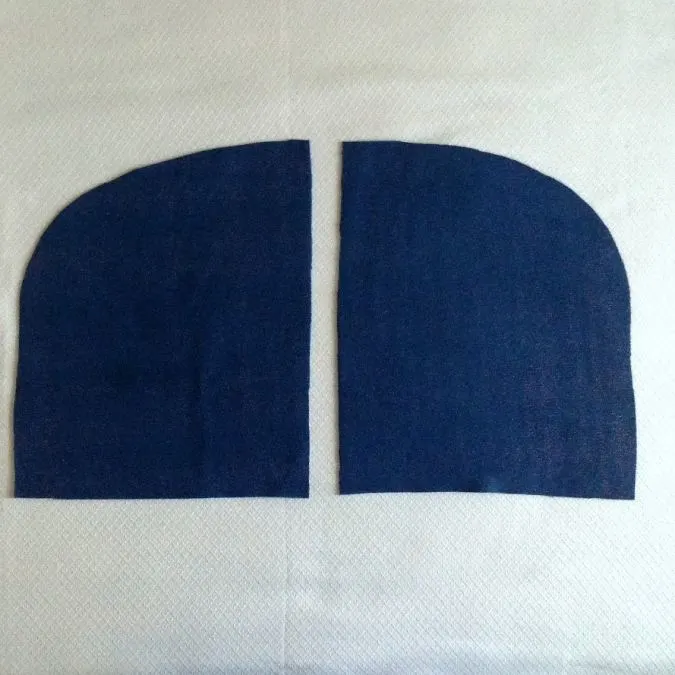
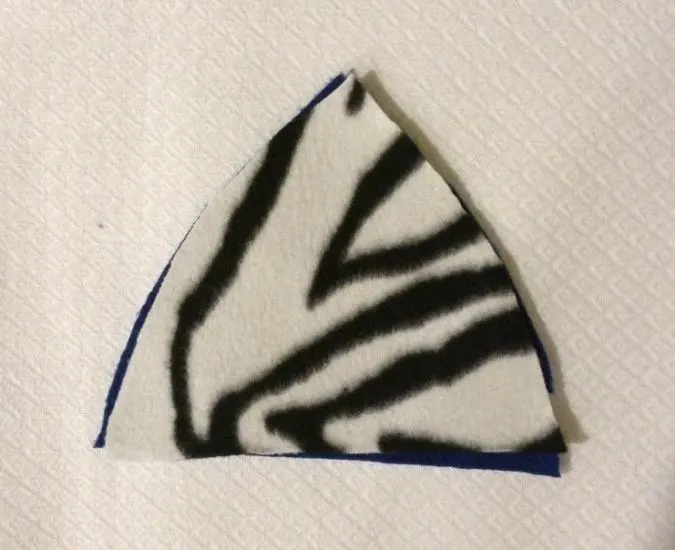
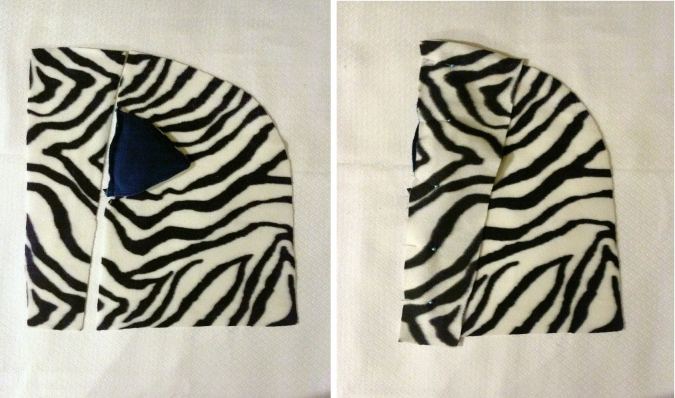
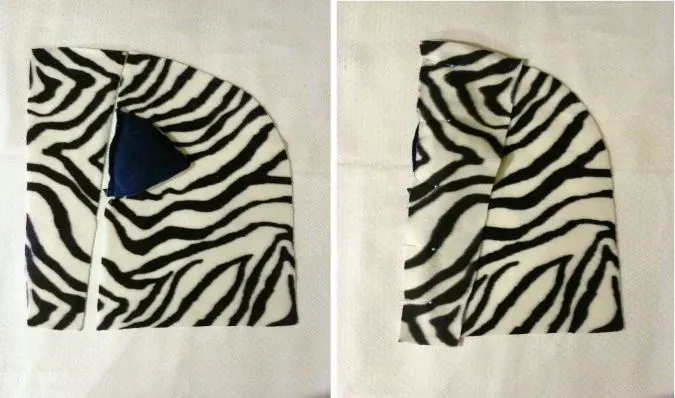
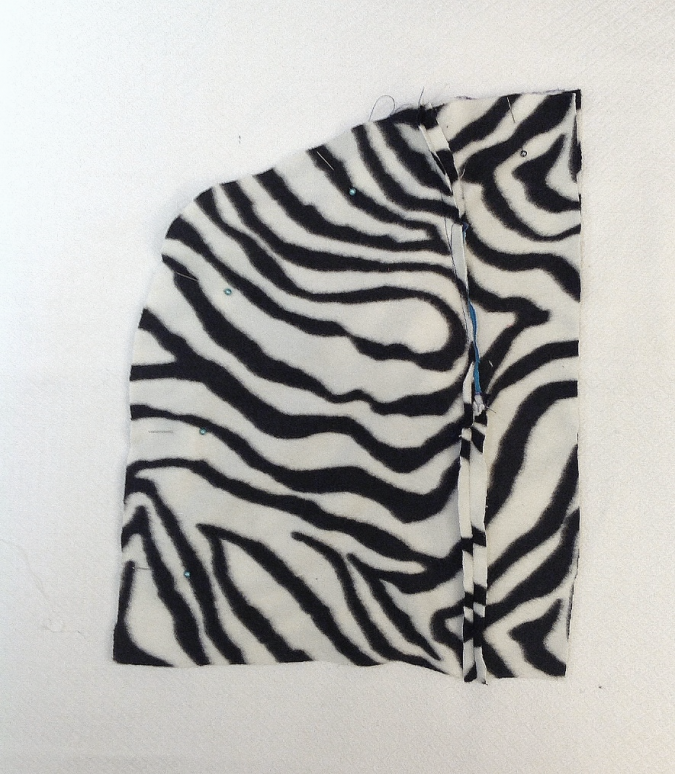
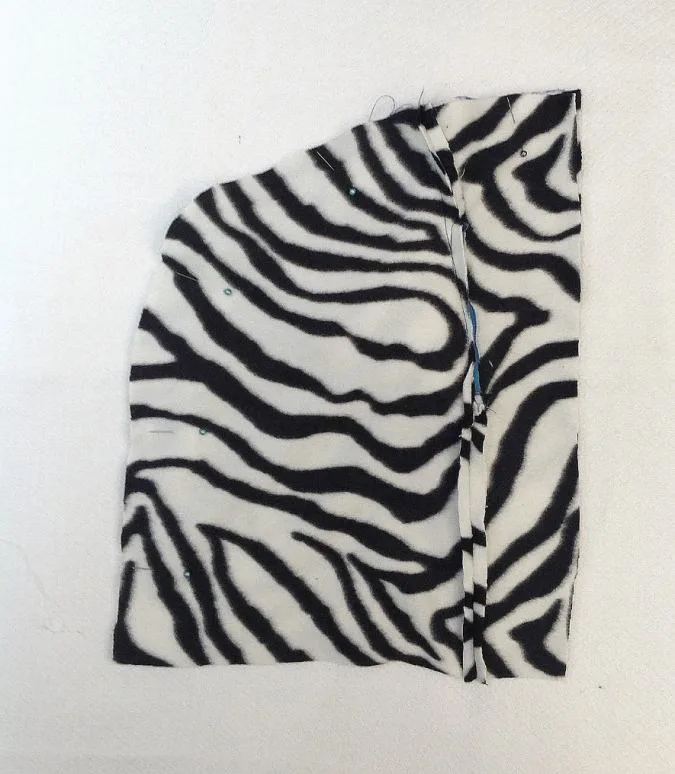
Take the fabric and the pattern templates for the main hood. Fold the fabric and keep the template above it. Mark around it and cut to get the main hood pieces.
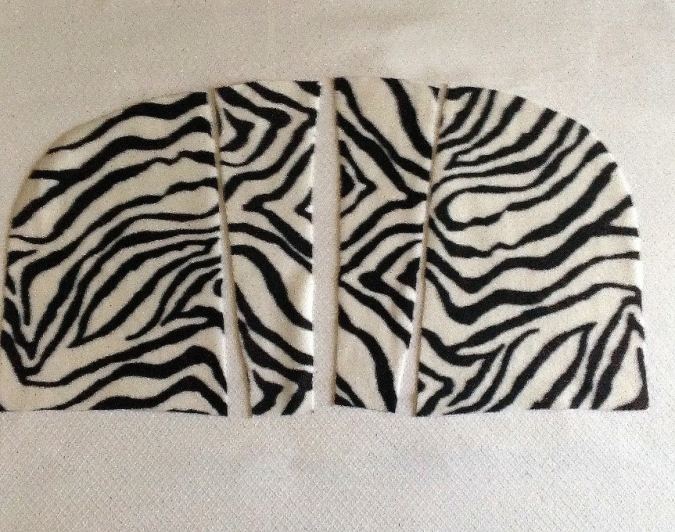

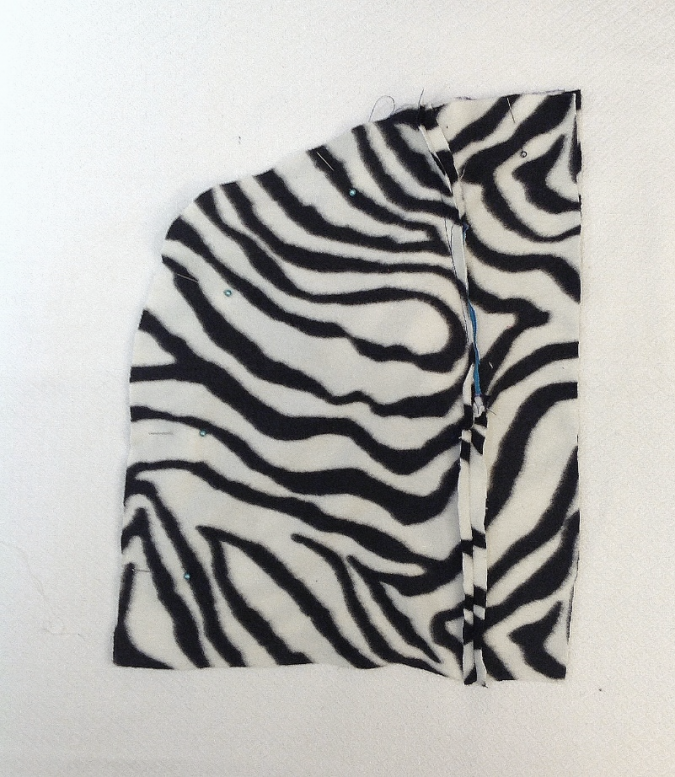
Your main hood pieces will look like the above. Note that the edges of the main hood pieces are to be matched as marked in the template. Make small markings on the fabric with an erasable fabric marker so that the edges do not get mixed up later.
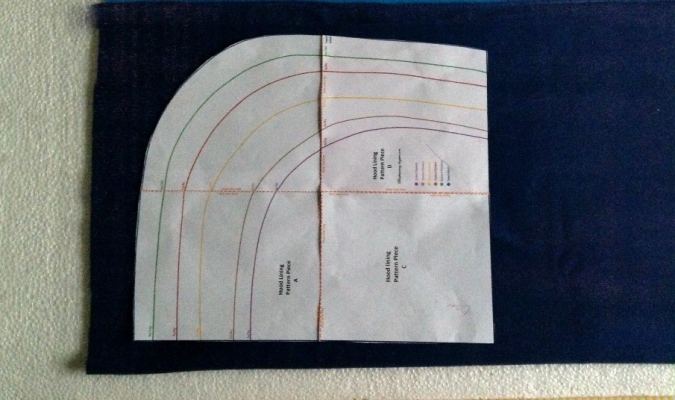

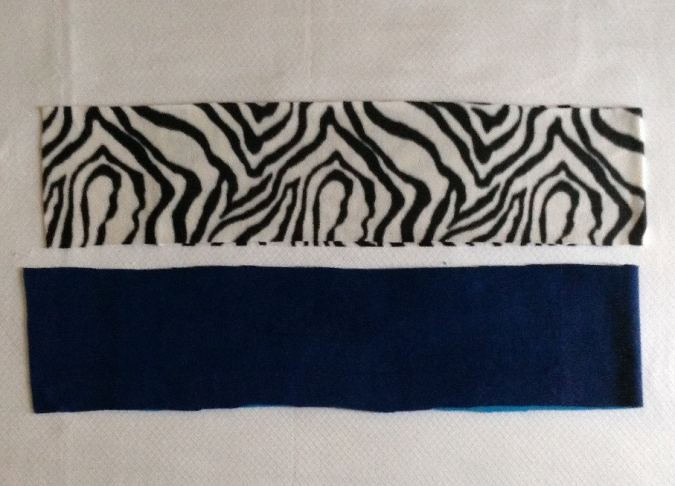
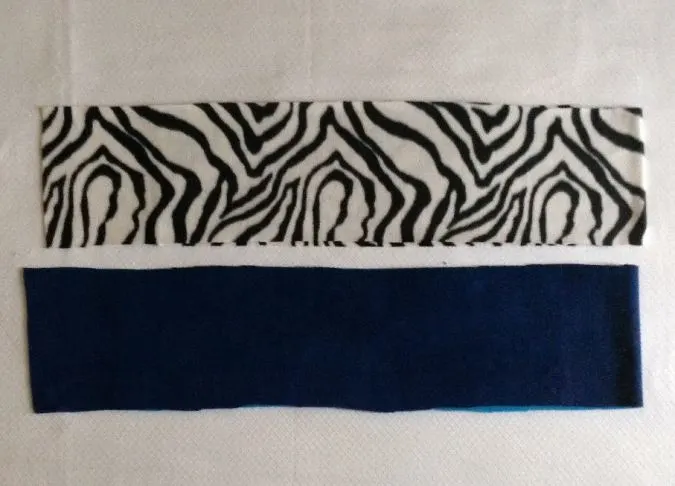
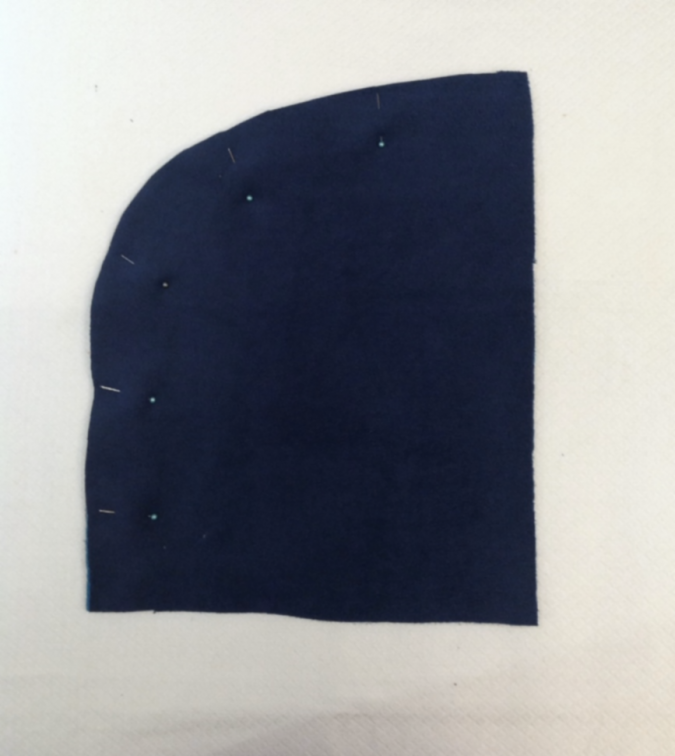
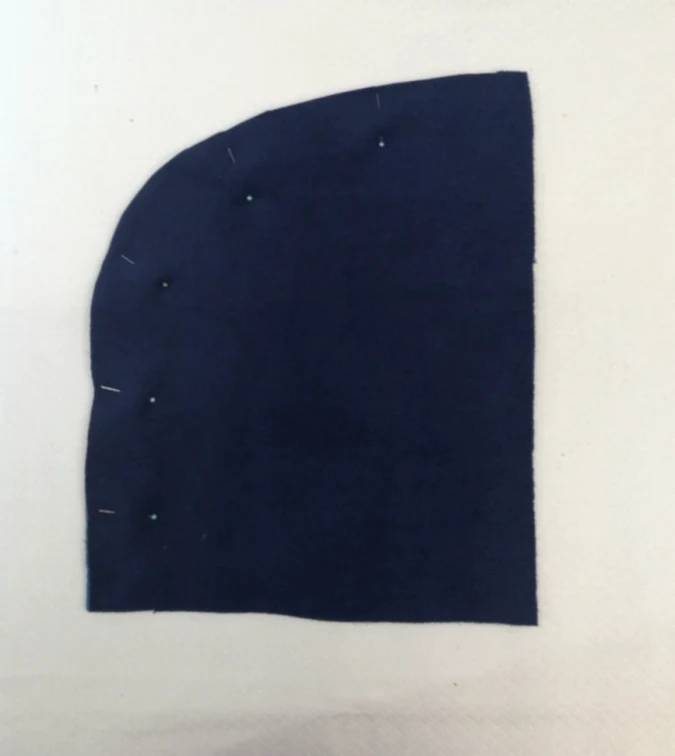
Take the fabric and the template for the hood lining. Fold it and place the template above it. Mark around it and cut to get the pieces for the hood lining.
Your hood lining pieces will look like this.
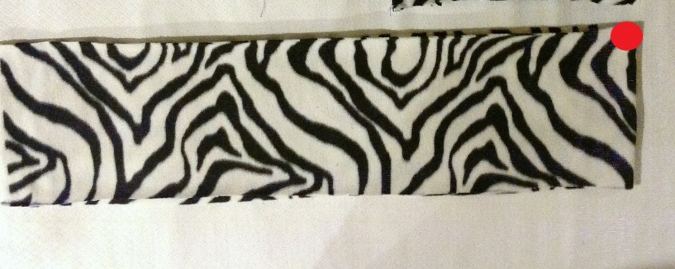
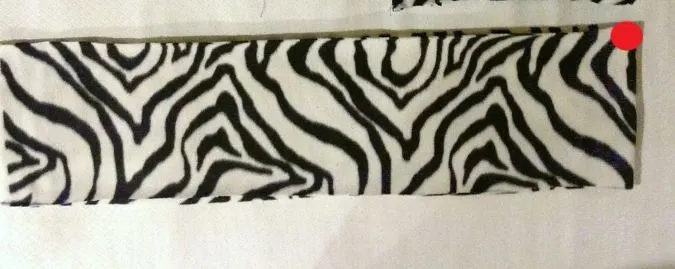
Cut your scarf pieces, referring to the table-2 above.
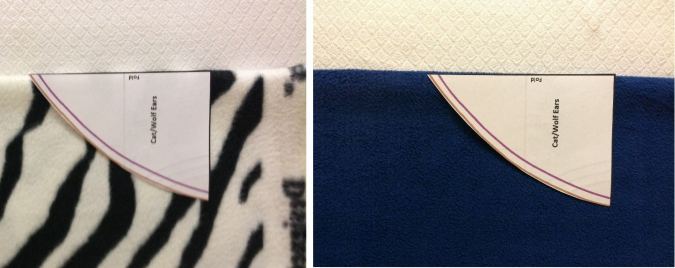
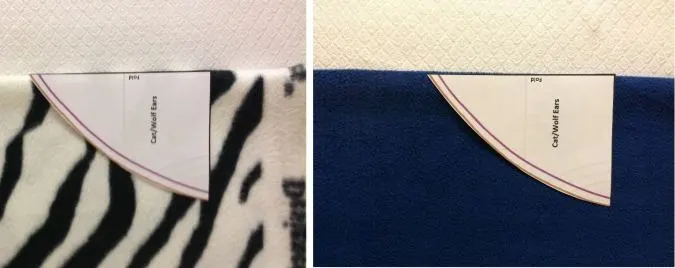
Cut the templates for the ears according to your choice ( I chose cat ears). Fold the fabric for the main hood and place the template on the fold. Mark around it and cut to get the outer ear. Repeat the steps with the ear template on the lining fabric to get the inner earpiece. You will require two from each fabric
.
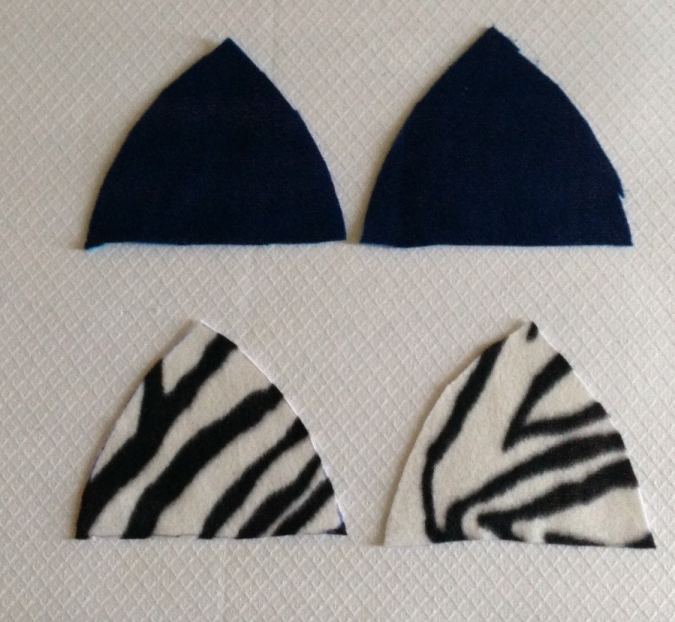
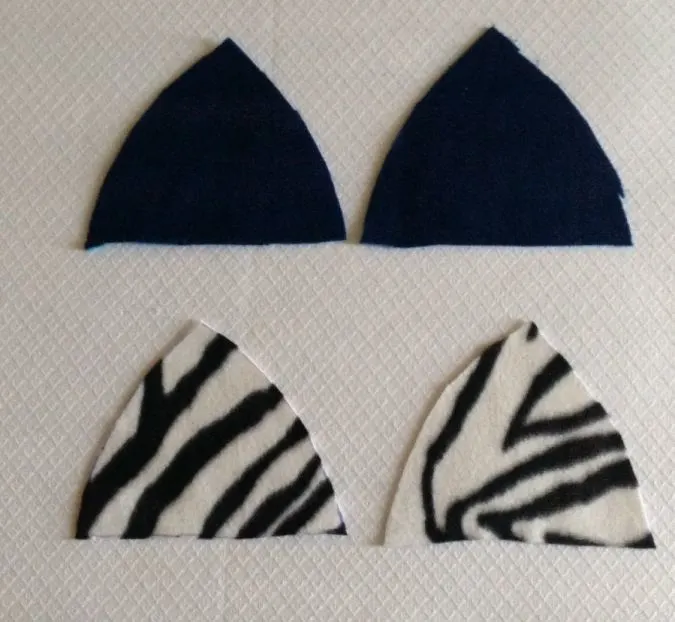
Your earpieces will look like this.

Take the inner earpiece and place the outer earpiece above it, with the right sides together, aligning the edges and pin along the two side edges.

Sew along the two pinned edges, leaving the bottom edge open to turn the ear inside-out.
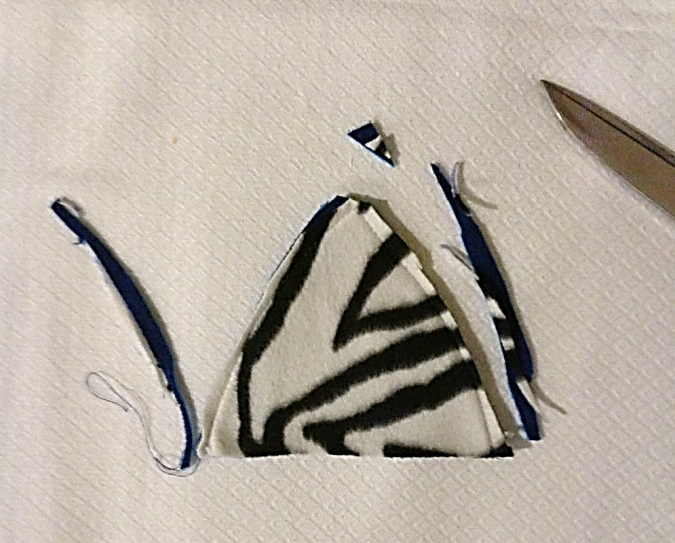
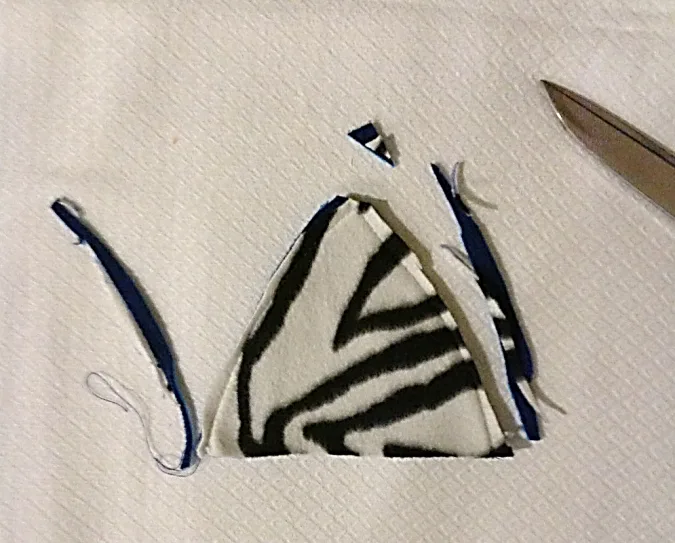
Clip the corners and trim the edges to reduce the bulk at the seam. Turn it Inside-out and poke out the edges with the help of a wooden dowel. Topstitch along the sewn edges to make it neat and crisp. Repeat the steps with the other earpieces
.

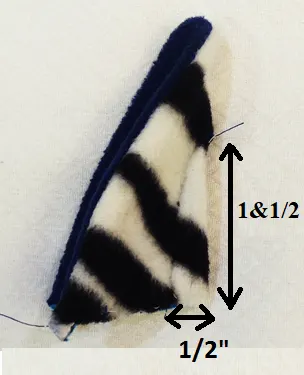
Fold the ear in half, with the main fabric on the outside. Sew a straight line about 1&1/2 -inches long from the base of the ear. This will add some dimension to the ear and help it stand upright.
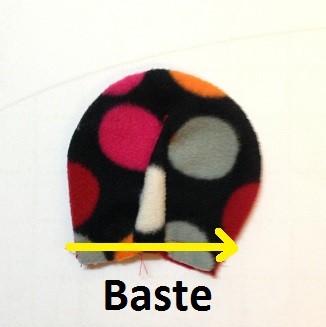
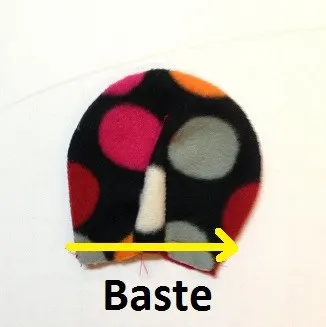
Hand press the dart at the back and baste it to make it stay flat. Repeat the steps on the other ear (picture for illustration purposes).
Next, we attach the ears to the main hood piece.

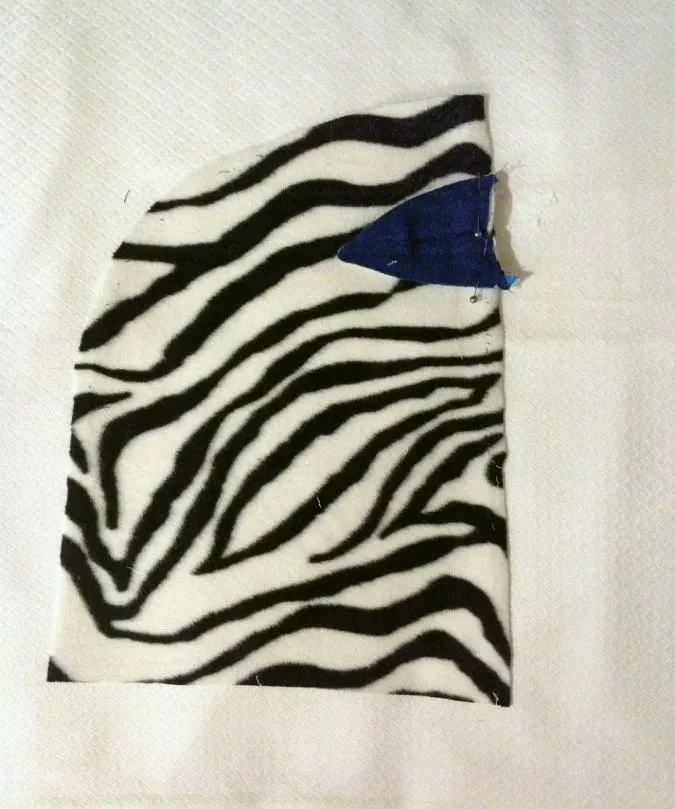
Take the main hood back piece and pin the ear on its right side, on its slanting edge, about 2-inches from the top, with the inner ear facing up. Sew the ear to the main hood piece, matching the edges. Repeat the steps with other main hood back piece and ear. Note that you can place the ears a little up or down as you choose.

Sew along the pinned edges to join.
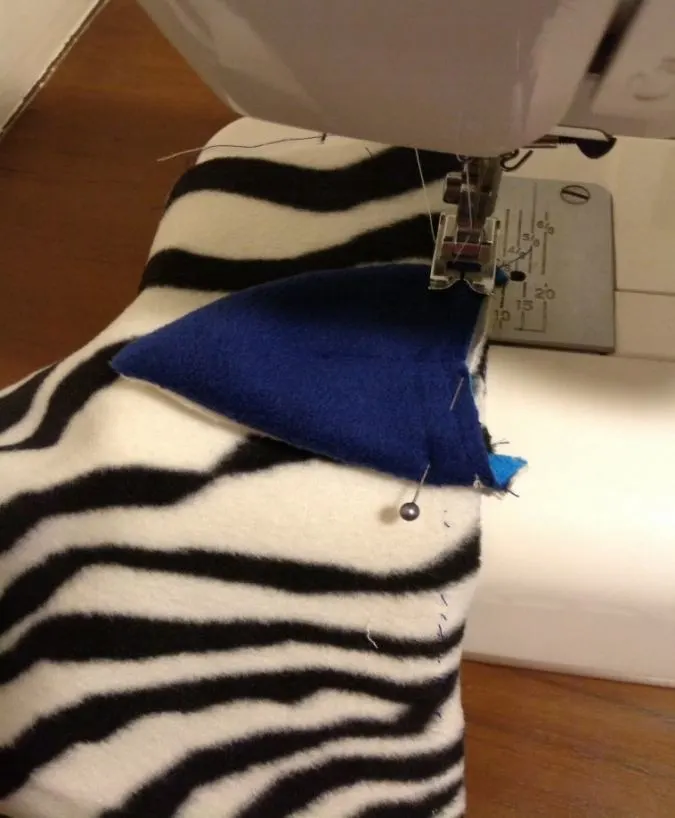
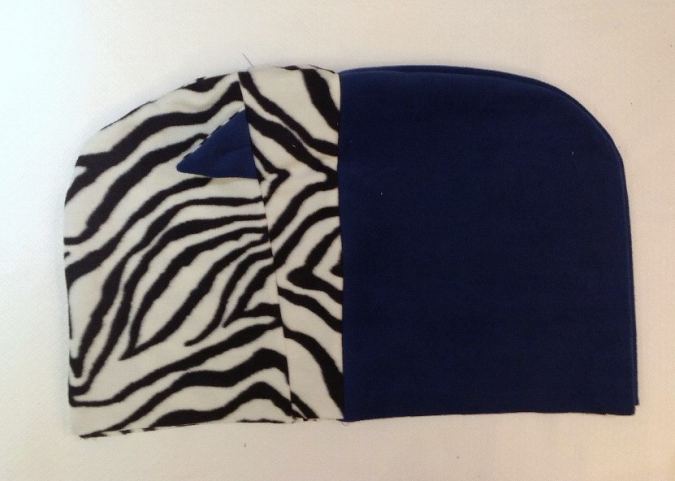
Next, we need to attach the front piece of the main hood to the back piece.
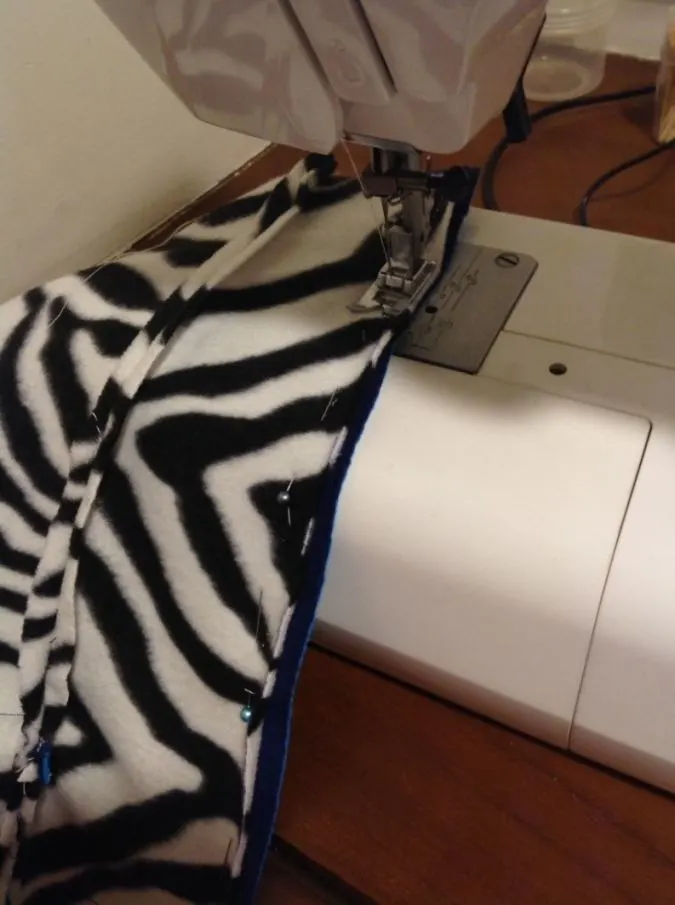
Place the two pieces layered, matching the edges (as marked earlier), with the right sides together and pin.
Sew the two pieces together. Repeat the steps with other main hood pieces.
Let’s join the two main hood pieces together.
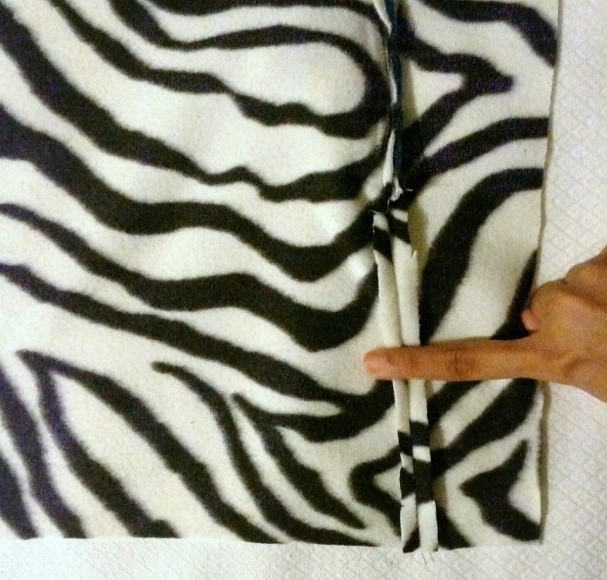

Hand-press the seams to make them flat.
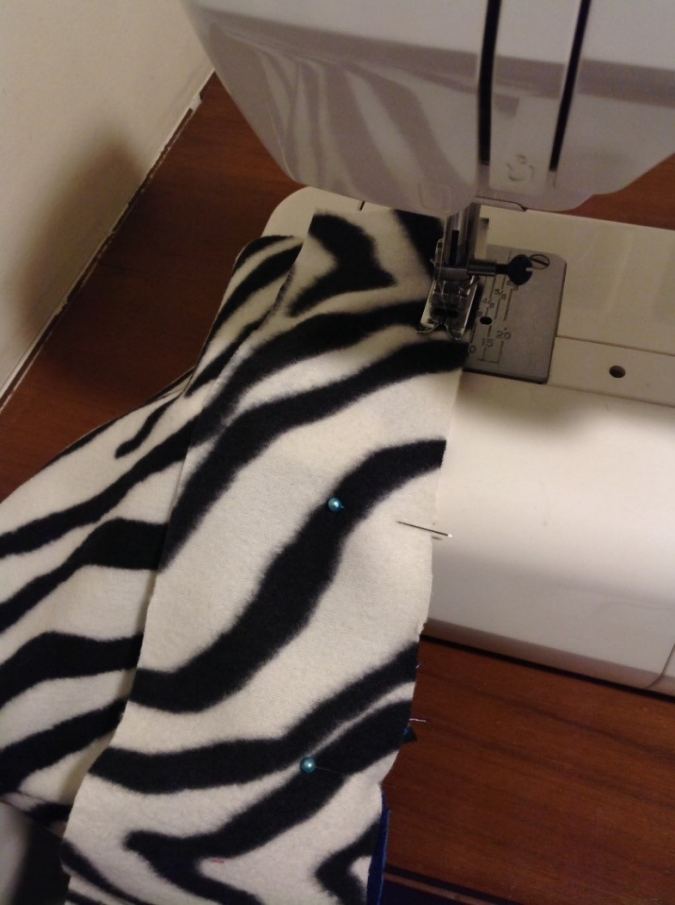
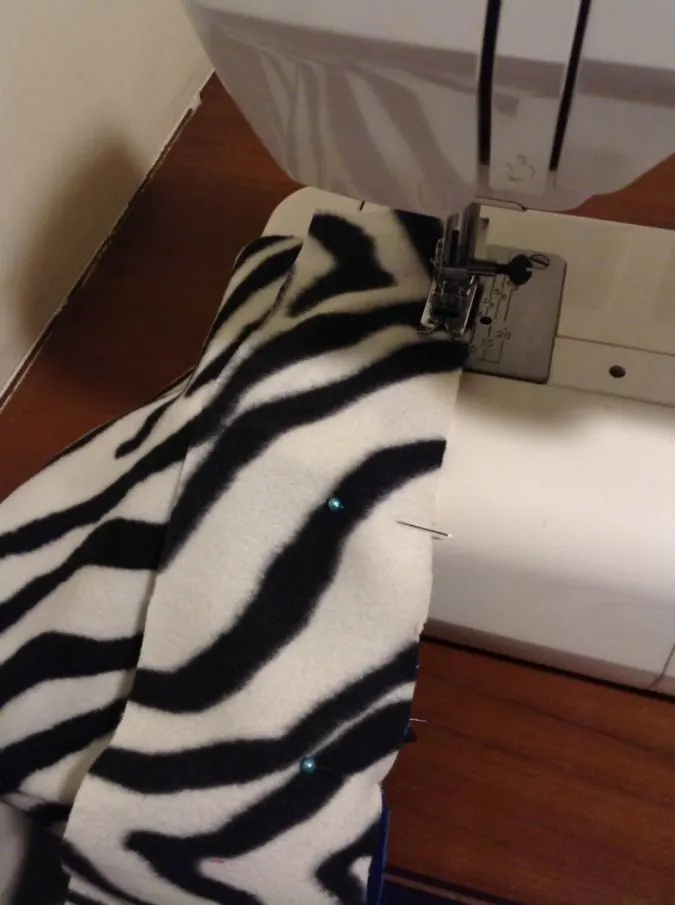
Next, place the two pieces layered, with the right sides together and aligning the edges. Pin along the curved edges.
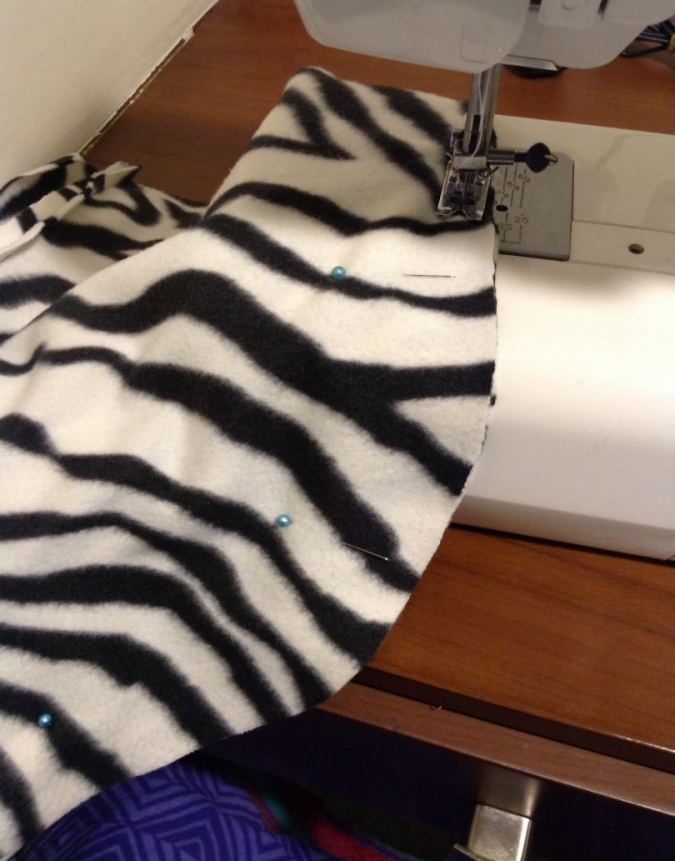
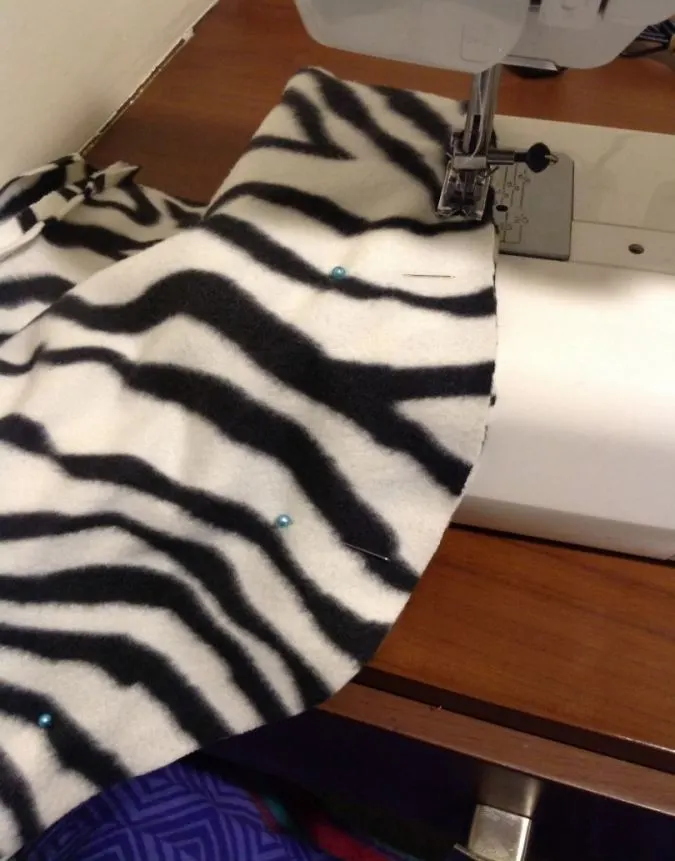
Sew the two pieces together along the curved edge.
Take the hood lining pieces, pin them together and join them in a similar manner.
Next, we need to join the main hood and the lining pieces together.
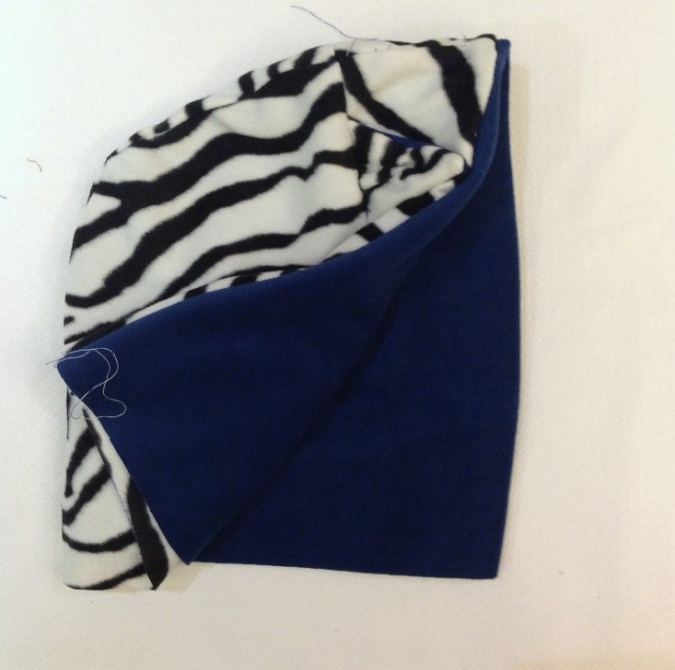
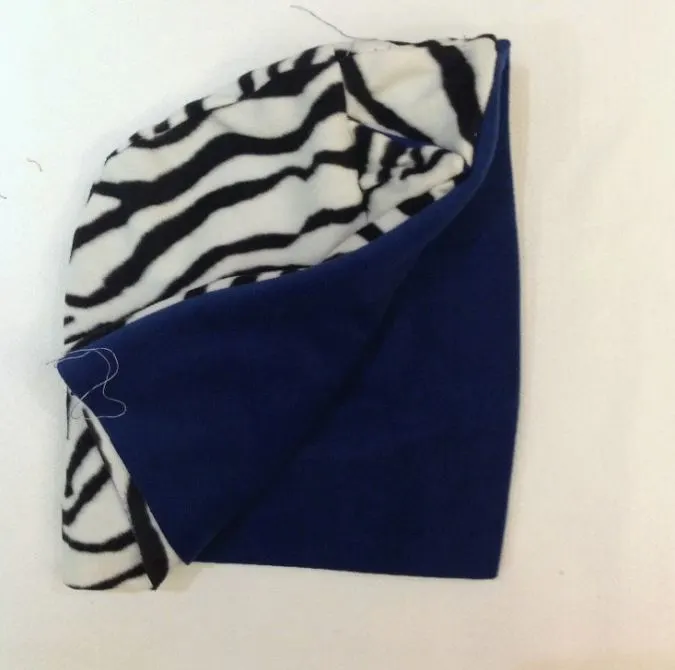
Place the main hood on its wrong side and the lining on its right side. Slide the lining into the hood.

Align the edges of the two pieces together and pin along the front edge (hood opening), leaving the lower edge open to turn the hood inside-out.

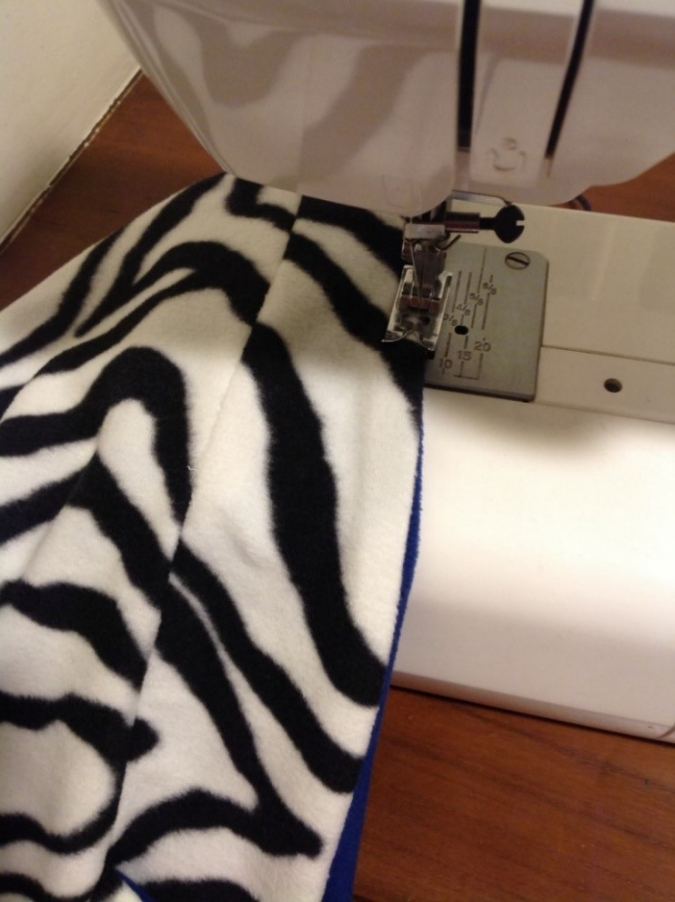
Sew the two pieces together along the pinned edge.

Here again, trim the edges and bring the right side of the hood out.
Push the lining into the main hood piece.

Topstitch along the hood opening to make it look neater.
Line up the lower edges of the two pieces and pin it together at the lower edge. Baste together the two pieces to prevent slipping of the two fabrics.
We move on to the scarf part.
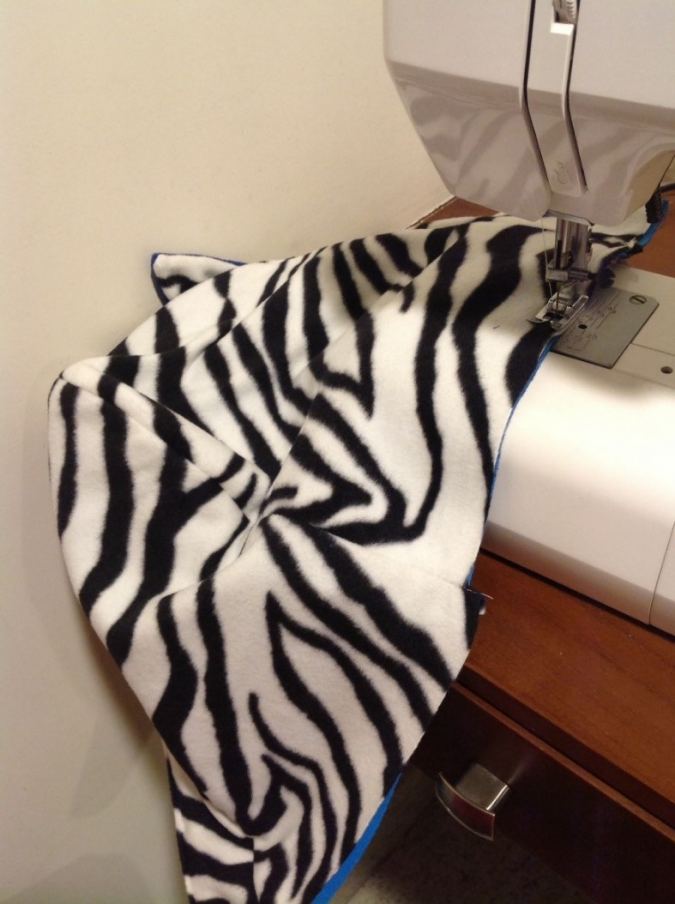
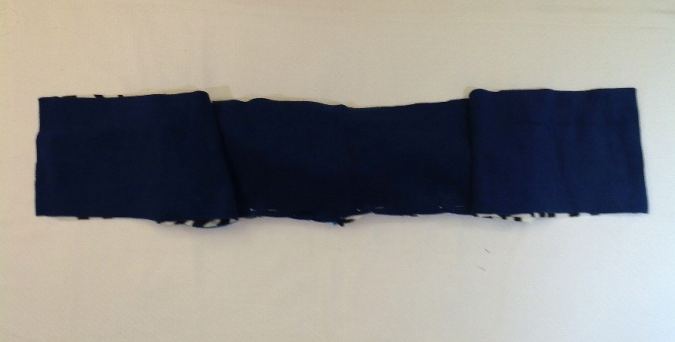
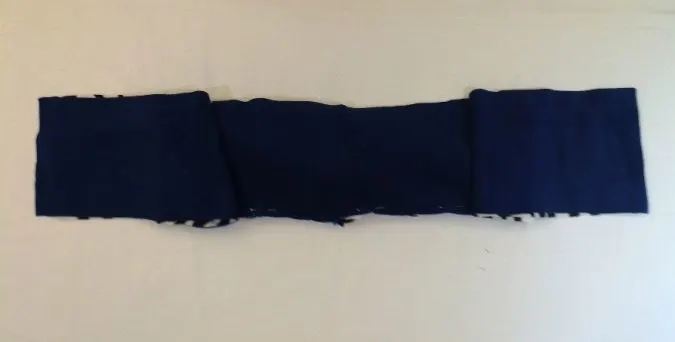
Take the outer scarf piece and fold it in half width-wise, aligning the edges. Mark the center of the longer edge as shown above.
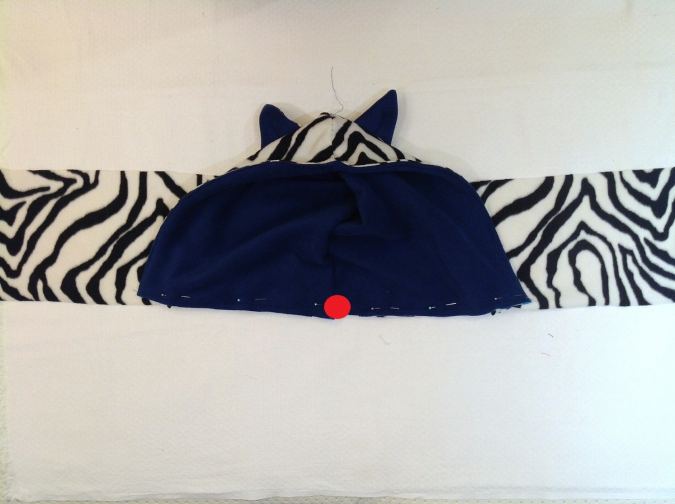

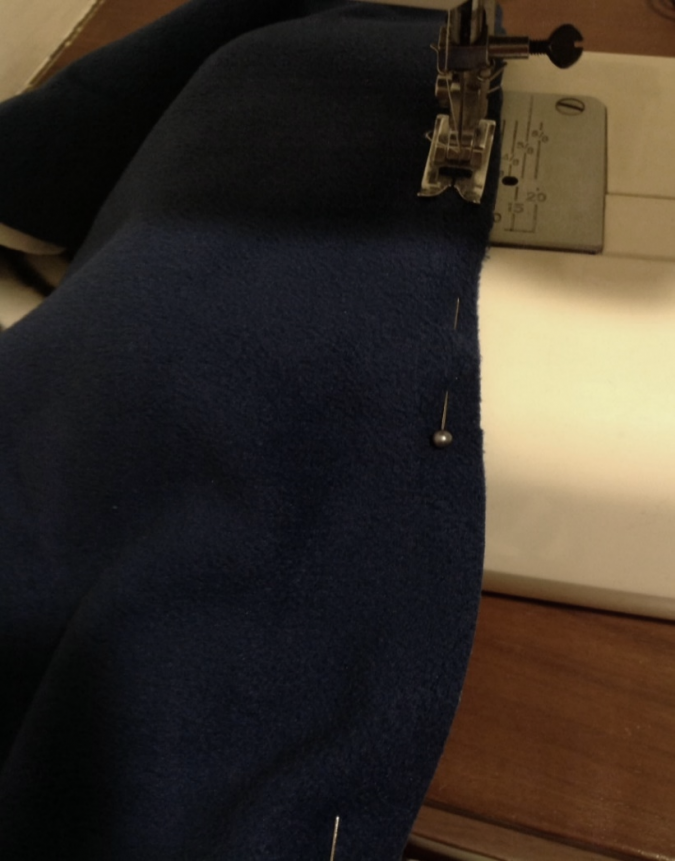
Keep the hood on the scarf with the right sides together and aligning the center of the scarf (marked earlier) with the center seam of the hood. Start pinning the edges of the scarf and the hood together starting from the center towards the sides.

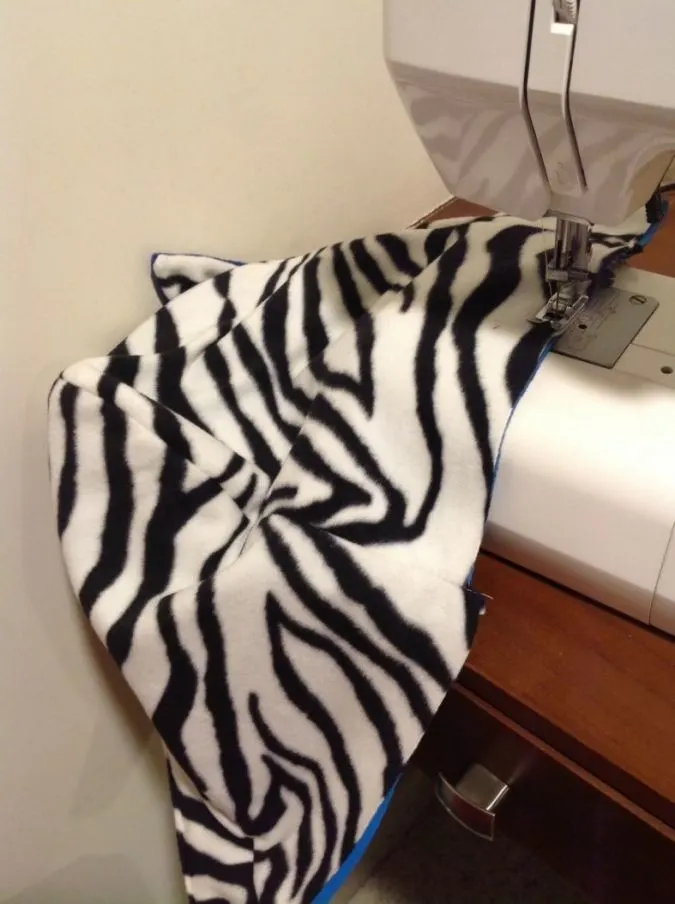
Sew the hood to the scarf.
Place the inner scarf piece (lining) above the joined piece, with the right sides together and sandwiching the hood in between. Align the edges of the two together and pin all around.

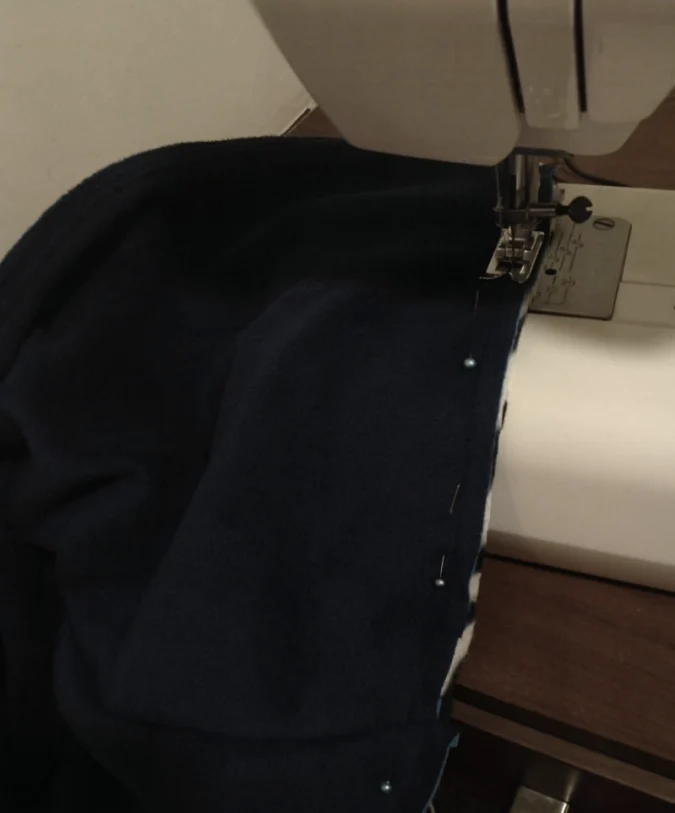
Sew the scarf shut along the four edges, leaving about 10-12-inches gap to turn it inside-out.
Clip the corners and trim the edges. Turn the scarf right side out and poke out the corners.
Tuck the raw edge of the opening inside and pin. Topstitch around the entire scarf, sewing the opening shut.

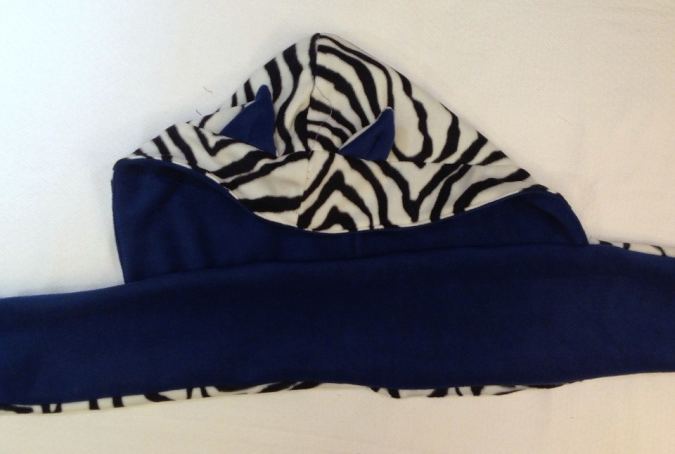
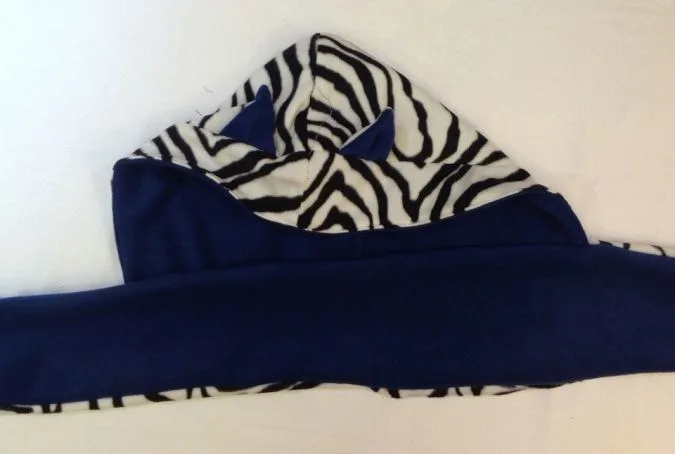
Our hooded scarf is done!
Find the webstory for the post here, Free Hooded Scarf Sewing Pattern and Tutorial
Pin it for later here,


That is it about my hooded scarf sewing pattern. Make it plain or make it with animal ears of your choice and enjoy your awesome scoodie!